Product Review Article ...
![]()
A look at the new racing mono by Insane Boats...
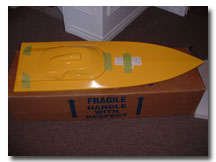
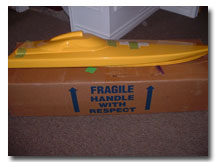
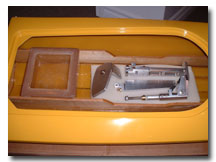
This is my third boat hull from Insane boats. The first boat I purchased from Insane Boats was the Catamaran followed by the Hydro . I was very pleased with both these hulls, so the logical move was to complete the trio and order a mono. The timing was perfect for me as when I was ready to order the mono, Jeff Michaud had just finished redesigning the hull to accommodate a hatch. I was really pleased when I heard the news and couldn't wait to get my hands on one of these boats, so I made arrangements with Jeff and the hull was promptly shipped out, as usual from Insane Boats. As with the previous hulls, this one arrived in tip top condition in a sturdy, well packaged heavy duty box. Included in the box was the hull with cowl, fiberglass radio box and complete hardware kit. I unpacked everything, examined the hull and hardware. The first thing I noticed was the exceptional finish on the inside of this hull. The glass work is impeccable.
Setup:
If there is one thing I really like about the Insane boats, its setting them up. Jeff has taken out all of the guesswork. Simply order the boat with the recommended hardware and follow the supplied setup sheet. It doesn't get any easier that this!
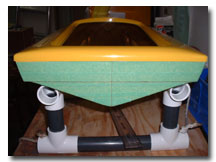 I started by taping up the transom with some masking tape. This helps prevent chipping of the gel
 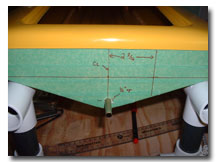 coat when you drill, plus allows you to draw on the transom yet it is removable afterwards. The next step was to mark the centerline (CL) of the hull. From there I could mark the location for the prop shaft and the rudder. The prop shaft is to be mounted ½" above the keel on the centerline of the hull. The rudder is mounted 2-3/16" to the right (starboard) of the hull CL.
Before I go any further, I feel it is important to note that I modified my drive to work with welded flex cables. What I did was punch out the bearings in the drive and I run the stuffing tube right into the drive. The setup is therefore as it would be with a Speedmaster setup, using a brass tube bearing in the output end of the drive. This is only a matter of personal preference and in no way means that the drive supplied needs to be modified. I you are comfortable with a square drive setup, the drive is perfectly suited to this. I simply prefer the collet setup using welded cables.
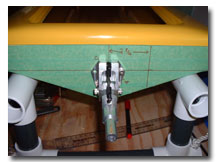
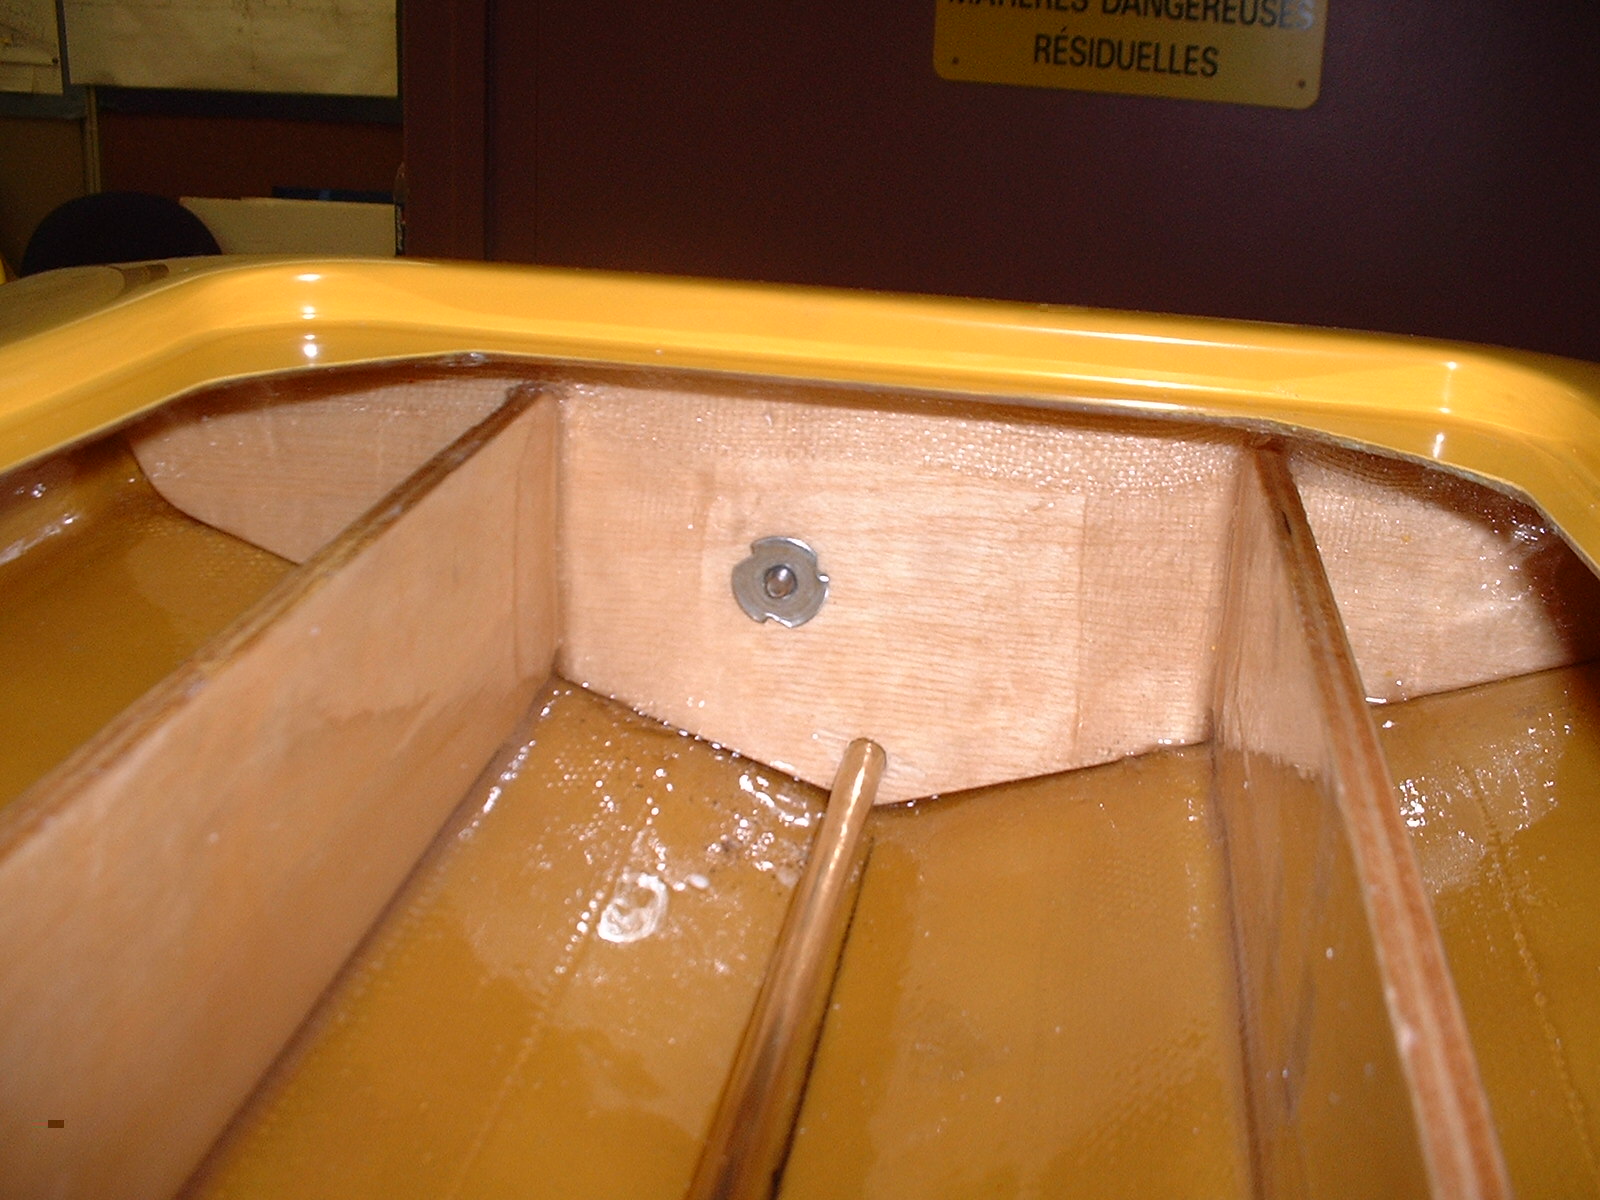
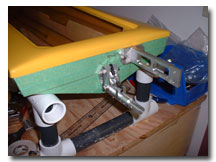
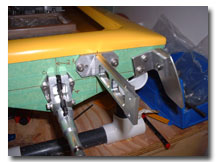
The first hole I drilled was for the prop shaft. I drilled a 5/16" hole on the mark I made and ran a piece of brass 5/16" tubing through the transom and into the drive. This allowed me to perfectly position the drive on the transom in order to drill the three mounting holes. If you are using the drive unmodified, you could accomplish the same by drilling a ¼" hole in the transom and running a ¼" rod through the transom and into the drive for positioning. The hole can simply be opened up to proper size later once the mounting holes for the drive have been drilled.
So I drilled the three mounting holes for the drive and mounted it in place using the supplied bolts and blind nuts.
I then mounted the rudder bracket to the transom, lining it up with the lines I had traced. Note the hull CL line and the rudder CL line are parallel, plus I had one line going from chine to chine to confirm that the rudder and drive were mounted straight. The rudder is mounted with two bolts and blind nuts.
The turn fin is mounted with the fin even with the outer edge of the spray rail, and at 90 degrees with the bottom of the hull. The fin should stick out 1.5 inches below the outer edge of the spray rail. This is well indicated in the supplied setup sheet.
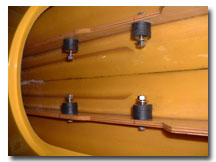
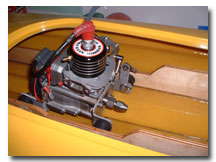
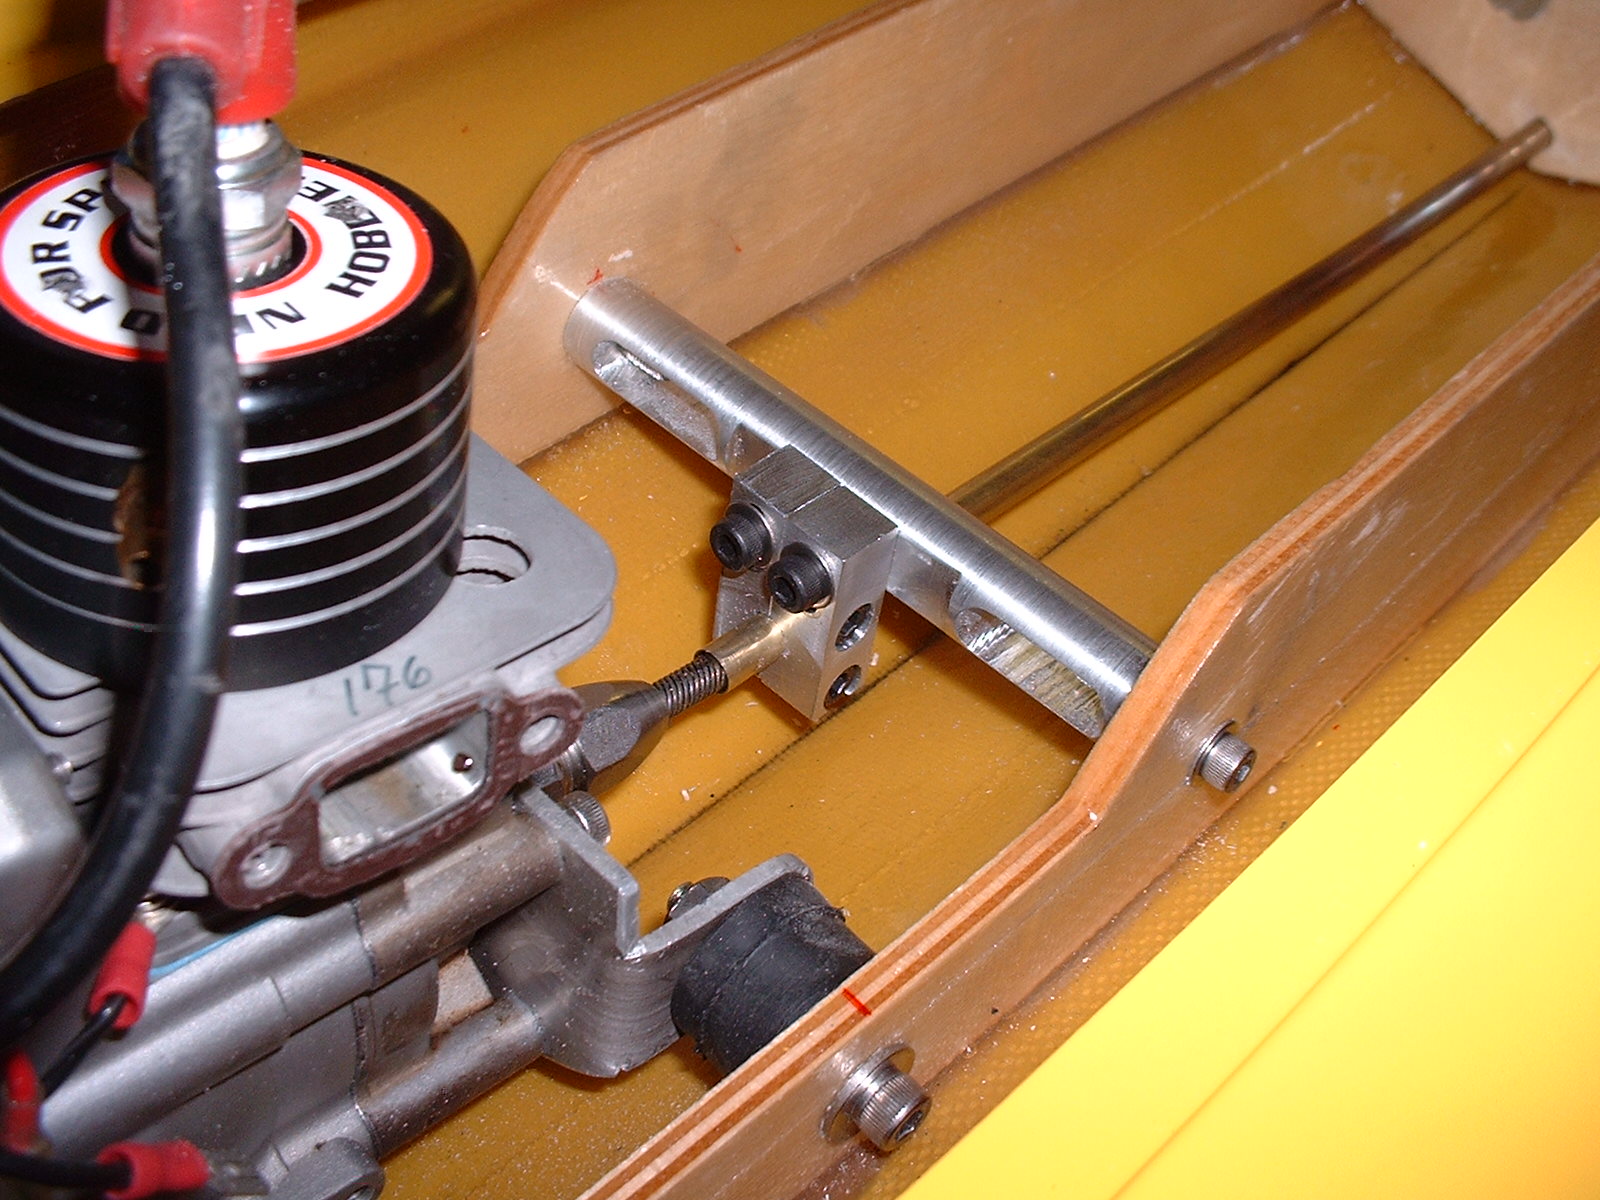
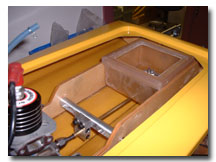
The next step for me was to mount the engine. In the pictures I used some homemade mounts that I made. I have since upgraded to CC Racing/Insane mounts, but the installation is the same. I dropped the engine in the hull with some 1/8" shims underneath it. I marked and drilled the holes and installed the rubber isolators.
With the engine in place, I installed the stuffing tube and the homemade stuffing tube bracket that I machined. This bracket allows for up/down, left/right adjustment of the stuffing tube. Although any kind of support will do, I find it nice to be able to fine tune the position of the tube if necessary. There are commercially available brackets, or you can make your own, or simply use wood fiber glassed in place.
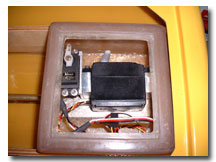
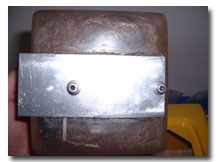
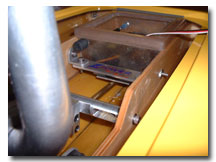
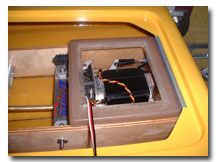
I then fitted the radio box 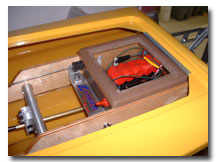 in place. It fits snugly between the rails and sits up against the back lip of the upper deck. I have an aluminum bracket holding it in place firmly. I will not go into the details of assembling the radio box, as we all have our own favorite way of doing this. The box has sufficient space to accommodate a ¼ scale servo for steering and one standard size for throttle, and of course the receiver and battery pack. The lid is taped down type. I mounted the antenna in the lid, and the on/off switch on the front side of the box. I drilled the hole in the transom (through hole in the rudder bracket) to install the steering linkage. I also setup the throttle linkage using the bellcrank on the mounts.
For the tuned pipe support, I made my own bracket. A simple piece of angle aluminum for the support and some slotted aluminum pieces for the "arms". This makes for a nice adjustable pipe support with good range.
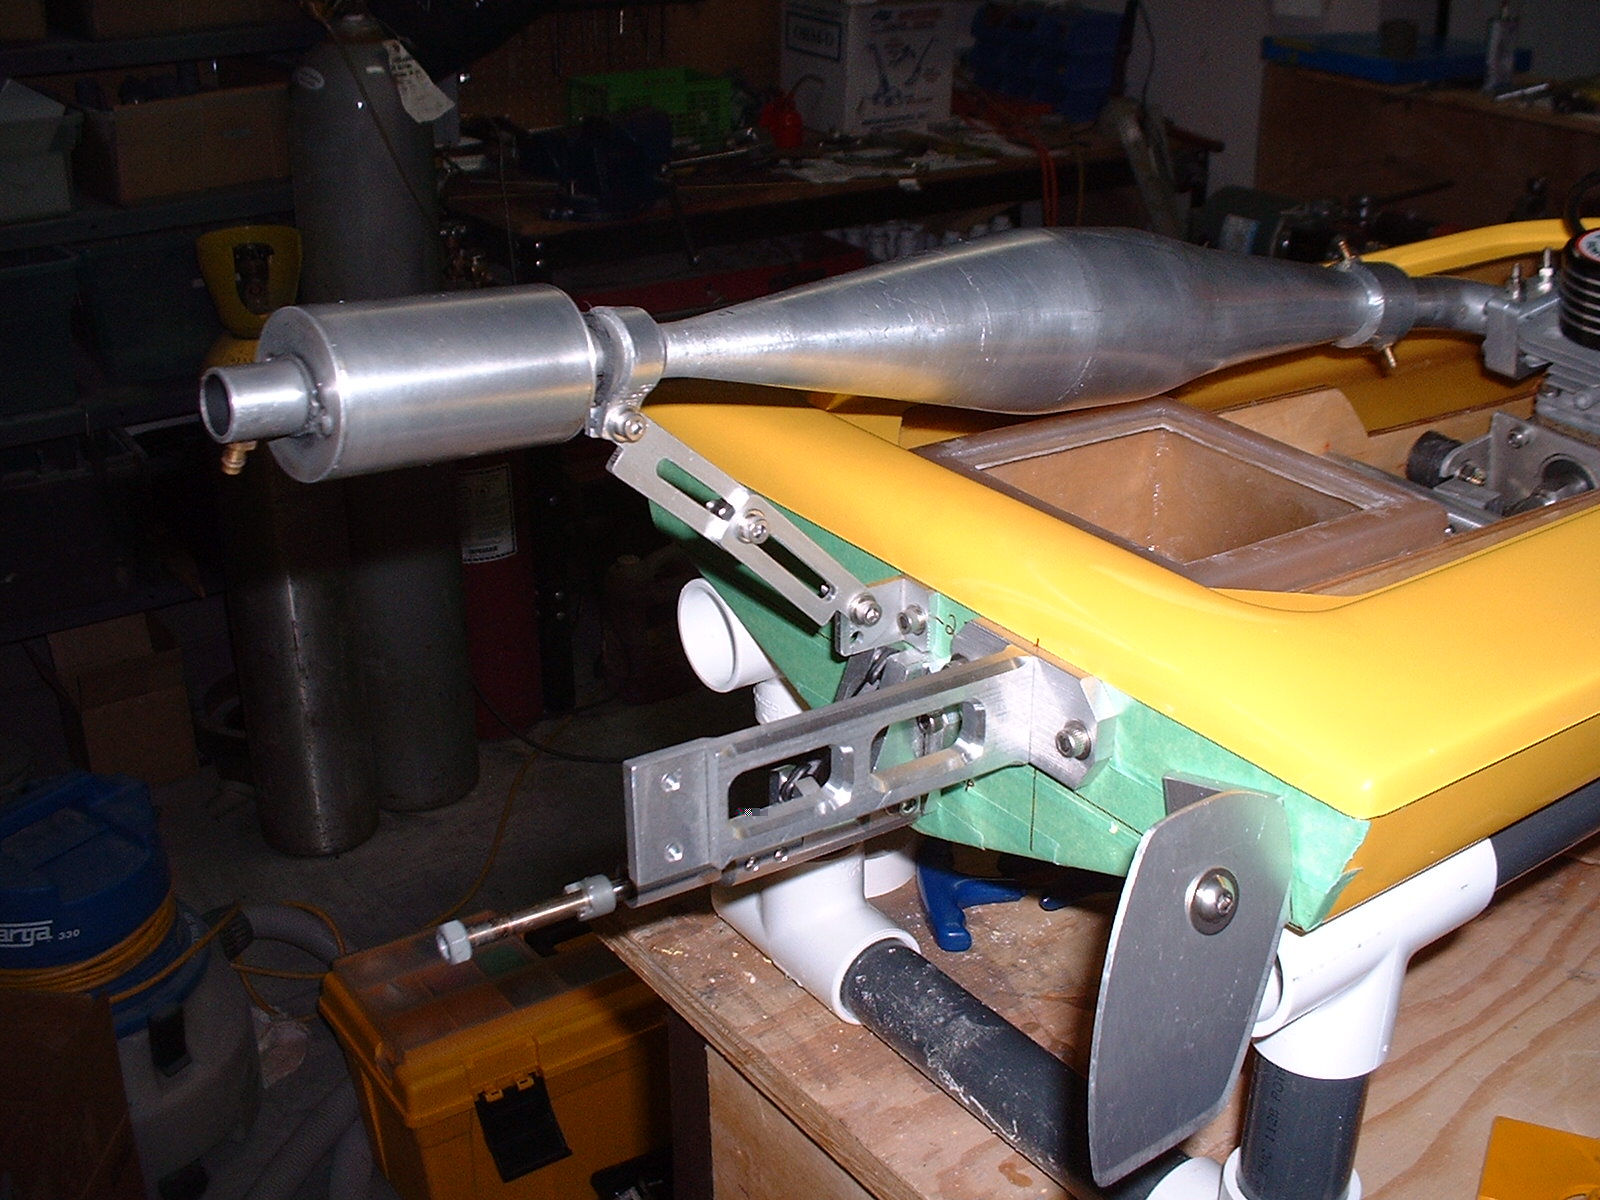
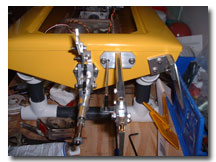
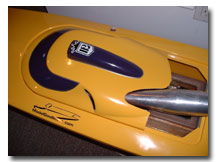
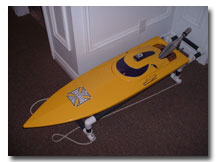
After having mounted everything on the transom, I took everything off, removed the masking tape and reinstalled everything.
For a gas tank I opted for an IV bag setup, again this is a personal preference. I used a 1000 ml bag that lays half under the engine and half in front.
The last step was to cut out the hatch and set it up for mounting. The hatch as supplied is a full hatch that completely covers to opening in the top deck, but I opened it up quite a bit. This was to allow for good airflow and also to properly clear the tuned pipe. I used dowels on the front of the hatch and O-rings for the back.
That's all there is to it!
Performance:
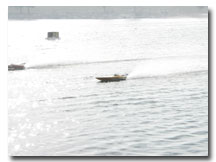
Well, what can I say about performance - it is great! I have had a few monos, but this is the first that I can truly say is a race mono. I took this boat to the Gas Nationals in Celina Ohio for its first real run. It had been on the water a few times before, but had very little testing time on it. At the races, I met up with Jeff Michaud who helped me setup the drive angle and I raced the boat all weekend with that setup and it handled every bit as well as I expected one of Jeff's boats to handle. The first time I took it out in open water, I took it back in and I had a grin from ear to ear! One thing worth noting is that this new mono is the same bottom as the previous version. Only the top deck has been modified to utilize a hatch cover (or cowl). The important thing to remember is that the hatch cover has been designed to create down force, and therefore it is recommended that the boat be run with the hatch cover in place.
This really is a great performer that will win its share of trophies! Weather you are a sport boater or racer, you will be happy with one of the new Insane Monos!
Happy boating!
*** You can see the Mono Trophy Dash video from the 2004 Gas Nationals HERE. It was won by Jeff Michaud running the old style Insane Mono (no cowl).
Contact Information:
Insane Boats
Website: www.insaneboats.com


