Product Review Article ...
The Insane Generation 2 Sport Hydro...by Marc Levac.
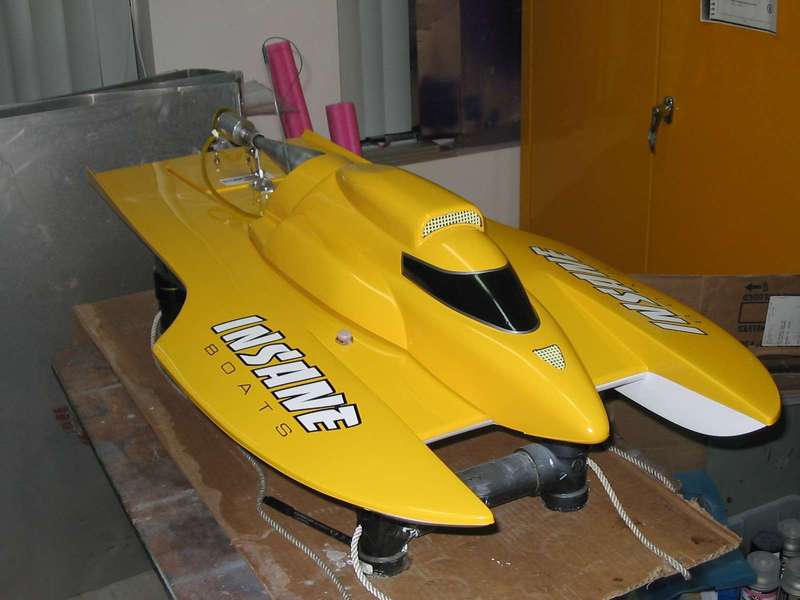
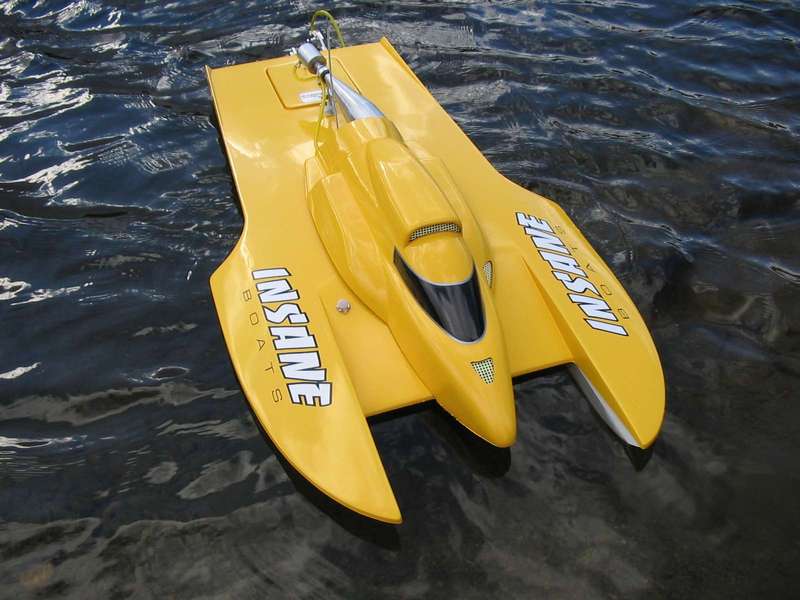 After building and running one of the Catamaran hulls produced by Jeff Michaud of Insane Boats, I got the itch for yet another fast gas boat! After some talk with Jeff, he suggested I try his hydro hull. He assured me that if I setup the boat as per his instructions, I would be very impressed with it's performance. How could I resist!
I asked Jeff for some specifics on the hull, and the major differences between the older version Hydro and this NEW version :
New Hydro :
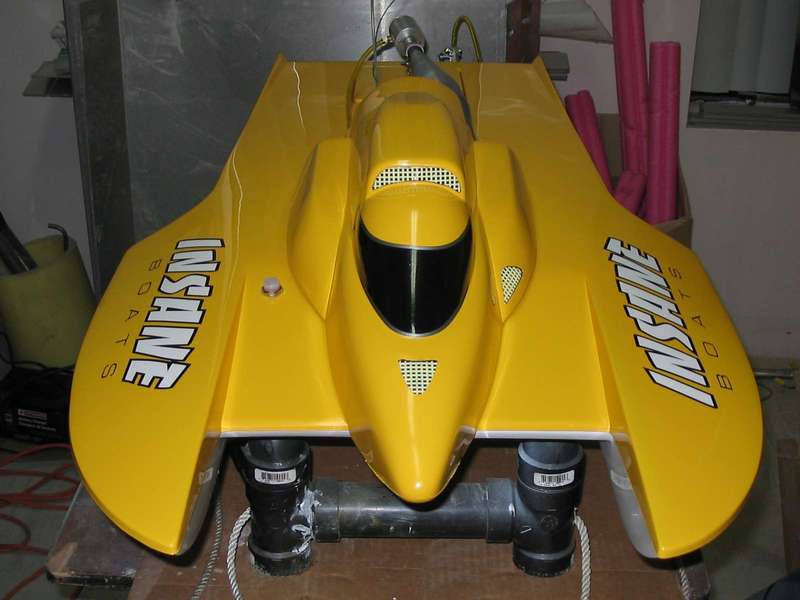
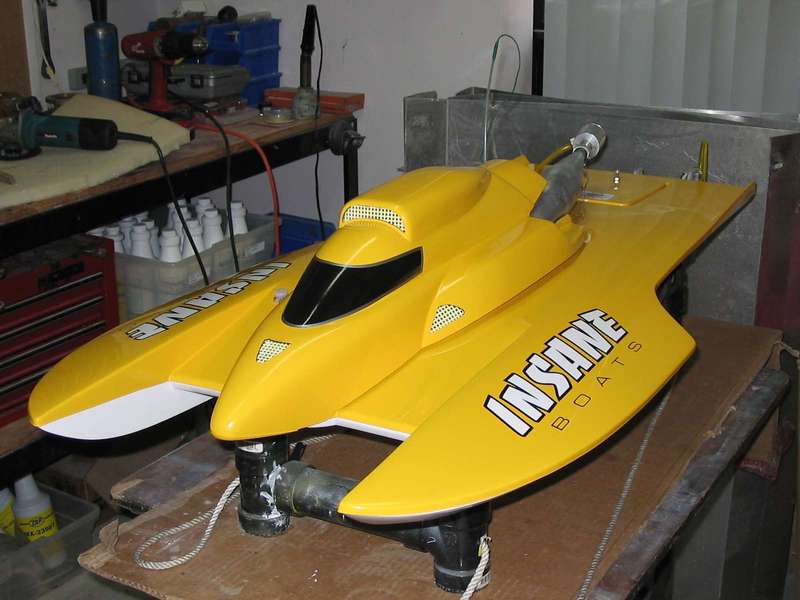
- 44" Long x 23" Wide
- There is a seven piece 5 ply 1/4 inch bulk head & stringer wood kit
- 3/4 oz mat & a 6 oz cloth hand lay-up with a shoebox construction
- This a polyester resin gelcoat high gloss finish
- This is an over 80mph production hull
- This hull is infamous for rough water heat racing and reaching exceptional speed.
Here are the major changes to this newer version:
- The cockpit was moved forward to help change the center of gravity (C.G.) of the boat
- The footprint was made wider to make the boat more stable in rough water
- The air breaks underneath the bottom of the boat before the heels of the sponsons; on the old hull, the air broke behind the heels of the sponsons.
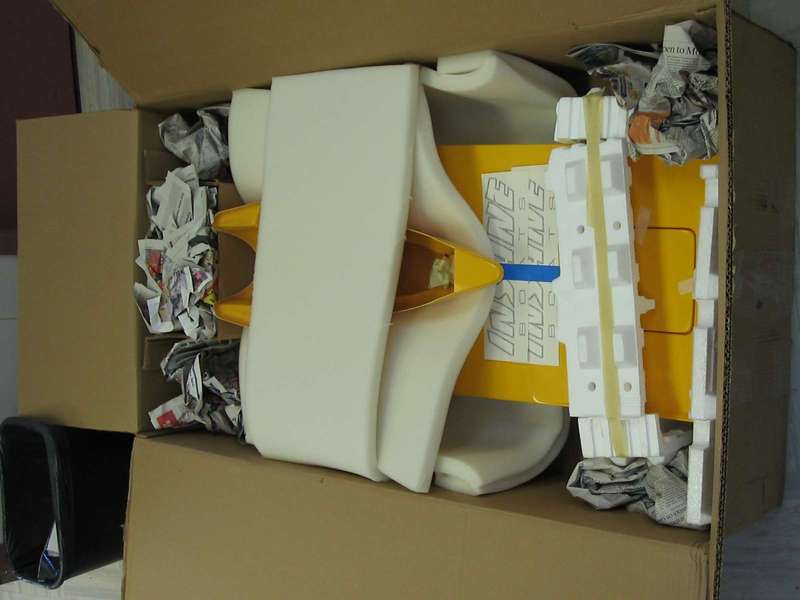
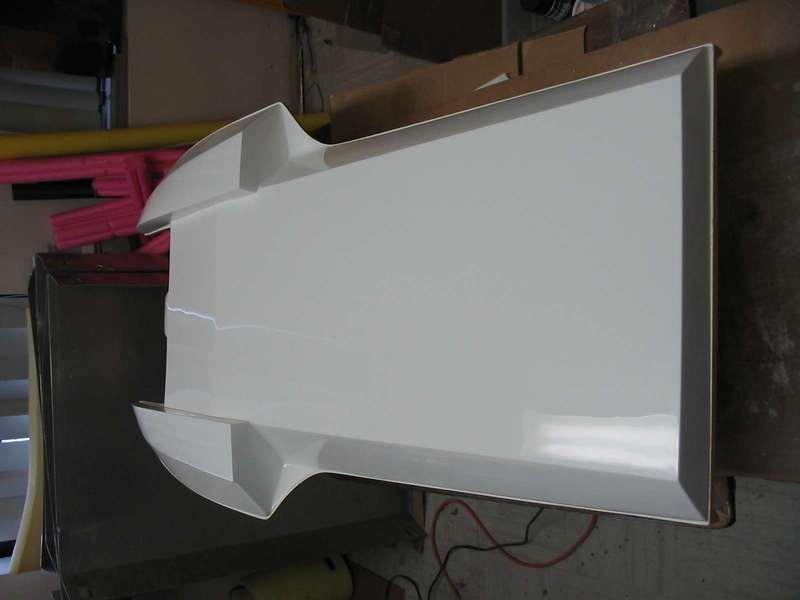
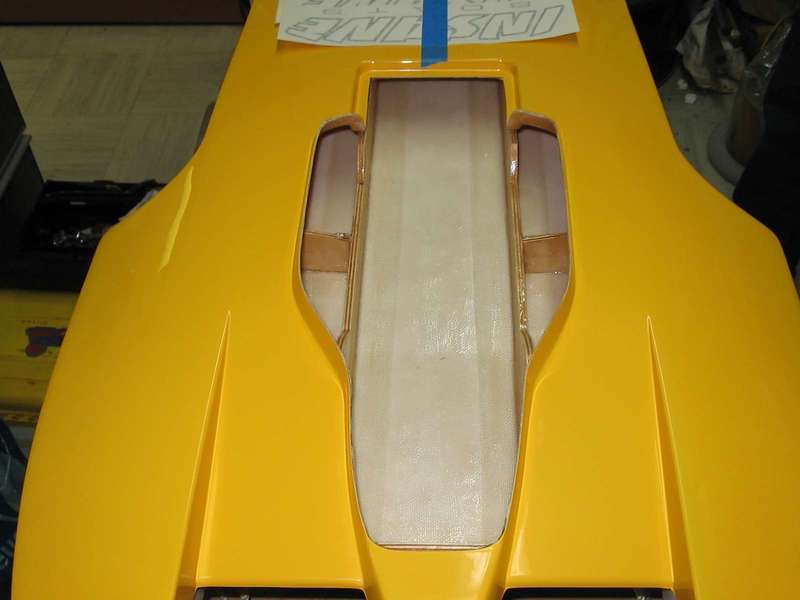
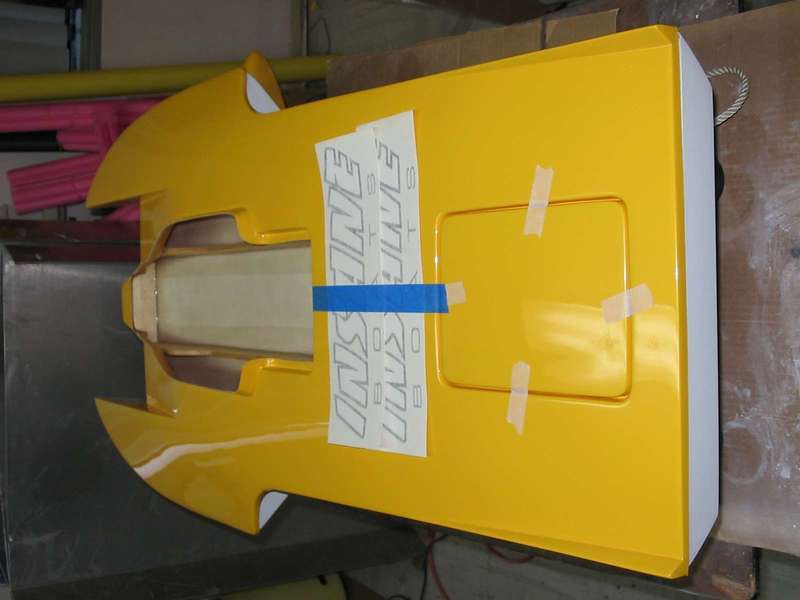
As usual, the boat arrived very well packaged in a high quality cardboard box. I inspected the hull closely and as with my catamaran, the hydro's gelcoat and glass work were impeccable. I was as impressed as the first time I received a boat from Insane.


Setup :
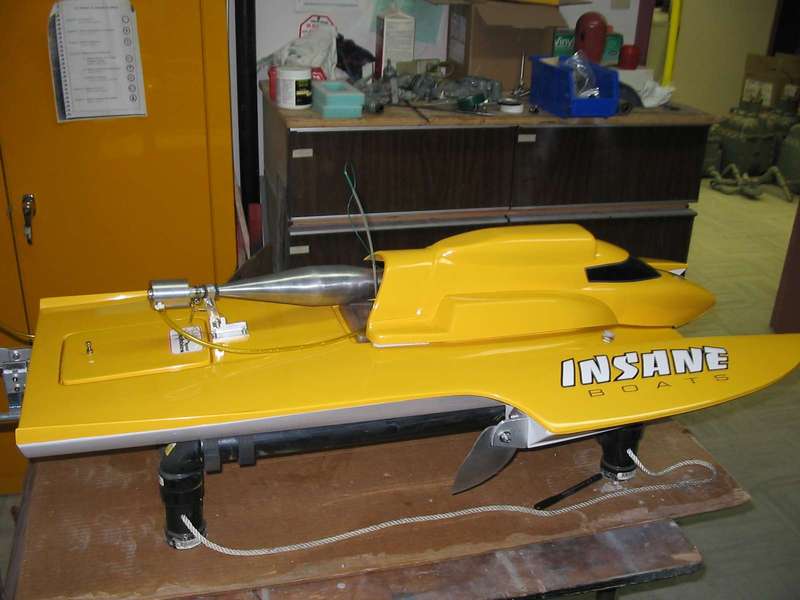
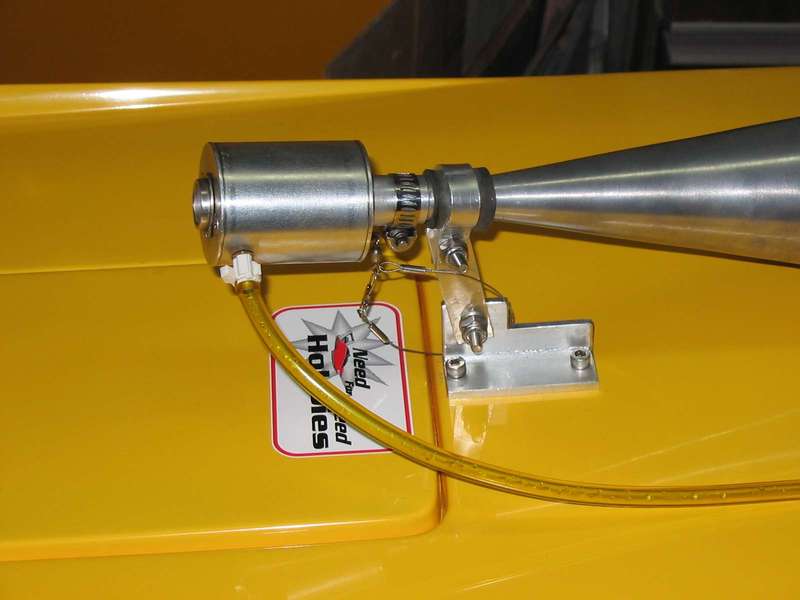
For the setup of this boat, I followed Insane's instructions sheet. I did not check for C.G. of the boat with accessories inside. I decided I would simply follow the instructions and see what the outcome would be. I used a Modified Zenoah 260 PUM engine from Needforspeed Hobbies, an aluminum tuned pipe from Midwest Engines, and all the hardware was supplied by Insane, including the strut, rudder, turn fin and engine mounts.
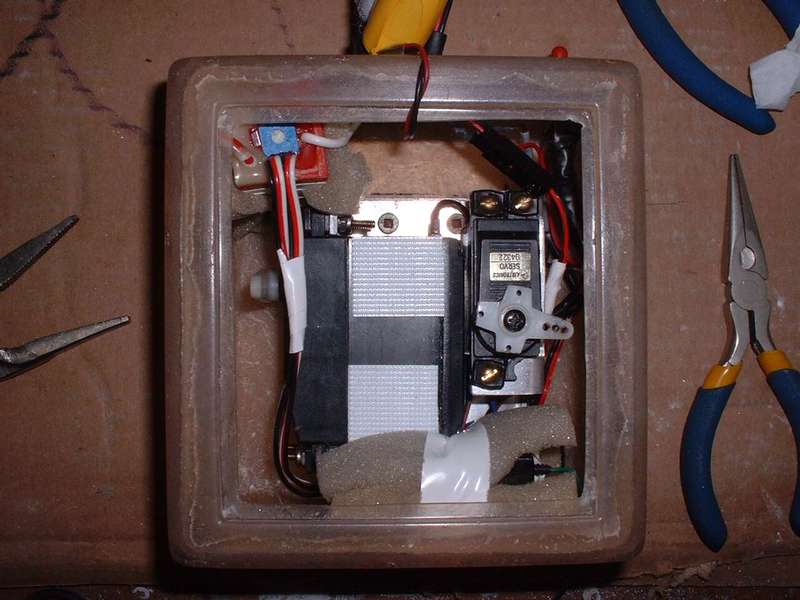
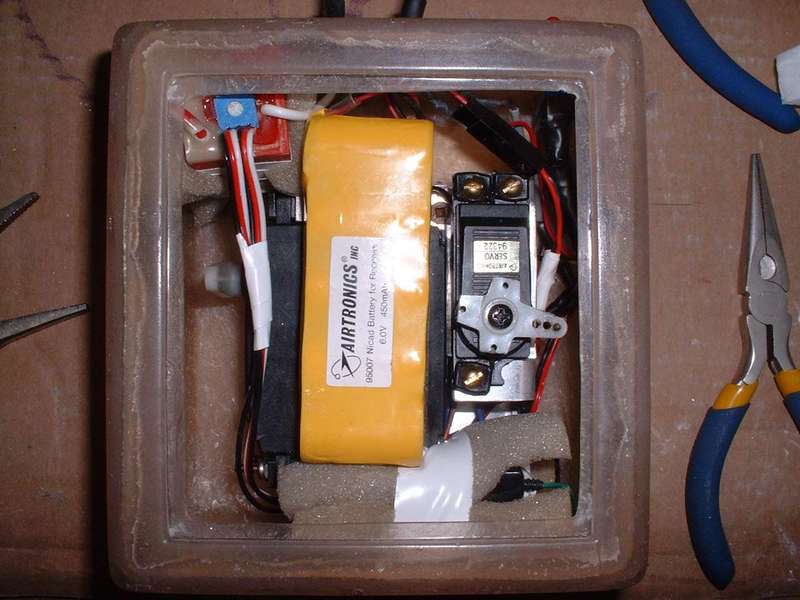
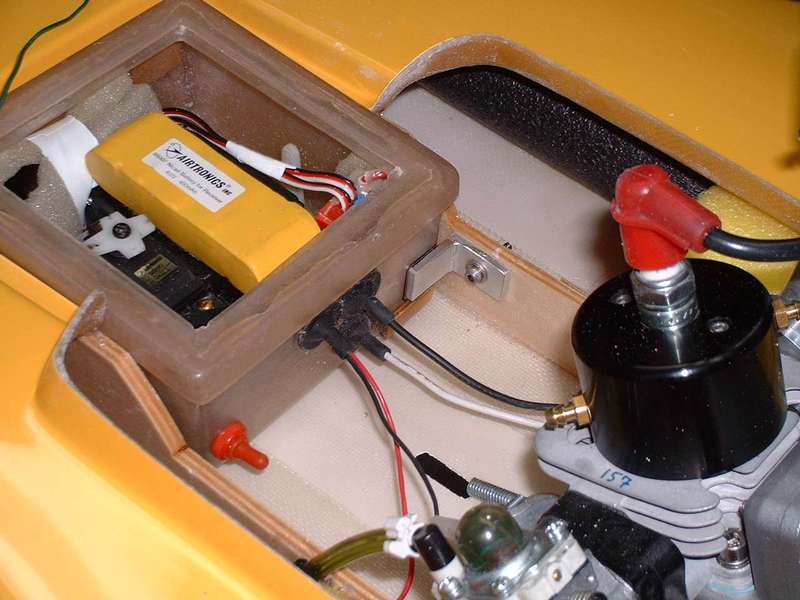
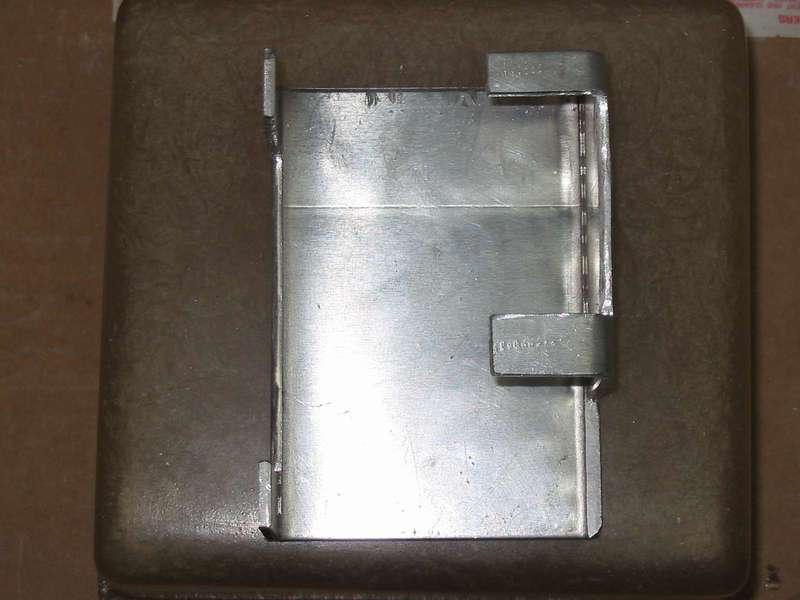 I decided to get the radio box setup before doing anything else. I am not much of a radio box fan myself, but in order to give an objective review of this boat I needed to do the setup as directed by the manufacturer. The first thing I did was take some measurements of the box and the components I needed to mount inside.
I made up a bracket that allows for easy removal of both steering and throttle servos simultaneously. I still had sufficient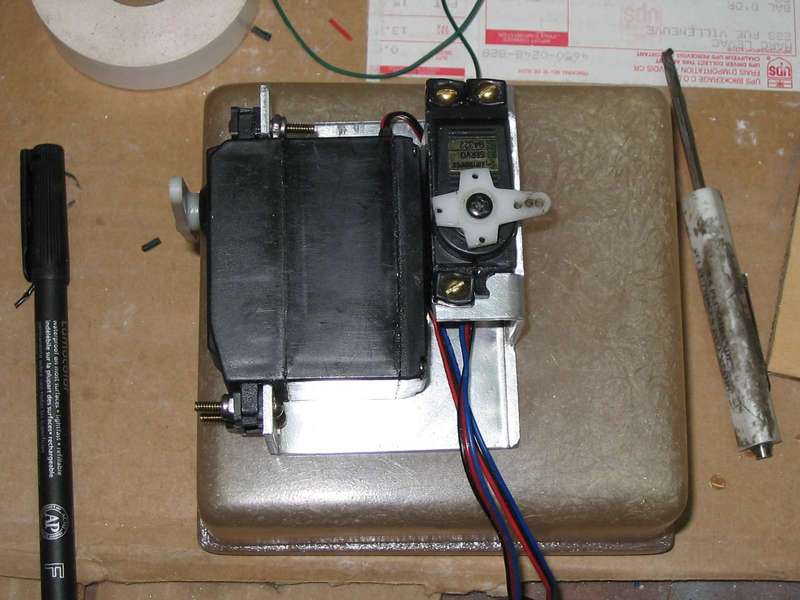 space in the box for a battery pack, the receiver and my Shark Racing Failsafe. I laminated a piece of 1/4 inch plywood to the bottom of the radio box (on the outside). This way I could mount my servo bracket from inside the box by using screws that thread into the plywood through the box bottom. The plywood was completely sealed with a thin layer of resin. The only drawback to using this method was that it raises the box ¼ inch and the box doesn't fit under the deck of the hull as it was initially meant to.
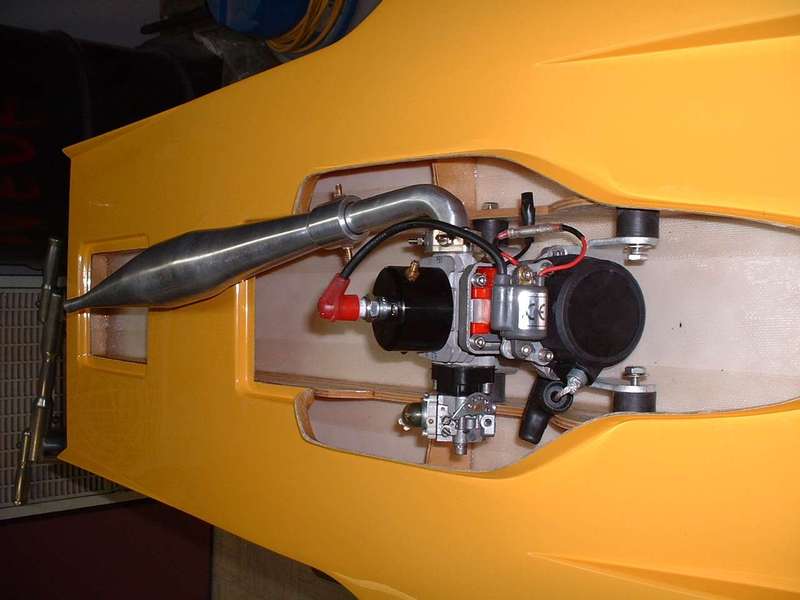
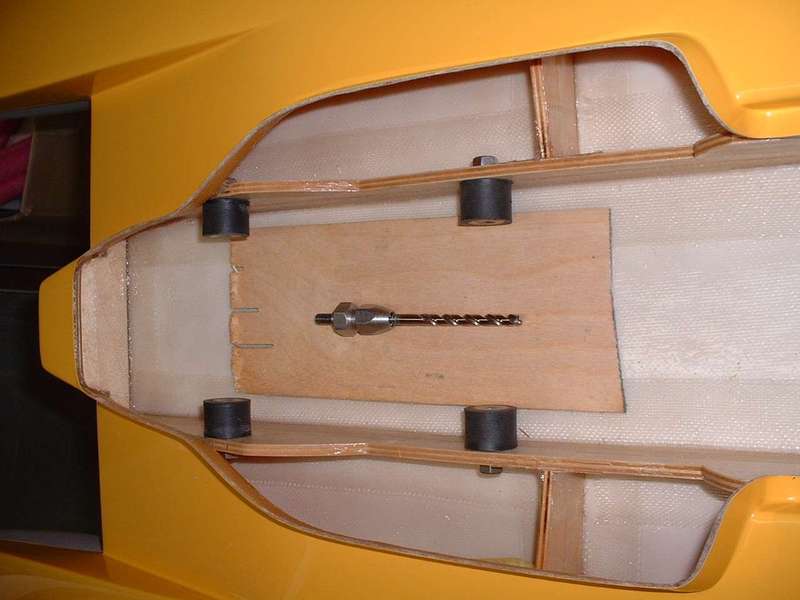
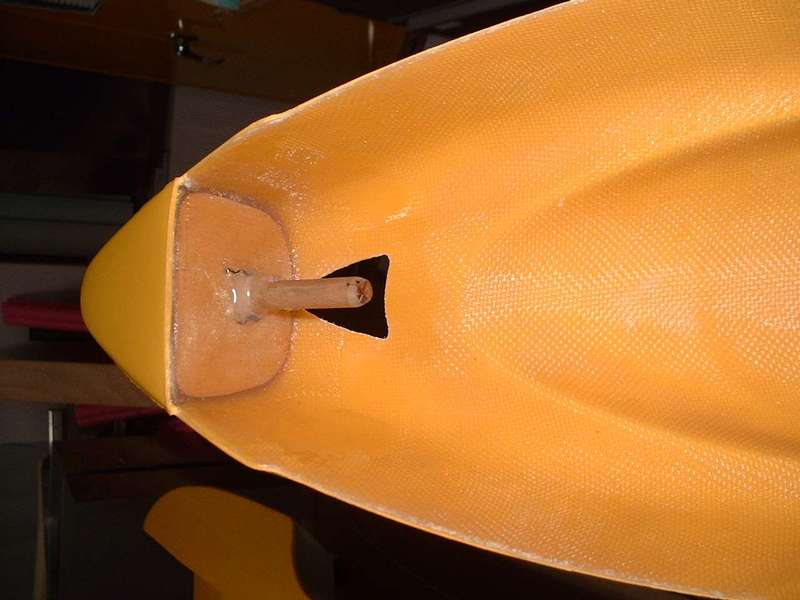
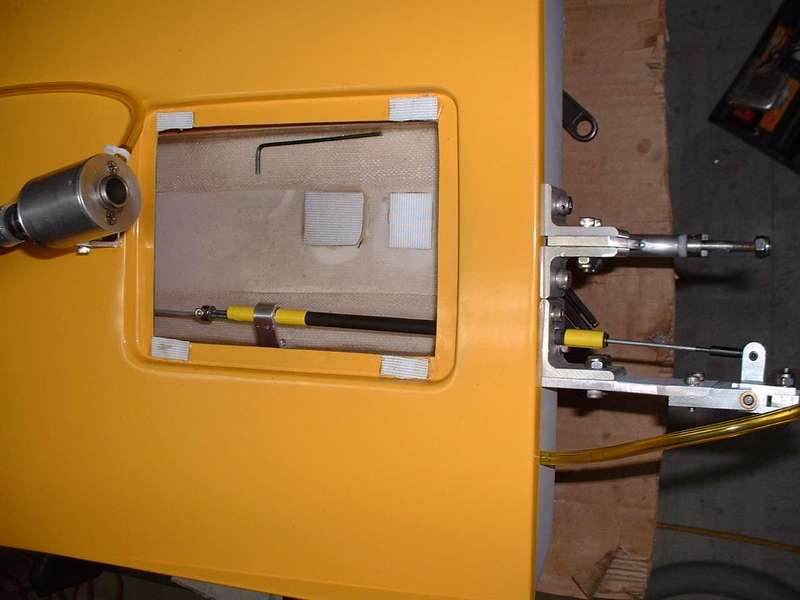
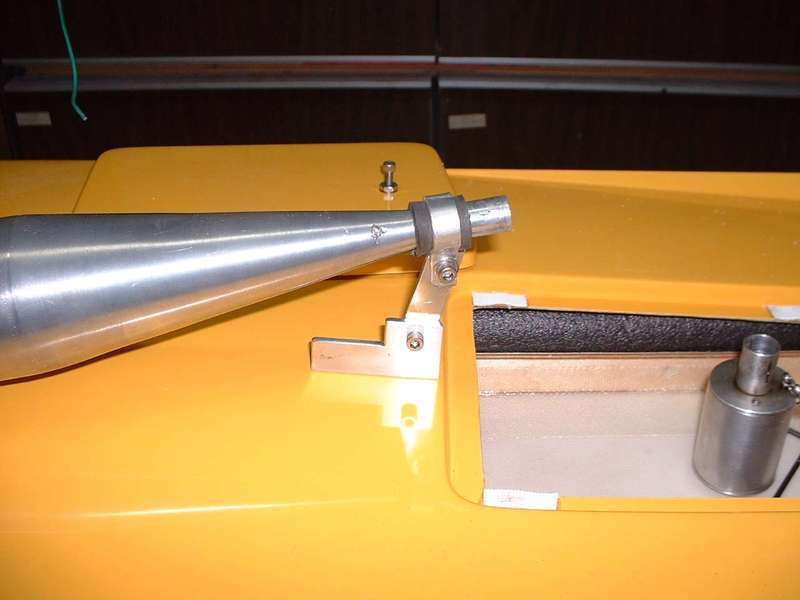
Next I decided to mount the engine in the hull. I installed the supplied mounts to my engine. The mounts are quick change type with bellcrank throttle setup. I laid a piece of 1/8 inch thick plywood in the bottom of the hull under the engine for proper clearance underneath. The motor was placed as suggested at 27 ¼ inch from transom to center of spark plug. When placing the engine, also check to make sure your 10 oz. Sullivan fuel tank fits in front of the engine. I marked the engine mount isolators position on the engine rails and drilled the rails for the ¼ inch mounting bolts. I then drilled a hole in the bottom of the hull for the stuffing tube to go through. This was done with a piece of ¼ inch rod fixed in the engine's collet for alignment. A rotary tool with mini milling bit was used to do the actual cutting. The laminating in place of the stuffing tube was done at a later time. I installed the tuned pipe to the engine and made a pipe mounting bracket out of aluminum.
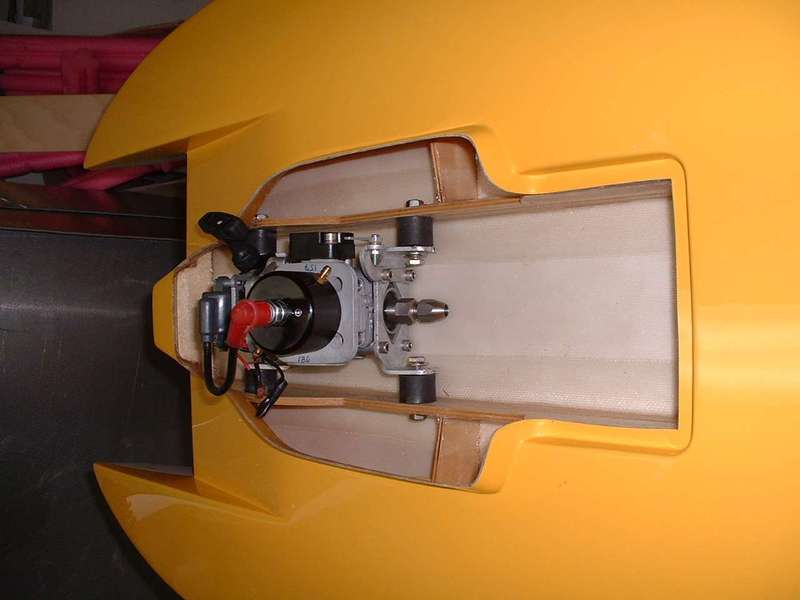
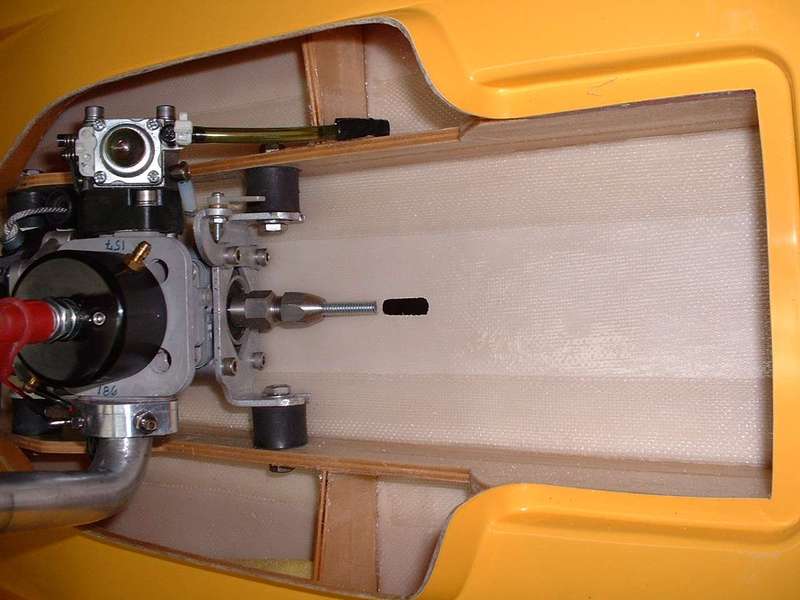
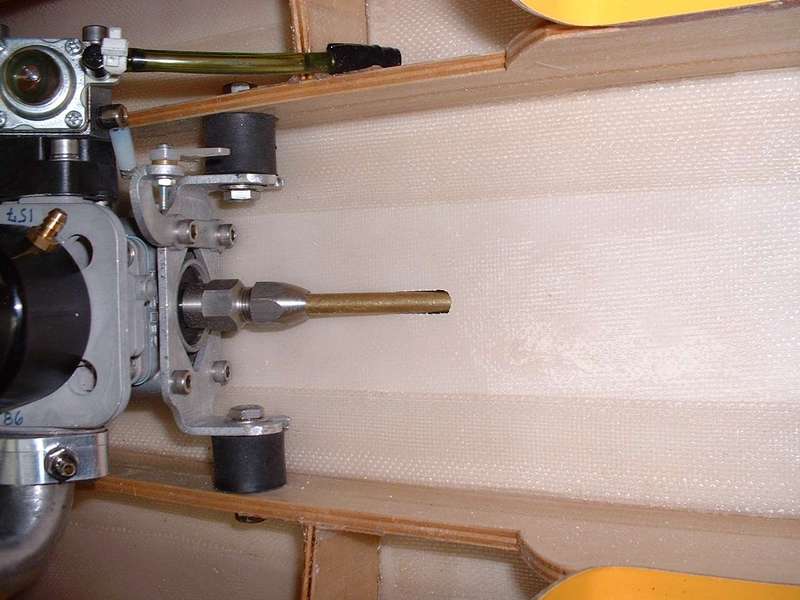
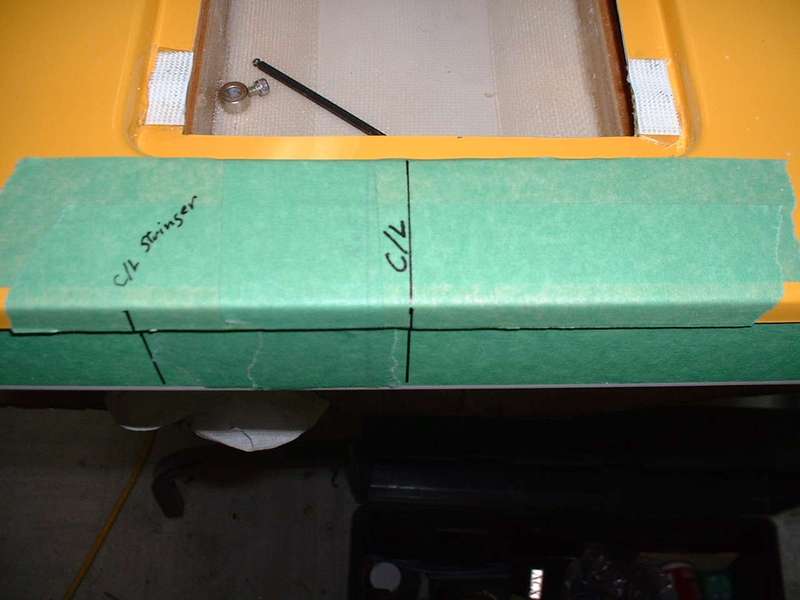
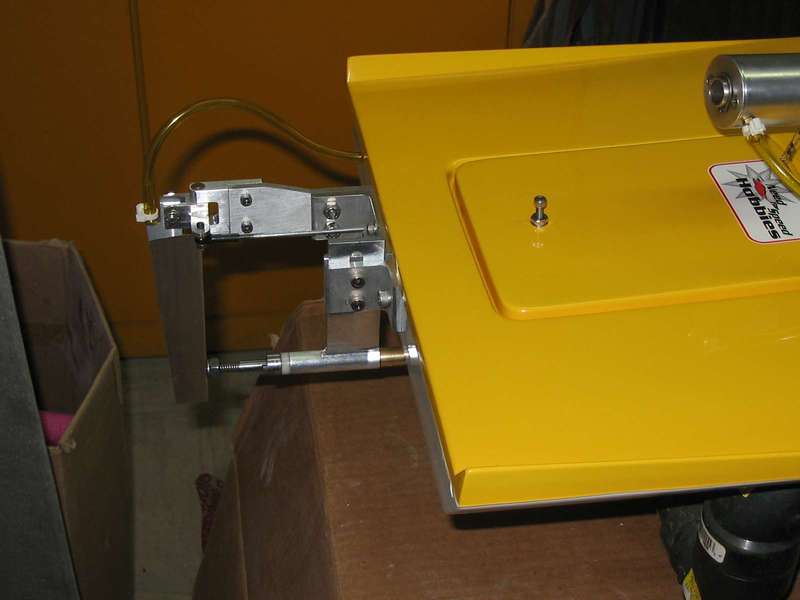
At this time I moved on to the transom hardware installation. I taped the transom and marked the hull's centerline as well as the left stringer. Setup here is very easy, the important thing is to make sure parts are mounted square with the hull's bottom. Mount the strut so that the blade's centerline (C/L) is directly on the hull's C/L. The strut brackets are tight against the deck overlap. Verify that the strut is 90 degree with the hull's riding surface. Mark, drill and mount. Installing the rudder is just as easy. Mount the rudder bracket right up against the left strut bracket at the same height. Check that the rudder blade is 90 degrees with the hulls riding surface. Double check! Mark, drill and mount. I then mounted the turn fin on the back of the starboard sponson. The fin is mounted at the leading edge of the sponson with a 20 degree angle. The turnfin supplied was pre-bent and sharpened.
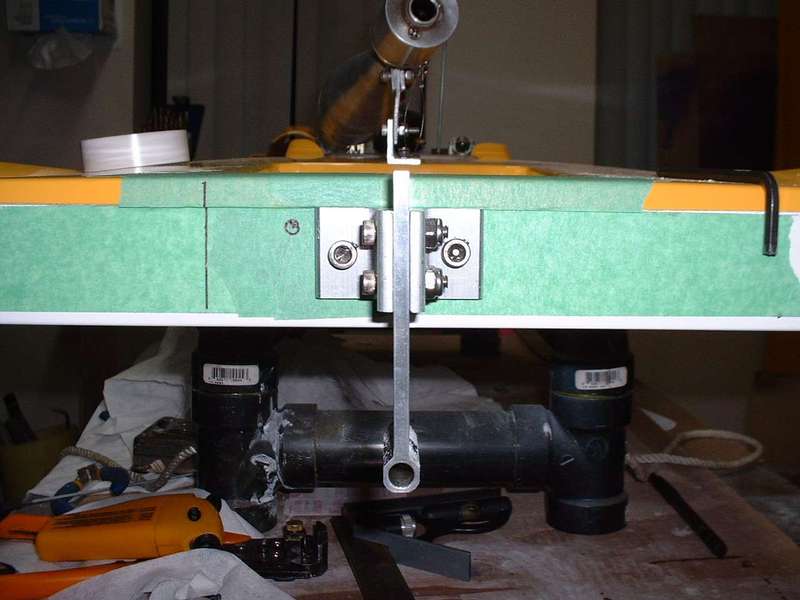
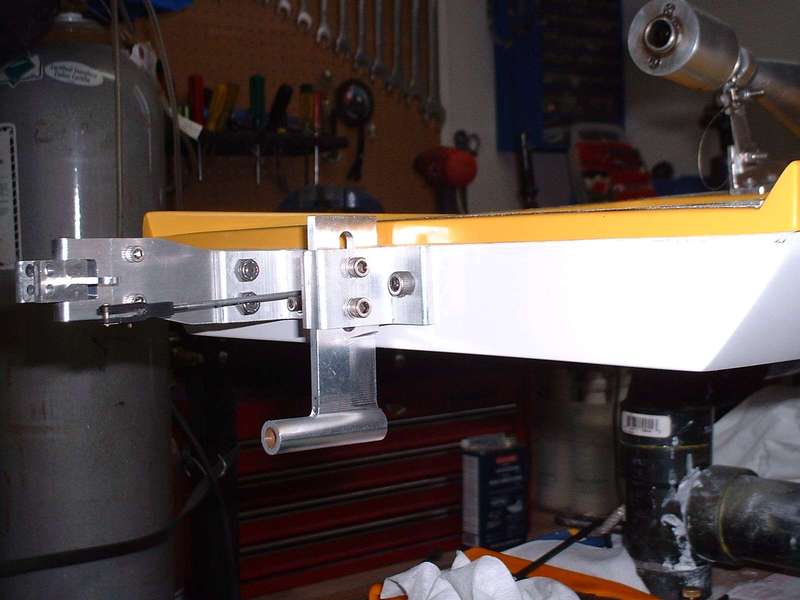
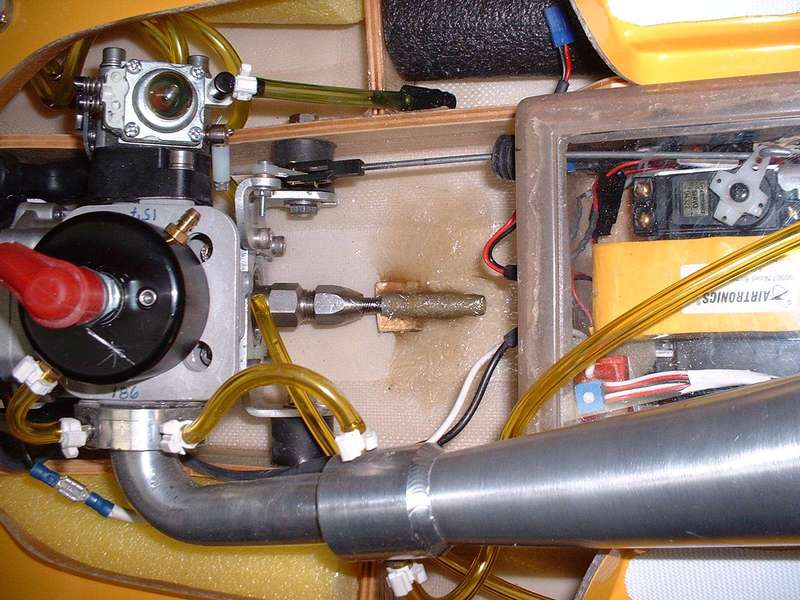
After installing the hardware, I made a stuffing tube and laminated it to the hull using some cloth and resin.
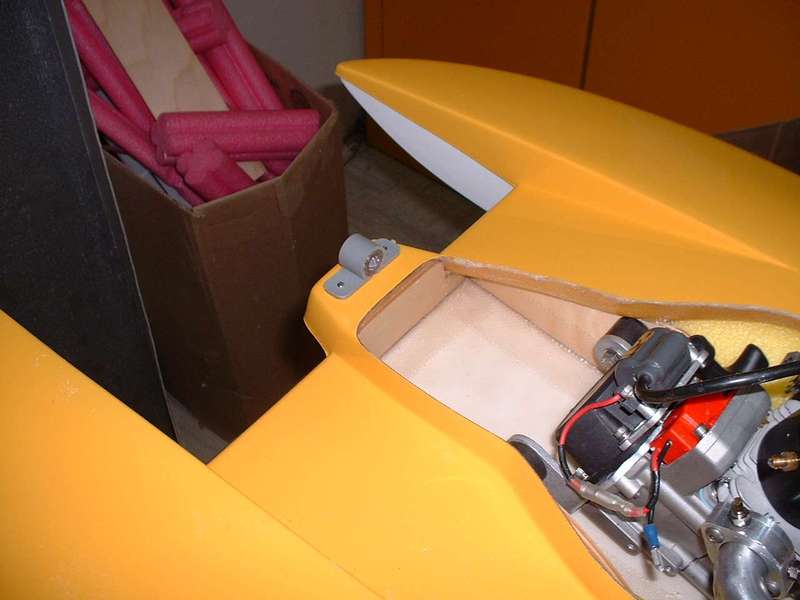
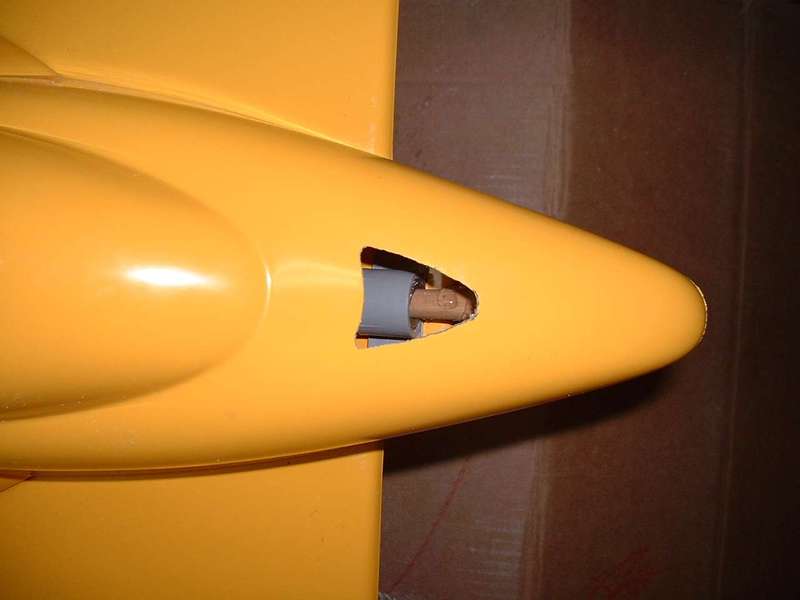
I found the cowl mounting method for this boat to be very innovative and functional. It utilizes a wood dowel (fixed to cowl) that slides into a plastic nose bracket (fixed to hull). Mount the nose bracket to the nose of the hull using wood screws. The nose is reinforced with a wood plate under the fiberglass. Next install the supplied wood dowel in the wood plate in the nose cone of the cowl. Adjust for desired cowl fit, and epoxy the dowel in the wood plate. The back of the hatch can be held on with cowl locks or velcro…I used the latter. I also used velcro on the smaller hatch for the back opening in the deck.
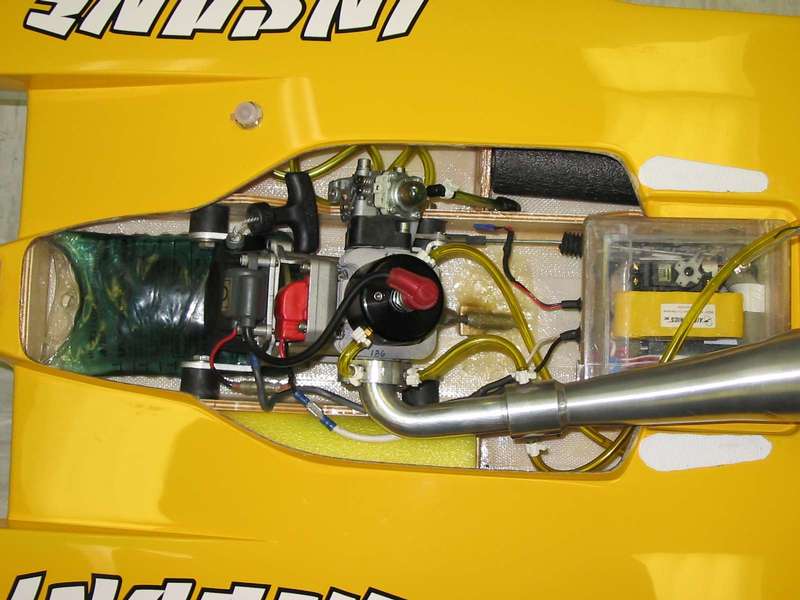
For the fuel system, I used a 500ml IV bag, a Dubro large scale fueler and Dubro fuel filter. The boat was setup to utilize the Sullivan 10oz tank as suggested, but after testing with both setups, I decided to go with the IV bag setup. Either setup works fine. This is a matter of personal preference. Keep in mind that a 500ml bag full of gas will weigh about twice what the full 10oz tank weighs, so this WILL affect your setup some.
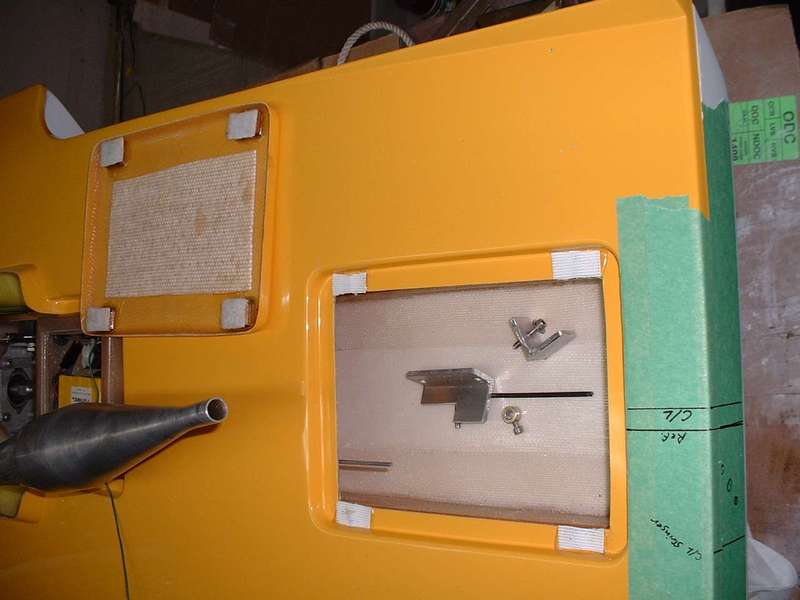
When installing the steering linkage, you will have to install a gusset on the left stringer, through the rear opening in the deck, to stabilize the control rod. I used 4-40 rod with locking heavy duty clevis. I made up an aluminum bracket to mount the the stringer and used some carbon fiber rod as guide for the control rod. A high torque steering servo is required for this boat. 200 oz/in of torque or more is suggested. The rudder being on the port side allows the servo to pull rather than push in a right turn, thus eliminating possible flex in the control rod when racing.
Some weight must be added in the port side transom. I did this by inserting the weights inside a pool noodle and then inserted the noodle in the sponson. Both sponsons were filled with pool noodles for flotation. Pool noodles were also inserted in the back of the boat outside of the engine rails.
Performance…
First time out, I could tell right away this was going to be impressive! I did have a blow over, but that was due to the strut adjustment being wrong for the prop I was using. I lowered the strut 1/8 inch and launched the boat. The hydro was fast and handled pretty good. It was pulling slightly to one side. That was fine tuned with the turn fin. Those are basically the only adjustments I had to do to the boat. On the first day out, I had the hydro running well into the 60's in oval trim with conservative props and a modified Zenoah 260 engine. The hull is obviously capable of much more speed! I really love this boat and must say that I am very impressed at how easy it was to setup. Bottom line is that this is a very fast boat and solid performer, but don't just take my word for it, the records speak for themselves.
Jeff Michaud has set several records with his hydro…
Mike Hoffmeister of M&D DesignsRacing set a new IMPBA Sport Hydro Oval speed record with an Insane Hydro in Huntsville, and also did some single SAW passes at up to 83MPH!!!
Here are a few important setup tips I received from Jeff Michaud :
- When you move the turn fin backward or forward that will adjust the pulling and once you get it in the right spot it will track straight.
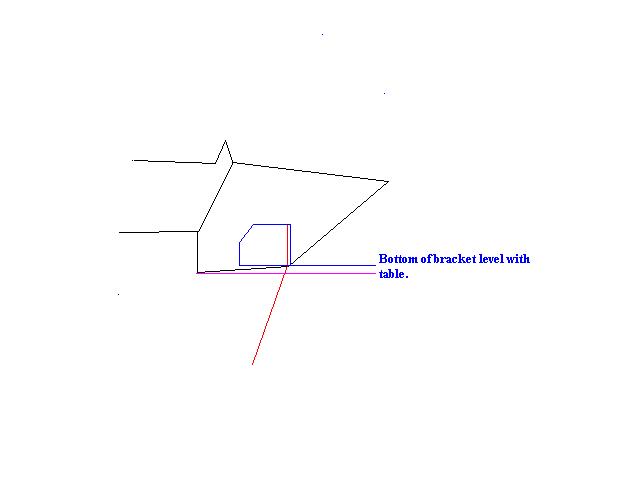
- Note, the sponsons need to be either on a flat board or table to adjust the strut. The strut should be on the flat part of the table or surface and NO negative or positive on the strut, MUST be flat at all times. The lower you drop the strut the tighter the boat will run. Also, the closer the strut gets to the bottom of the hull, the looser the boat runs.... it is very important to keep it flat for best results.
Click here for a Video Clip of this Hydro!
HAPPY BOATING!!!


Contact Information :
INSANE BOATS
Website: www.insaneboats.com

