Some tips on setting up a hydroplane hull. *updated
{mos_fb_discuss:13}
In this short article I will
explain the most important setup aspects for sport hydro hulls. The points
covered can also be applied to some outrigger hydros. I will not cover things
like center of gravity and engine placement as these should be supplied by the
hull manufacturer. In most hydros the engine will end up being considerably
forward of the leading edge of the turn fin. The CG will end up closer to the
leading edge of the turn fin. This is generalizing and varies from one hull to
another. The turn fin is what the boat "pivots" on when the rudder is
turned. Moving the CG away from the point of pivot changes the turning characteristics
of a hydro considerably. The optimum setting should be something the
manufacturer can supply. In many cases they will tell you where to position the
engine. This will usually put you real close to optimum setting, but if you
want it perfect you can experiment, or ask the manufacturer to tell you exactly
where the hull should balance (C.G.) and move the internal components in your
boat until you get the boat to balance at the specified point. Usually C.G. is
measured from the transom forward, either in inches or in percentage of hull
length. *on hydros often instead of C.G. we will talk about "tail weight". This is the weight of the boat at the strut when sitting flat on a table. This is a VERY important number when setting up hydros.
Enough about that, now let's get to the hardware setup, what this article is
about.
There are three (3) pieces of hardware to adjust and fine tune on most hydros.
These are:
- the strut
- the rudder
- the turn fin
To properly setup a hydroplane you HAVE TO have a FLAT table
or setup board to work on. This surface must be wide enough for the sponsons to
both sit flat on and must be long enough to span from the strut to the
sponsons.
The first thing to do is to set your boat on the table with the turn fin
hanging off the side but both sponsons and the strut laying flat on the
surface.
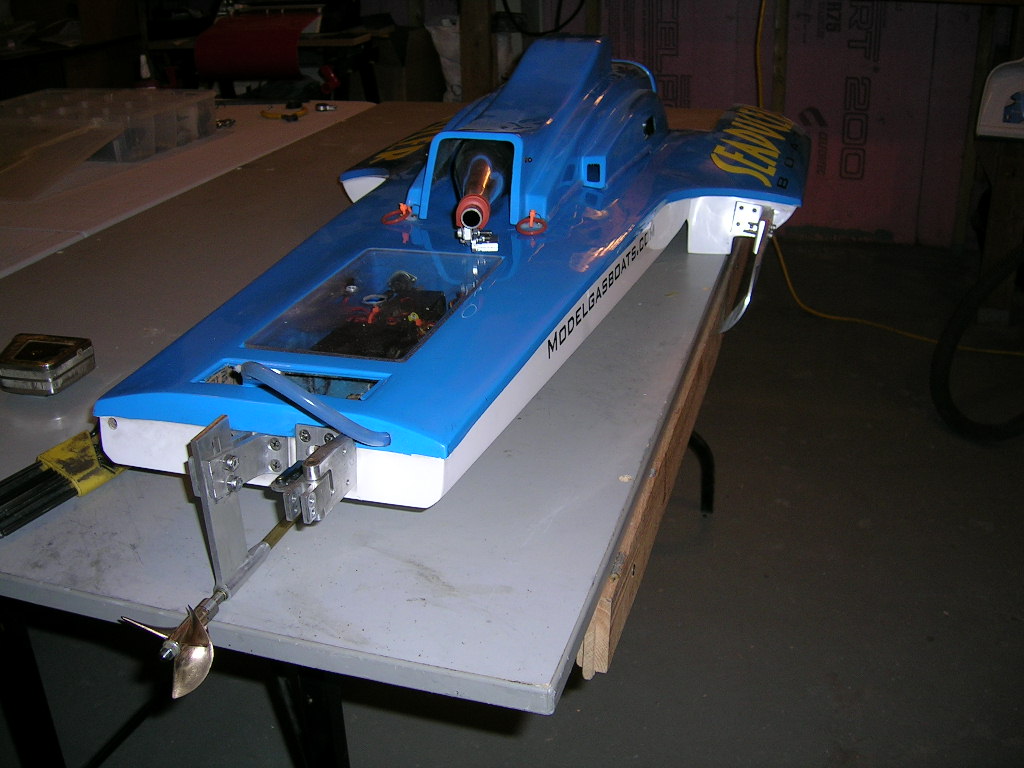
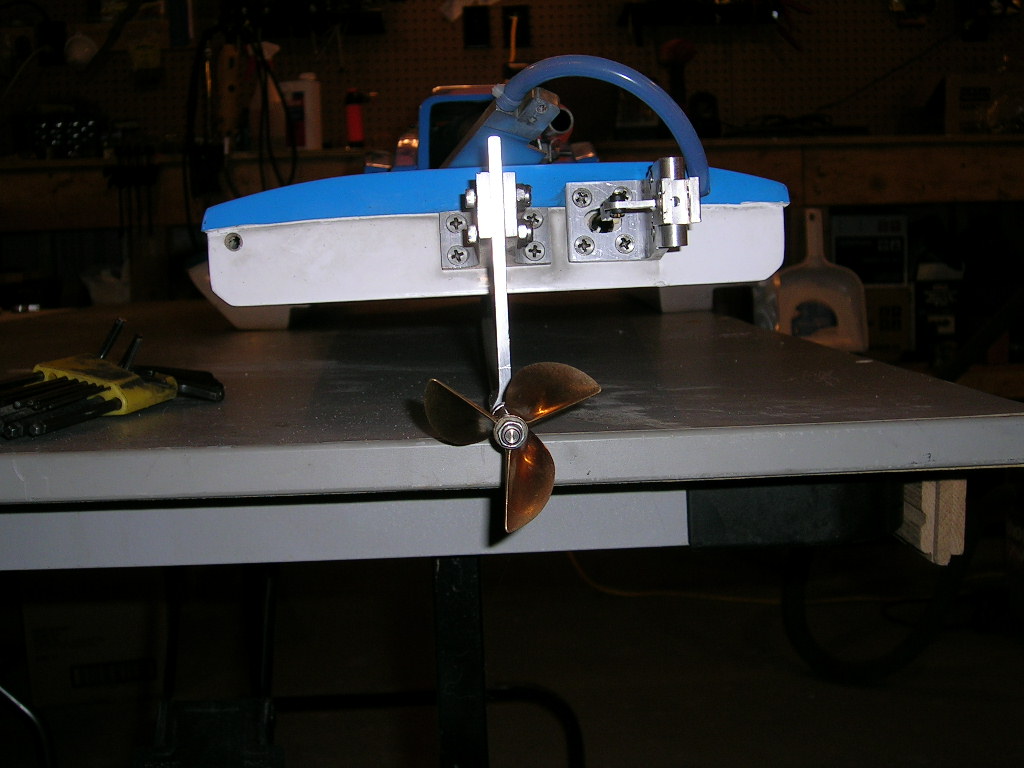
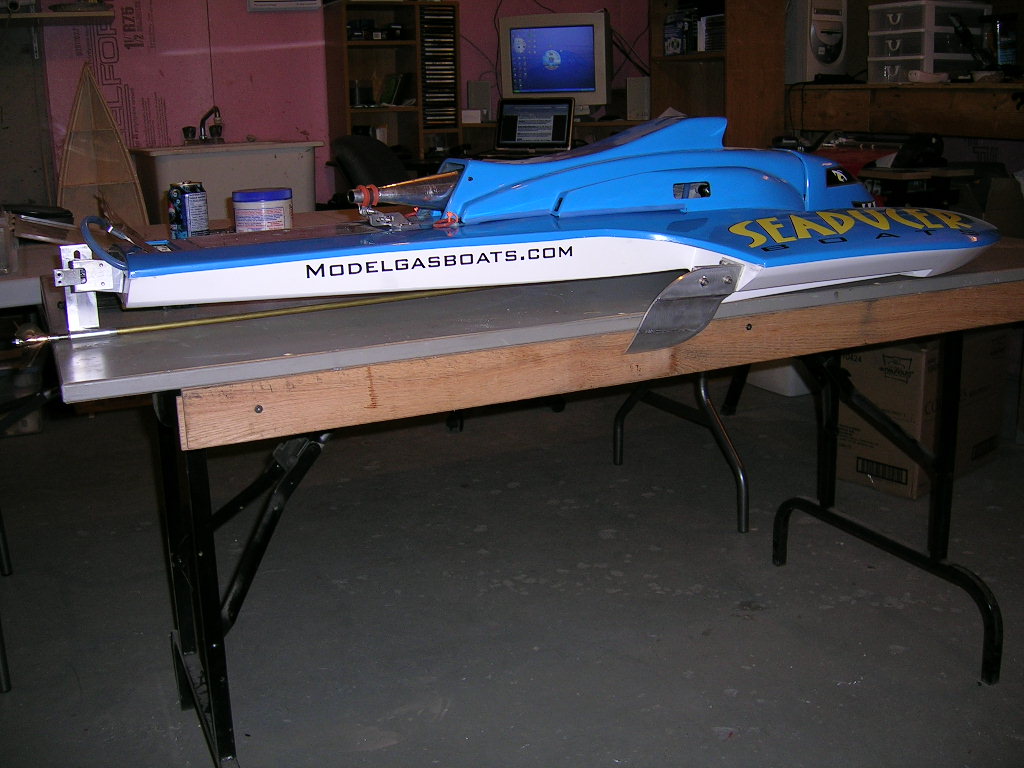
Adjusting the Strut:
To do this, it's usually easier (and better) to remove the rudder blade. If the
rudder extends past the back of the strut you can leave it on, otherwise remove
it so you can move the boat forward on the table and have the entire strut
bottom over the table surface. This is important when adjusting the strut
angle.
In most cases the manufacturer will recommend 0 angle on the strut. They should
also recommend a starting depth for the strut, usually measured from the bottom
from the hull at the transom to the center or bottom of the strut. To properly
set the strut, hold it flat against the table and raise or lower the hull to
the specified height. Lightly tighten the adjustment bolt(s) and double check
your height. Make sure the strut is still flat on the table. This is checked by
ensuring you do not see light under the strut when looking at it from the side,
parallel to the table. Fasten the adjustment bolts and triple check the strut.
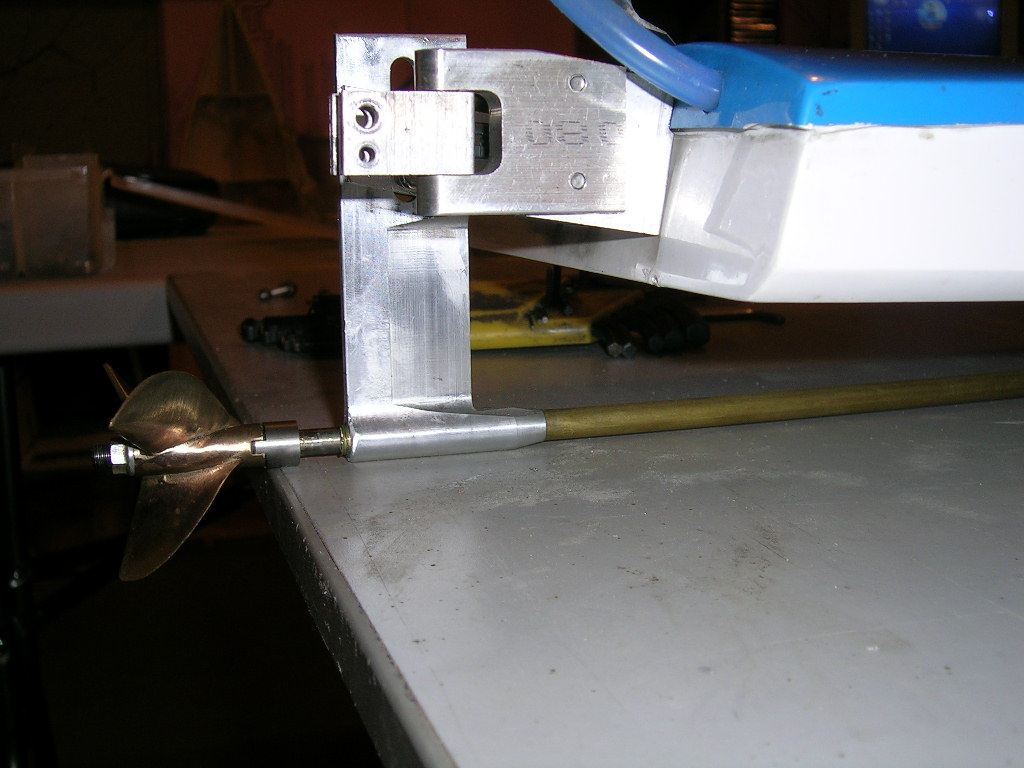
If the manufacturer recommends some positive or negative angle it is a little
trickier. You can use a see through protractor to make is easier, or better yet
use some shims. You can calculate the shims needed for your strut using
Pythagoreans Theorem.
Here are some examples:
For a strut that measures 1.75" from front to back (not including front
taper):
If you want 1 degree positive, you need a .030" shim under the back of the
strut with the front of the strut touching the table
If you want 2 degrees positive, you need a .060" shim.
For negative angle, do the opposite. Shim the front of the strut with the back
touching the table.
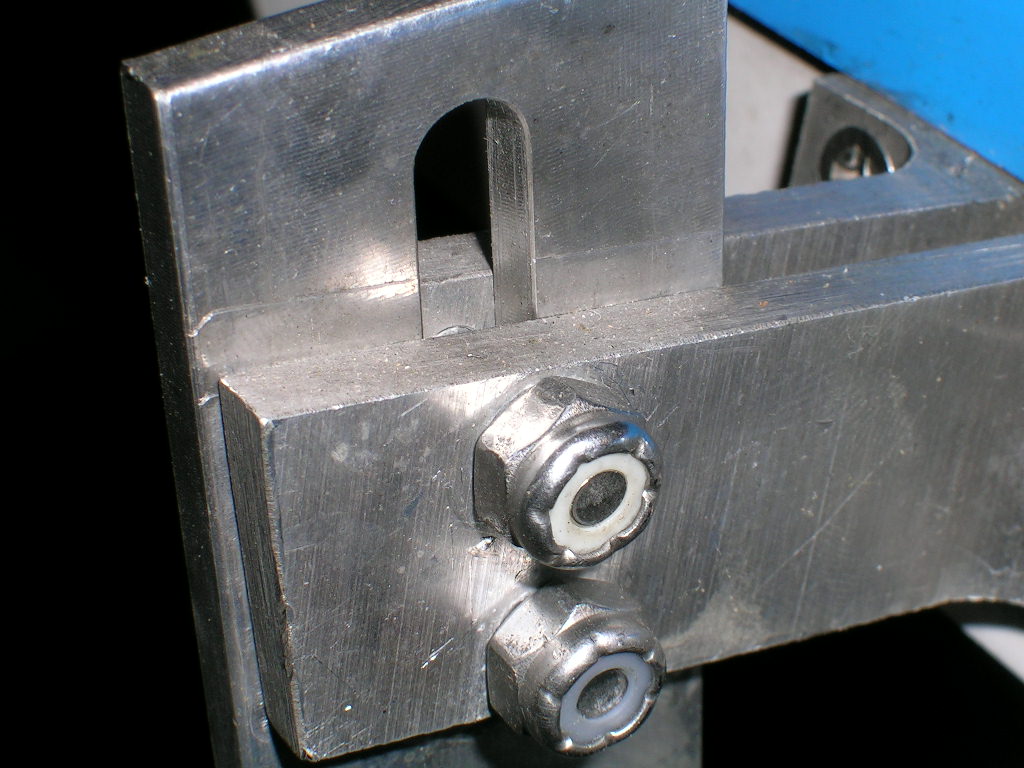
Setting the strut accurately is important as it will affect the ride attitude of the hull drastically. After you have set the strut properly, it is a good idea to scribe a line on the blade along the mounting brackets. This way if you must make adjustments later, you can always get back to your initial setting quickly. On some of my boats I have 2 or 3 scribe lines for quick adjustments according to water conditions. I make these marks after successful testing.
Setting the rudder:
Setting the rudder is pretty straight forward. Unless the manufacturer
specifies otherwise, you will usually want the rudder perpendicular with the
riding surface of the boat. In this case, this means perpendicular to the table
surface you just used to set the strut. For this reason it is VERY IMPORTANT to
set the strut first!
With the strut adjusted, install the rudder blade and check that it is
90degrees with the surface of the table. The boat must be sitting flat with the
strut and both sponsons on the table. If the manufacturer recommends some inner
or outer tilt, you can check and adjust with a protractor again using the table
as reference. Never rely on the transom to check the rudder angle. Some (if not
most) transoms are not at a perfect 90 degrees with the bottom of the hull. In addition, on
a hydro the transom angle isn't really important as the running attitude of the boat is dependent on the strut depth
adjustment.
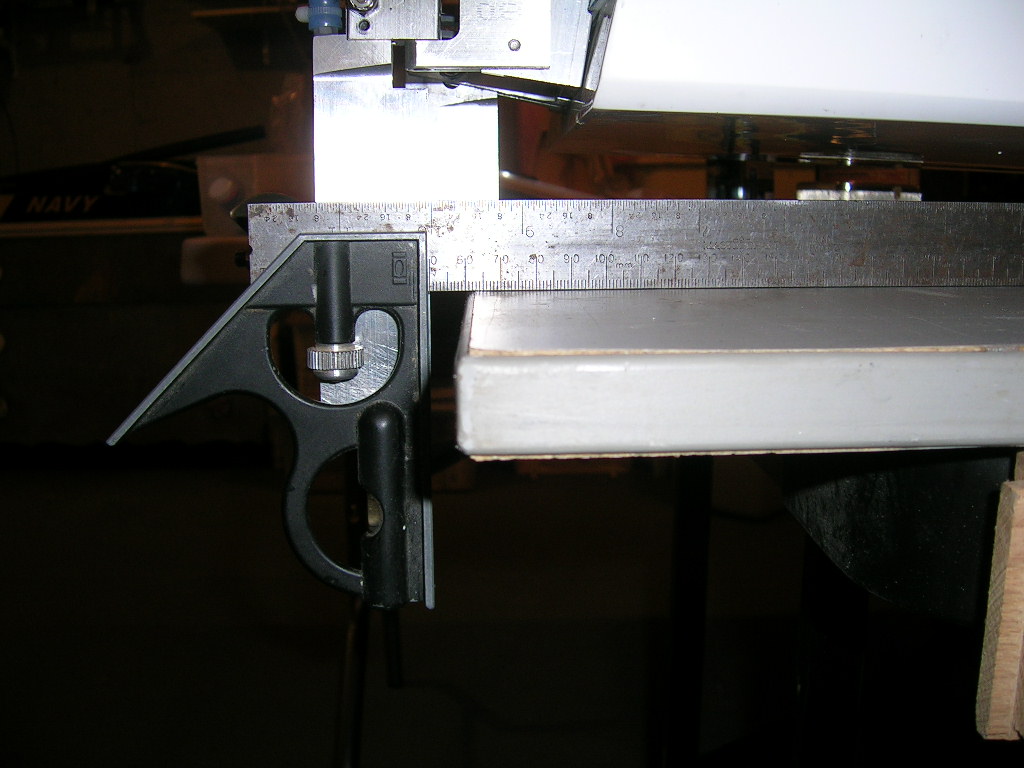
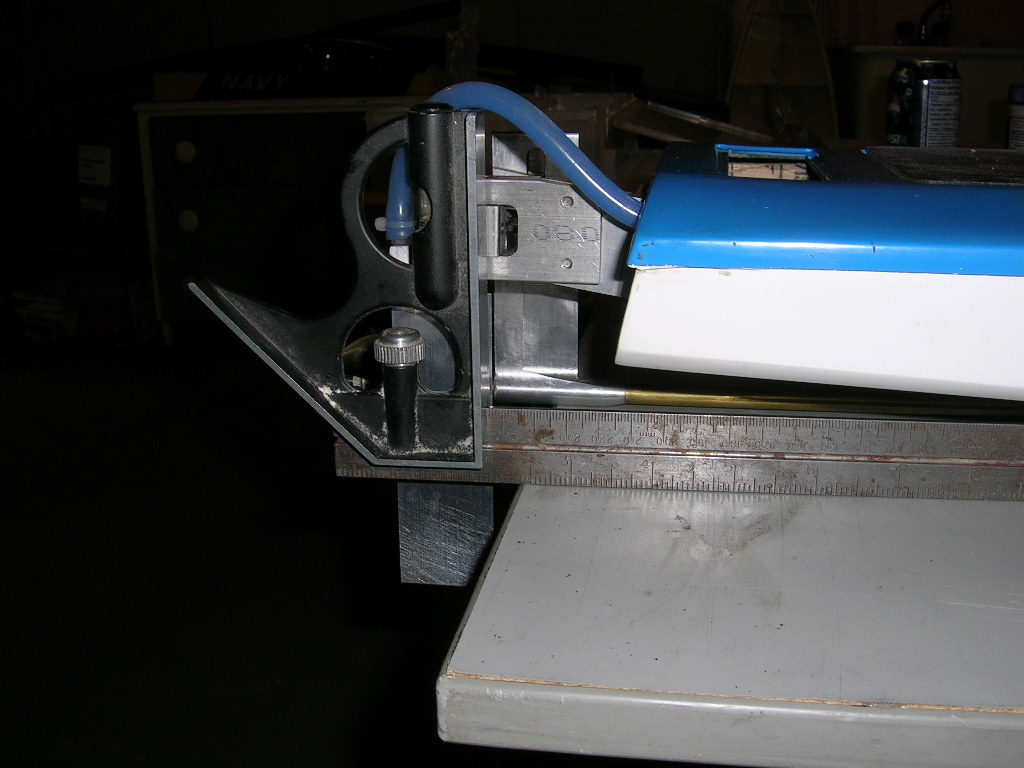
Although in most cases rudder tilt is not used on hydros, it is important to know the effects. Tilting the rudder forward (bottom of rudder towards the front of the boat) will have a tendency to pull down the tail end of the hydro in a turn. Consequently, tilting the rudder back (bottom away from the transom of the boat) will have a tendency to lift the tail end of the hydro in a turn.
Setting the turn fin:
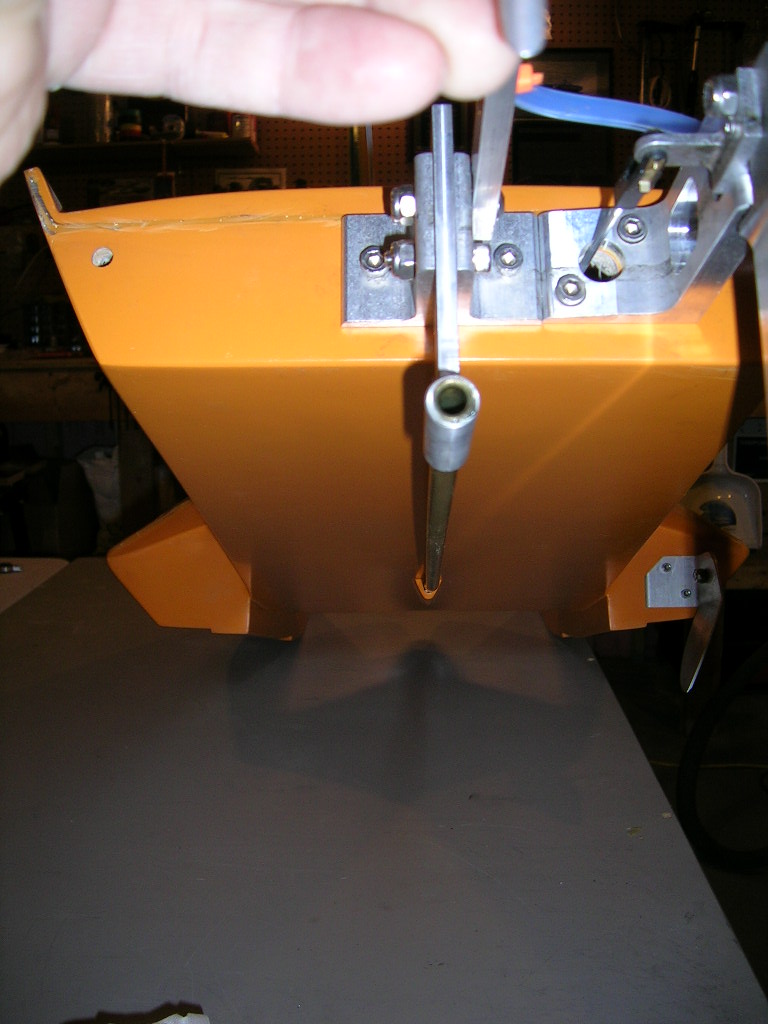
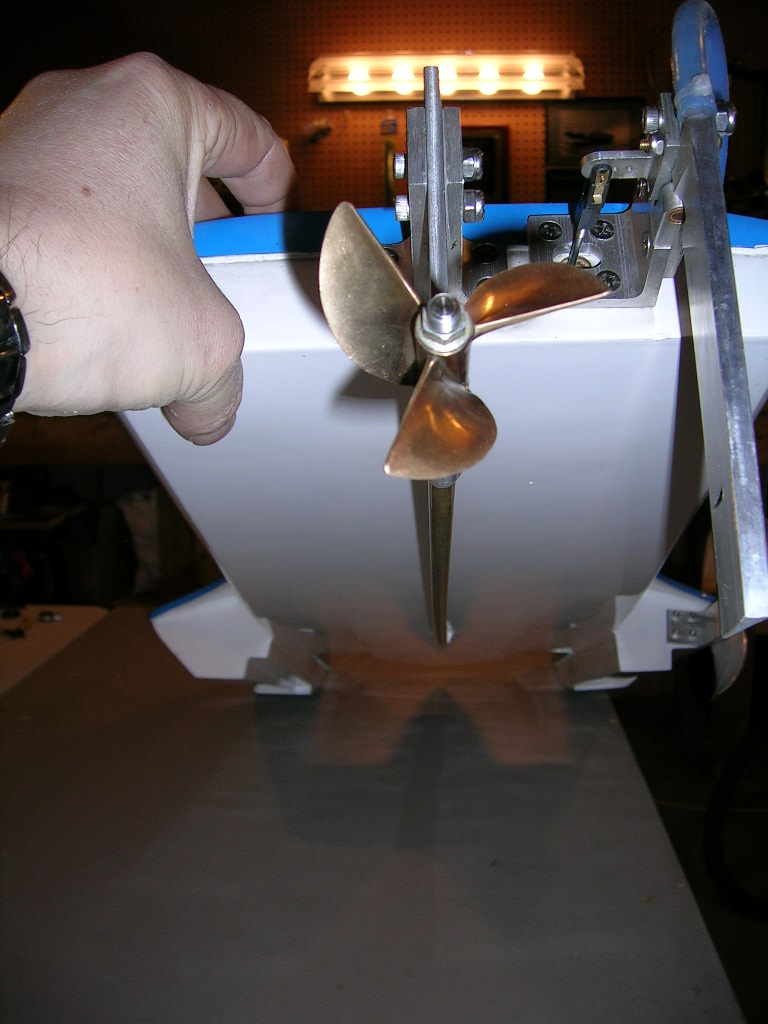
There are two different types of turn fins more commonly seen on hydros. One
has a straight bend and the other is a curved type. Both are pictured below. In
most cases the manufacturer will specify where to mount the turn fin and how to
adjust it. Some will even pre-mount the bracket for you. Again this varies from
hull to hull. What I want to discuss here is more how to tune the fin for
desired performance using tilt.
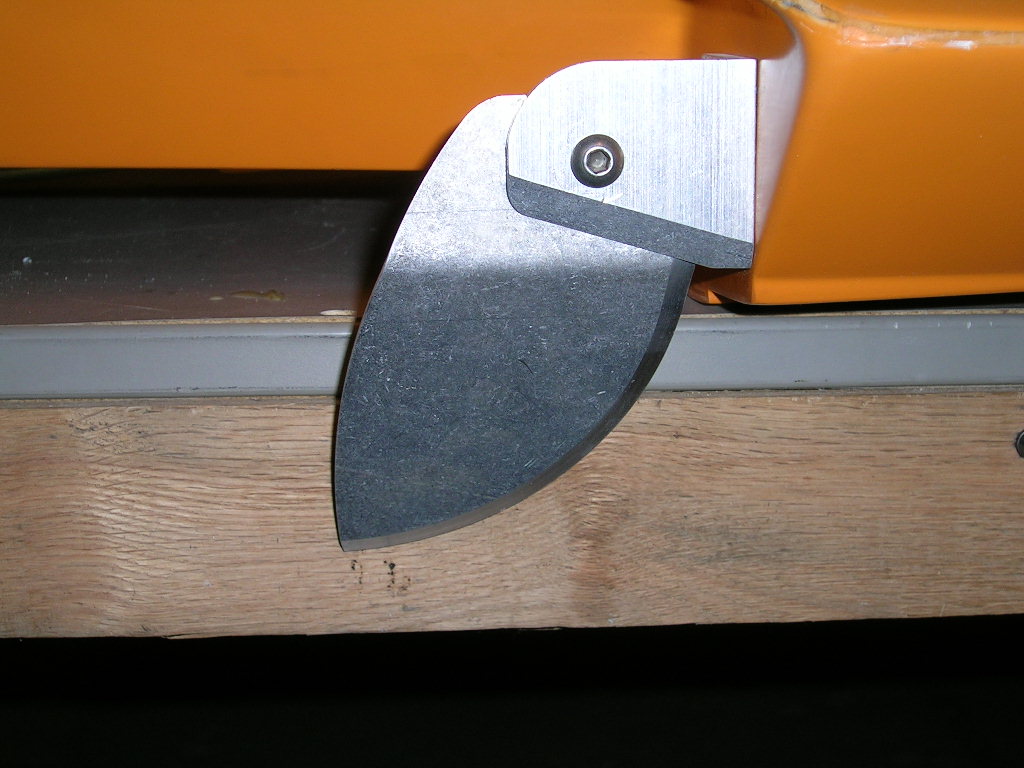
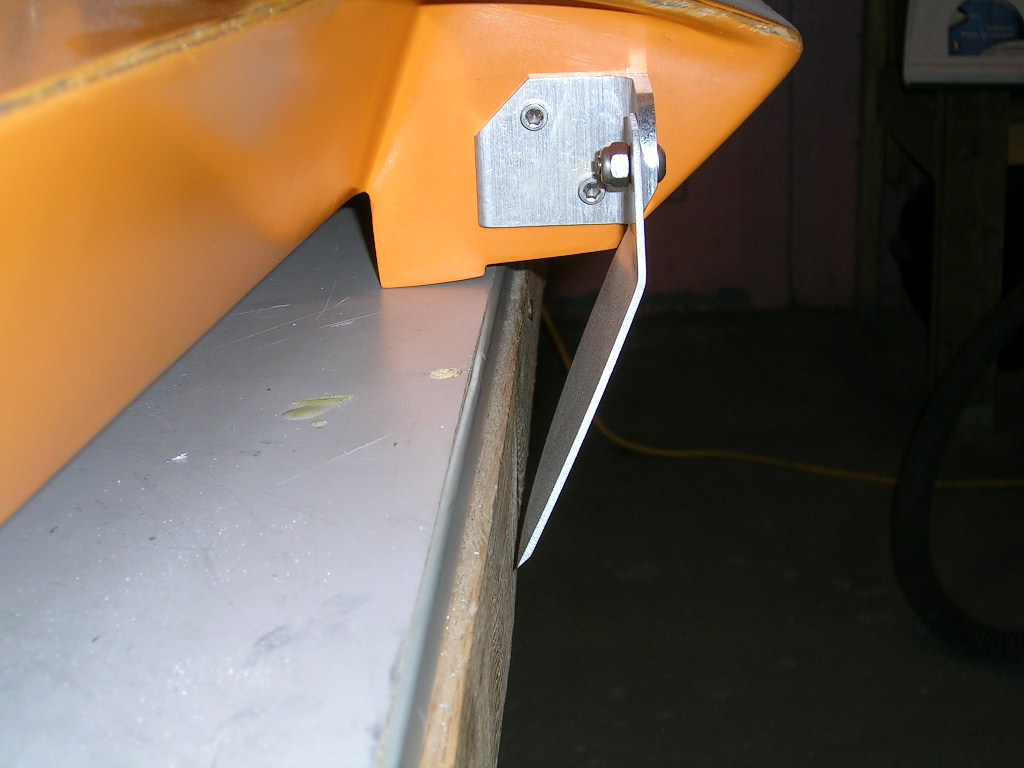
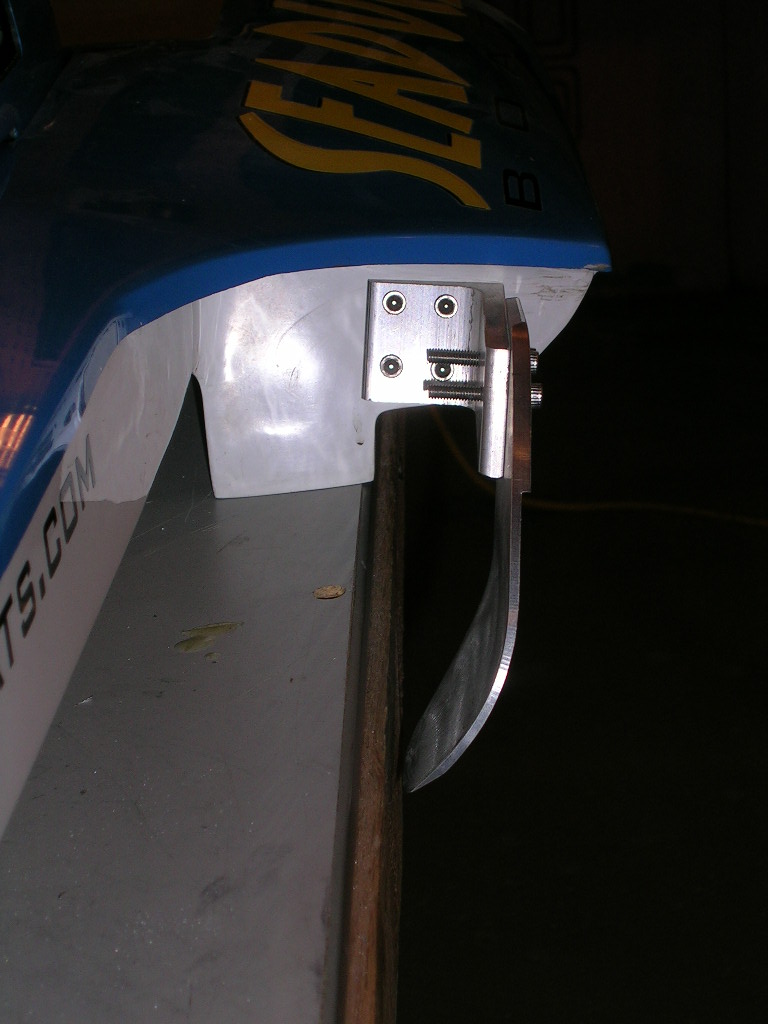
Tilting the fin forward (bottom of fin towards the front of the boat) will have
a tendency to make the boat track to the left and exert some lifting force on
the right (starboard) sponson.
Tilting the fin back (bottom of fin towards the back of the boat) will have a
tendency to make the boat track to the right and pull down on the right
(starboard) sponson.
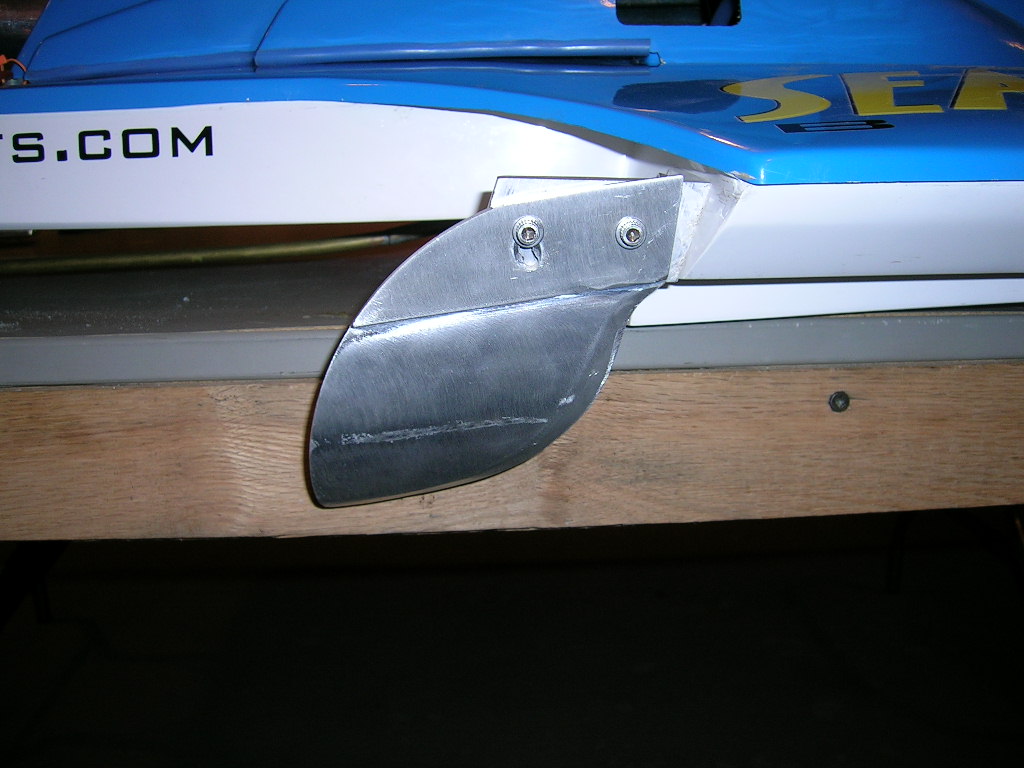
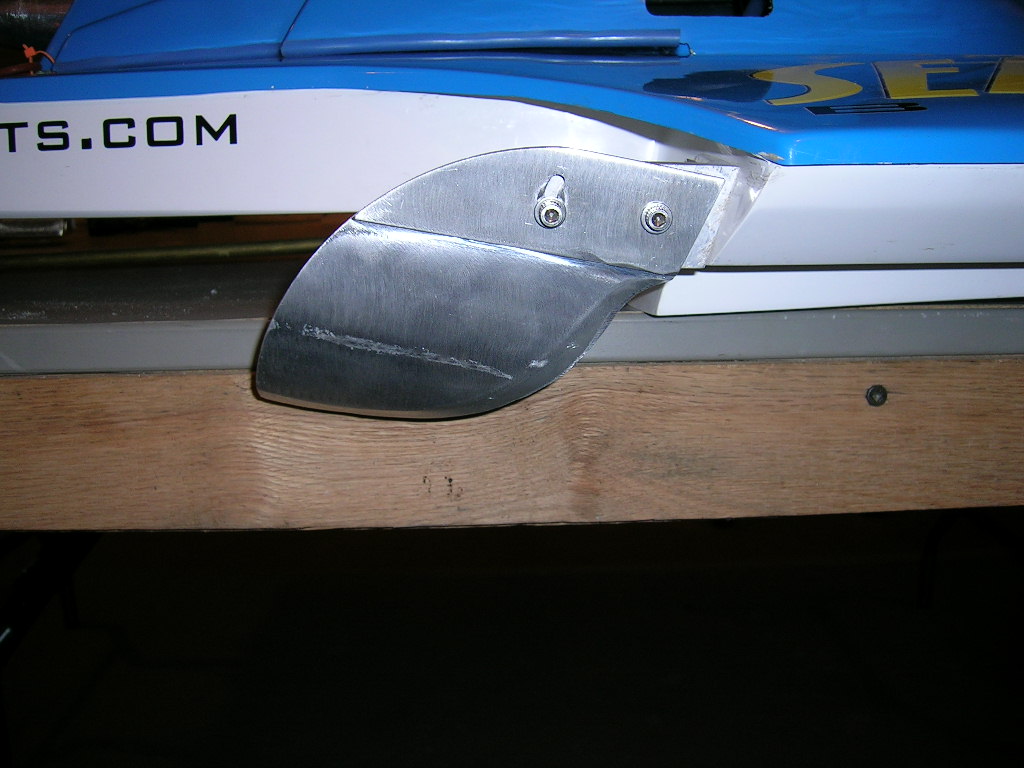
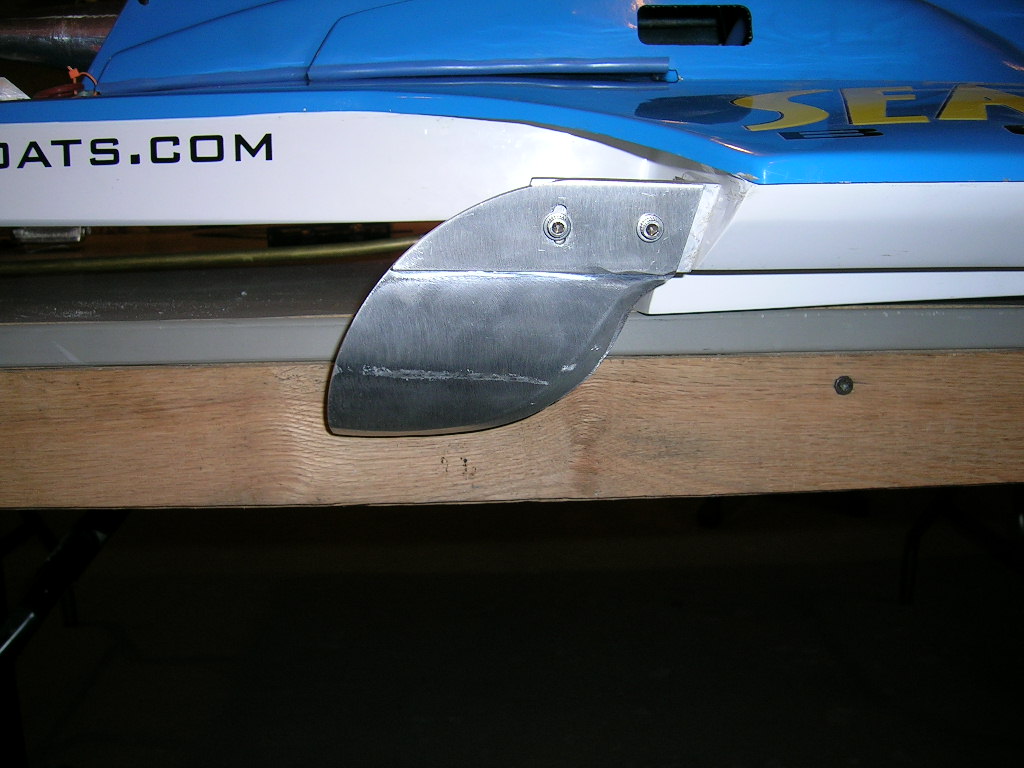
I have noticed that with straight bend fins the tilt seems to affect tracking
mostly. With the curved fins tracking doesn't seem to be affected as much but
tilting the fin really affects how tight the front end gets. Again this varies
but knowing the effects tilt can have on a turn fin can really help you fine
tune your boat's handling.
One last thing:
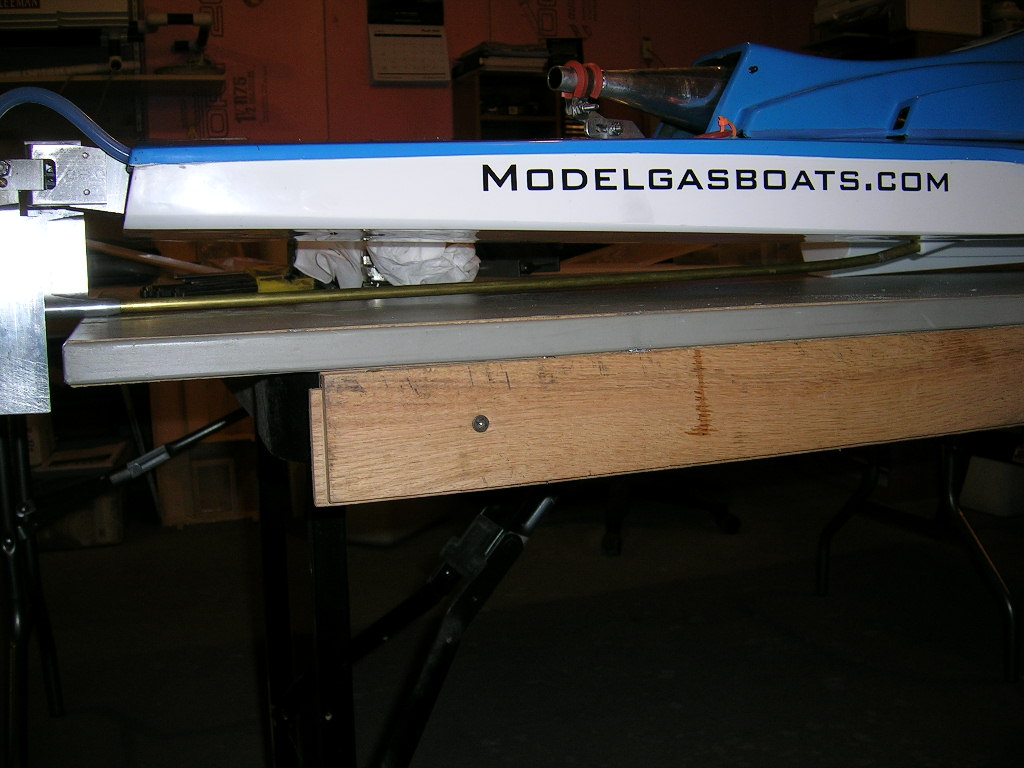
This isn't an adjustment, but more something that you should pay special attention to when building your hydro. What I am talking about is the stuffing tube. The stuffing tube on a hydro is very long. In theory the hydro rides on the front sponsons and the propeller (assuming there are no rear sponsons as seen on some outriggers and other hydros) but the fact is that in reality the stuffing tube is quite frequently in the water. For this reason you should keep it as straight as possible from the point it exits the hull to the point where it reaches the strut. You can easily imagine the effects it can have on performance if it's crooked and in the water when the hull is running 60mph plus!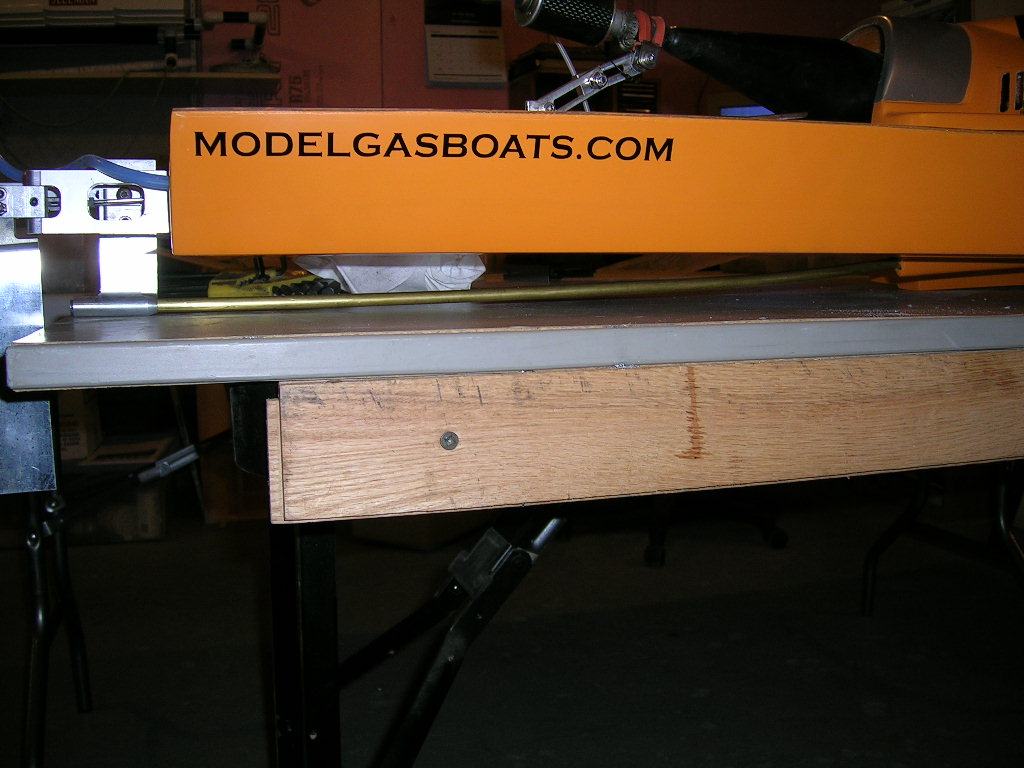
I hope this will help some of you fine tune and get the best possible
performance out of your hydros!
Happy Boating!


