Product Review Article...by Scott Schneider
Review of the Blazer Marine "LAUTERBACH" Gas engine powered Thunder boat ...
Note: Brian Blazer who is the designer of the LAUTERBACH RC Thunderboat has painstakingly tried to keep the design and proportions as close to the real Lauterbach racing hulls of the 1950's, and has only adjusted small design items allowing the hull to run as an RC model at much greater than scale equivalent speeds.
This hull is only available in kit form, requiring the assembly of nearly 80 pieces of precision laser-cut aircraft grade plywood and other woods. The fit and finish of the parts is just outstanding. Everything fits together like a very high quality jigsaw puzzle, though a lot easier because you get the instructions!
Assembly is best done on a very flat surface so that the belly framing can set flat on the building base with the sponsons overhanging the sides. I chose to get a piece of 1/4" glass cut at my local glass shop for this purpose. (Epoxy spills clean off easy with a razor blade taking off the cured drips). Old Formica counter top scraps work well also.
The build starts out by matching up all the parts with the descriptive pictures within the instructions. Next the bulkheads get placed in order. The shears and stringers all drop into place with a perfect fit and alignment. (Use a small square to make sure the framing gets tacked into place vertically and horizontally square). Slowly the hull takes shape and you get a reality check on the size of this hull and why they call them THUNDER BOATS!
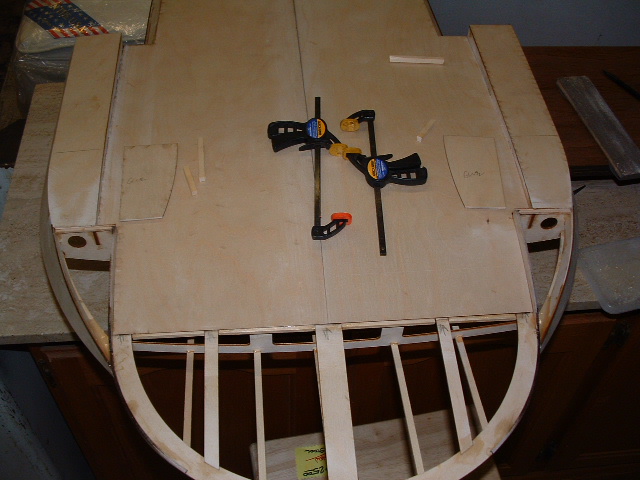
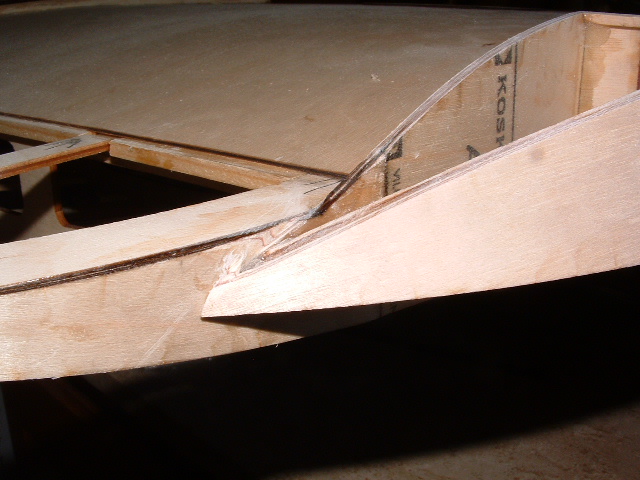

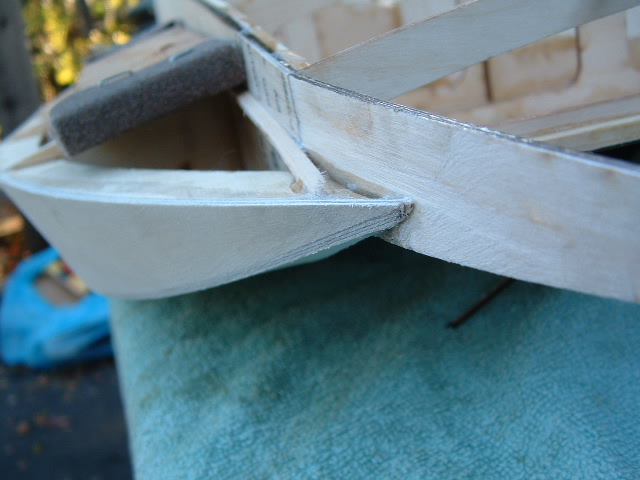
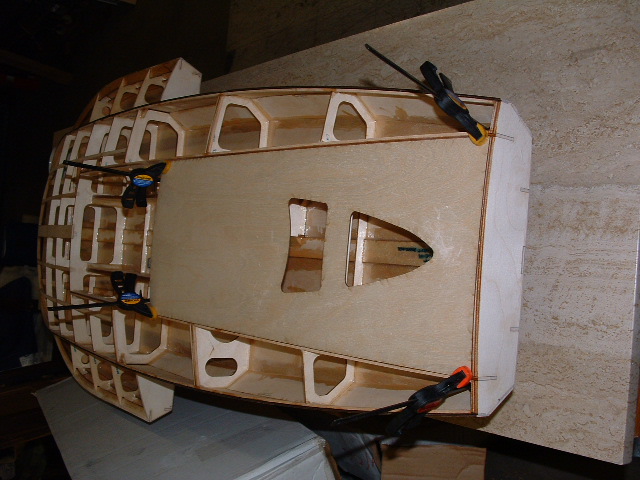
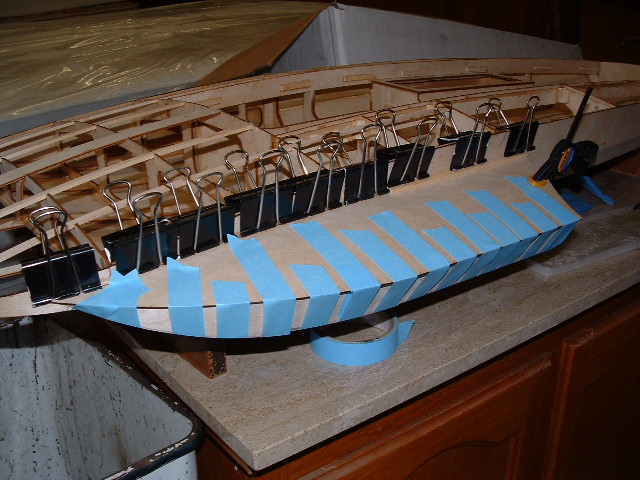
Throughout the building process you need to use thick C/A glue to just "dot" tack the parts in place. You do not want to make any structural bonds with C/A...only tack! The strength of this hull will be ensured by using slow-cure epoxy later in the finishing process.
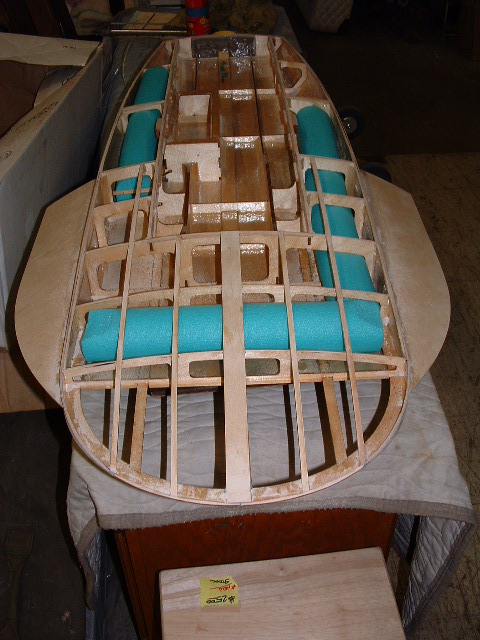

The Lauterbach build took me approximately 3 1/2 months to do, investing time in the evenings, lunch breaks at work and many weekends. *While we want a boat to run sooner than later. The building of wood boats from parts and pieces is as much about modeling and the pleasure it gives the builder during the build and once finished. There is no satisfaction like building your boats from sticks and sheeting into a finished product. Truly a very satisfying project!
During this build I did make small additions in terms of reinforcements of corners and such using triangle stock throughout areas I felt could use the extra beefing up. The entire hull inside and out was sealed with finish cure epoxy and sanded smooth ready for primer and paint.
So now we arrive at the point where a prefab glass boat would be...an empty shell needing to be set up with engine, hardware, graphics, etc.

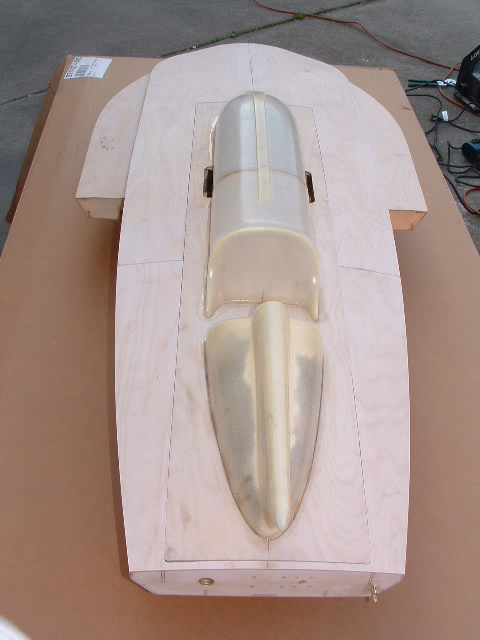
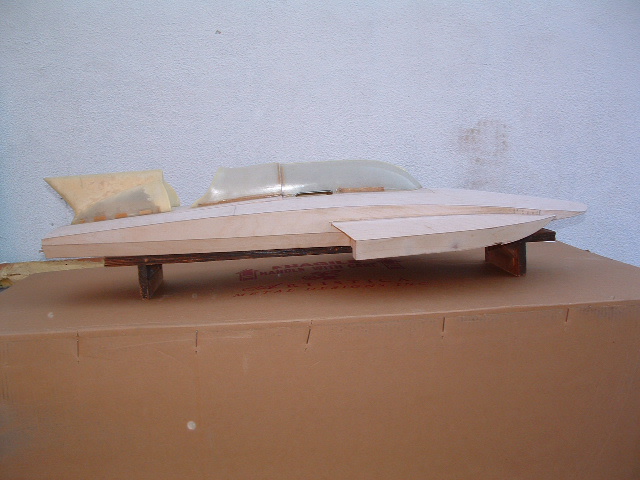
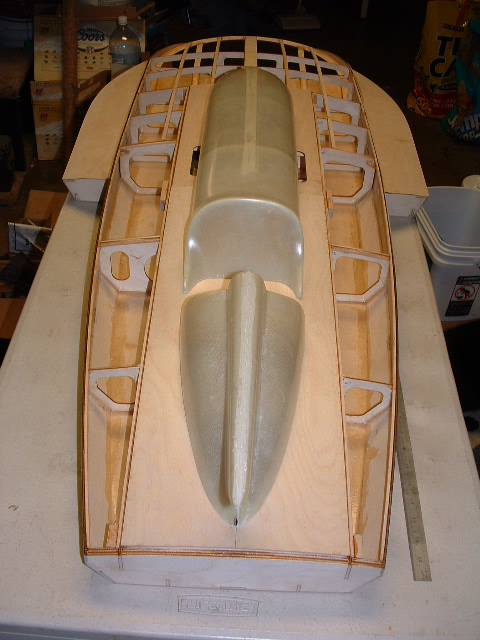
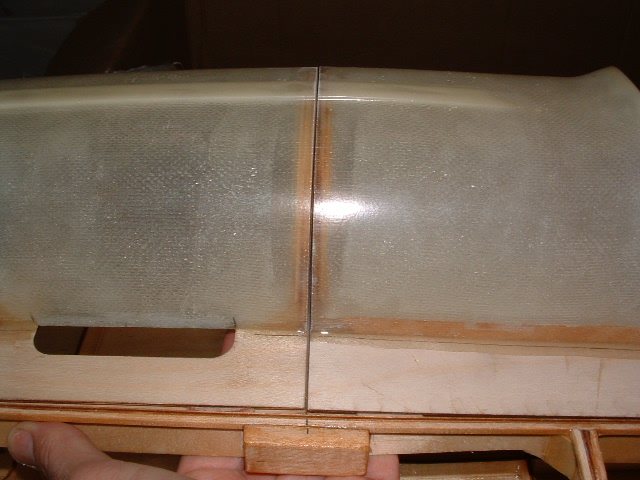
Note: Cowl placement on this build was moved a bit rearward on the front section.
Brian Blazer actually had designed the cowl to extend forward of the front deck / cowl junction and use magnets for cowl retention. (this build was, ironicly enough, before the instructions were made)
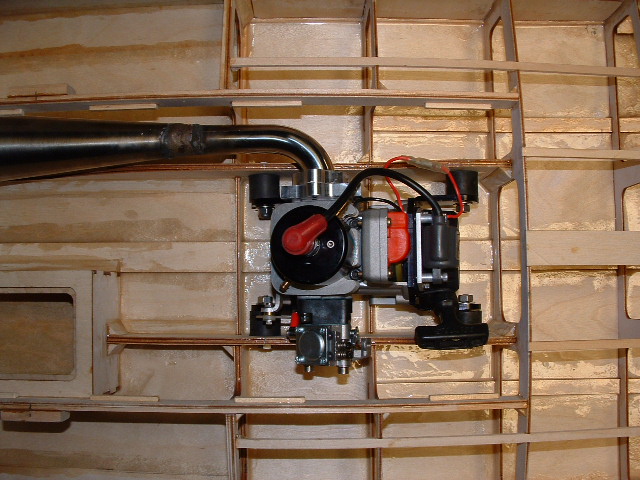
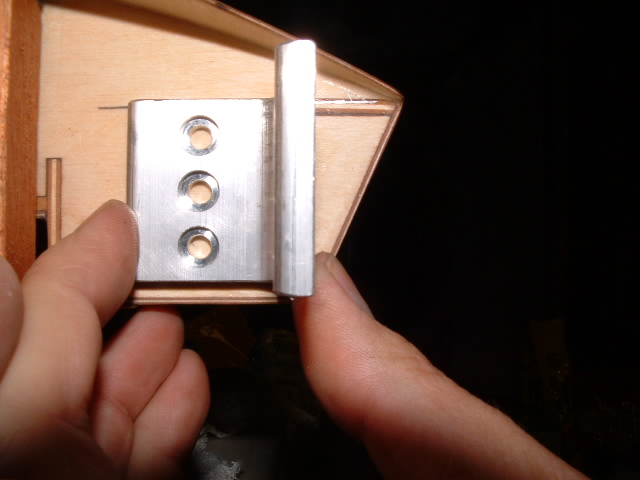
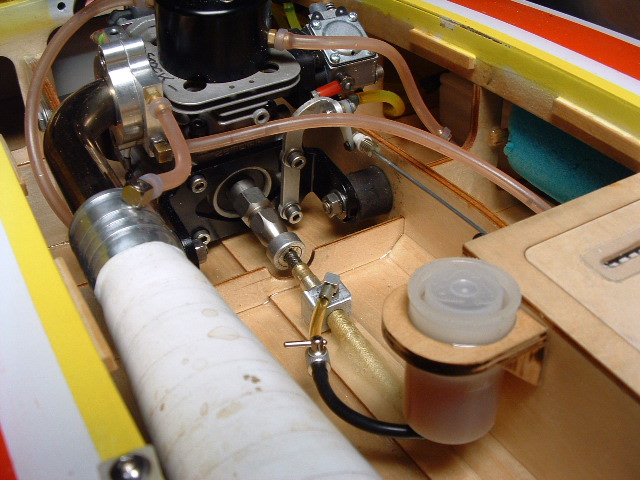
Speed master hardware was chosen for the transom. CC Racing engine mounts were used on a stock Zenoah G260 PUM engine. The pipe used is a Jeroen Tune X-Quite pipe ( from VooDoo Props). 1/4 scale and standard Hitec servos on billet mounts in the radio box. (Brian Blazer does recomend the use of a steel tuned pipe, and early testing has shown for a stock engine it likely is going to be the better choice). Testing only makes it faster...a good thing!
* Rudder placement of left or right side is a builder choice, as is the strut length. (Just keep in mind, if you race under NAMBA rules, nothing can extend beyond the transon further than 5 1/4")
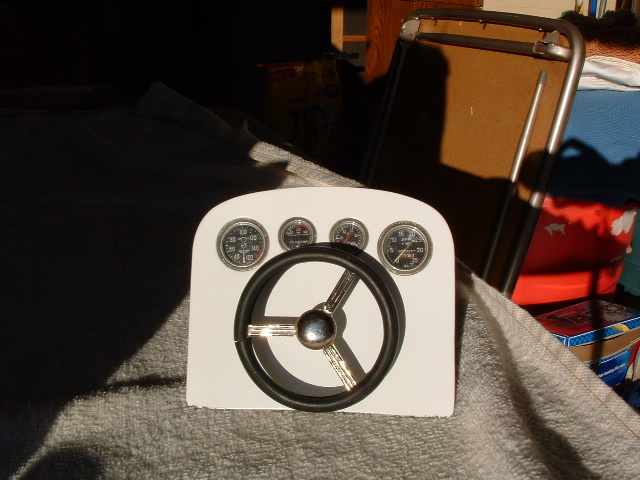


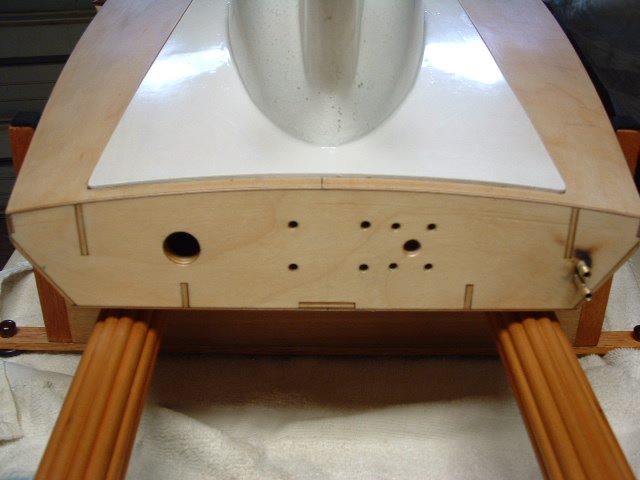
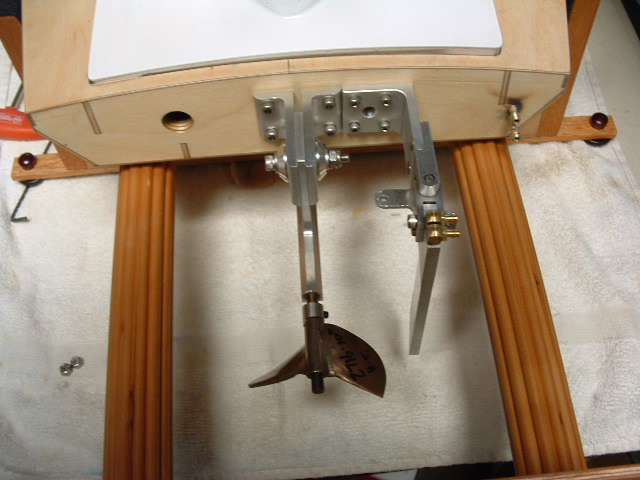

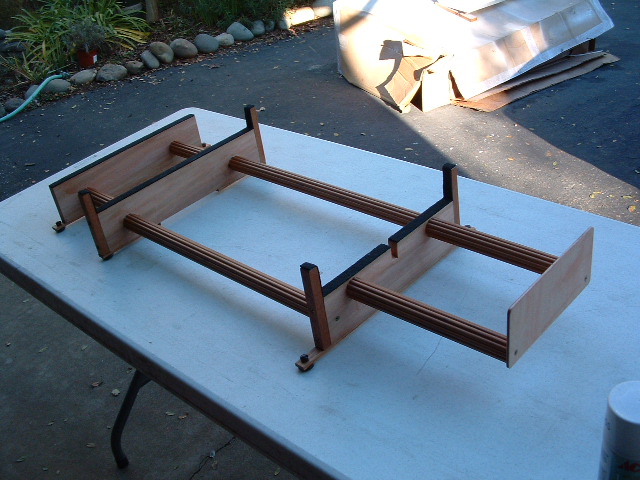
Part of the building process on ANY RC model boat is the "Boat Stand" ... This one built from fluted curtain rod and ash boards. Simple yet elegant.
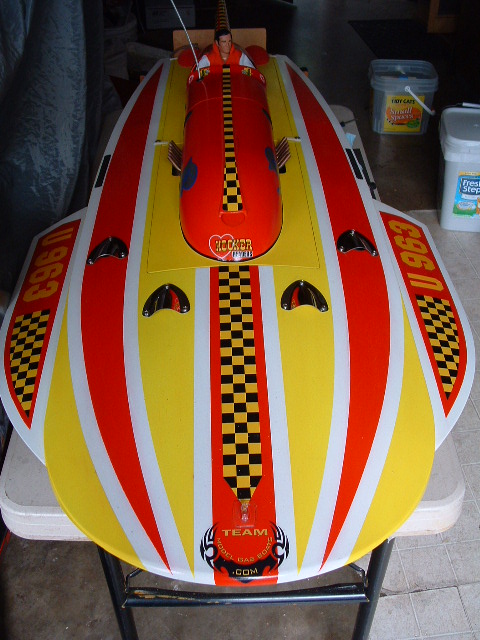
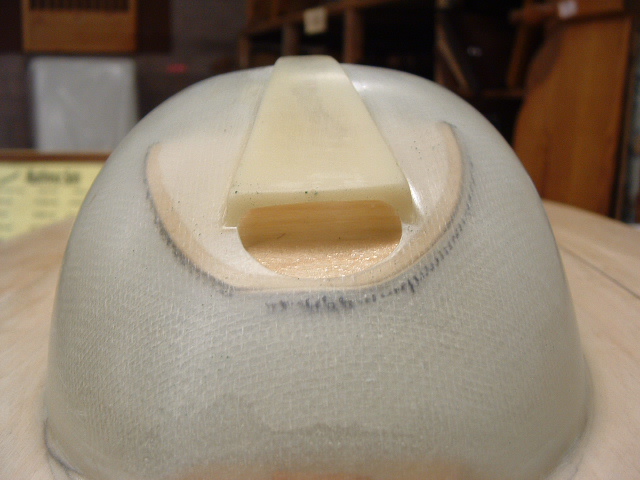
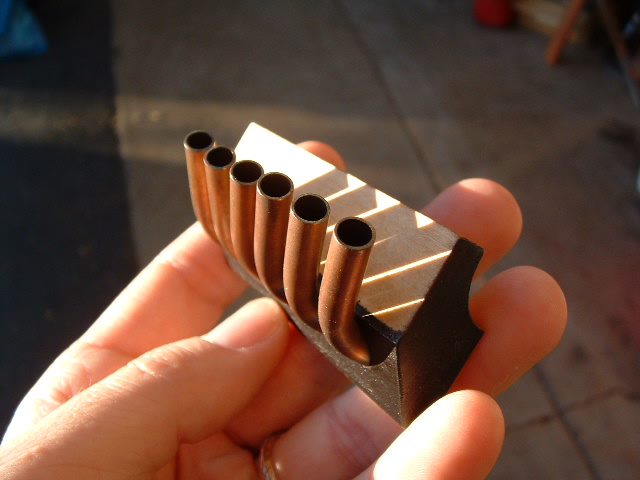
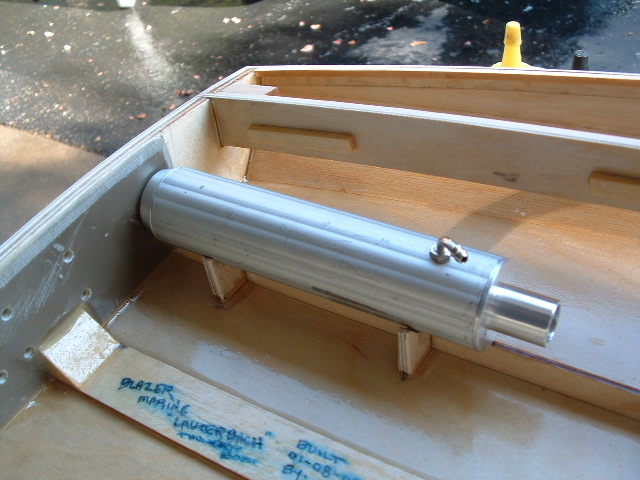
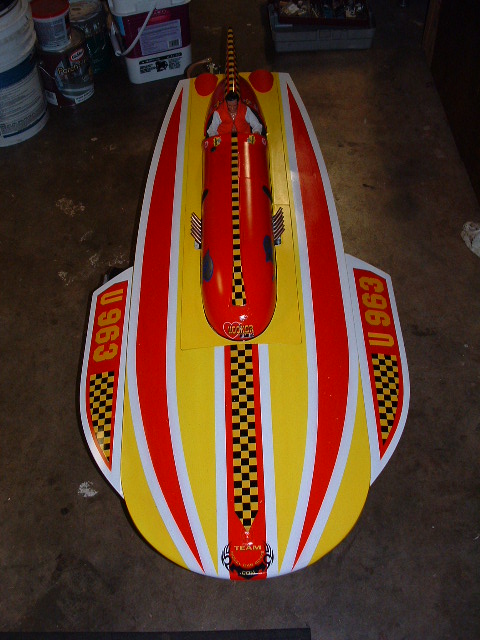
This build also offers some creative building challenges. One being the looks of an actual Rolls Royce Merlin aircraft engine under the hood. That was done using 12 thin-wall stainless steel tubing pieces glued into wood blocks that resemble heads. They were then simply epoxied to the cowl. Another was an exhaust outlet. This boat had a custom secondary muffler built that not only further reduced noise, but was also the exhaust outlet through the transom.
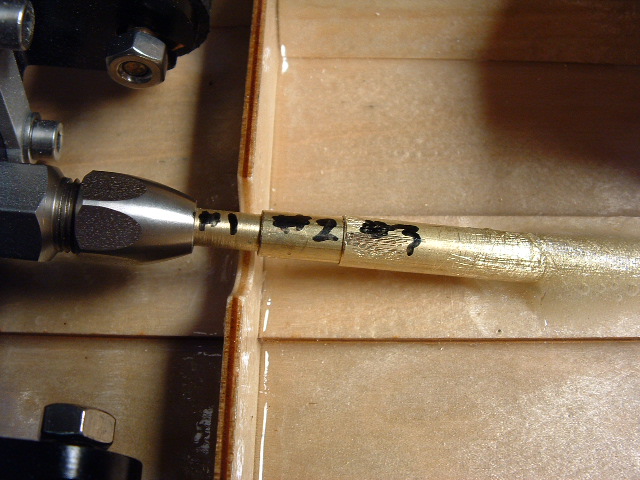
The last little trick added was an automatic cable lubrication system. It was built from a 35mm film can with a thin-wall nitro pipe fitting out the bottom, connected to an aluminum block then tightly slid onto the stuffing tube having a single .050" hole drilled for oil flow regulation. An aircraft fuel on/off valve takes care of stopping the flow of chain saw bar & chain lubricant used for the task.

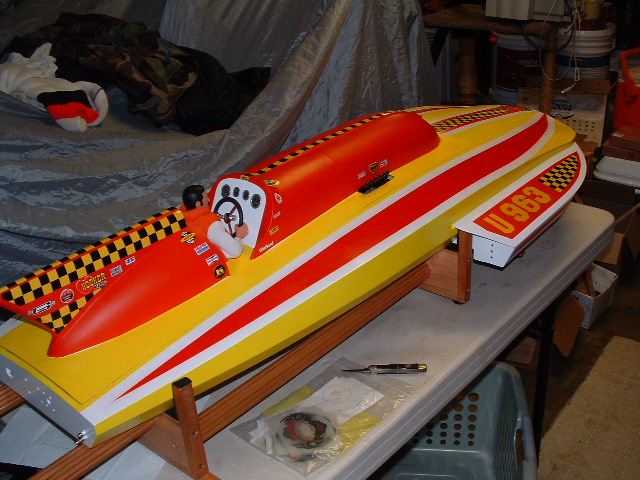
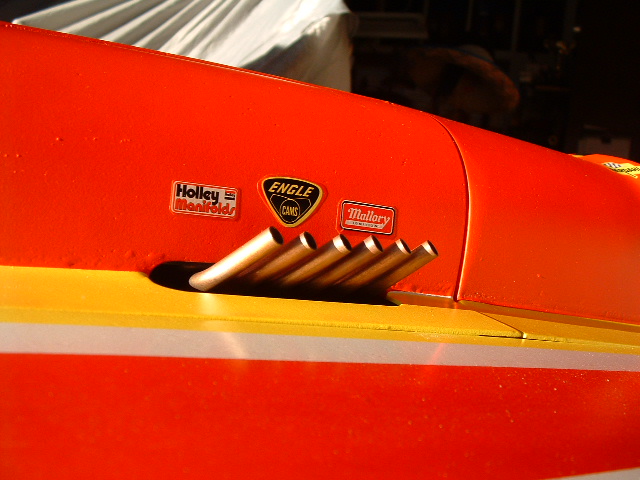



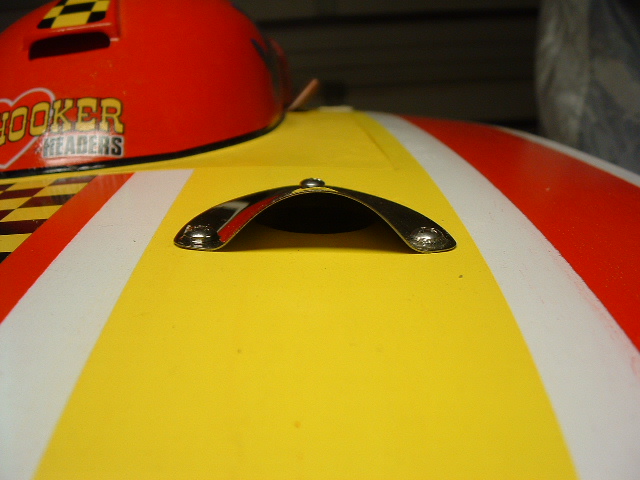
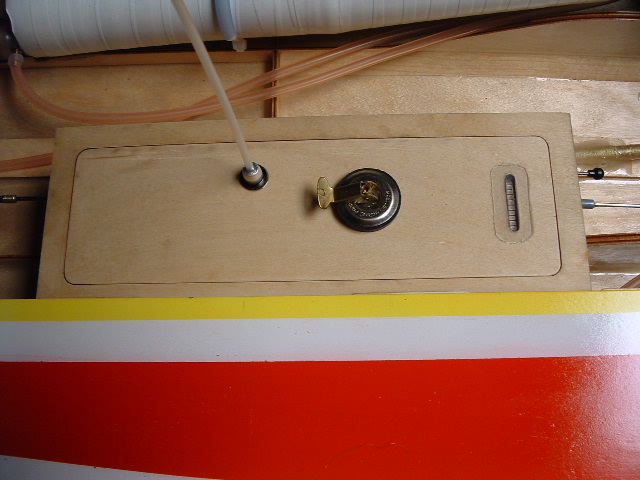
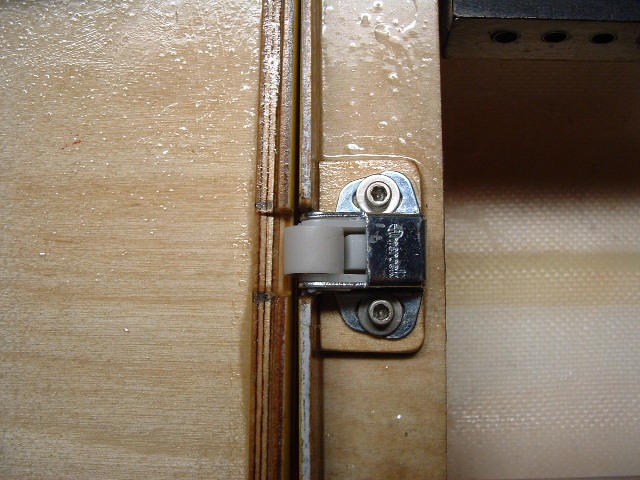
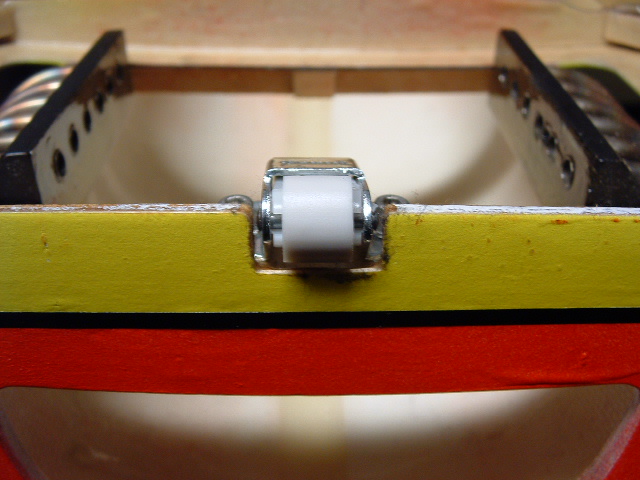
I choose to again think simplicity and utilized a simple cabinet roller latch to hold down the forward engine cowling. Once you index the two forward pins the cowl simply drops down and snaps firmly into a closed position.
.JPG)
.JPG)
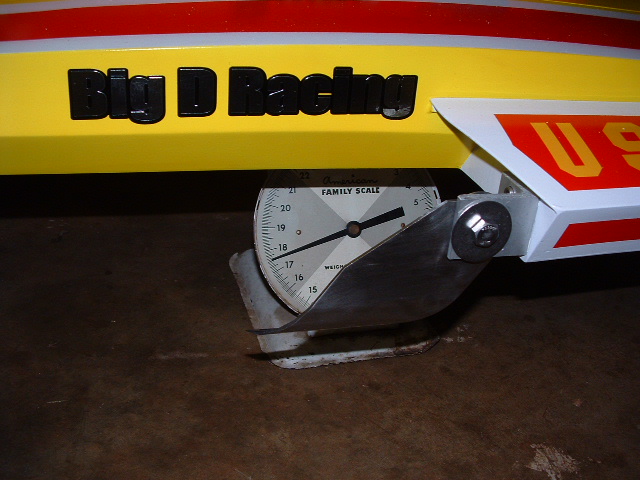
The Blazer Lauterbach's first trip to the pond was quite a pleasure. The first prop on the boat had it leaving the beach effortlessly. After a few shake down laps of left and right turning we were ready to open it up and get a feel for the handling.
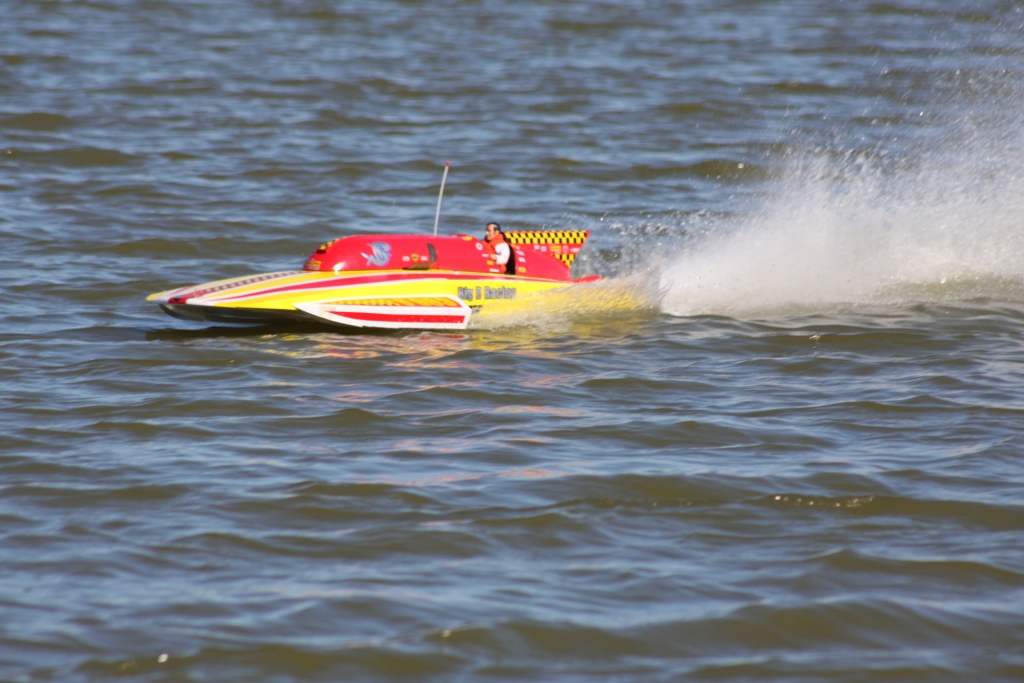
WOW! The handling is superb with full control turning left or right and no tripping or odd handling noted. The initial strut setting was a tad deep on those first runs so a setting a tad less seemed to be ideal. At that setting the bow came up and sponsons just floated on the water's ripples or waves.
Initial tests resulted in speeds from the upper 40's to low 50's with most of the easy launching props, and pushing high 50's with some of the more aggressive props. At one point we had a good 20+ mph wind blowing causing rolling white caps on the lake. Since the wind was blowing towards the shore I decided I would run the Lauterbach in the BIG water just for giggles. To all our surprise it went through this water without issues and was able to run wide open throttle in all directions! Super stable the whole time...just incredible!
** Update ... As of September 18th 2011, Now a NAMBA 6 lap National Record Holder !!
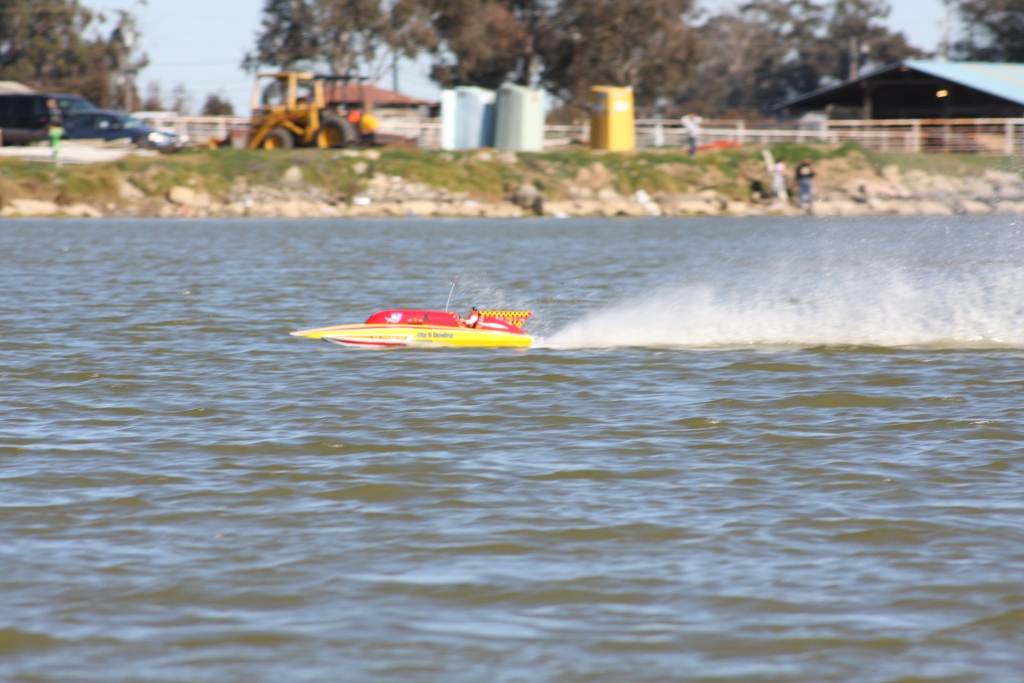

Here is a short video of the Lauterbach in a race.
Contact Information:



.JPG)
.JPG)
