Product Review Article ...
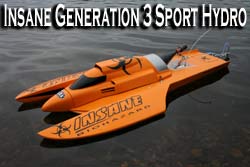
Our review of the latest Sport Hydro from Insane Boats...the Generation 3!
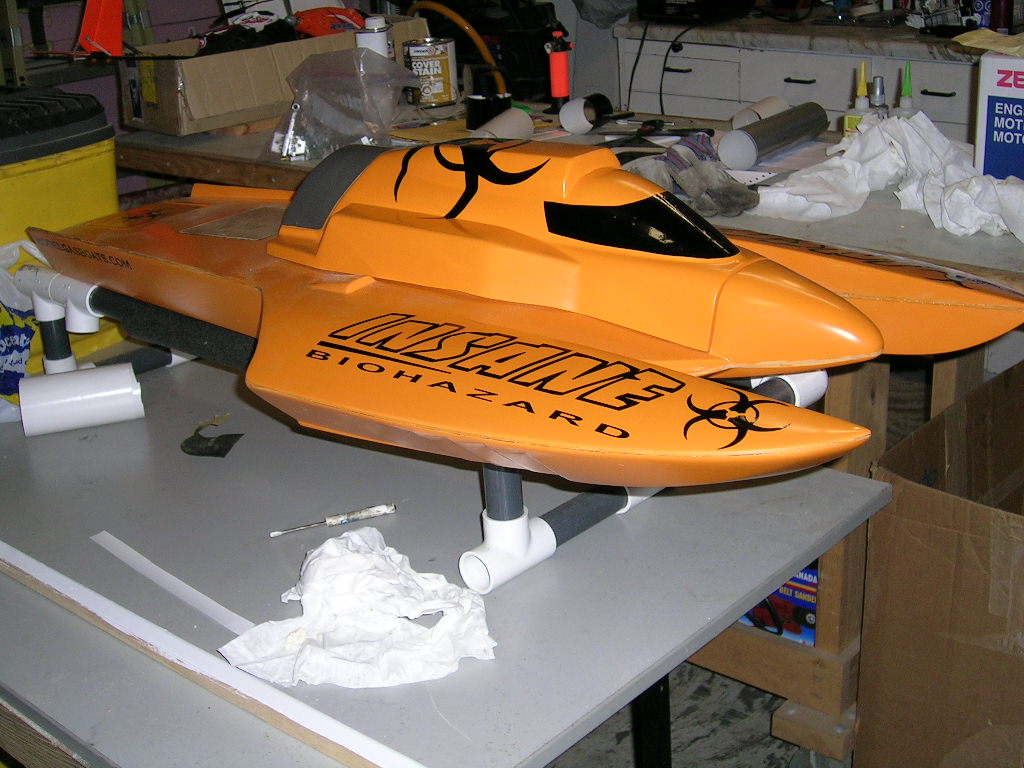
The Generation 3 is Insane Boats' newest all out racing Sport Hydro hull. It is a totally redesigned hull from the ground up. Its predecessor, the Generation 2 , helped put many racers in the winners' circle...this new design is even better! It features a narrower tail section and totally new sponson surfaces and tunnel. The result is an even faster design with better rough water handling while also being less affected by head winds.
The hull is made of polyester resin and fiberglass. It is a "clamshell" design which means that the top deck does not overlap the bottom half of the hull as with a "shoebox" joining method. The way the seam is designed on this hull allows for a wide contact area between the two halves pretty much all along the hull's length, which makes is a very strong joint. Marine grade plywood rails and stringers also add to the hull's solidity. The lay-up is thick and strong, as is expected from Insane Boats.
Assembly
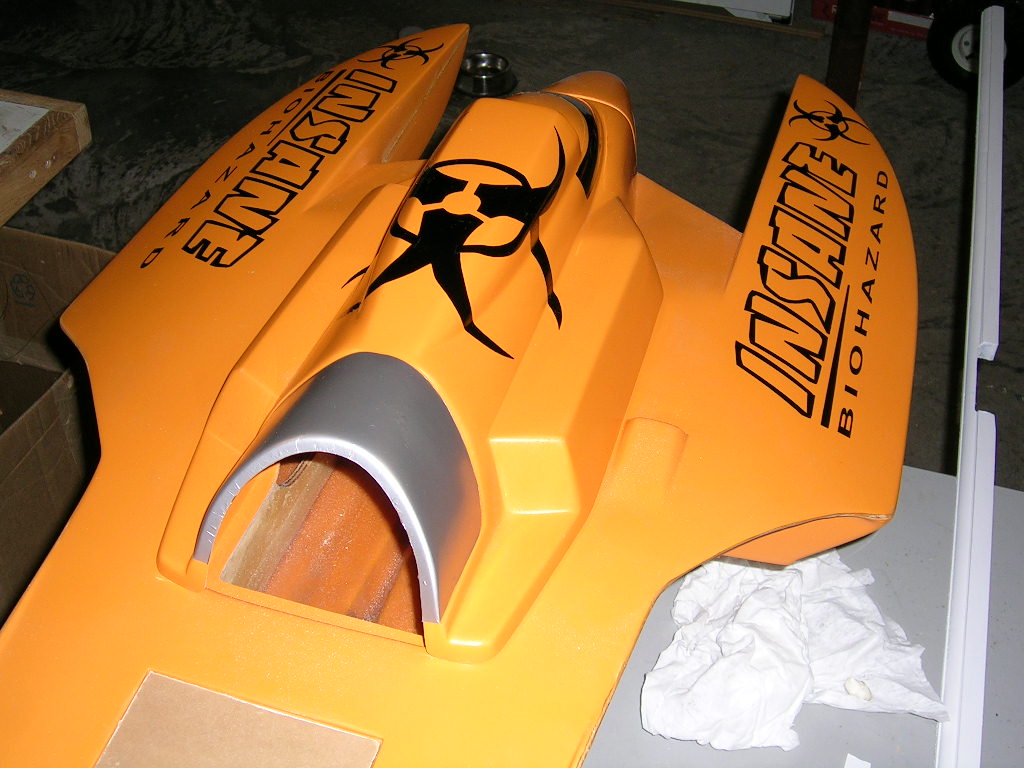
The first thing I did with the hull was apply graphics and do all the cut-outs in the hull and cowl for the tuned pipe and ventilation. This is a little bit reverse of what I would normally do, but since there was no paint involved it really didn't make any difference if I did it at first or in the end. When you plan on painting a hull, you would typically do the complete setup including all cut-outs, then take it all apart and paint the hull before final re-assembly. Everything on this boat was done with vinyl, including the windshield and turbine exit at the back of the cowl. One neat little feature I liked was the addition of a pre-formed air intake on the carburetor side of the hull. It is positioned just behind where the carburetor will sit, so that fresh air can get to it but water should not.
It is a good idea to install the turn fin, on the starboard (right) side sponson, before installing the floatation. The turn fin should be mounted even with the leading edge of the sponson, as low as possible without the bracket being in the water. With the boat sitting on a flat table or board (turn fin hanging off the edge) the fin's angle should be 20 degrees in respect to the table.
The instructions call for the addition of 12oz of weight in the port (left) side sponson. This weight should be as far left as possible inside the sponson and in line with the starter cup of the motor. An easy way to do this is by inserting the weights inside a piece of pool noodle cut to the proper length to fit snugly inside the sponson so that it will not move. Then put in extra pool noodles to fit tightly in the space to prevent any sideways movement of the first one. You DO NOT want the weight moving around in the sponson! This method will ensure that it stays where it should be and also make it easy to remove, replace or adjust it if necessary. Do the same in the starboard side sponson but omitting the weight. You can also fit some pool noodles in the tail section of the hull by sliding them in from the front under the deck on either side of the radio box section.
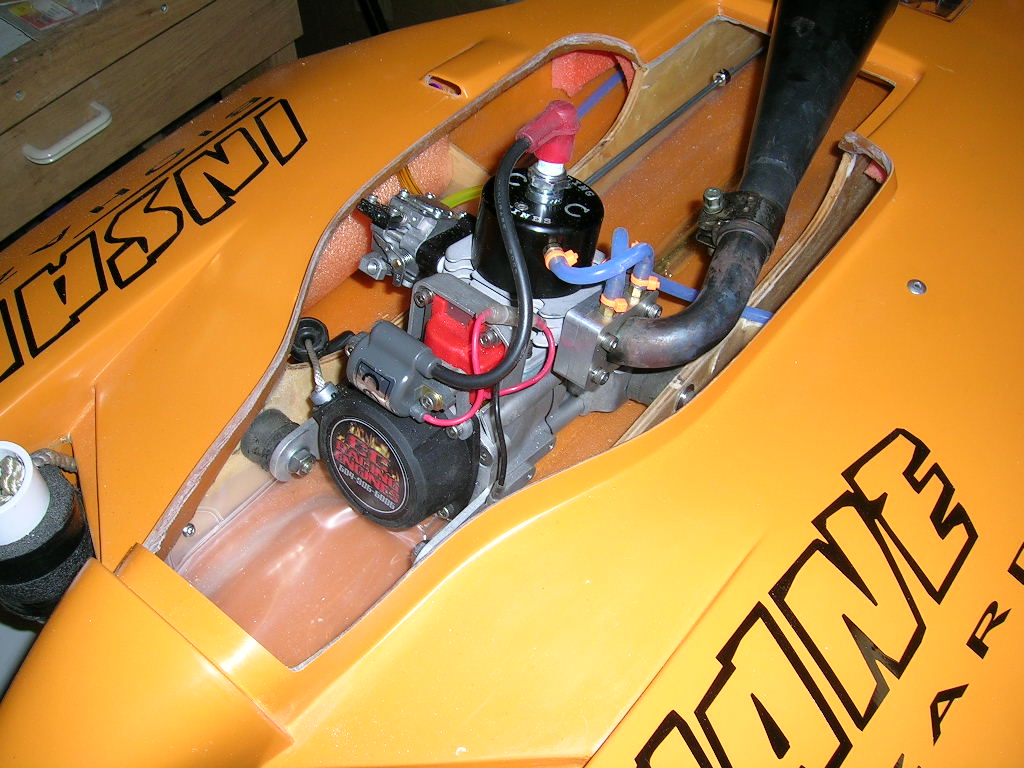
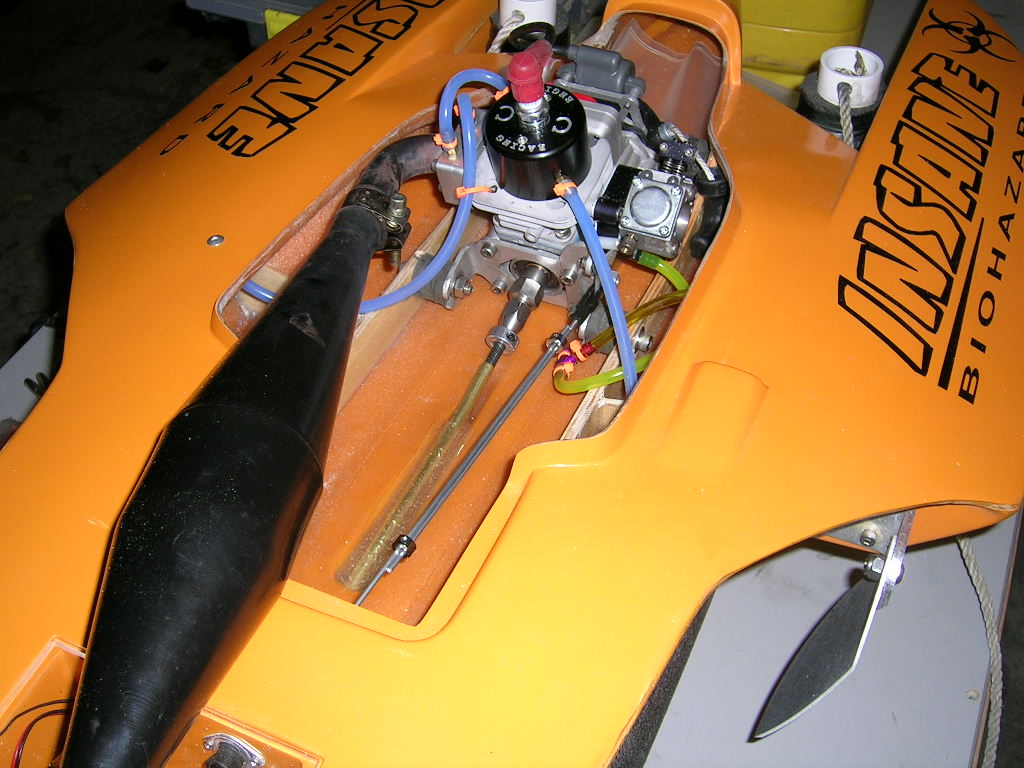
With the pool noodles in place you can move on to installing the gas tank (or gas bag) and engine. I used a gas bag setup from American RC Boats in my hydro. For the motor I used standard Insane mounts with throttle linkage. The motor is positioned at 27.75" from transom to center of spark plug according to the instructions.
The transom hardware installation is straight forward and made easy with the use of a large opening at the back of the hull. This makes it easy to get the transom from the inside.
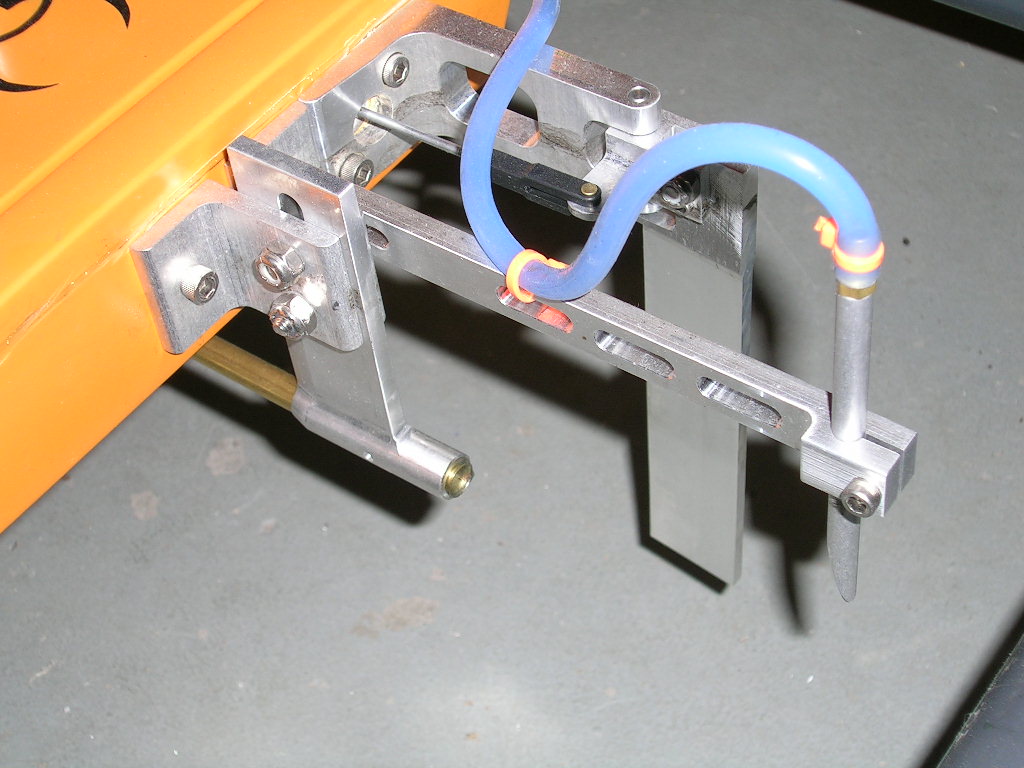
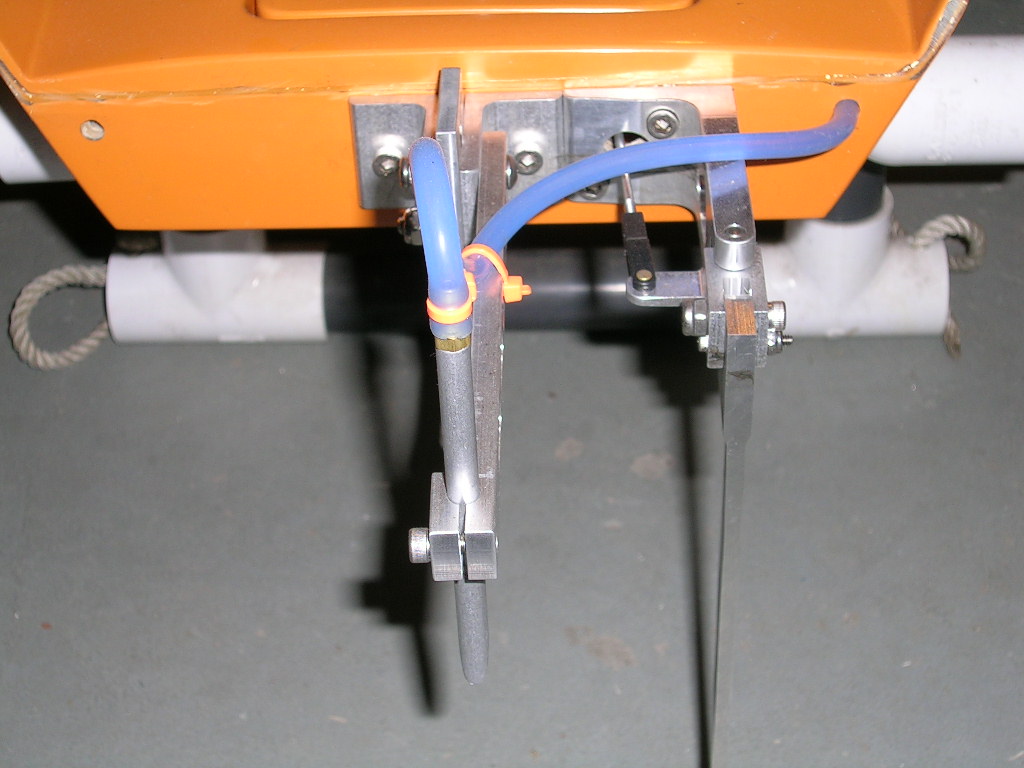
Tape up the transom, mark your hull centerline and rudder centerline. The strut is mounted on center with the hull centerline. I mounted mine with the top of the brackets even with the hull seam. The rudder centerline should be 2.5" to the right of the centerline of the hull. The rudder is mounted so the top of its bracket is even with the top of the strut bracket. Don't forget to drill the transom for the rudder control rod.
On this build I opted for the "Performance Rudder Blade Kit" from Insane Boats, which is a thinner rudder blade for less drag and a prop blast water pickup (since the thin blade does not have a water pickup). This kit is available on Insane Boats' website. This is a nice performance upgrade. The prop blast pickup supplies a strong and constant cooling water flow for motor and pipe. The thinner blade will reduce drag to get every bit of extra speed from the boat.
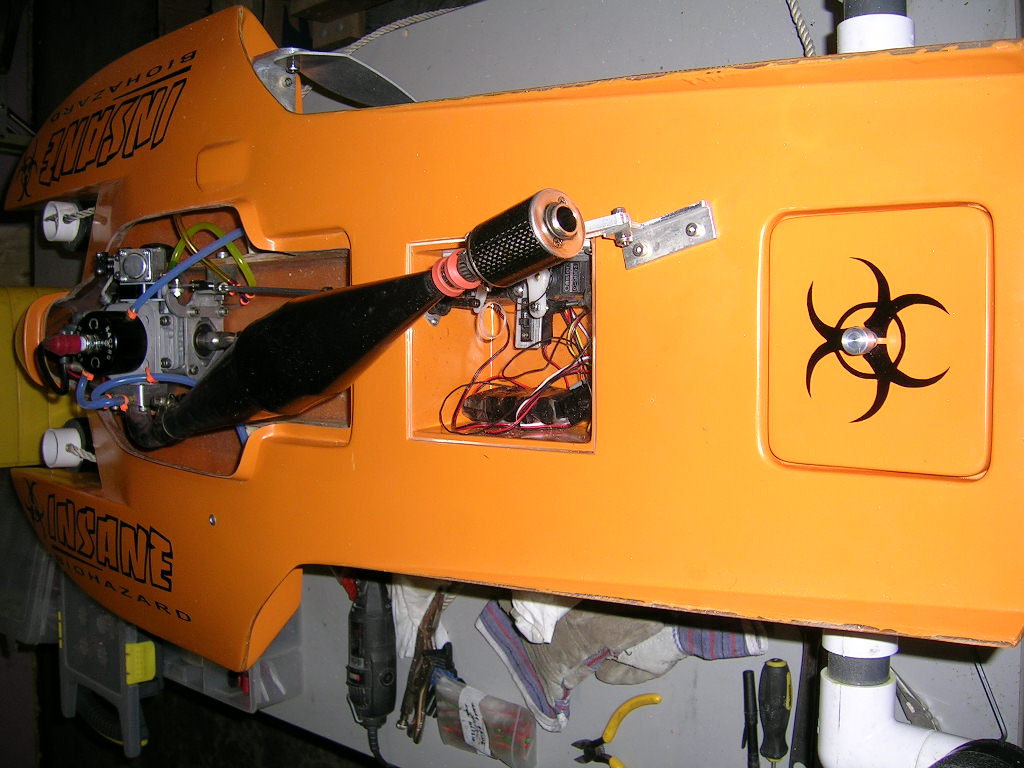
This new hull features an integrated radio box, which means the box is actually part of the top deck of the boat. This really helps cut down on building time and reduces the number of holes in the radio box. The lid is a simple and effective "tape down" design. With integrated radio boxes it is usually easier to install the pushrod seals inside the box rather than on the outside. This is due to the fact that access to the outside of the box is limited. Personally I have gotten used to this and actually prefer the seals inside the radio boxes now.
For the steering servo you can use a standard size high torque servo or 1/4 scale laying on its side. With the dual servo bracket available from Insane Boats, the servo installation is an absolute breeze. Simply mount your servos (standard size) to the pre-tapped bracket and mount the bracket along the starboard (right) side of the radio box. There is a wood plate backing the right side of the box, so simply drill the fiberglass and mount the bracket with stainless steel wood screws. A little bit of sealant on the screws is added insurance. *note: the dual servo bracket will NOT work with 1/4 scale servos.
With this servo bracket the control linkages to the throttle and rudder are straight line...no bends required. I added a piece of 1/4" hardwood as a support for the rudder control rod to prevent any flex at high speeds. It is held in place with epoxy and drilled for the control rod to pass through it. I braced the top of this support to the top deck of the hull also.
As you can see in the pictures I added a small aluminum plate to the servo bracket which serves as a switch mount. This firmly holds the radio switch high off the bottom of the box and easily accessible from the access hole in the cover of the box.
This hull also features a pre-formed stuffing tube well which makes installation much easier. Simply drill the well to accept your stuffing tube (with or without a sleeve based on personal preference) and secure the stuffing tube in place by pouring epoxy glue into the well with the tube in place. To do this, you install the stuffing tube from the strut to the motor and run the flex cable through it. Mount the flex shaft in the collet of the motor and ensure the stuffing tube aligns properly with the motor. Clean out the well with acetone and roughen up the stuffing tube for good adhesion. Pour in the epoxy glue and let cure.
For the tuned pipe it is preferable to use a 100-105 degree header for the pipe to exit the cowl in the designed opening. You can also use a wrap-to-center header if desired. I used a 100 degree header that I tweaked a little and the pipe just clears the cowl with about 1/4" to 3/8" of space between the cowl and the pipe. The header is probably at 101-102 degrees right now, so I would recommend using a 105 degree header for the pipe to exit closer to the center of the cowl.
I machined my own tuned pipe support bracket as can be seen in the pictures, but you can also purchase a pipe support from Insane Boats. The hull is thick enough in this area to simply mount the pipe bracket to it, or if you prefer you can glue in a piece of 1/4" wood from the inside for added support. The area is accessible from the rear hatch opening if you wish to do so.
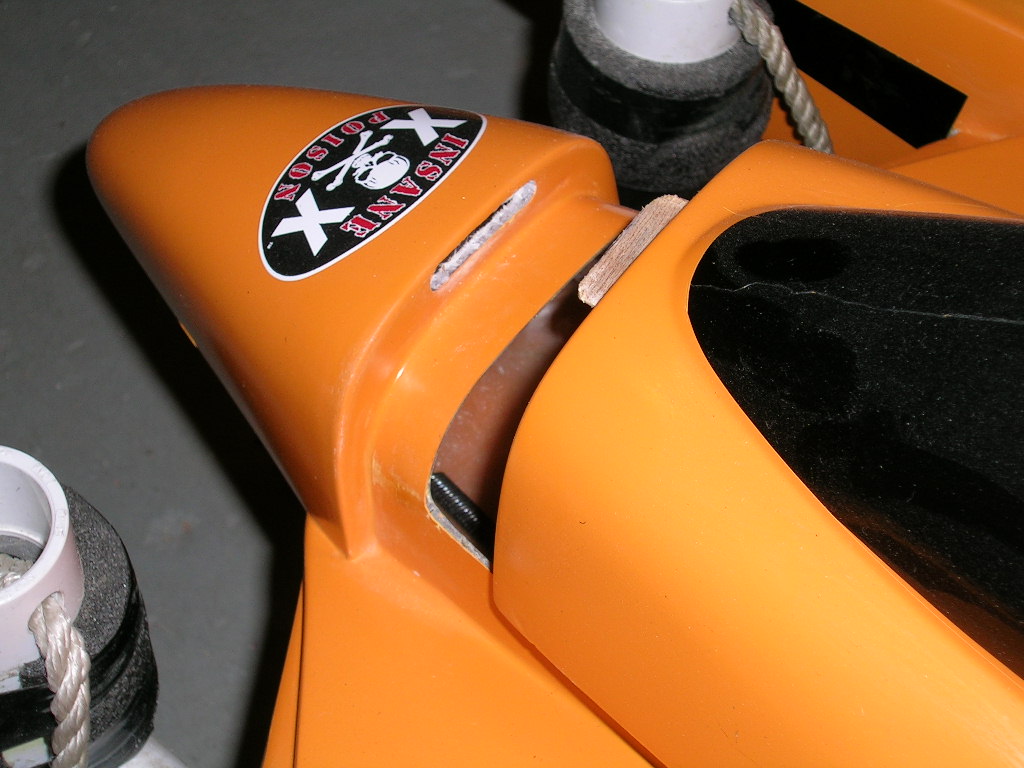
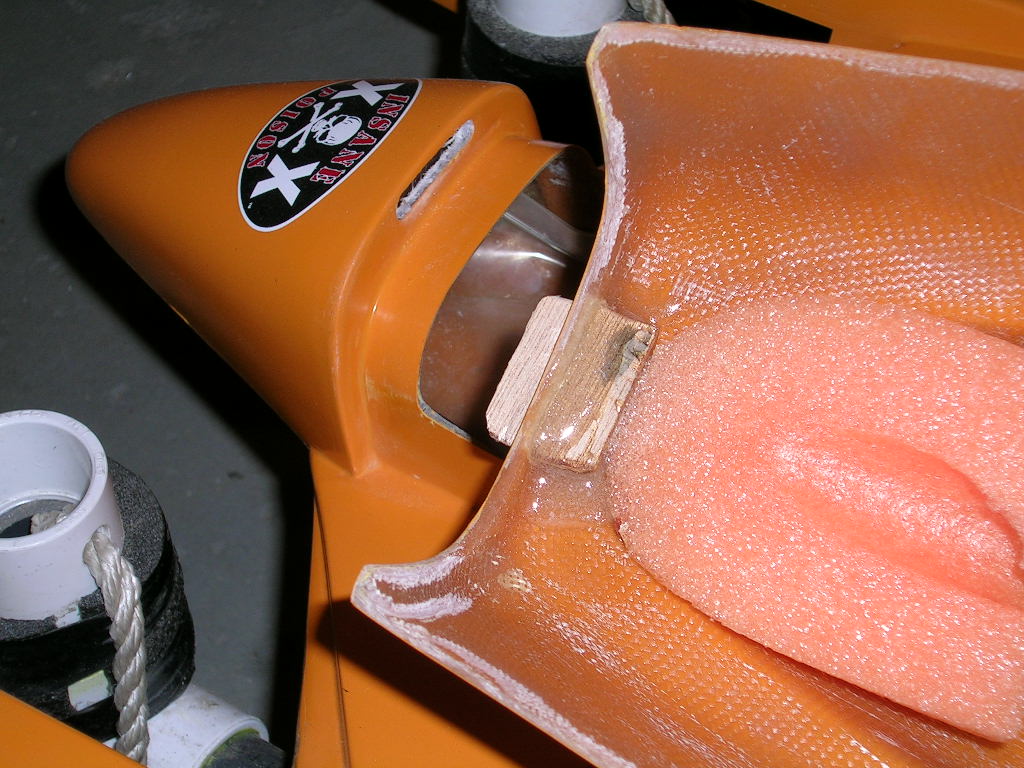
For securing the cowl I used a 1/8" thick wood tab at the front and Orings at the back. DO NOT forget to add floatation to the cowl.
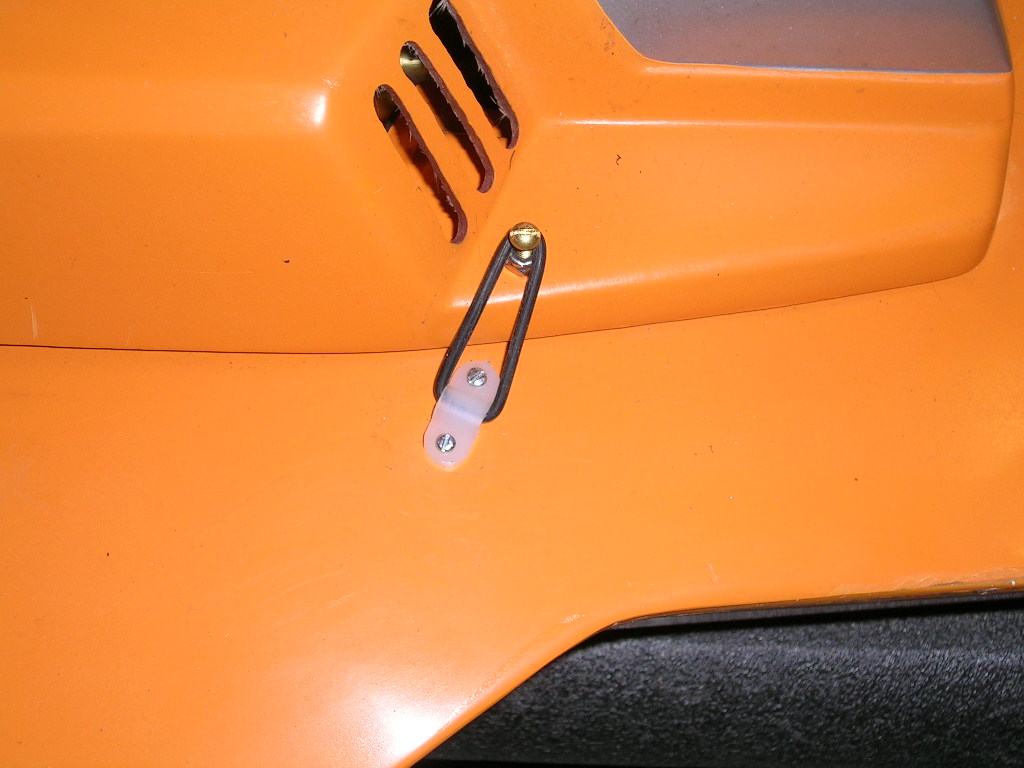
For securing the rear hatch I machined a small aluminum bracket that I epoxied to the bottom of the hull. A screw button secures the hatch to it. I used a small piece of silicone tubing to secure the button to the hatch and prevent vibrations from working it loose. To remove the hatch I simply loosen the screw button and along with it comes the hatch. The hatch can also be held in place by simply using radio box tape or Velcro. DO NOT forget to add some floatation to this hatch also!
Pre-run check and adjustments
Always do a "once over" of your complete setup, making sure all nuts and bolts are tight and that everything is ok before heading out to the lake with your boats.
Initial setup of this boat is very easy and straight forward assuming you followed the instructions and are using the recommended hardware. I set the strut at 1.25" deep with a 1/2 degree of negative, as stipulated in the instructions. The recommended propeller is a 6719 HX3 from The Propworks.
As initial angle of the turn fin, I had the boat sitting on a flat table and with a straight ruler along the bend on the fin, I adjusted it so that the ruler was parallel with the table.
Tail weight should be approximately 1.5 lb.
Information on adjusting the turn fin while testing:
When adjusting the angle of the turn fin, adjust it as follows. Set your steering servo so that the rudder is perfectly straight with the servo at neutral. Run the boat and see if it pulls to one side or the other with no rudder input. Bring the boat in and make the following turn fin adjustments accordingly. Tilting the turn fin forward (bottom of fin towards the front of the boat) will make the boat track more to the left. Alternately, tilting it towards the back will make the boat track to the right. Use this method to find the perfect setting that will allow the boat to track perfectly straight.
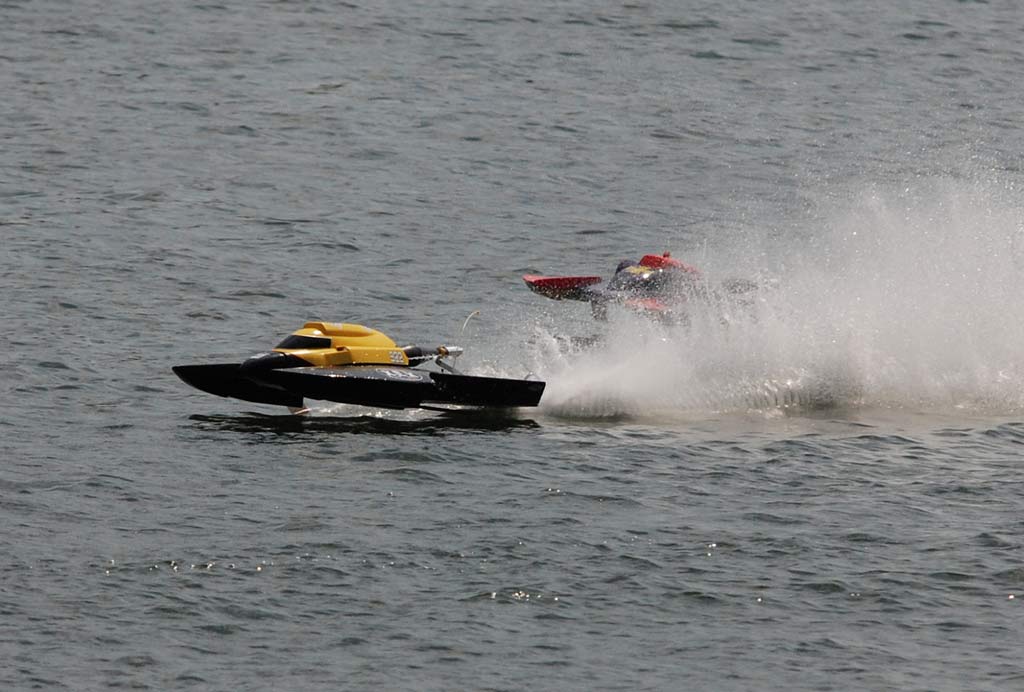
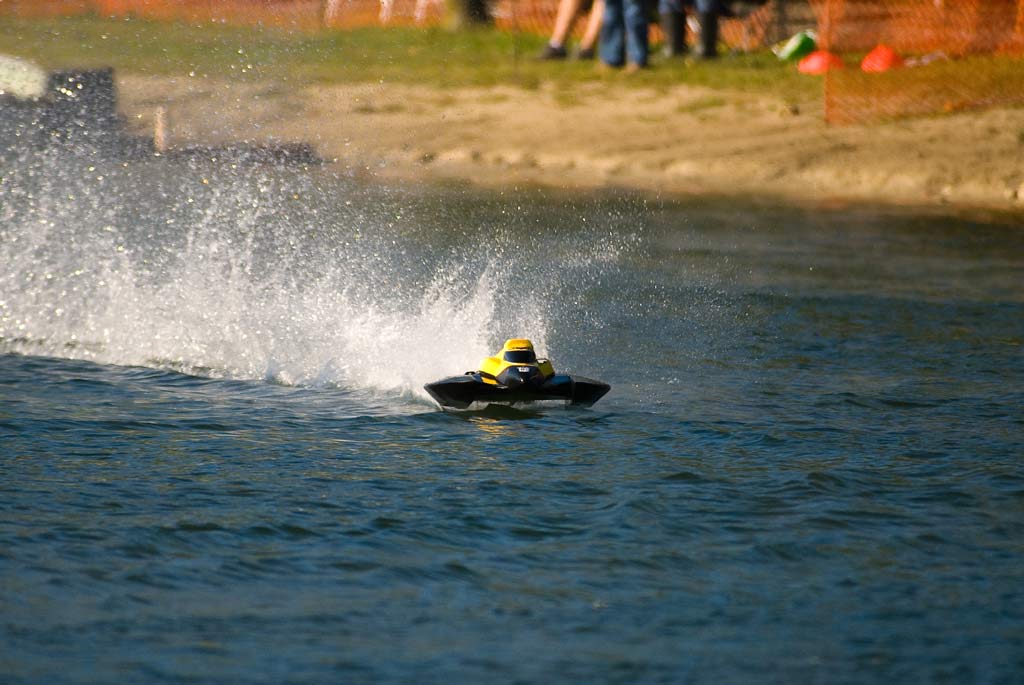
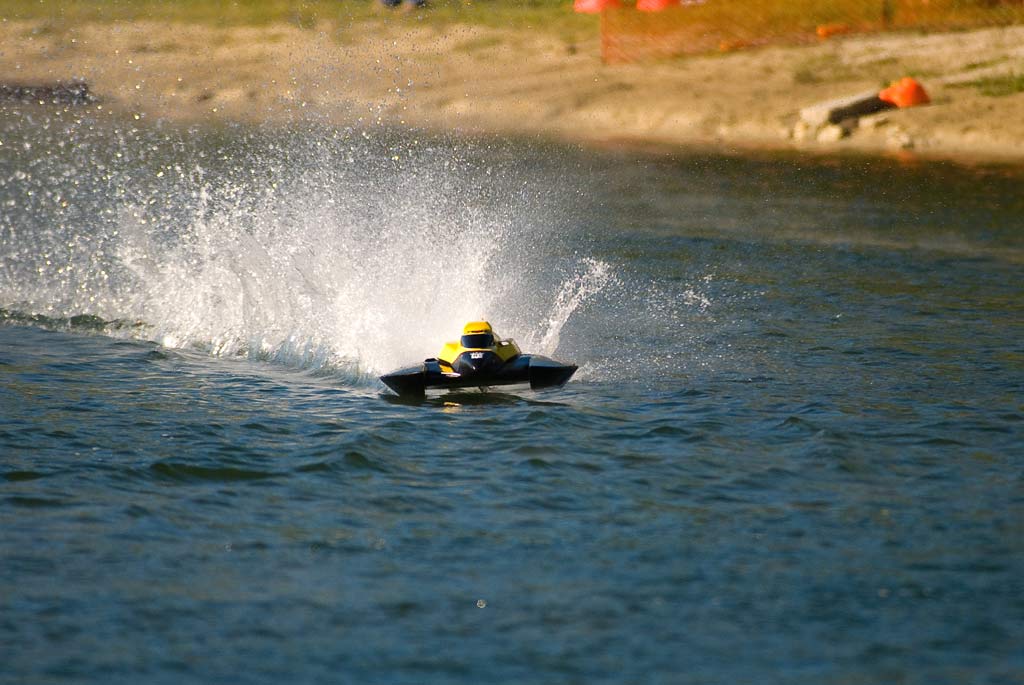
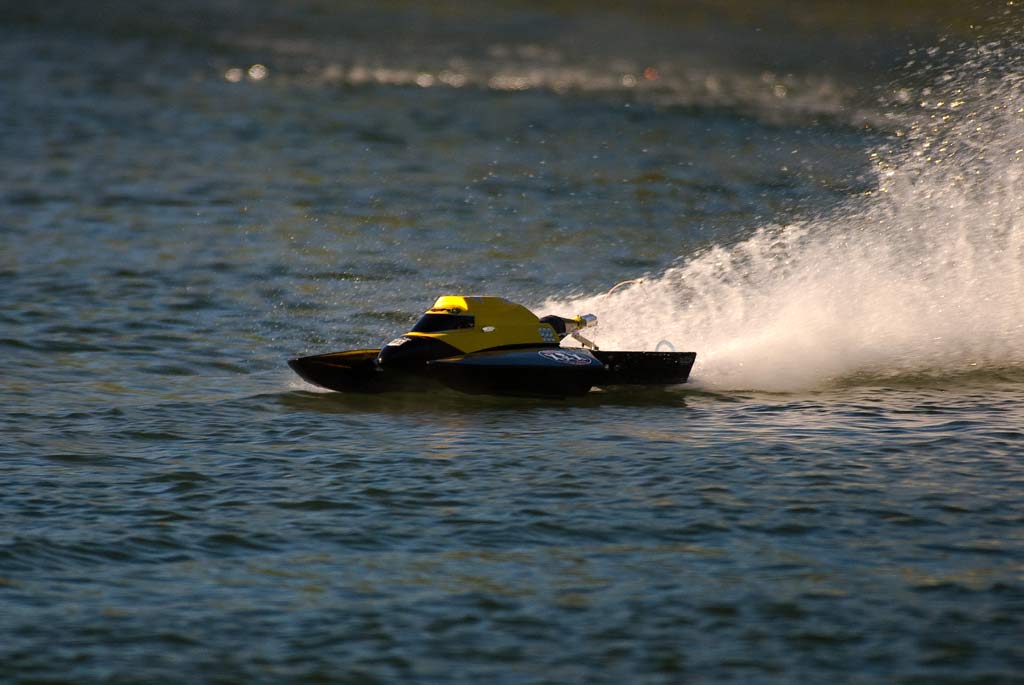
Here are a few stills
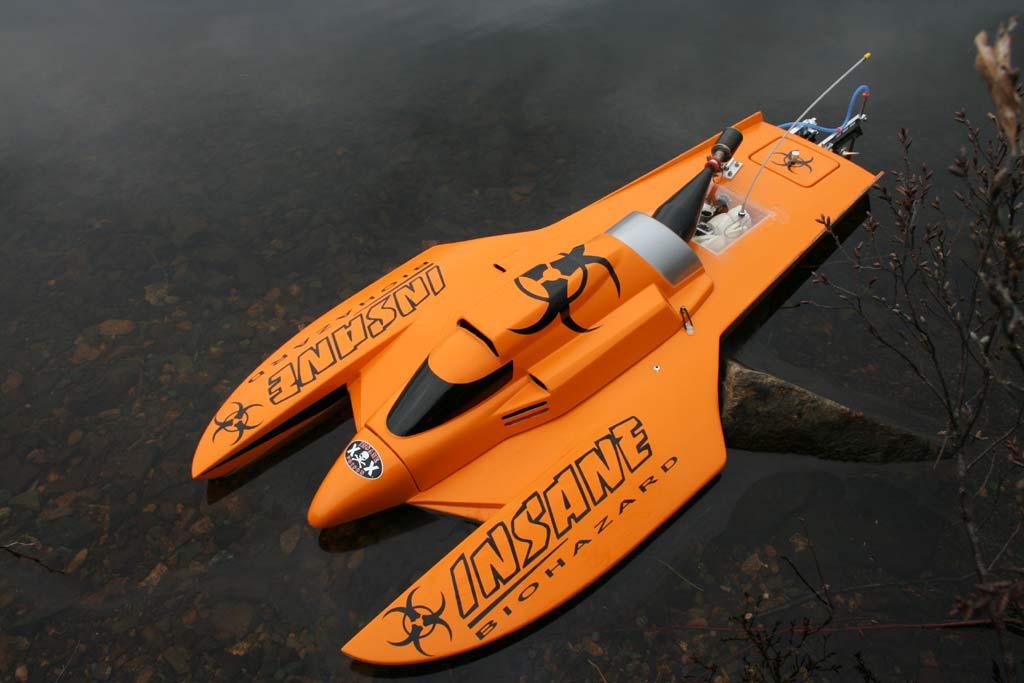
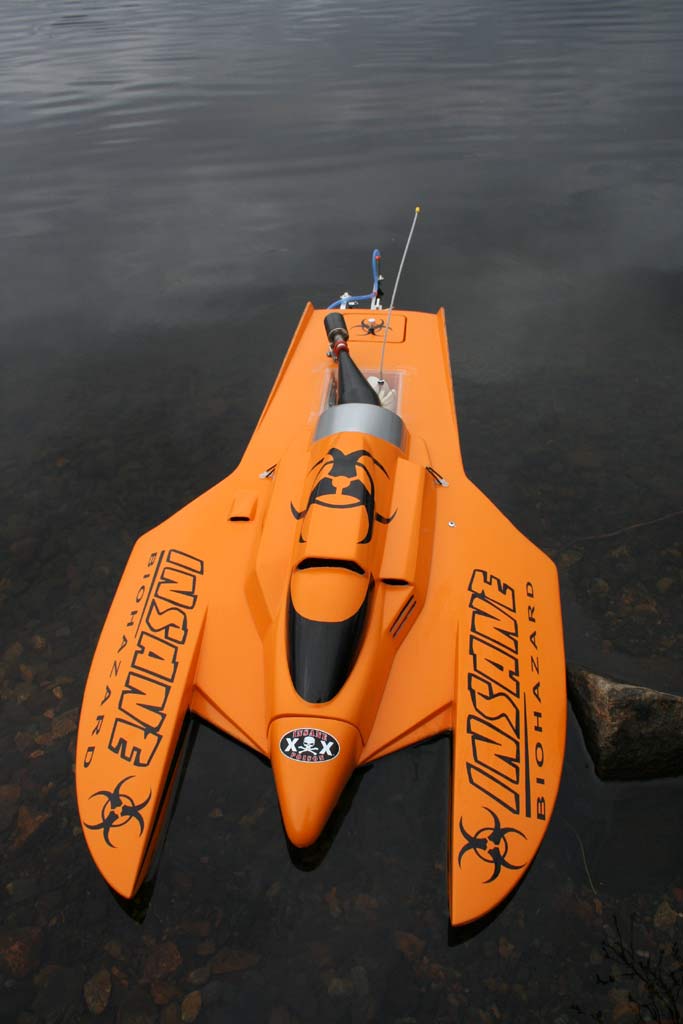
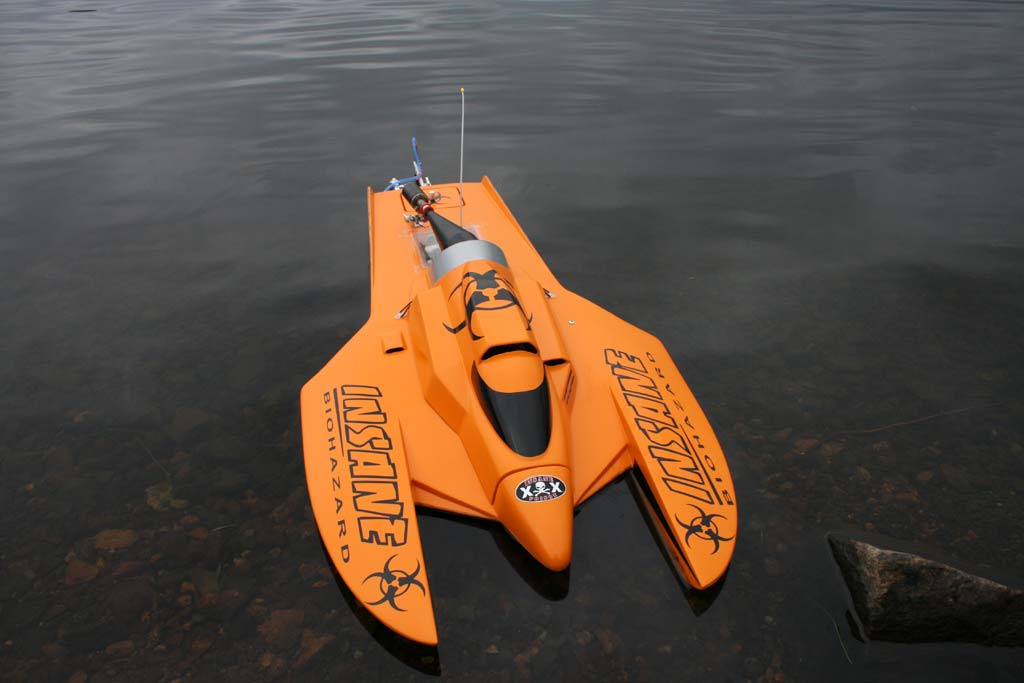
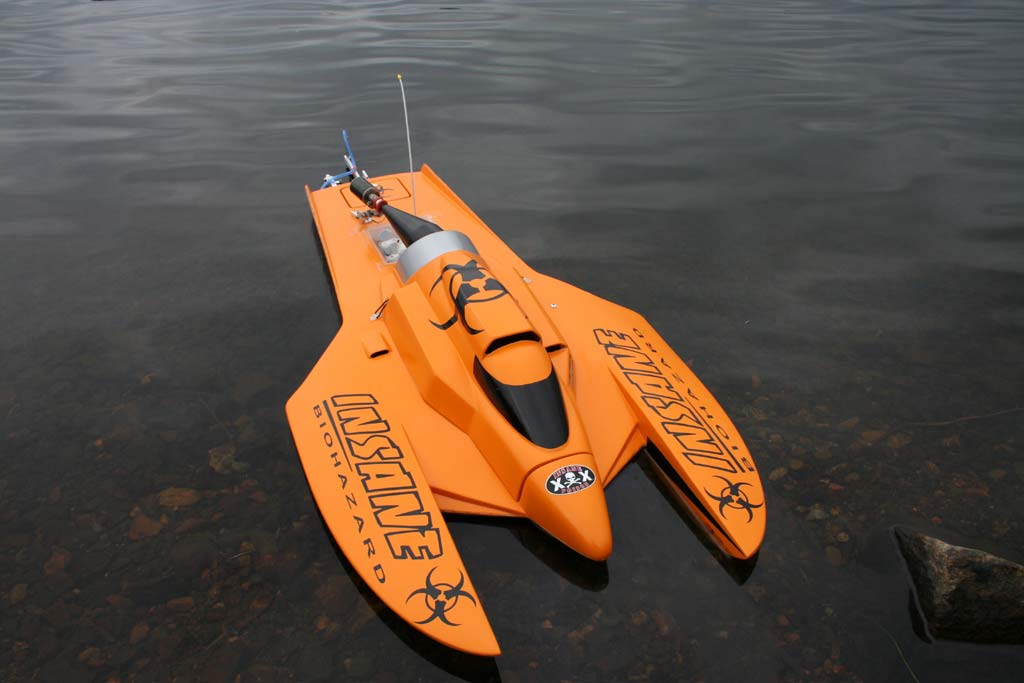
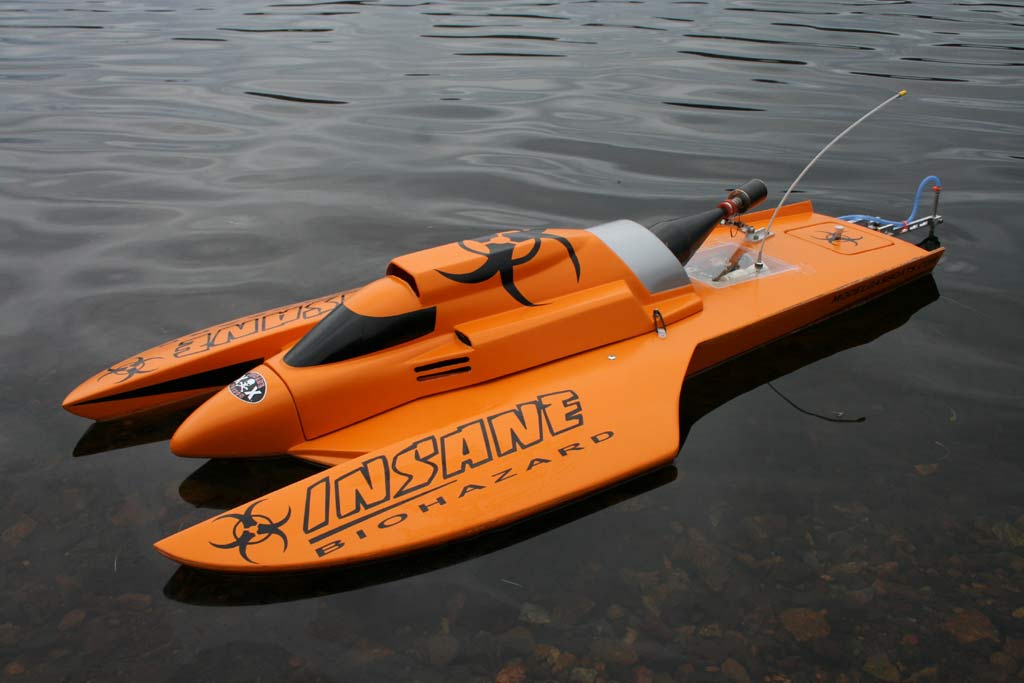
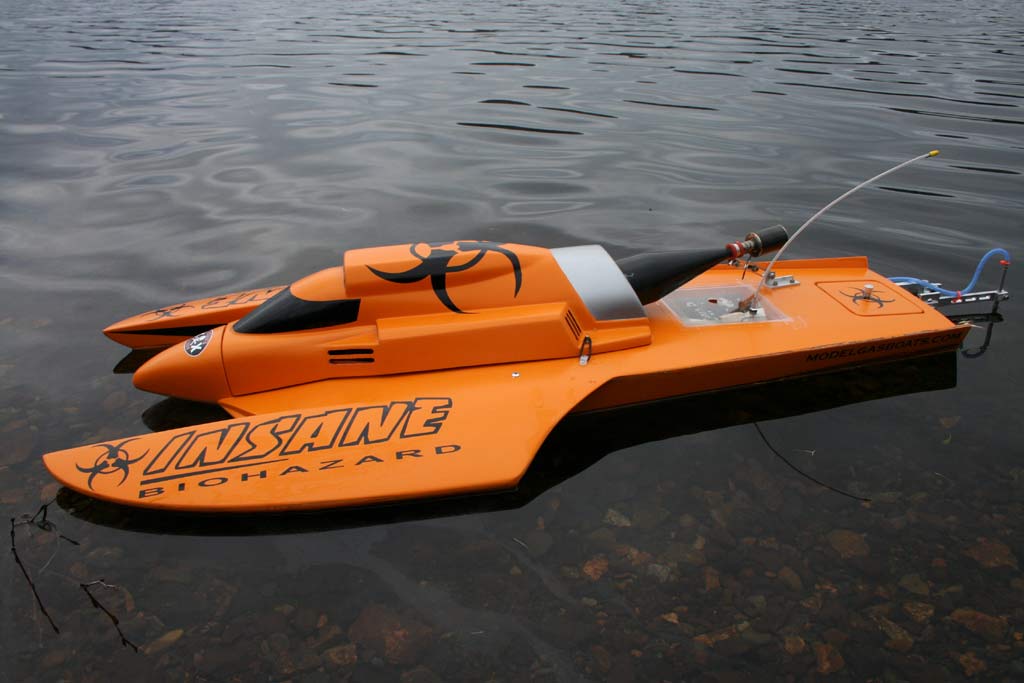
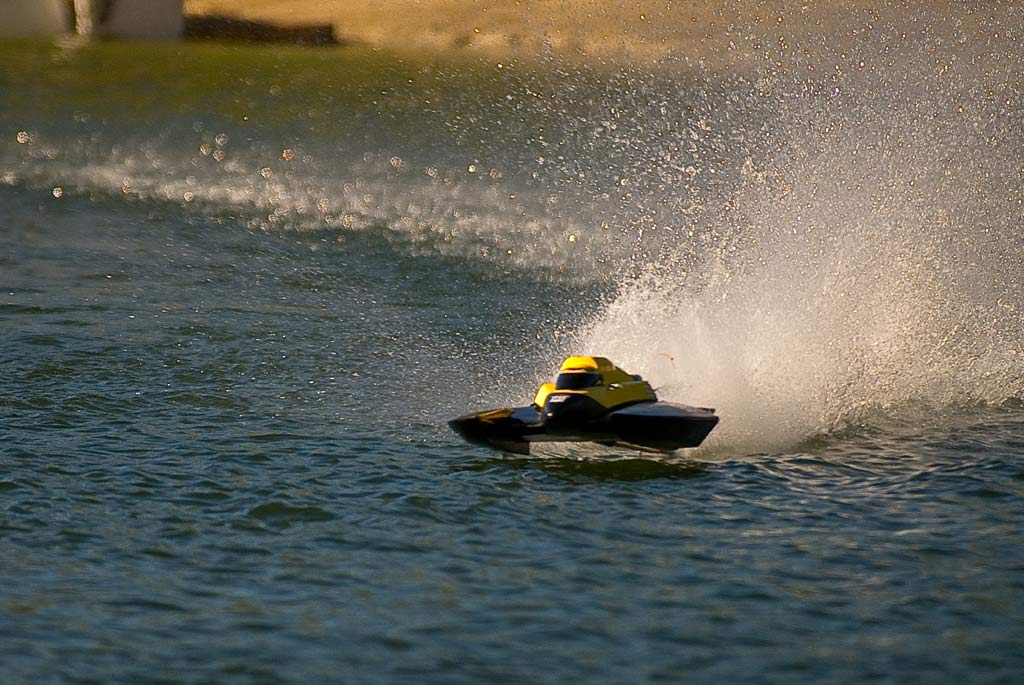
Here are some shots of Jeff Michaud's boat in action...
Jeff won 1rst place at the 2007 IMPBA Gas Nationals and also won the Voodoo Travelling Trophy
Richard Simenson of Australia won the Australian Nationals at his first showing with his Gen3 Insane Hydro.
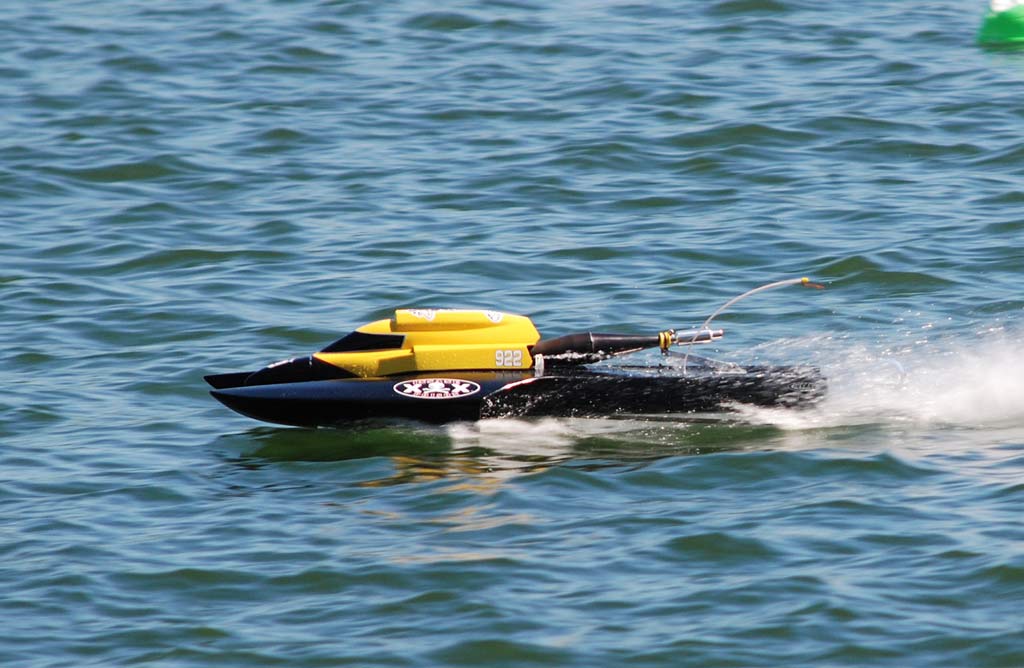
At the lake
The boat performed top notch the first time in the water. This is something that I have come to expect from Insane Boats. I have built several of their hulls and every time the boat performed well the first time out. Of course there is always room and need for final adjustments for racing conditions but that stands true for any hull. For the record, the video you will see below of this boat running is actually its first time in the water, with the settings described above. No changes whatsoever were done. You will also notice that I was running the boat between two large patches of ice on the lake (lake was freezing up). This limited my space considerably and I had to do some really tight turns, much tighter than a regulation course! Despite this, the boat handled it flawlessly and pulled hard all the way through. Needless to say, I was impressed with this boats handling and speed.
Here is the video
What I liked about this boat
- excellent quality of lay-up
- integrated radio box
- available one-piece servo bracket
- available optional thin rudder and prop blast water pickup
- pre-formed stuffing tube well
- pre-formed carburetor air intake
- high quality hardware kit
- very easy to setup
- great performance
- great looks
Worth mentioning
- This hull was initially designed to be produced in epoxy with a primer finish but due to the rising cost of materials and in an effort to keep the selling price competitive the decision was made to produce them using polyester resin (typical of most hulls on the market). For this reason the gelcoat finish was not glossy on earlier production hulls, but more a satin finish and the seam was a little rough in areas. In all honesty this did not really bother me as I was building the boat for racing, not for show, but for those out there who really want the glossy finish, they will be happy to know that the moulds for this hull have recently been re-worked and polished and all the new hulls now feature a high quality glossy finish which all have come to expect from Insane Boats.
Happy Boating!
Motor used for this review: Full Mod Zenoah G260 from CC Racing Engines
Tuned pipe used: Needforspeed Hobbies 2" band steel pipe
Muffled used: T-Mod Racing Carbon Fiber
Propeller used: 6719/3 from The Propworks
Hull and hardware: Insane Boats
Contact Information:


