Product Review Article ...
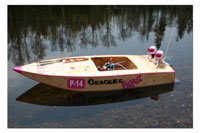
An easy to build Crackerbox kit for both experienced and novice boaters/builders alike...
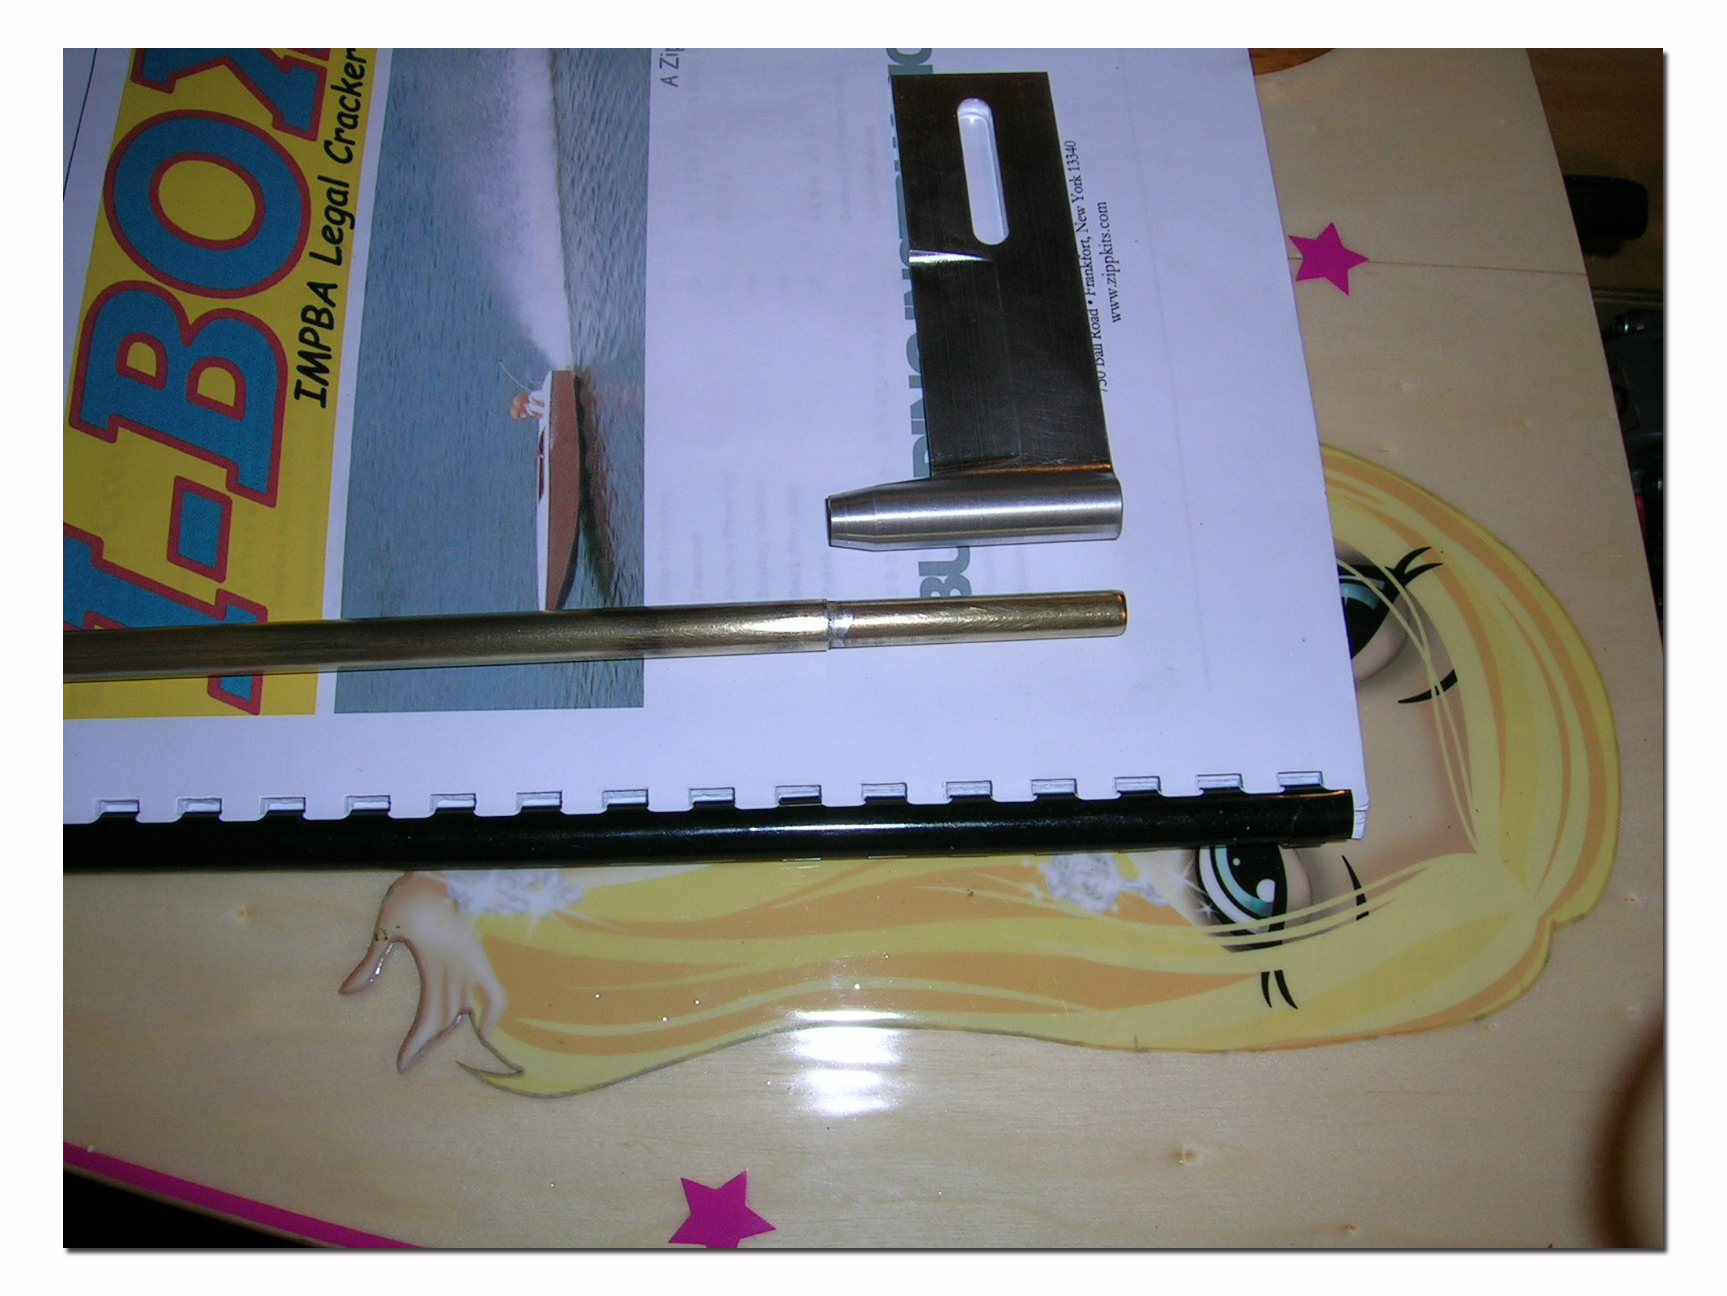
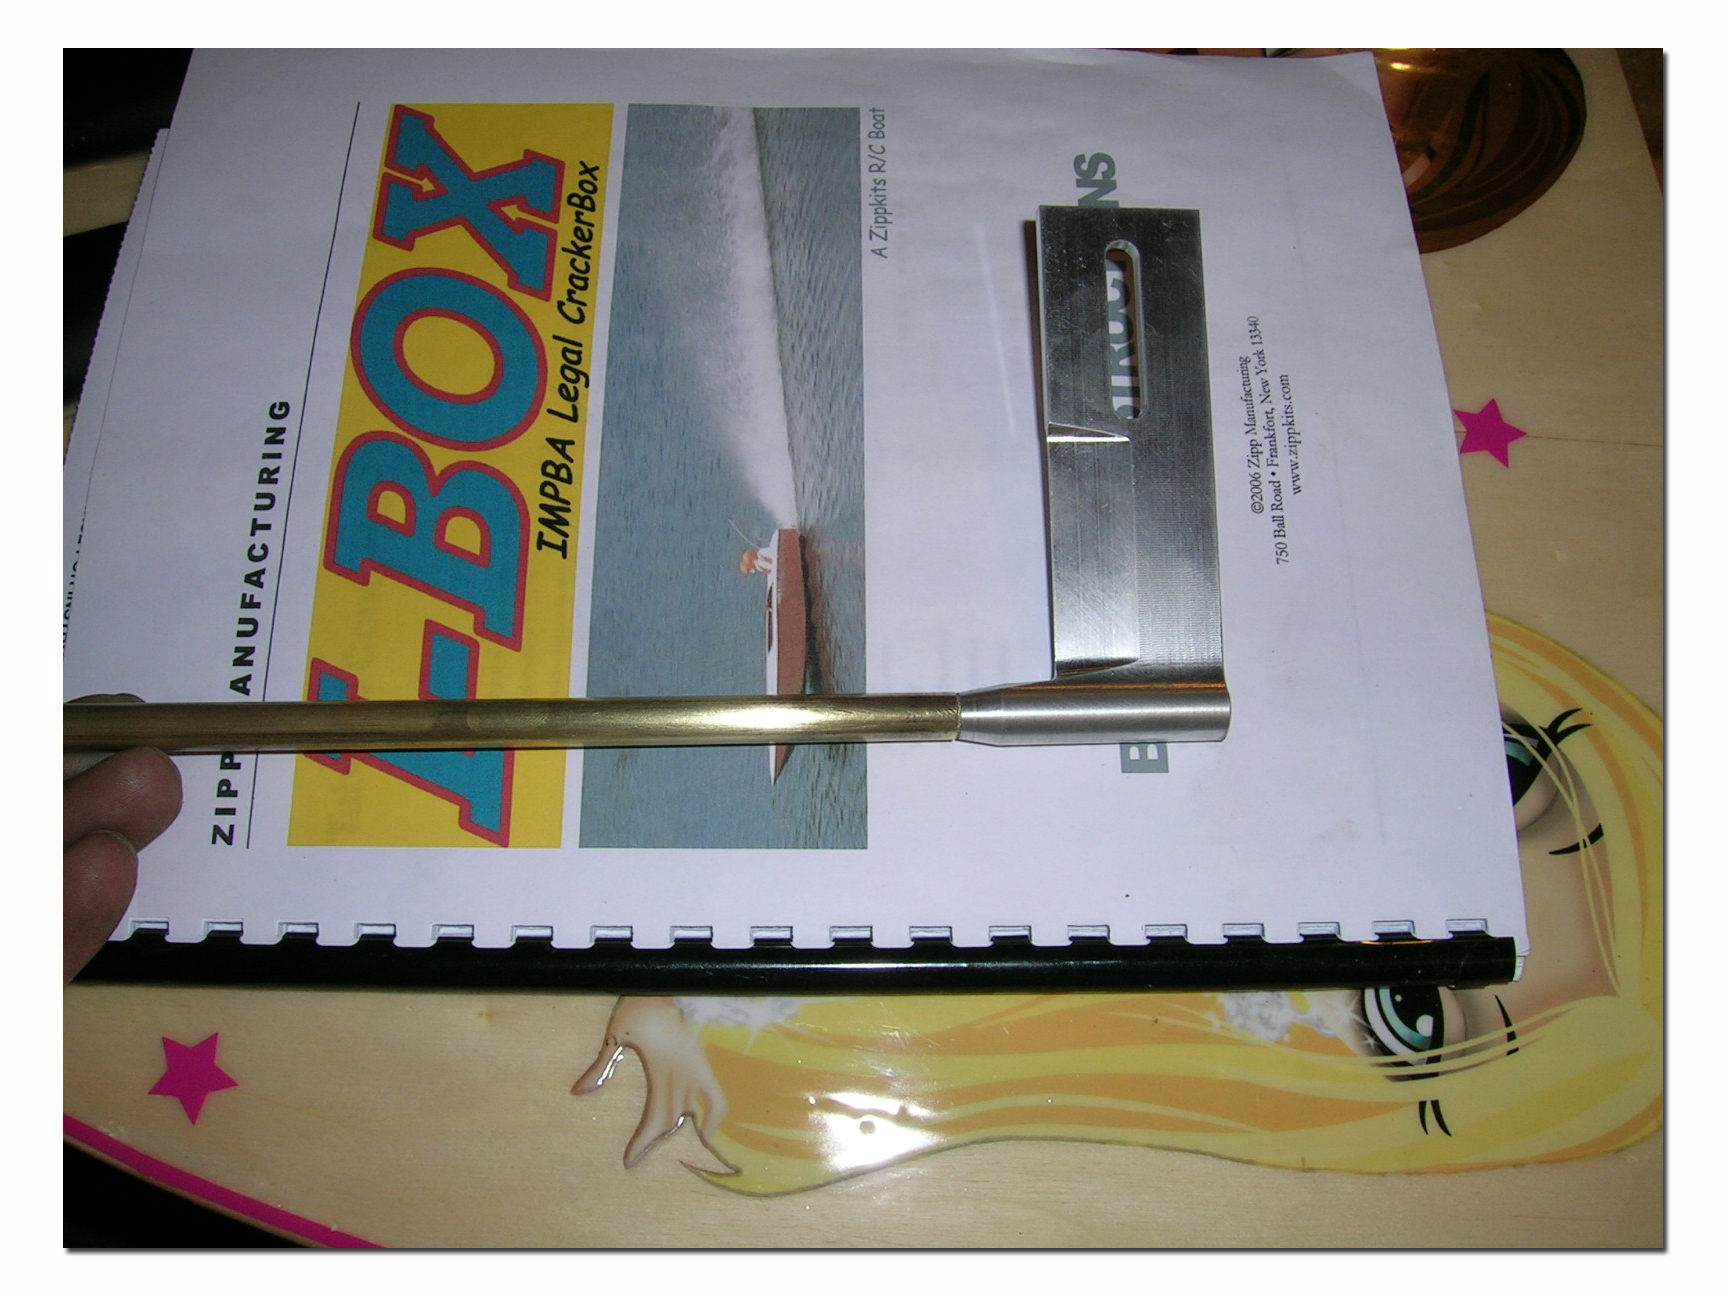
The I-Box reviewed in this article is an I.M.P.B.A. (International Model Power Boat Association) legal Crackerbox hull kit. The kit is manufactured and sold by Zipp Manufacturing of New York, USA. It features all CNC cut birch plywood parts, basswood stringers and an aluminum skeg with stainless steel hardware. The kit is supplied with a comprehensive, step by step illustrated building instruction manual. The manual also includes finishing, setup and running tips. The I-Box is one of three different Crackerbox kits available from Zipp Manufacturing. The N-Box is the N.A.M.B.A. (North American Model Boat Association) legal version and the V-Box is the sport version. It features a "V" bottom that is not legal for racing in the Crackerbox classes but is can be raced in monohull classes and can make an excellent fun boat.
One thing to keep in mind if you are going to race Crackerbox and want to be legal in both IMPBA and NAMBA and only want to purchase one kit, you have to purchase the N-Box which has 1.5 degrees deadrise (3 degree vee). That is the maximum legal limit for NAMBA. In IMPBA the limit is 3 degree deadrise (6 degree vee) so the N-Box will be well under the limit for IMPBA. The opposite is not true so the I-Box is not NAMBA legal. {sidebar id=11}
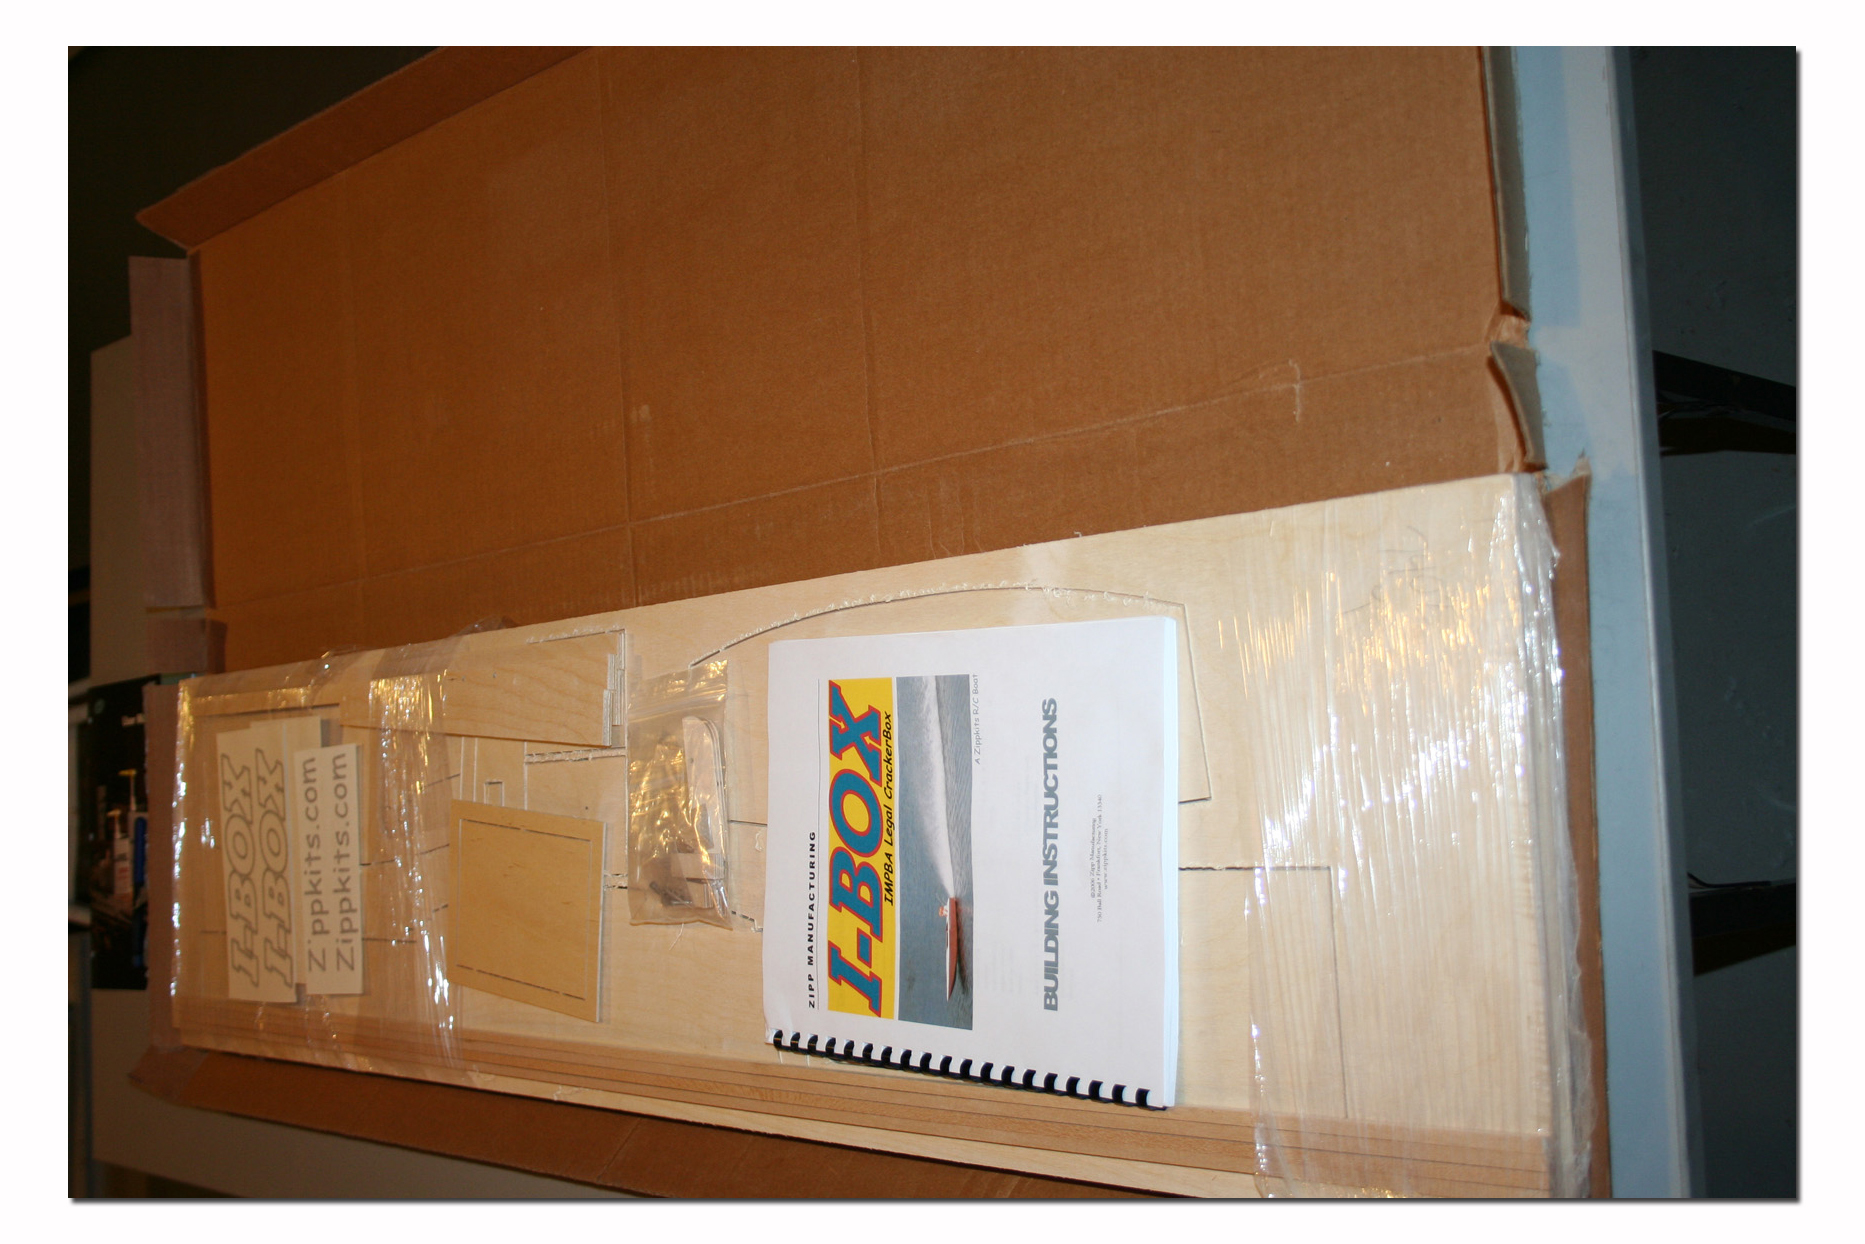
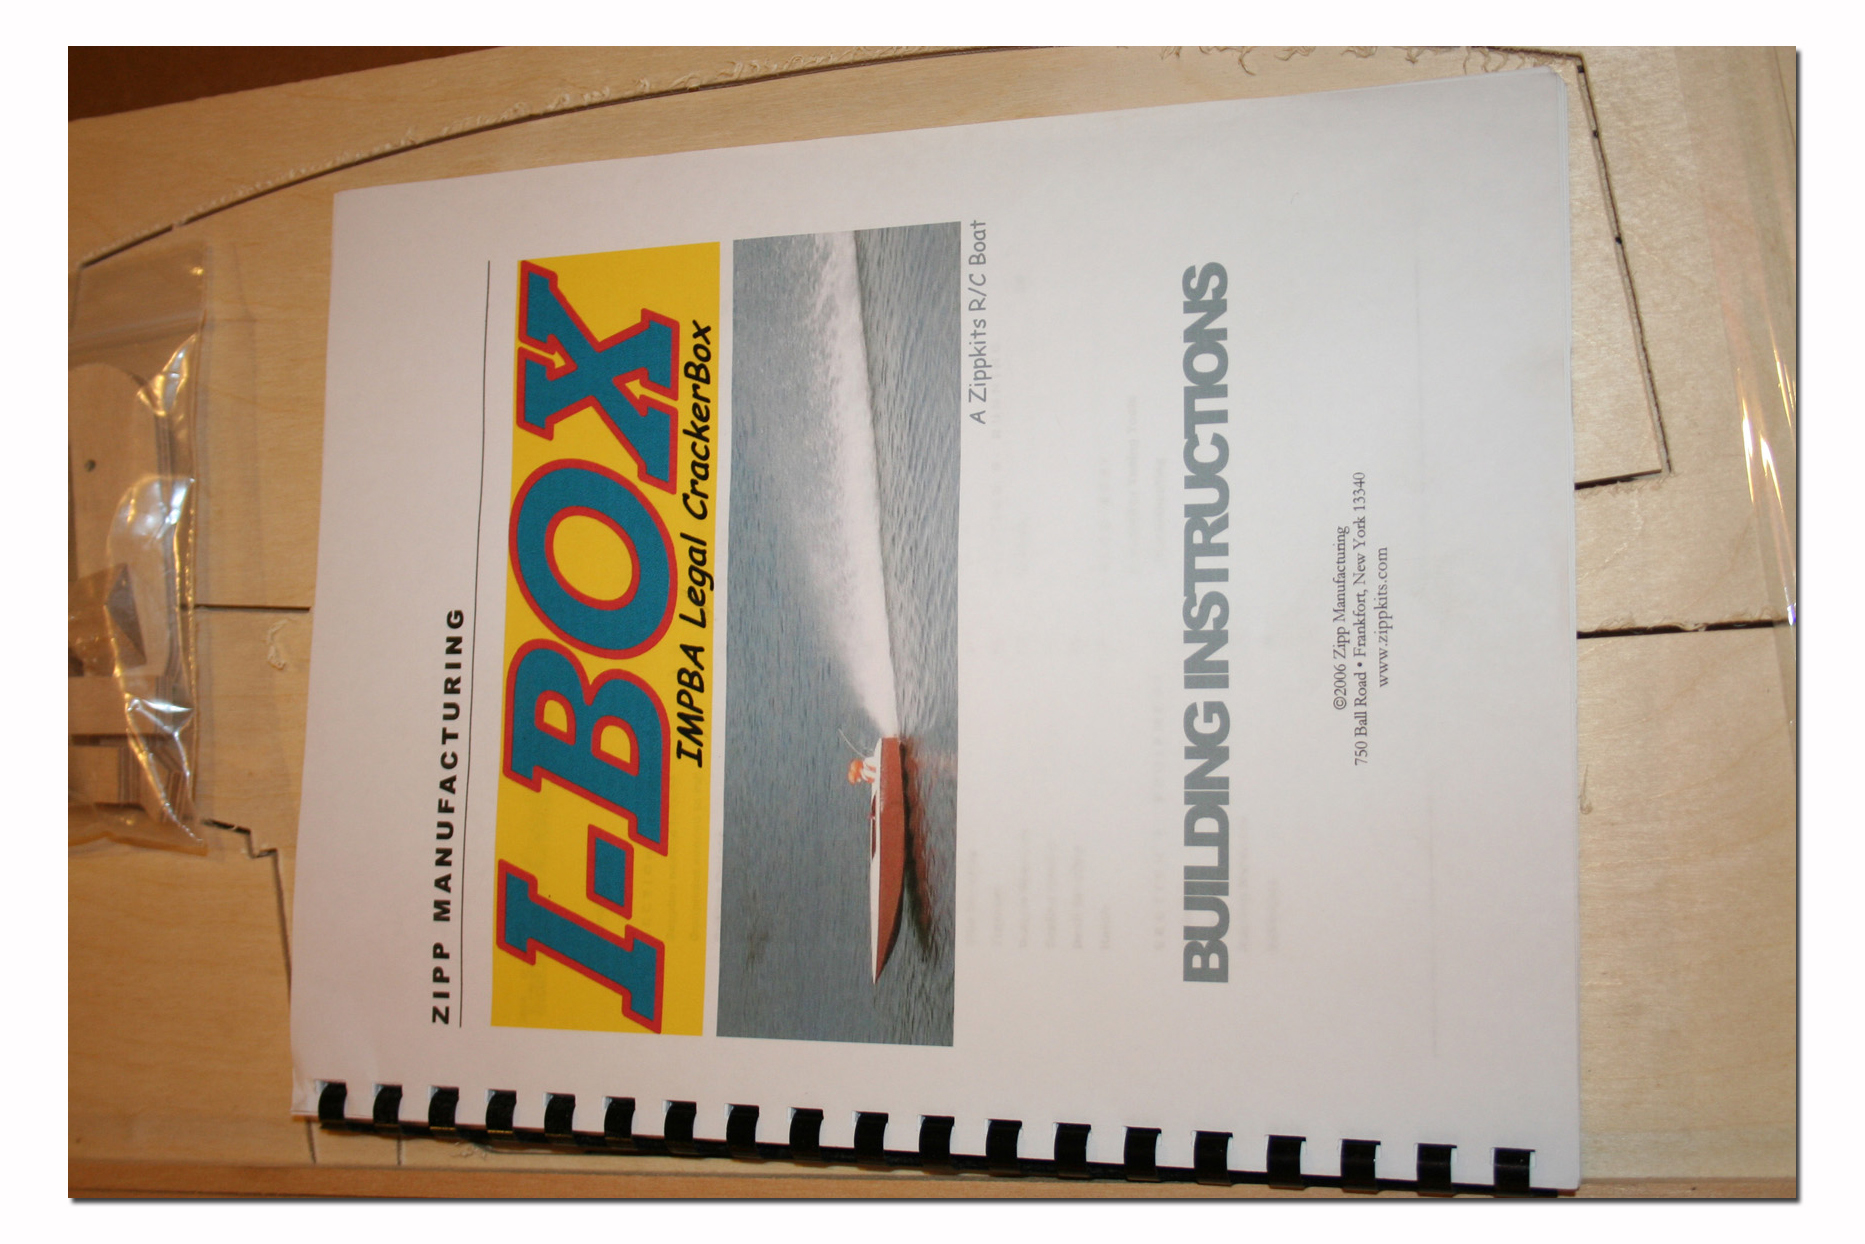 Due to the fact that these are kits their shipping dimensions are far less than equivalent fiberglass hulls and for that reason the shipping costs are considerably less. In most cases your I-Box (or N-Box/V-Box) can be shipped to you for under $20.00 anywhere in the US (confirm shipping rates at time of purchase).
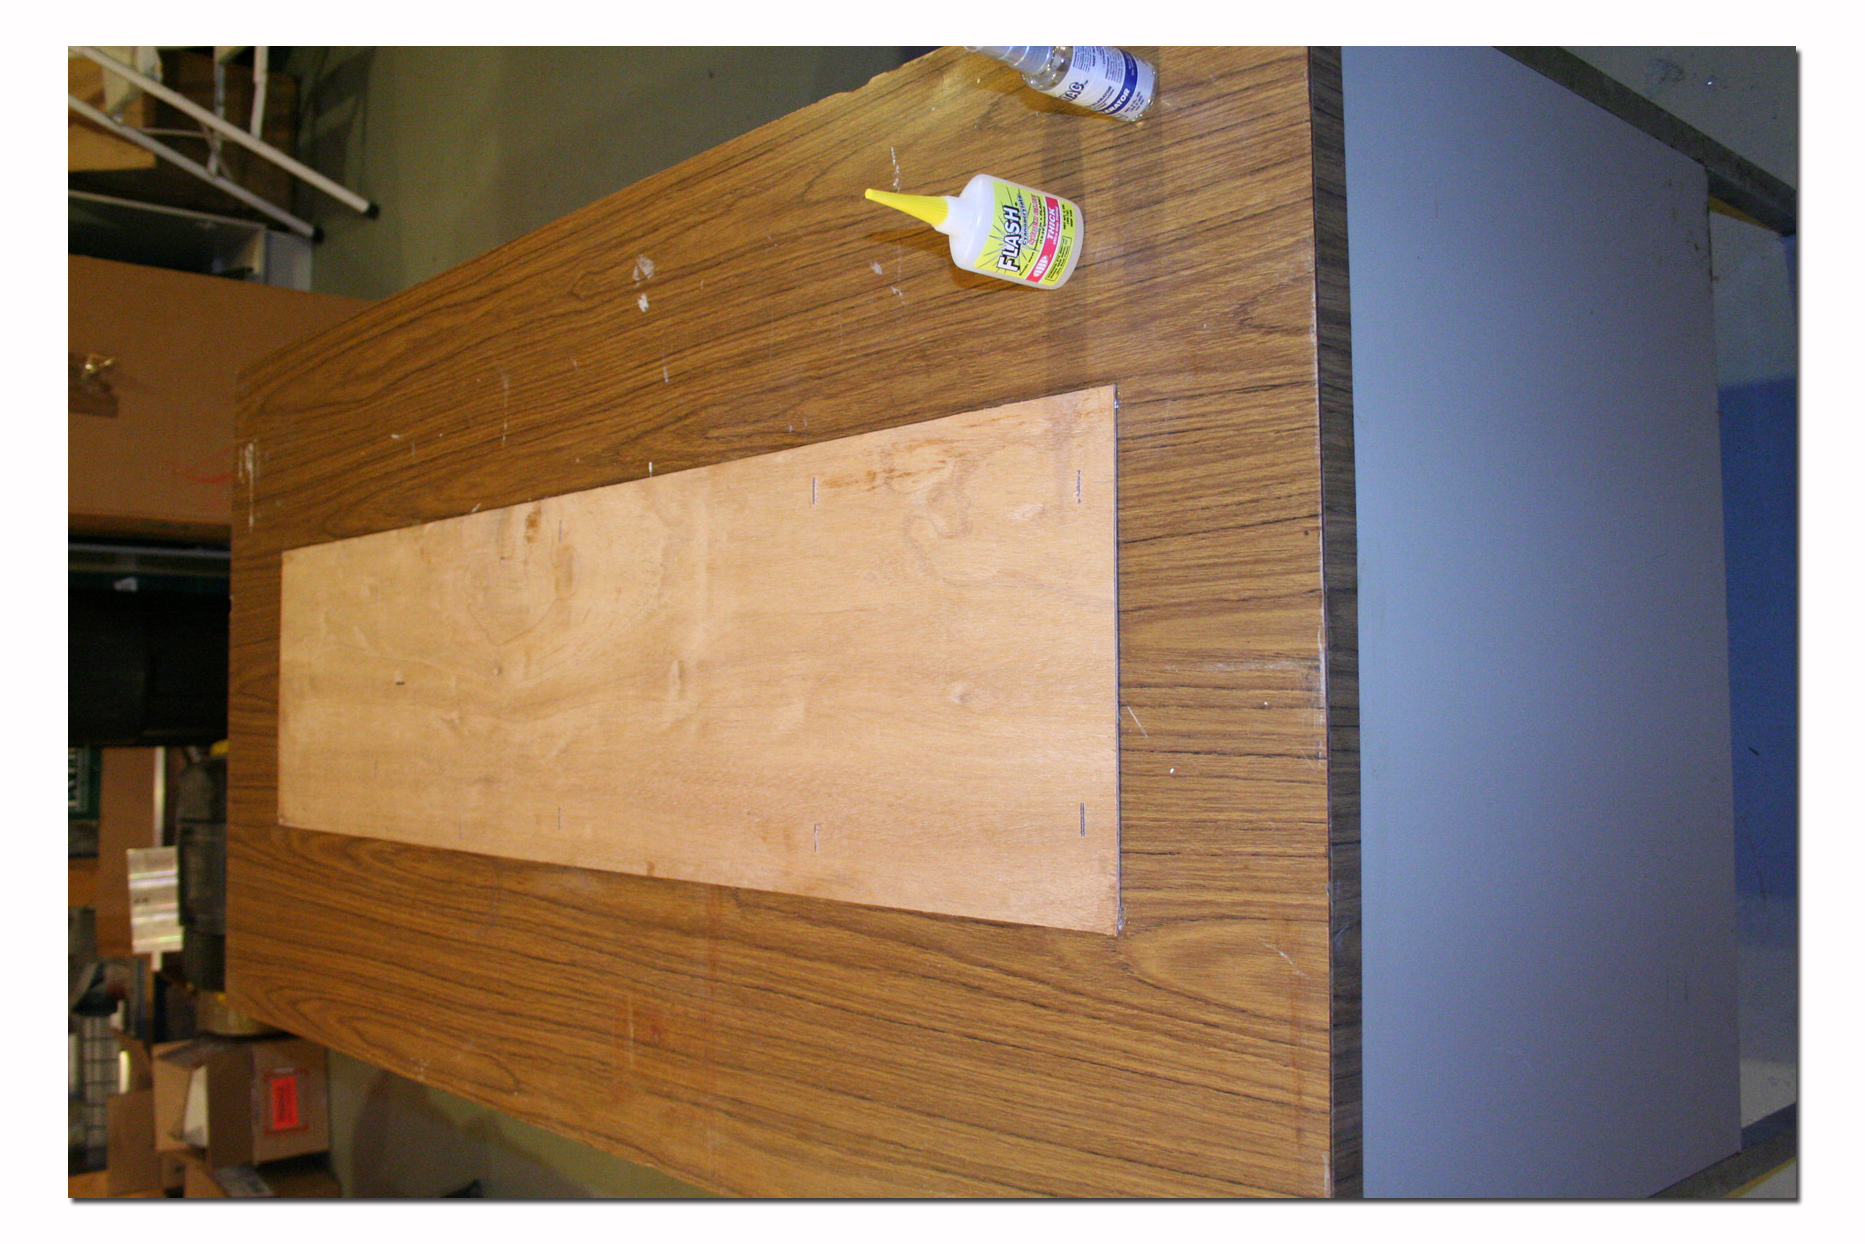 Building starts with setting up the included jig board on a flat work surface. I used C.A. and actually glued the board to my work bench. You might not want to do this on your bench so instead you can mount the jig to a flat board using screws and clamp that onto your bench. Any method is good, just make sure the jig is on a flat and sturdy surface. This is the foundation you will be building on!
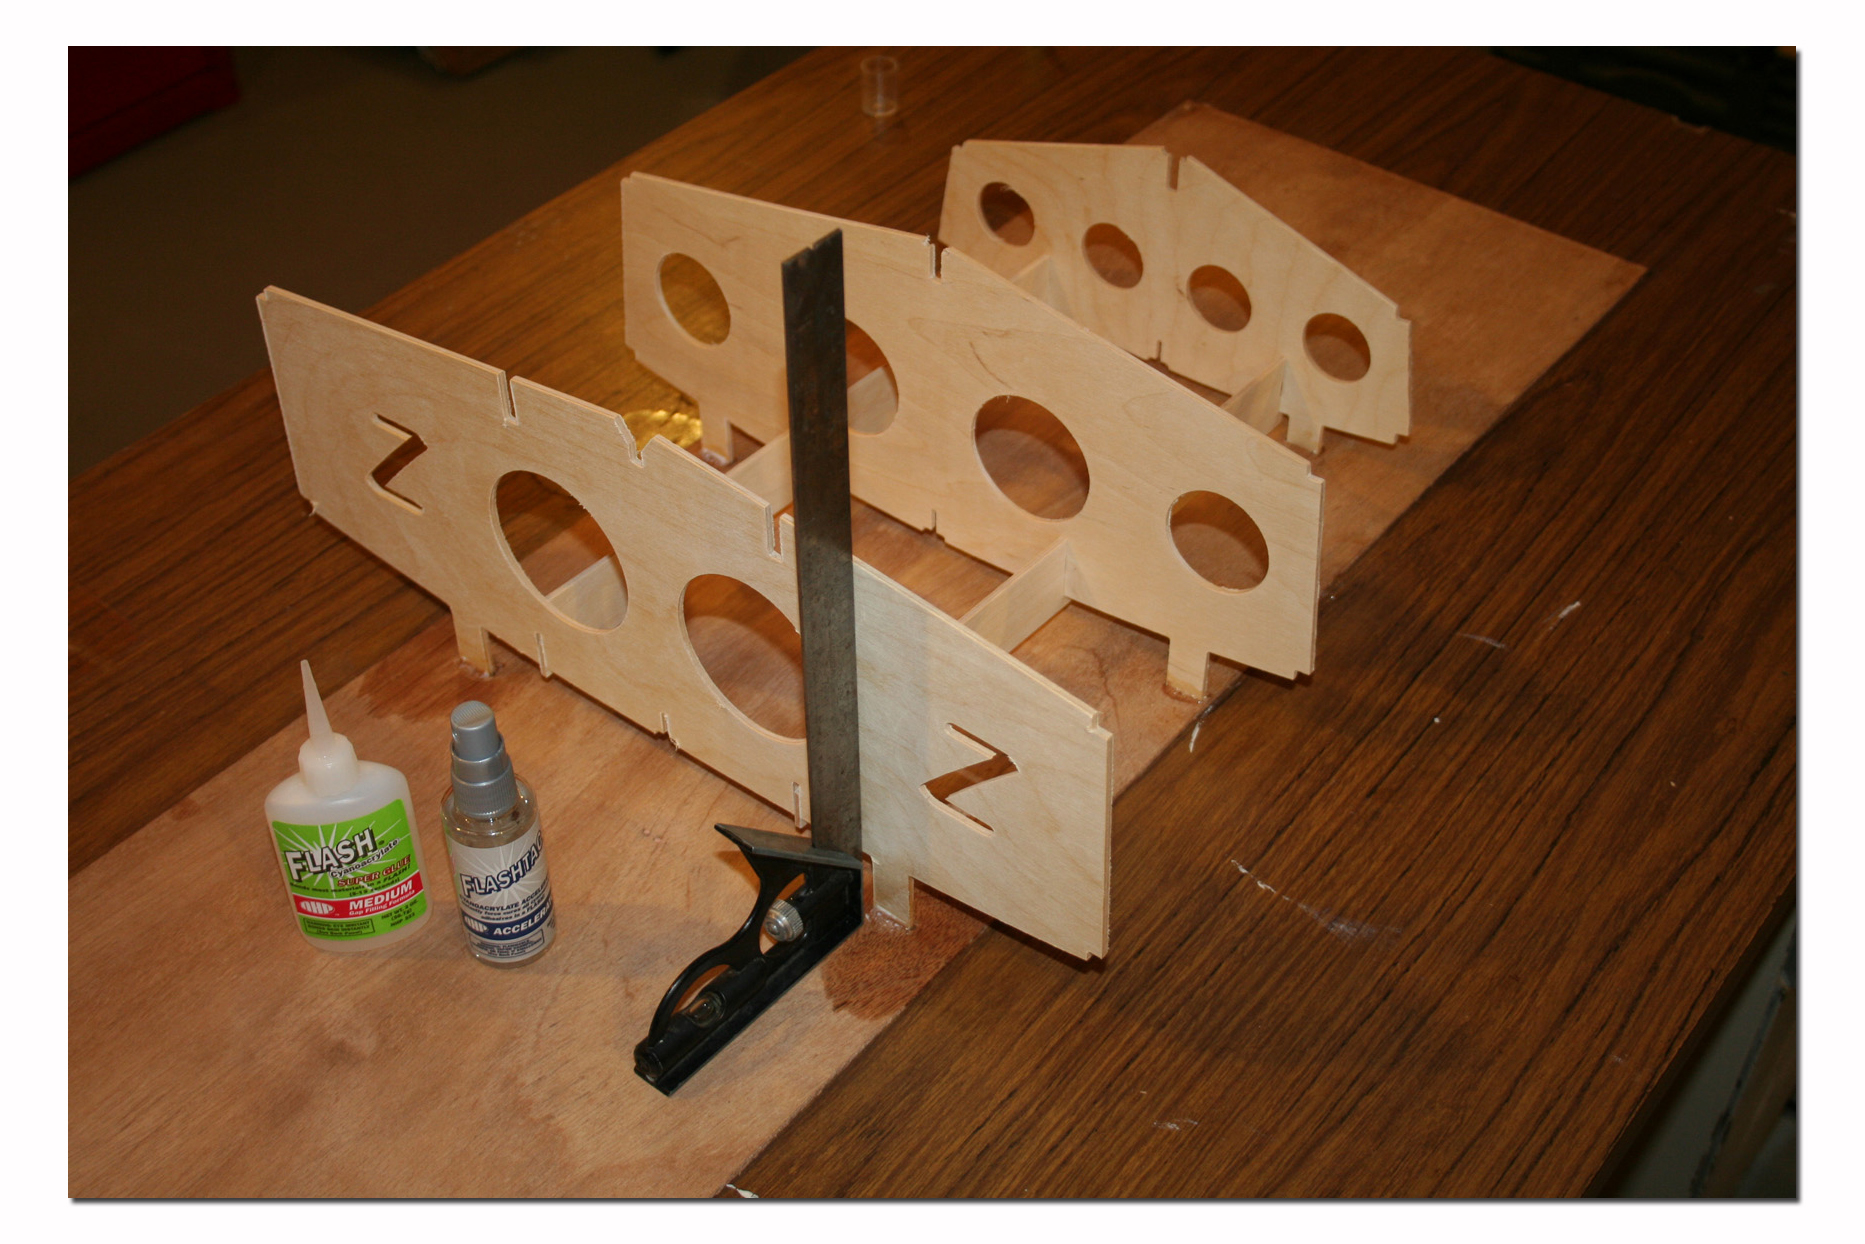
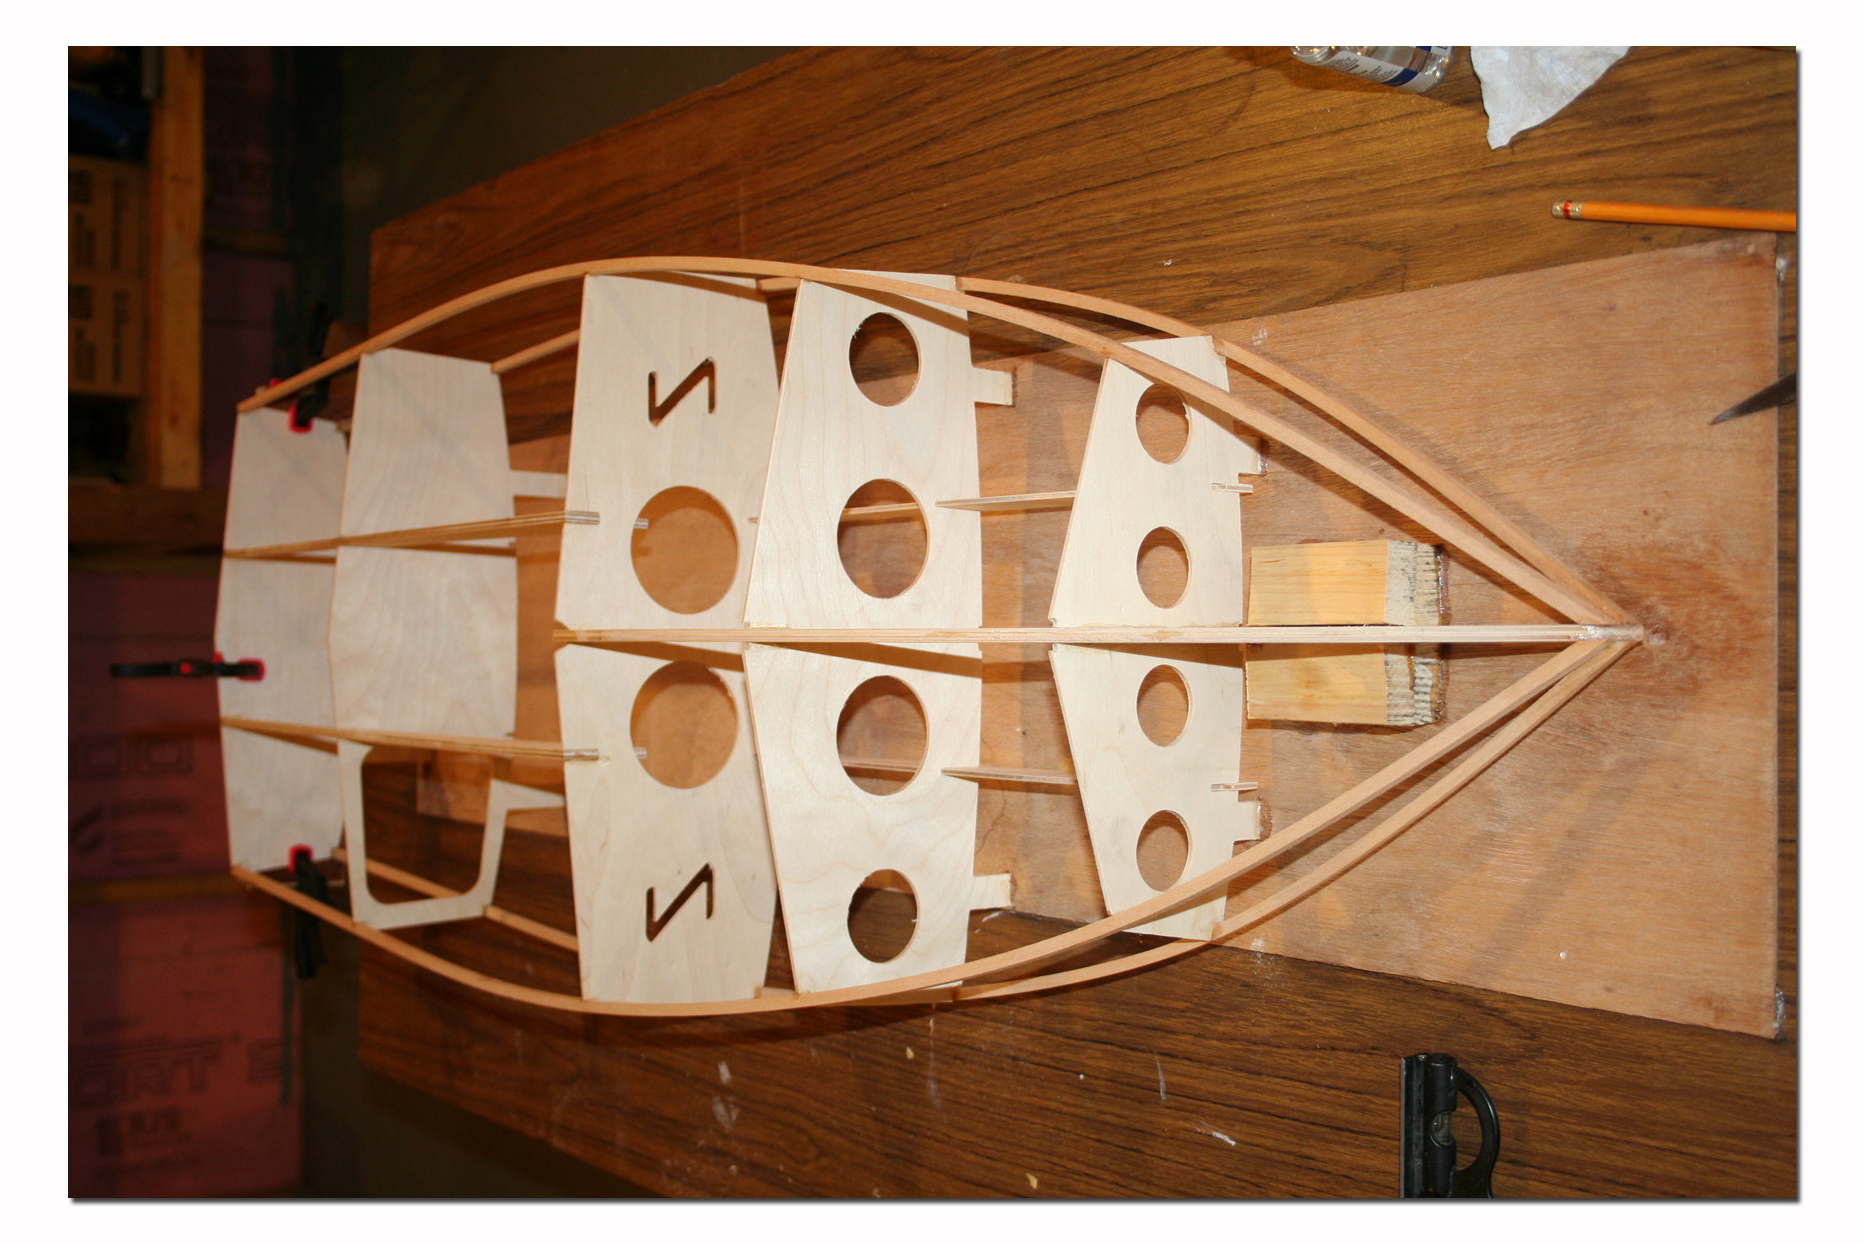
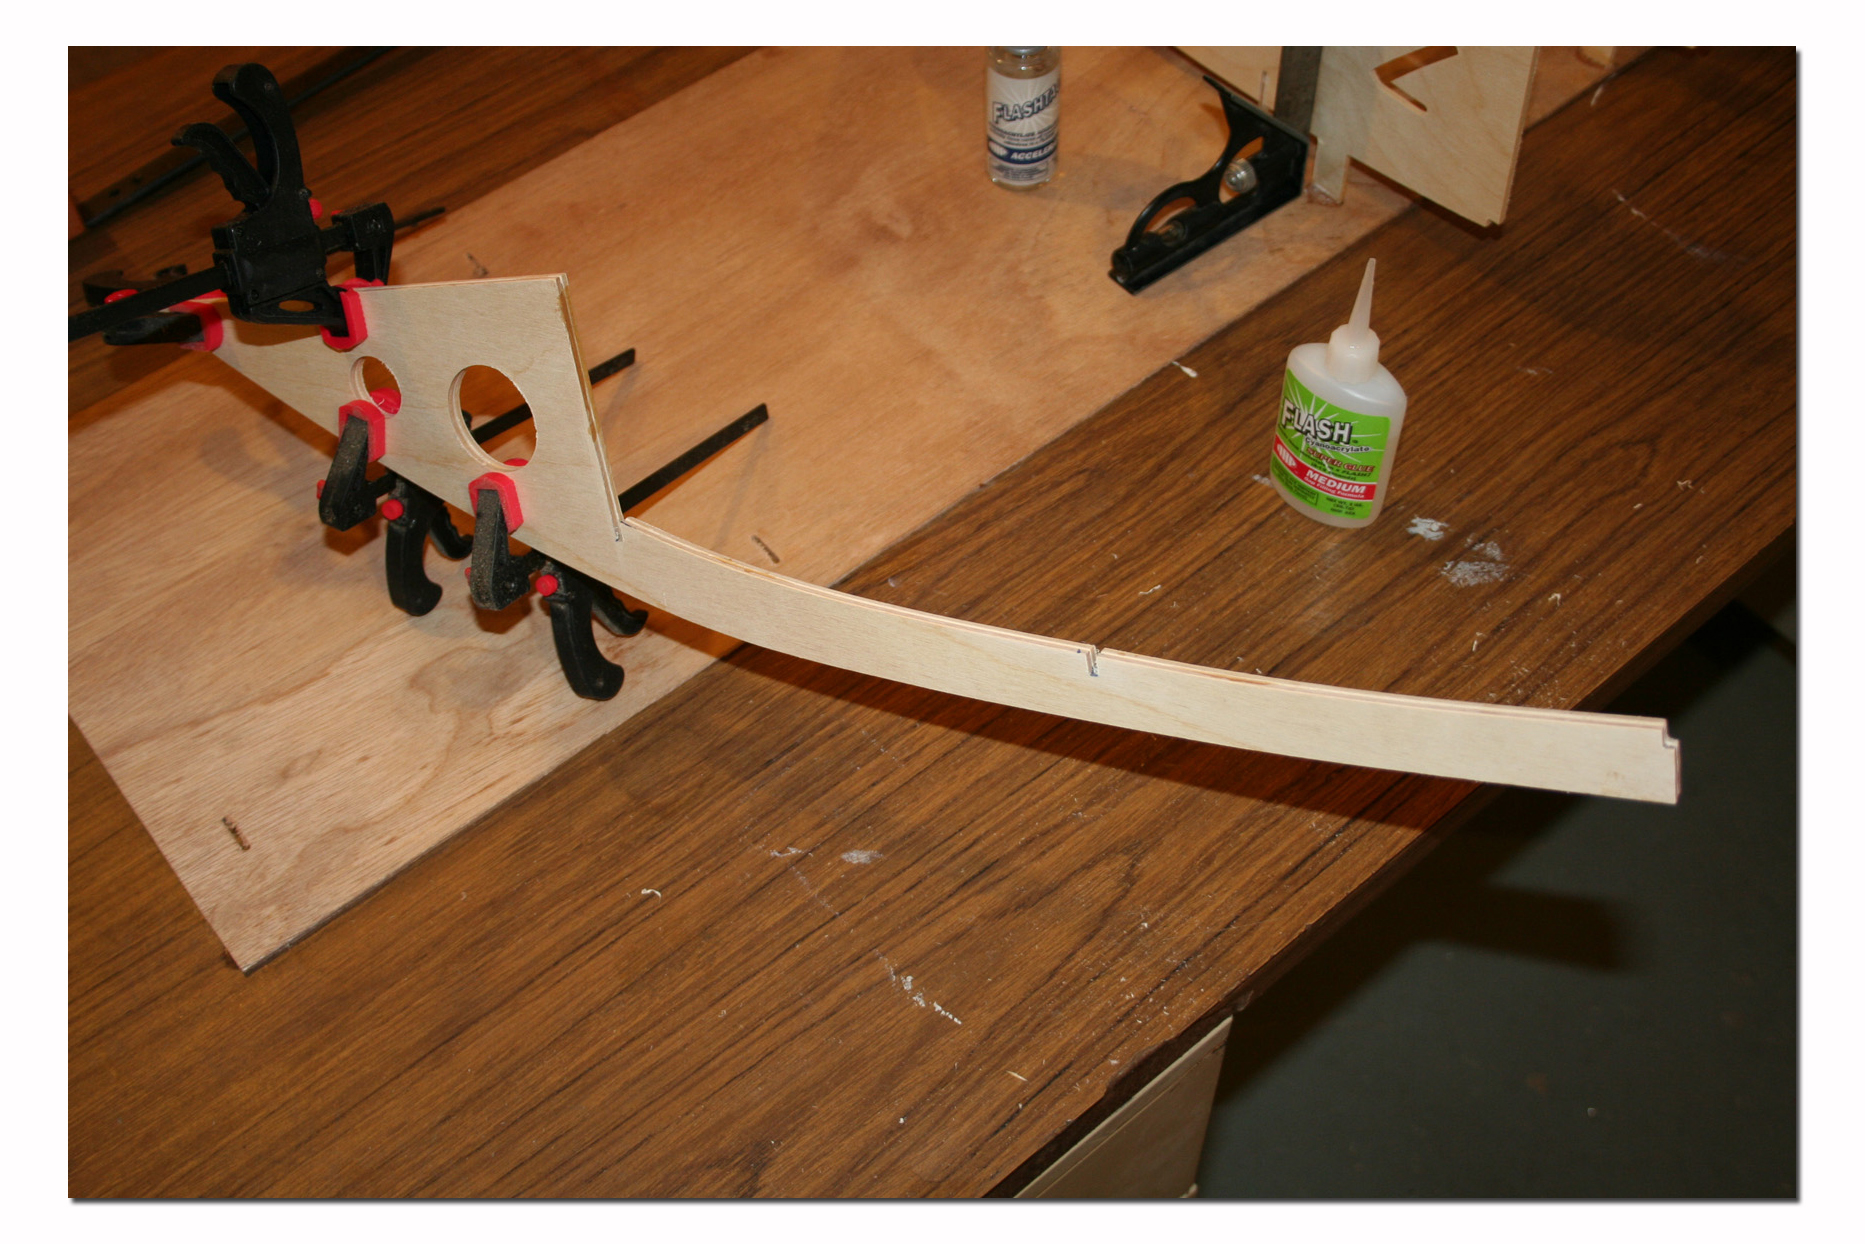 The first steps of the build go really fast. The bulkheads have tabs on them that fit into slots cut into the building jig. This makes lining everything up real easy. With the use of a square you make sure everything is straight and use some medium C.A. to secure the parts. It is very important to make sure everyting is straight at this point because this is the boat's frame. If this is not straight the boat will not be either. To ensure the transom (bulkhead 5) is straight you check it with a square and also use a piece of straight hardwood clamped to it to make sure the is no curve in the plywood. The keel is done using 2 matching 1/8 plywood parts laminated together making it very strong. Within no time it actually starts looking like a boat!
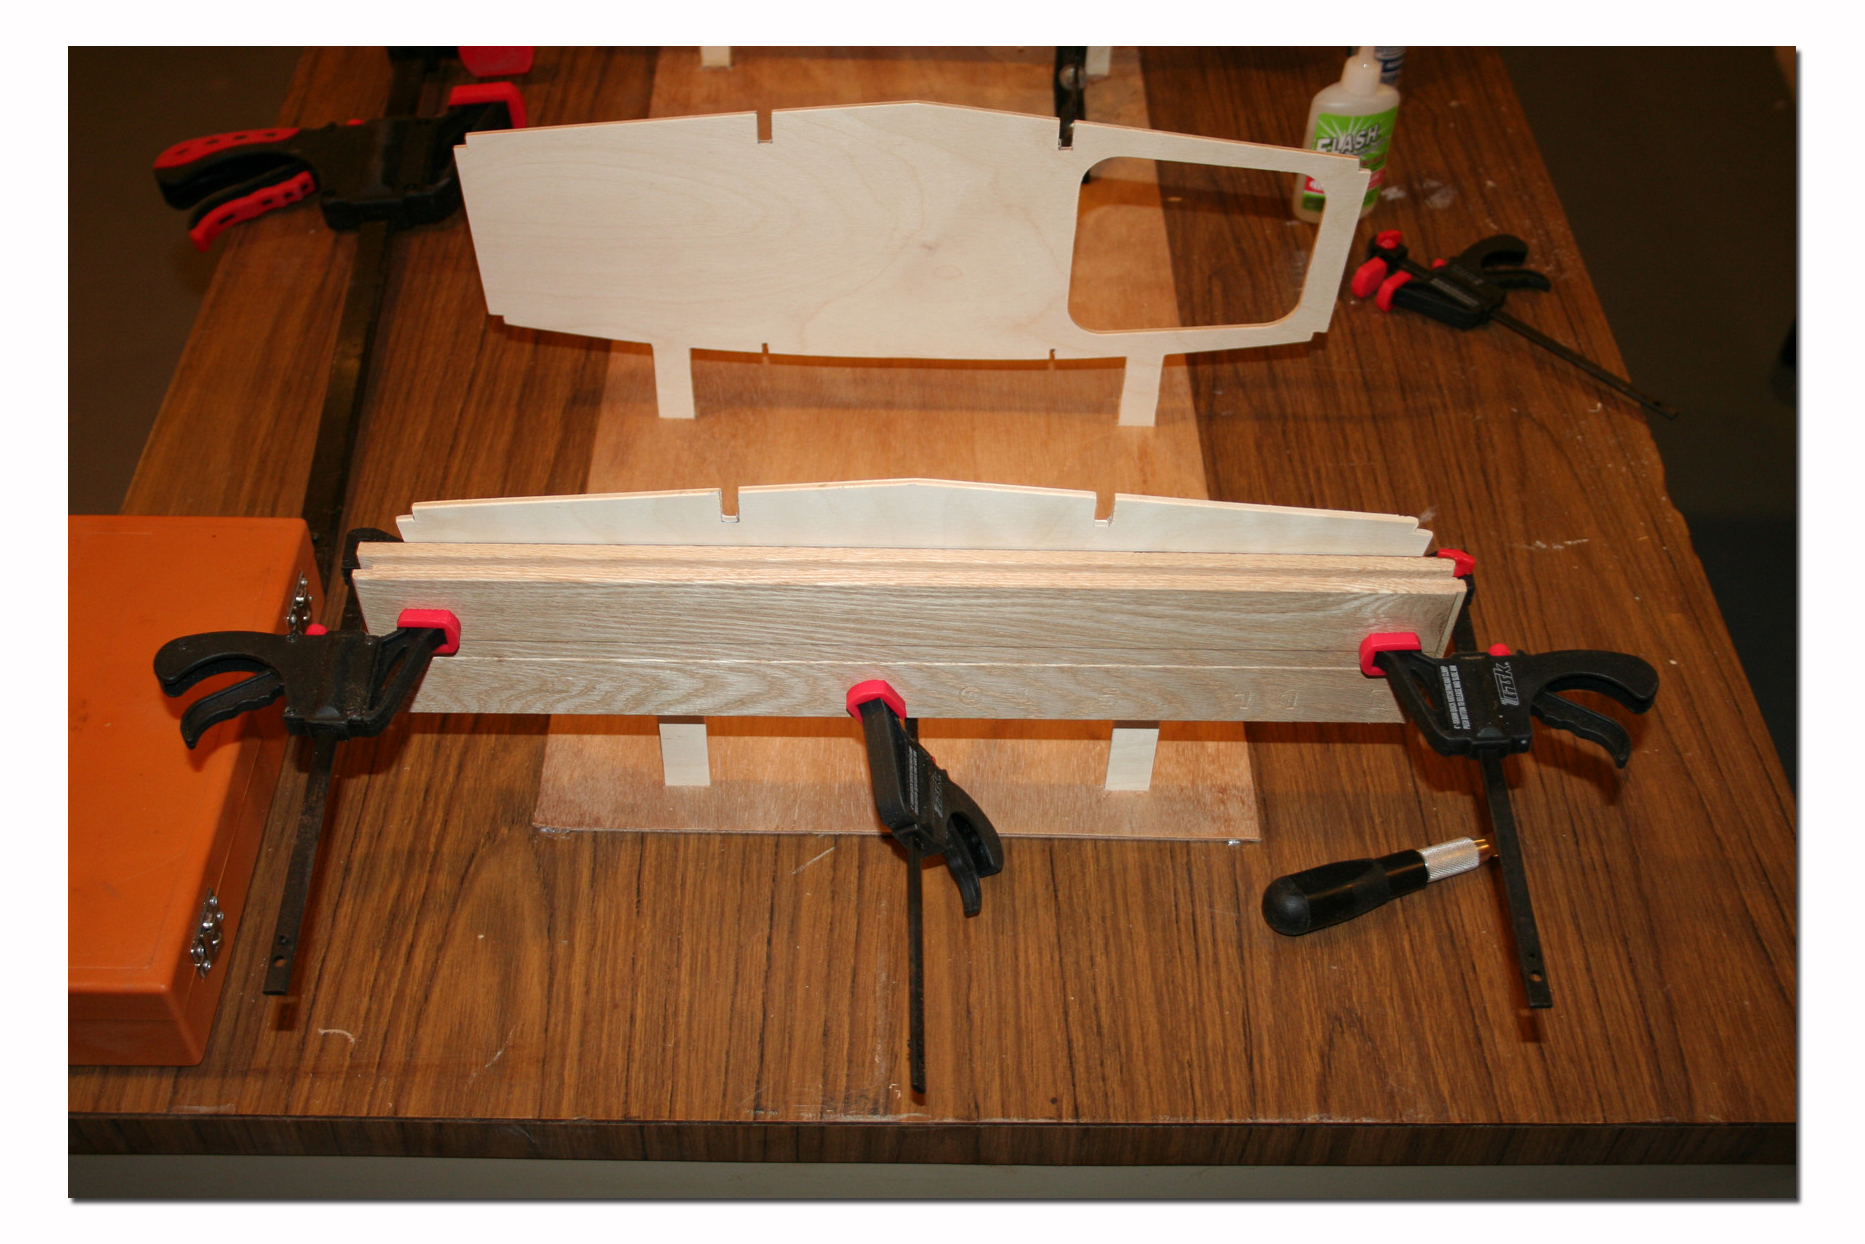
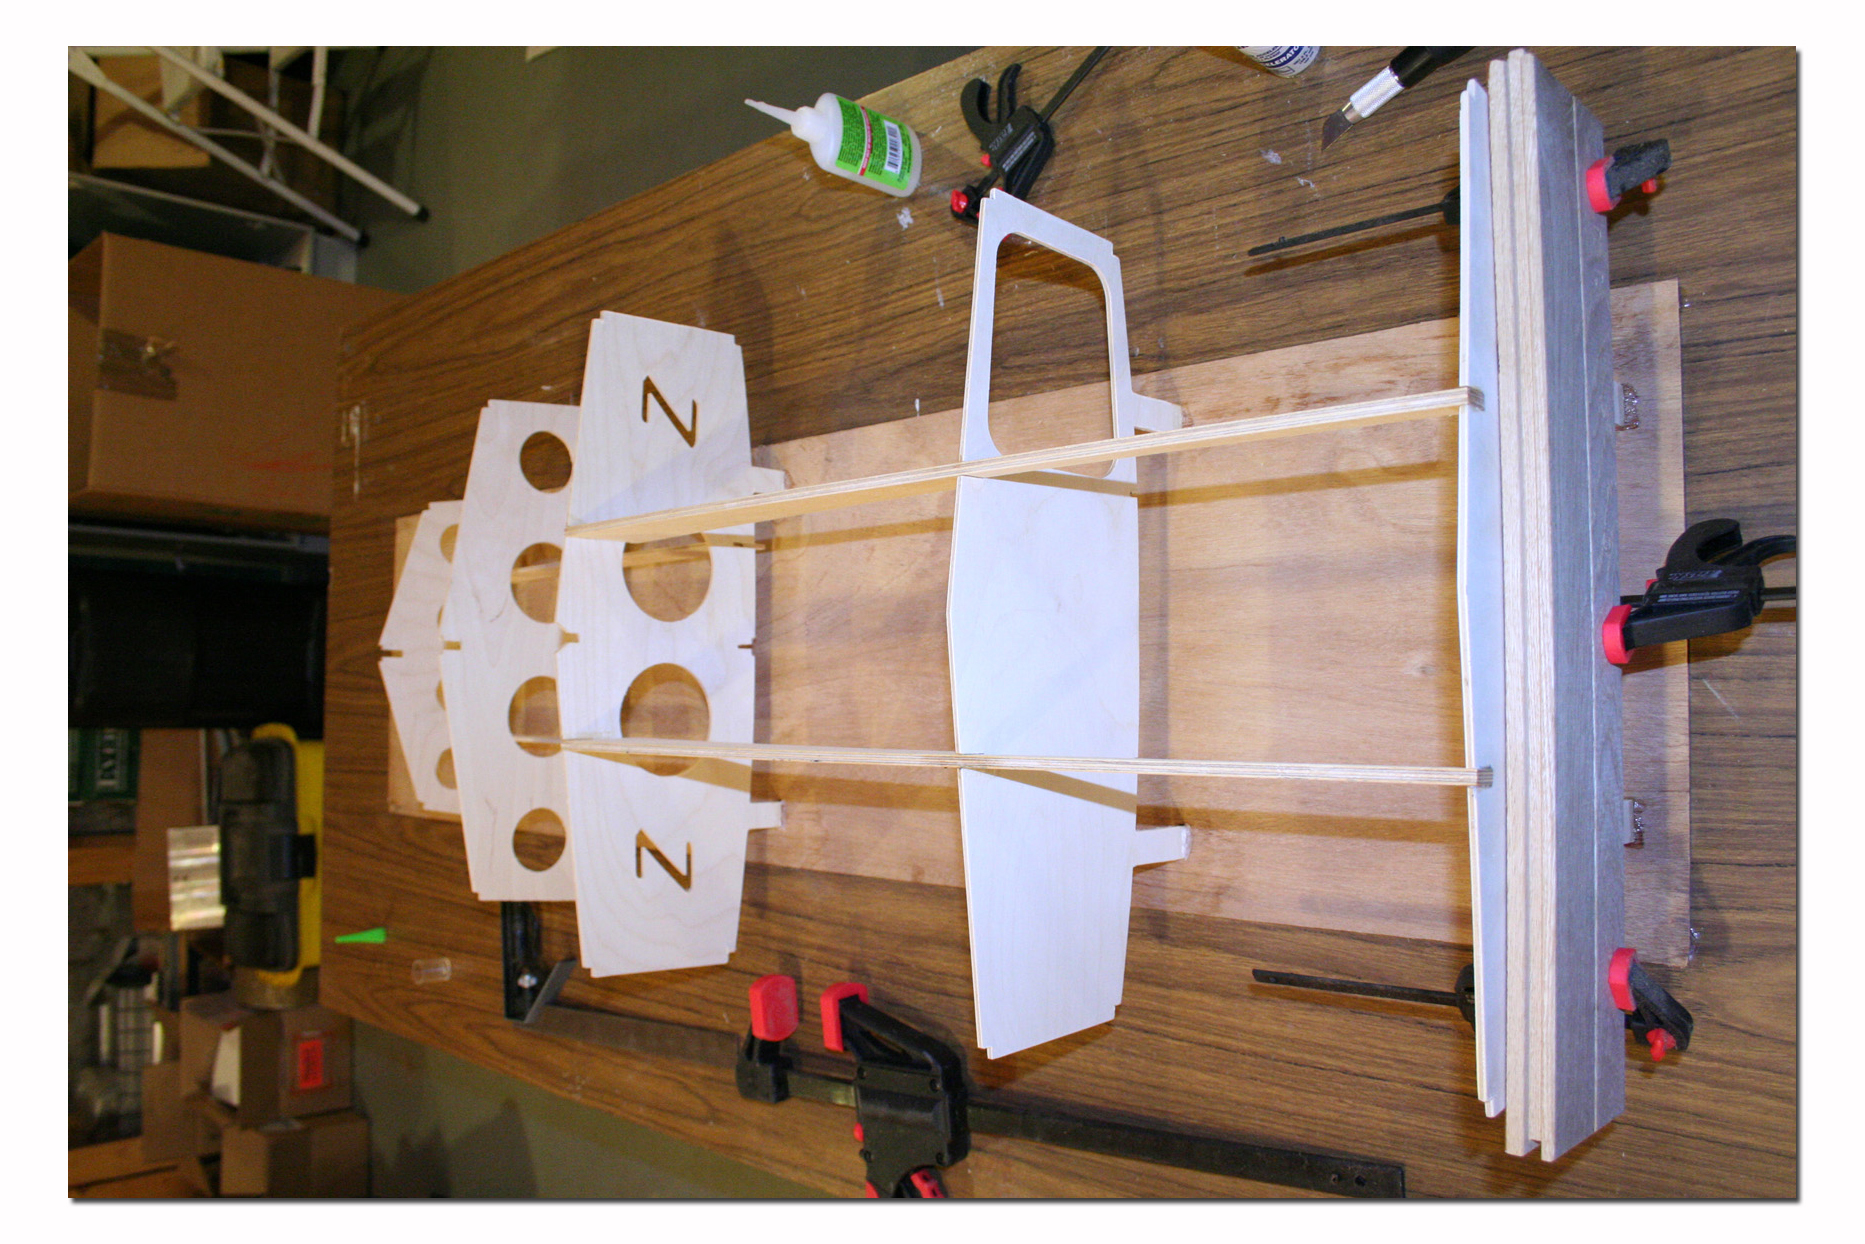
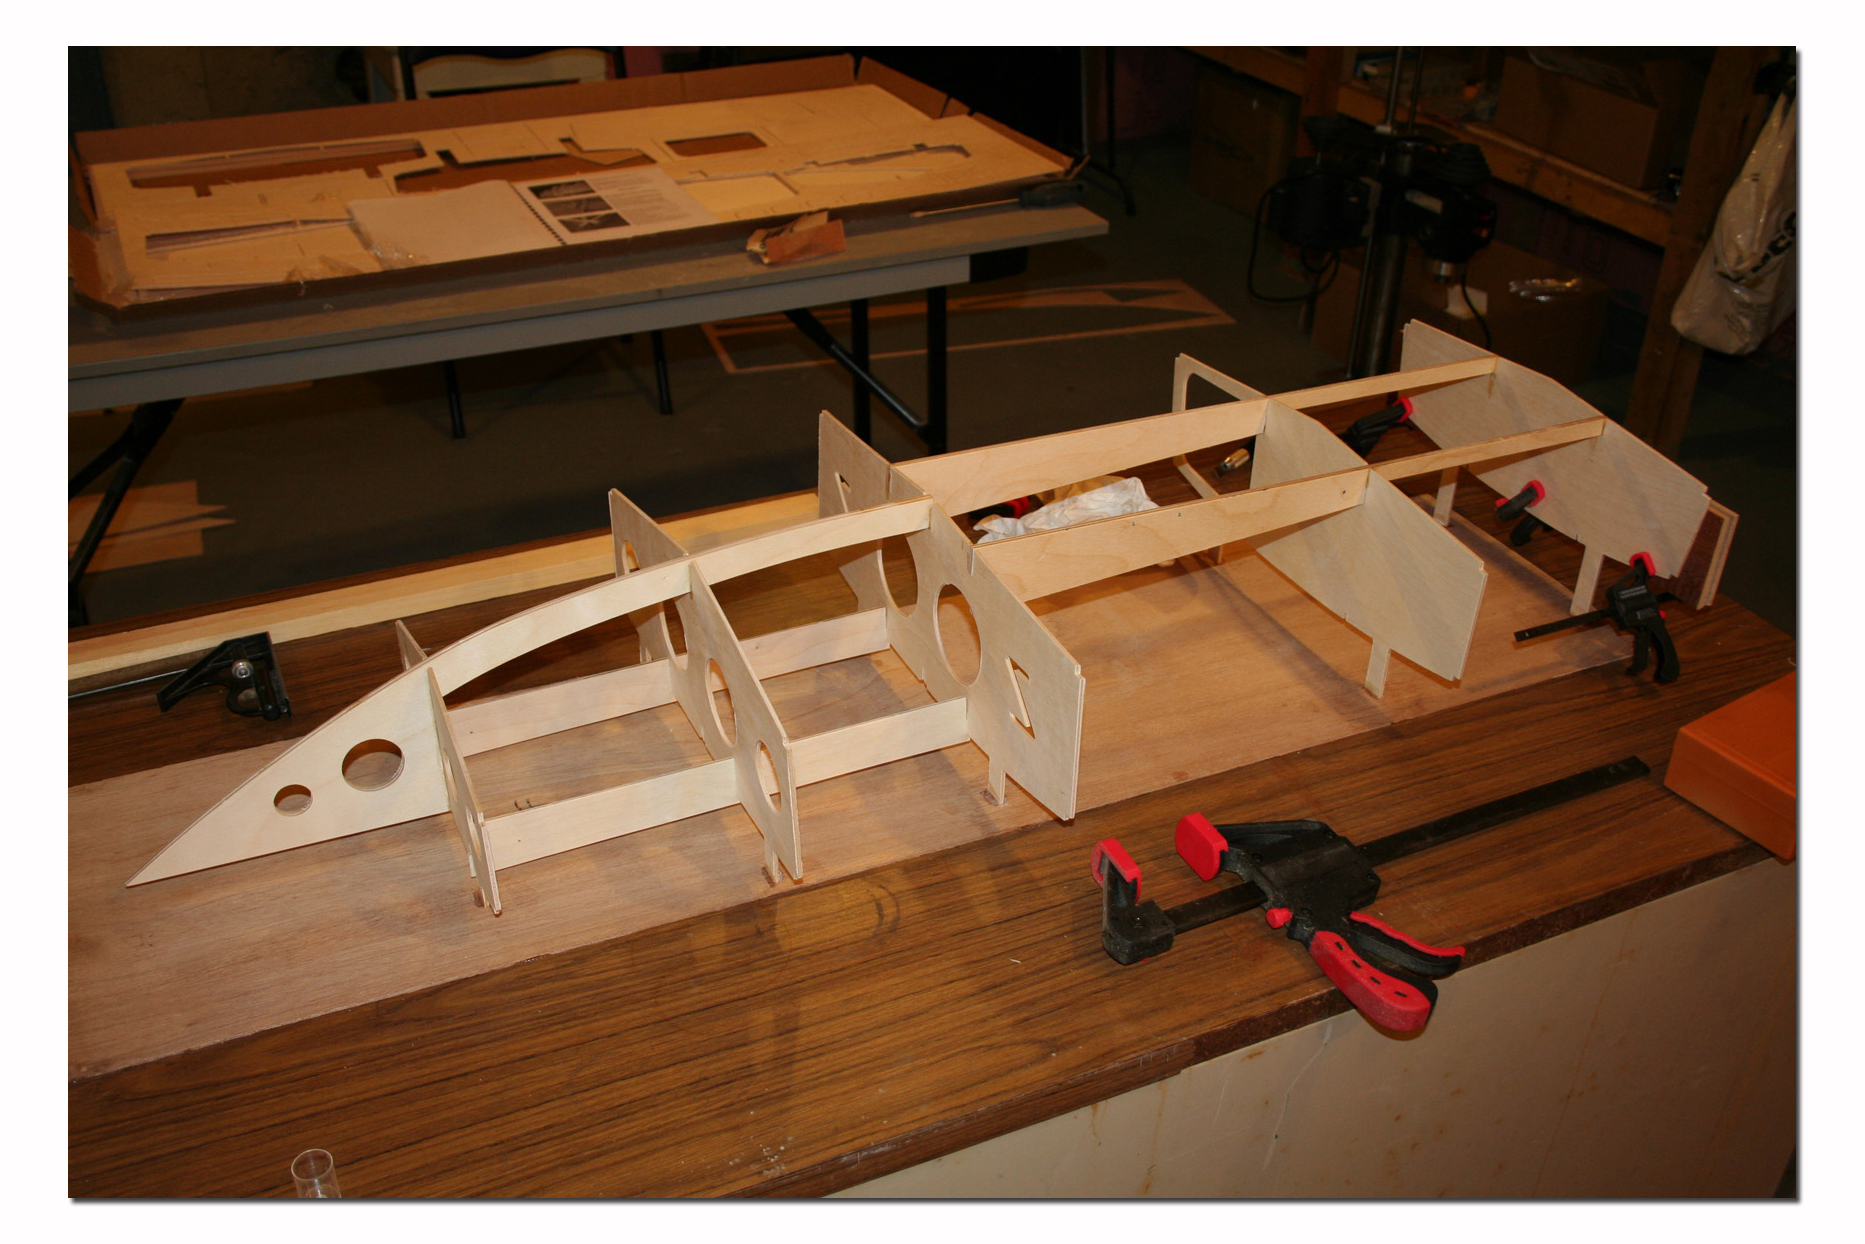
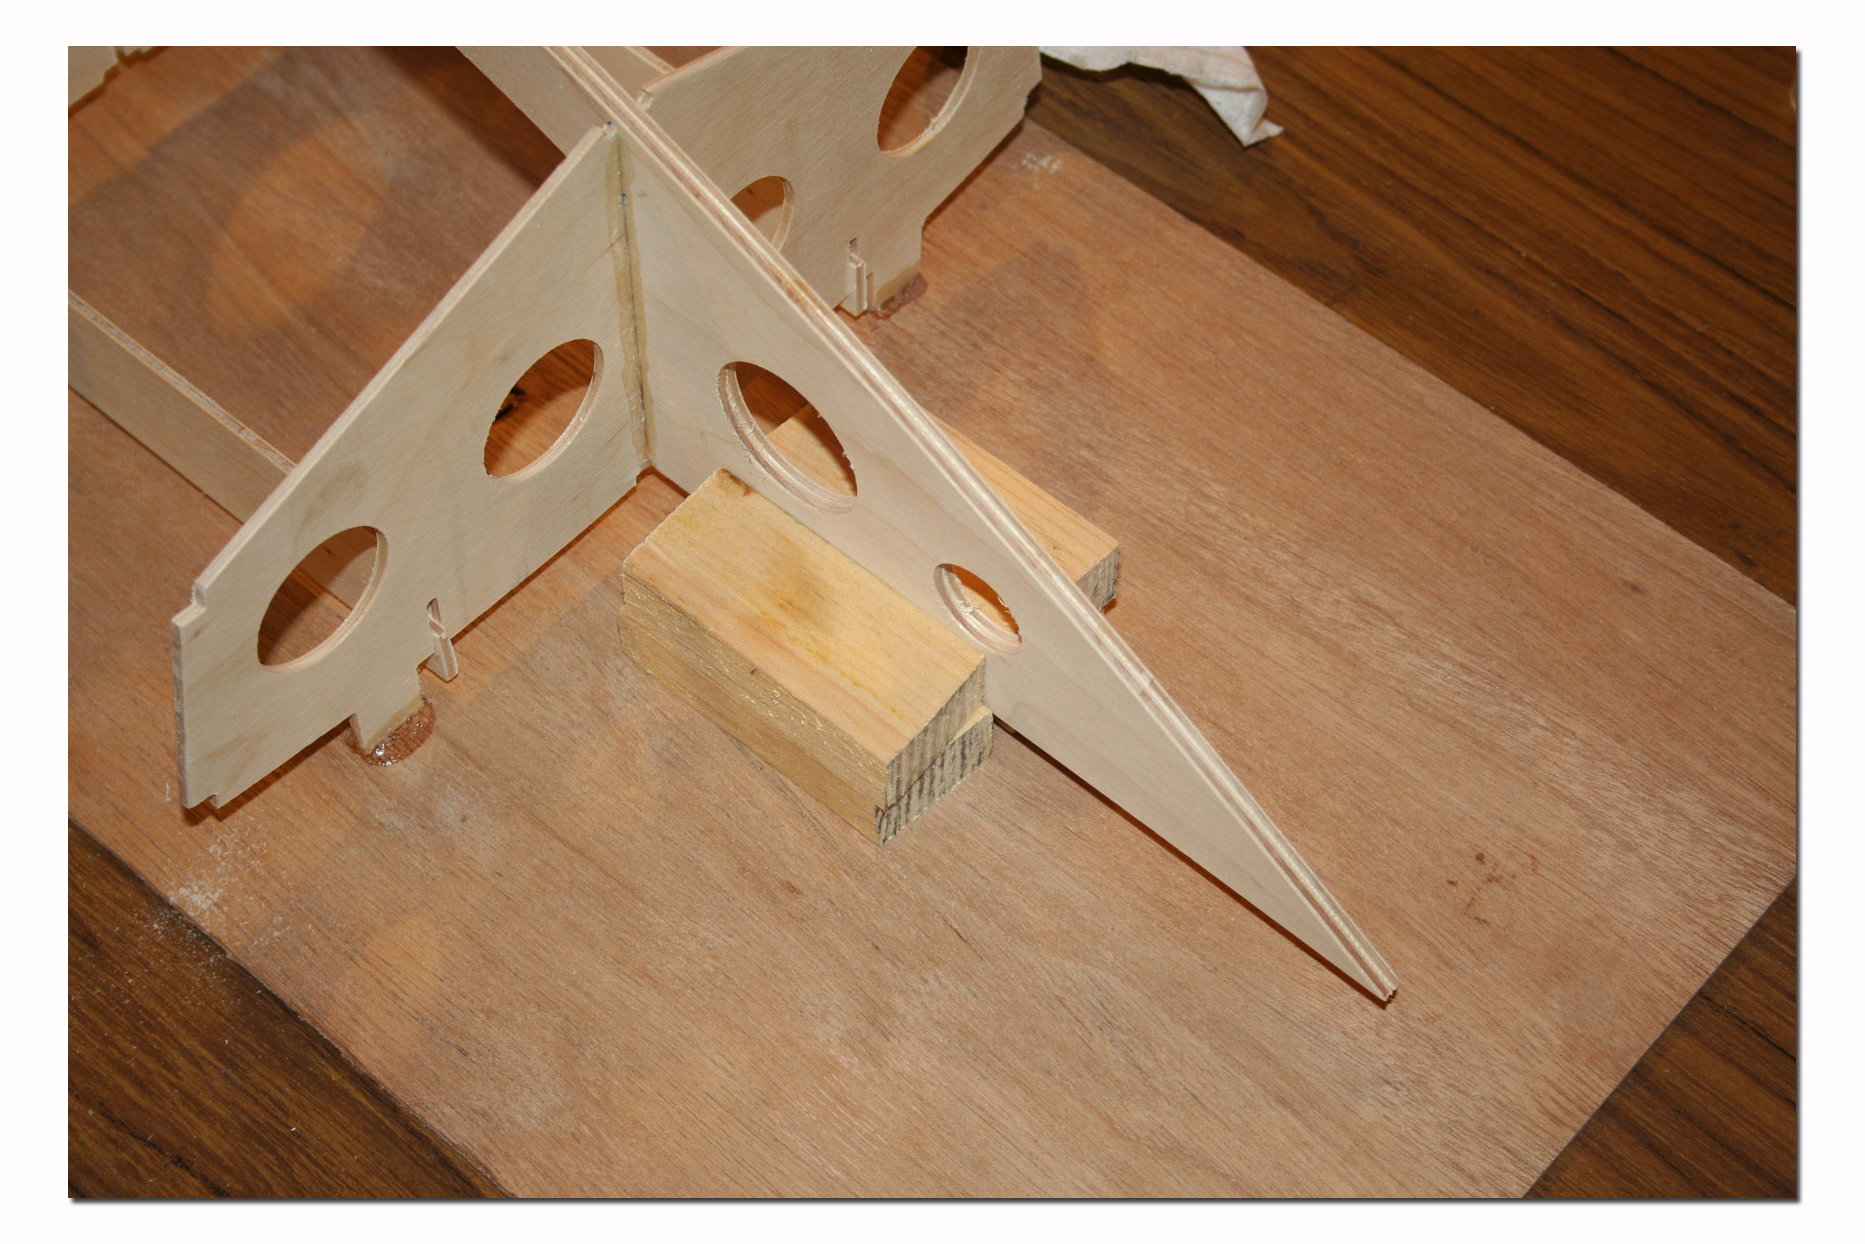
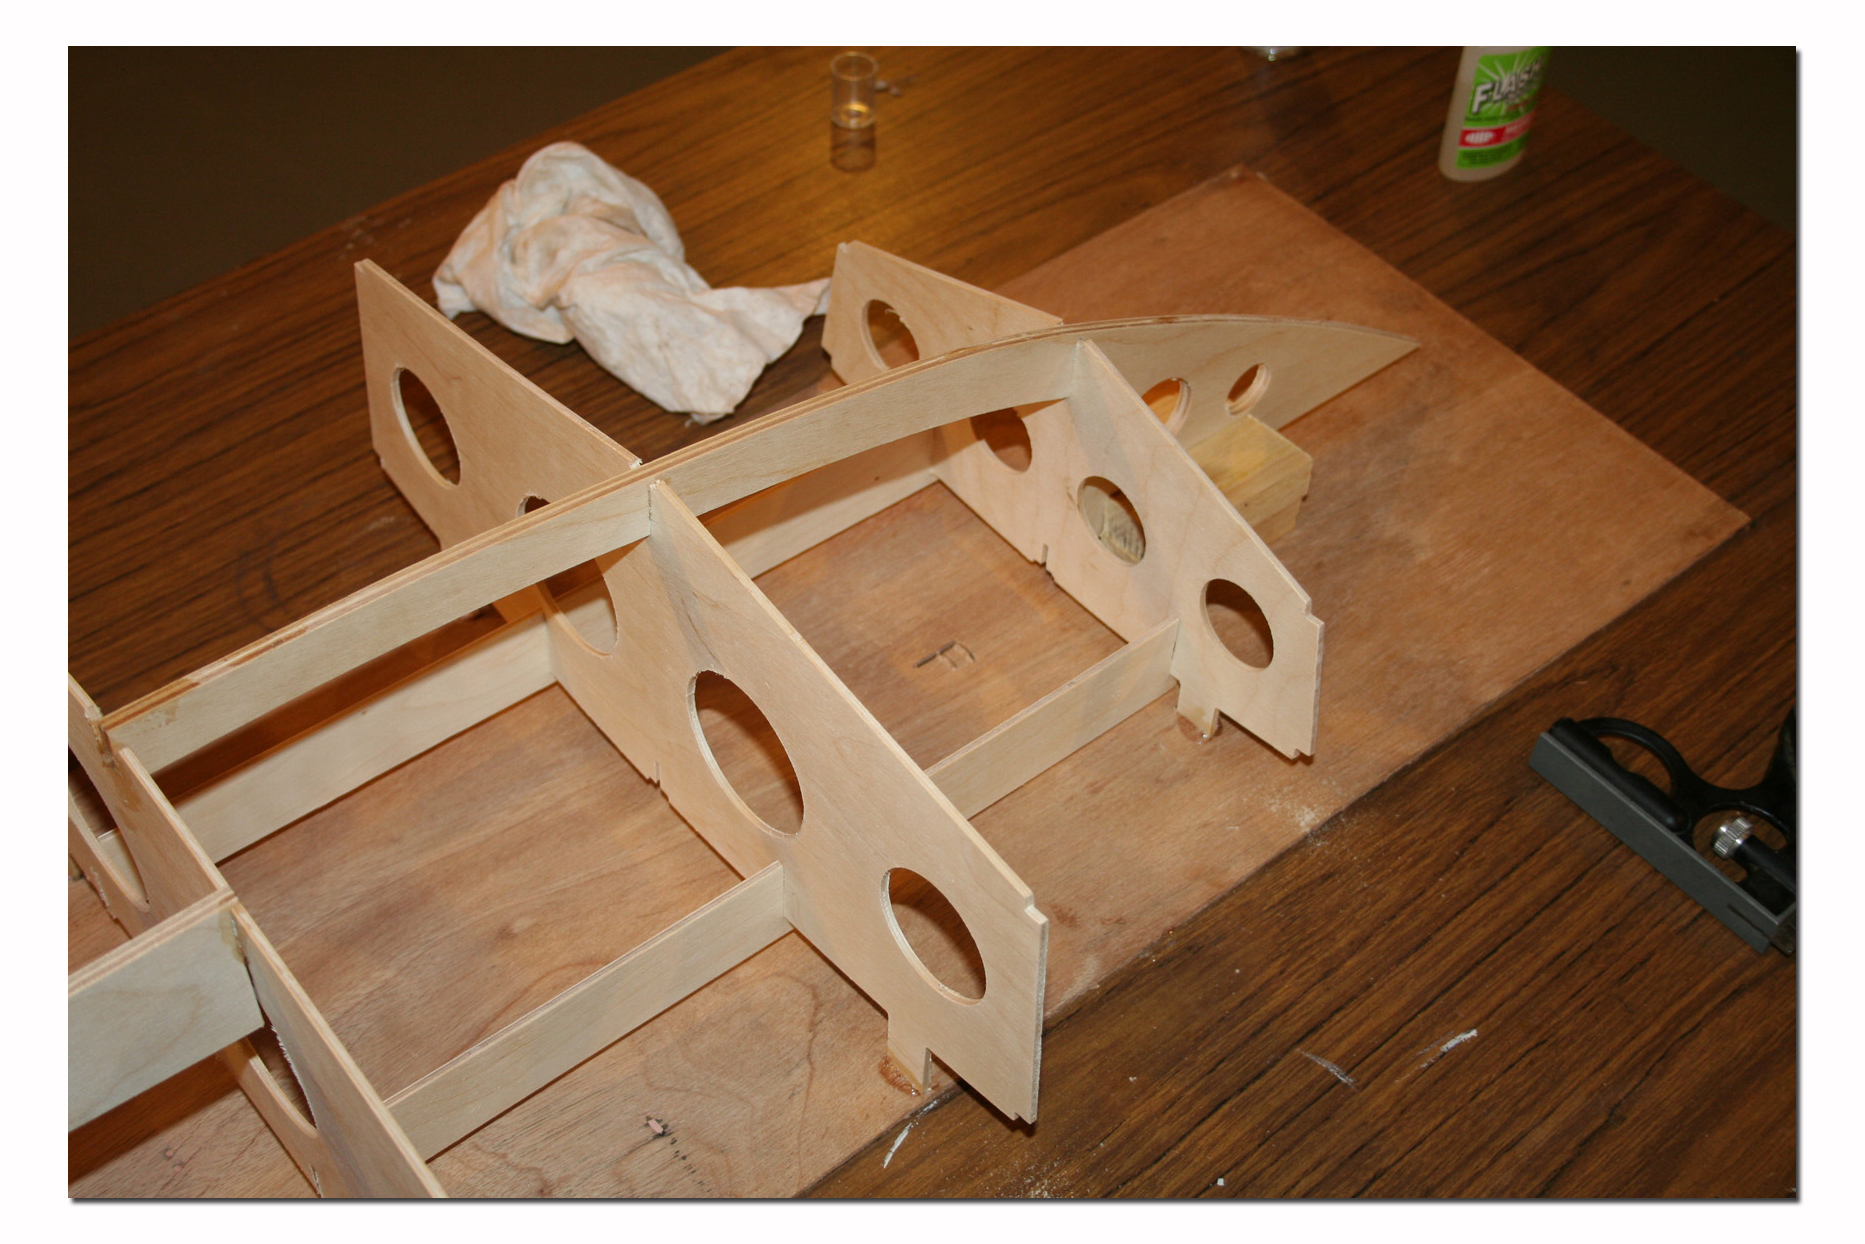
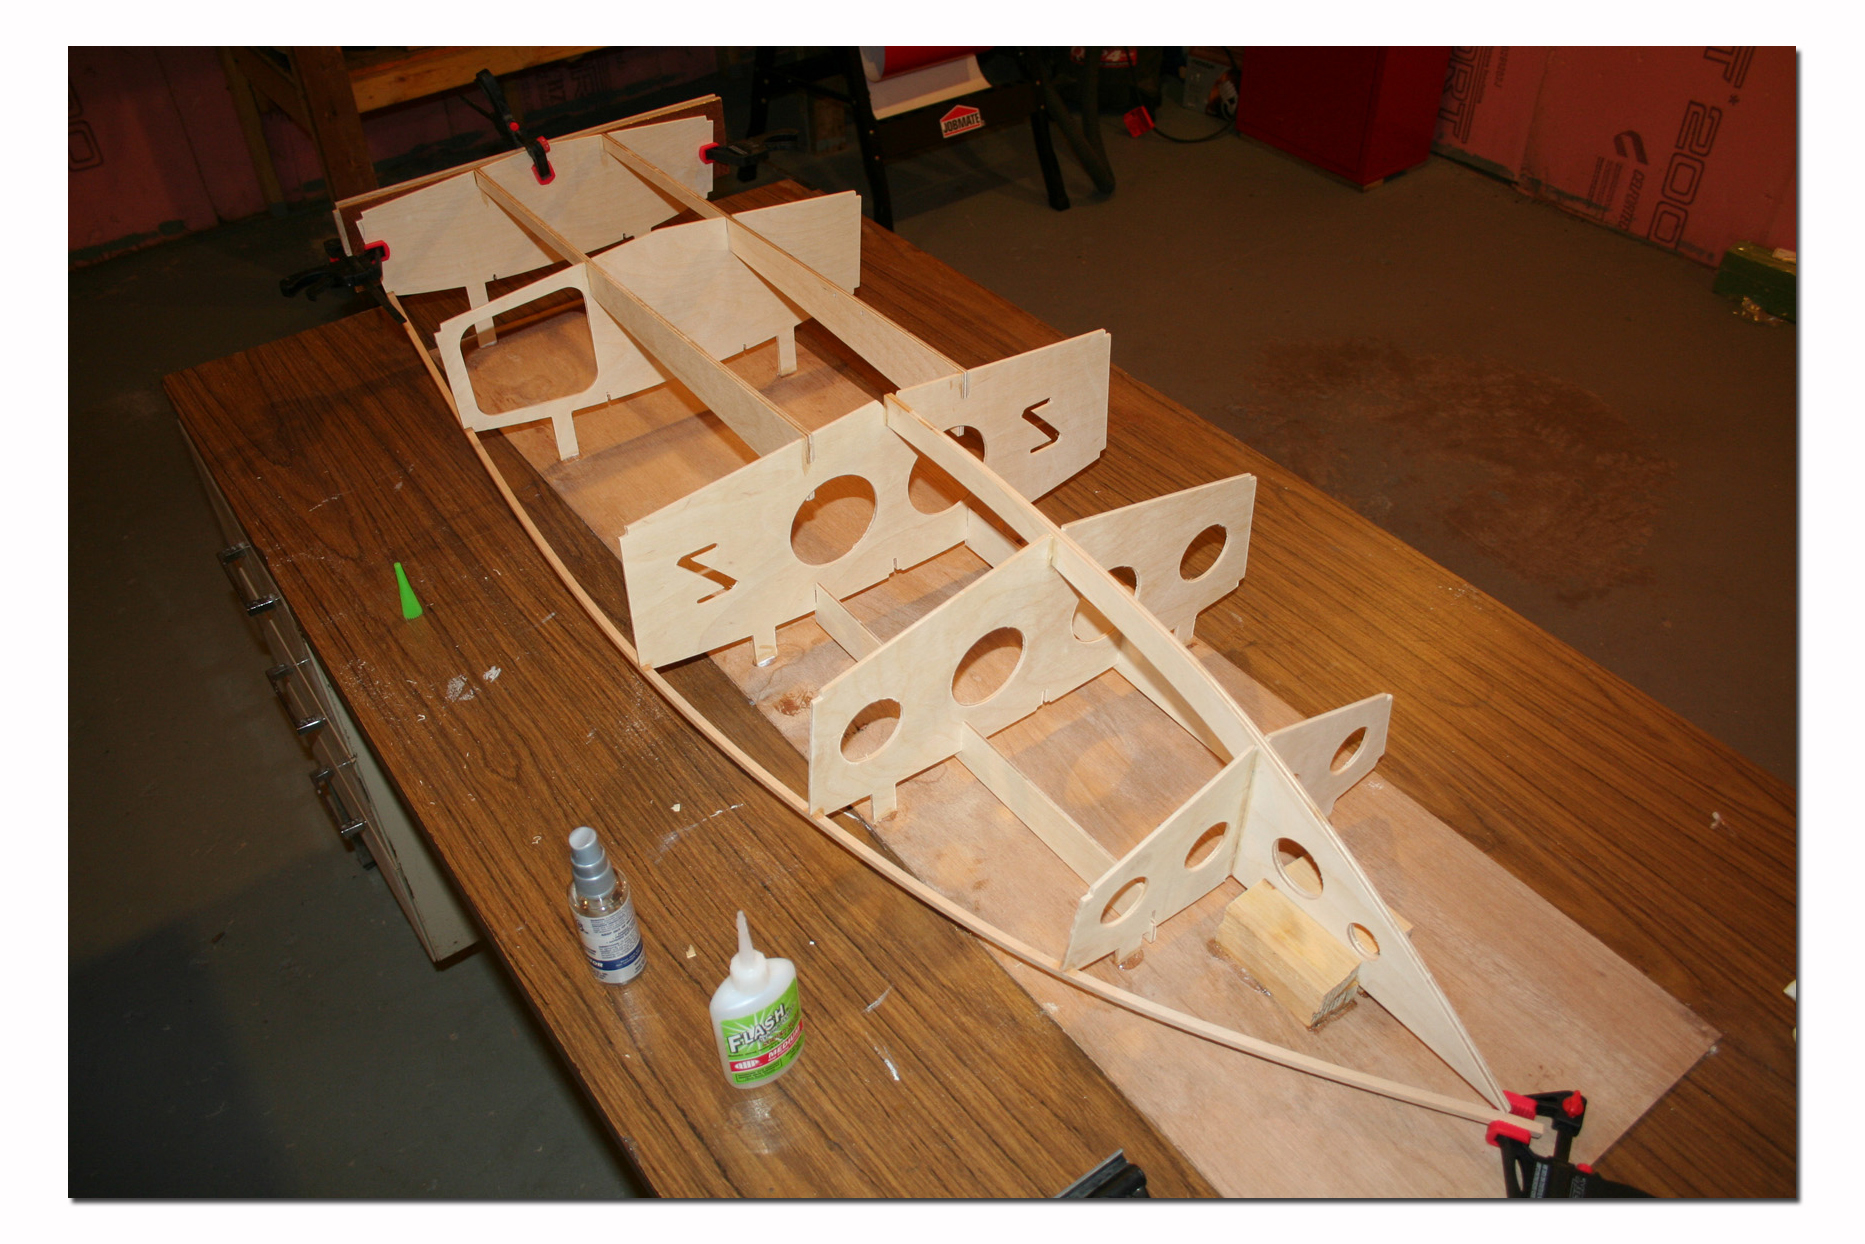
When you get to the installation of the striners things start getting a little more complicated. Nothing to be worried about but special care should be taken to ensure the stringers are blended together nicely at the bow and that they are well centered. Follow the instructions closely!
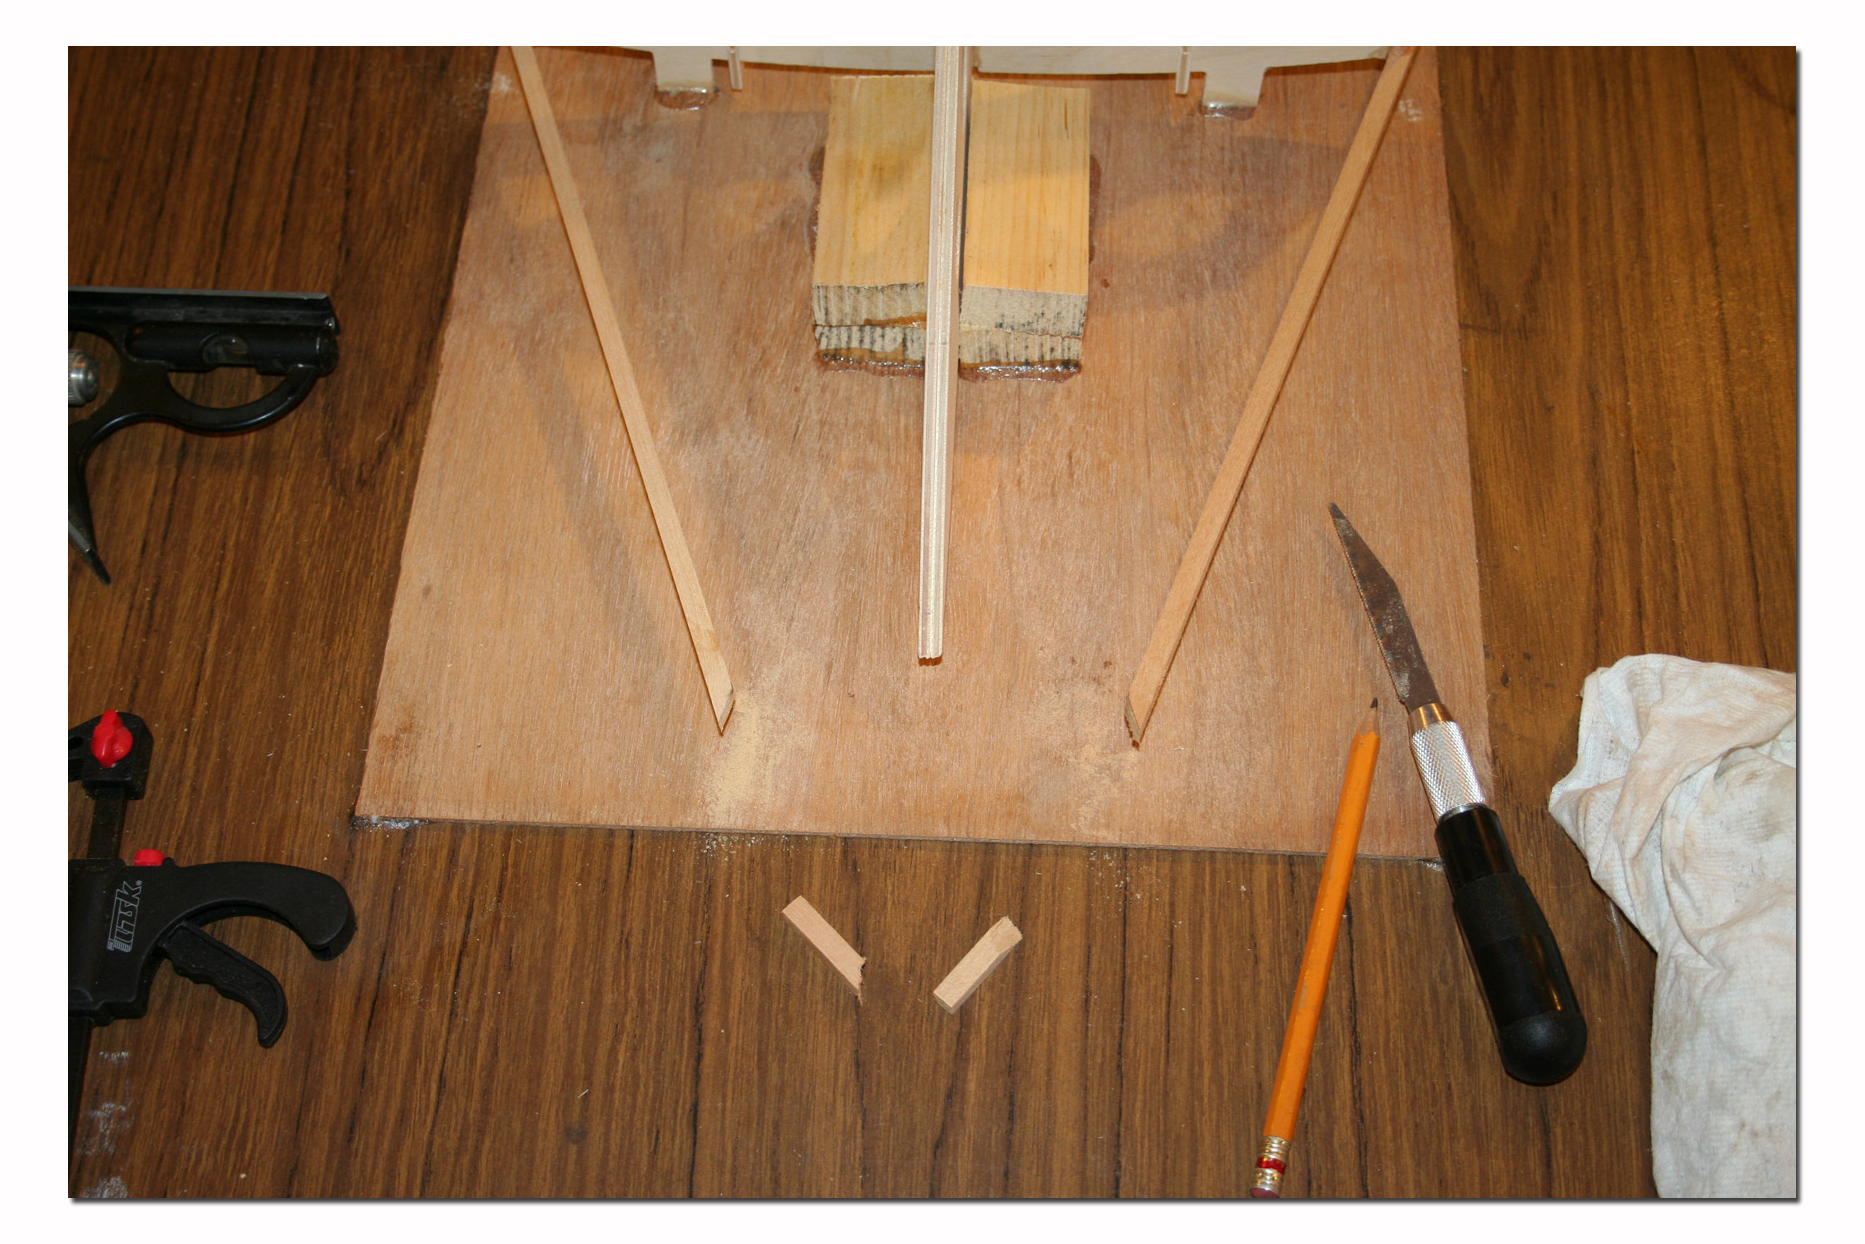
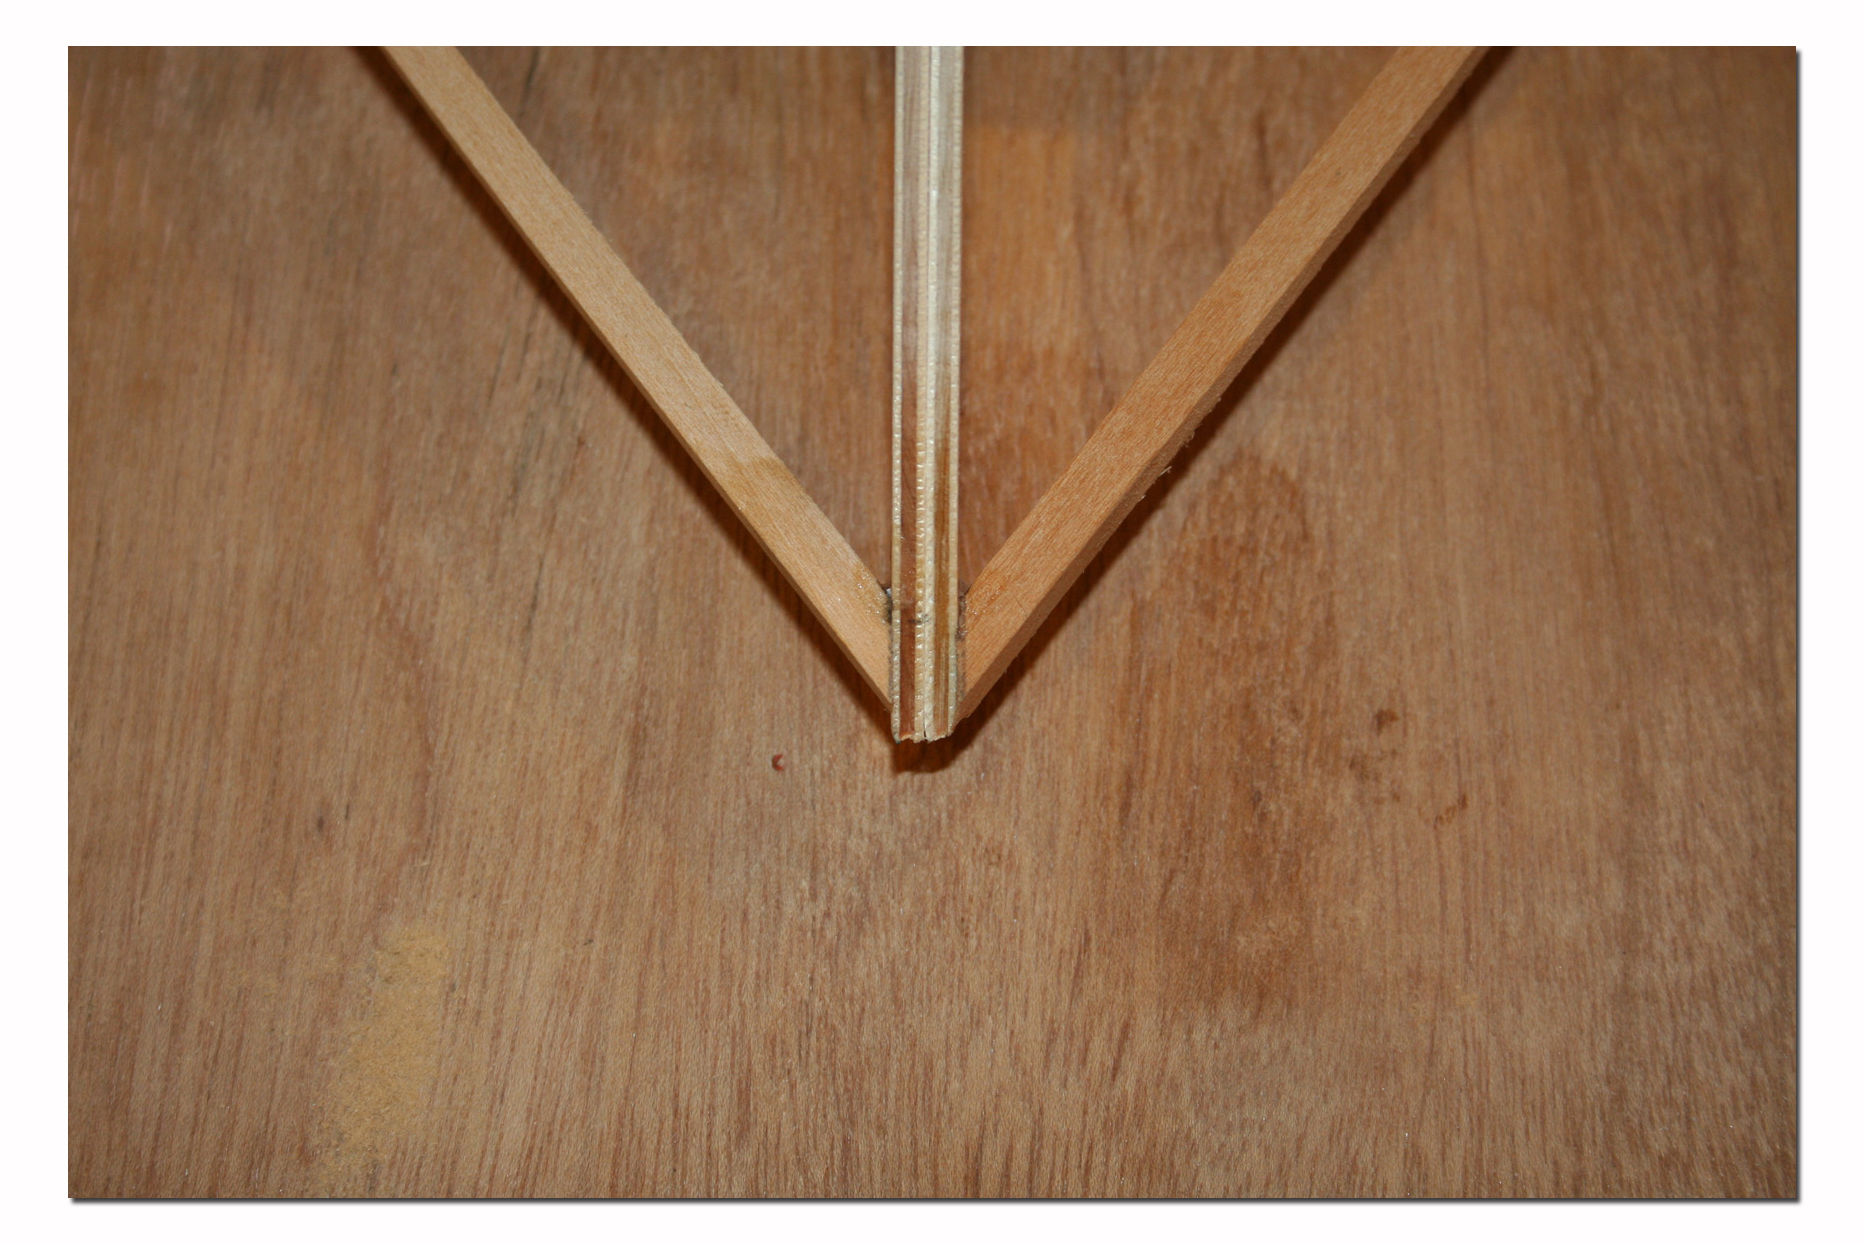
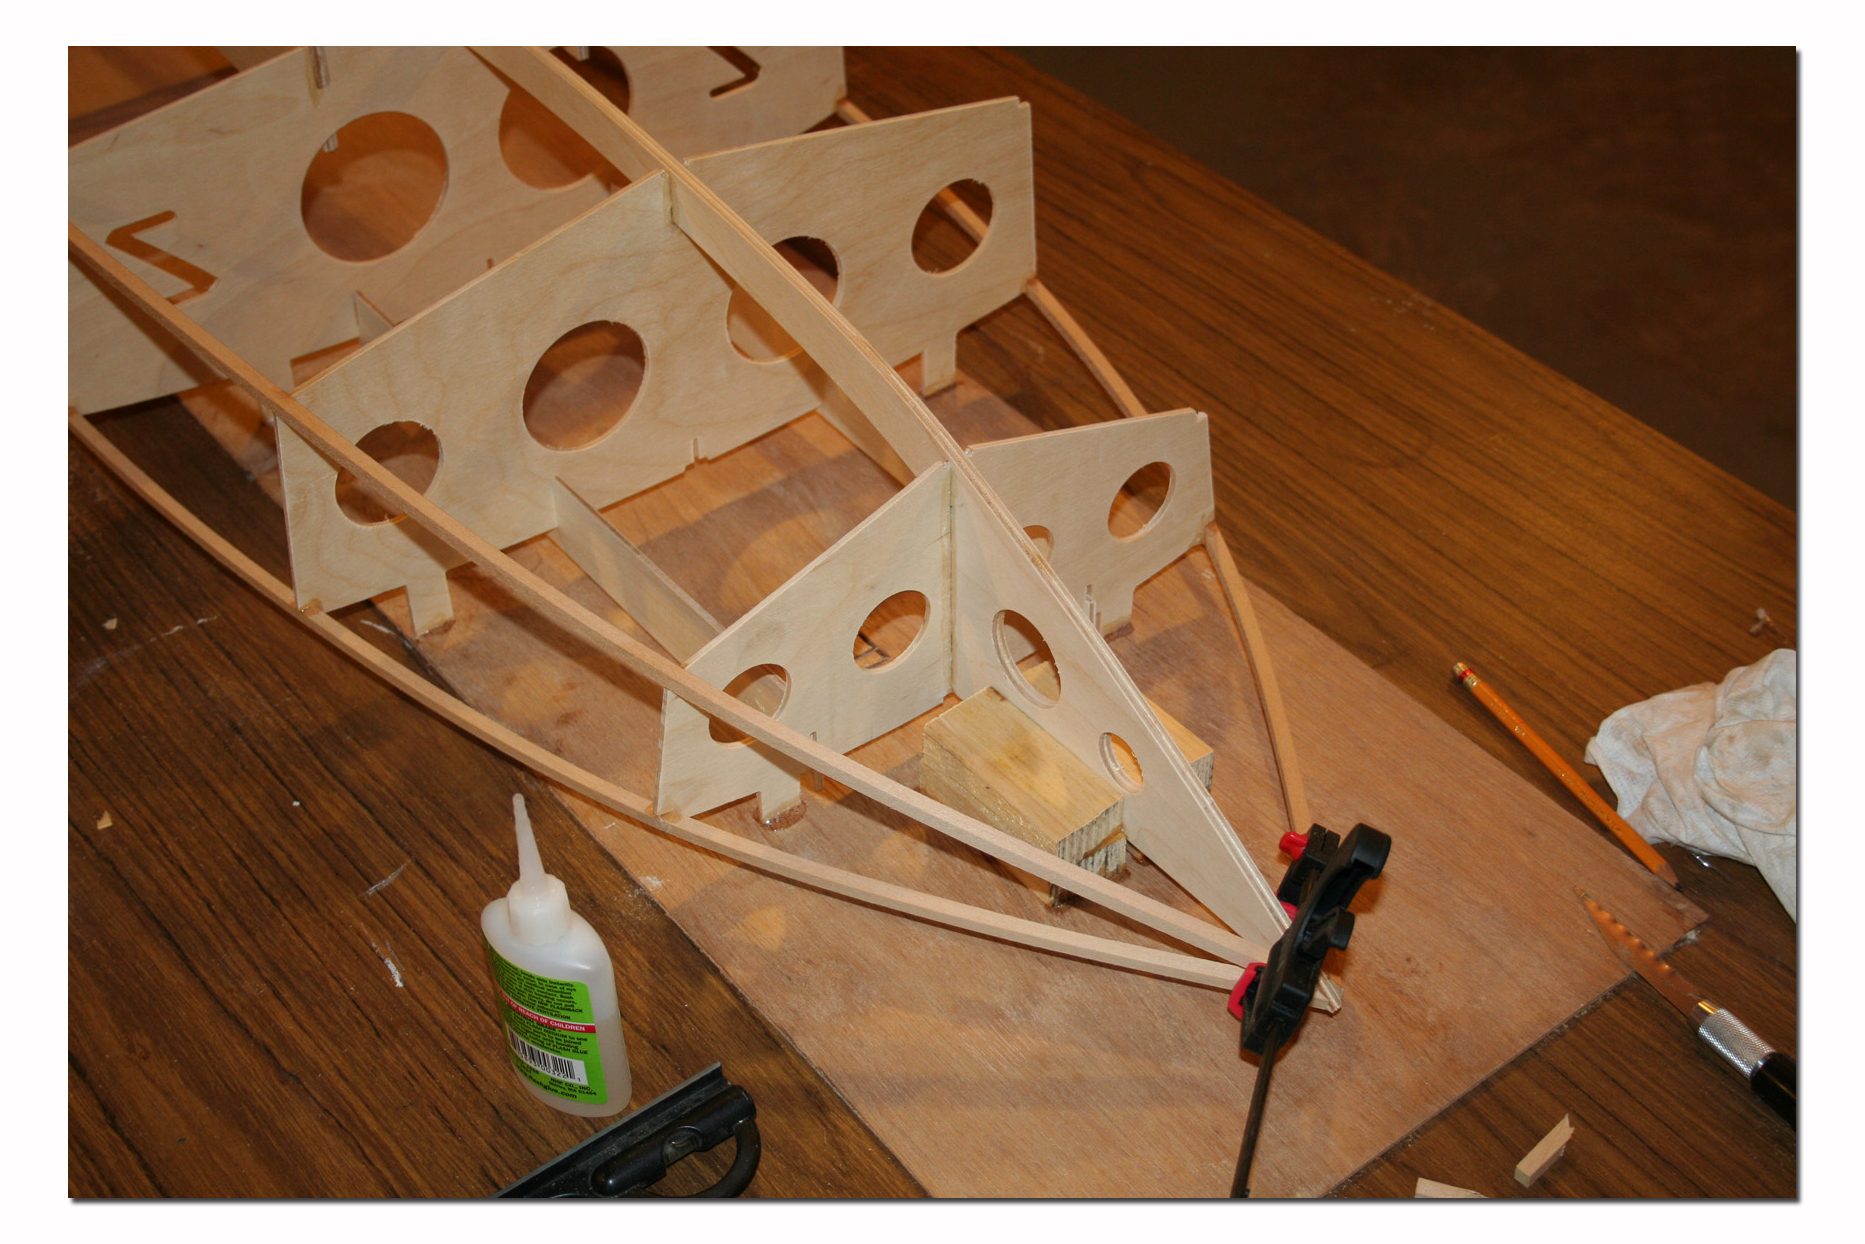
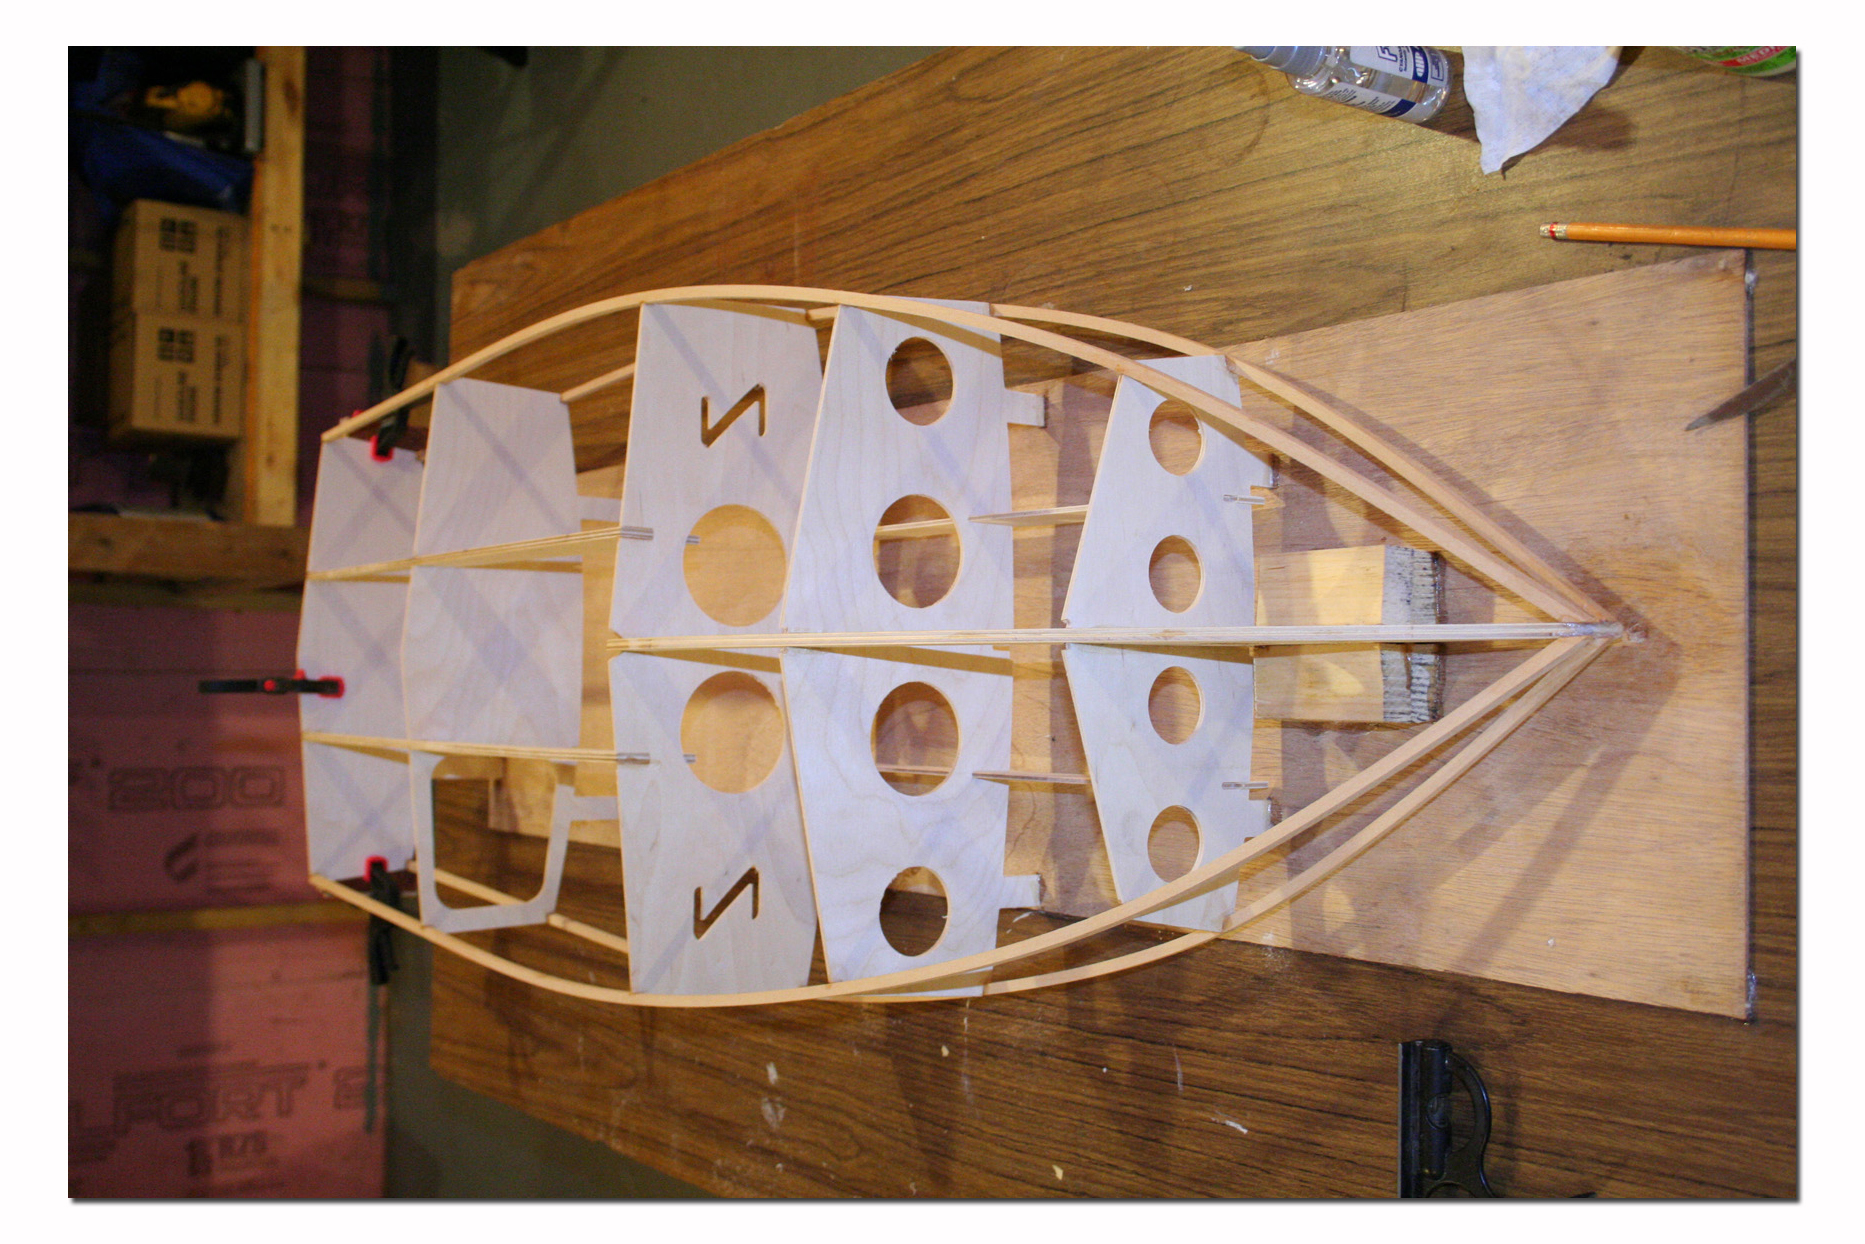
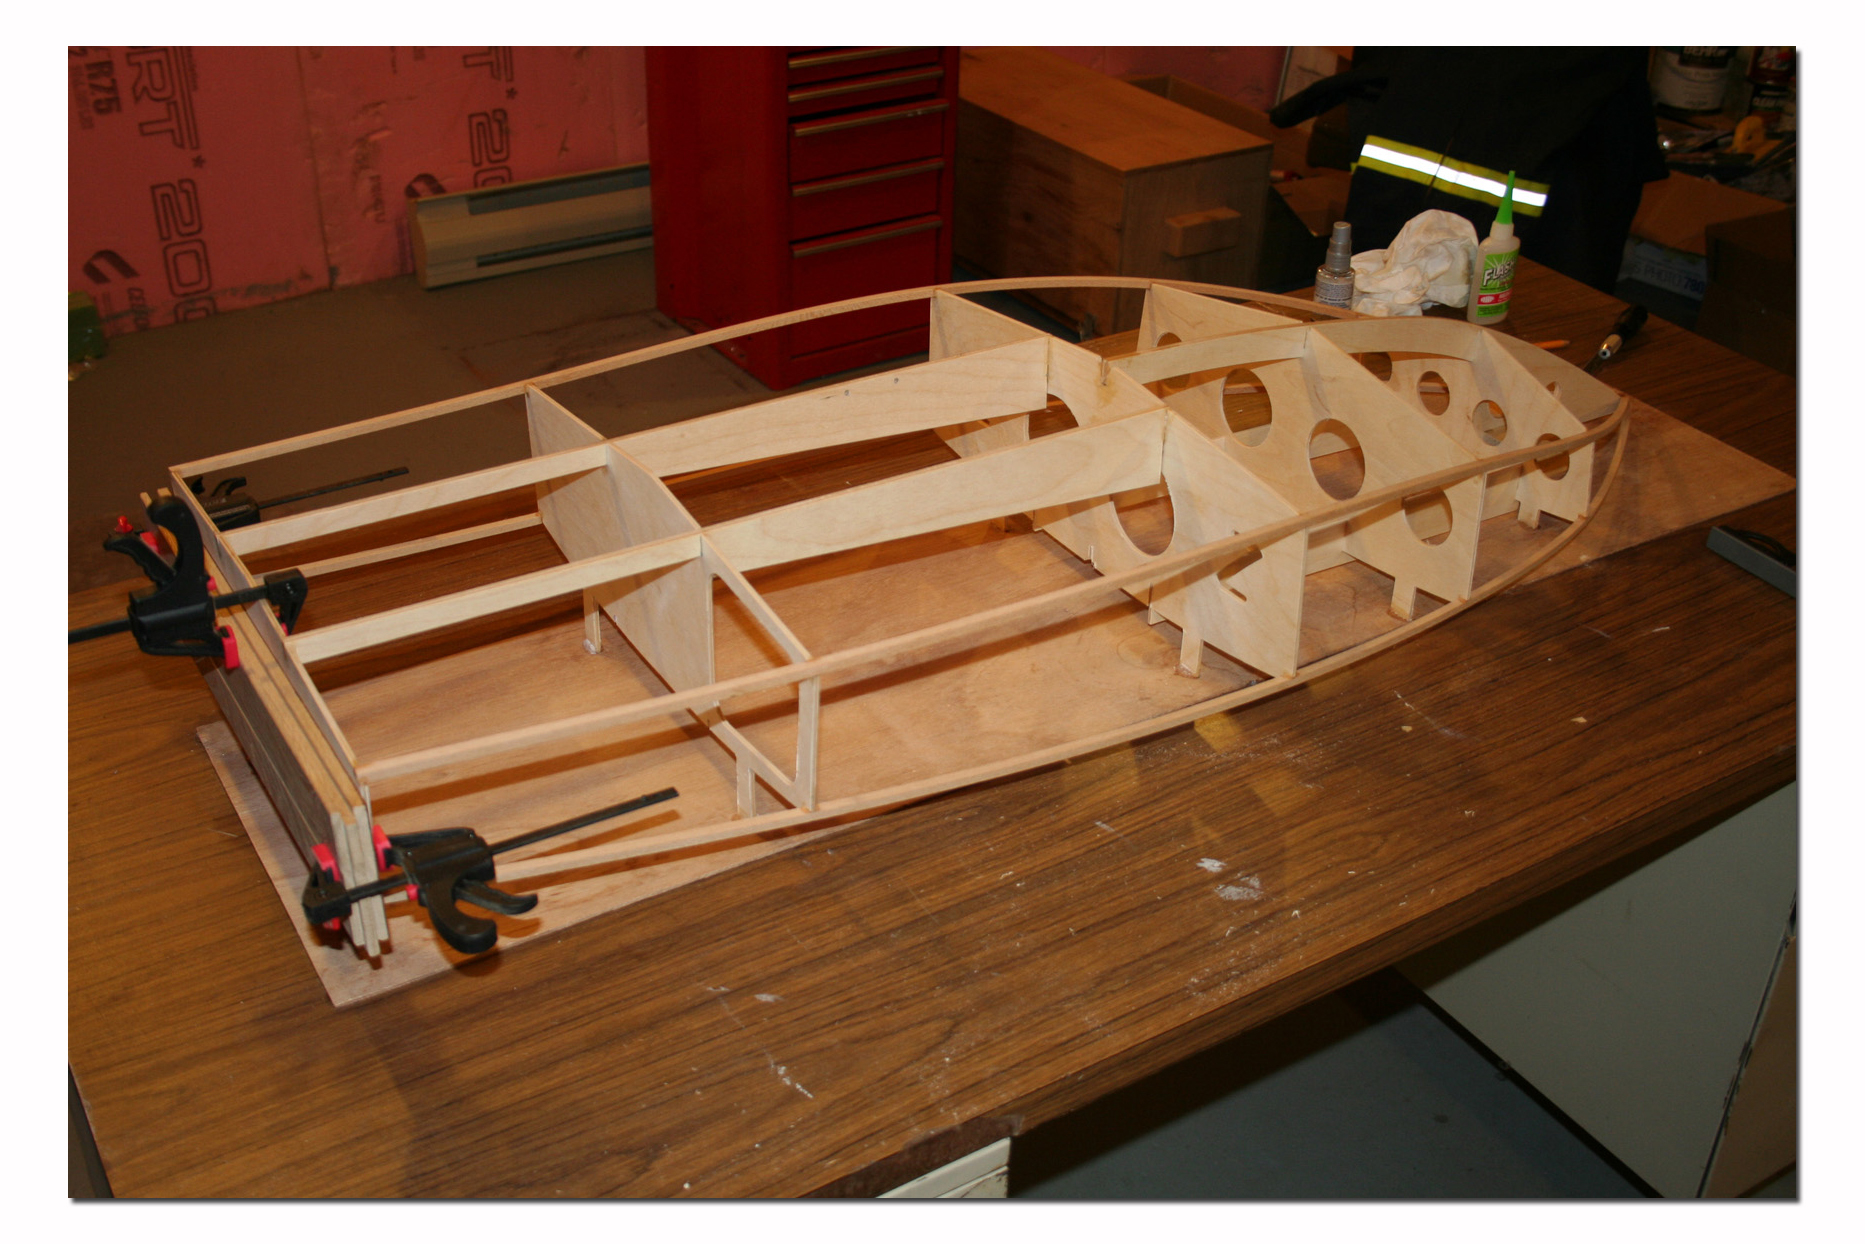
At this point you will start to install the sheeting on the boat. I found this to be the most time consuming part of the build. Since I did not want to paint this boat I made every effort possible to ensure a good fit of all the sheeting. I wanted the seams to be as tight as possible. In the end I was very happy with the results. You need a lot of clamps, paper clips, tape and weights for these steps. You also need more time as you have to use epoxy to secure the sheeting to the hull and it has to cure sufficiently between each step. You start be doing the sides then the bottom. the skeg mount is also built at this point. As part of the sheeting process the transom is doubled. In other words we install a sheet of plywood over bulkhead number 5 to reinforce it and at the same time cover the showing ends of the stringers. This makes the transom 1/4" thick which will be sufficiently strong to accept the running hardware.
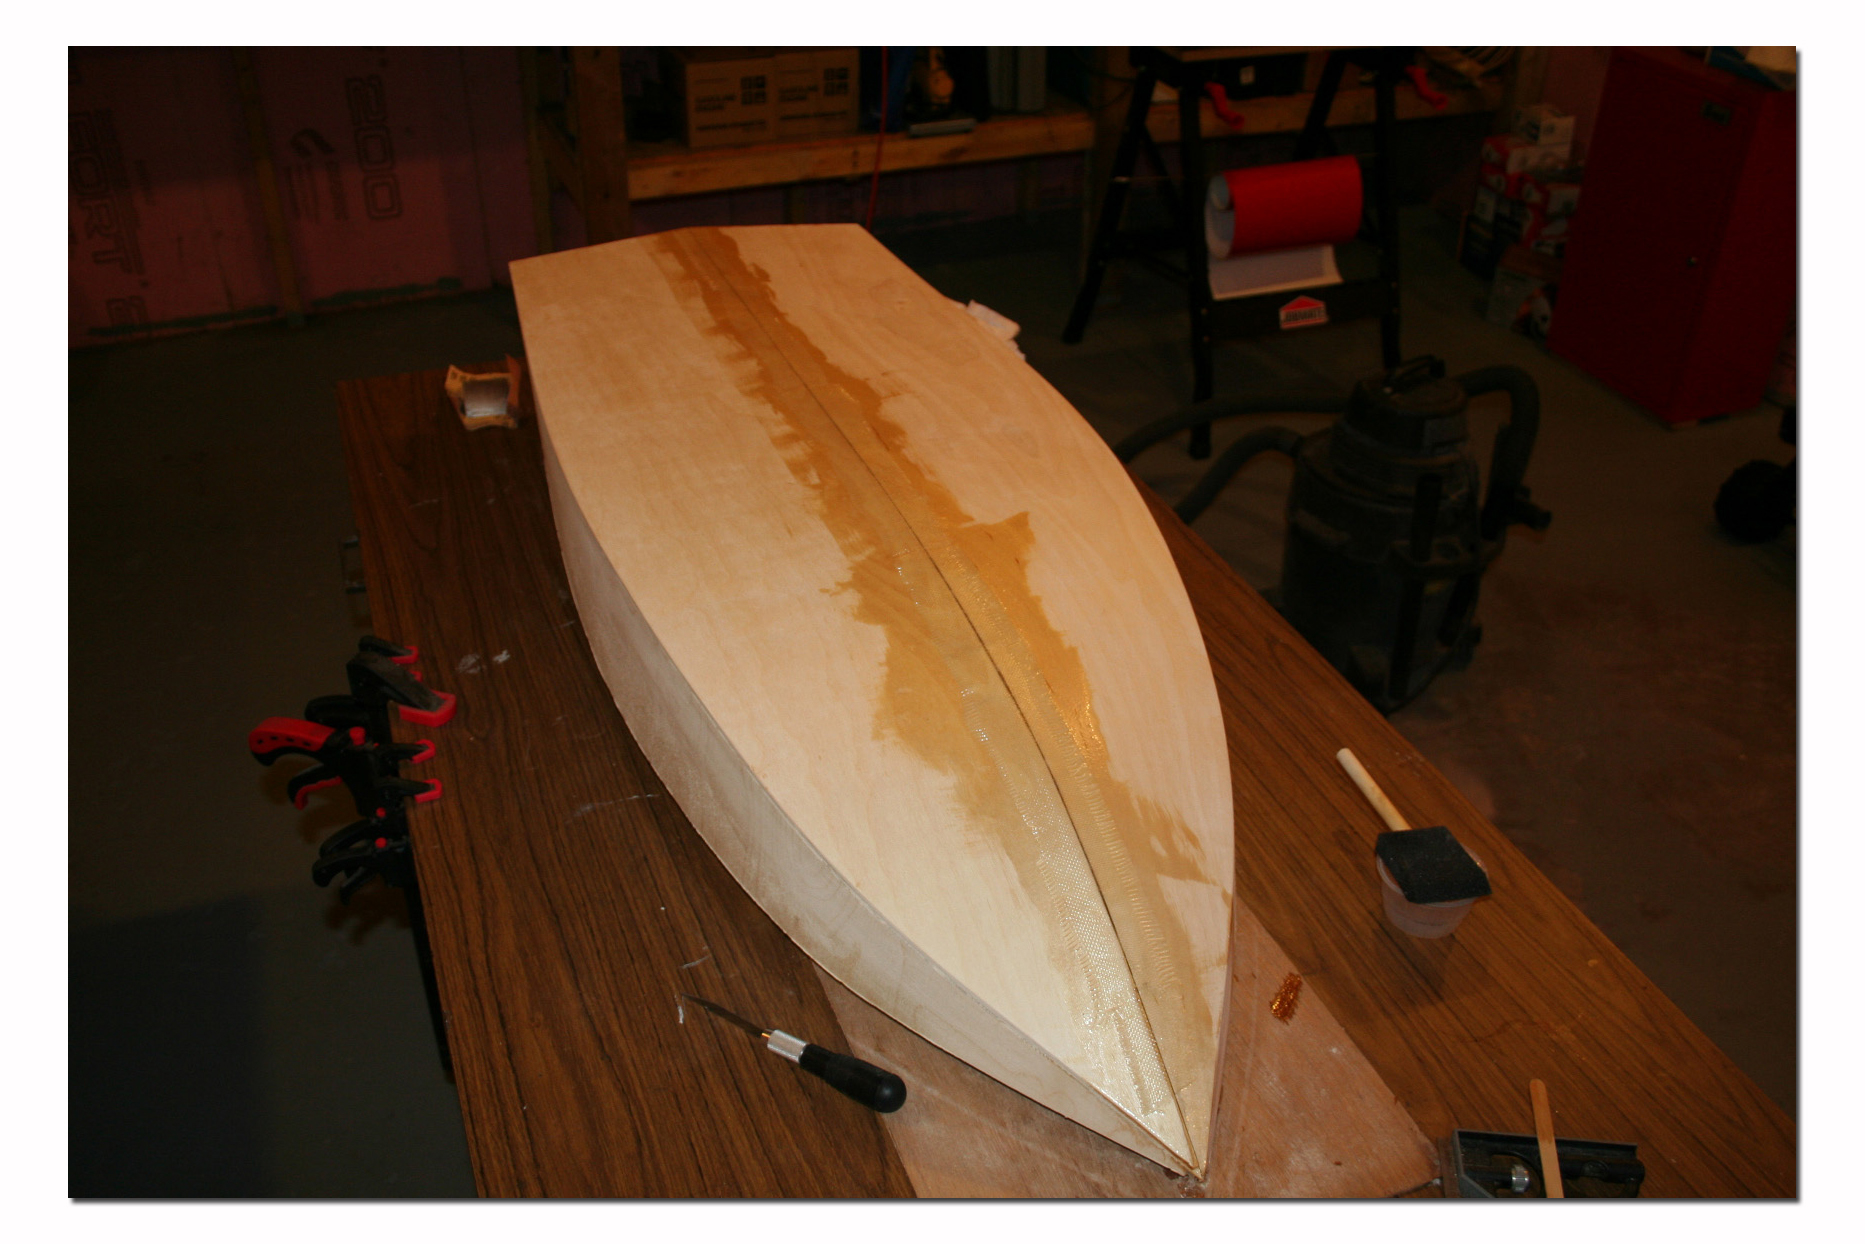
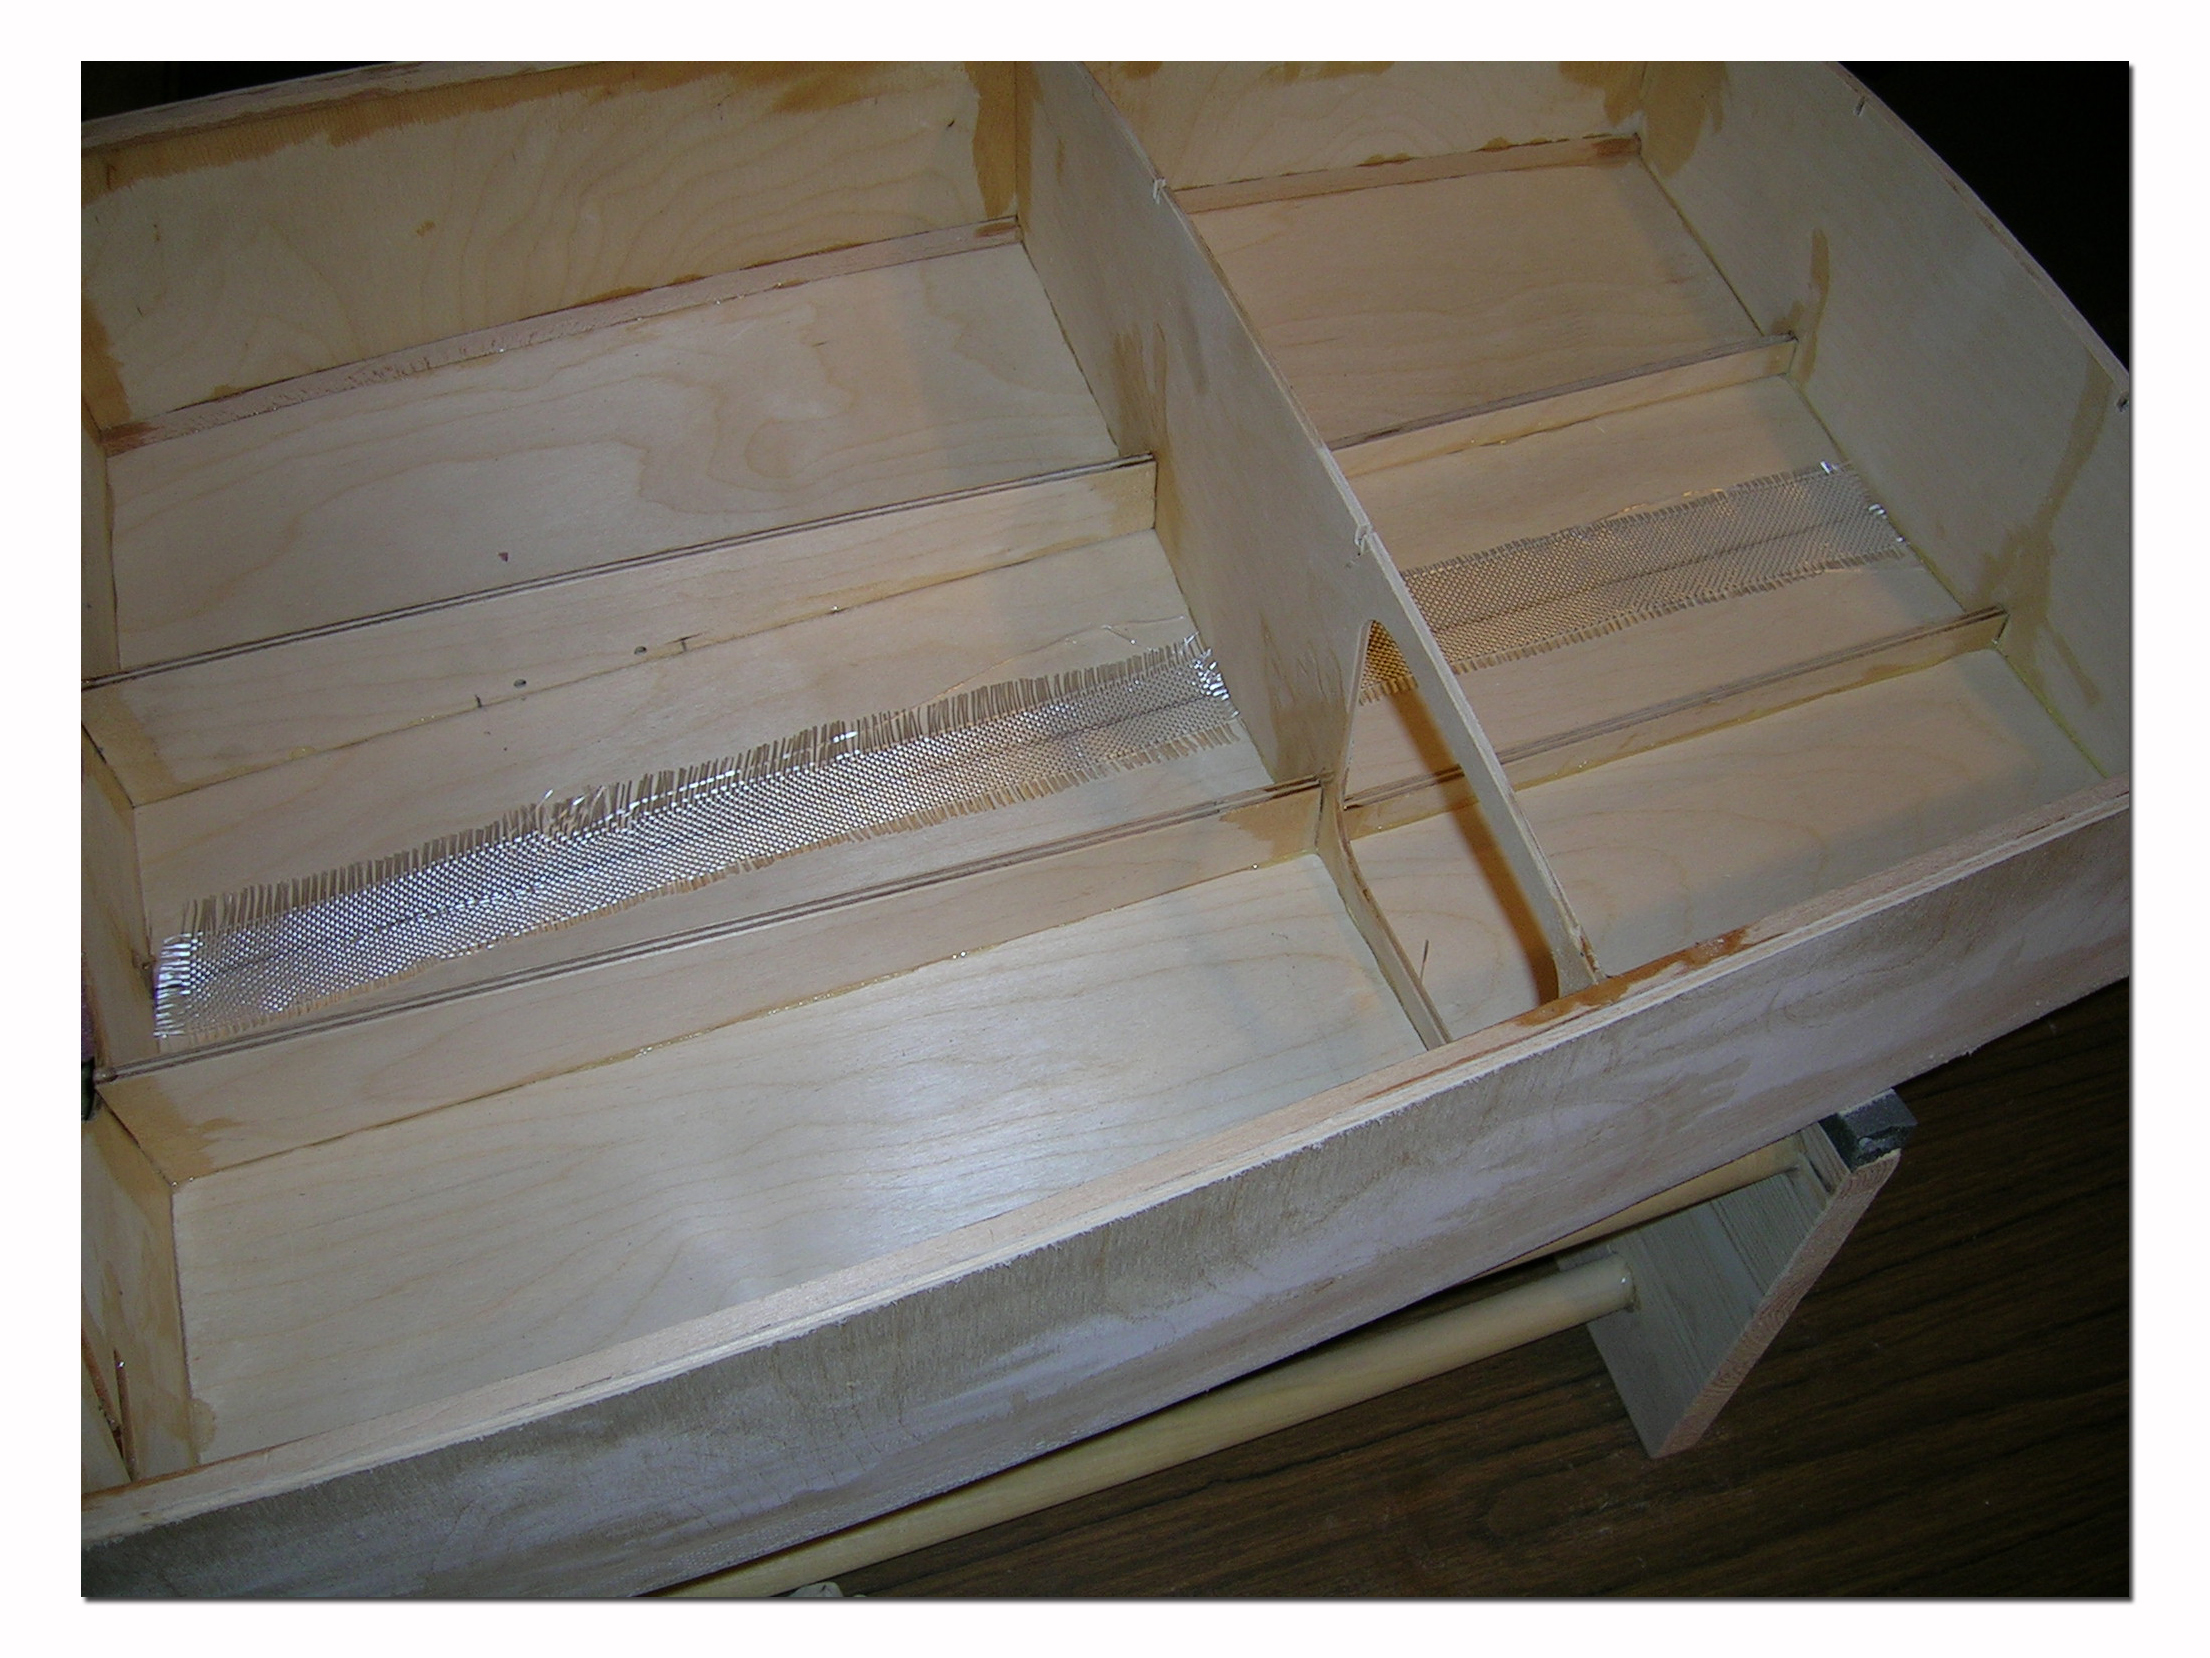
Below are several pictures of the steps just mentionned. You will notice that I added a strip of glass to the bottom seam as well as to the bottom-to-side seams. This was not required in the instructions, it was just something I wanted to do. I used West Systems epoxy for this project. It was my first time using this product and I strongly recommend it. It is expensive compared to some other resins, but it really does do a a great job and is easy to work with. I have done a lot of fiberglass work using polyester resin and the West Systems epoxy resin is far superior in my opinion. The glass also lays much better using this resin. Another positive feature is that it is almost odorless! For building boats in your basement workshop during winter months, this is a must! Polyester resin is absolutely out of the question.
For this project I used the 105 resin with 206 slow cure hardener. You get a good 20 minutes pot life and 90-110 minutes working time with this combination. It fully cures in 10-15 hours. West Systems recommends it for general bonding, fabric application and barrier coating. I also used it for clear coating and it turned out very nice. You can however use the recommended 207 hardener for clear coating applications. I will try this with my next project. As you can see in the pictures I use the metering pumps sold with the West Systems kit. These are very handy and eliminate any guesswork when mixing resin and hardener...one complete stroke of each pump yeilds the perfect ratio of 5:1 in this case.
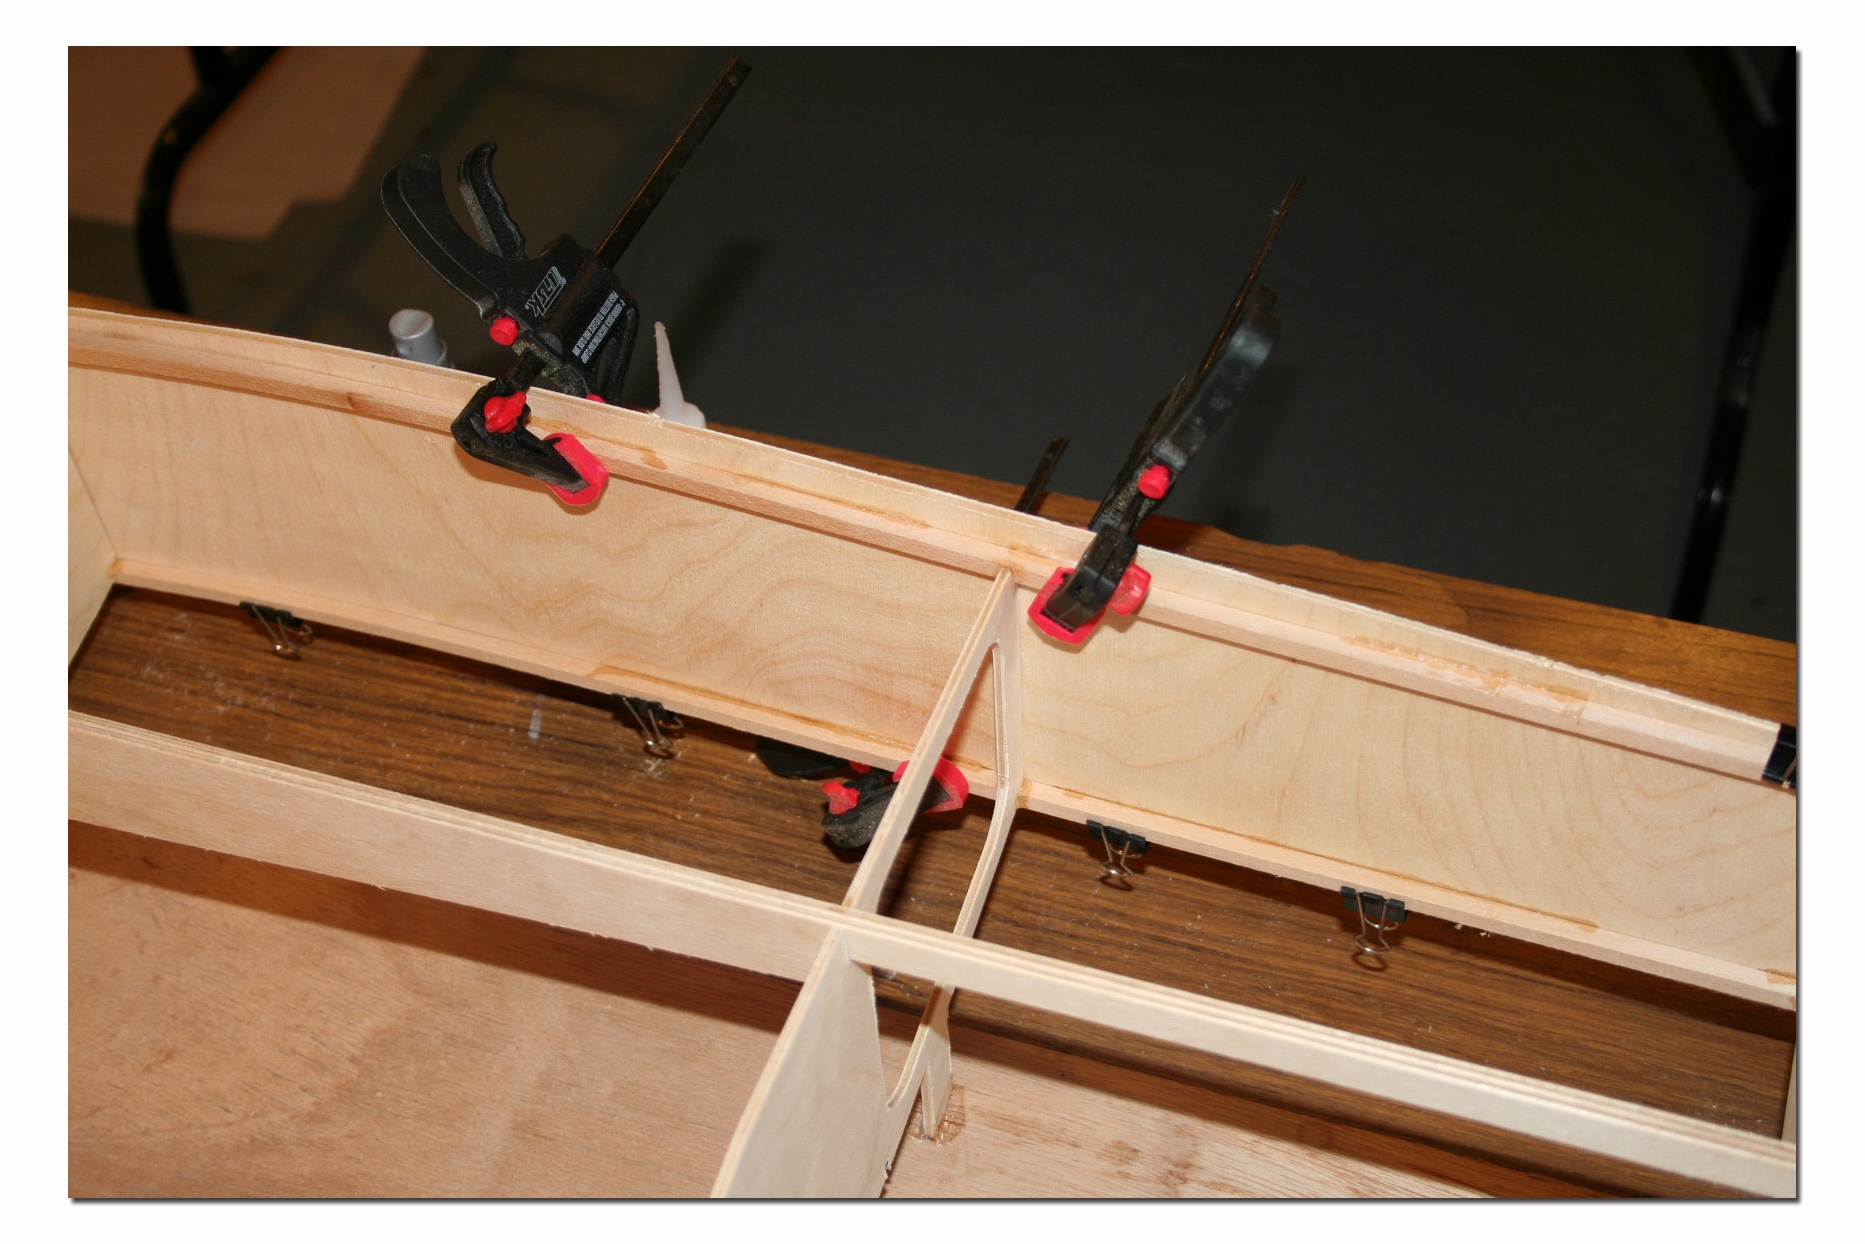
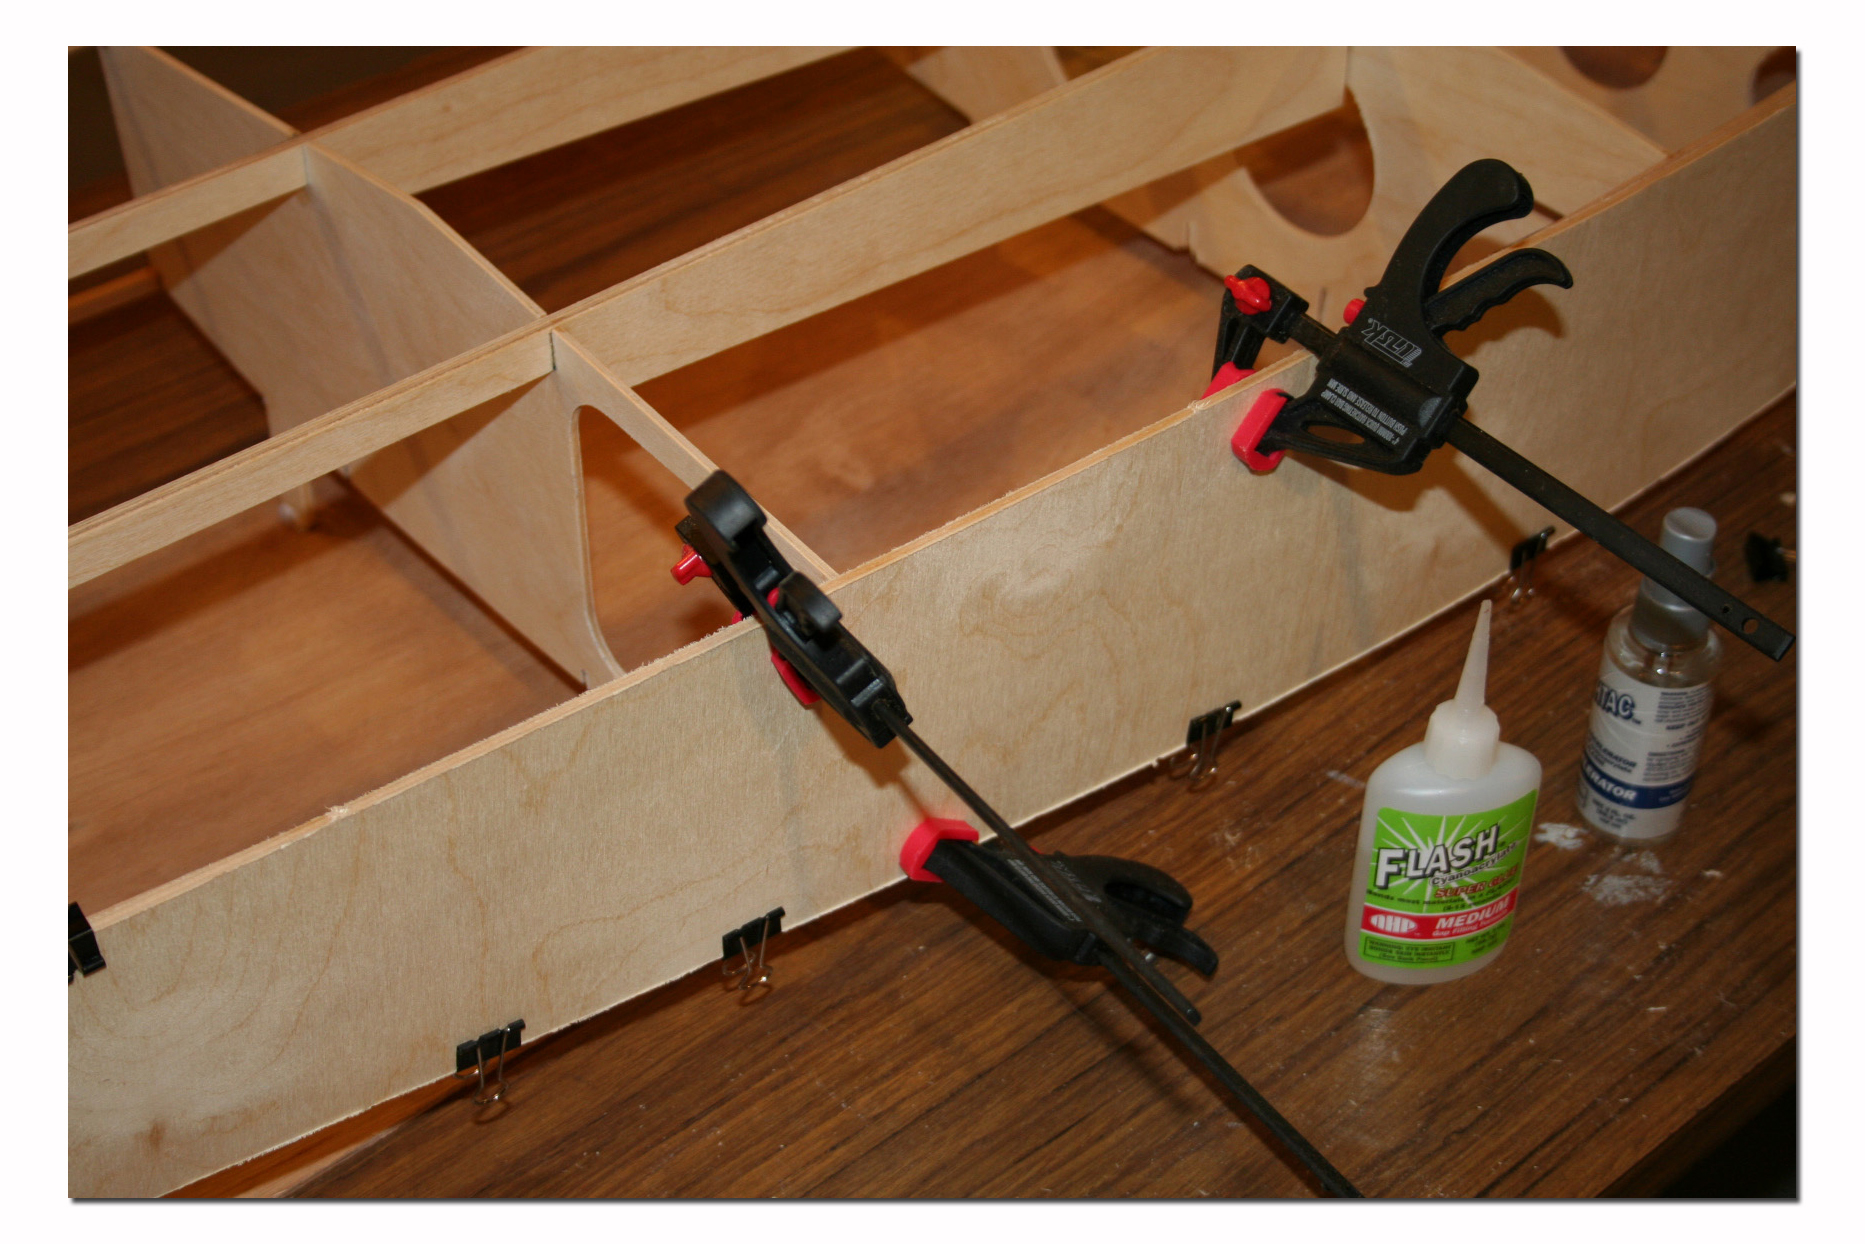
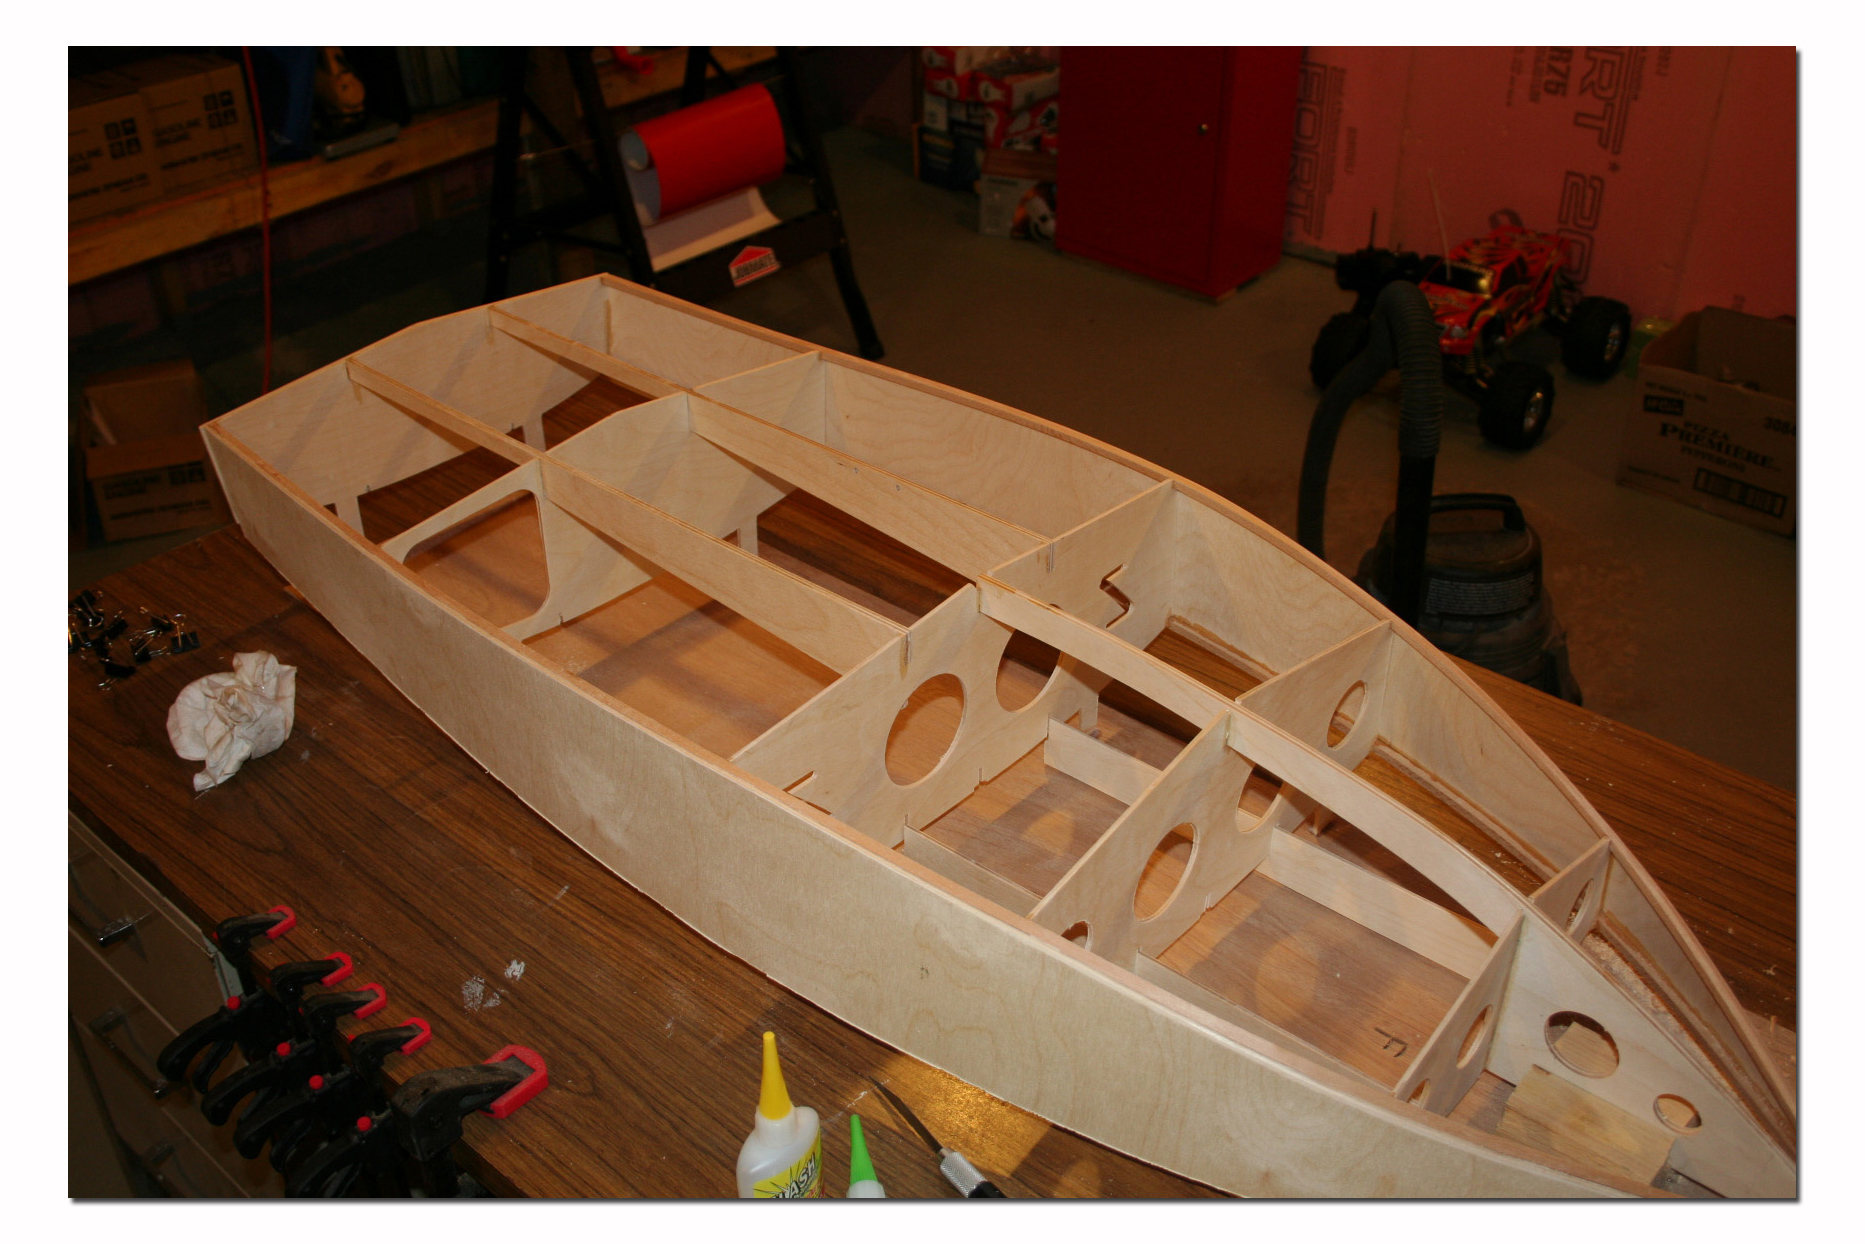
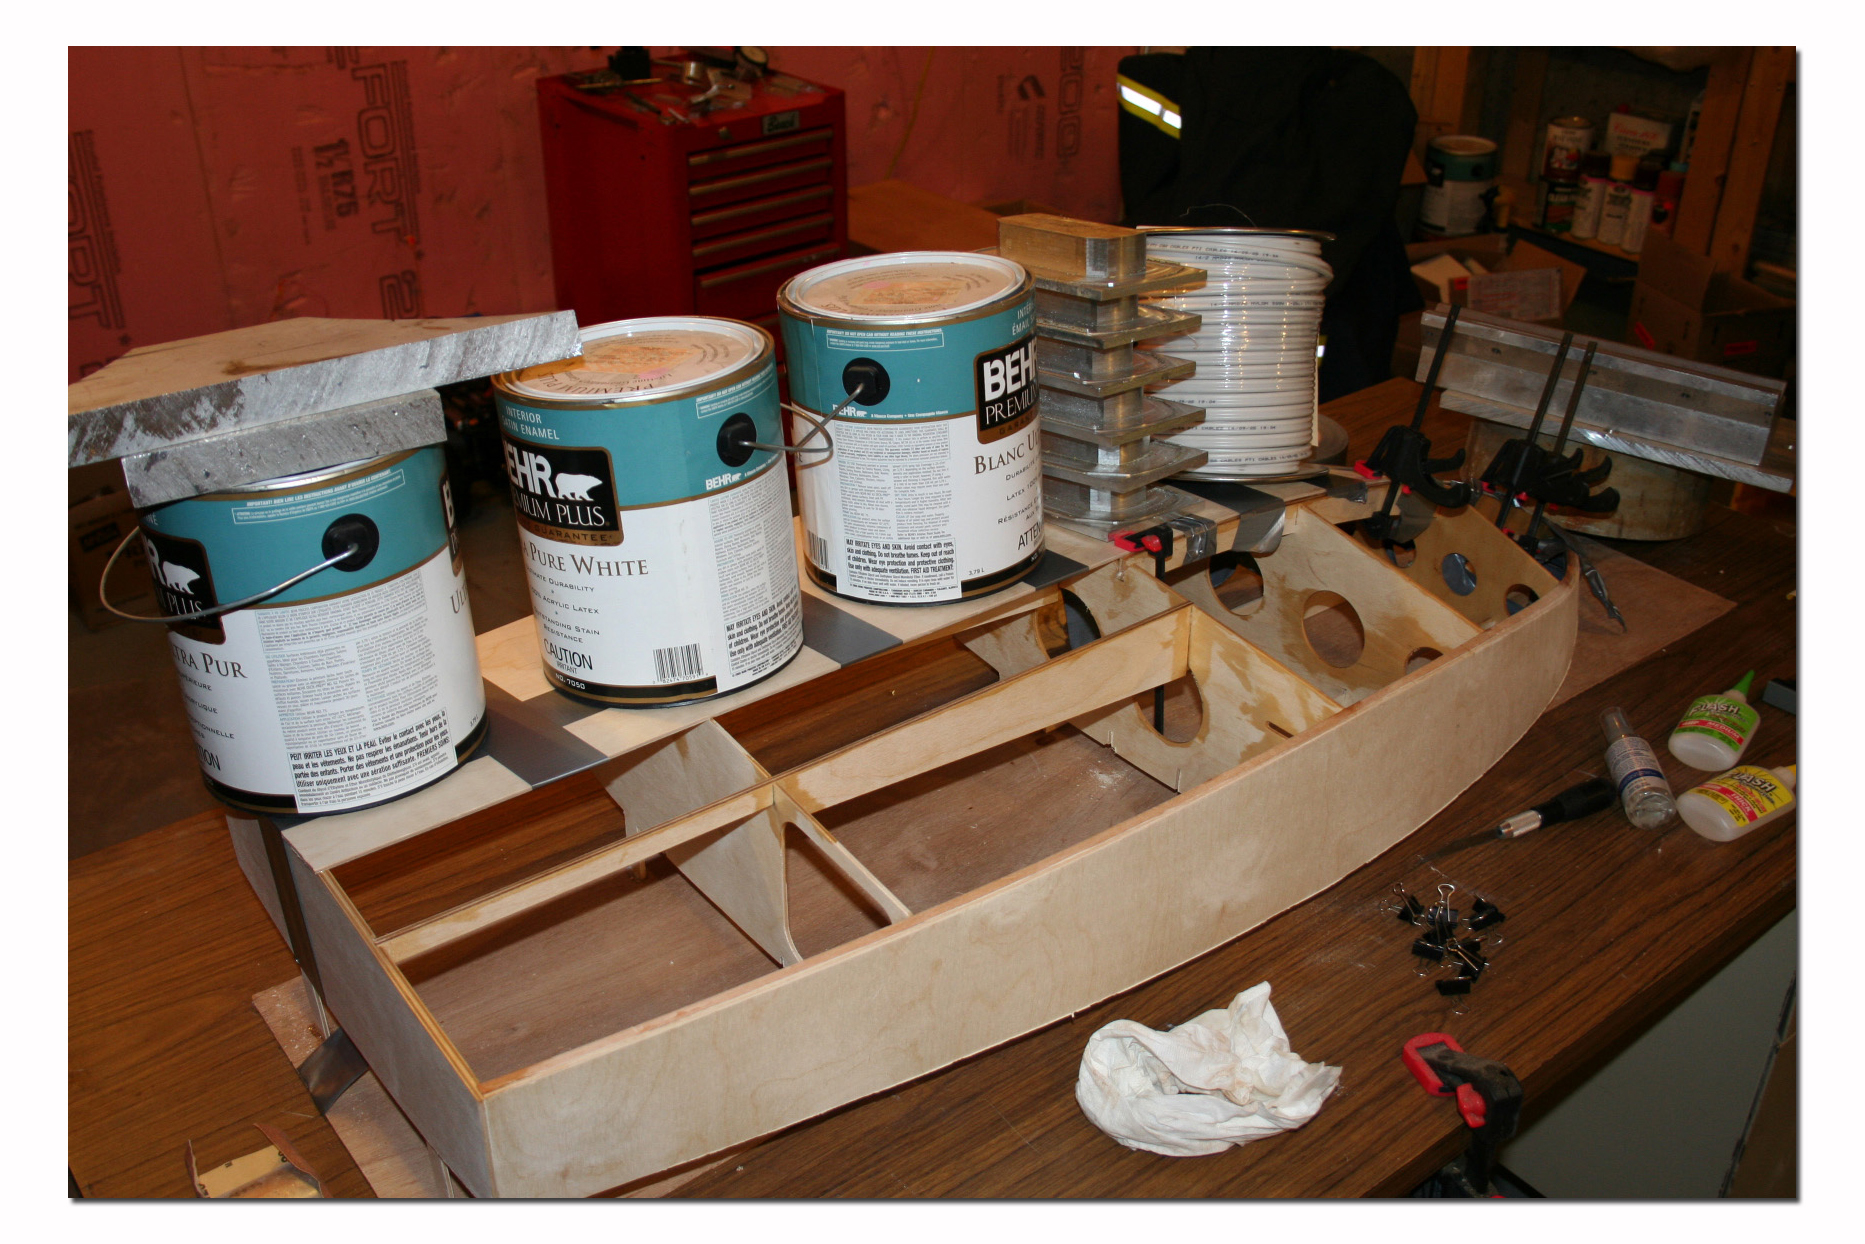
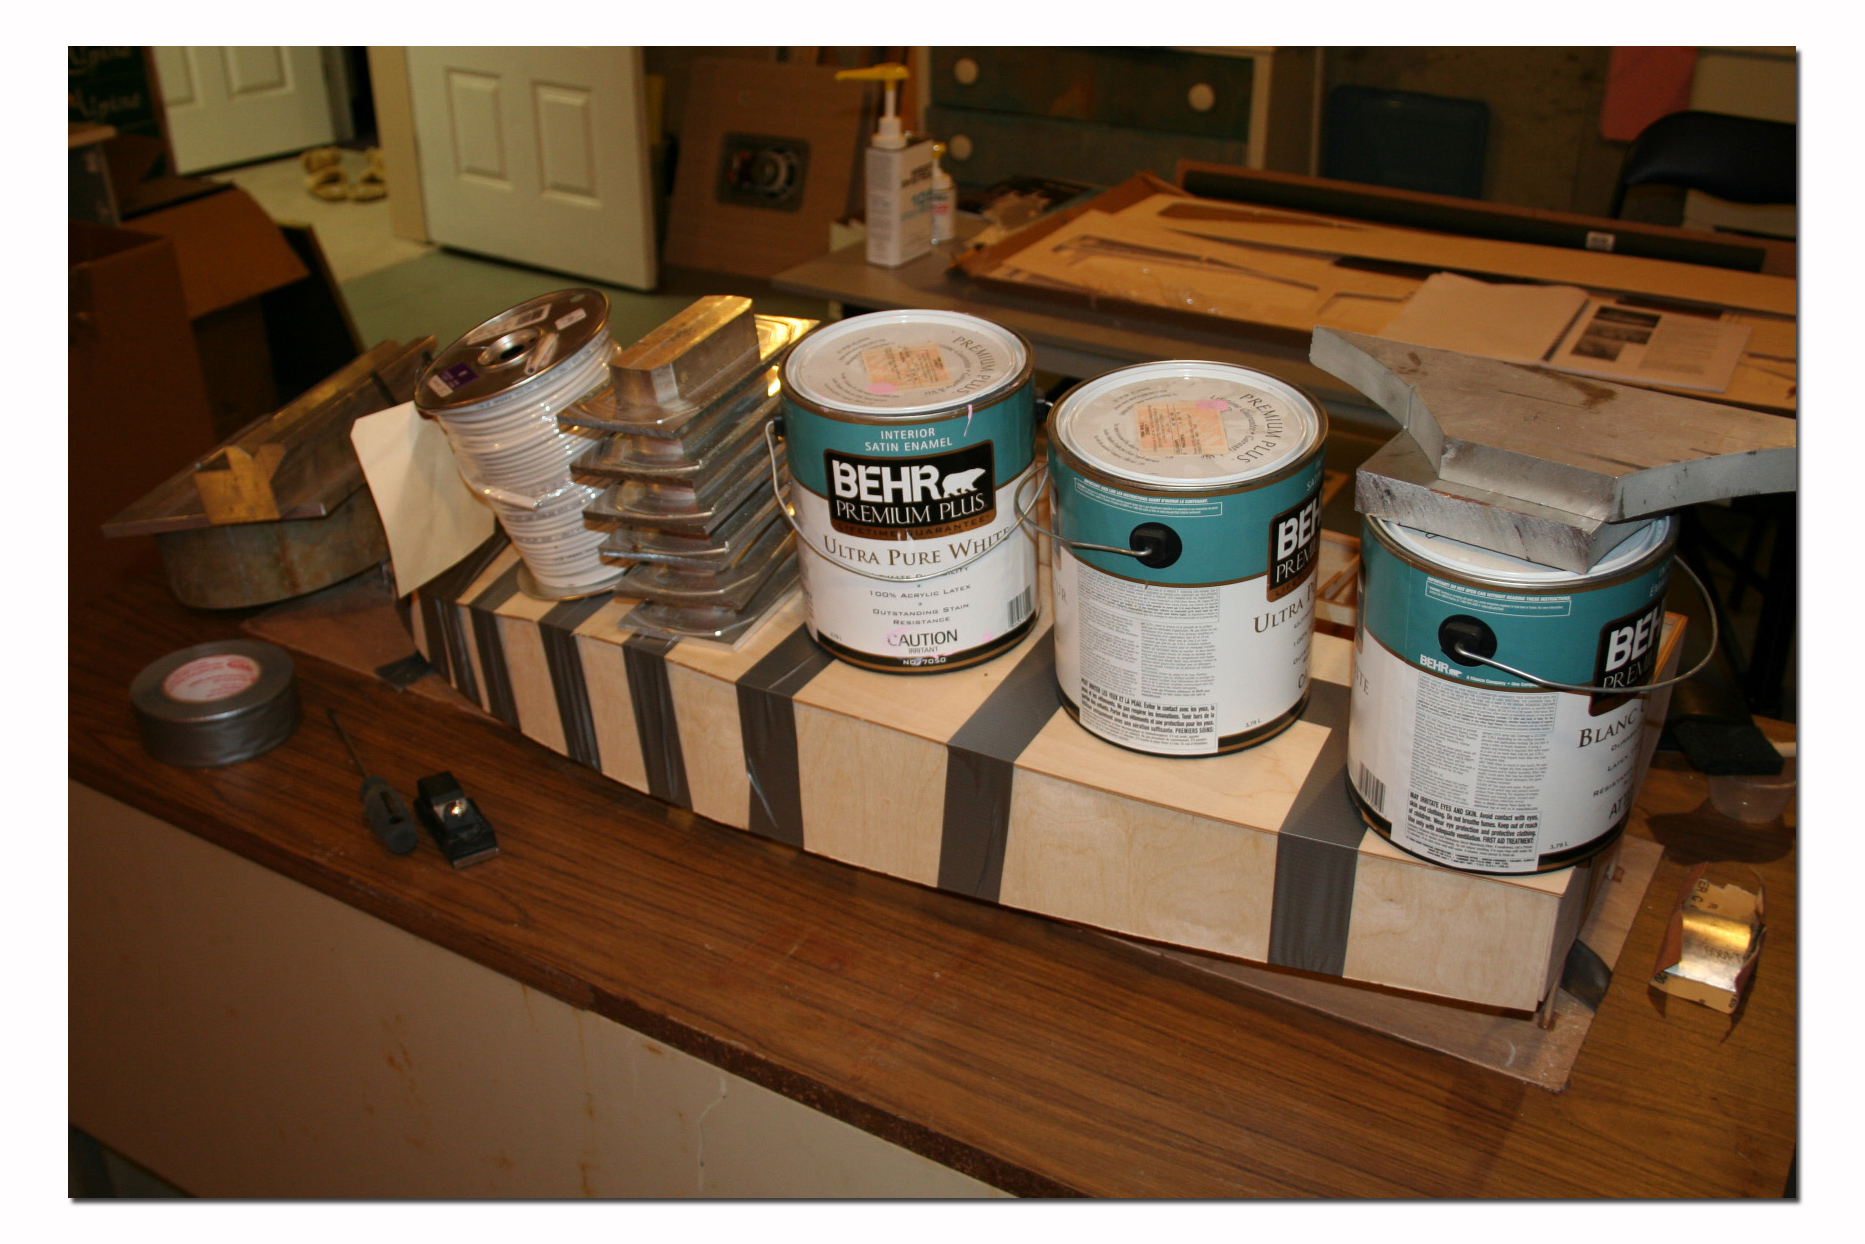
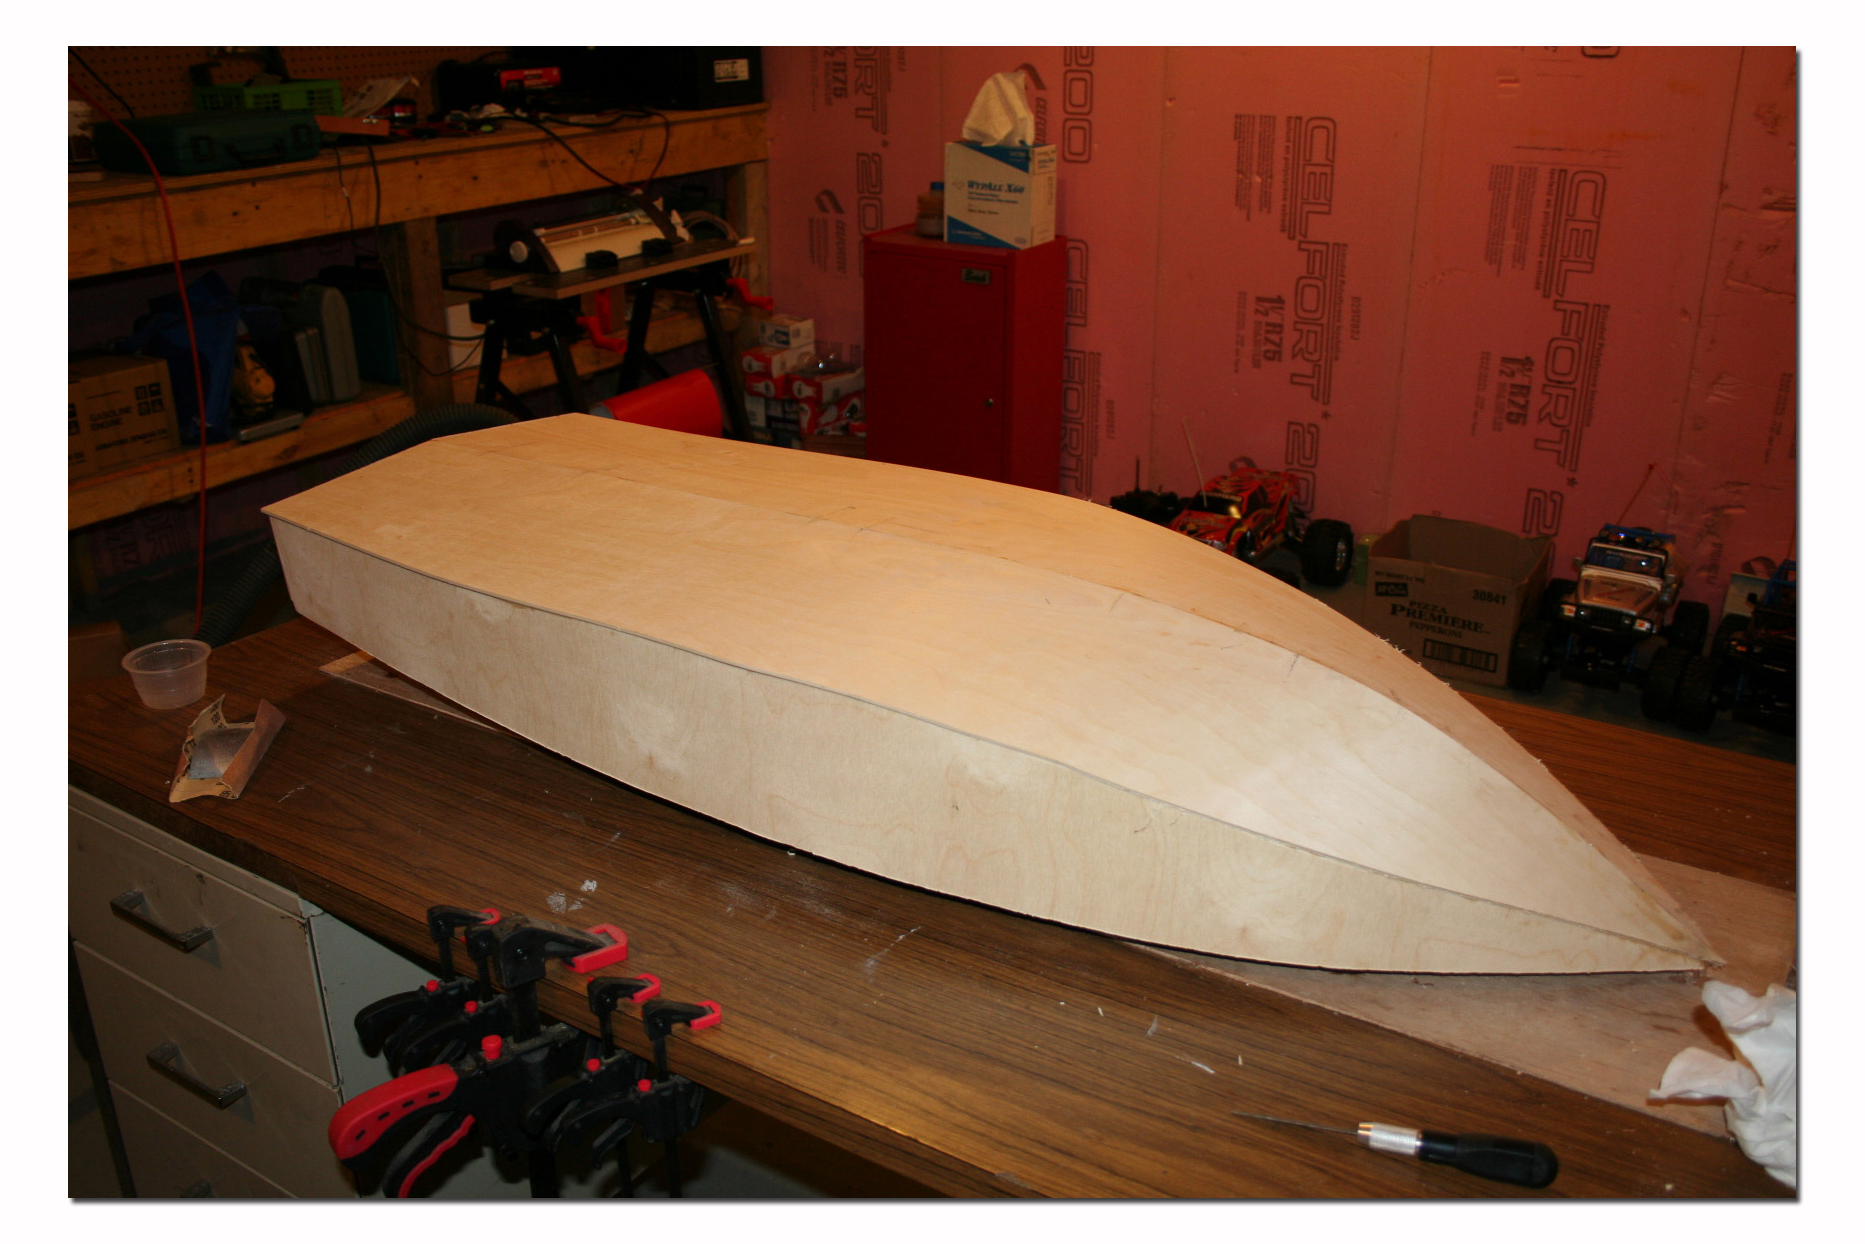
Out come the wood plane and the sanding block...remove the excess material with the hand plane and blend it all together with the sanding block.
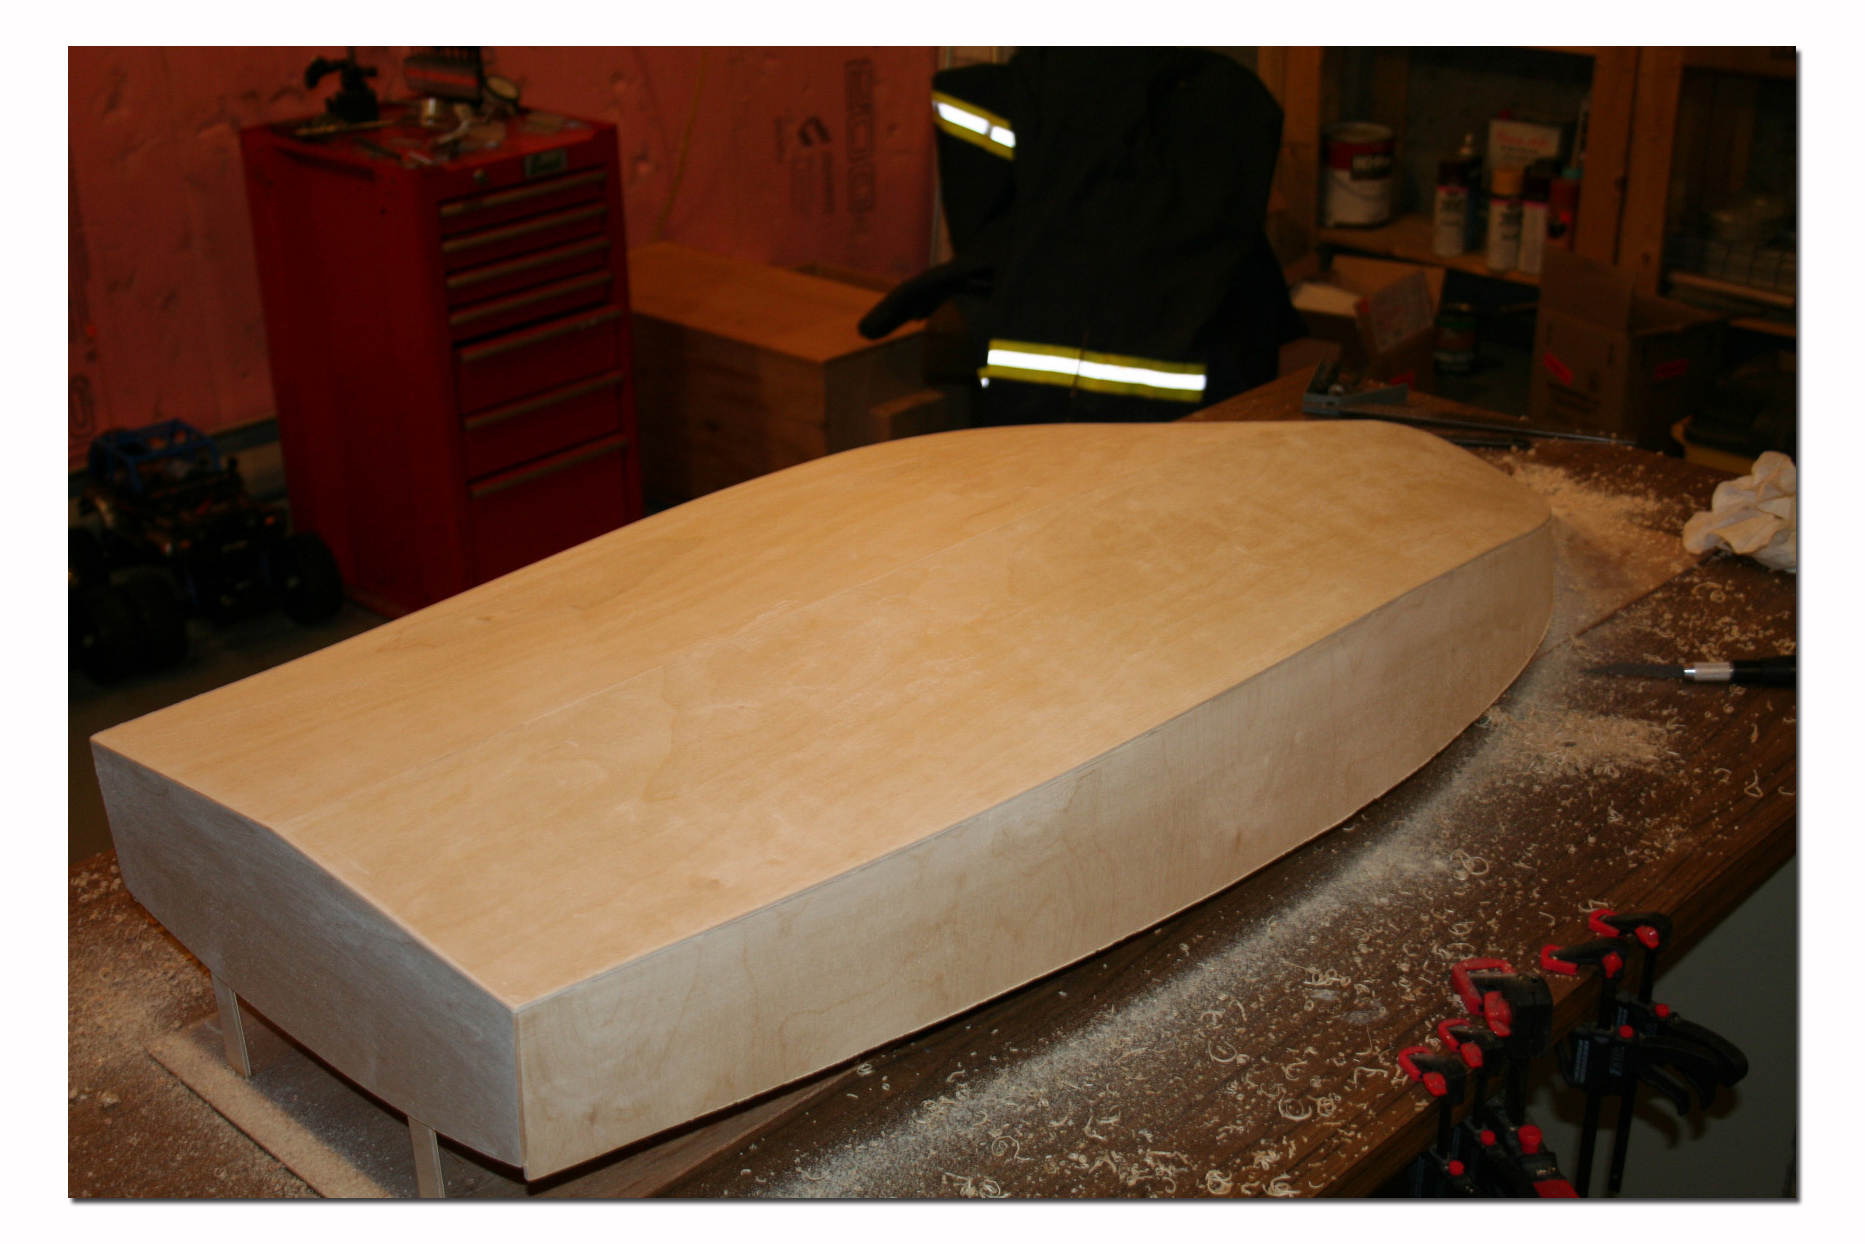
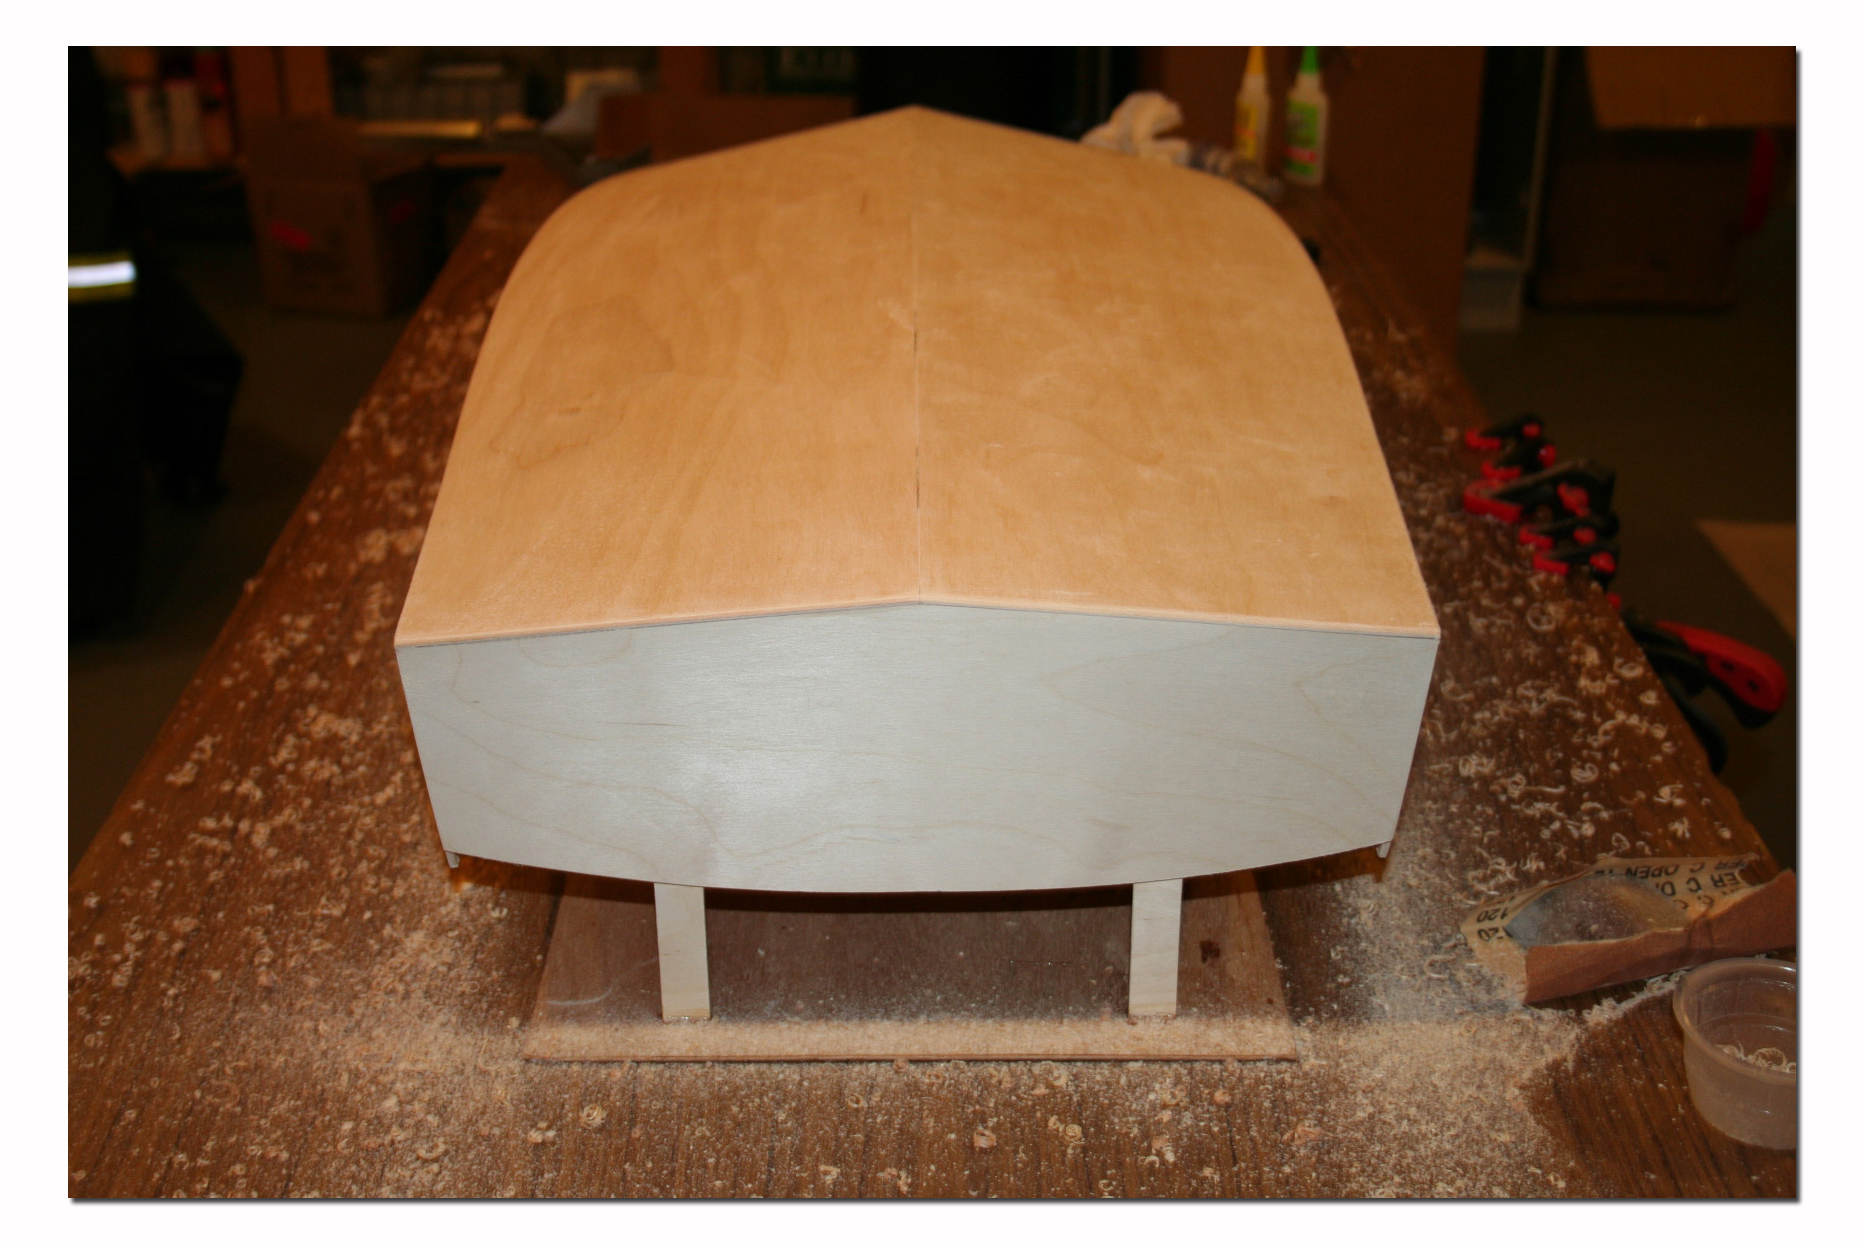
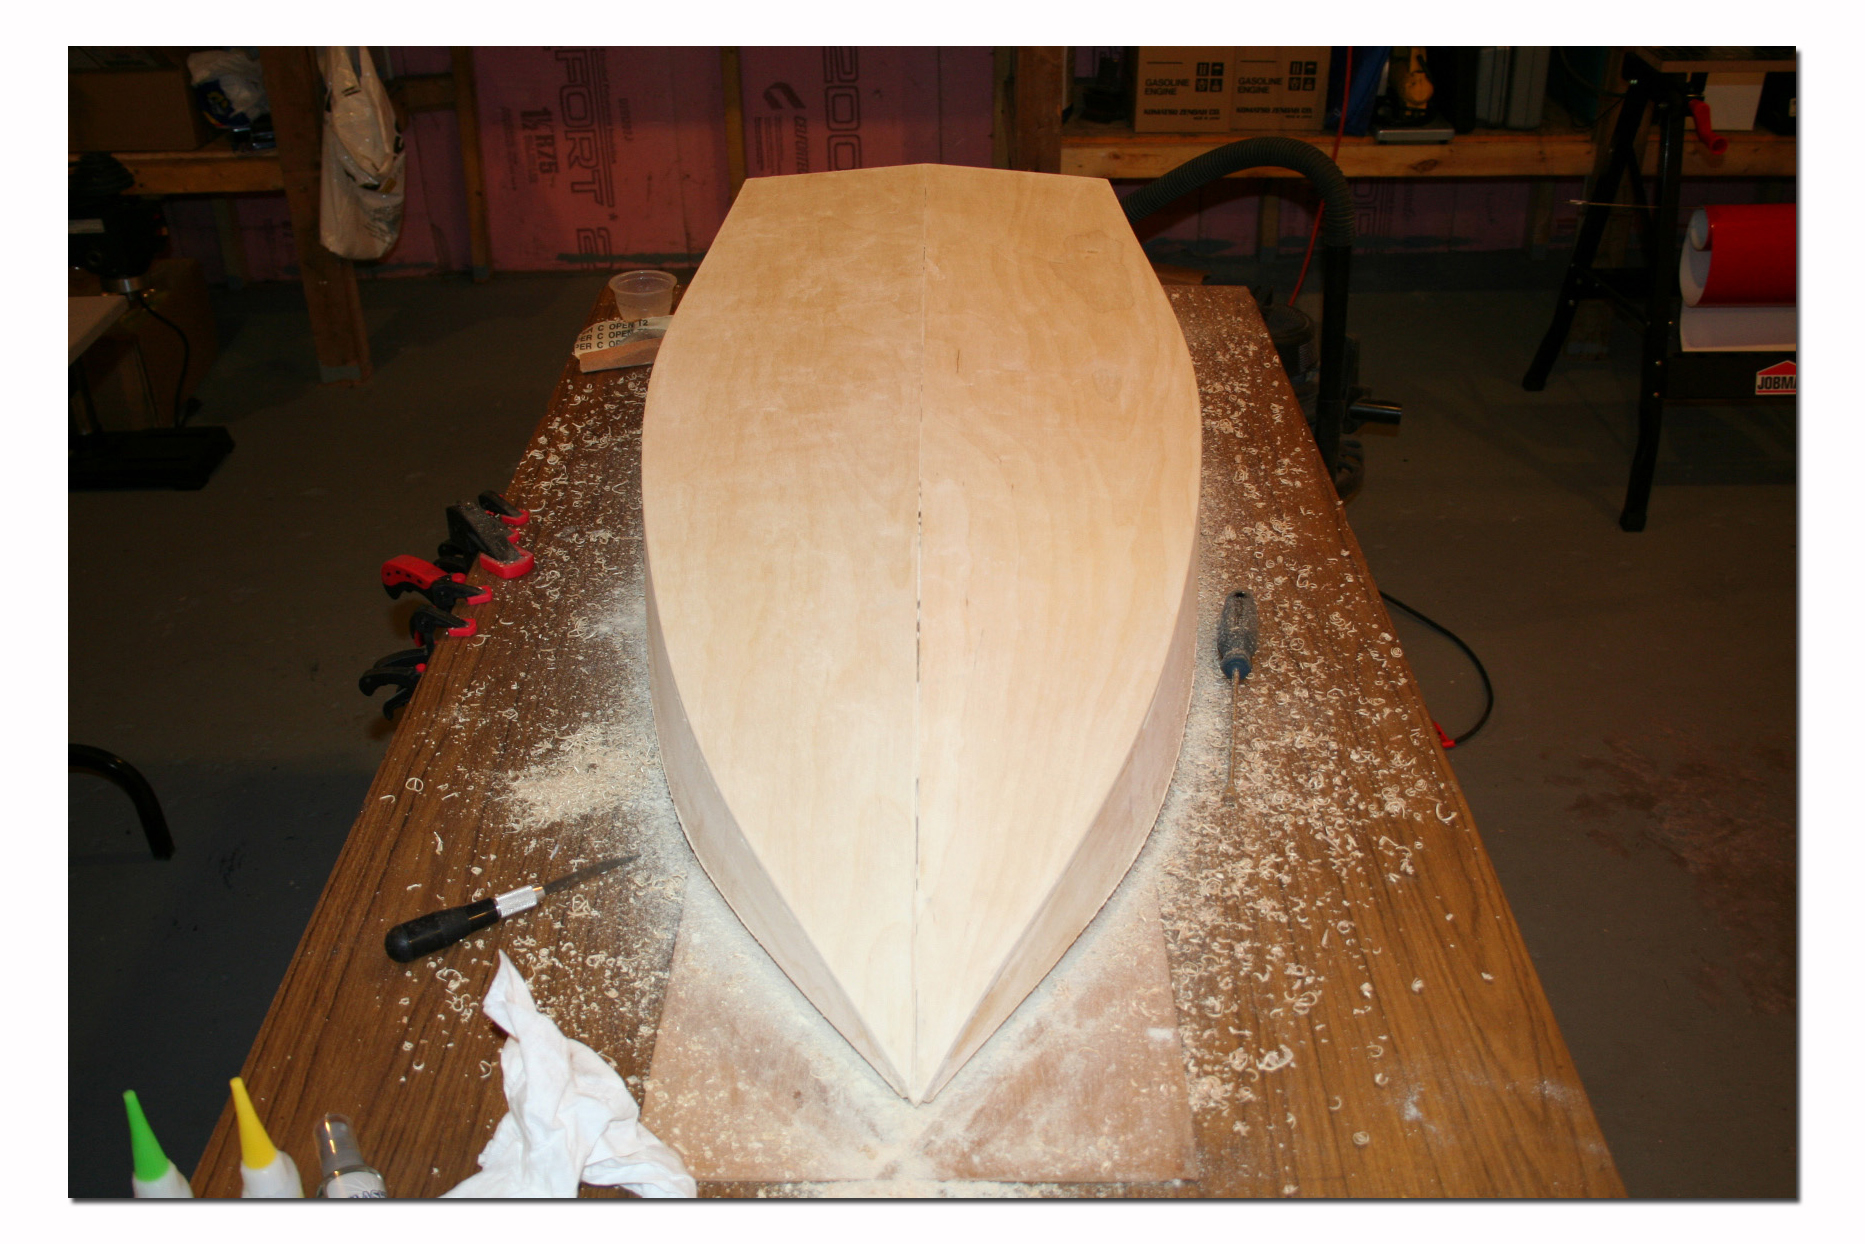
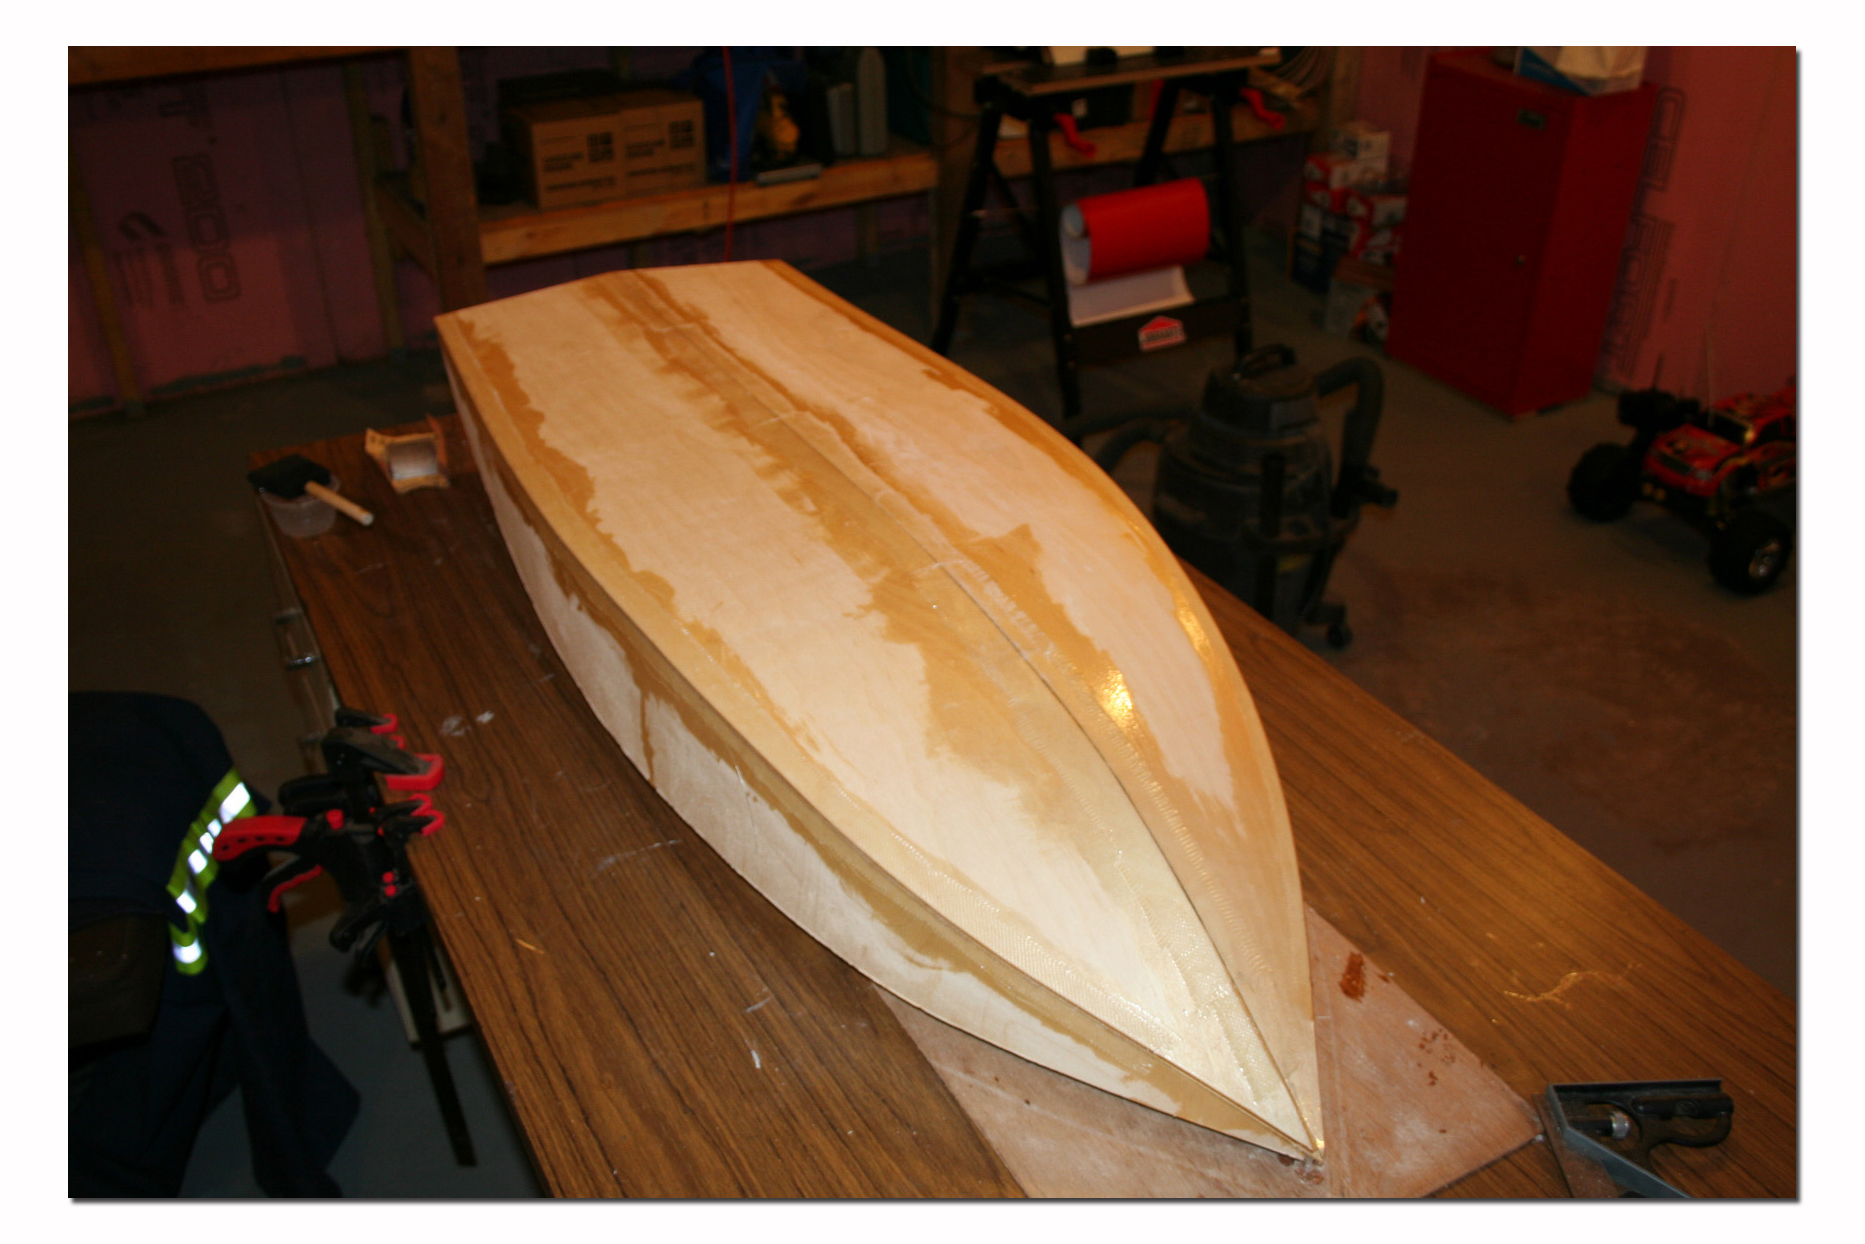
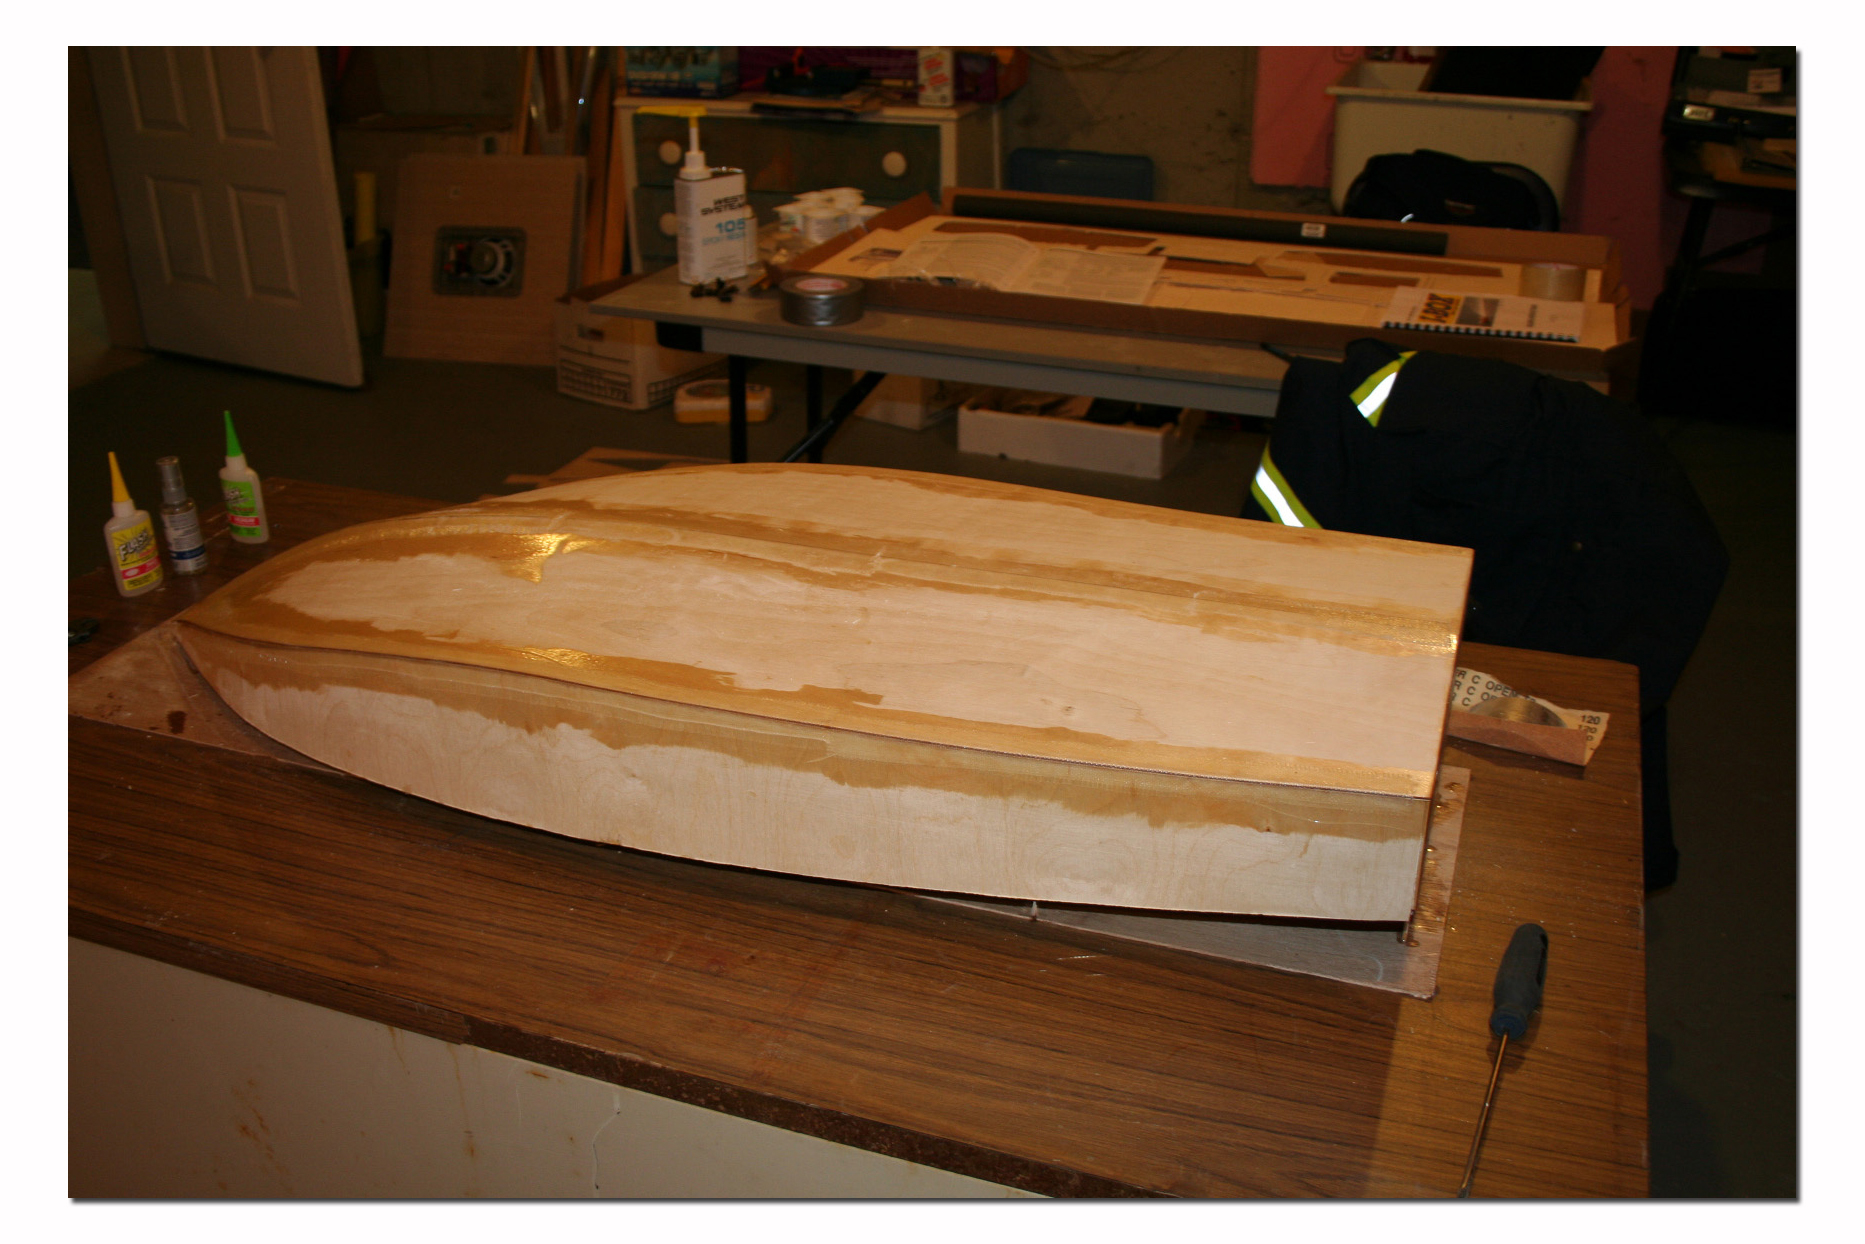
Now comes the time to cut the boat free from the building jig. Cut off all the tabs from the bulkheads and remove the hull from the table. You can now remove the jig board and set it aside. It is also a good time to make a boat stand if you don't already have one. See THIS ARTICLE to see how I made a custom fitting stand for my I-Box.
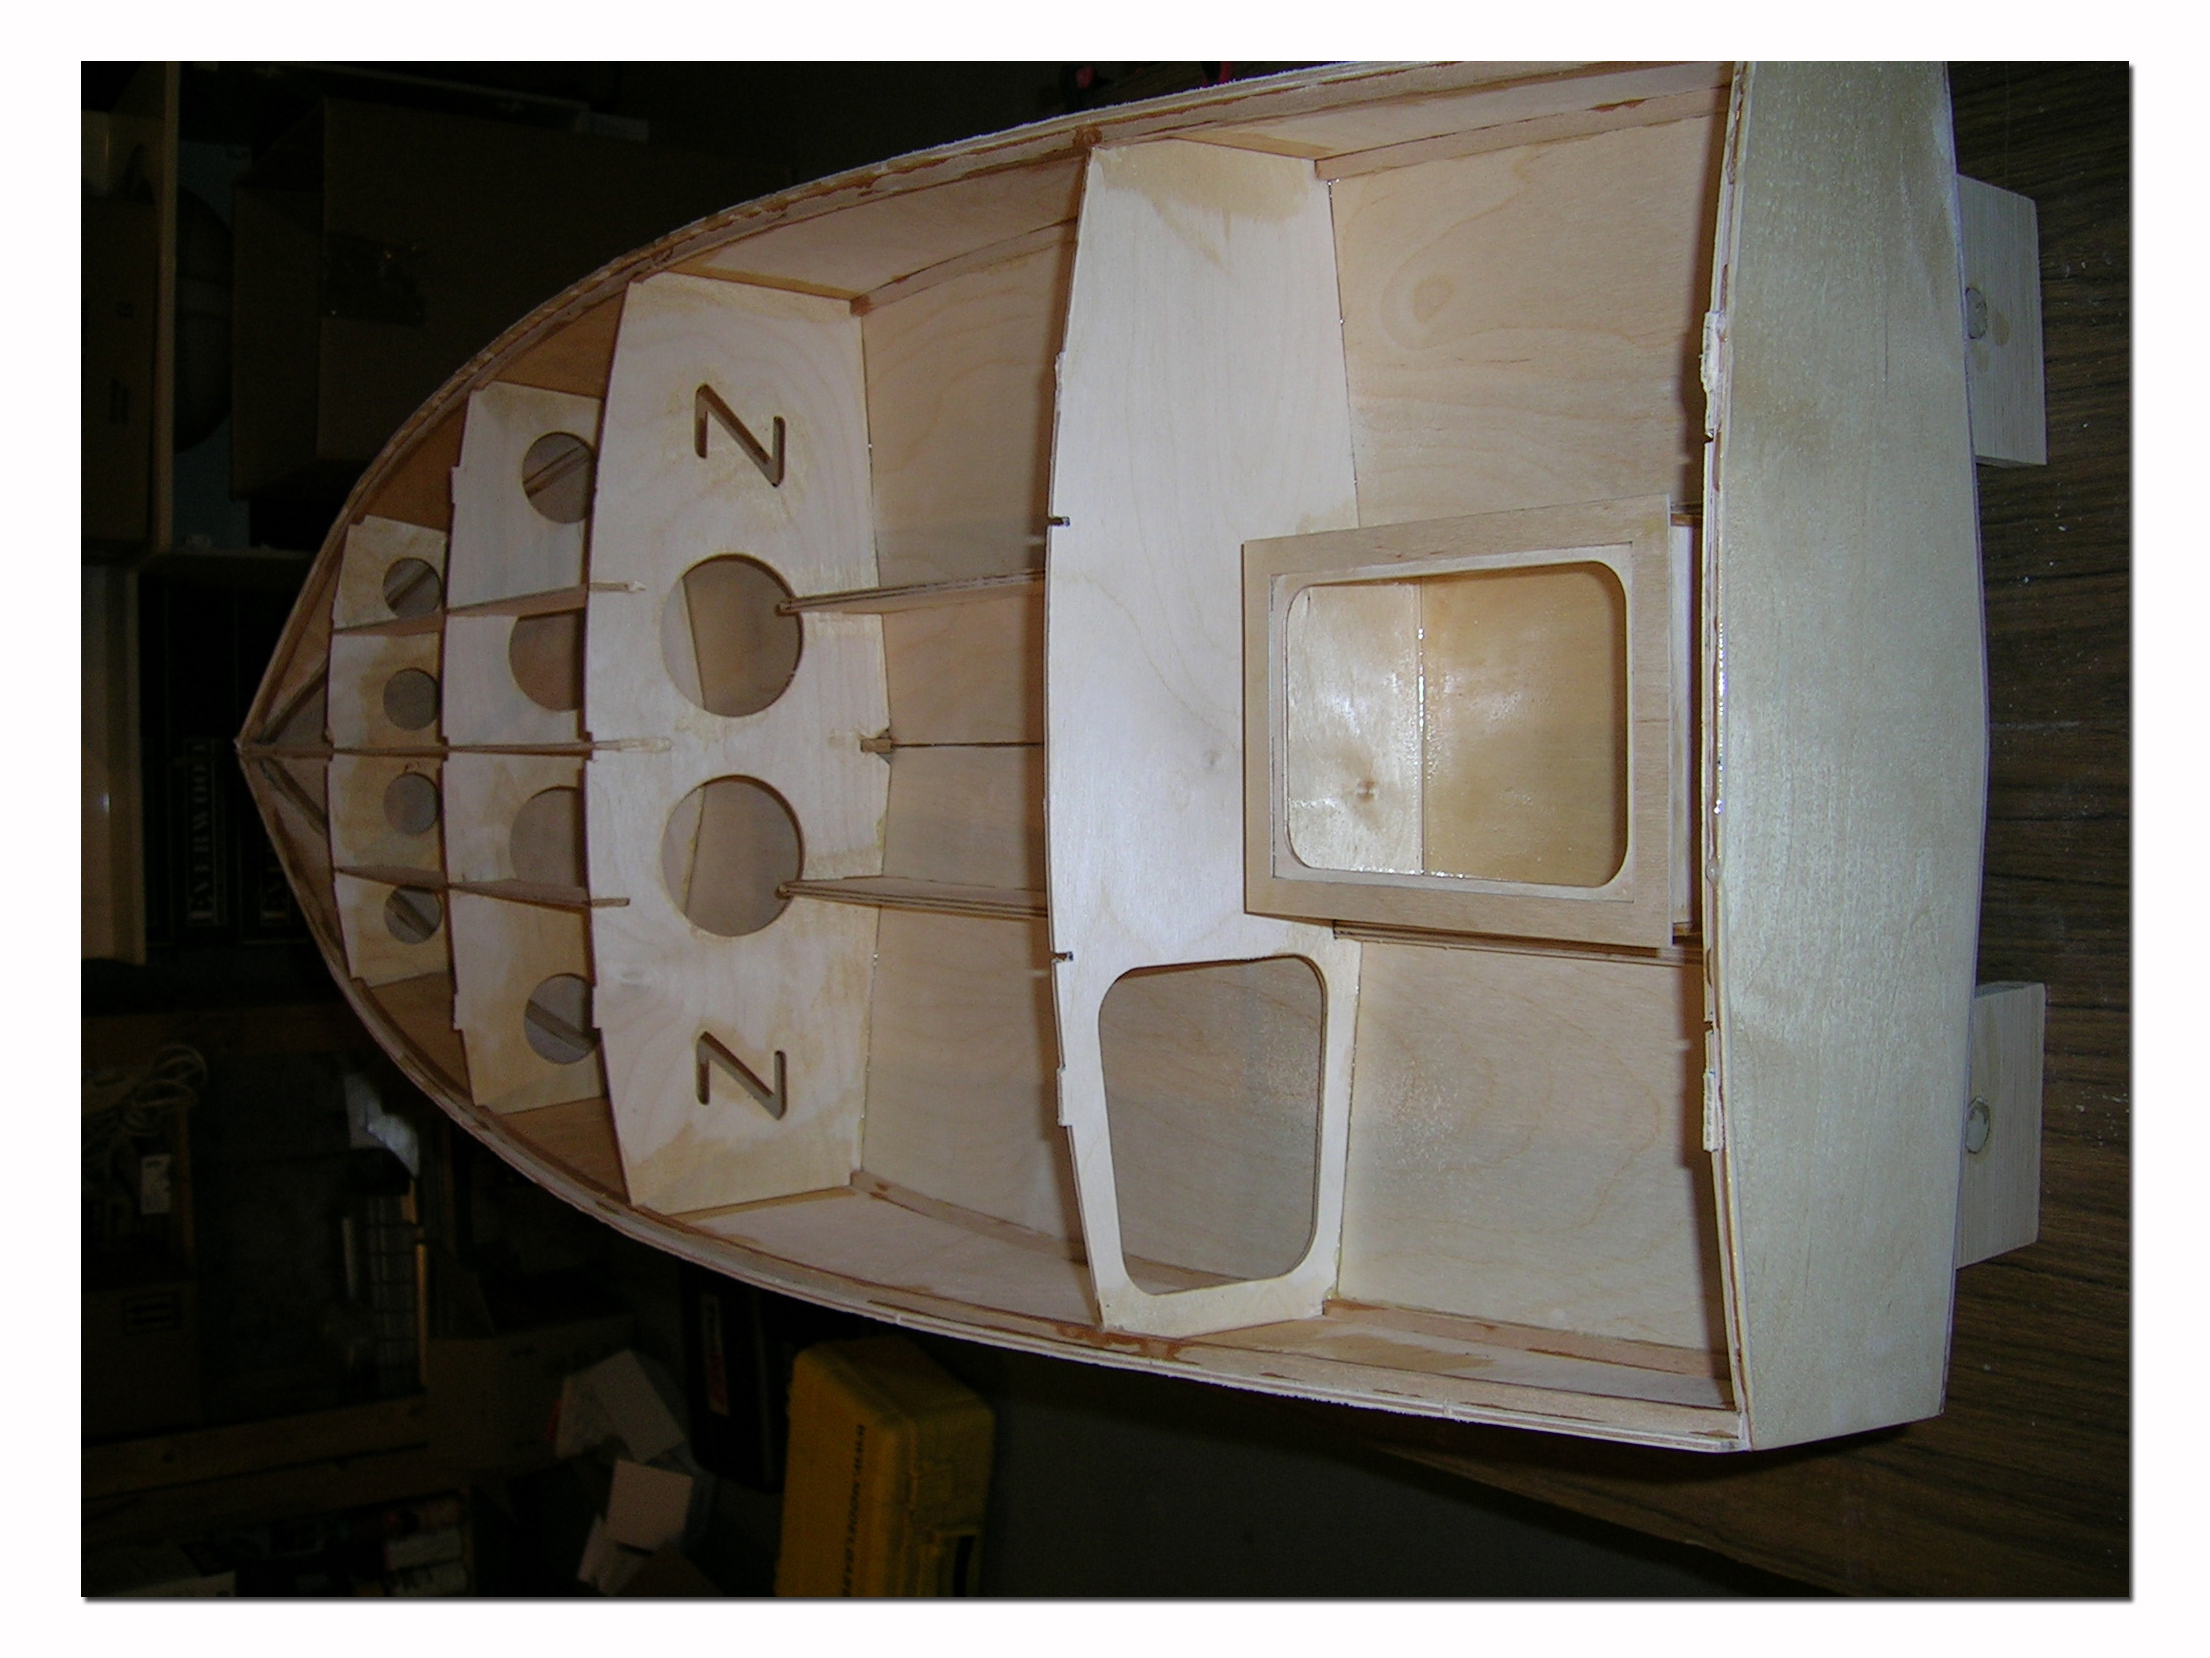
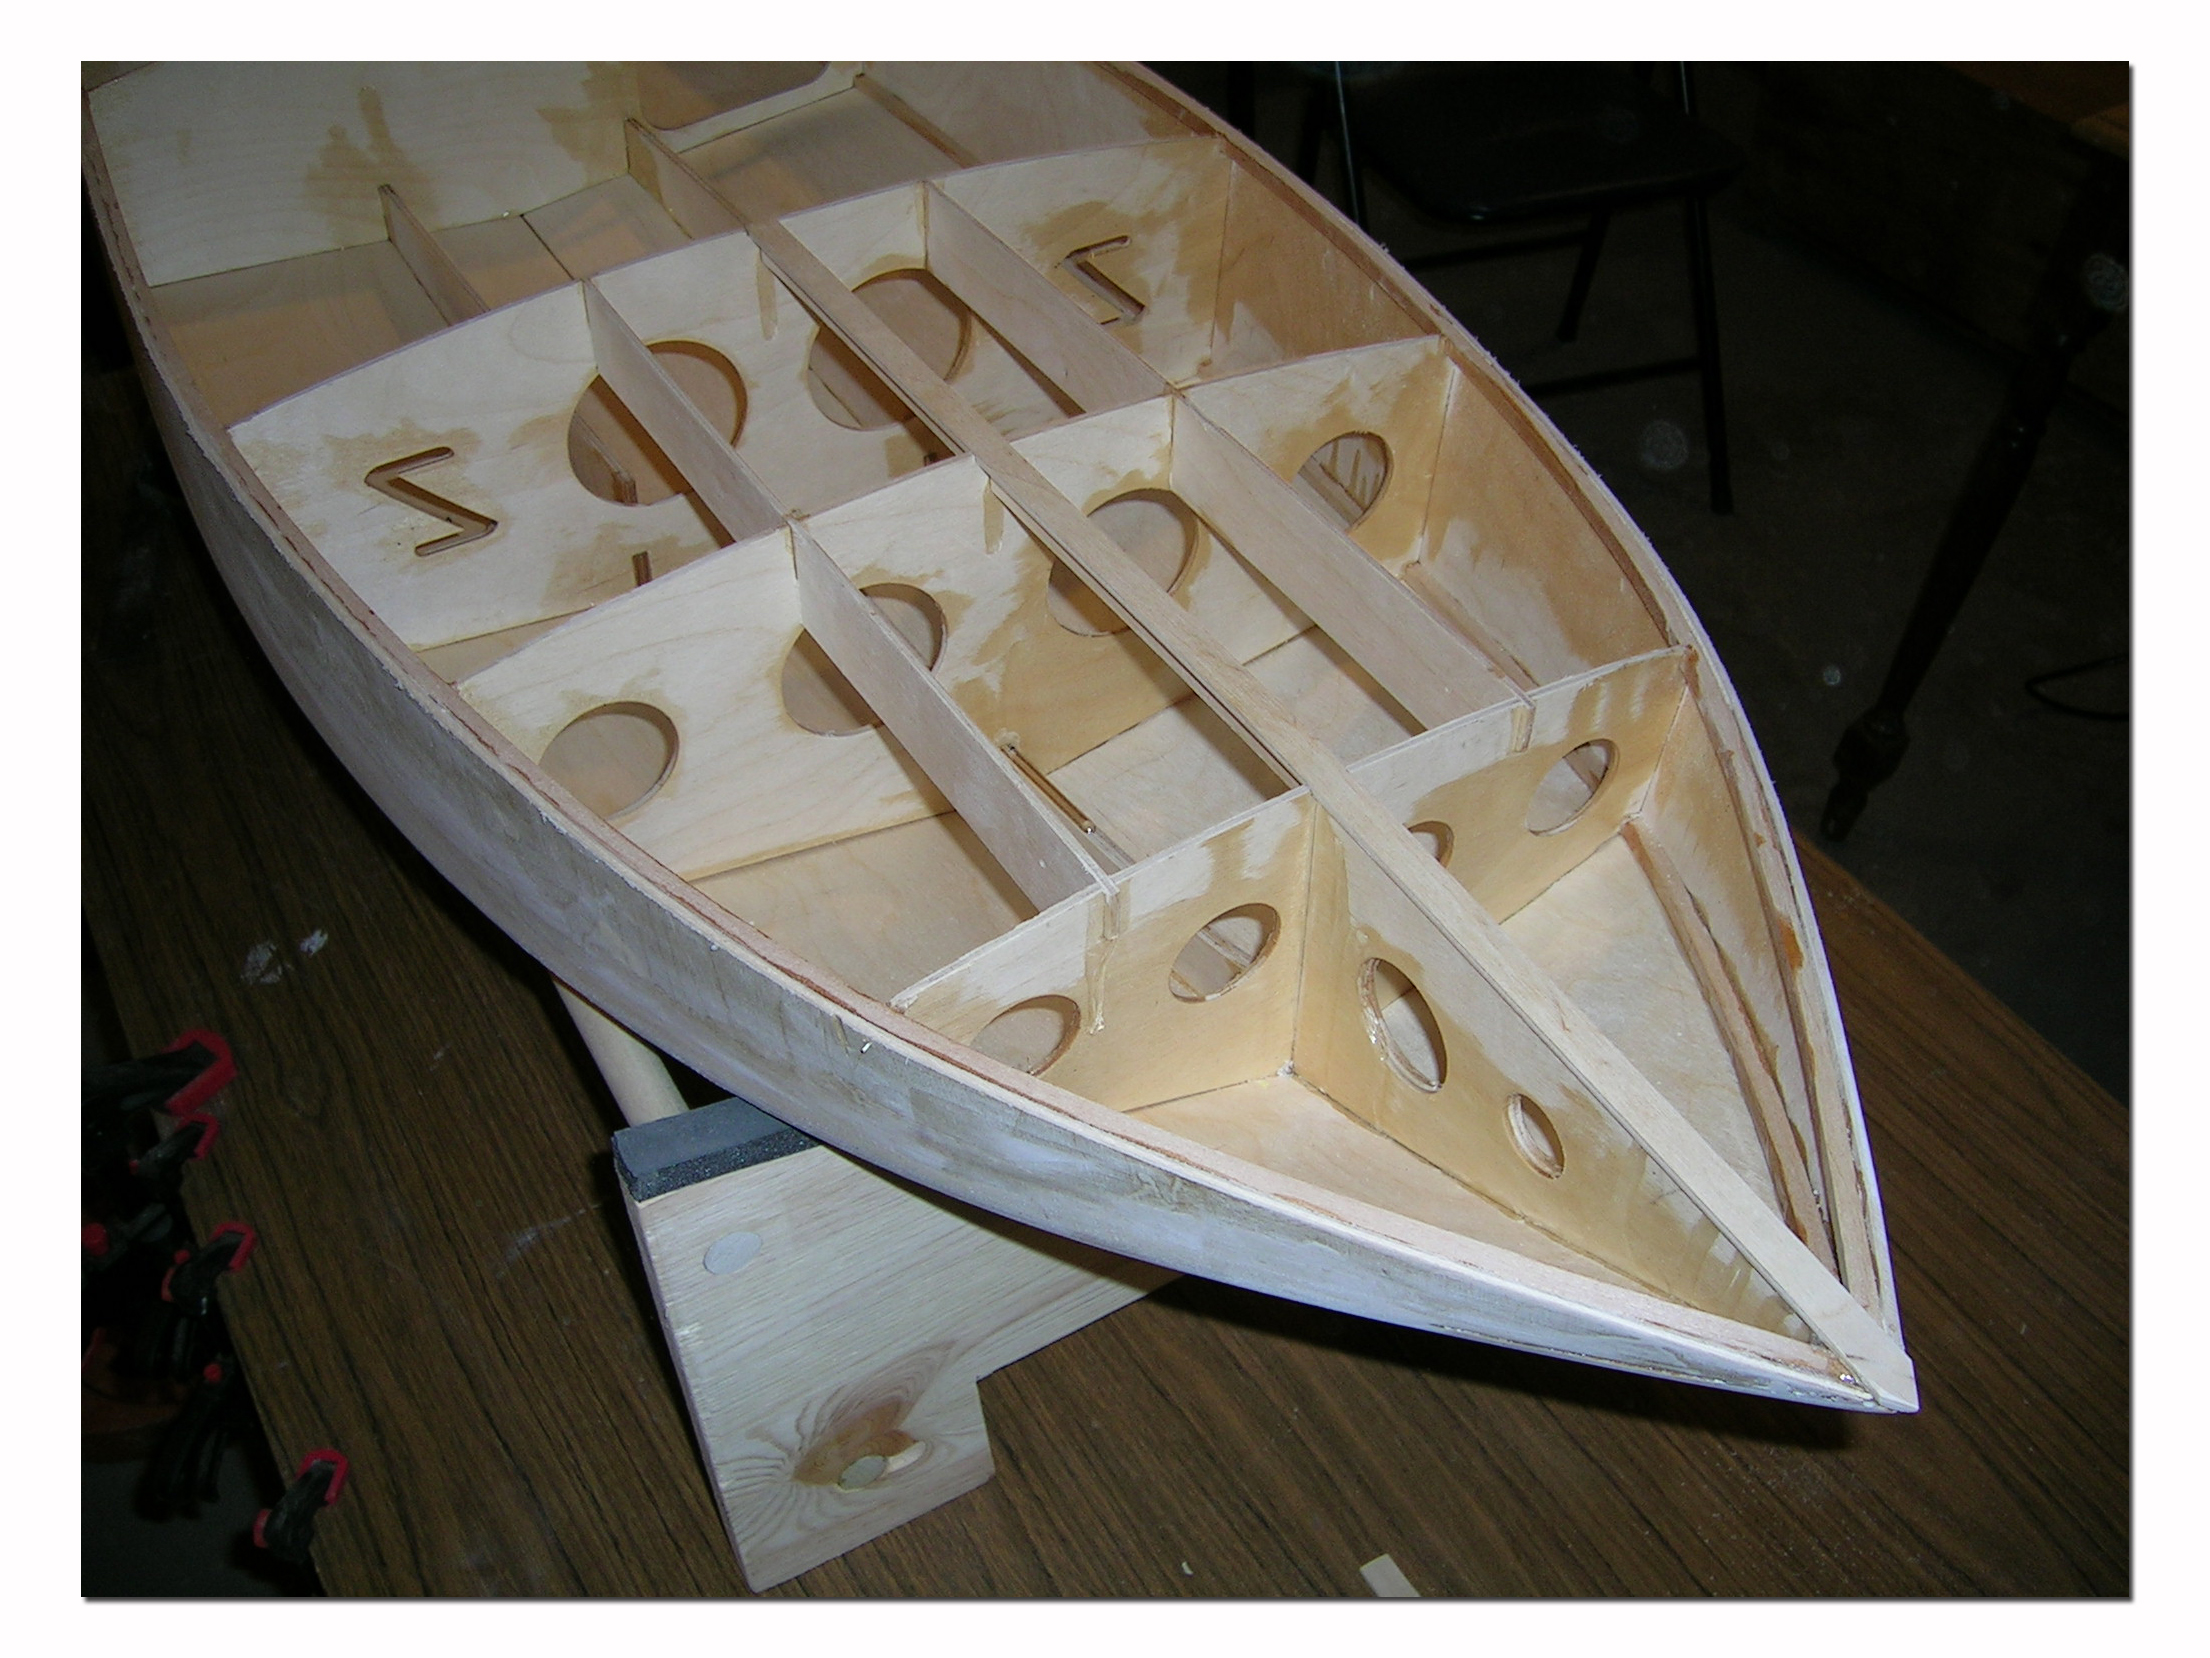
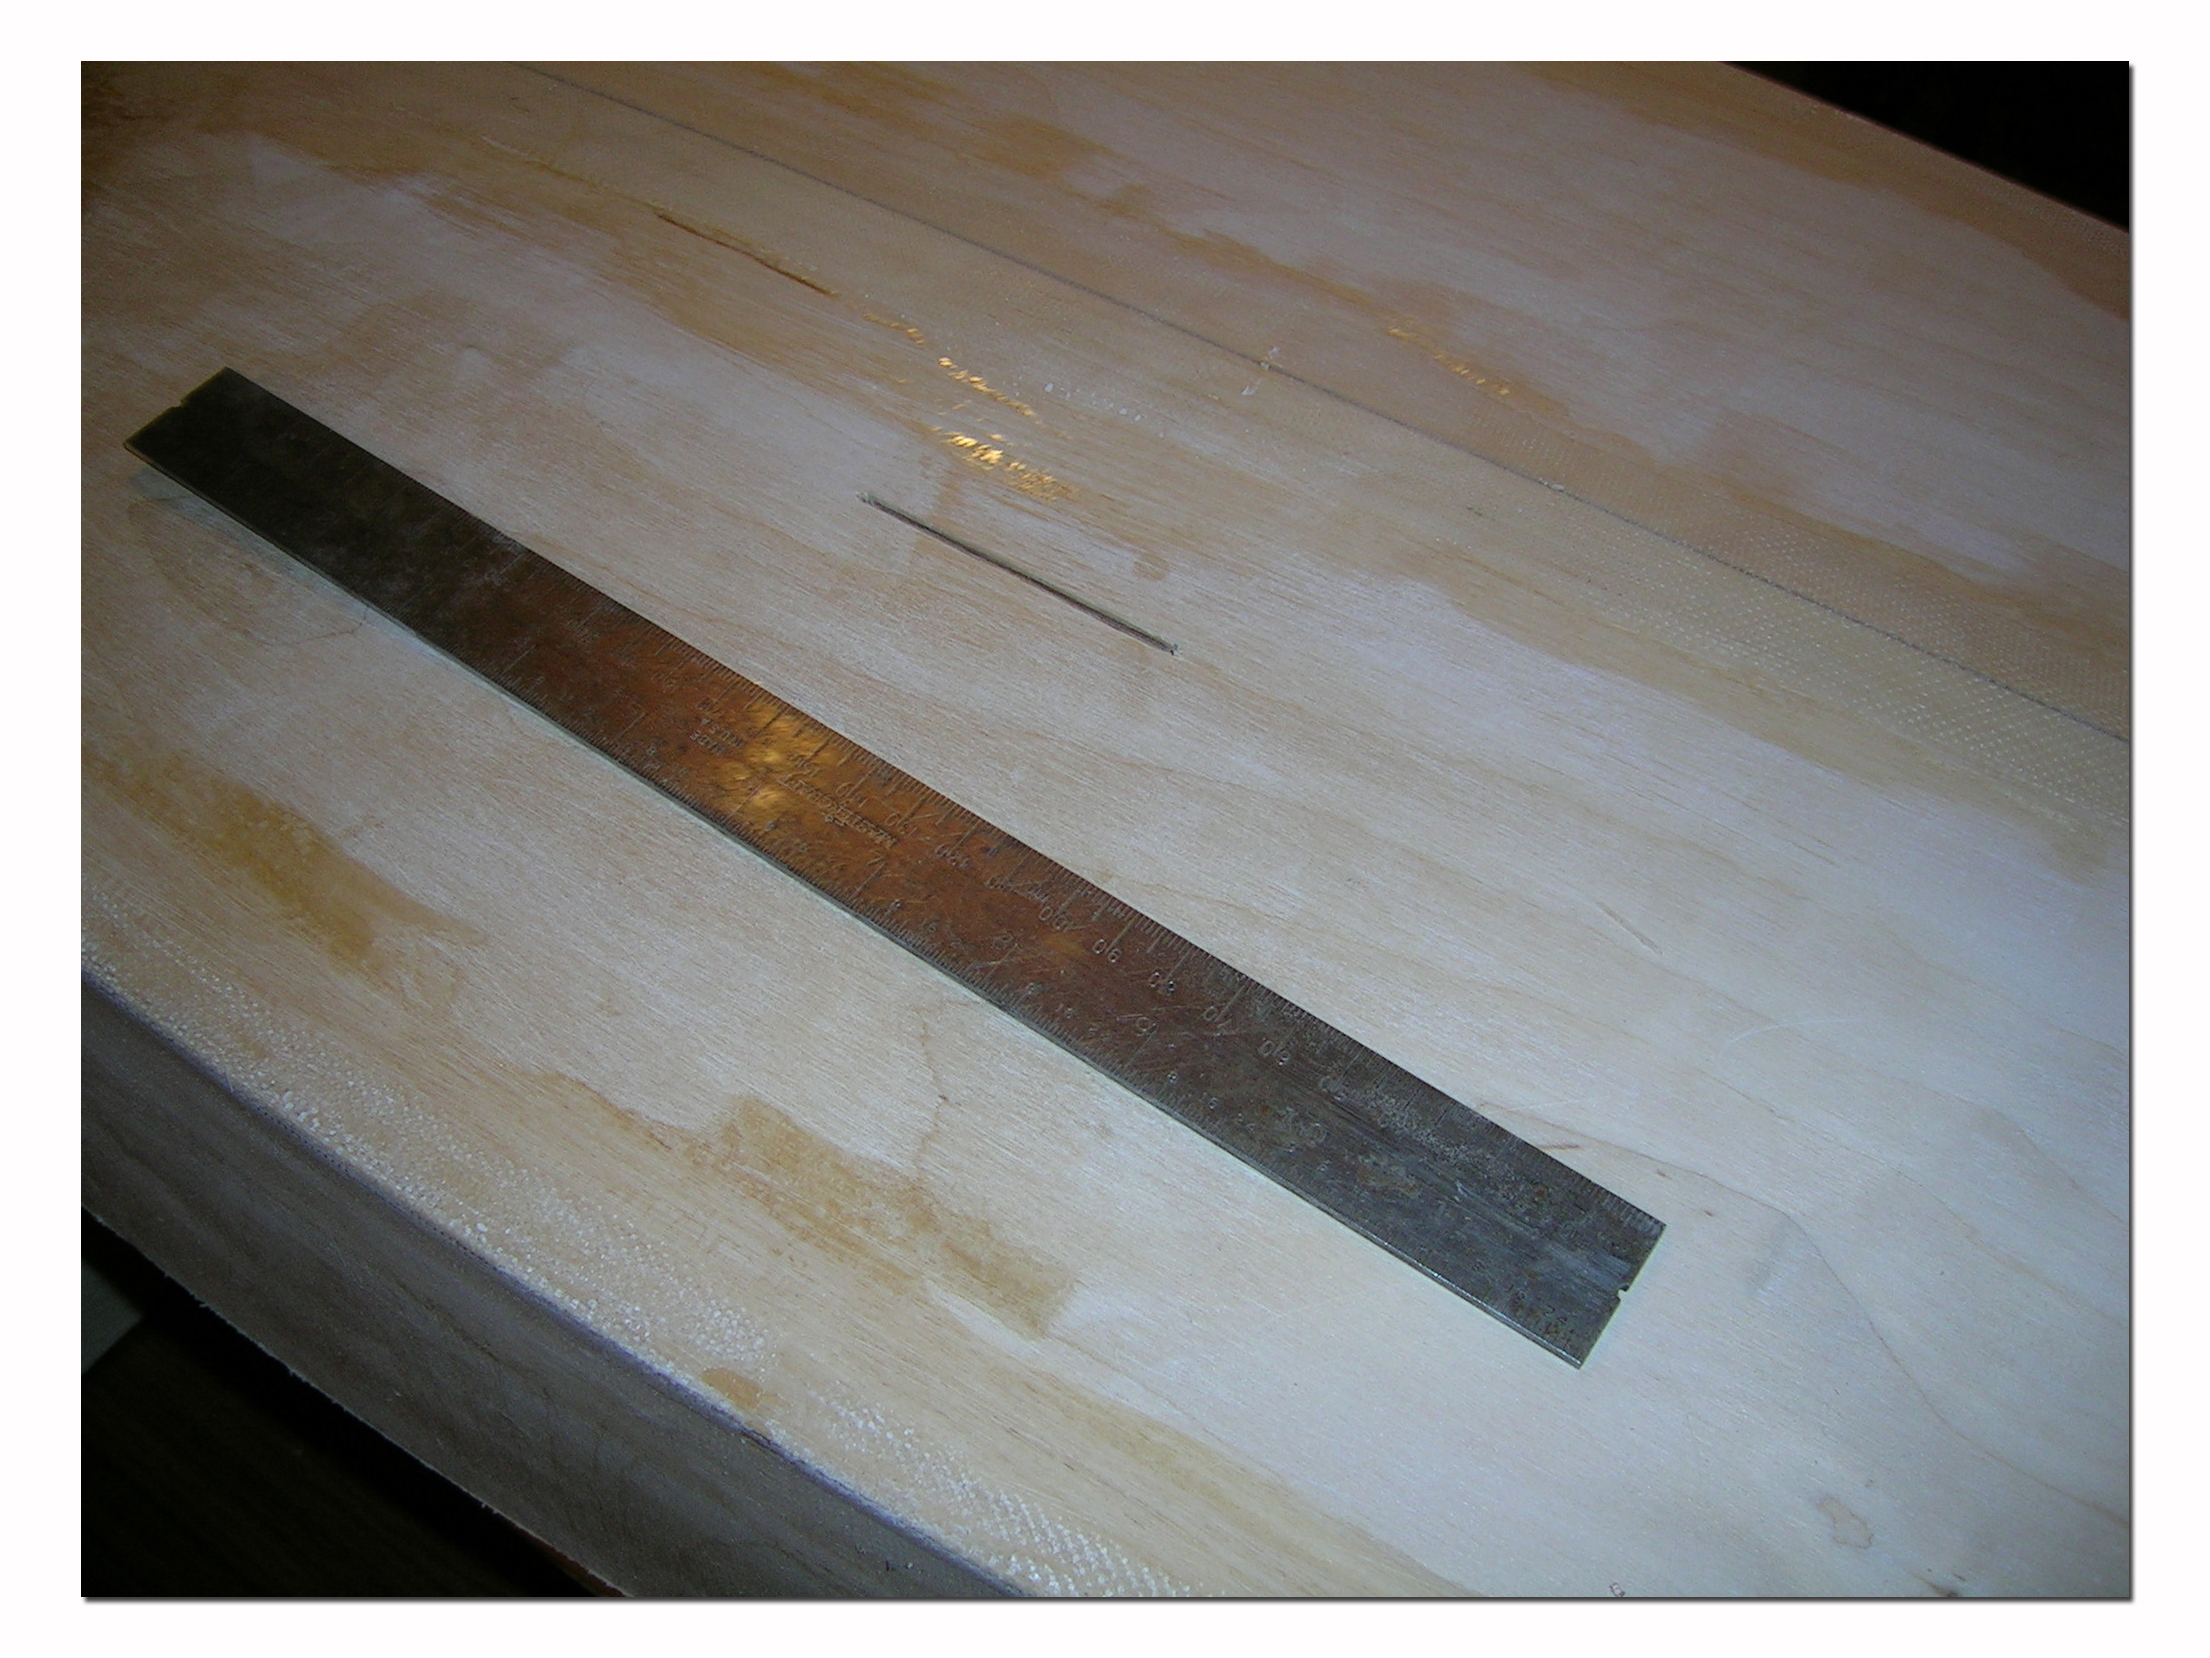
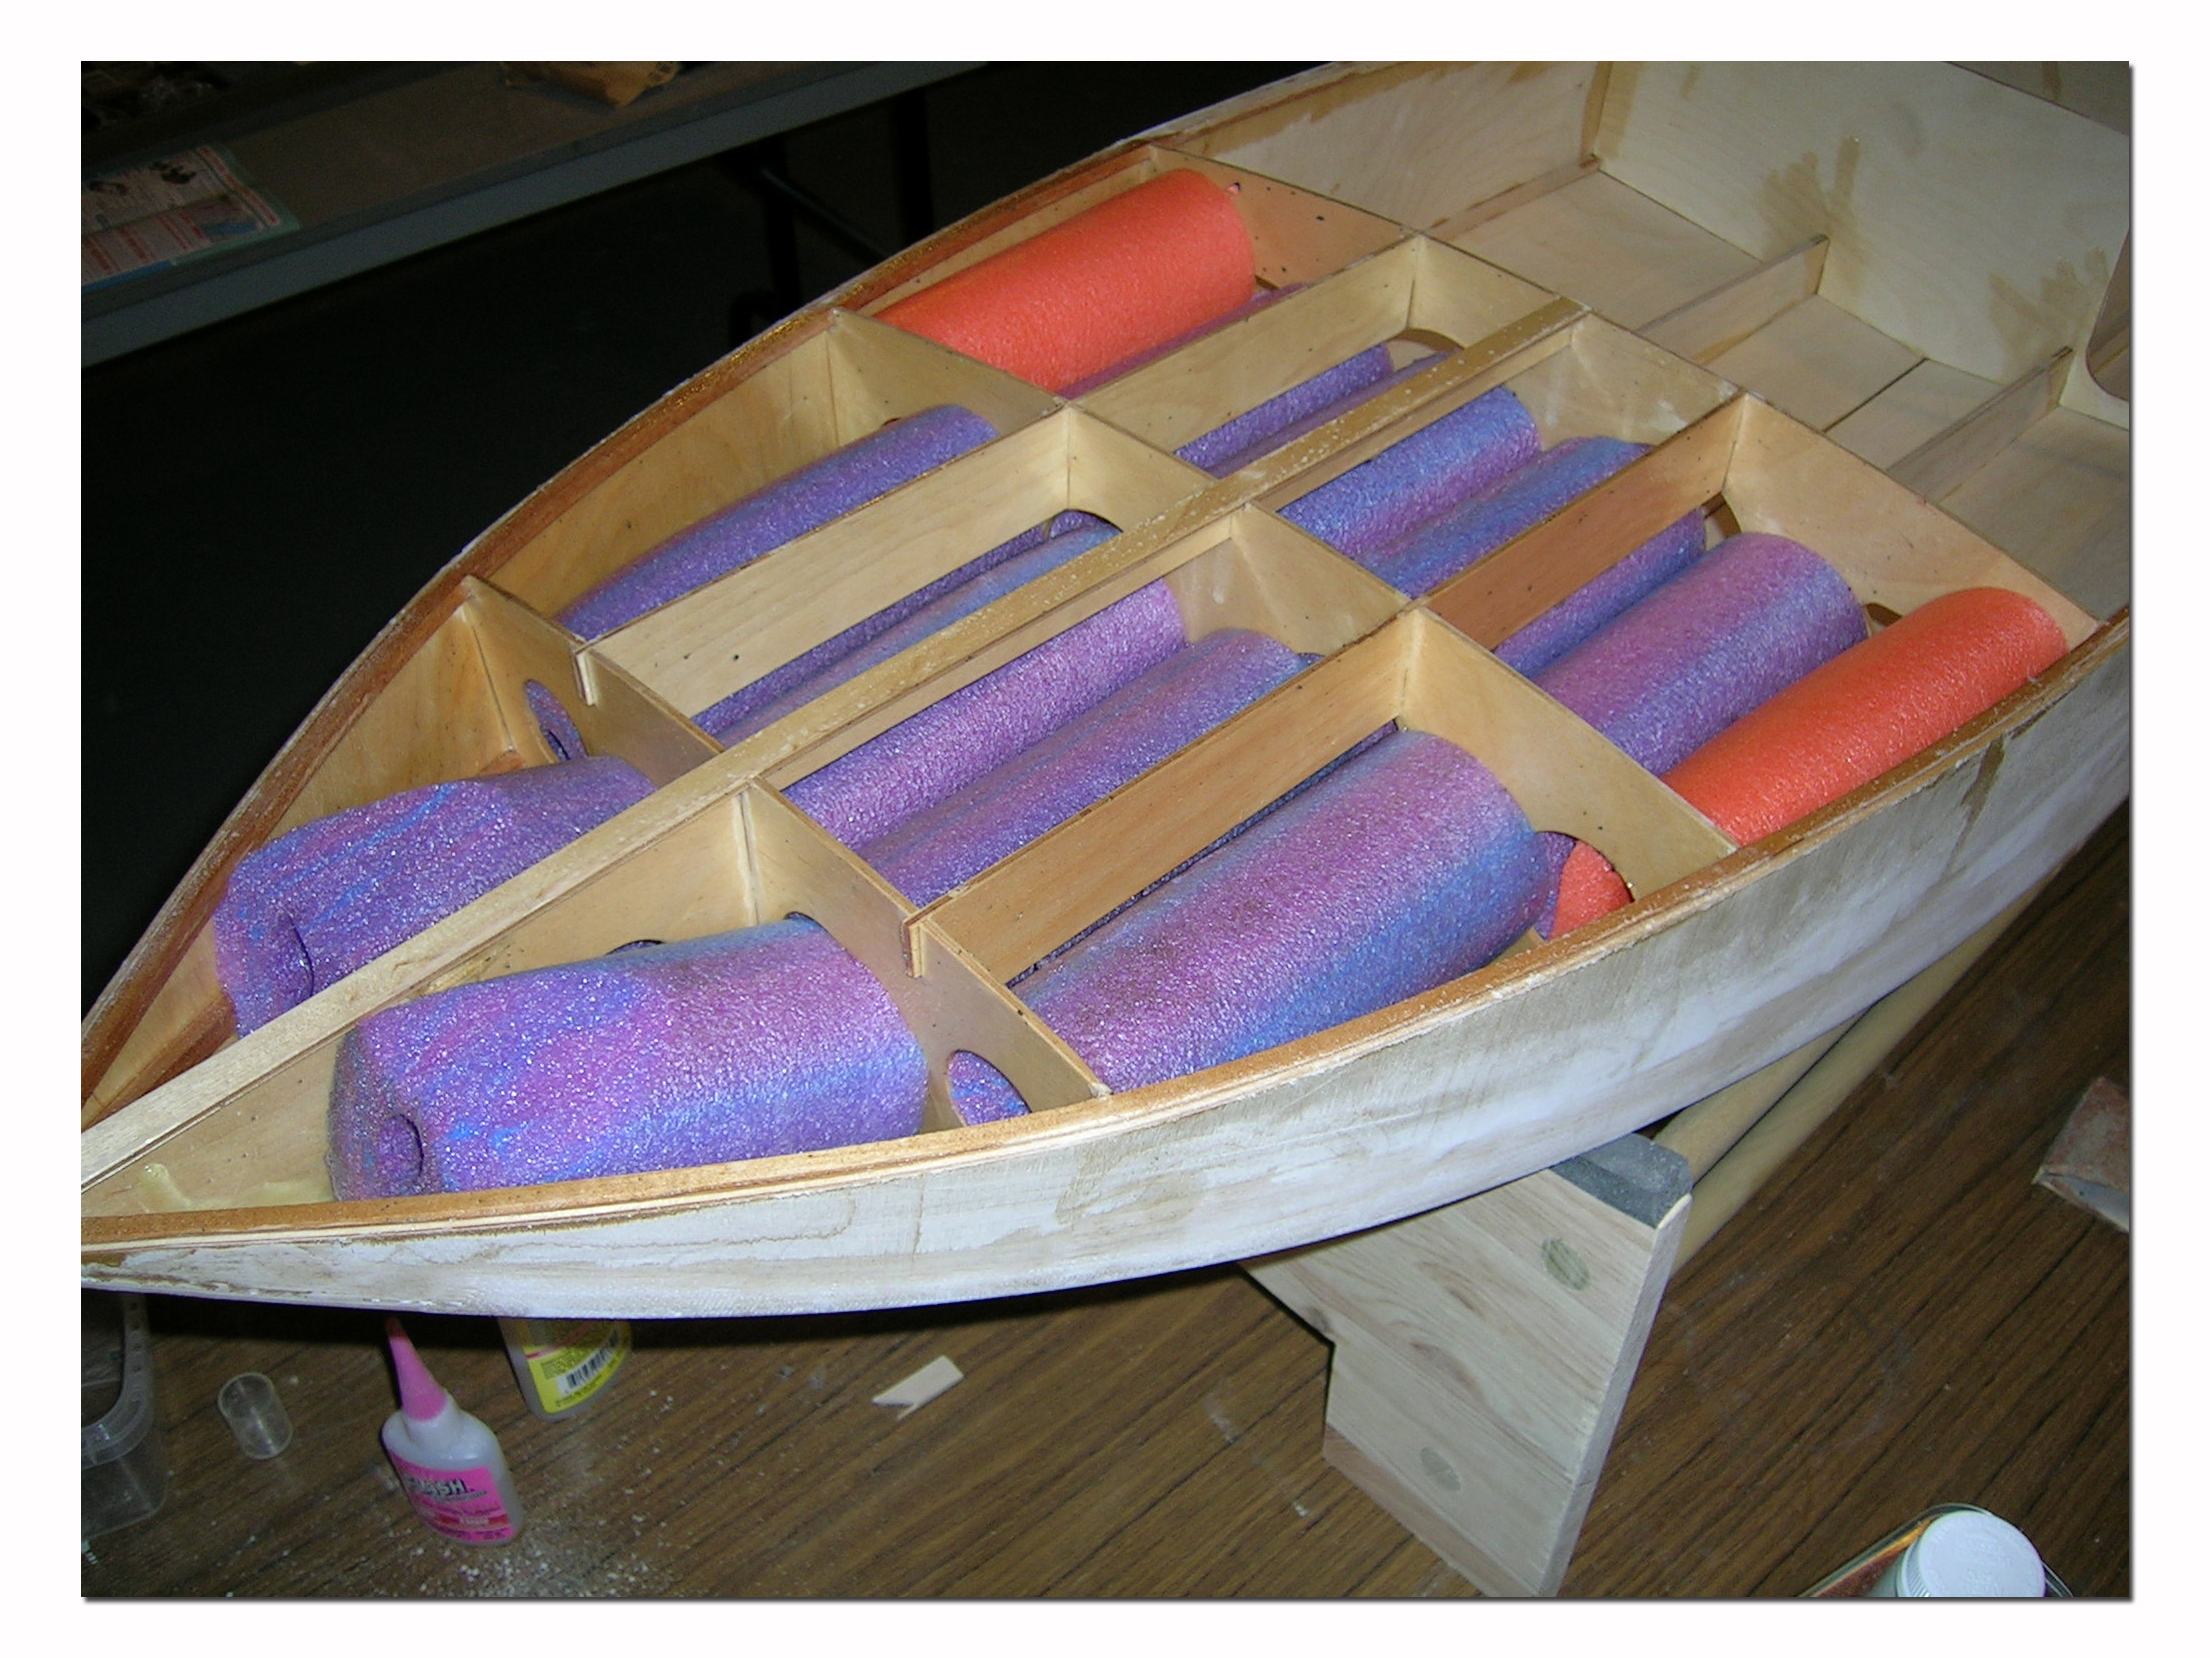
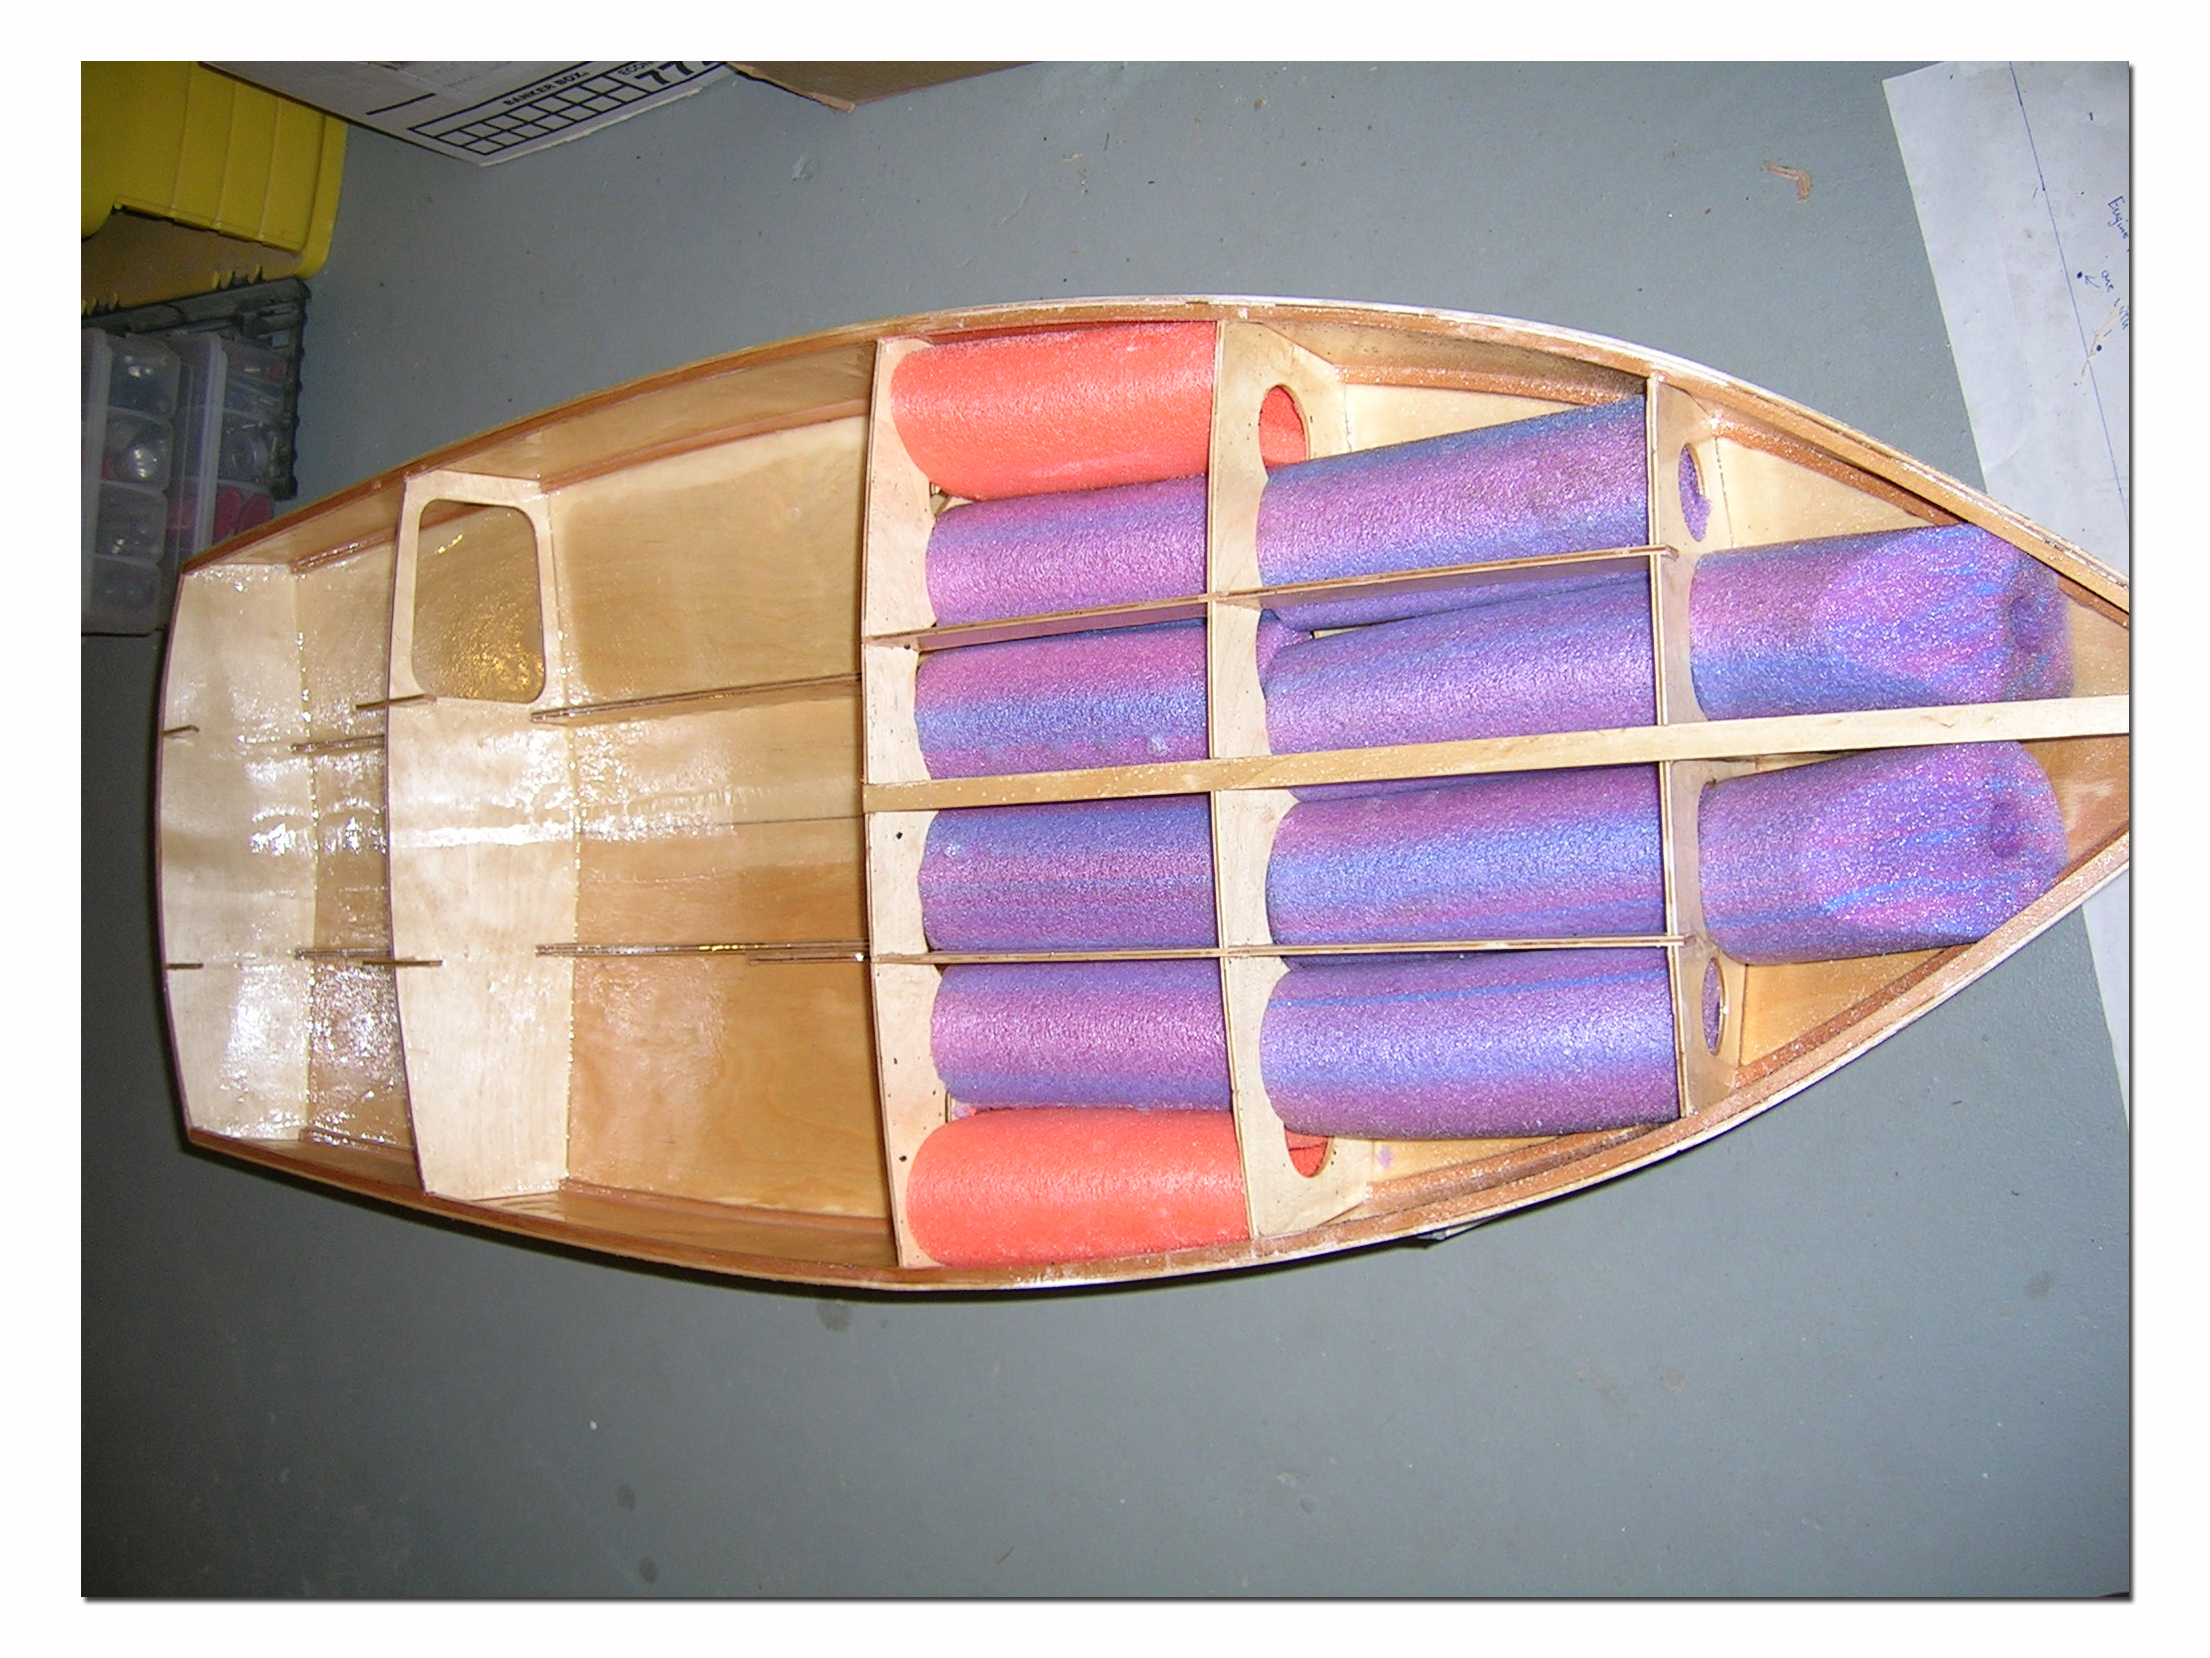
Now with the boat sitting on the stand you will trim off the excess side sheeting and prepare the inside of the hull. There are many things to be done, including cutting out a slot for the skeg, glassing in a reinforcement strip in the bottom of the hull, sealing the entire inside of the hull and installing floatation.
For trimming the excess this time I got a little bit lazy and took out my small belt sander with a coarse belt. I was done in no time! If you decide to try this be carefull though as it goes fast! Saves a lot of time though.
When sealing the inside of the hull make sure to cover all exposed wood inside the hull. For floatation I used pieces of pool noodles. I cut them to fit snuggly between the bulkheads so they wouldn't move around inside the boat once it's closed in.
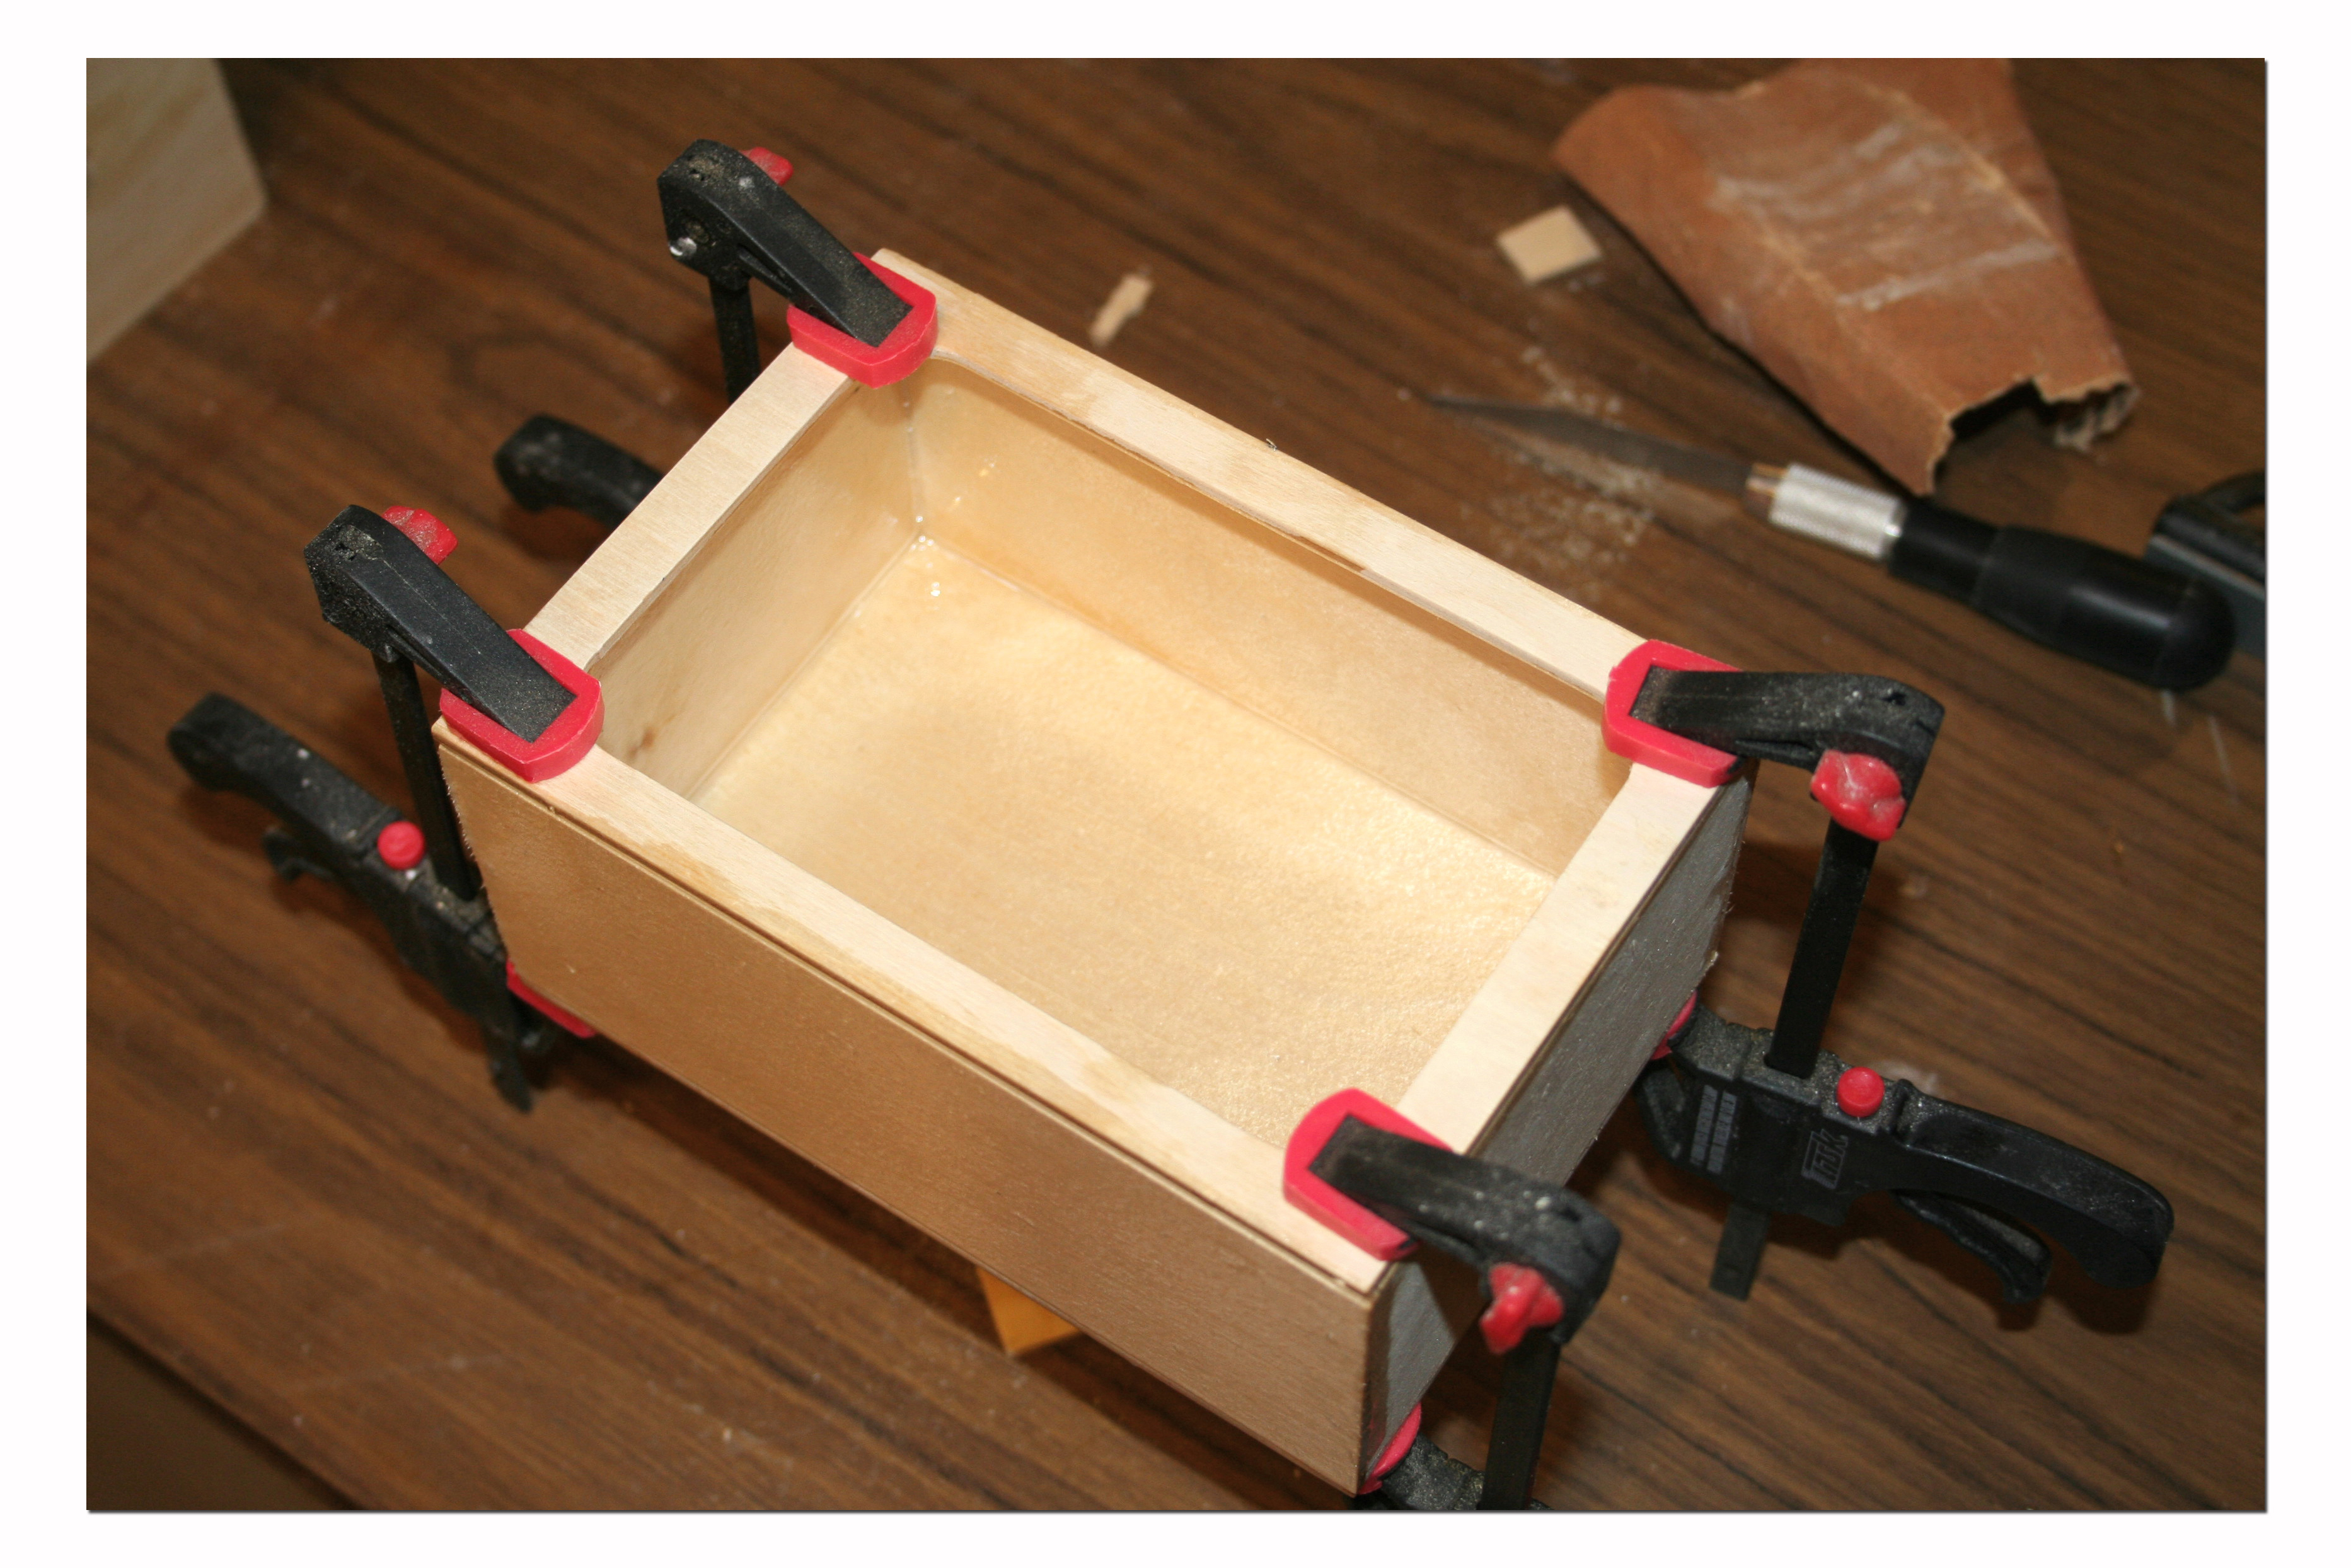
I also started building the radio box at this time and when I had left over resin from sealing the hull I would use it to seal the radio box.
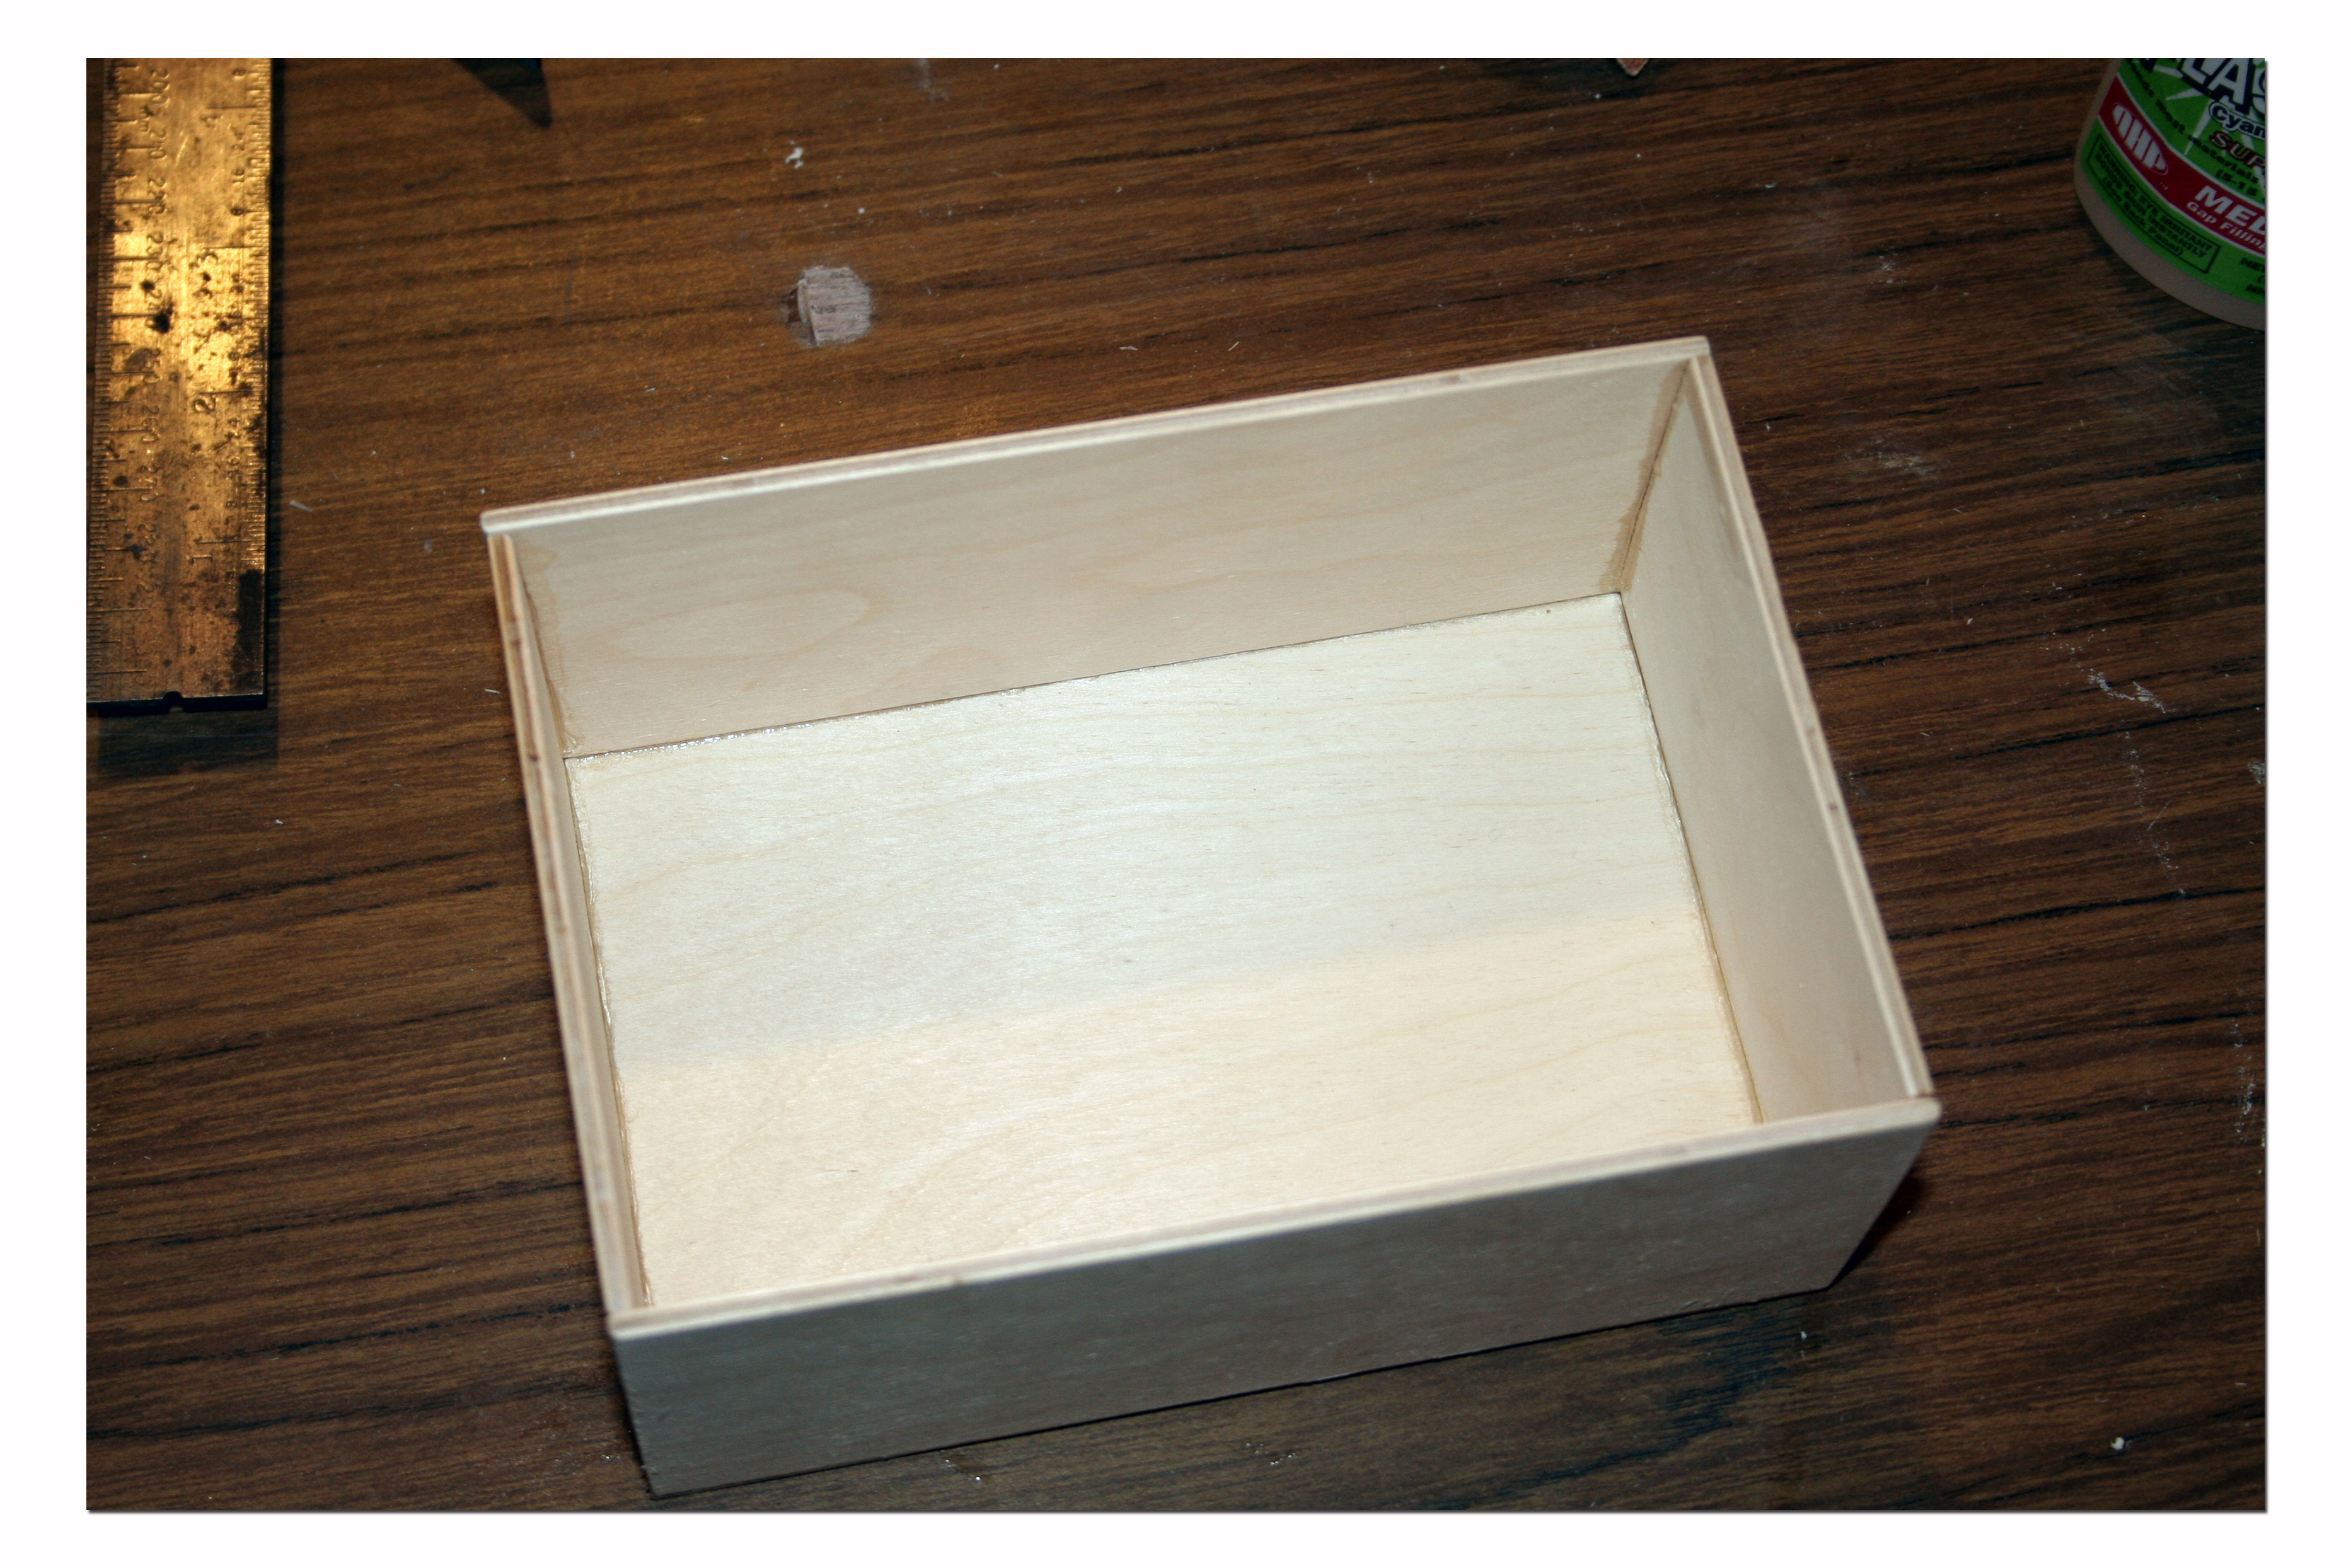
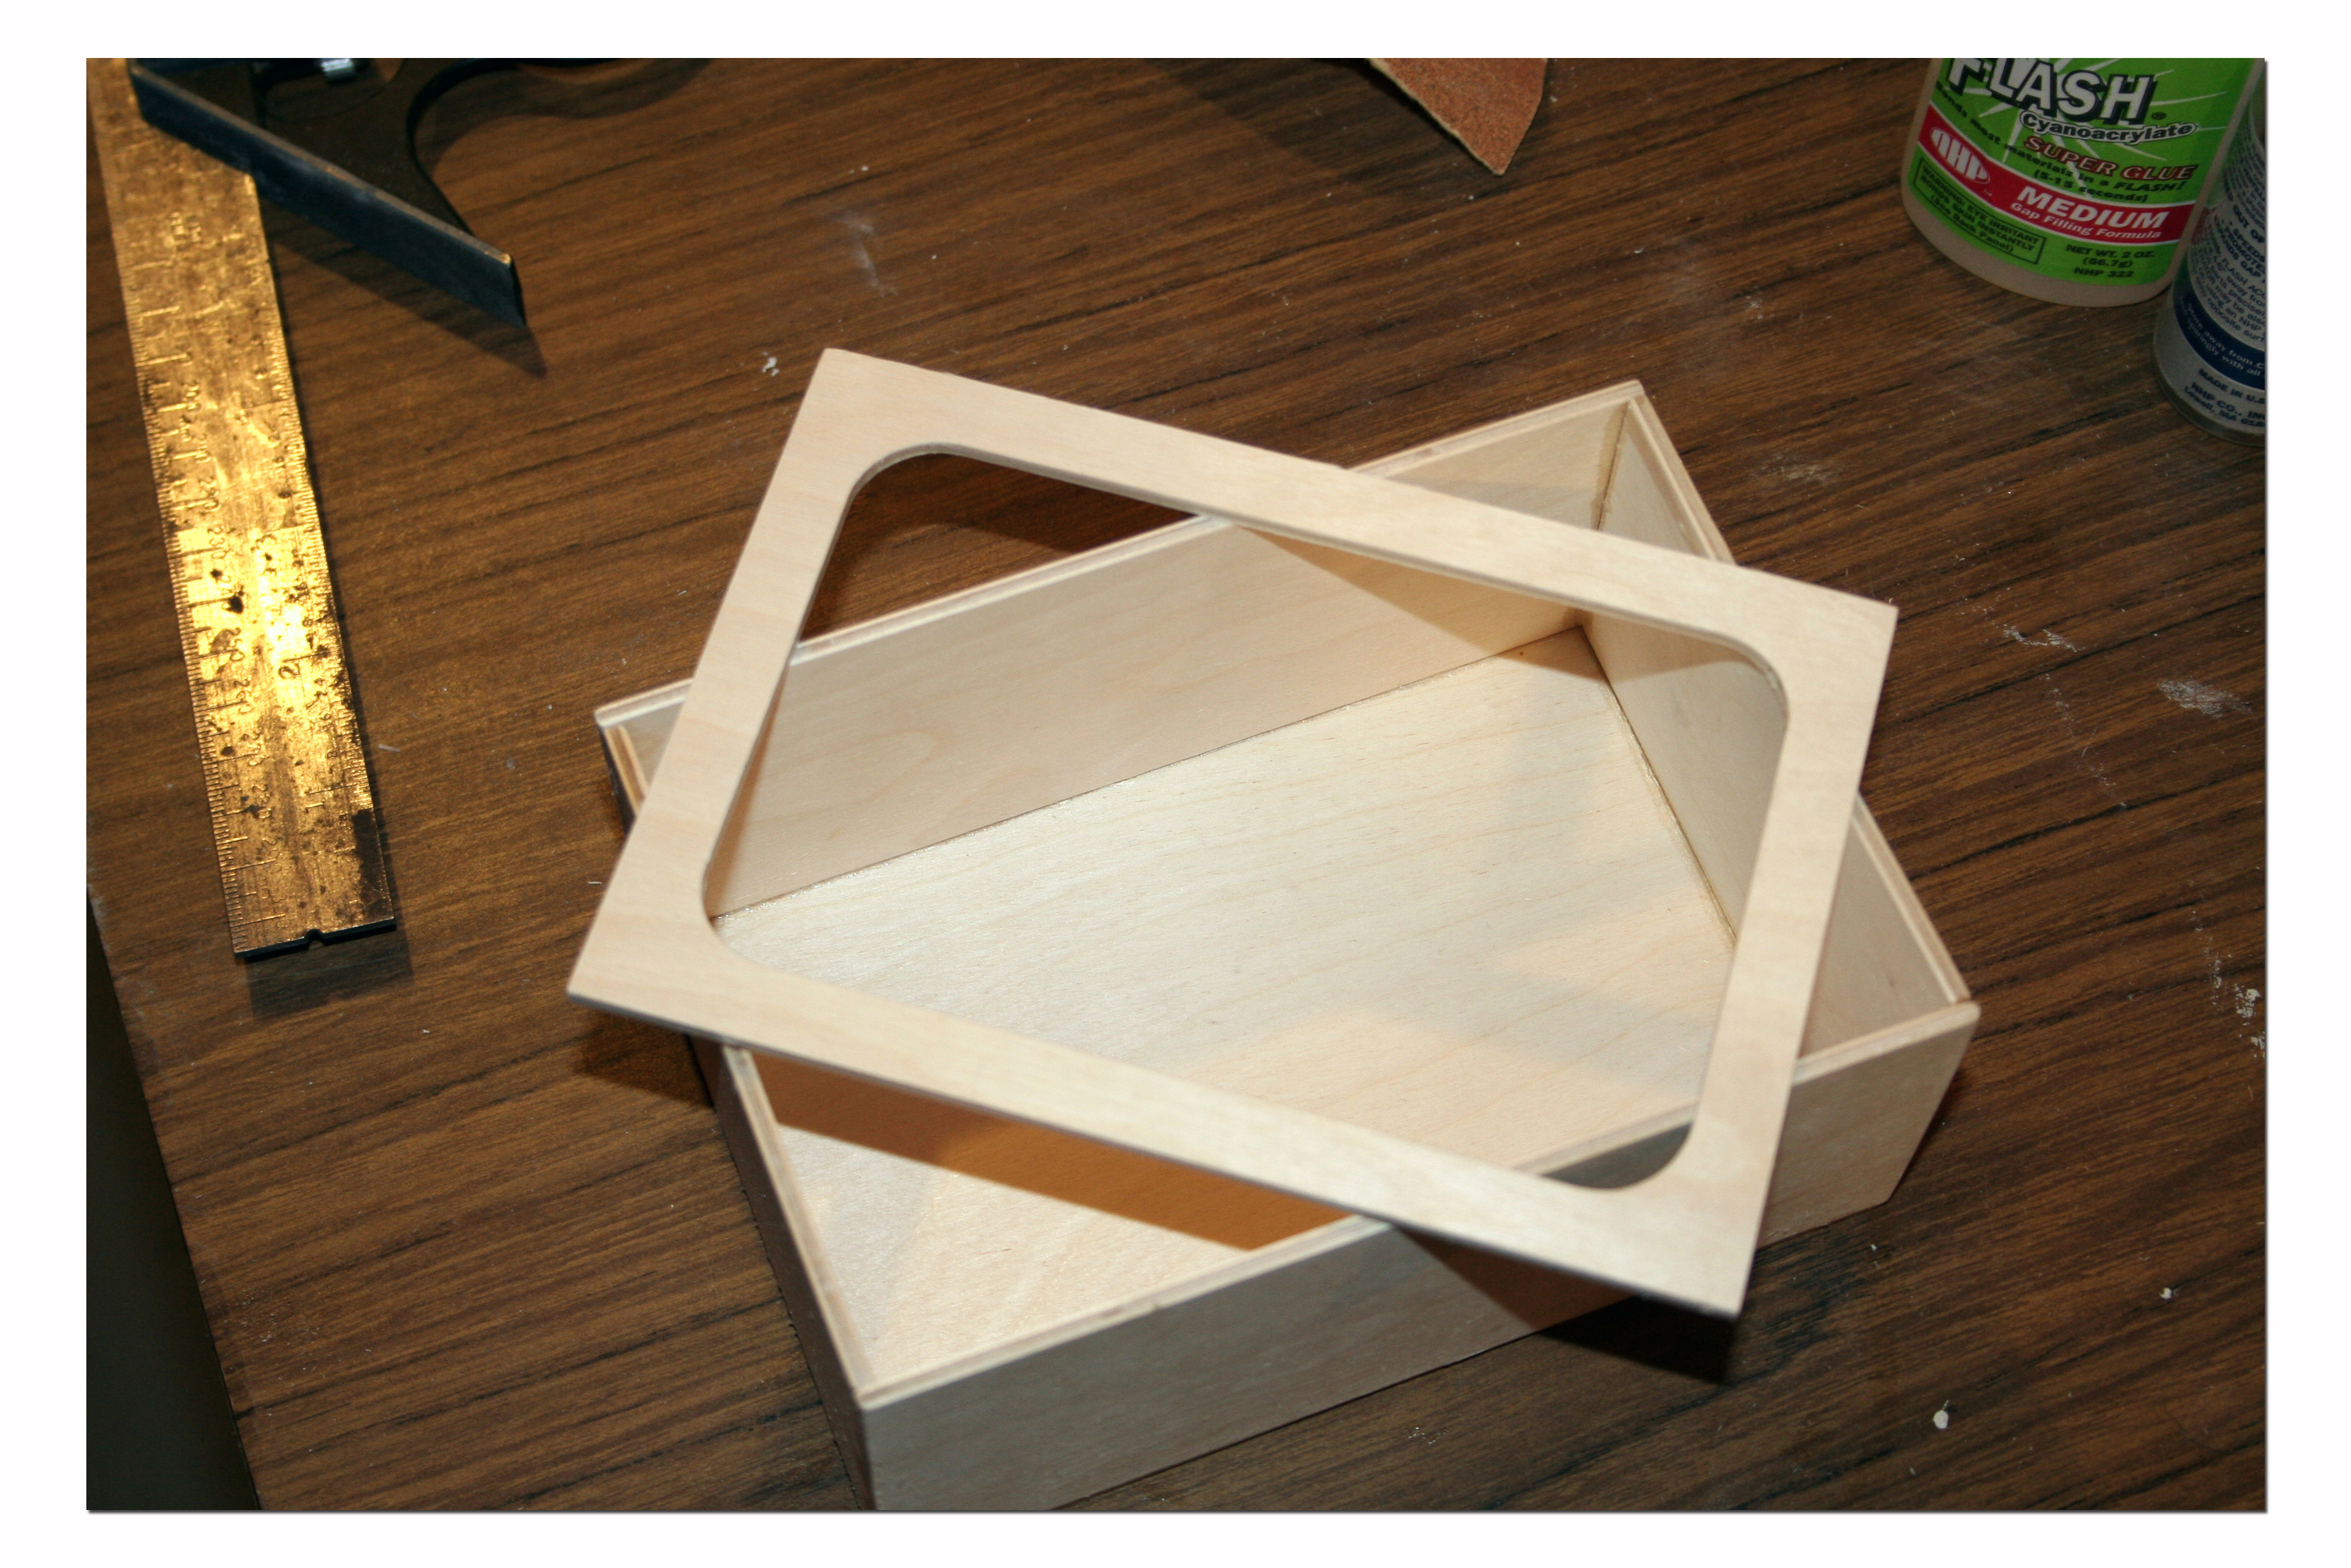
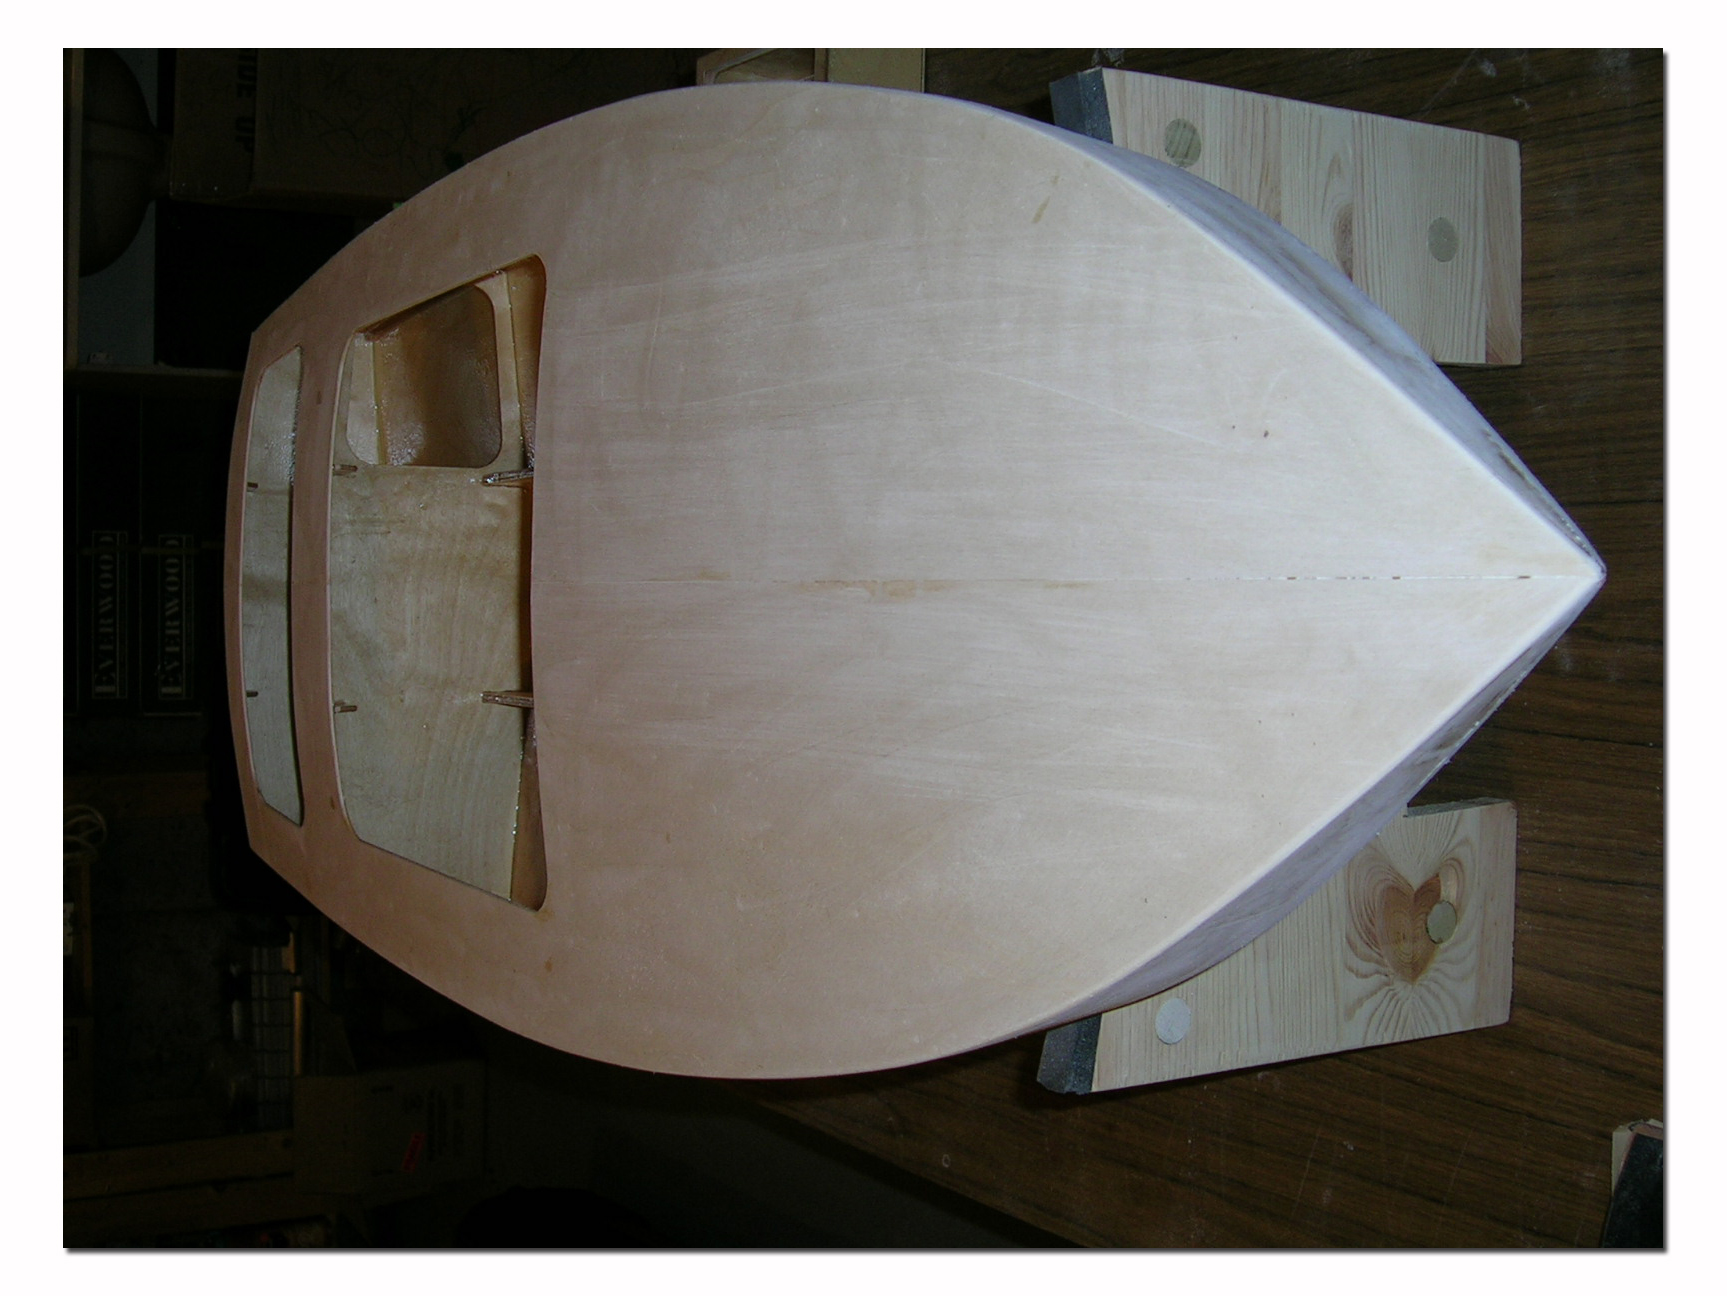
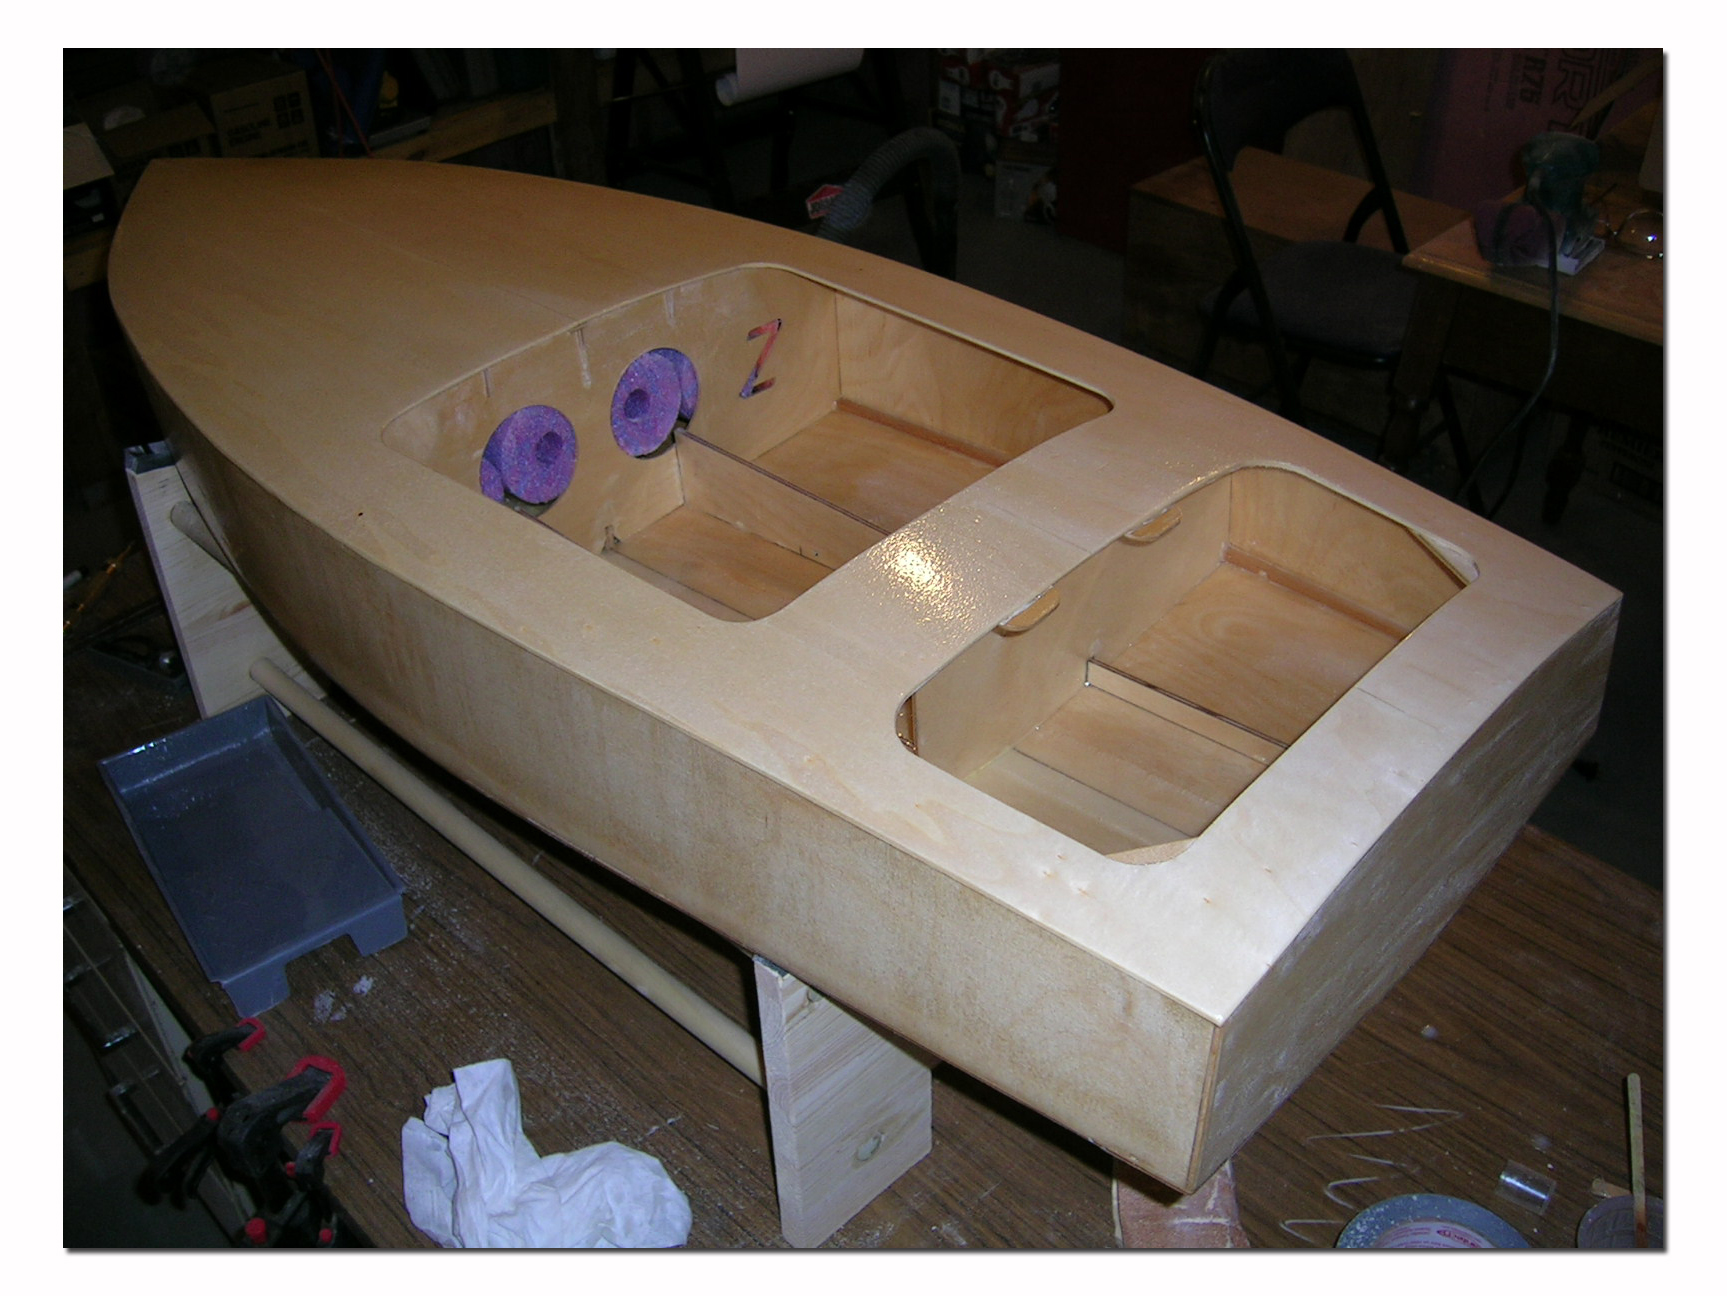
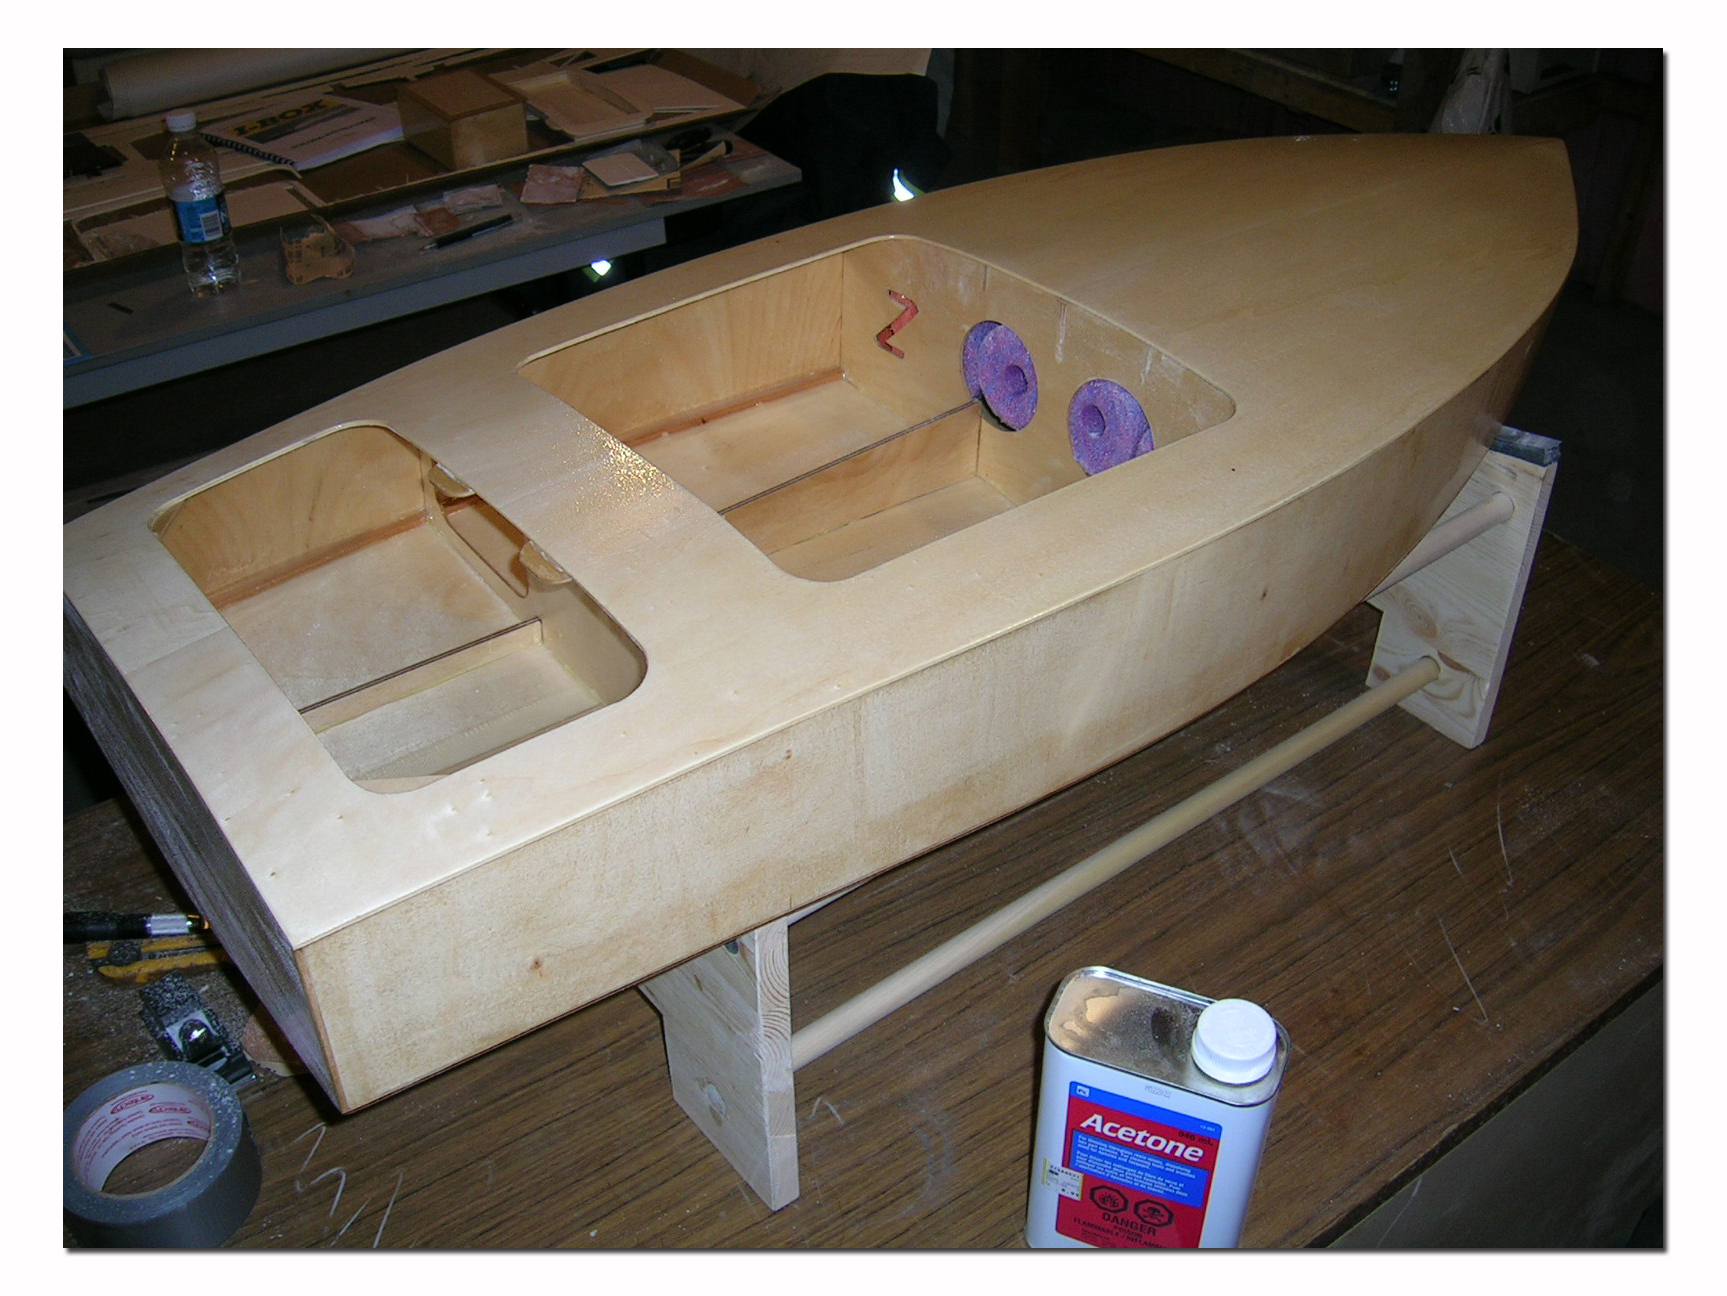
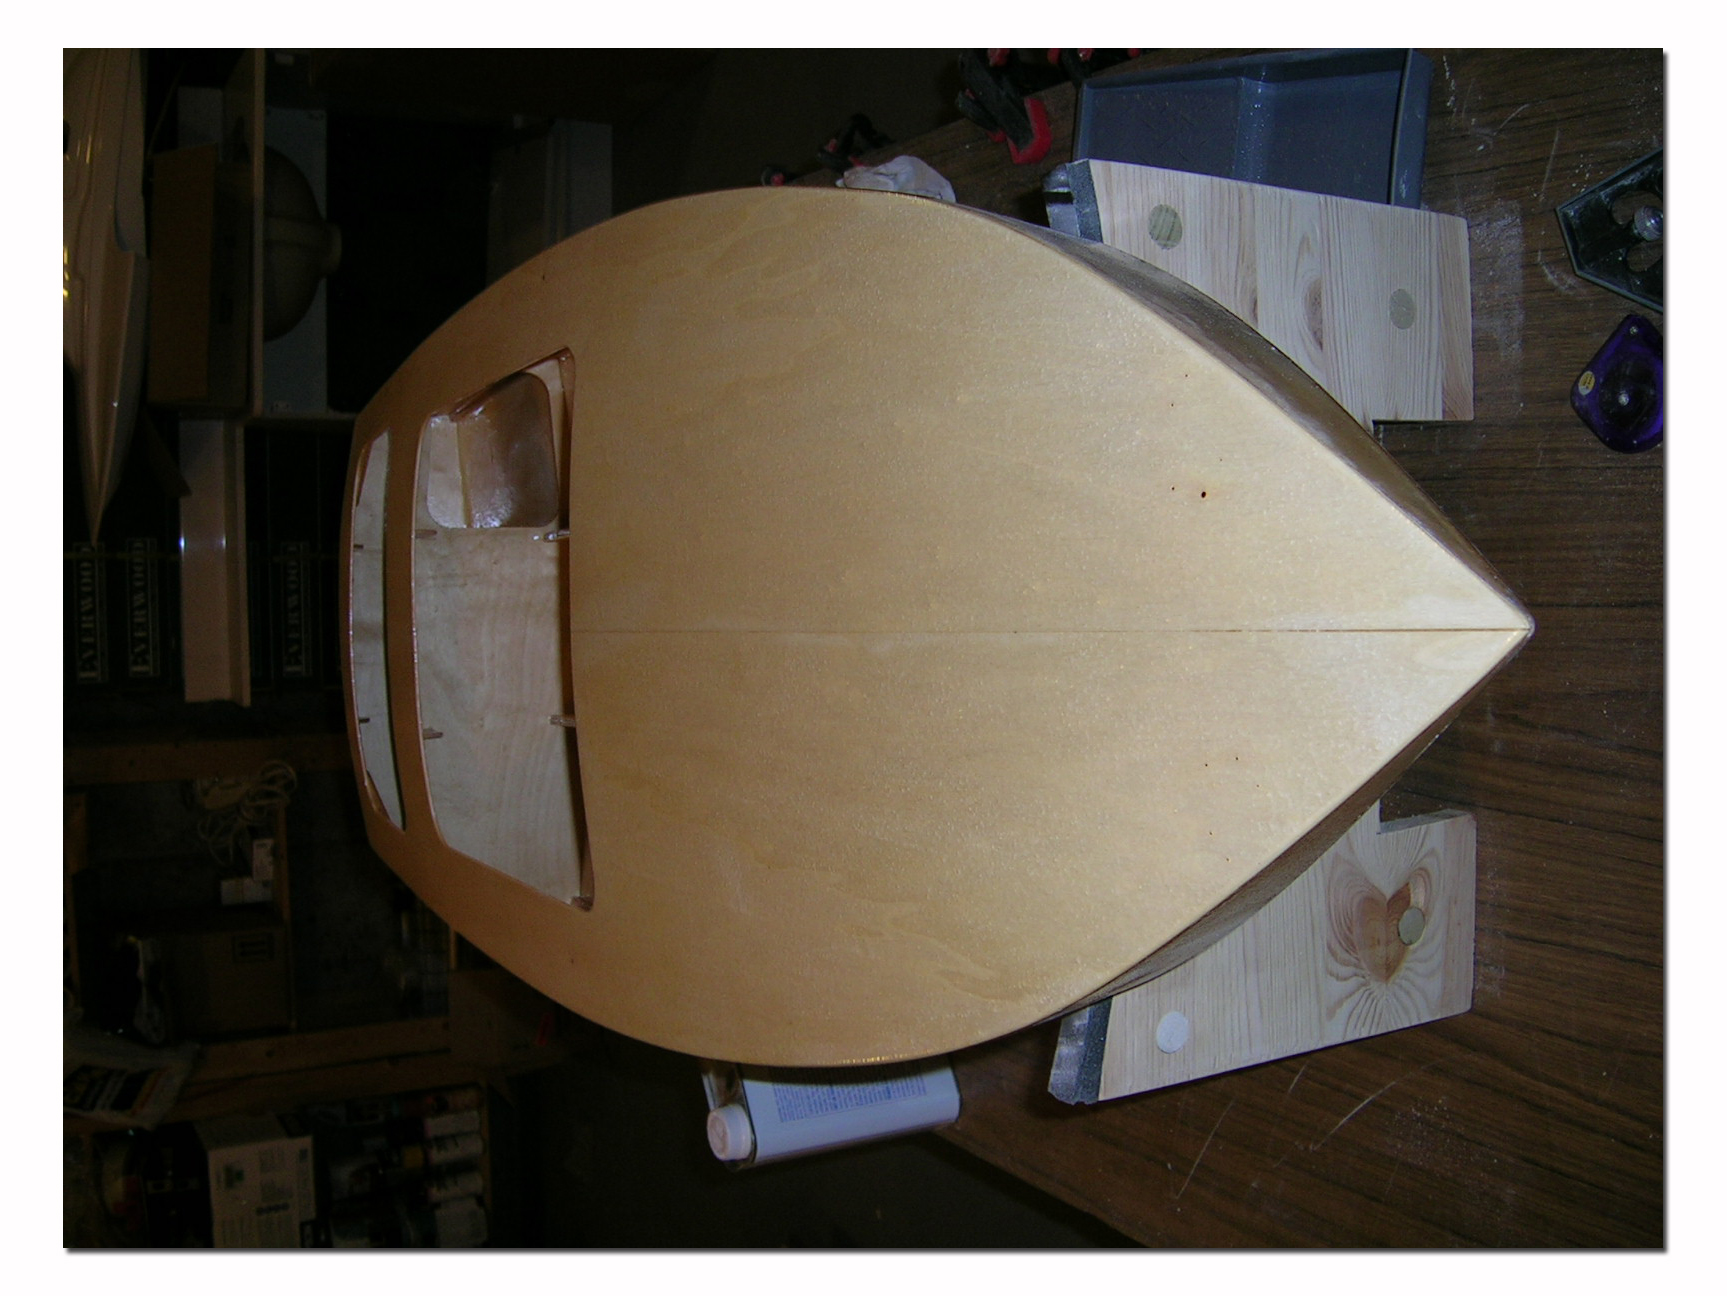
The top deck is done in two pieces that you join together before gluing to the boat. This was a first for me but it is well explained in the instructions and it worked out quite well. I think the primary reason for doing this is to eliminate the visible seam you would obviously have if you installed them independently to the hull. Doing it this was the two sheets become one and you don't get a "bump"at the seam. Sheeting the top is similar to doing the bottom. You must use a lot of weights and tape to make sure it is properly held in place while the epoxy cures. Be prepared before you put on the epoxy.
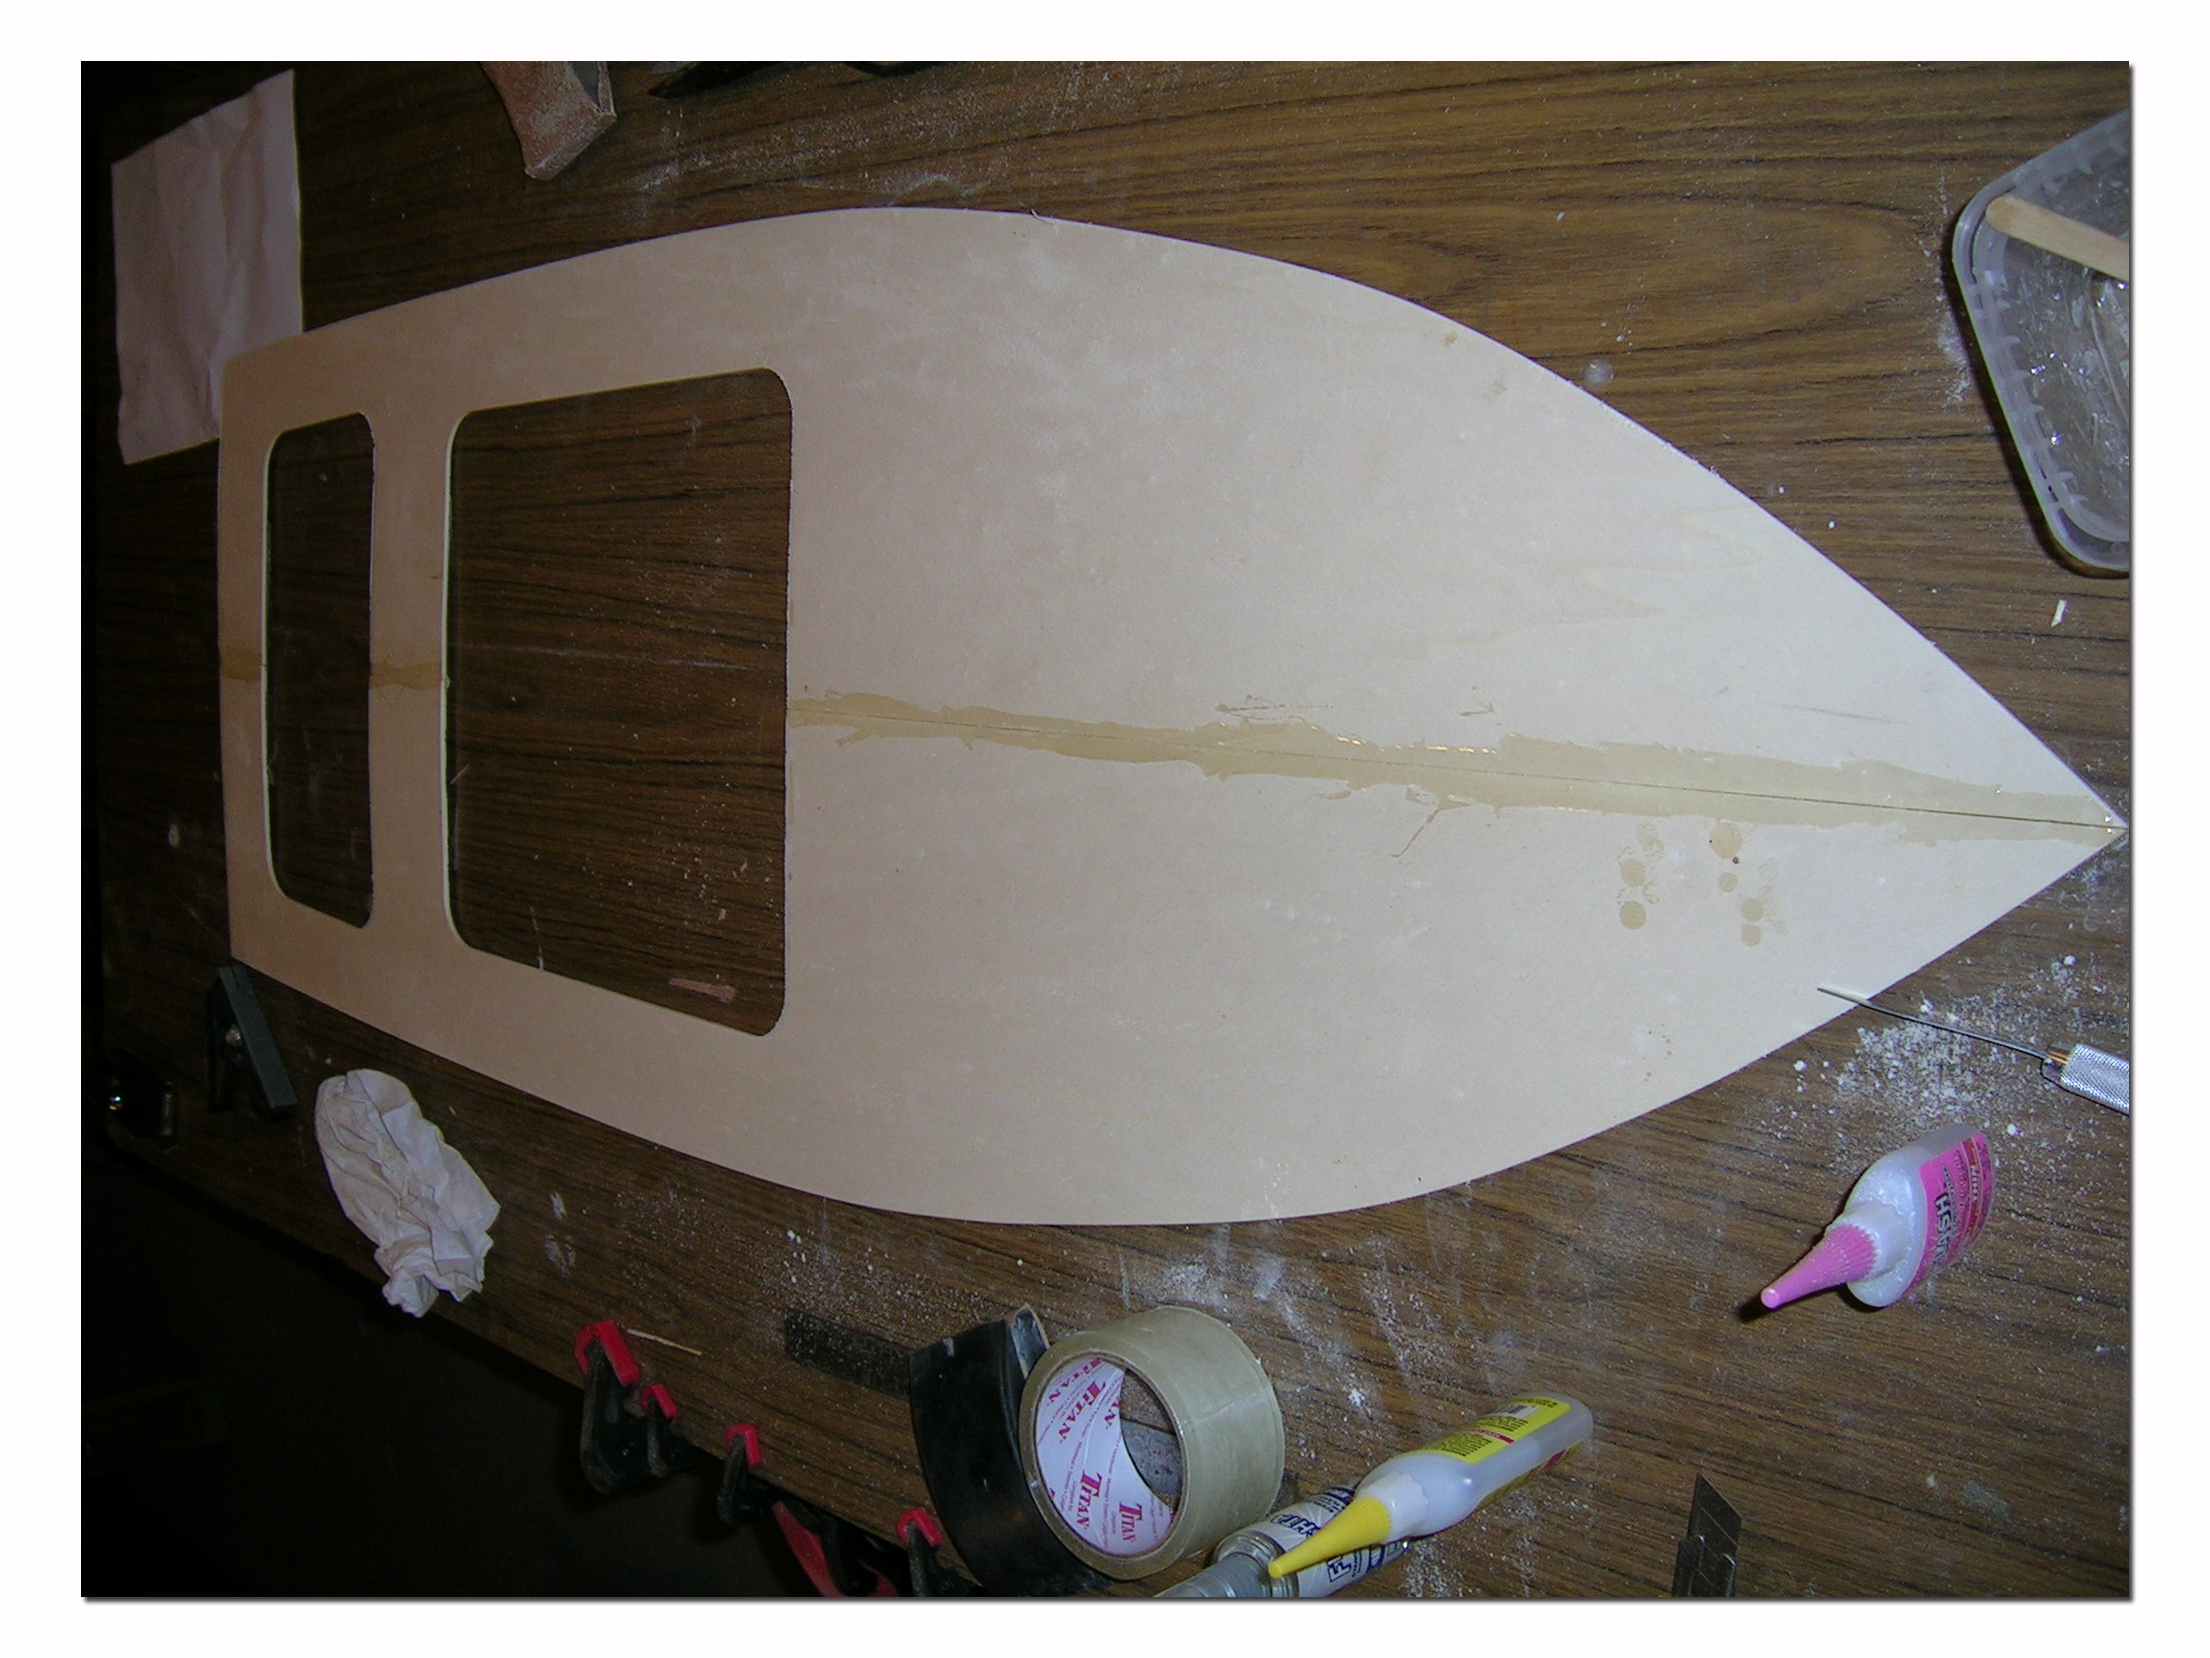
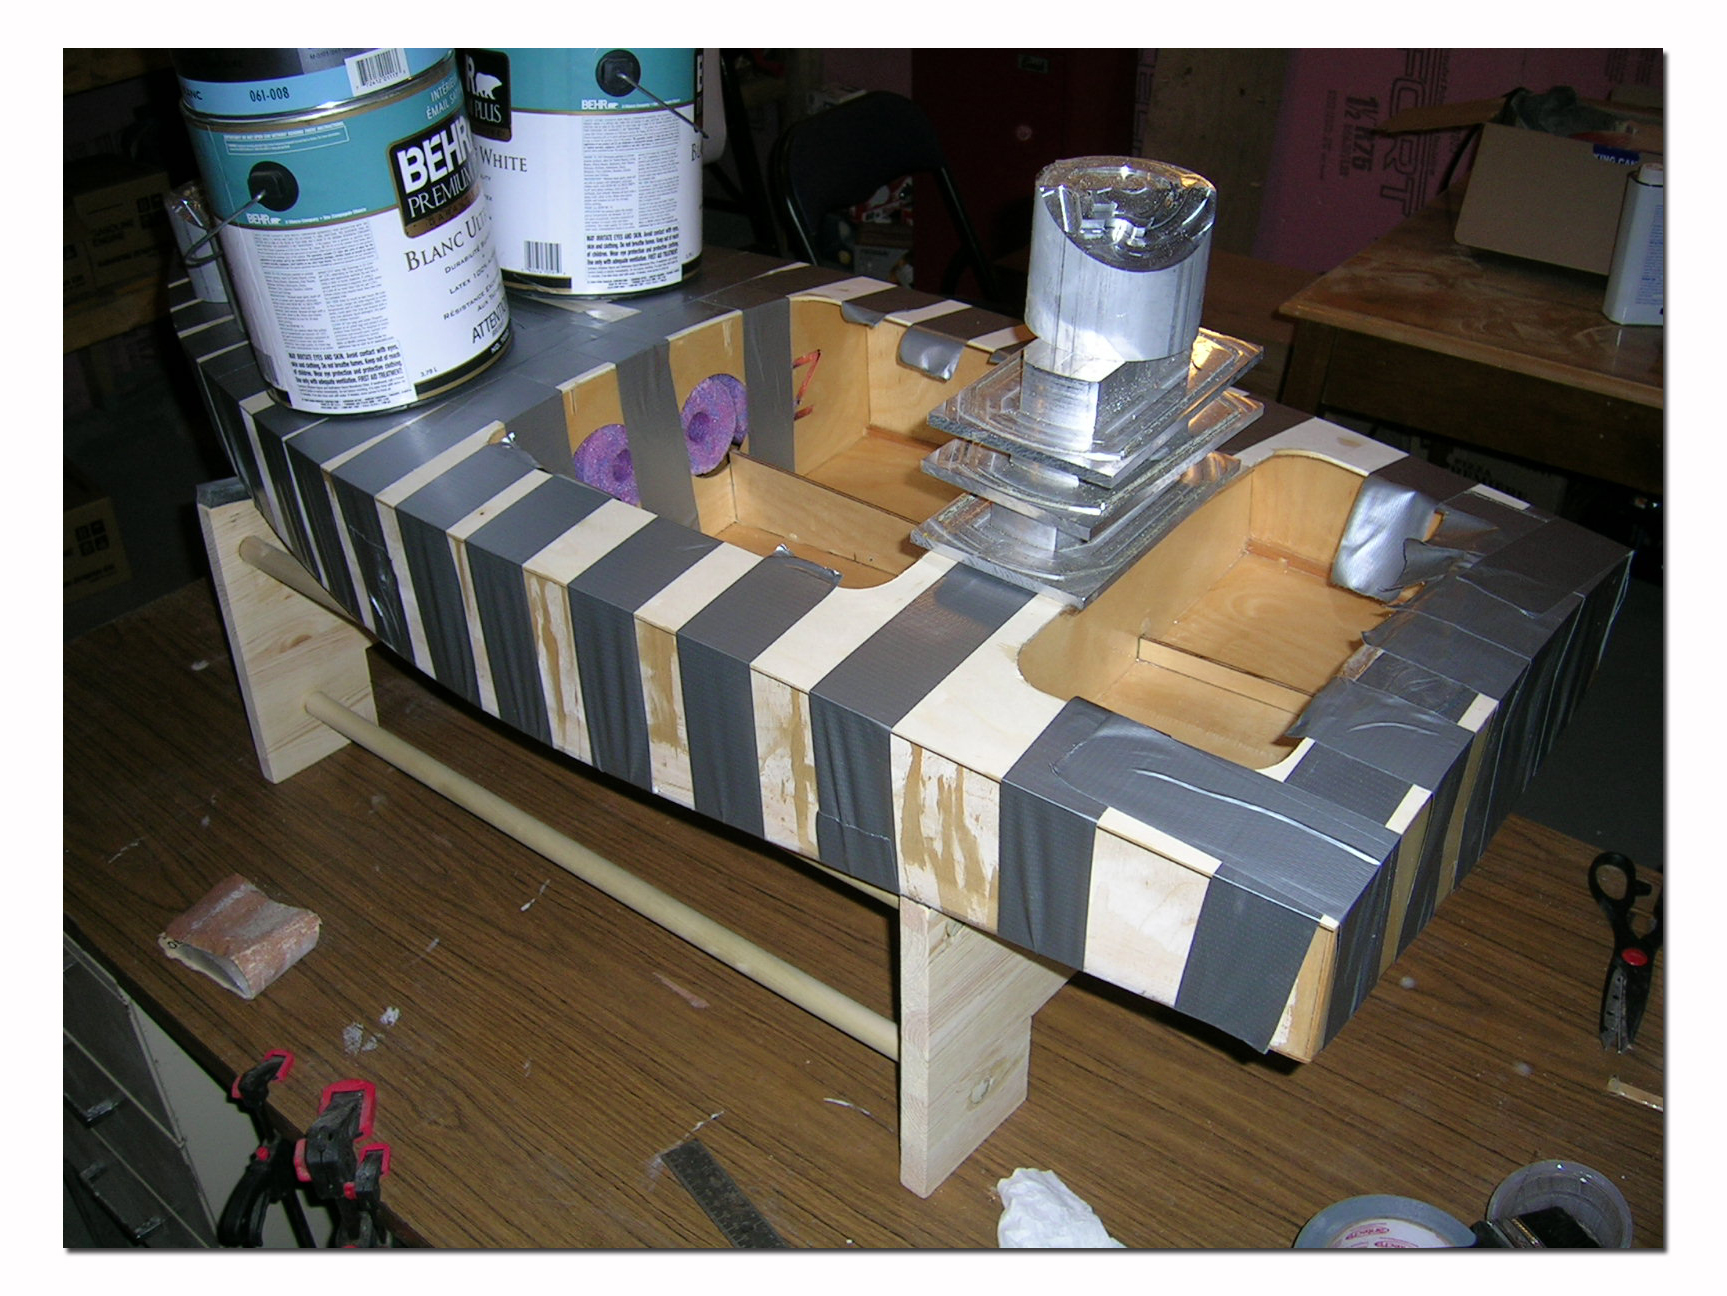
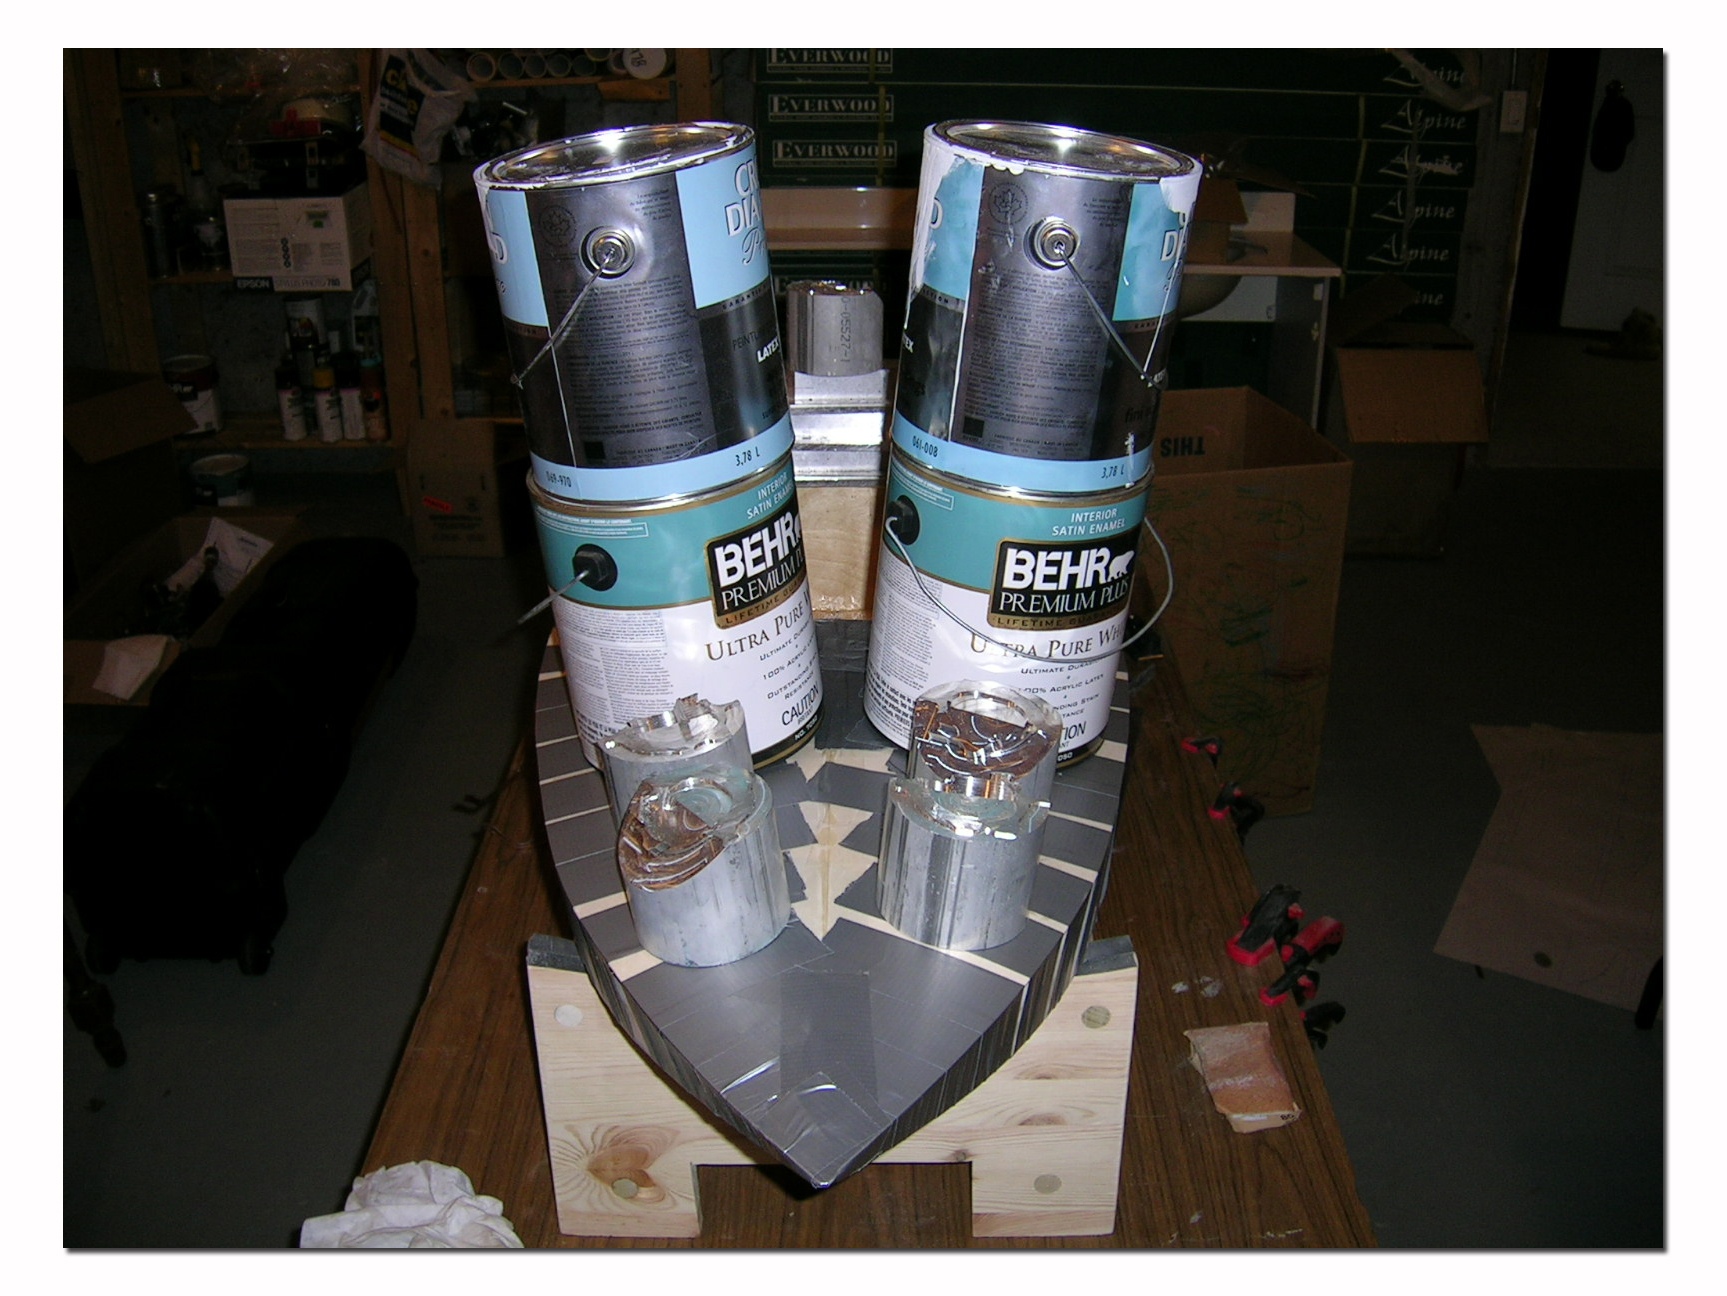
When the epoxy has cured completely you can remove the weights and tape. You can then trim off excess sheeting and sand it flush blending the edges in nicely. The outside can then be completely sealed.
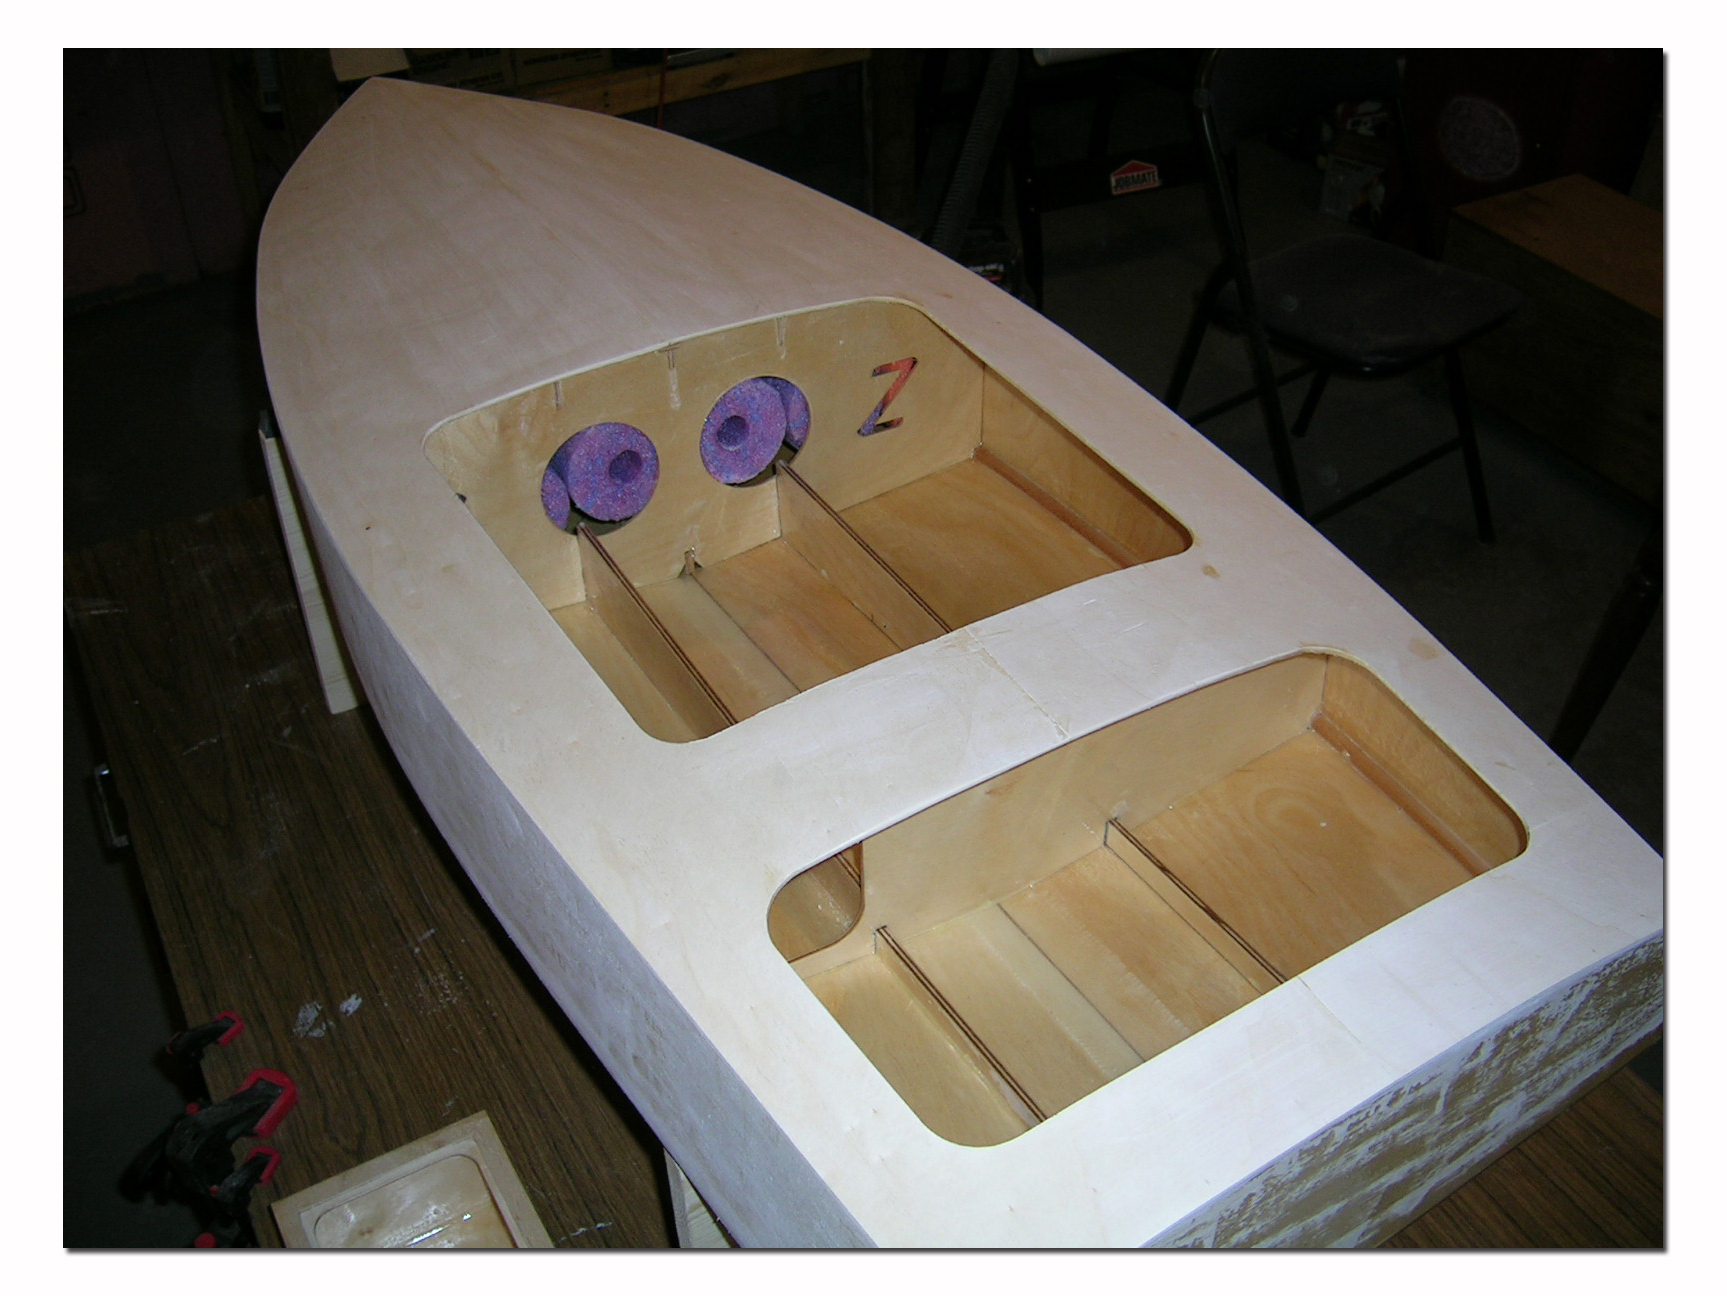
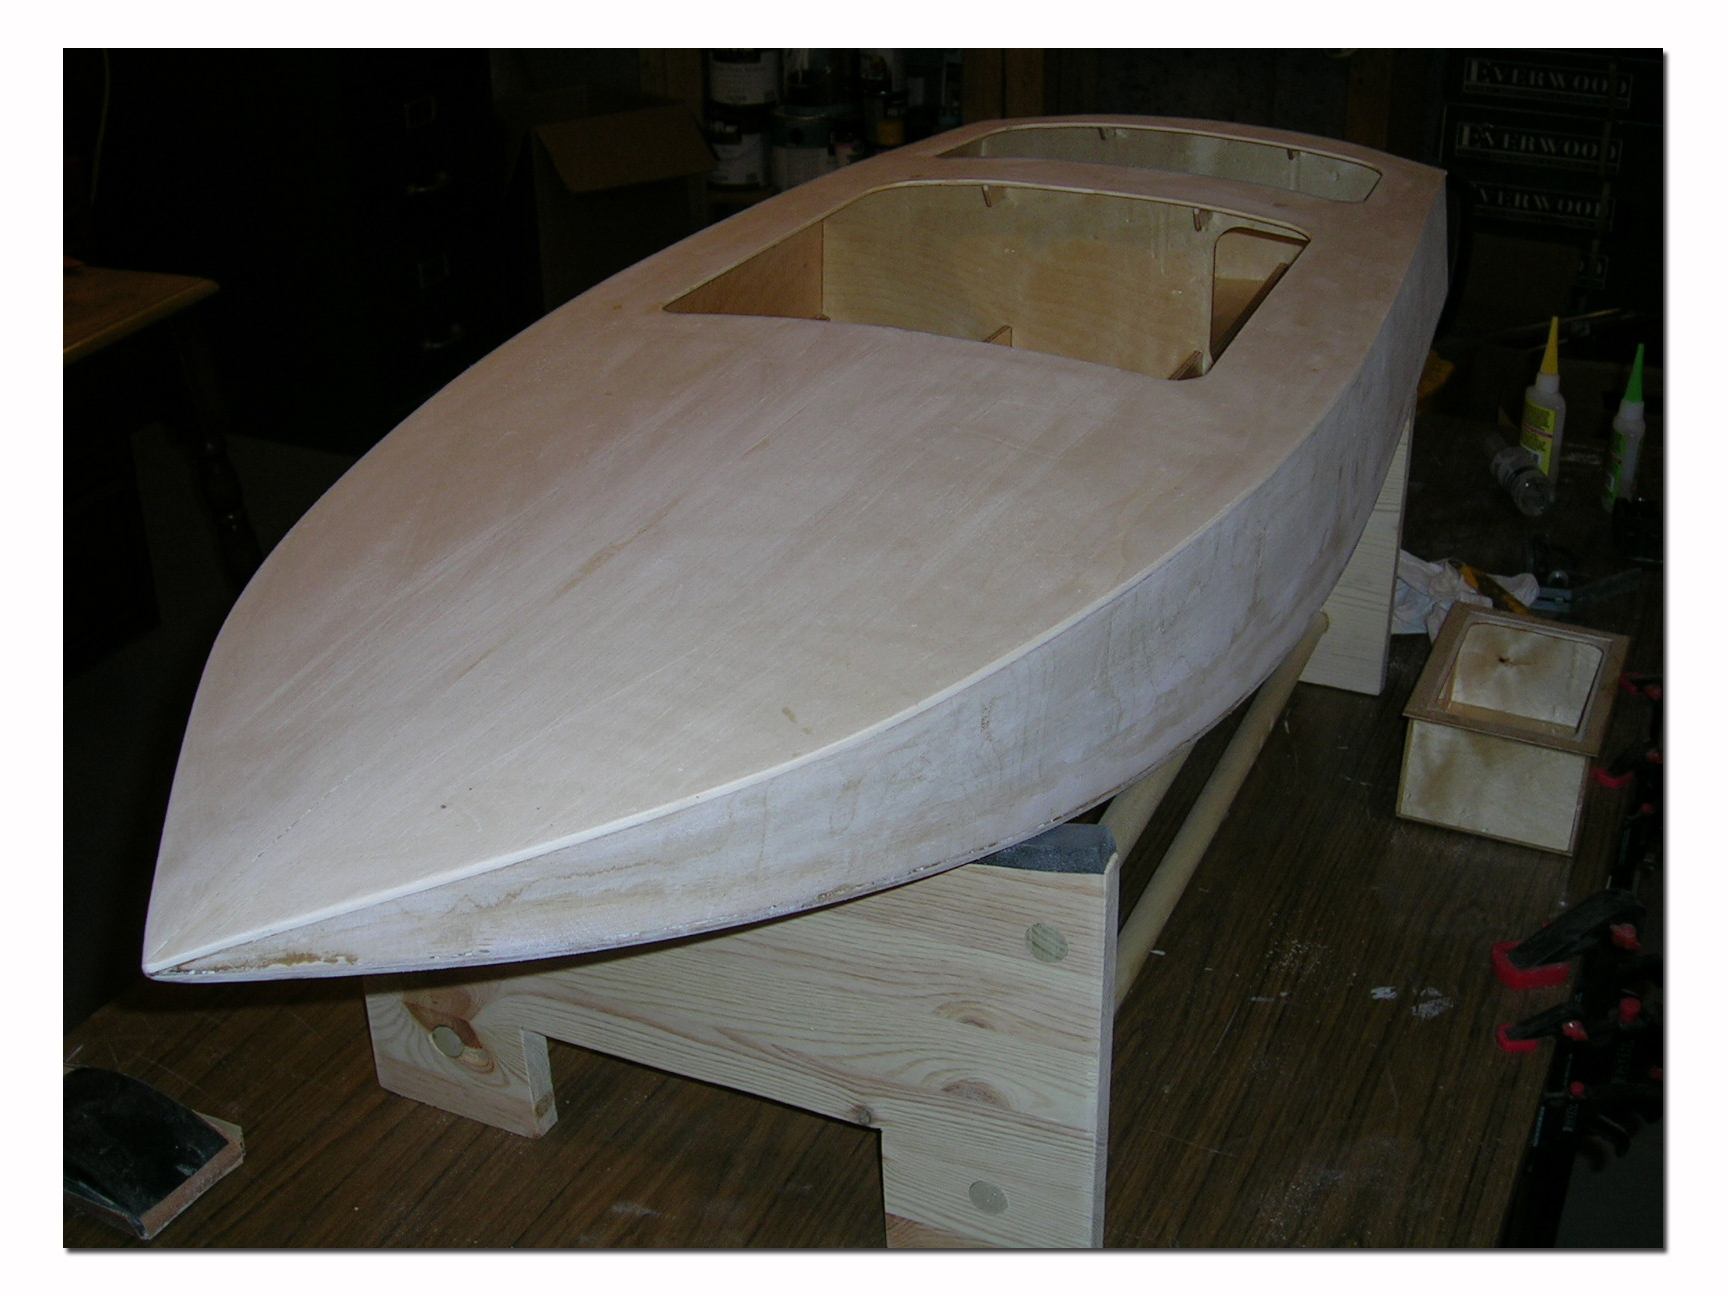
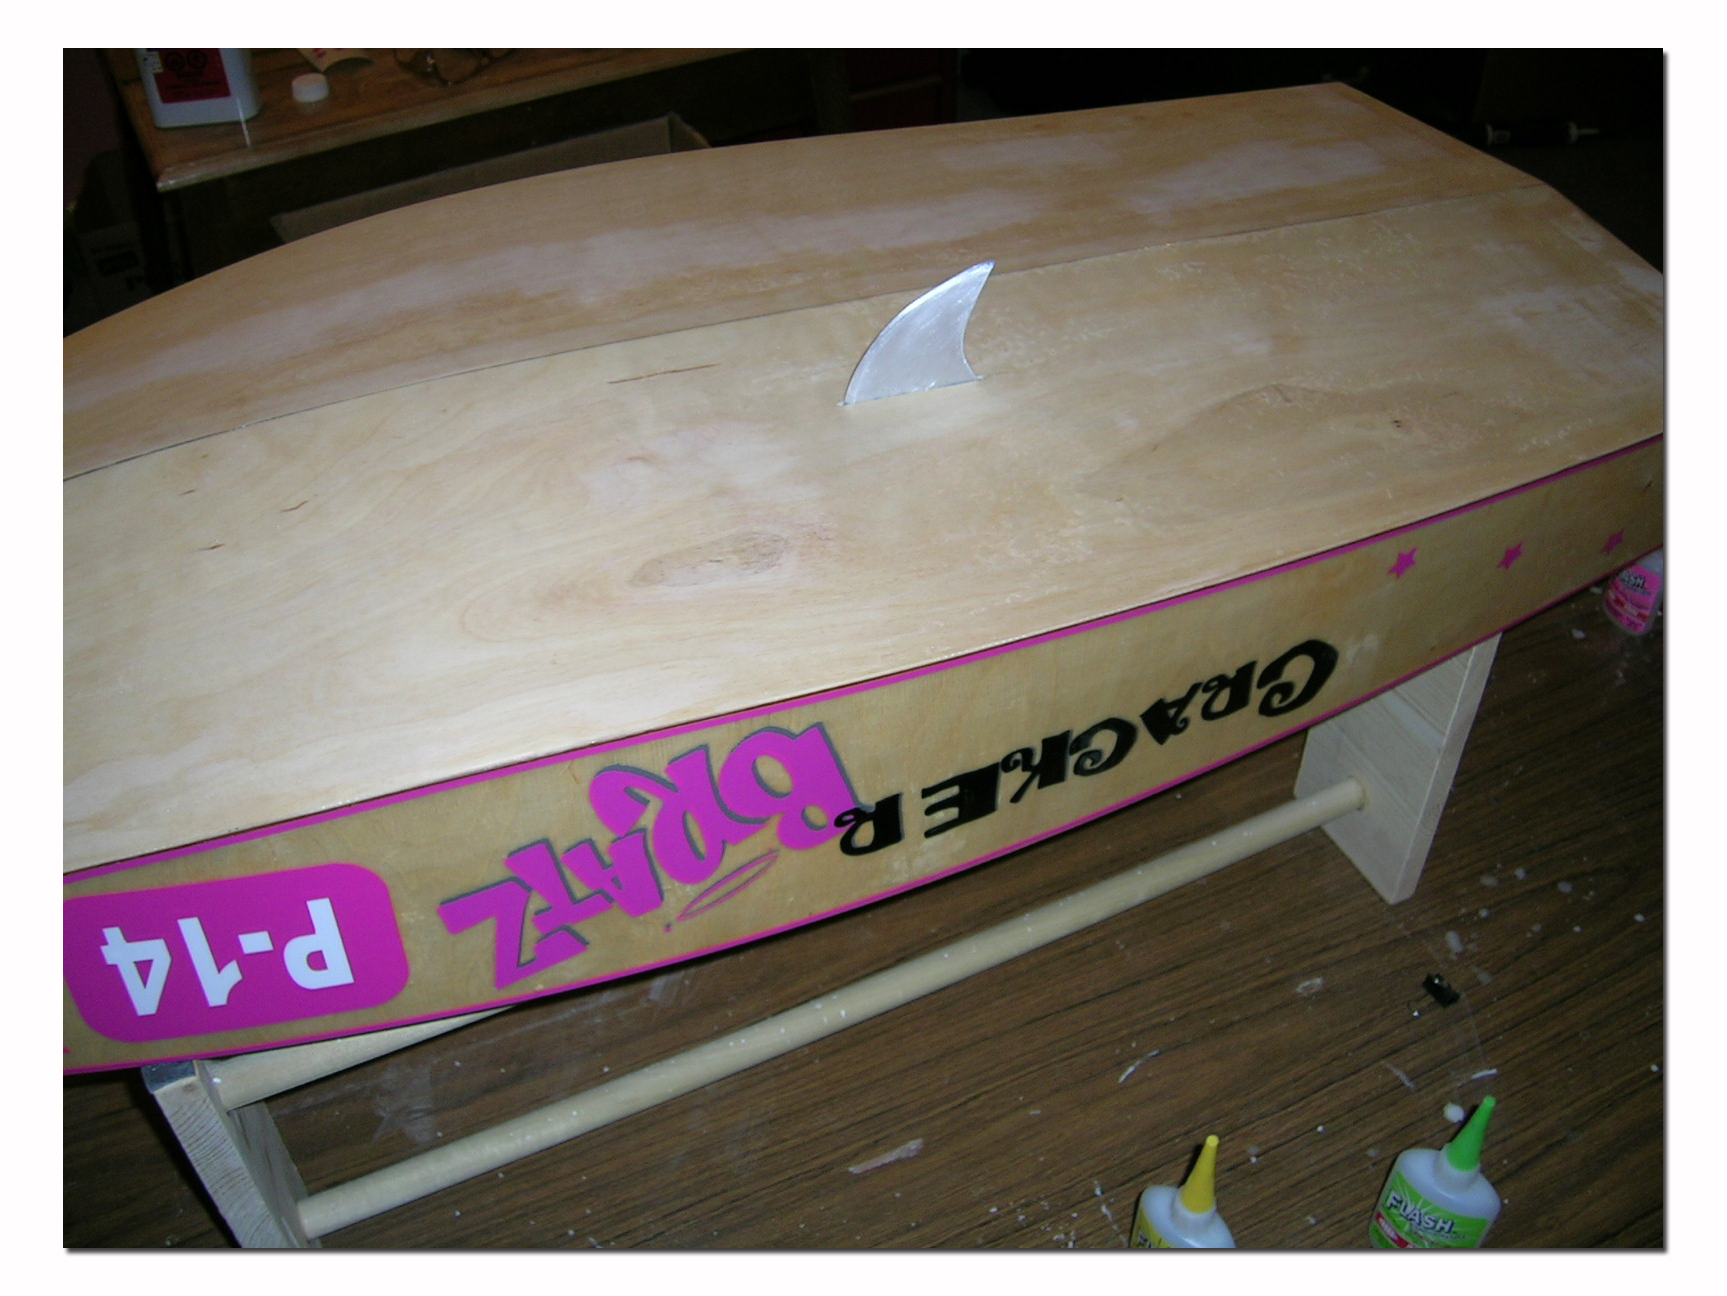
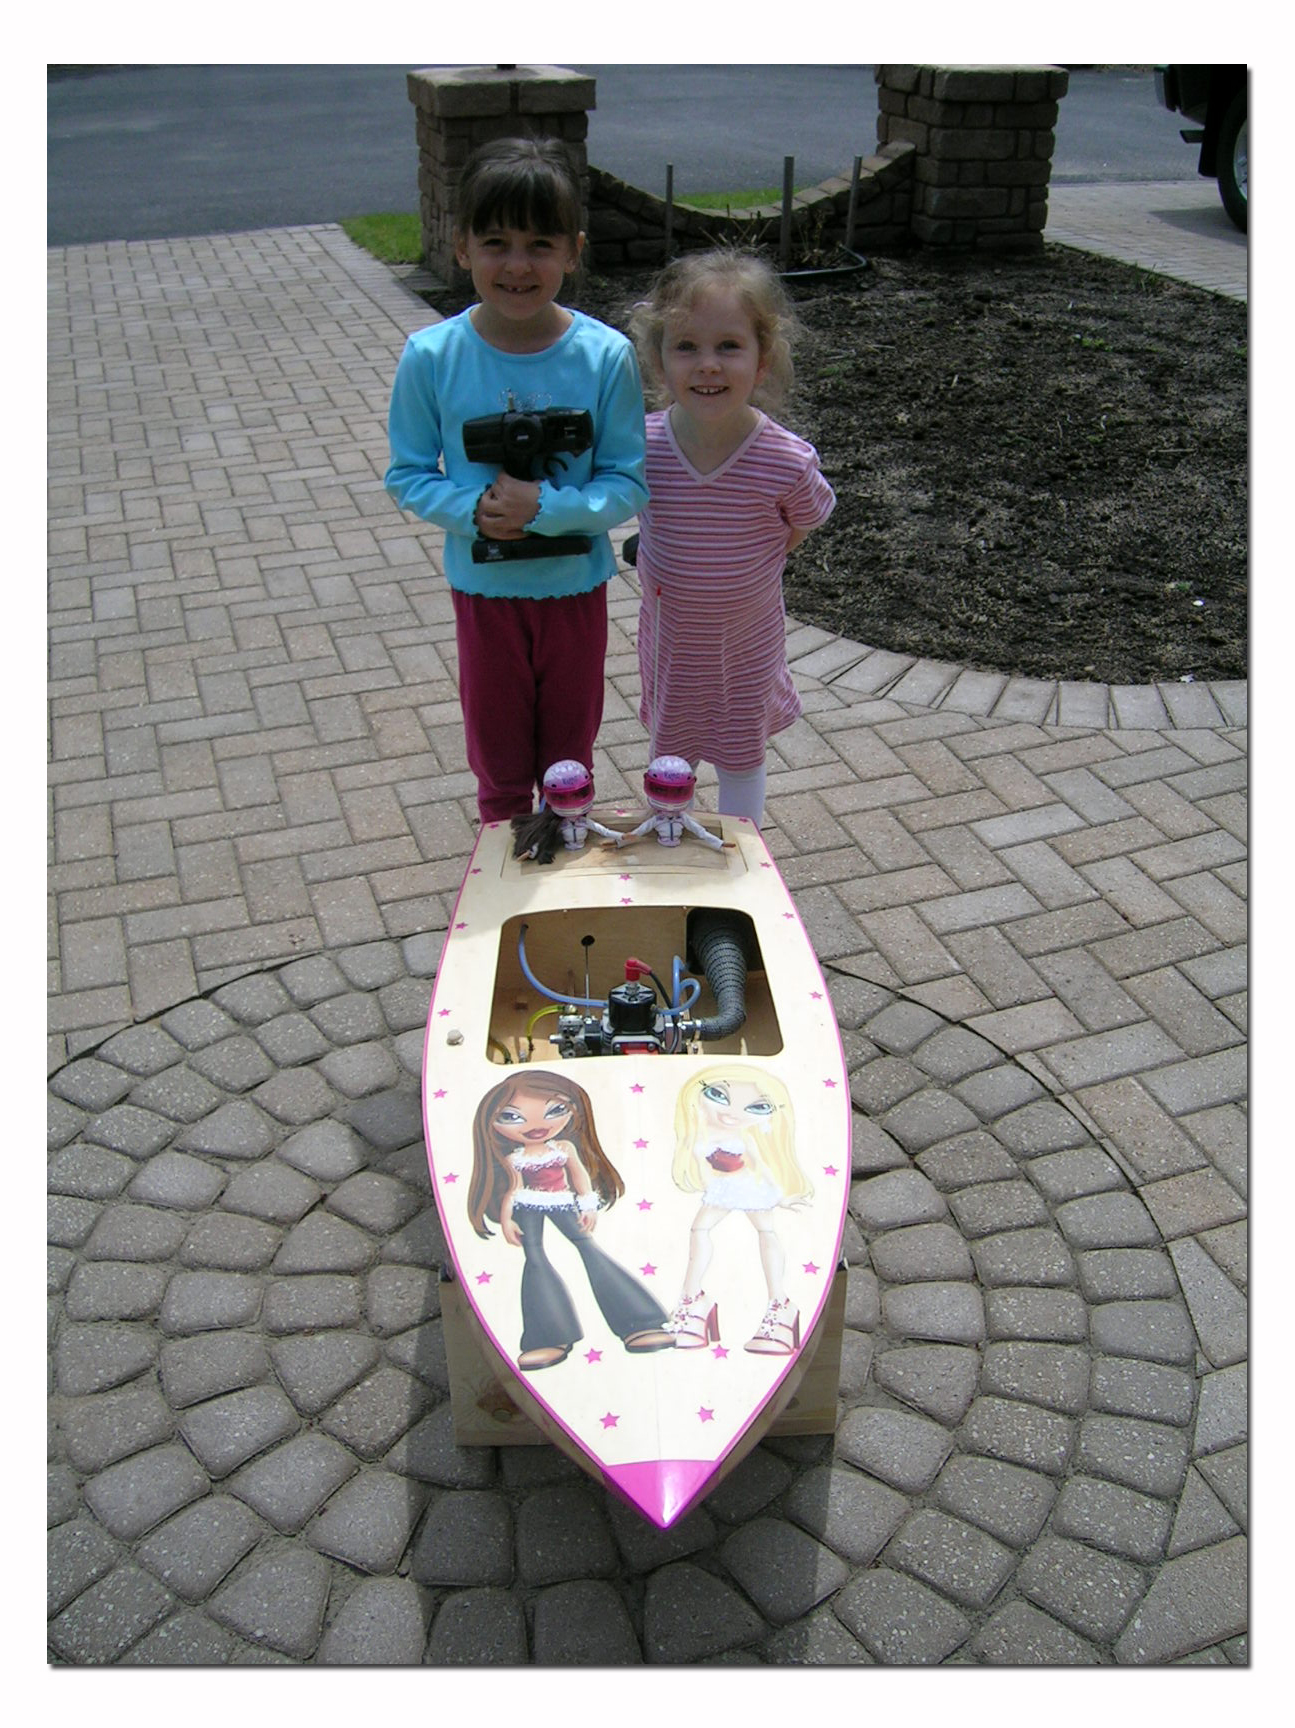
It is now time to put the finishing touches and setup the boat. My I-Box was done with a "Bratz" theme. My daughters watched the build day by day and wanted to participate so I let them decide the theme and they helped with some decals. The graphics are all vinyl with the exception of the two girls on the deck which were actually cut out from a heavy gage calendar and laminated into the epoxy clear coat.
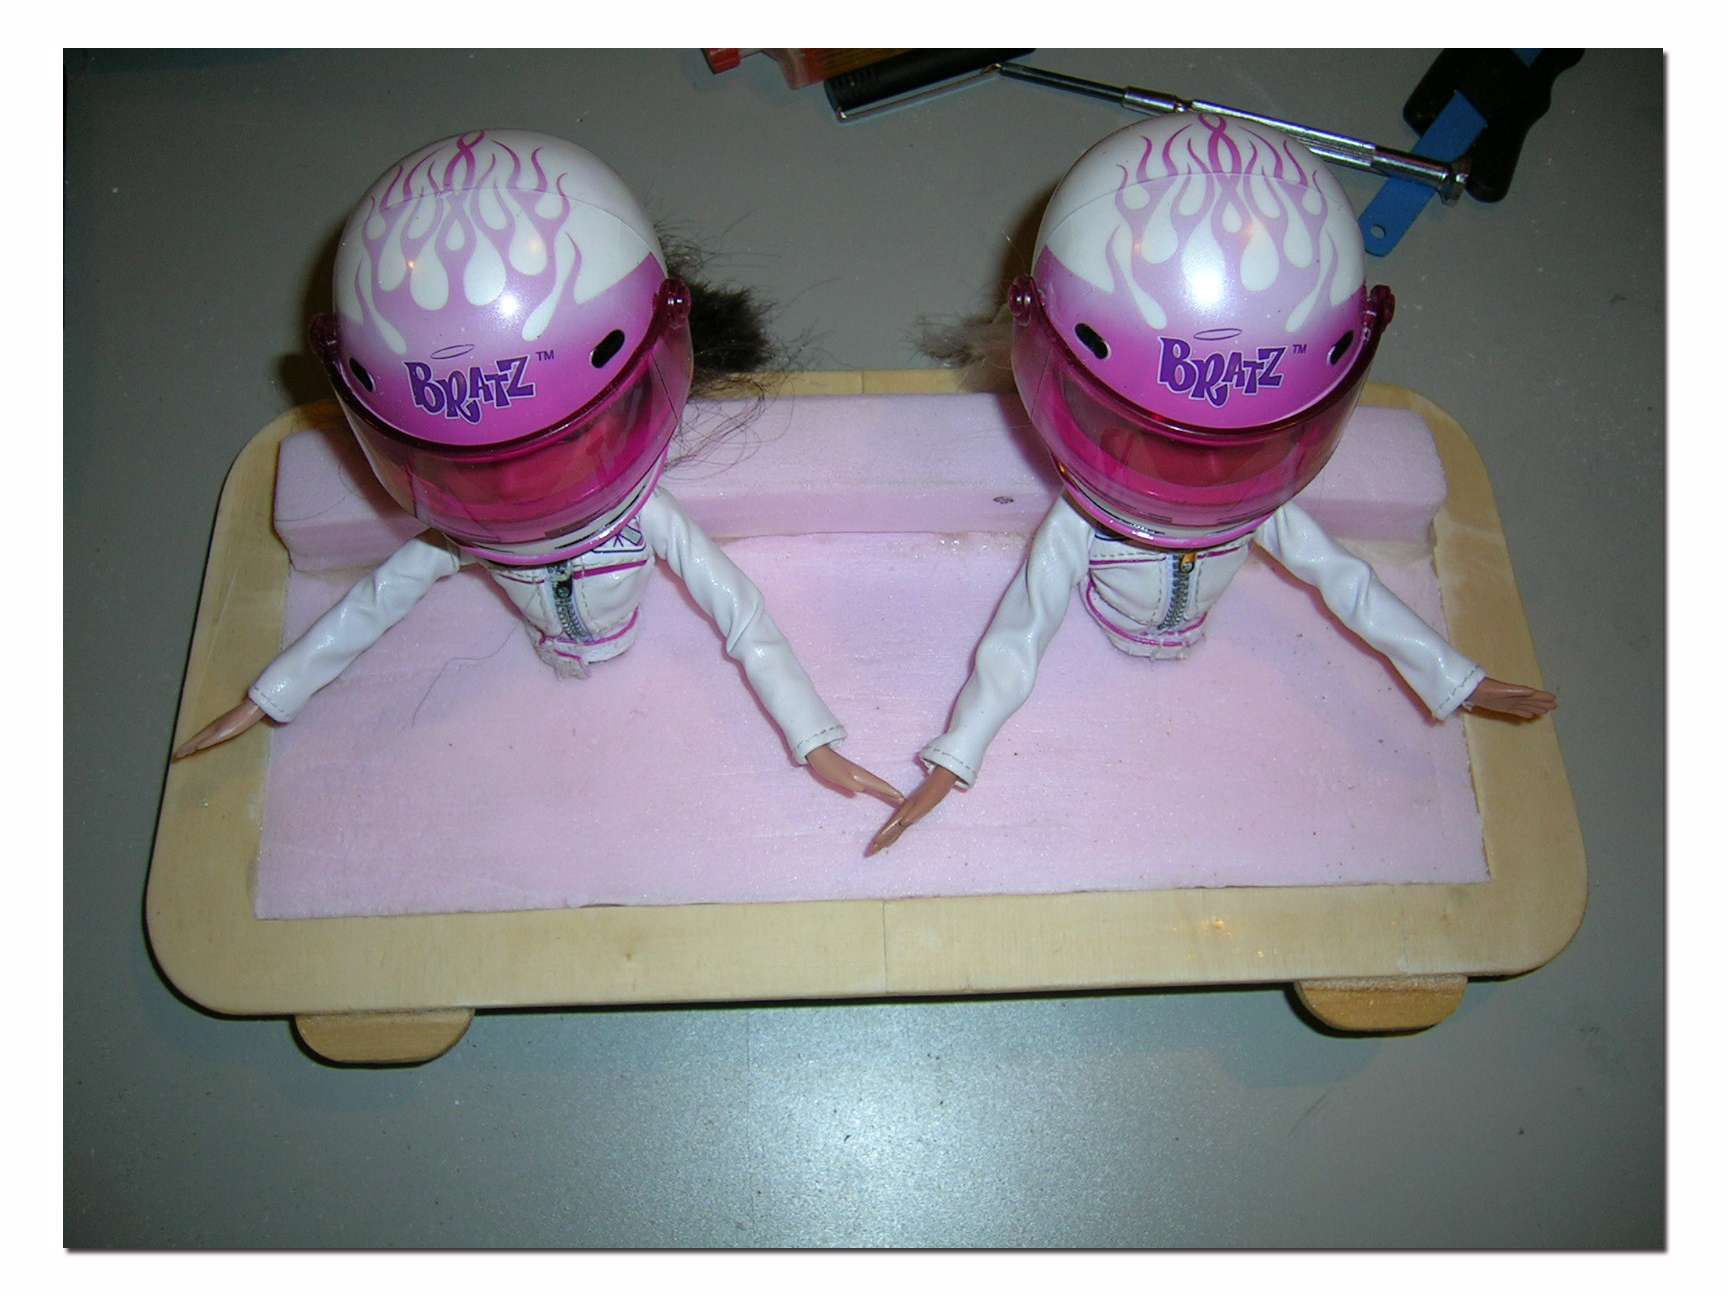
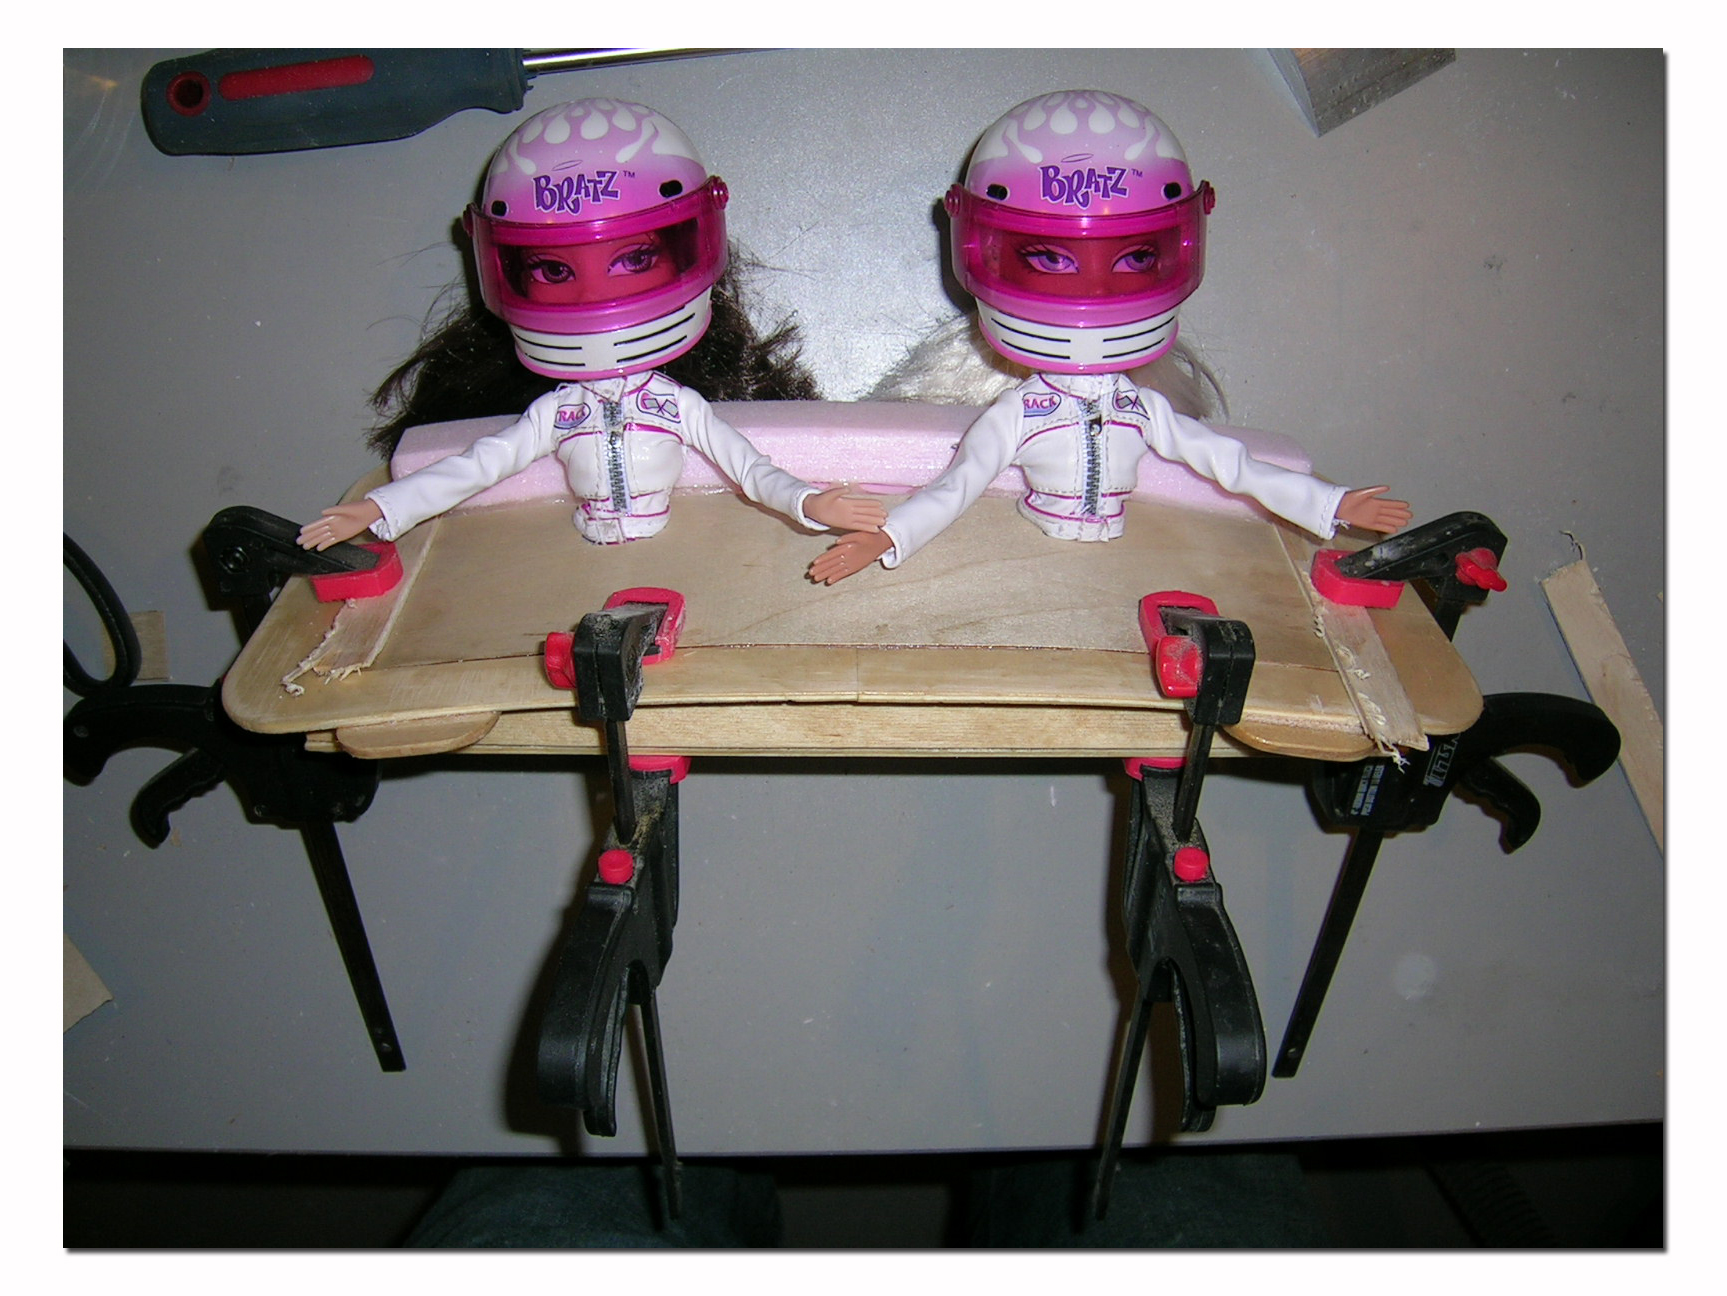
I modified the hatch cover for the Bratz dolls to fit into. I filled the cover with foam and sheeted it with 1/32" plywood. I also made a small backrest for the "girls" using the same material. This allowed for the dolls to be firmly held inside the hatch (screw from the underside) and also made the whole assembly buoyant. The hatch is held in place only by the front tabs and a piece of radio box tape at the back so that it will come off in a flip with hopefully little or no damage.

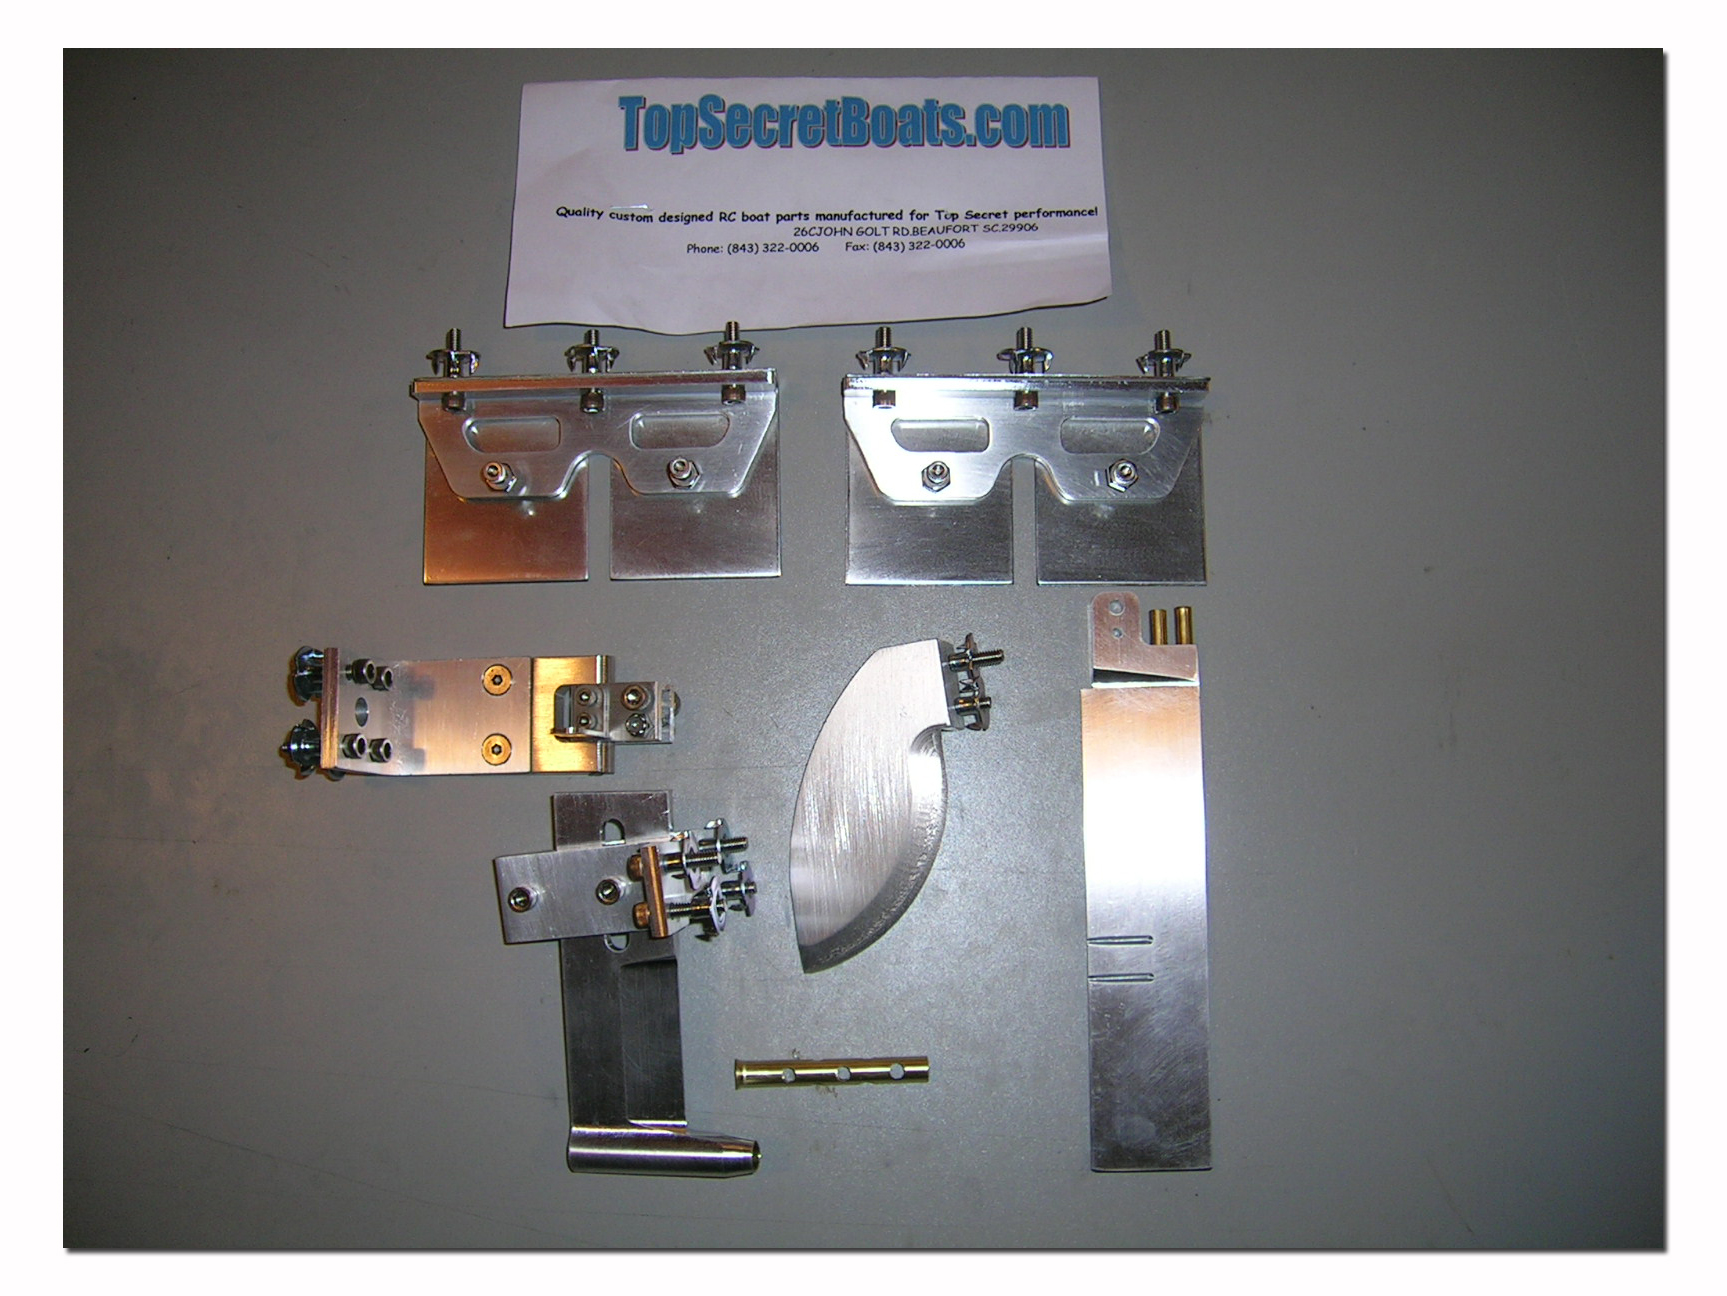
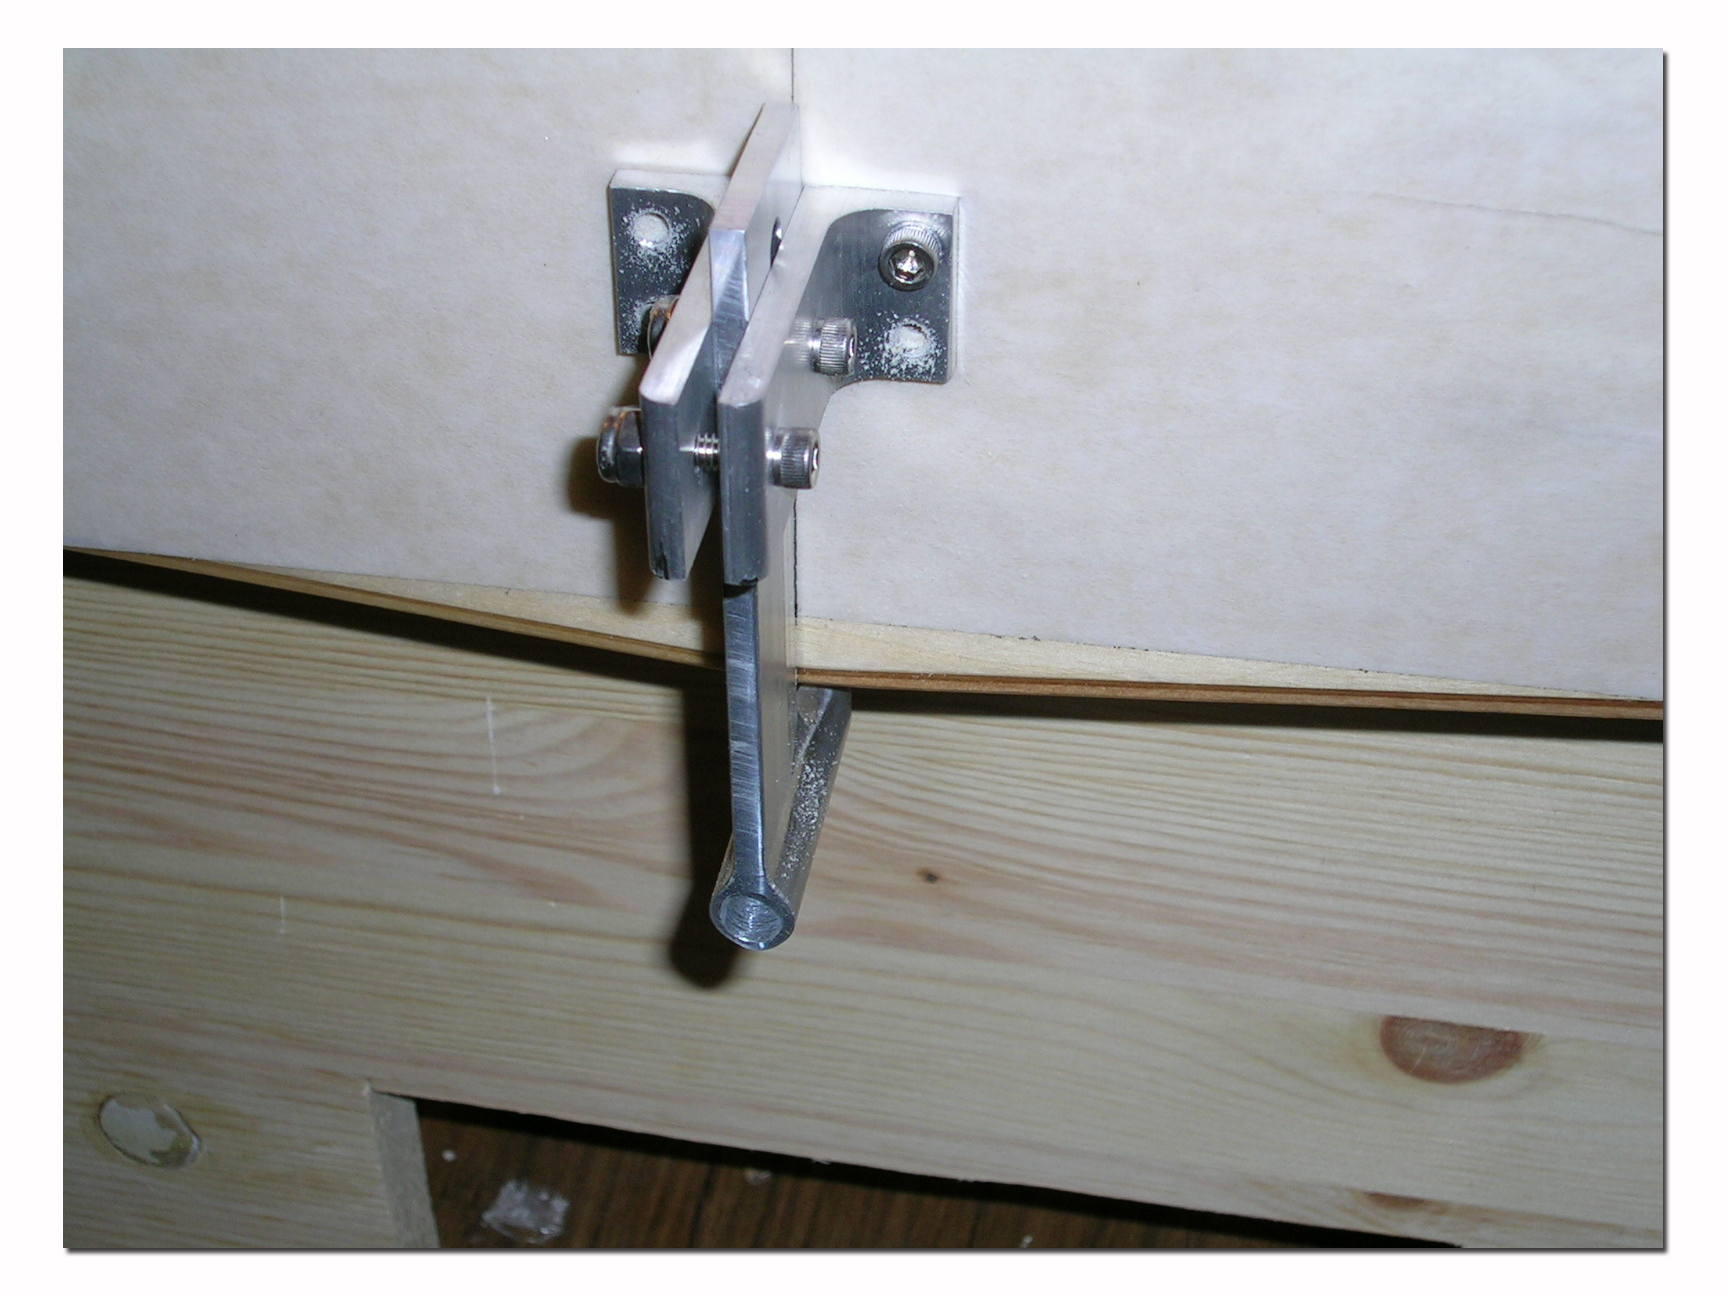
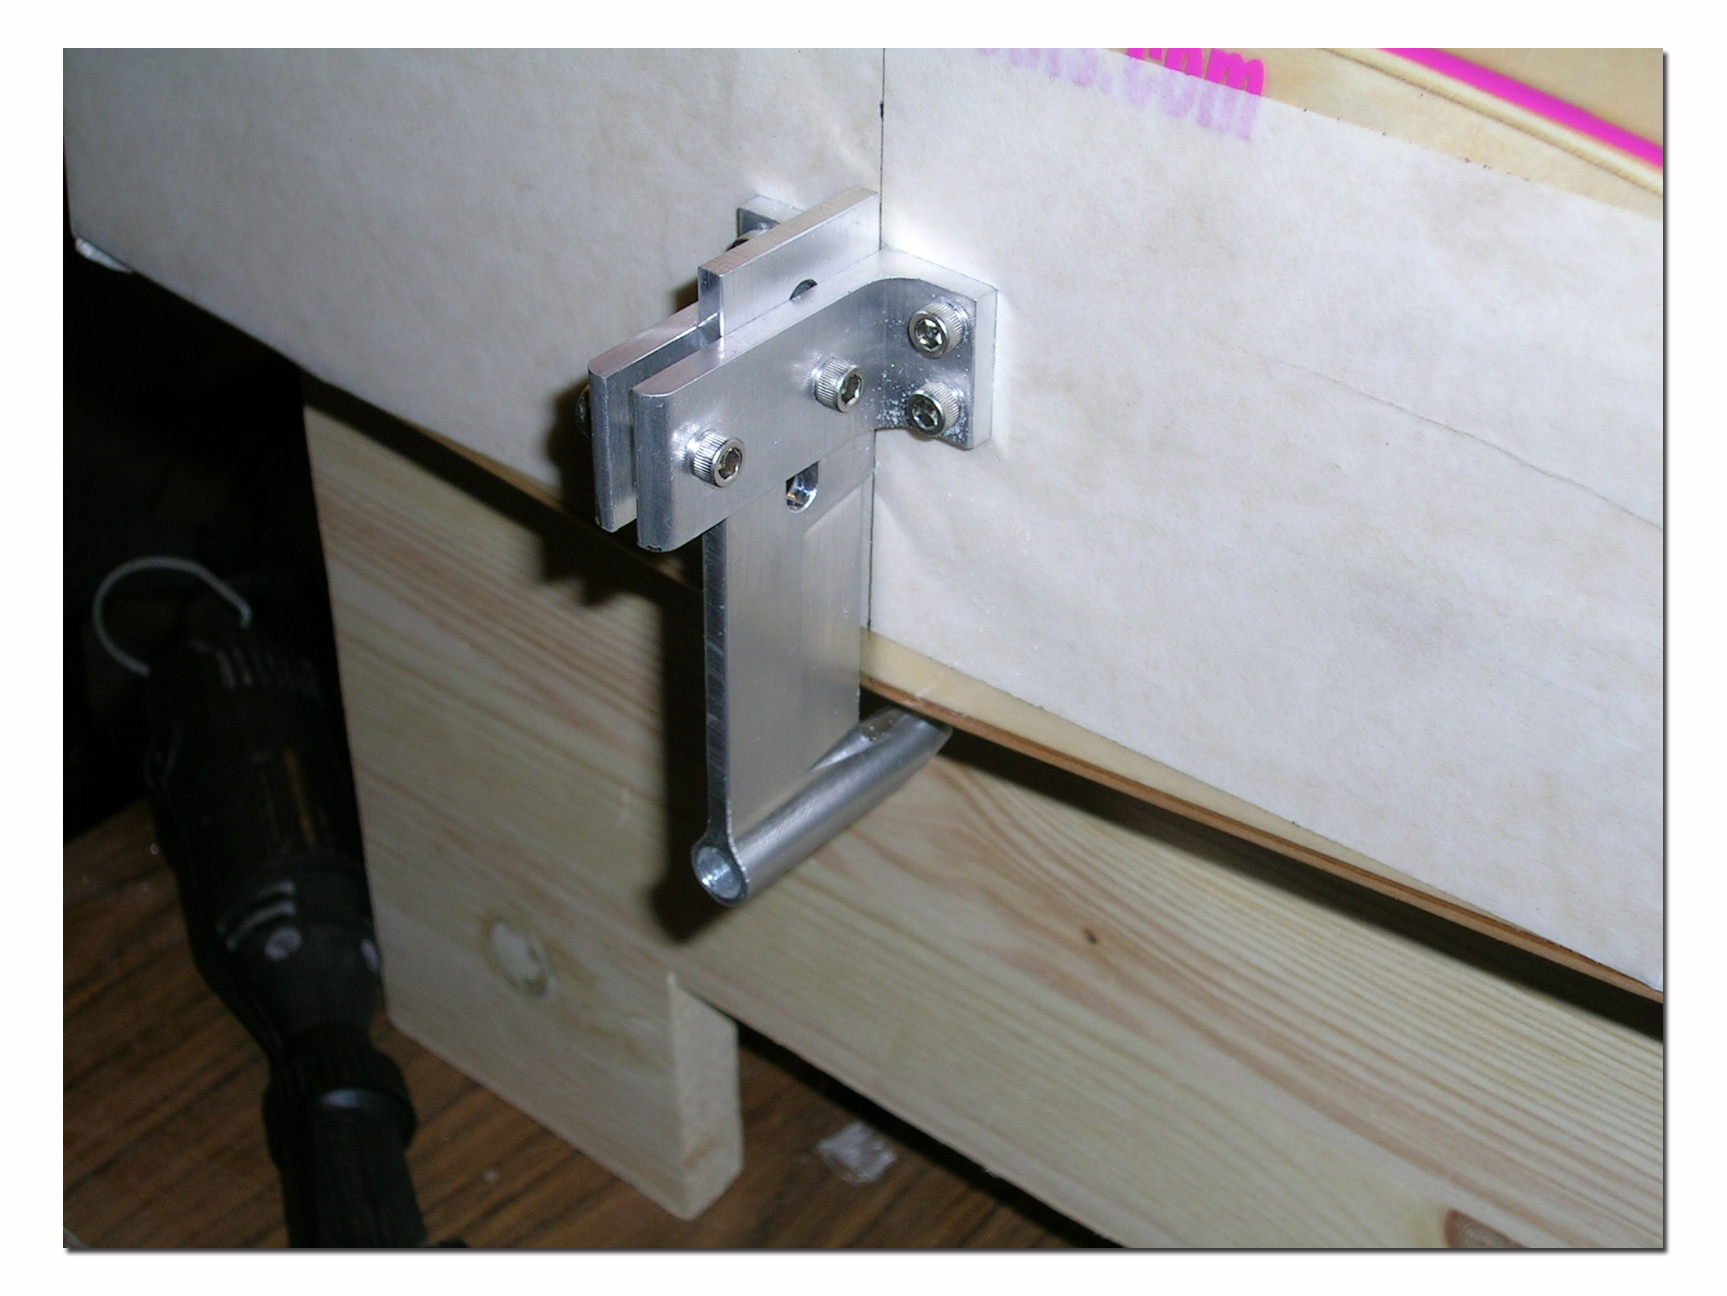
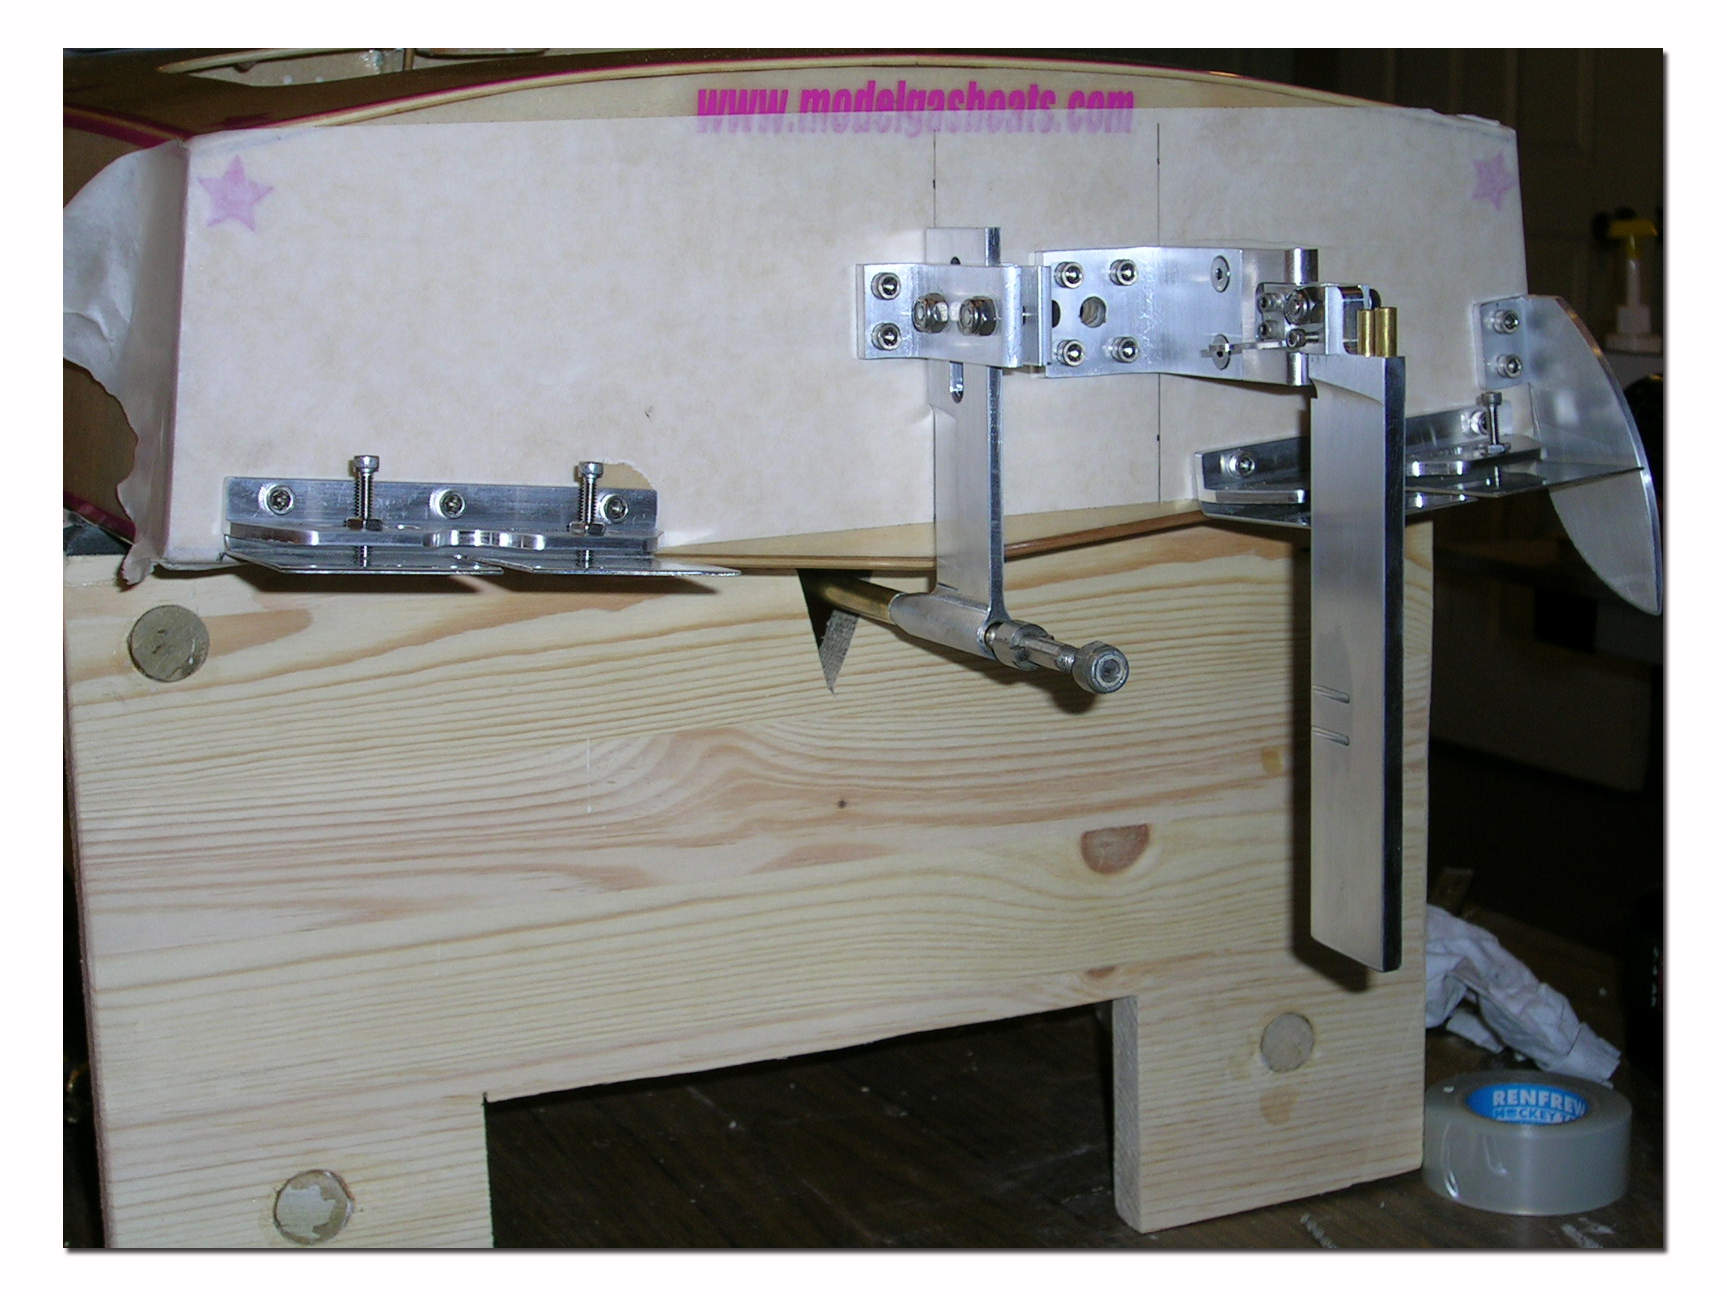
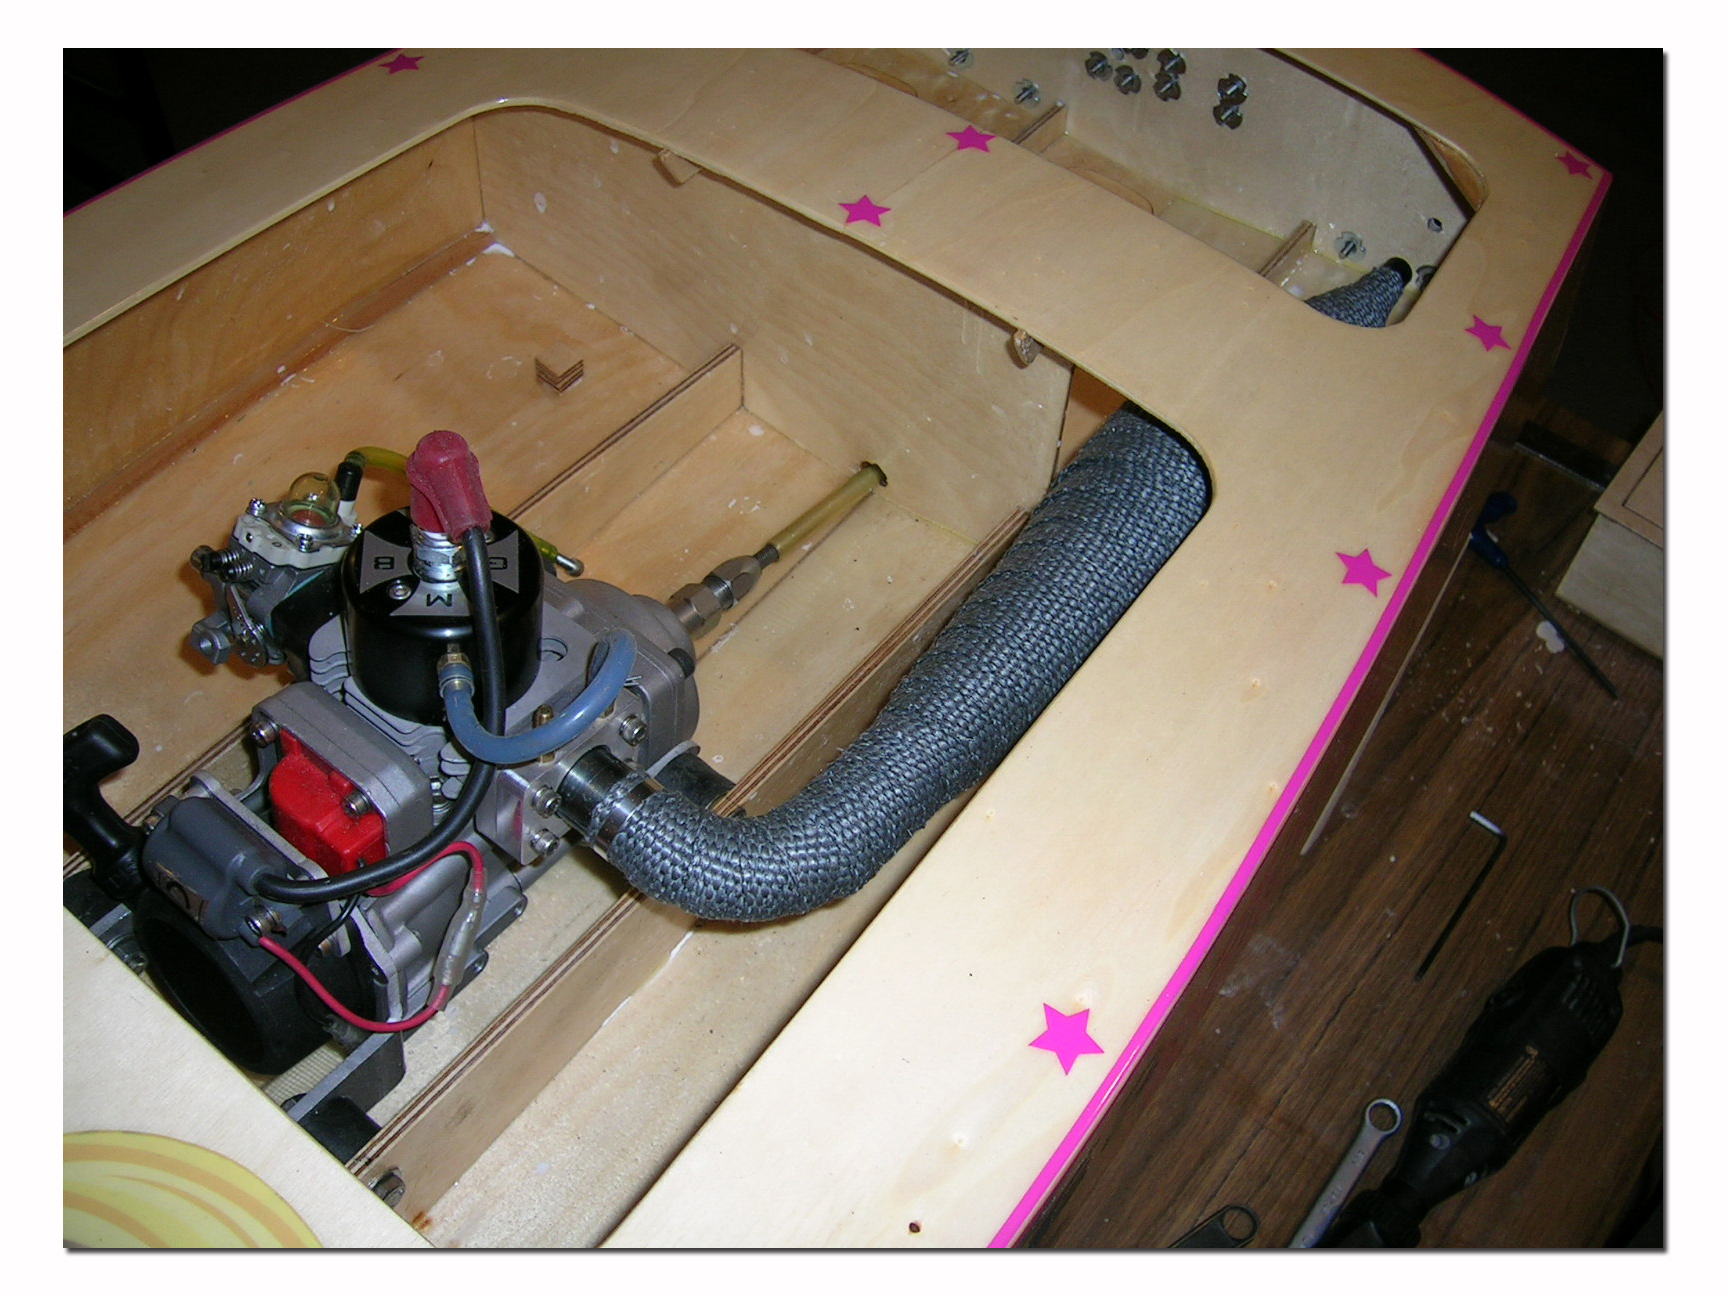
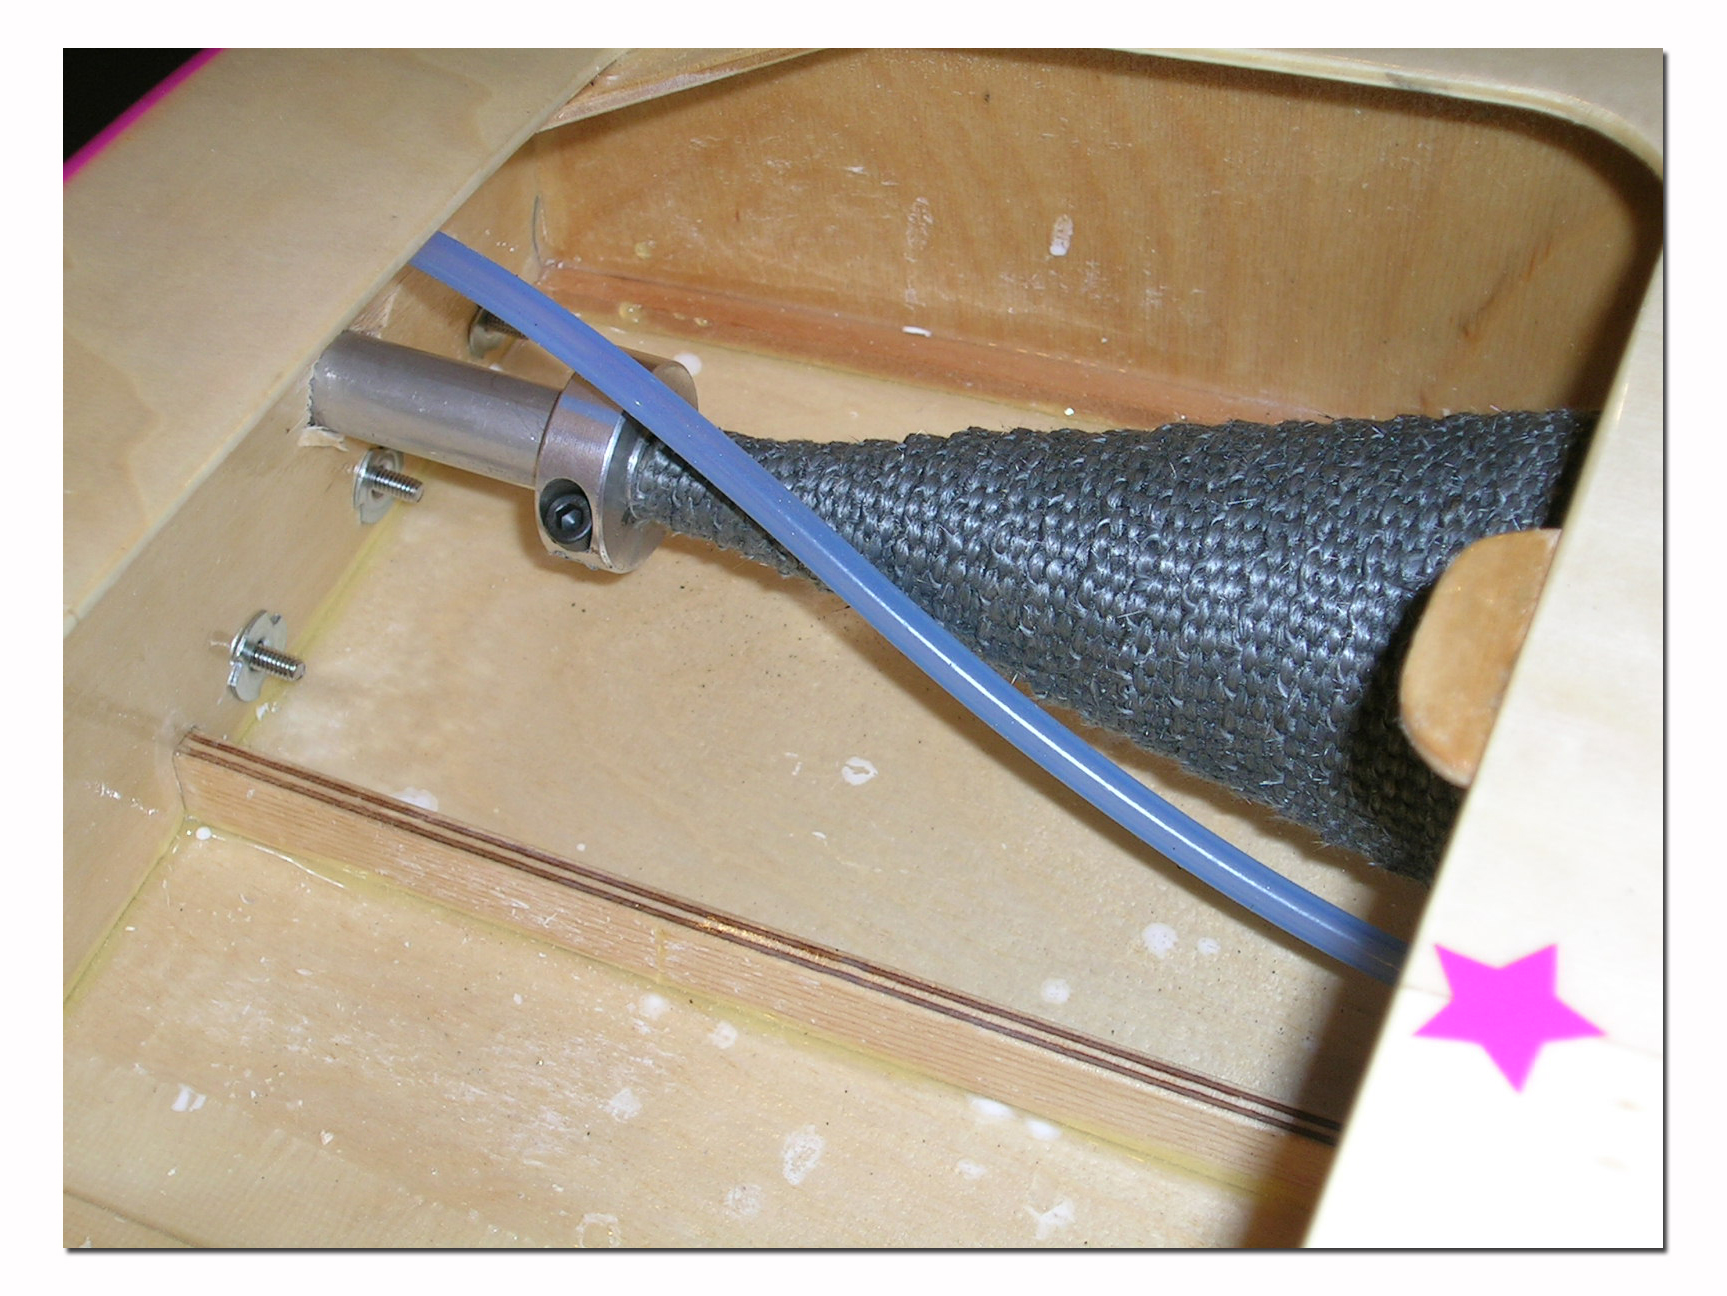
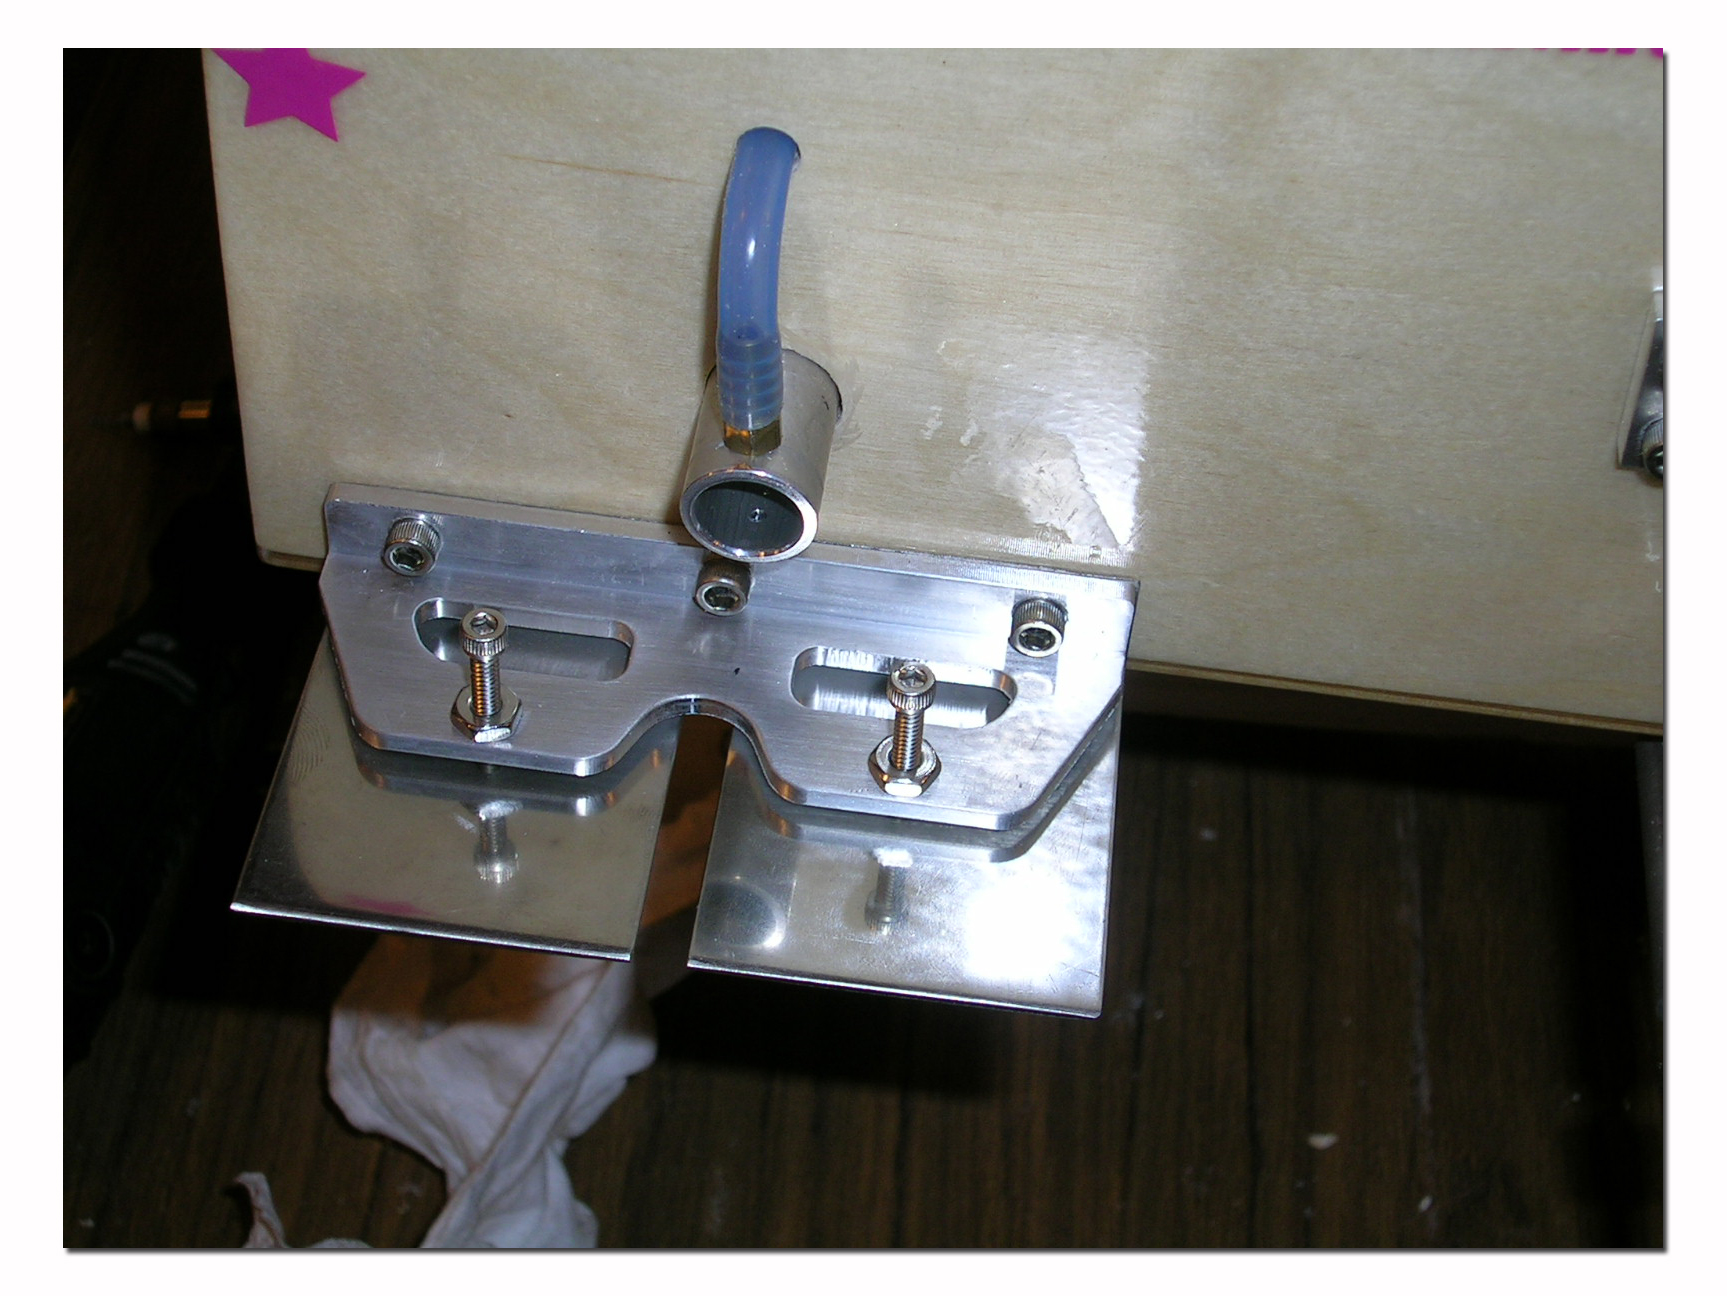
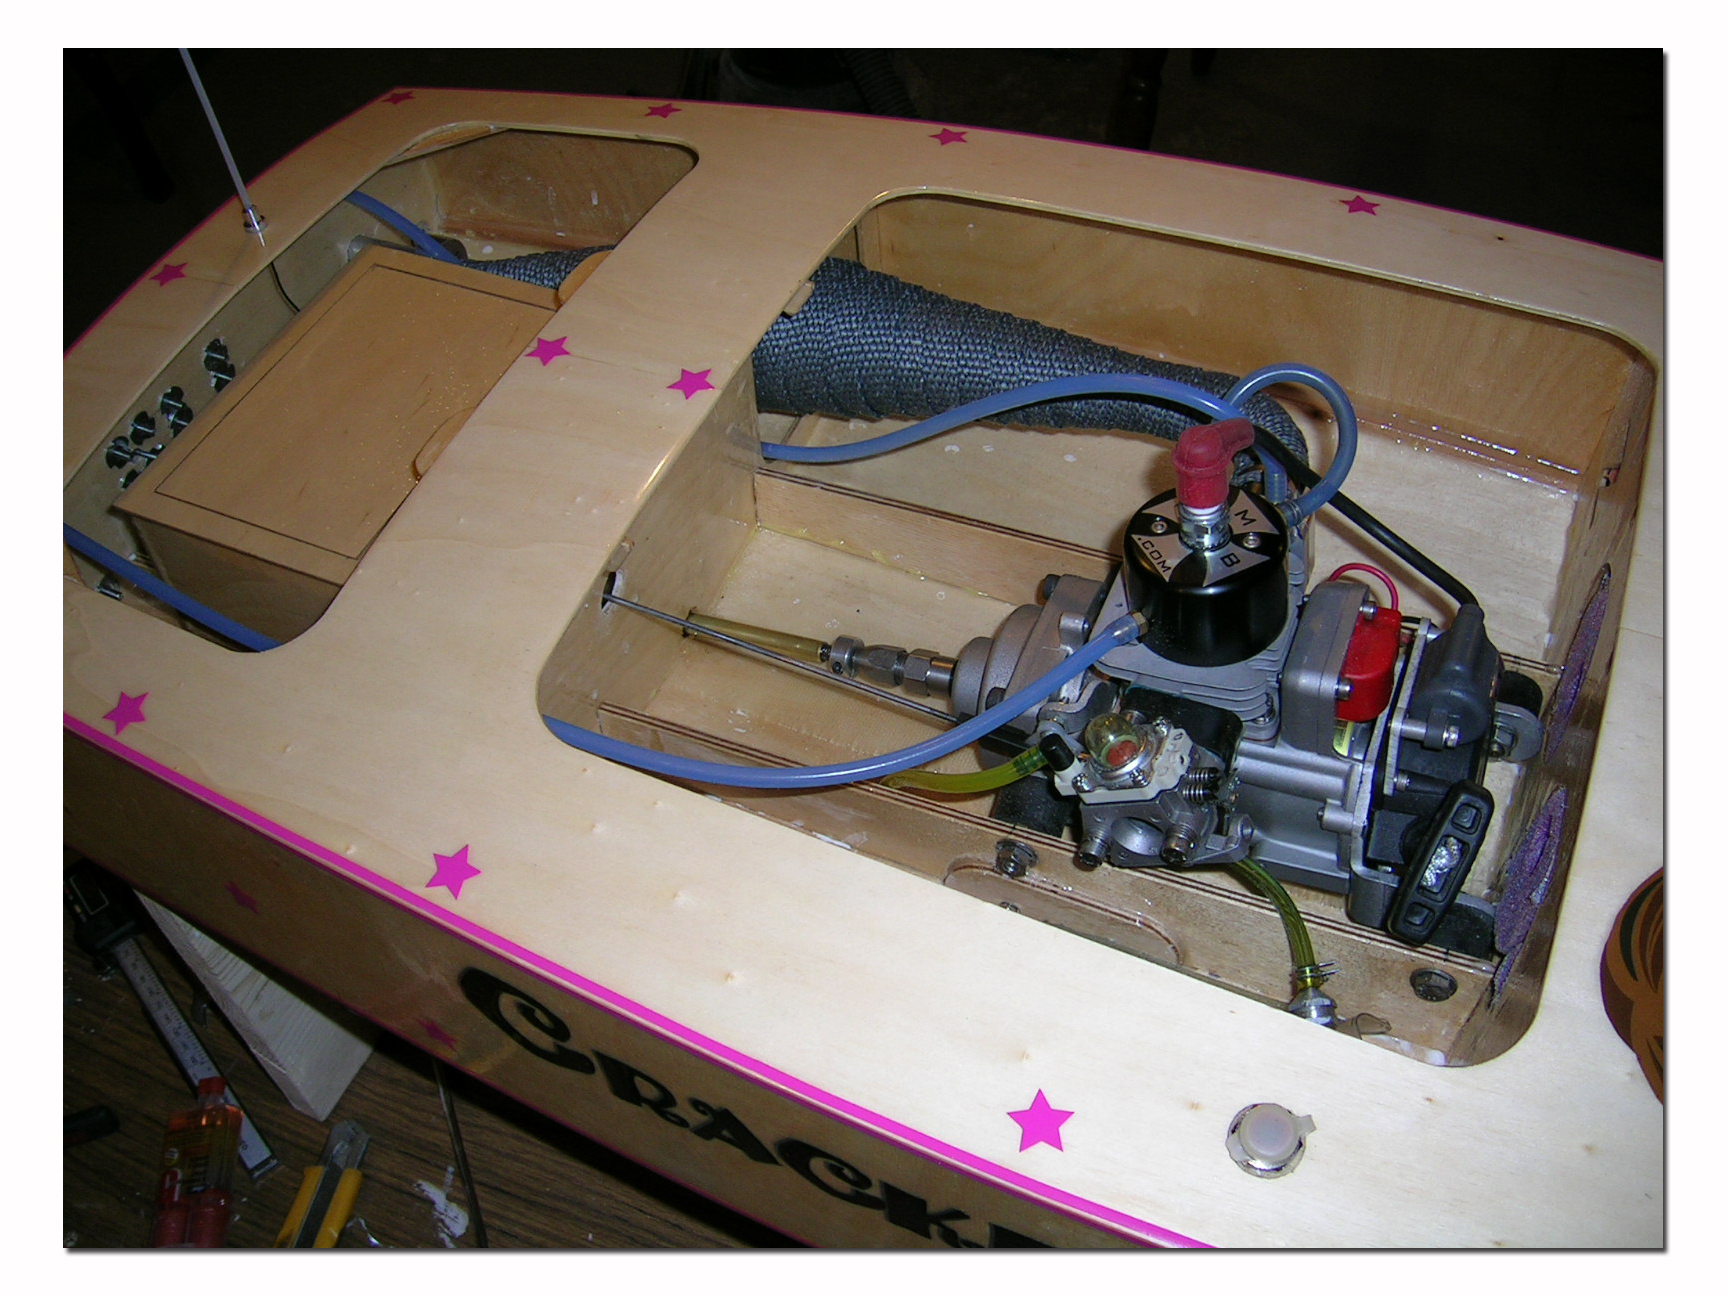
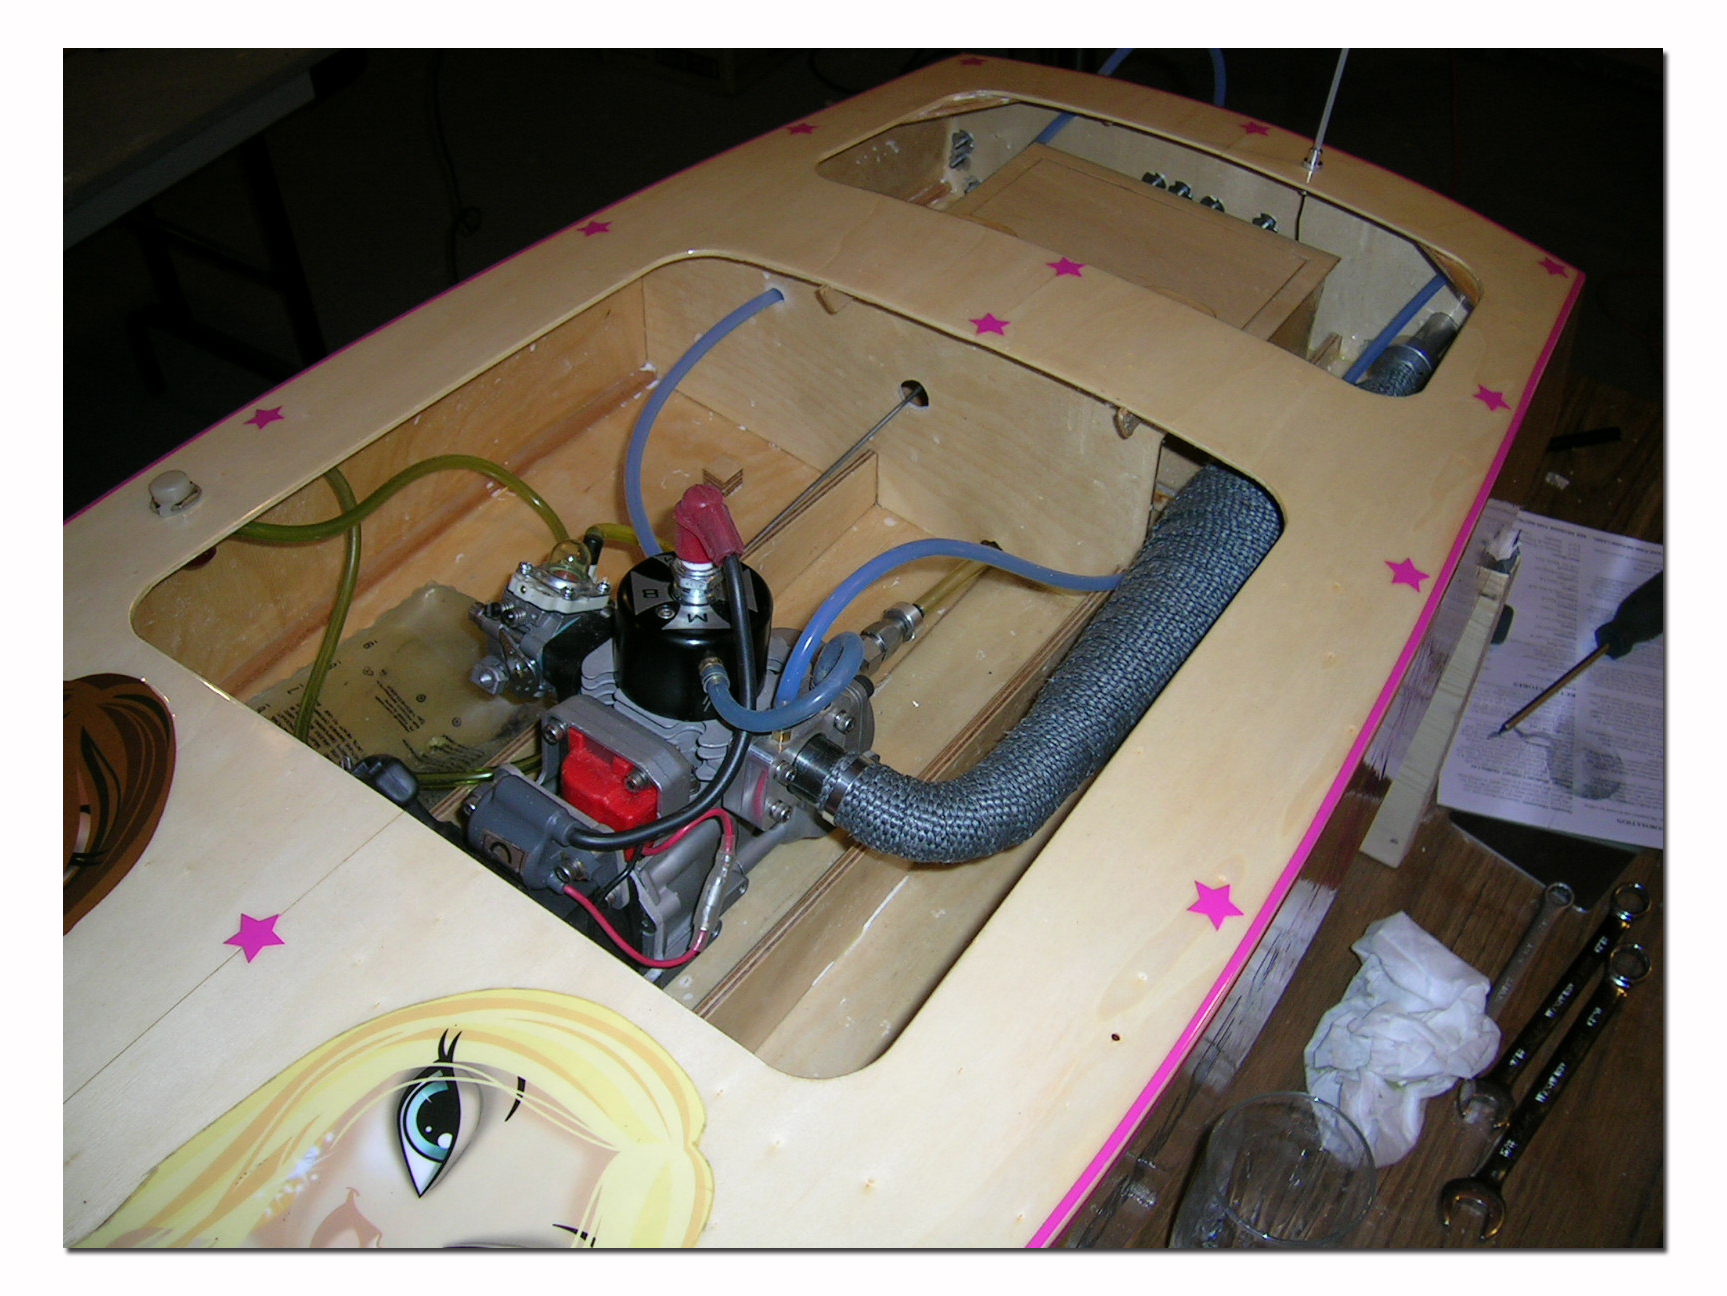
 For the transom hardware I chose Topsecretboats.com hardware. The skeg was supplied with the I-Box kit. The motor mounts are CC/Insane mounts . The stuffing tube in my I-Box comes out the bottom of the hull a bit further back than specified in the instructions. That is due to the fact that I decided to install a clutch in the boat. The clutch used is from Oneill Brothers. More information about this clutch can be found HERE . The tuned pipe is a steel pipe from Needforspeed Hobbies. I wrapped it using fiberglass pipe and header wrap to try and keep the inside of the boat cooler. I will report back on this in a later issue. As you can see in the pictures I made a temporary watercooled tip for the pipe to use until my custom T-Mod muffler arrived.
Here are many pictures of the hardware installation and finishing touches to the boat.
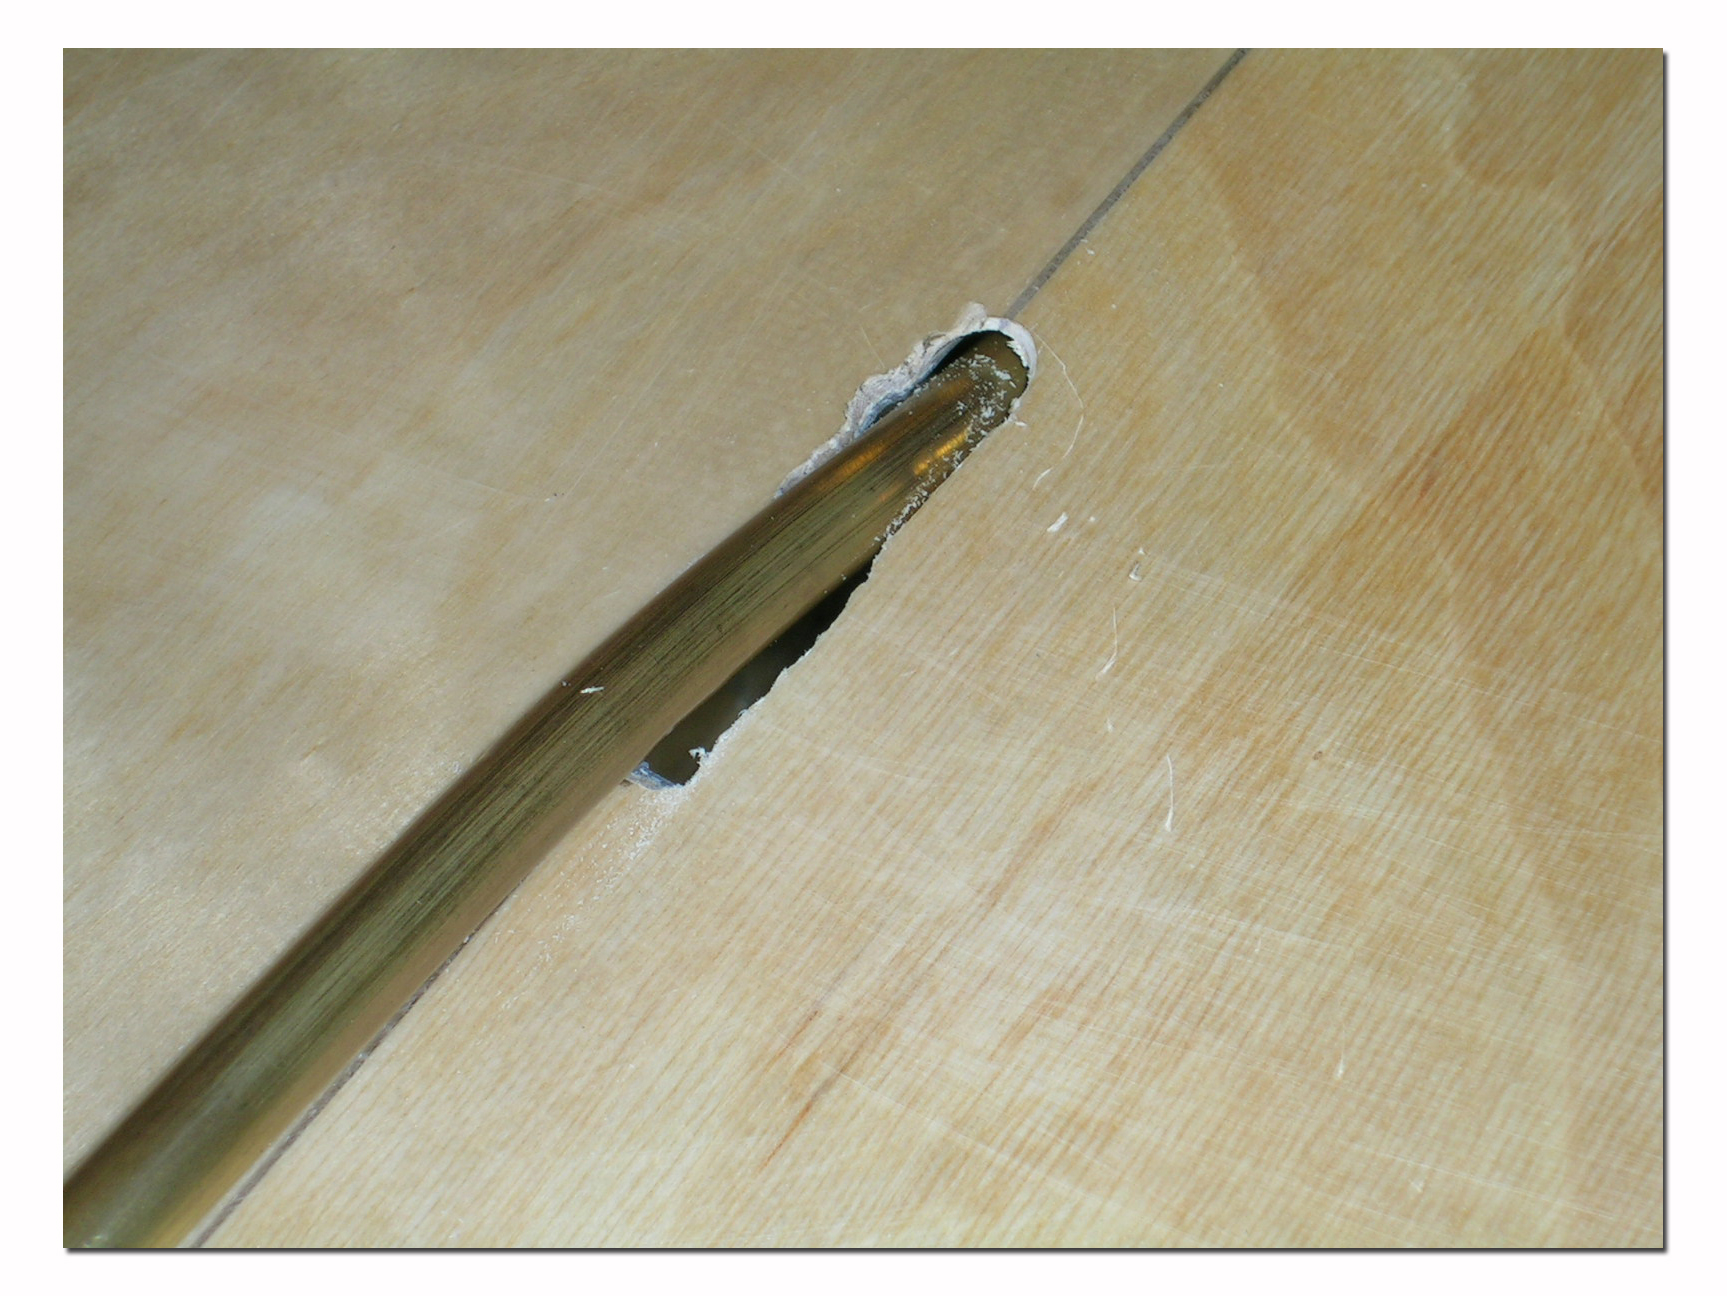
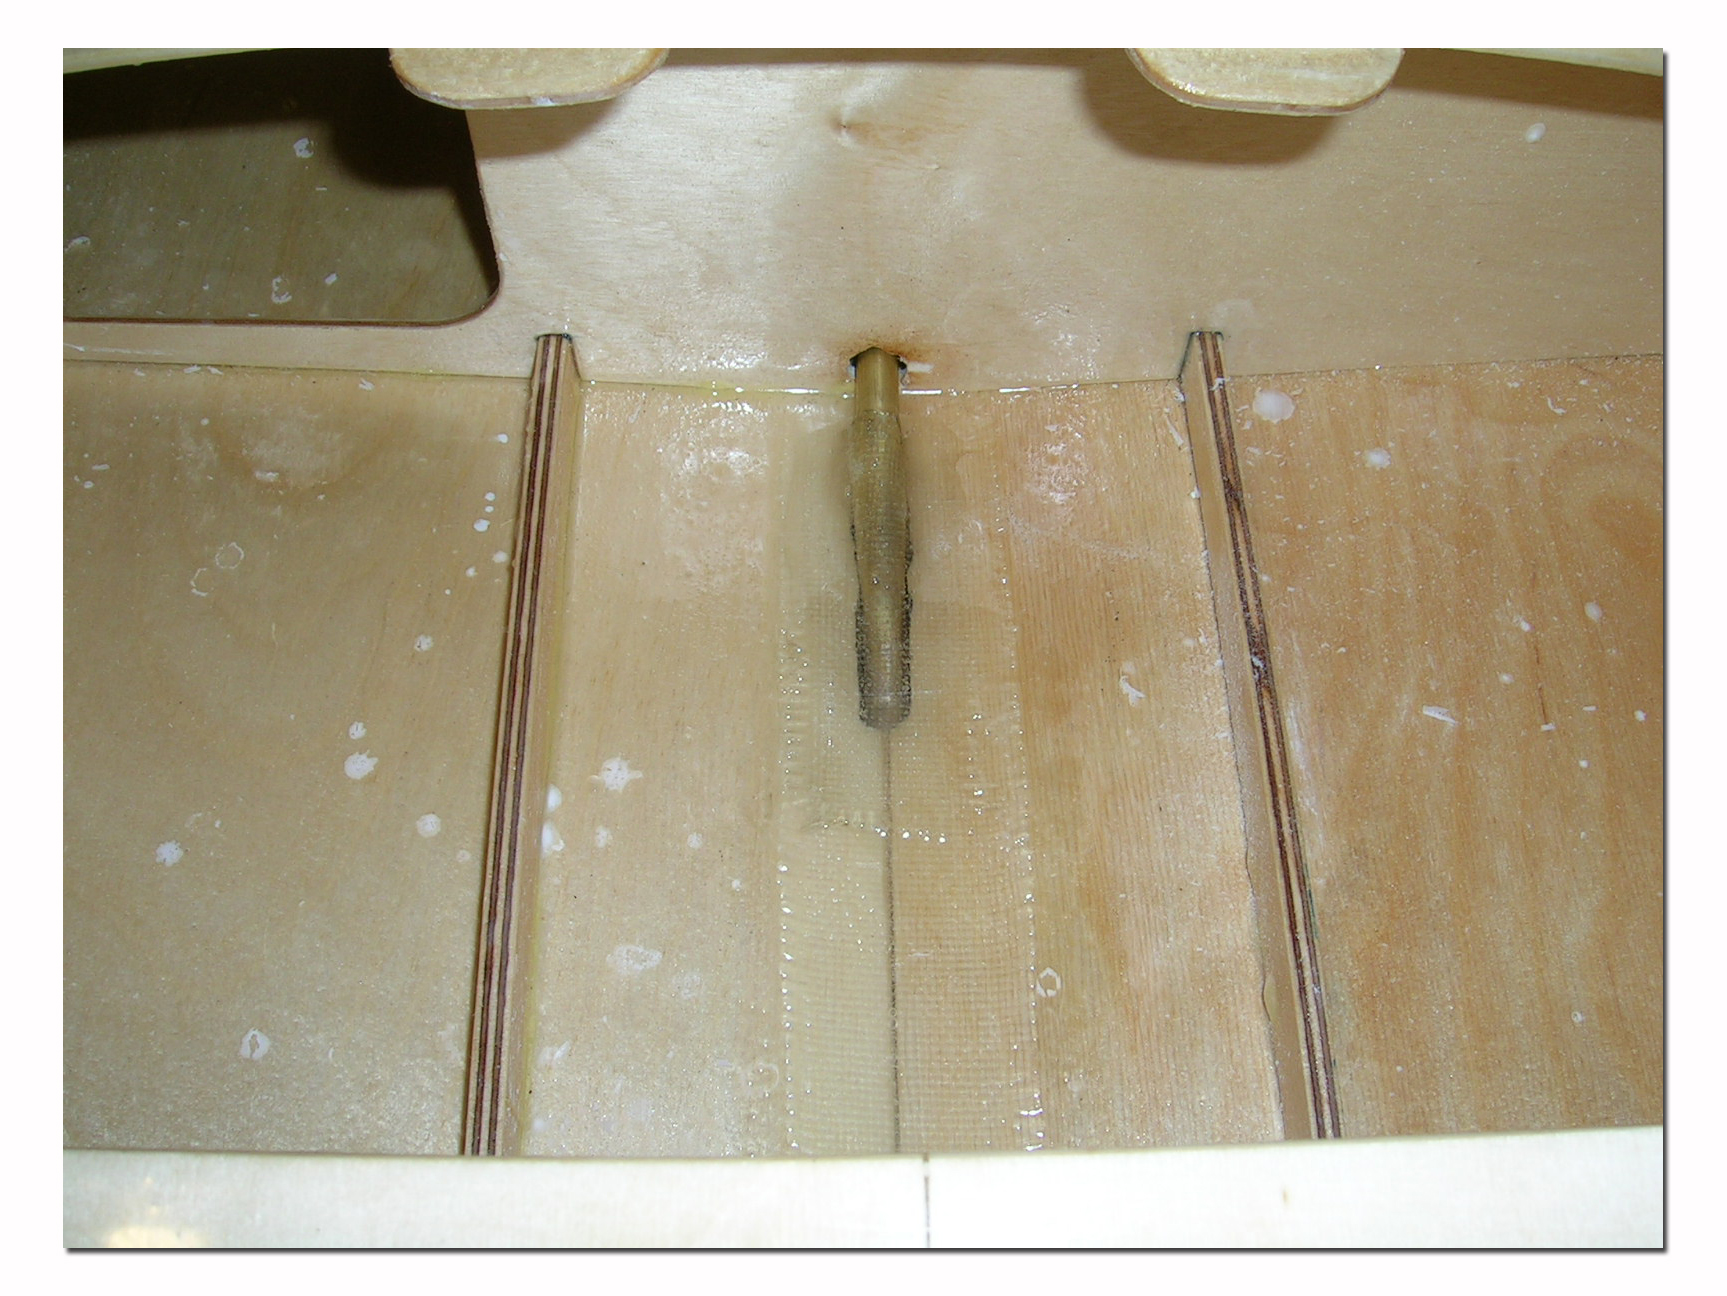
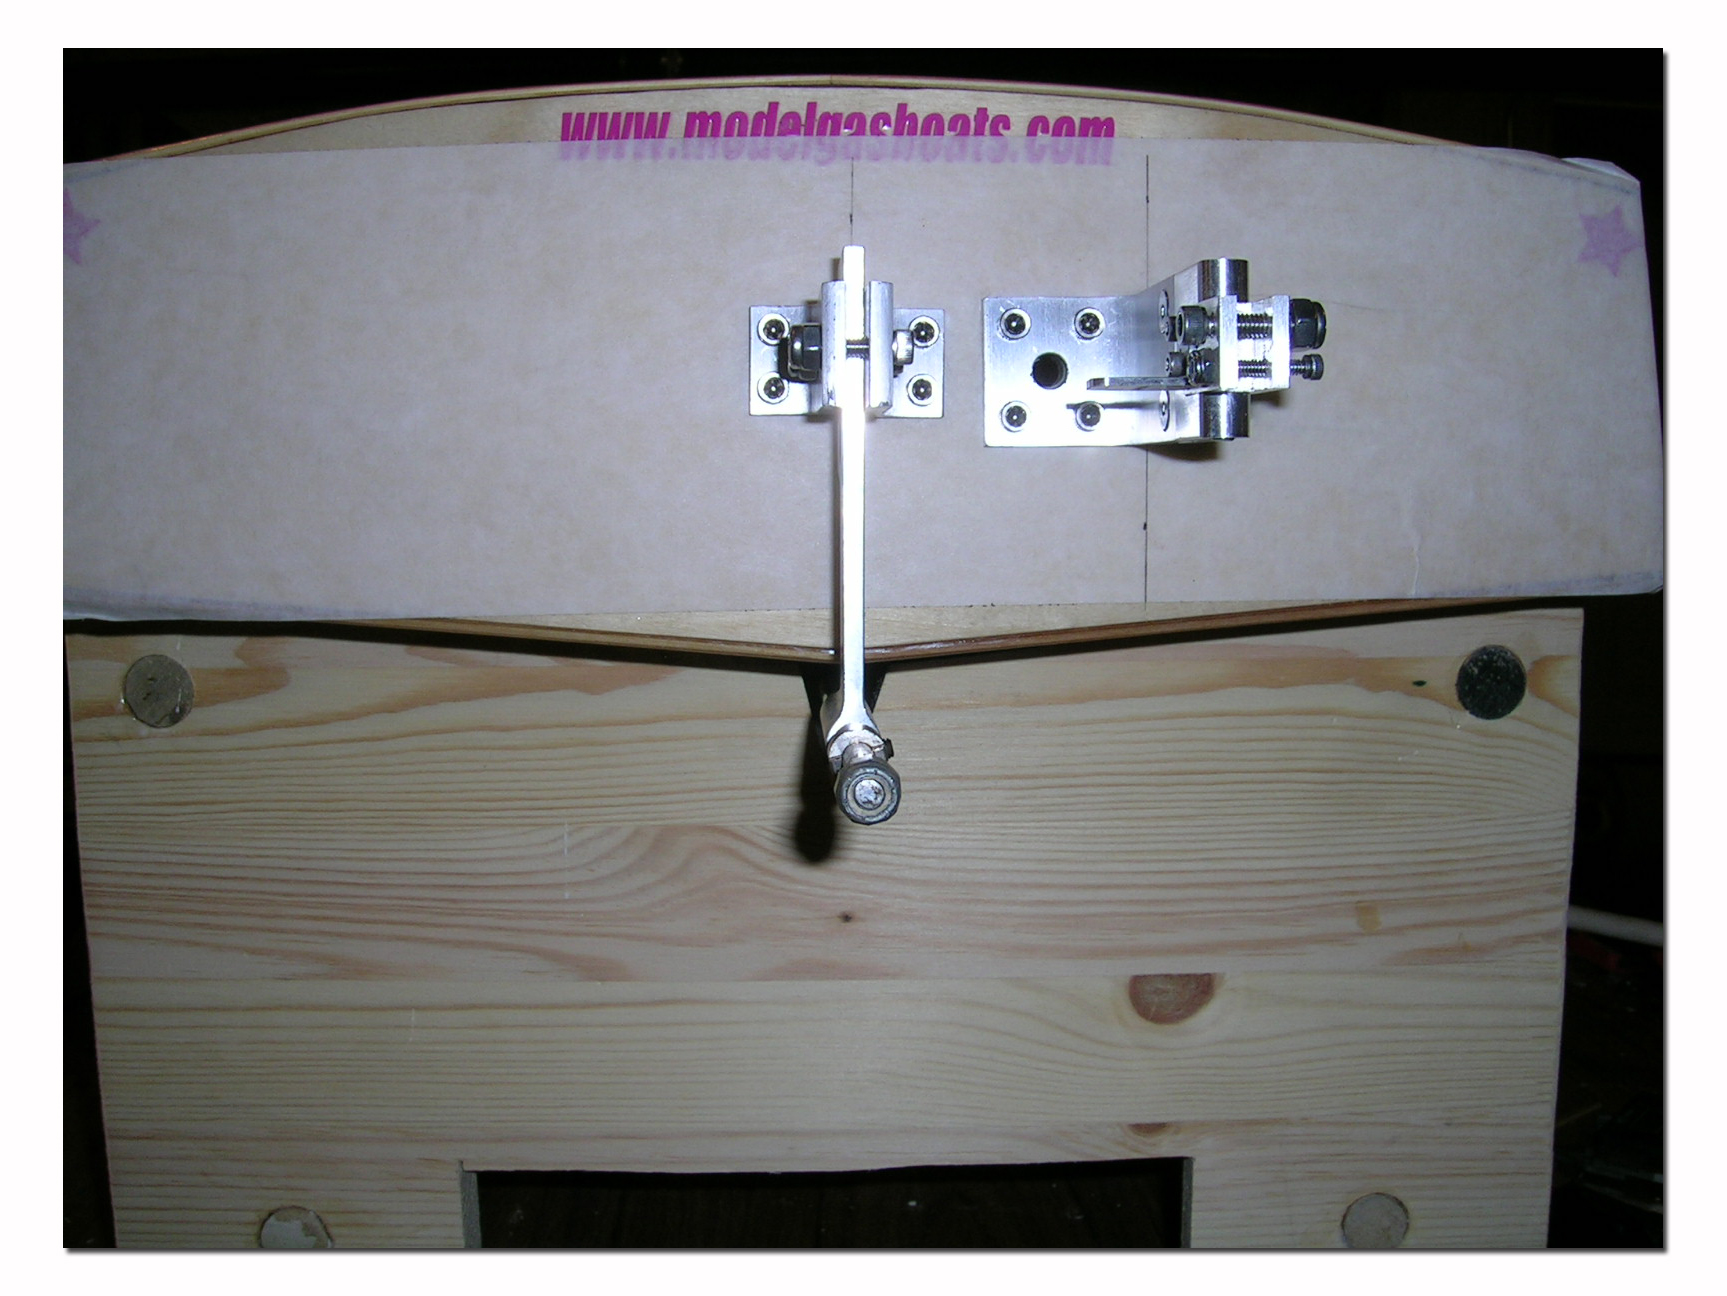
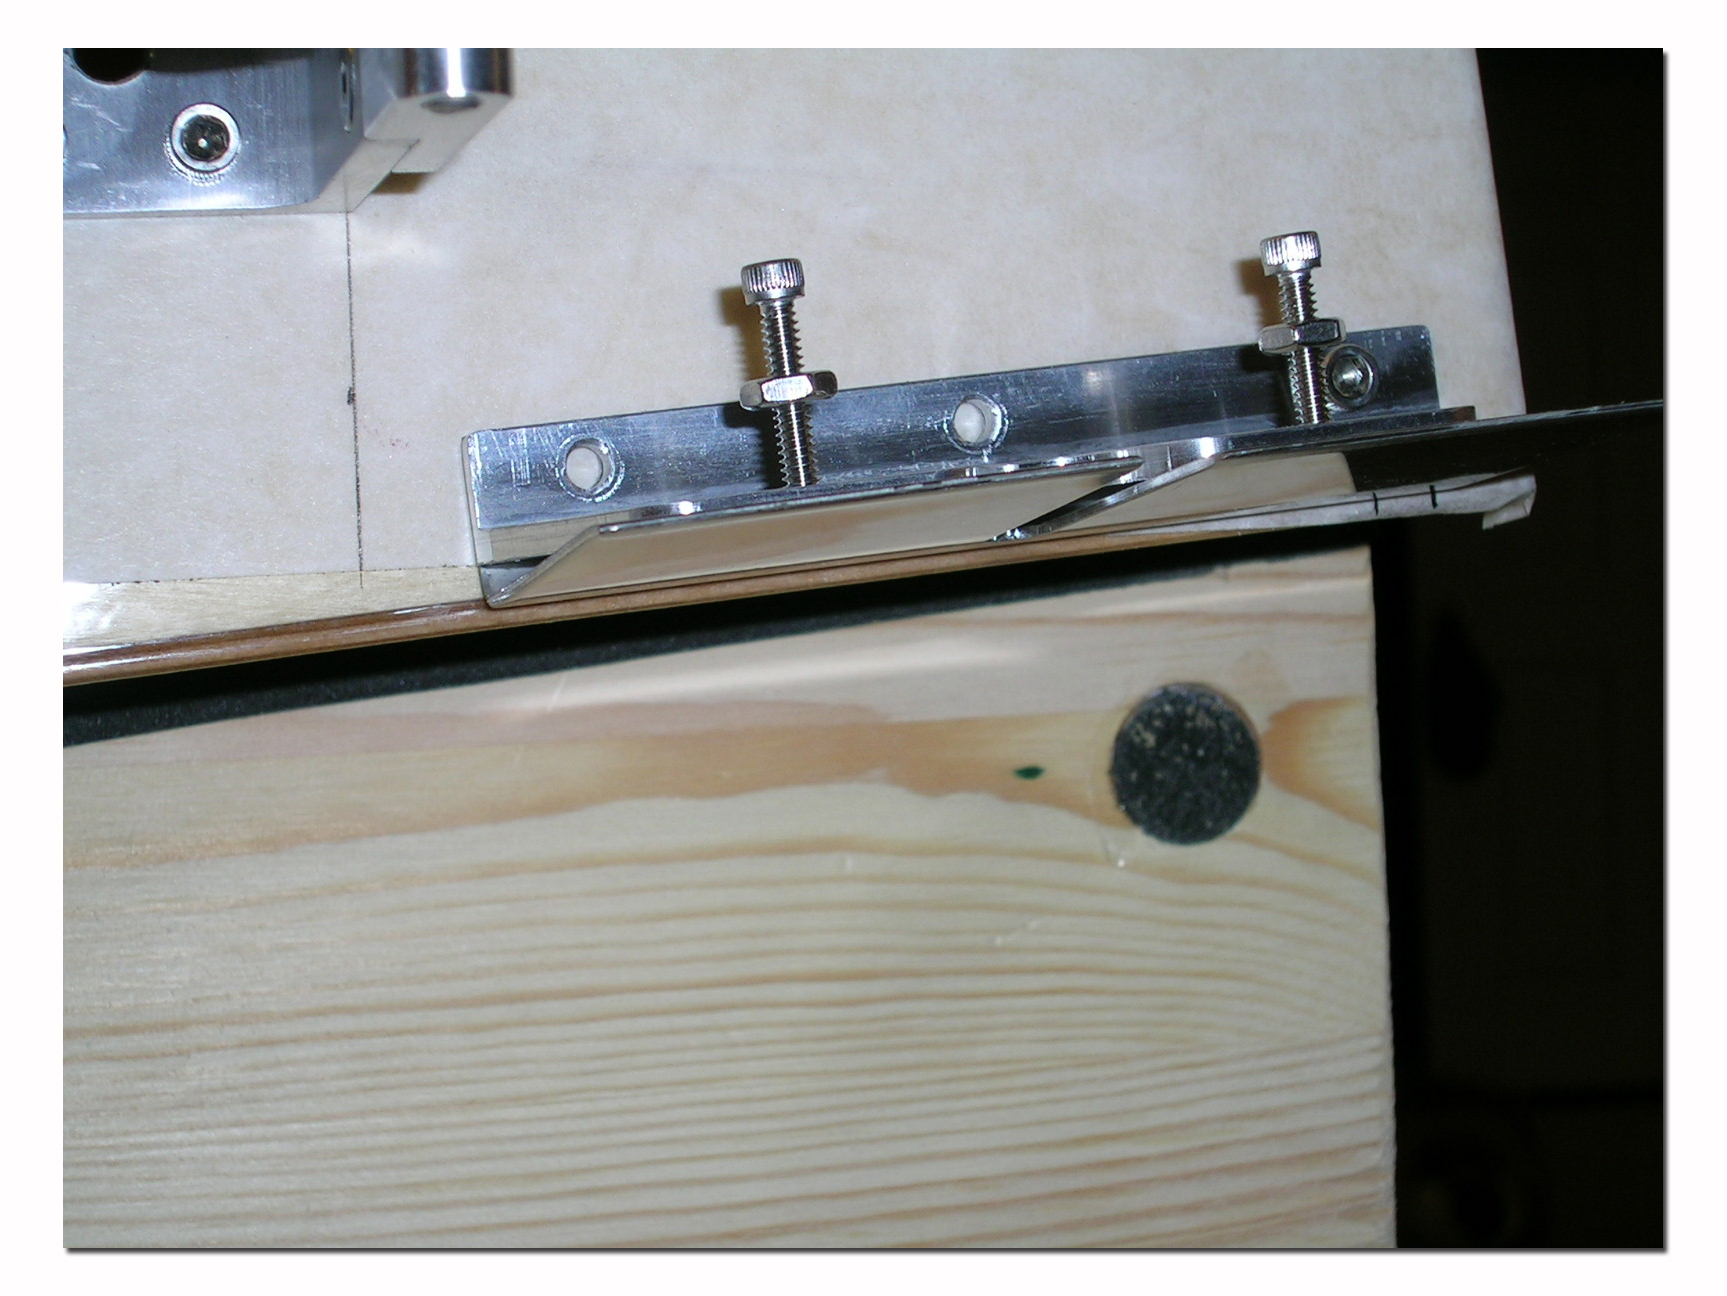
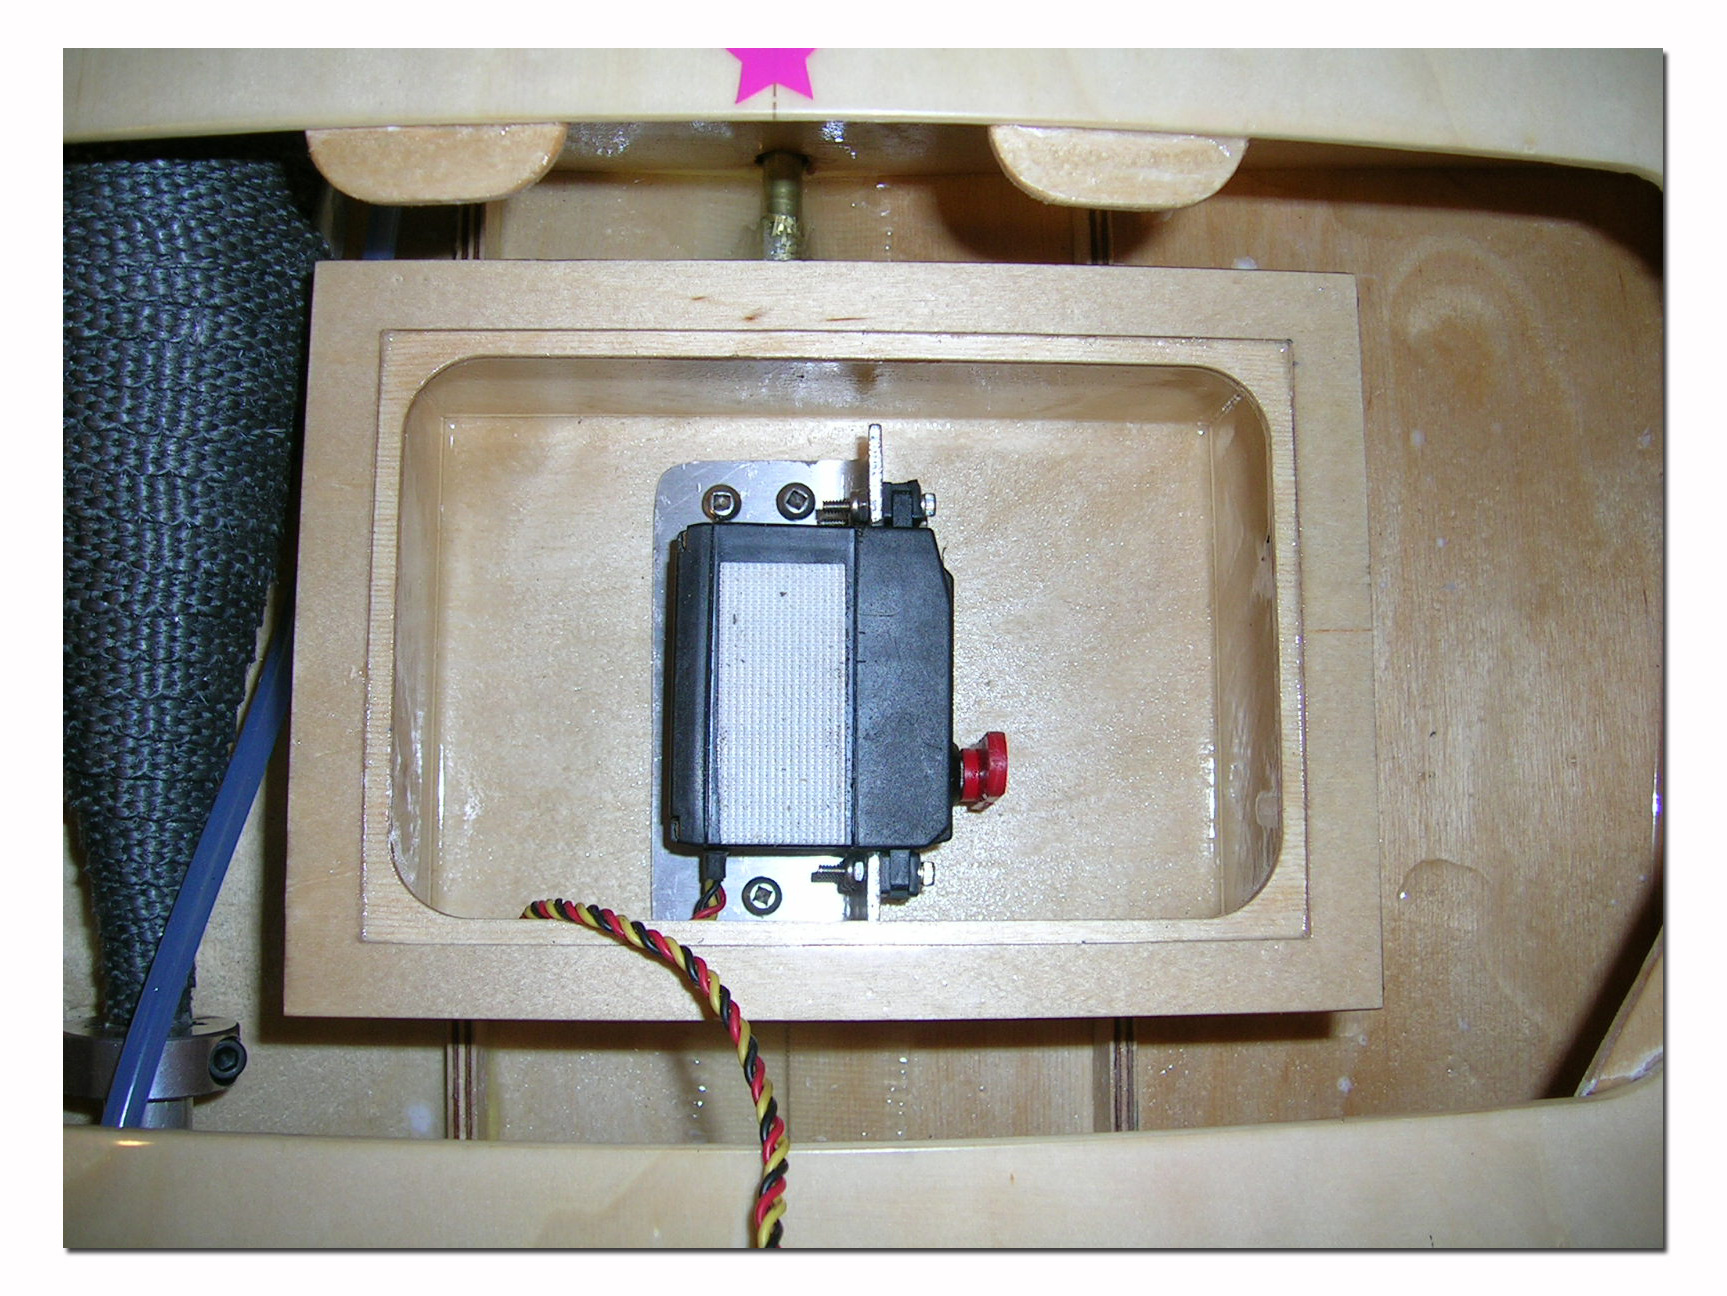
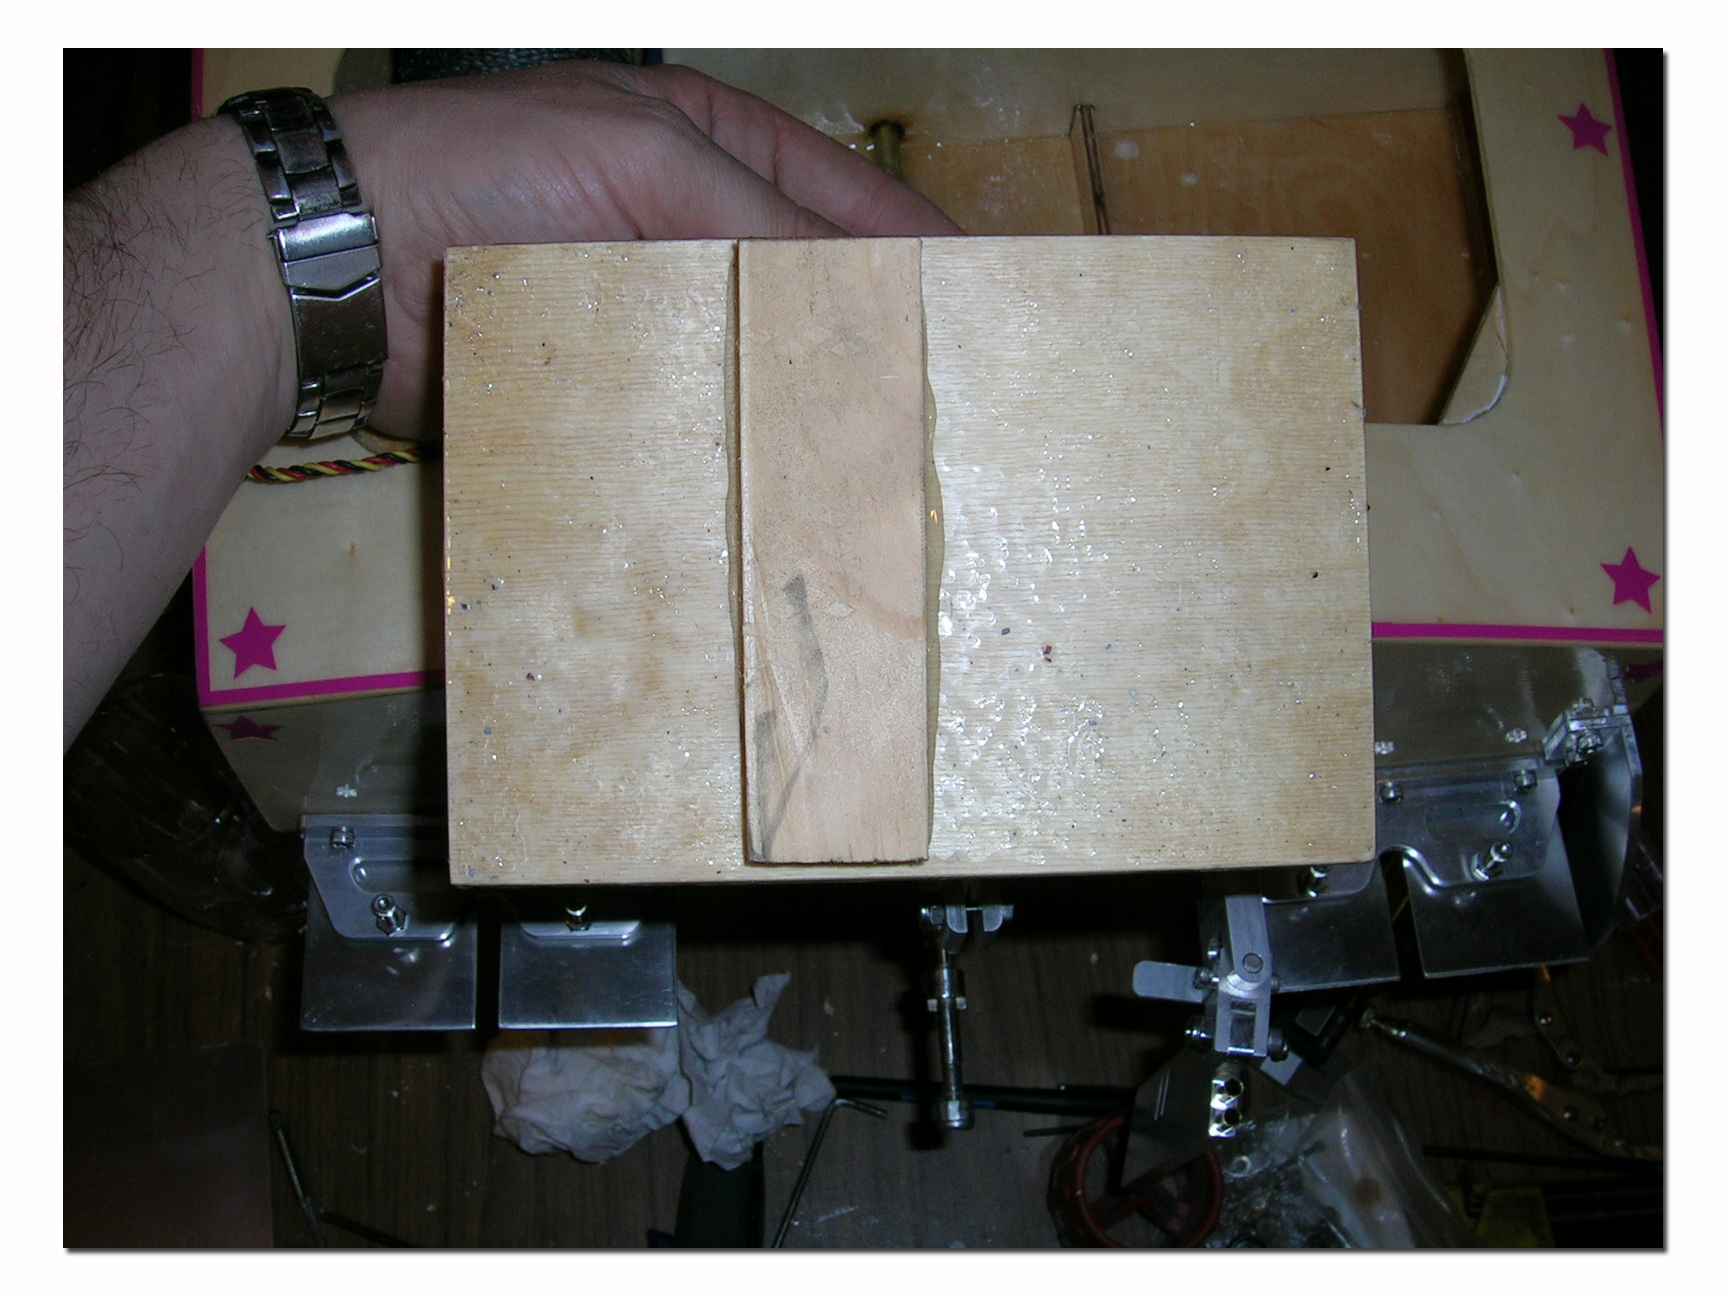
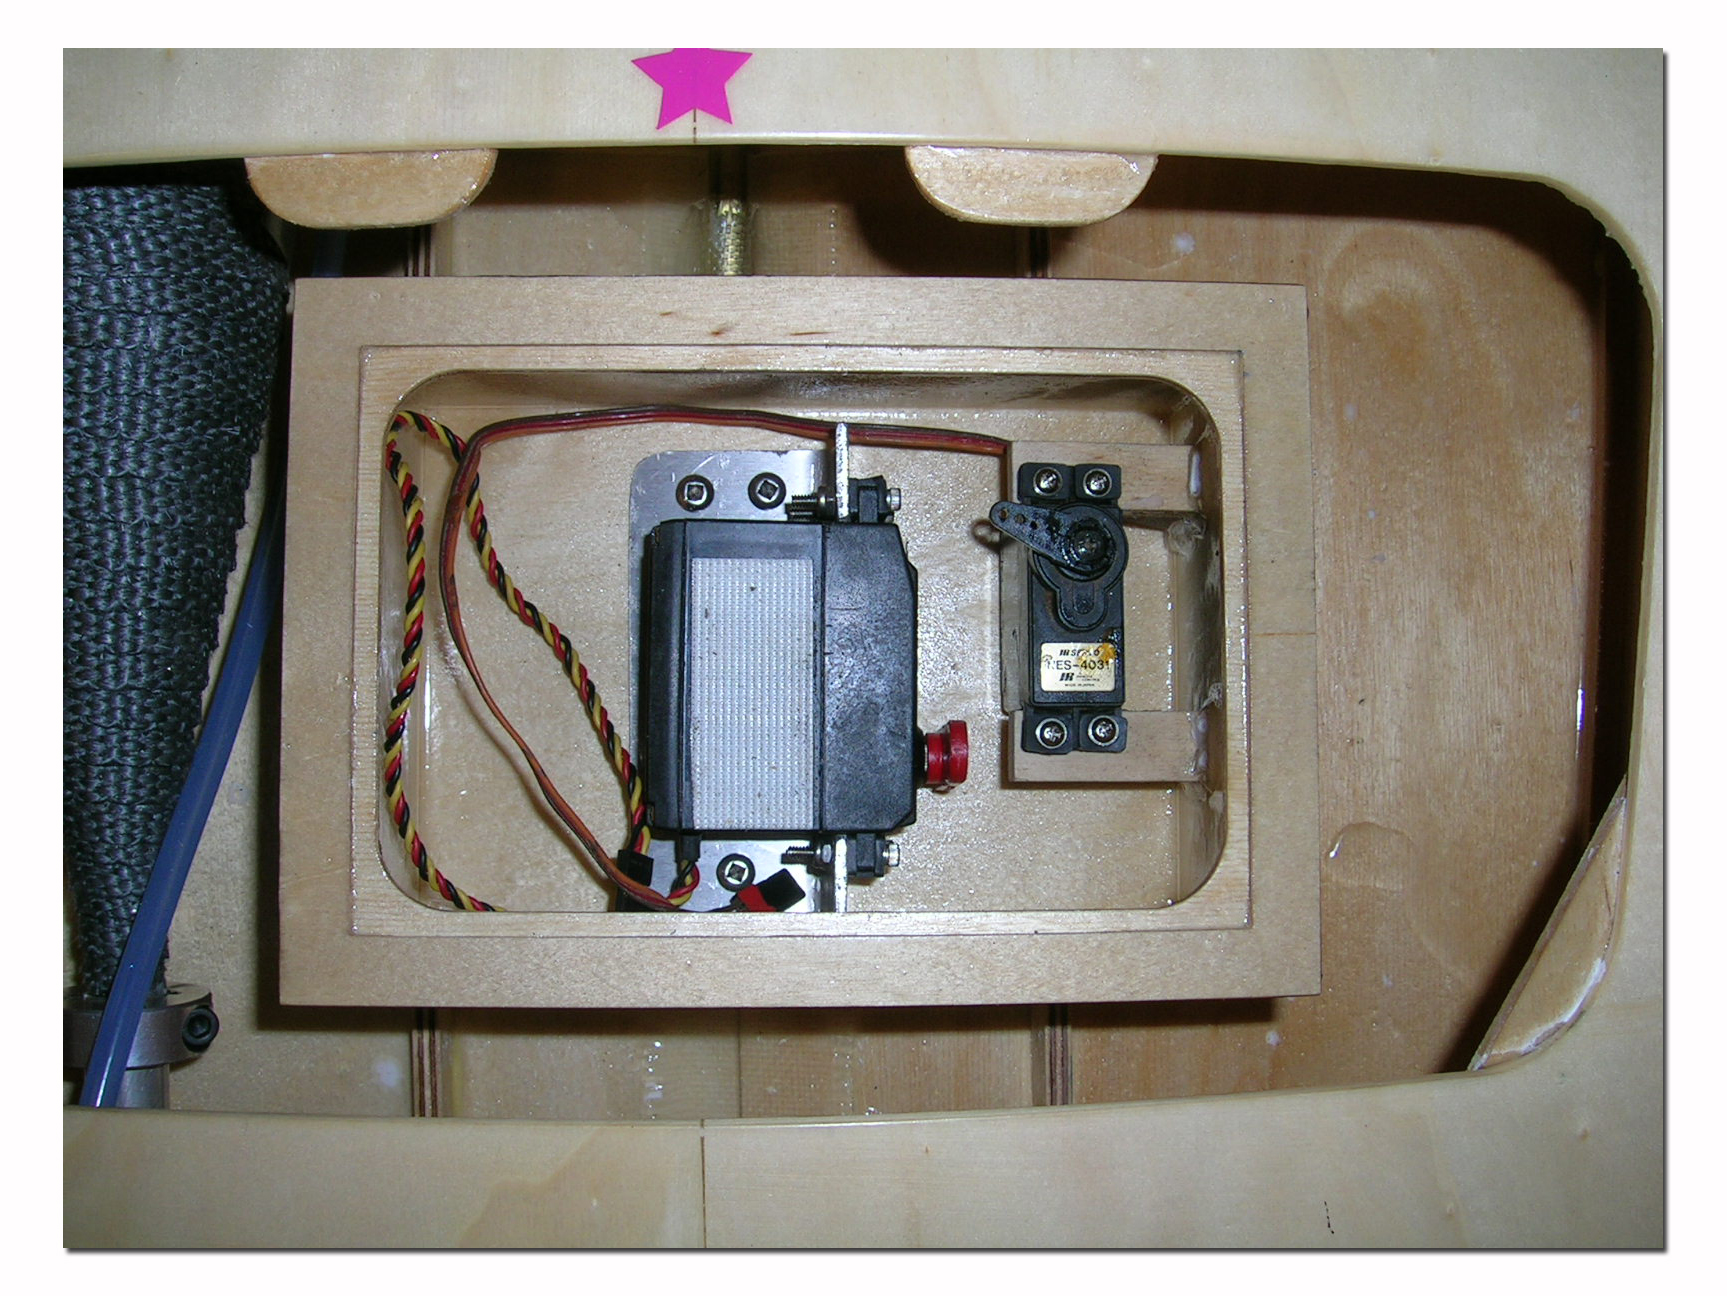
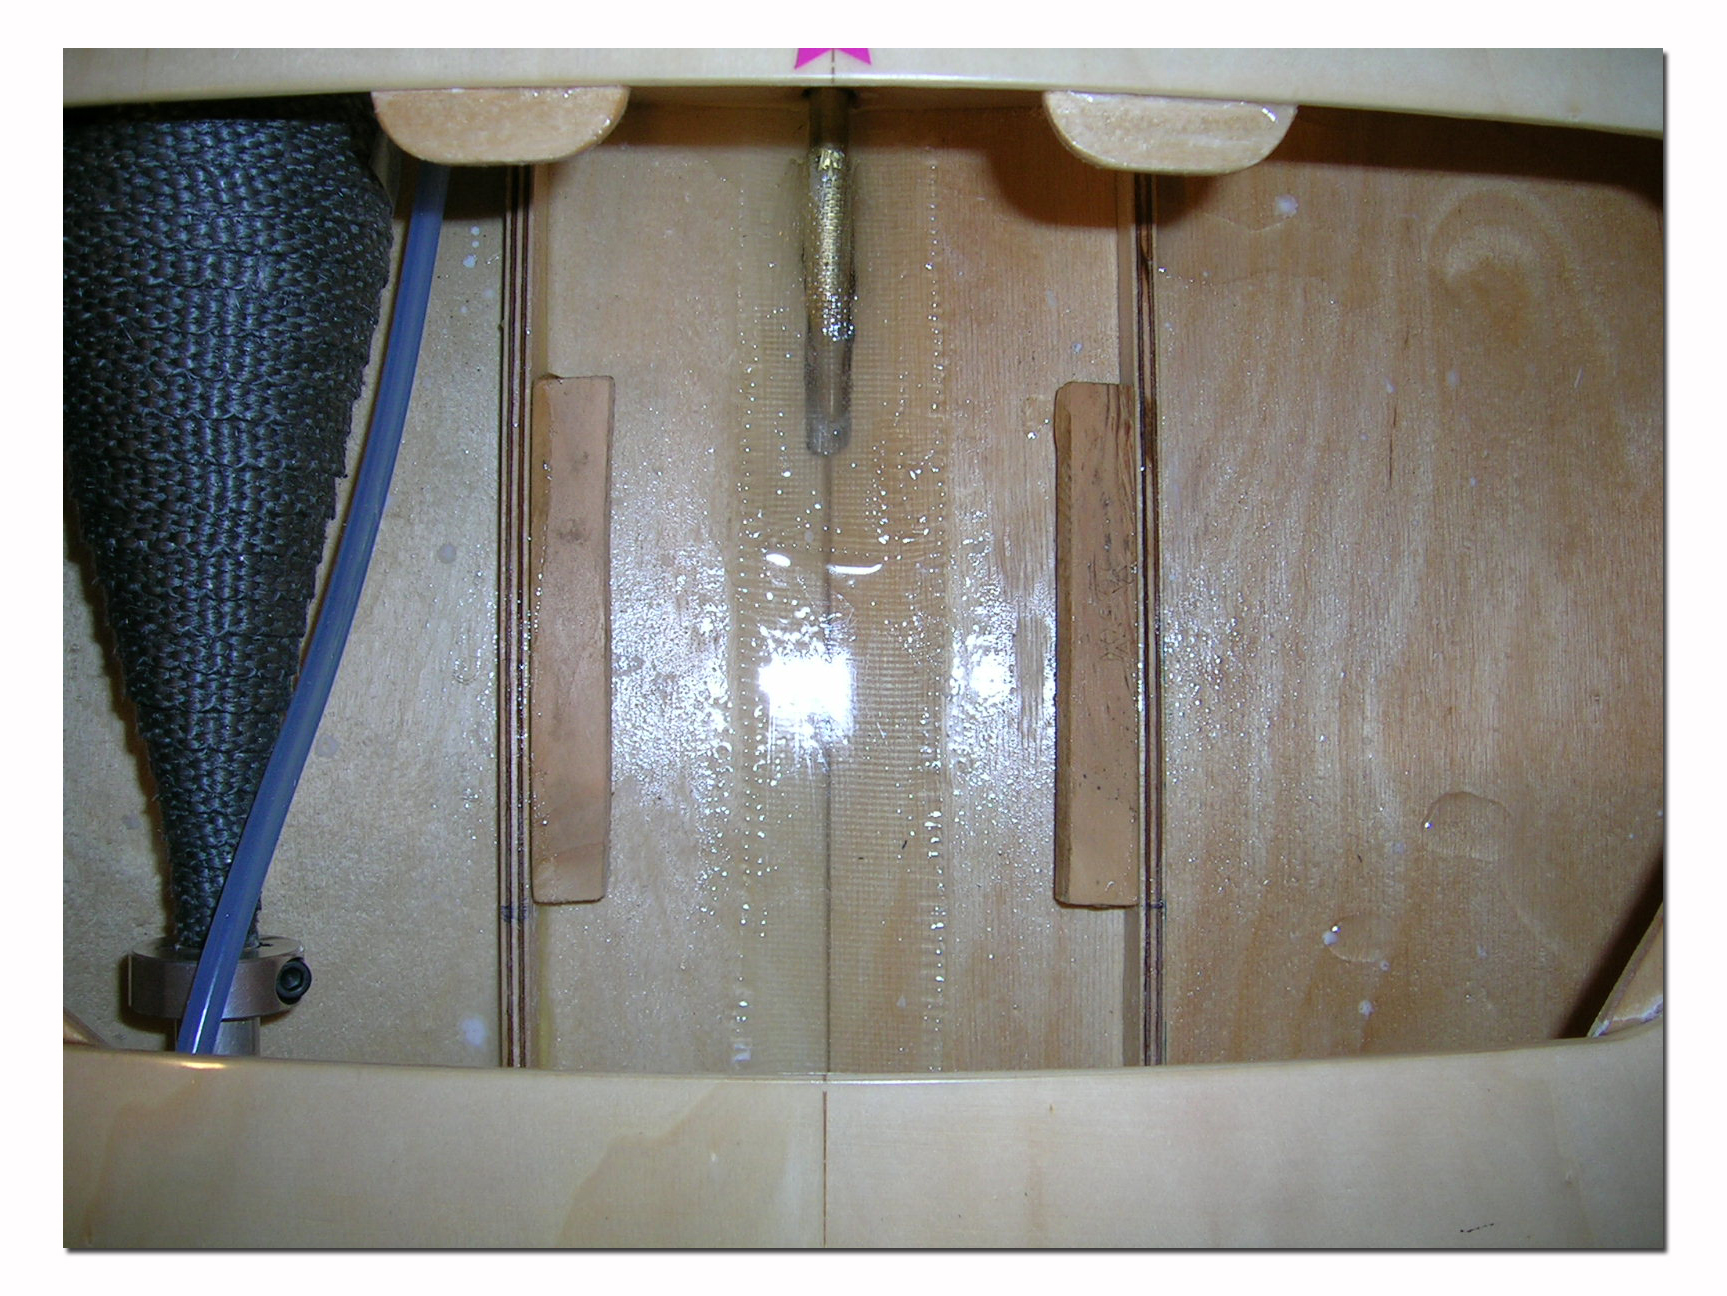
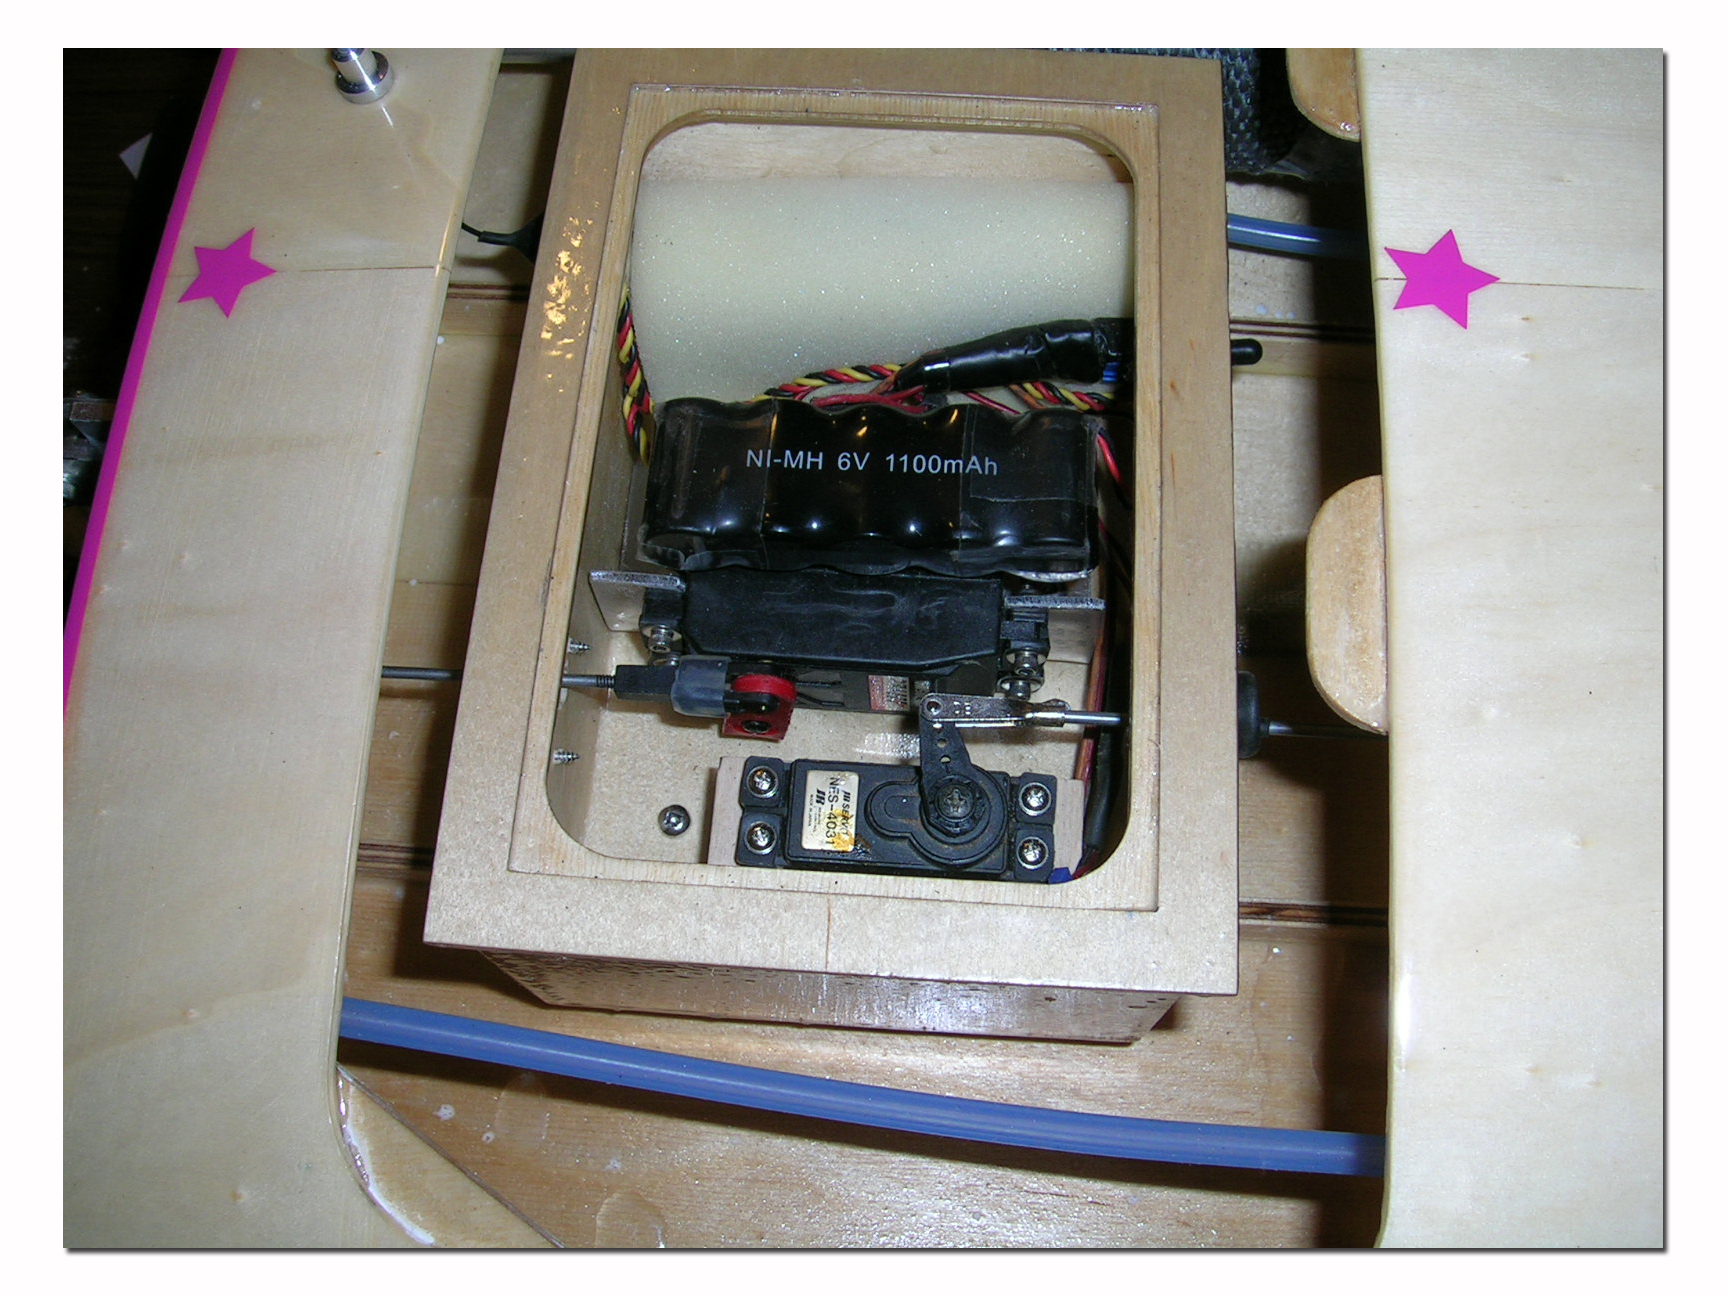
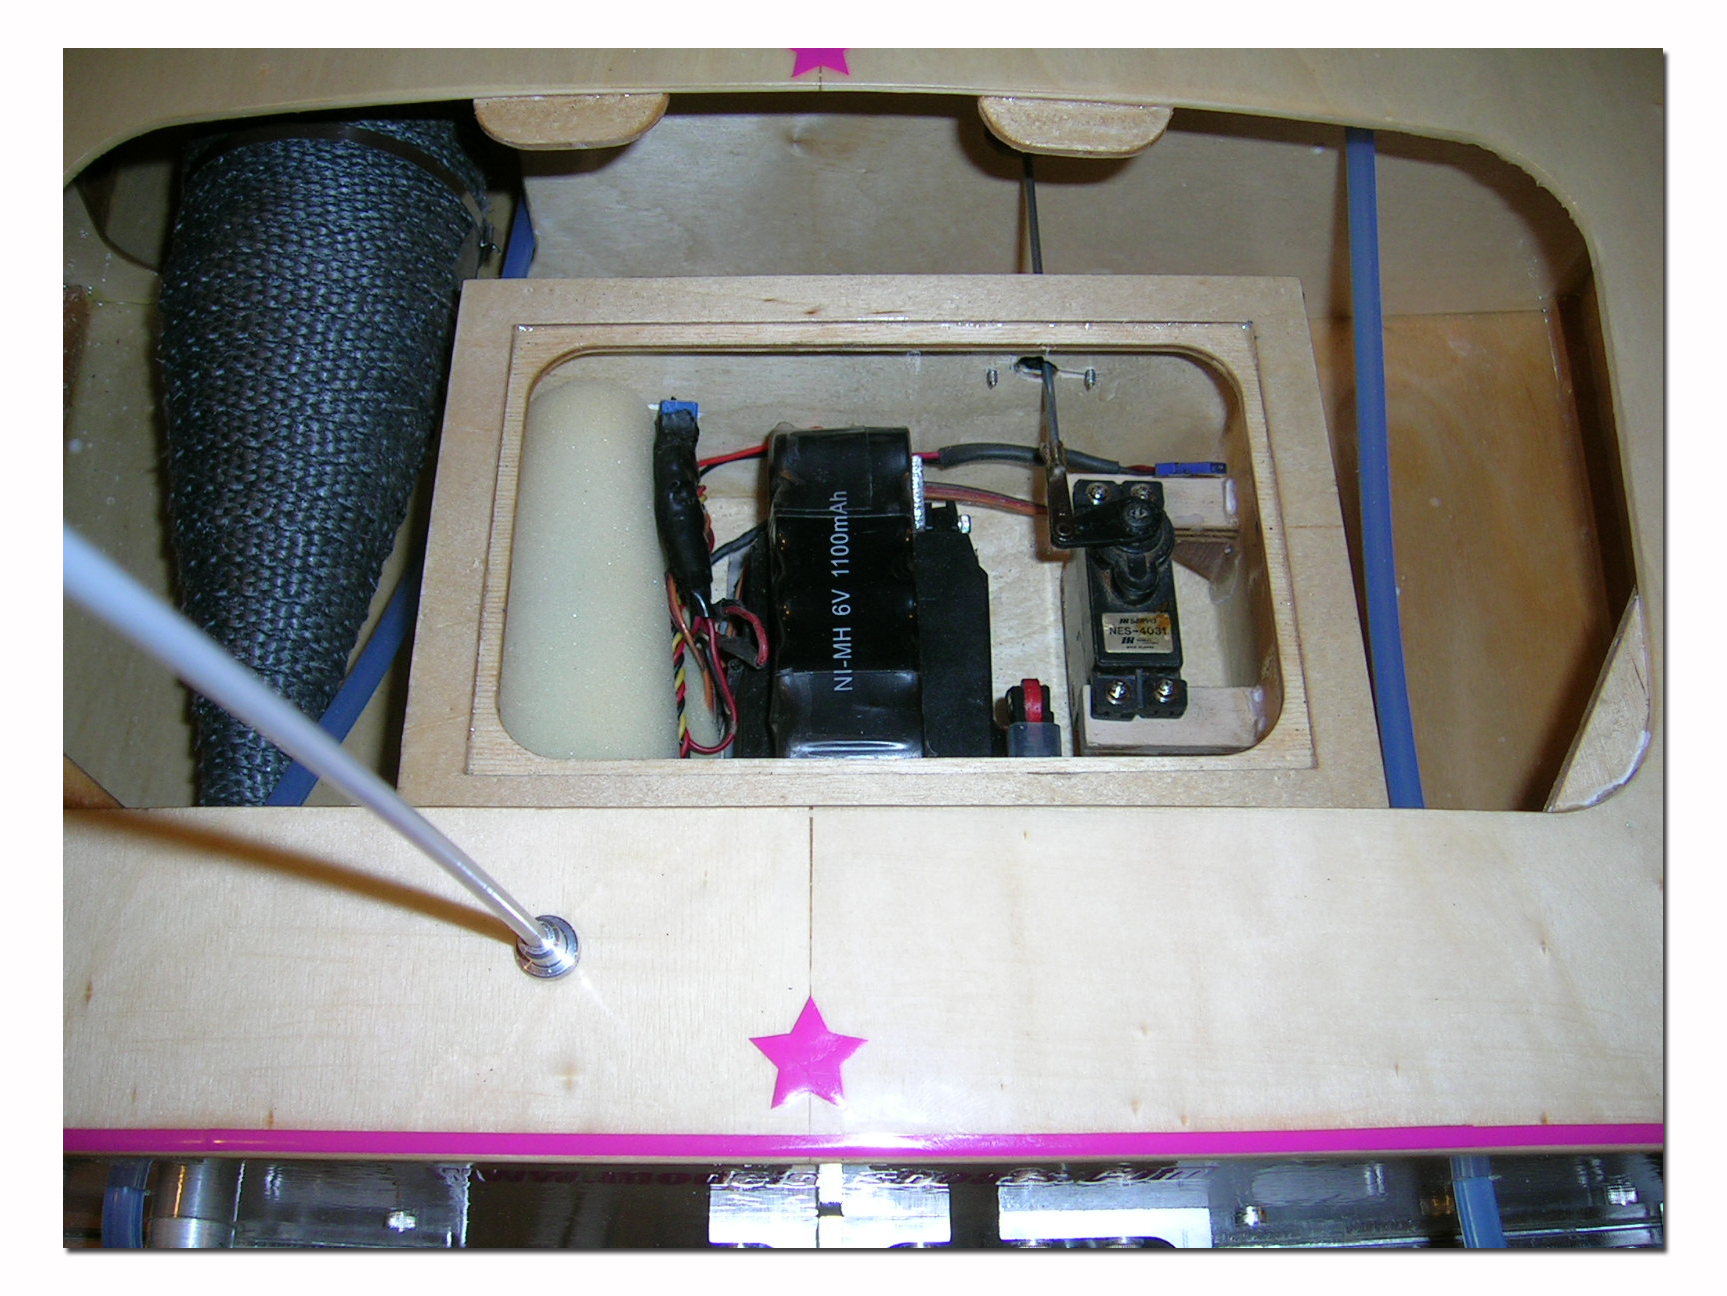
The radio box installation is pretty straight forward. The box is larger than average and provides a lot of room for all the radio gear including a 1/4 scale steering servo. The kit is supplied with the material to make the servo mounts, which I used for the throttle servo. For the steering servo I decided to make my own aluminum mount and secured it to the bottom of the box. The underside of the box was lined with a piece of 1/4" pine sealed with epoxy so that the screws would have something to bite into and not pass through. This keeps the box watertight. I mounted my box to the hull with screws rather than gluing it in. It screws into two blocks epoxied to the rails and is kept waterproof with a strip of foam tape between the box and the blocks where the screws pass through.
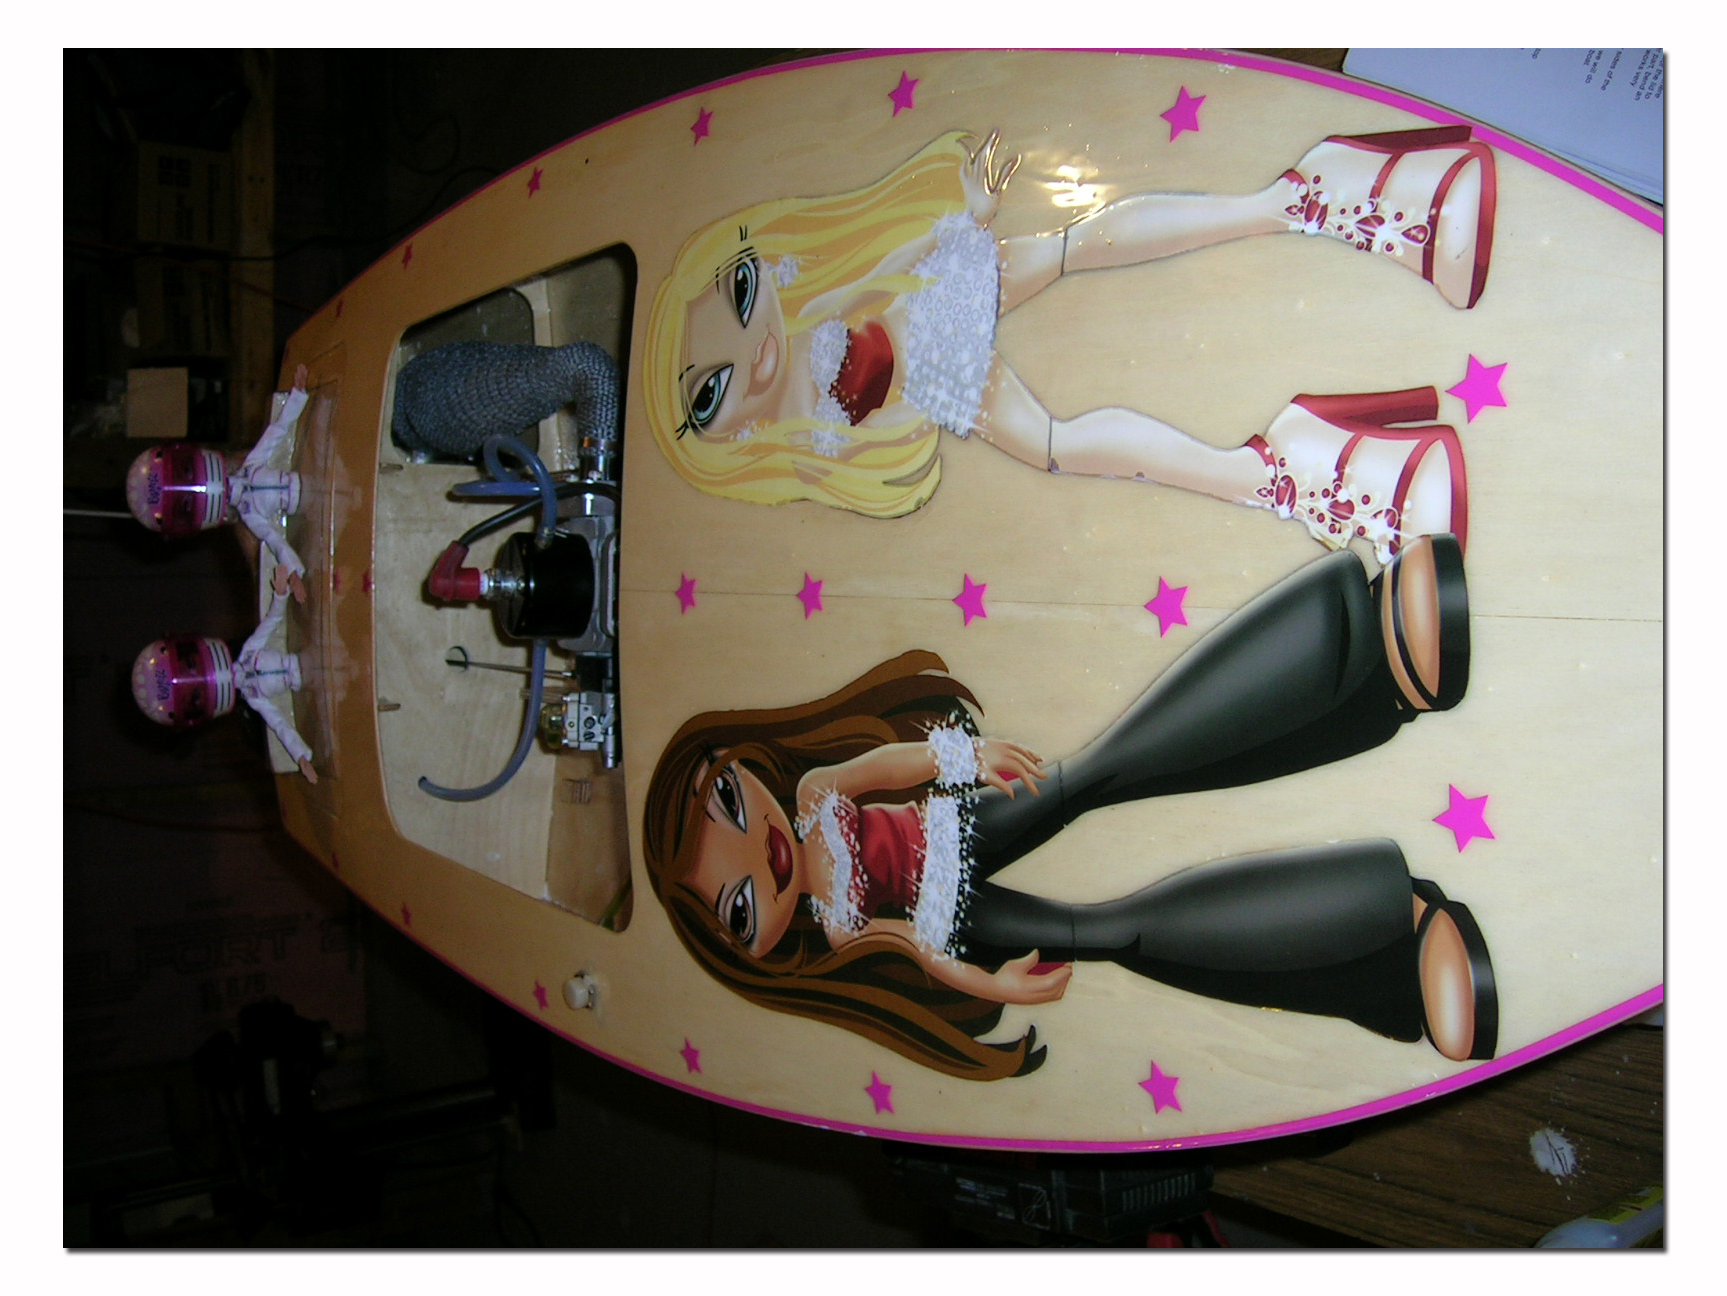
Here are some pictures of the finished boat on the water!
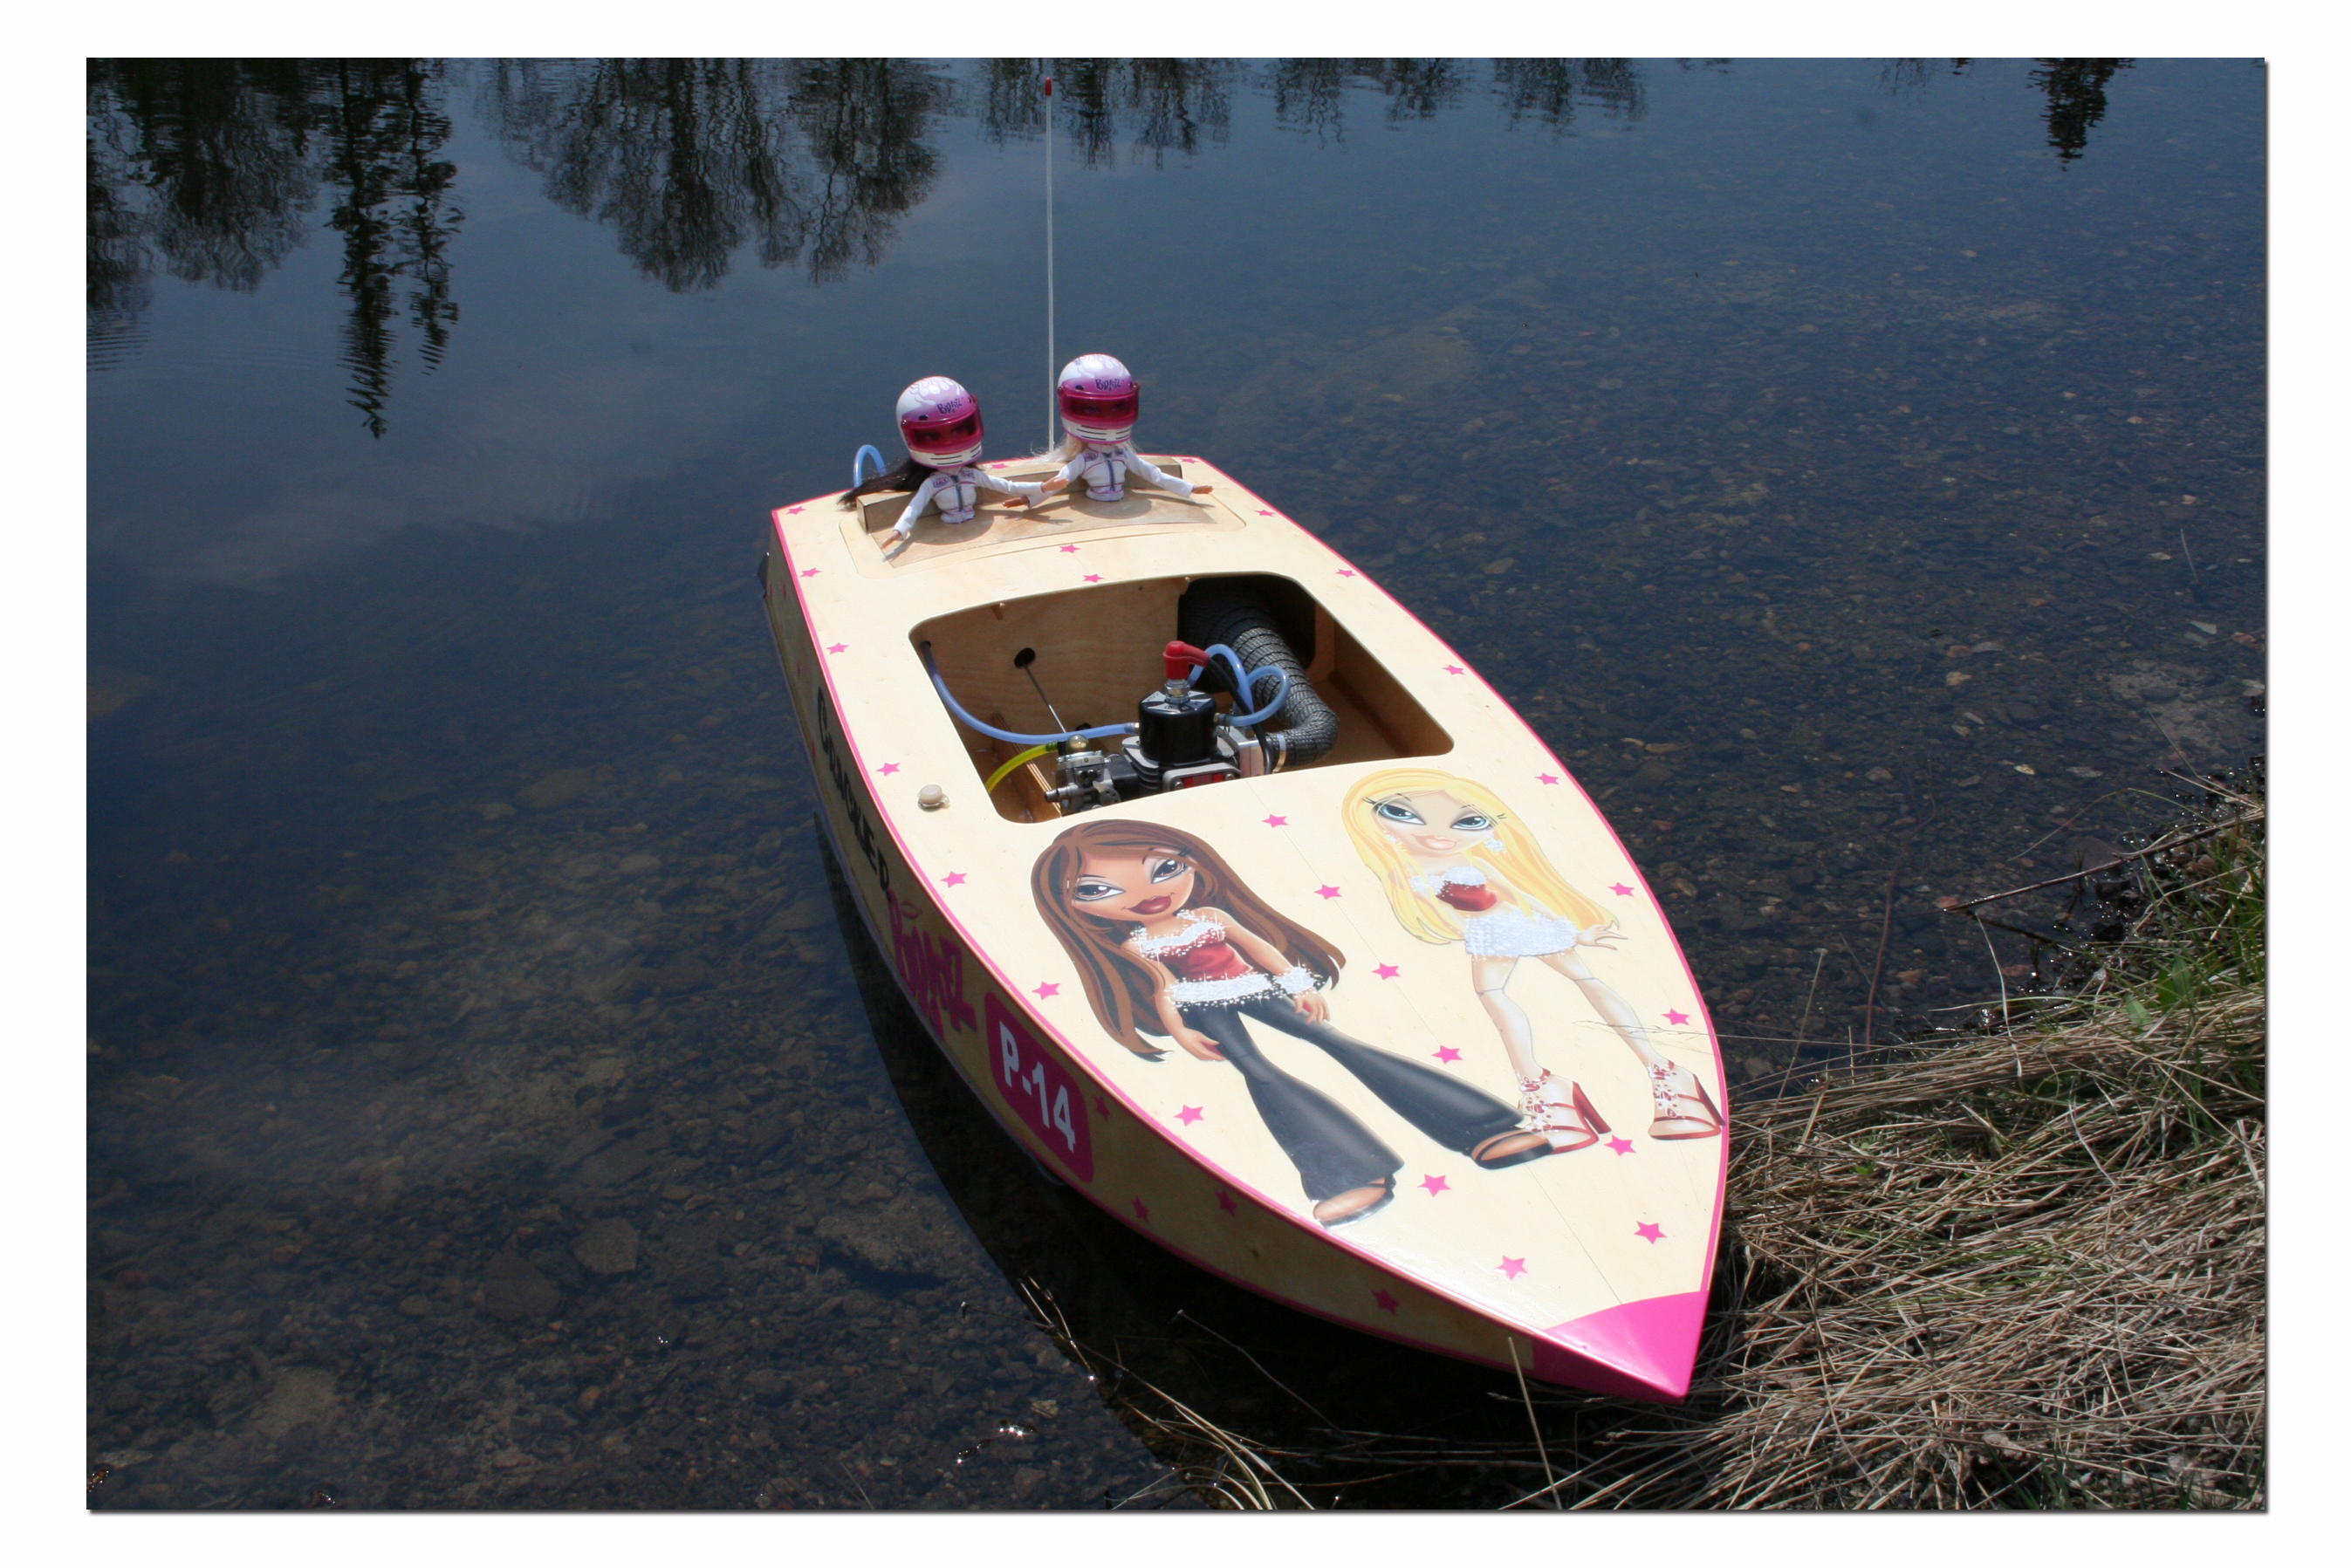
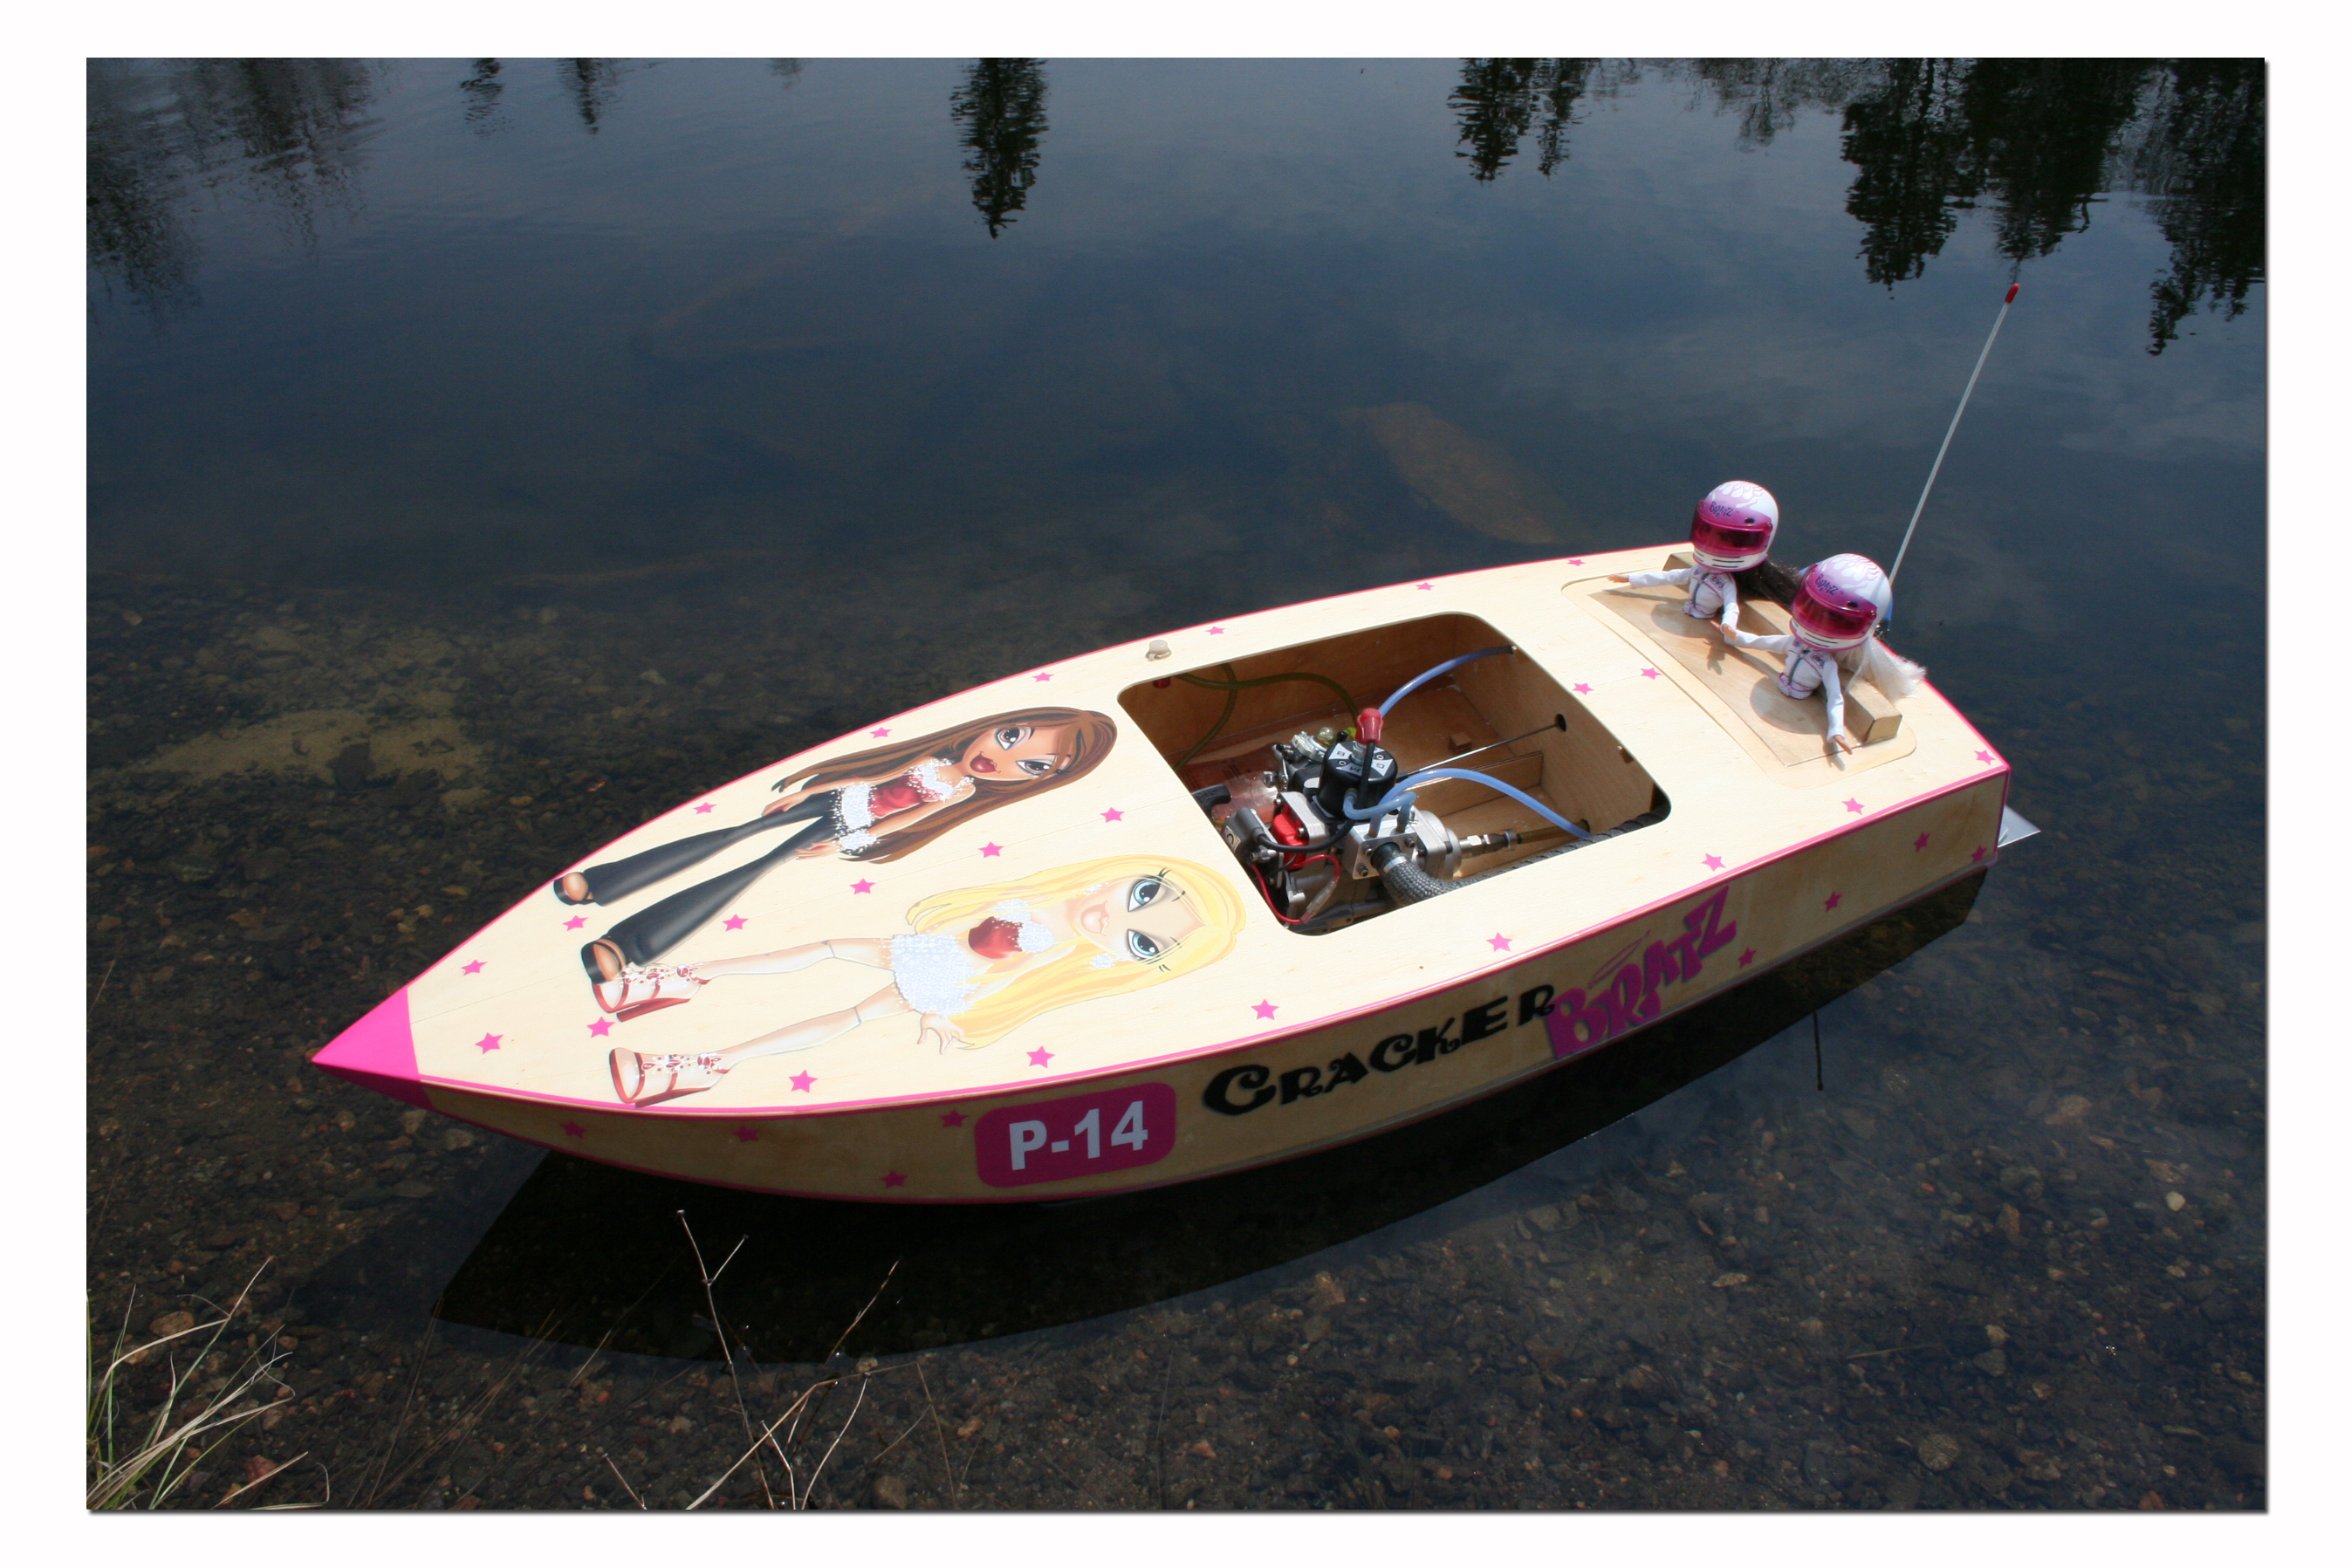
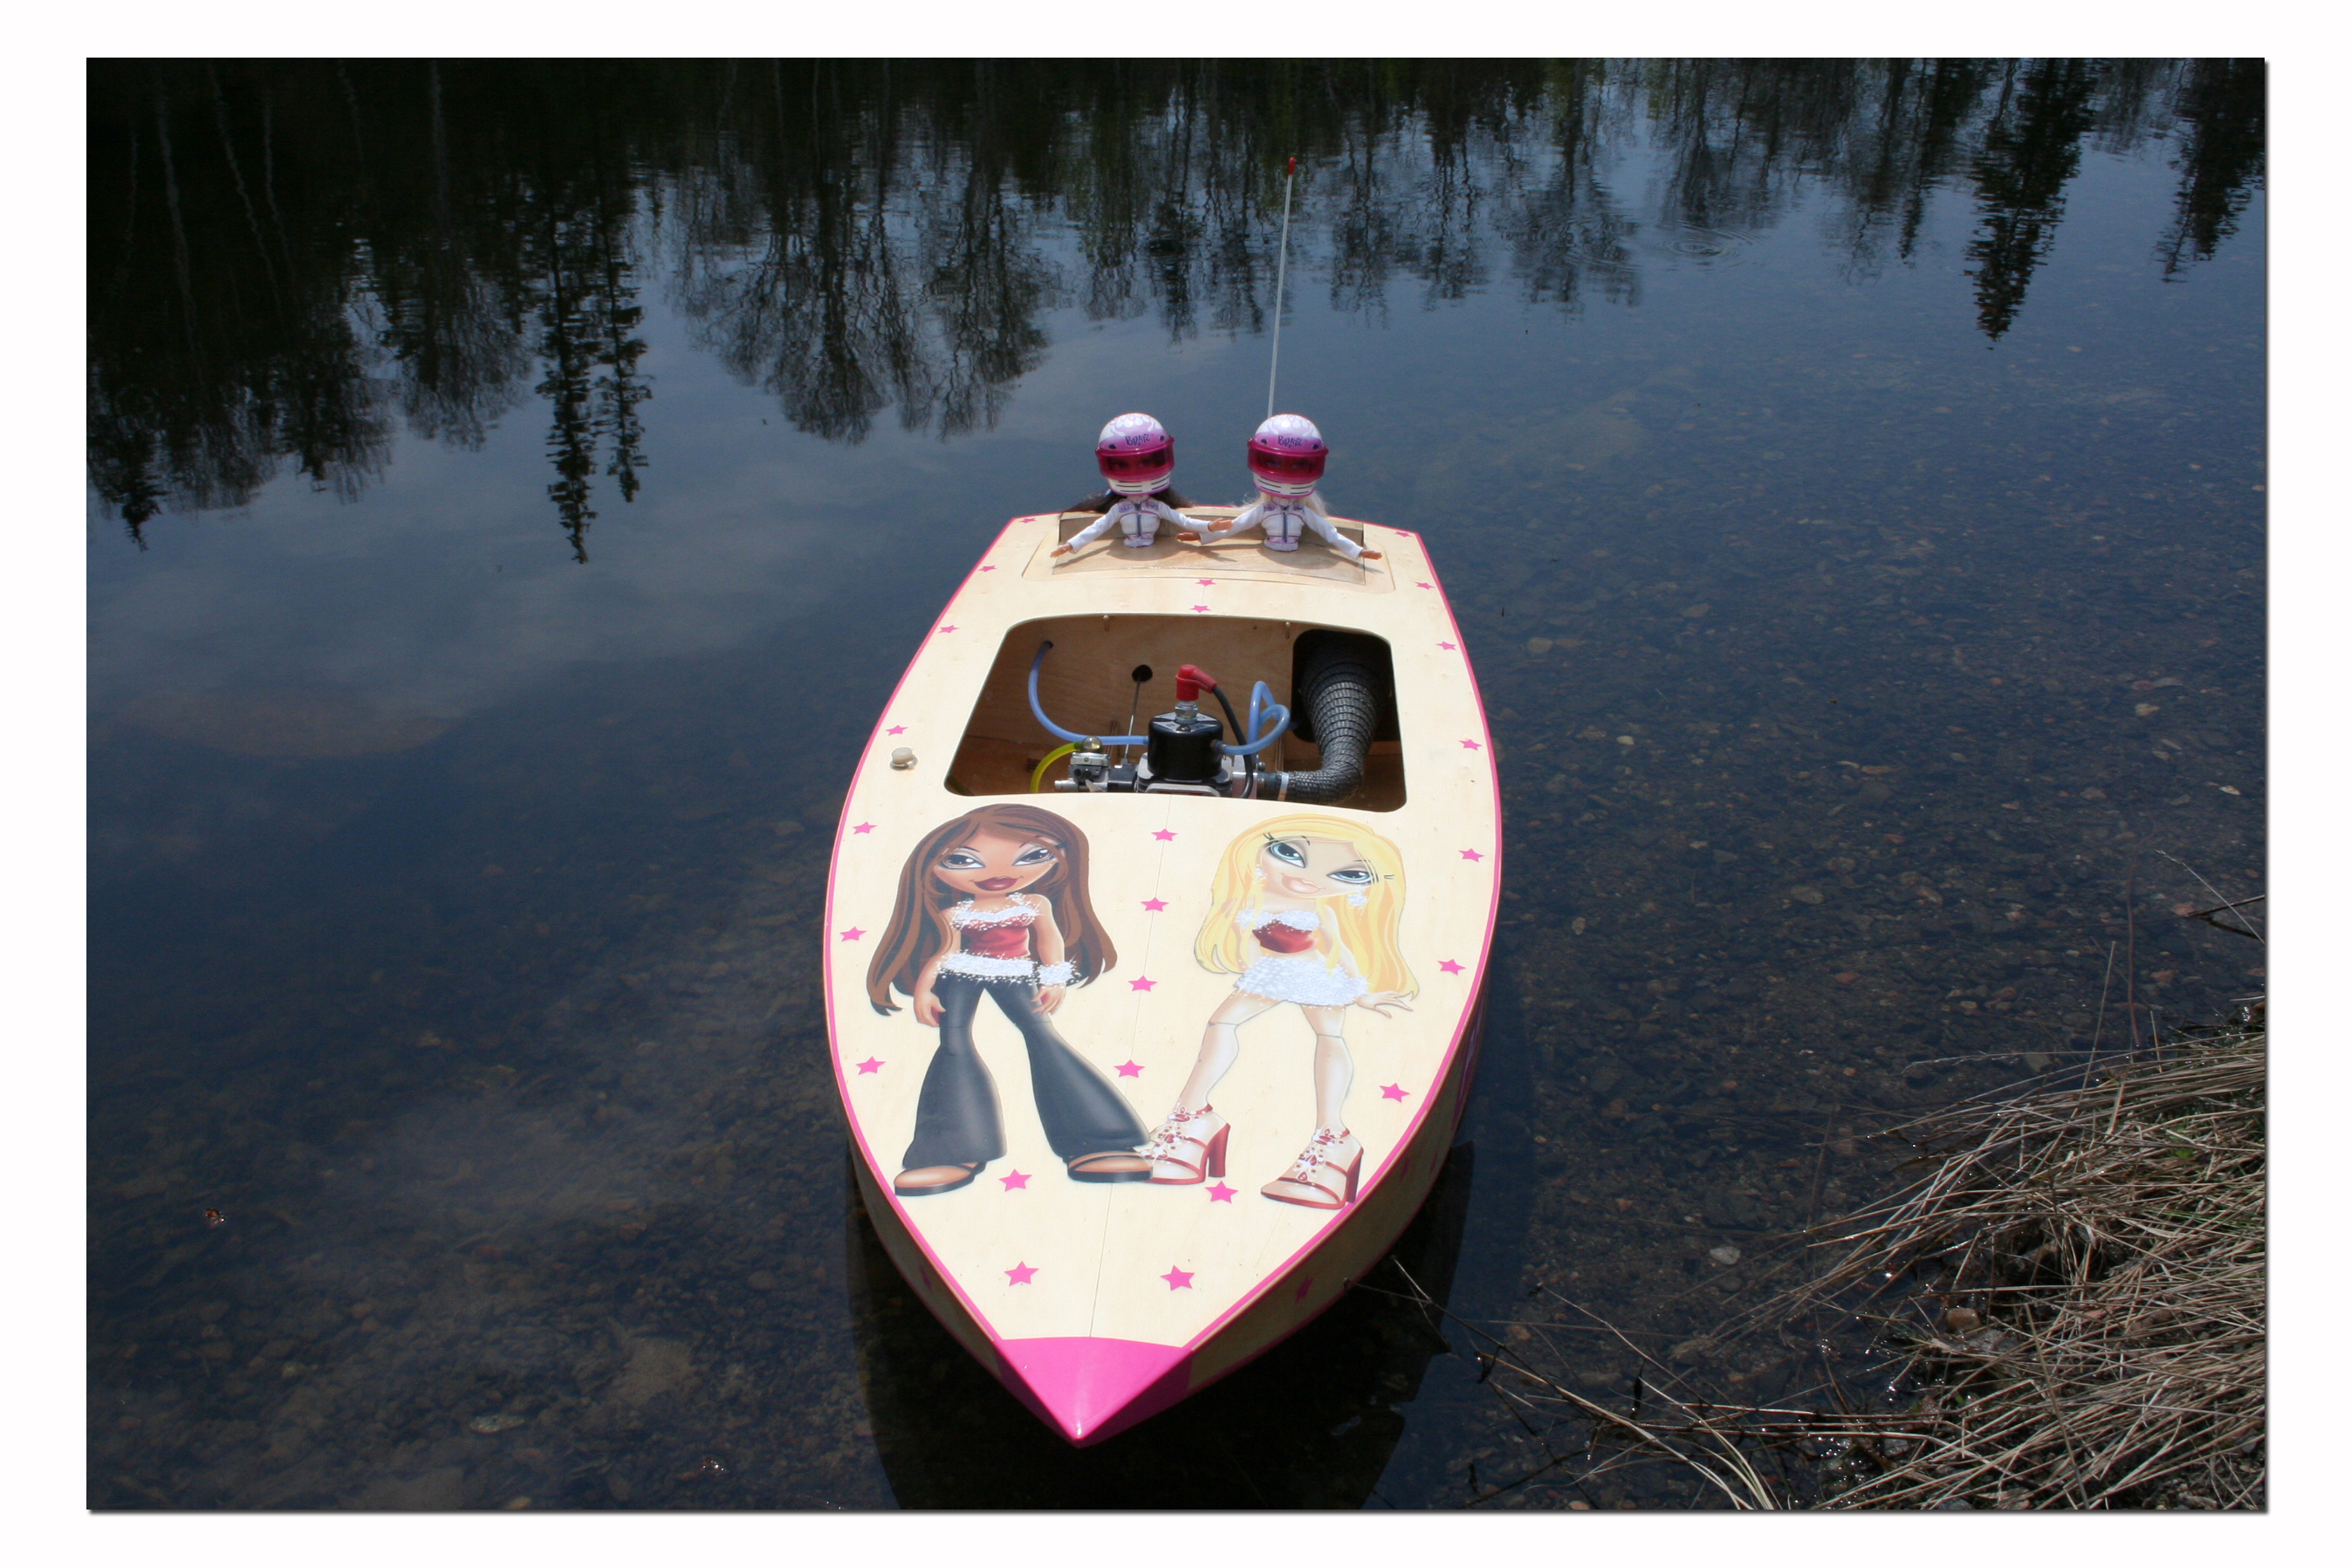
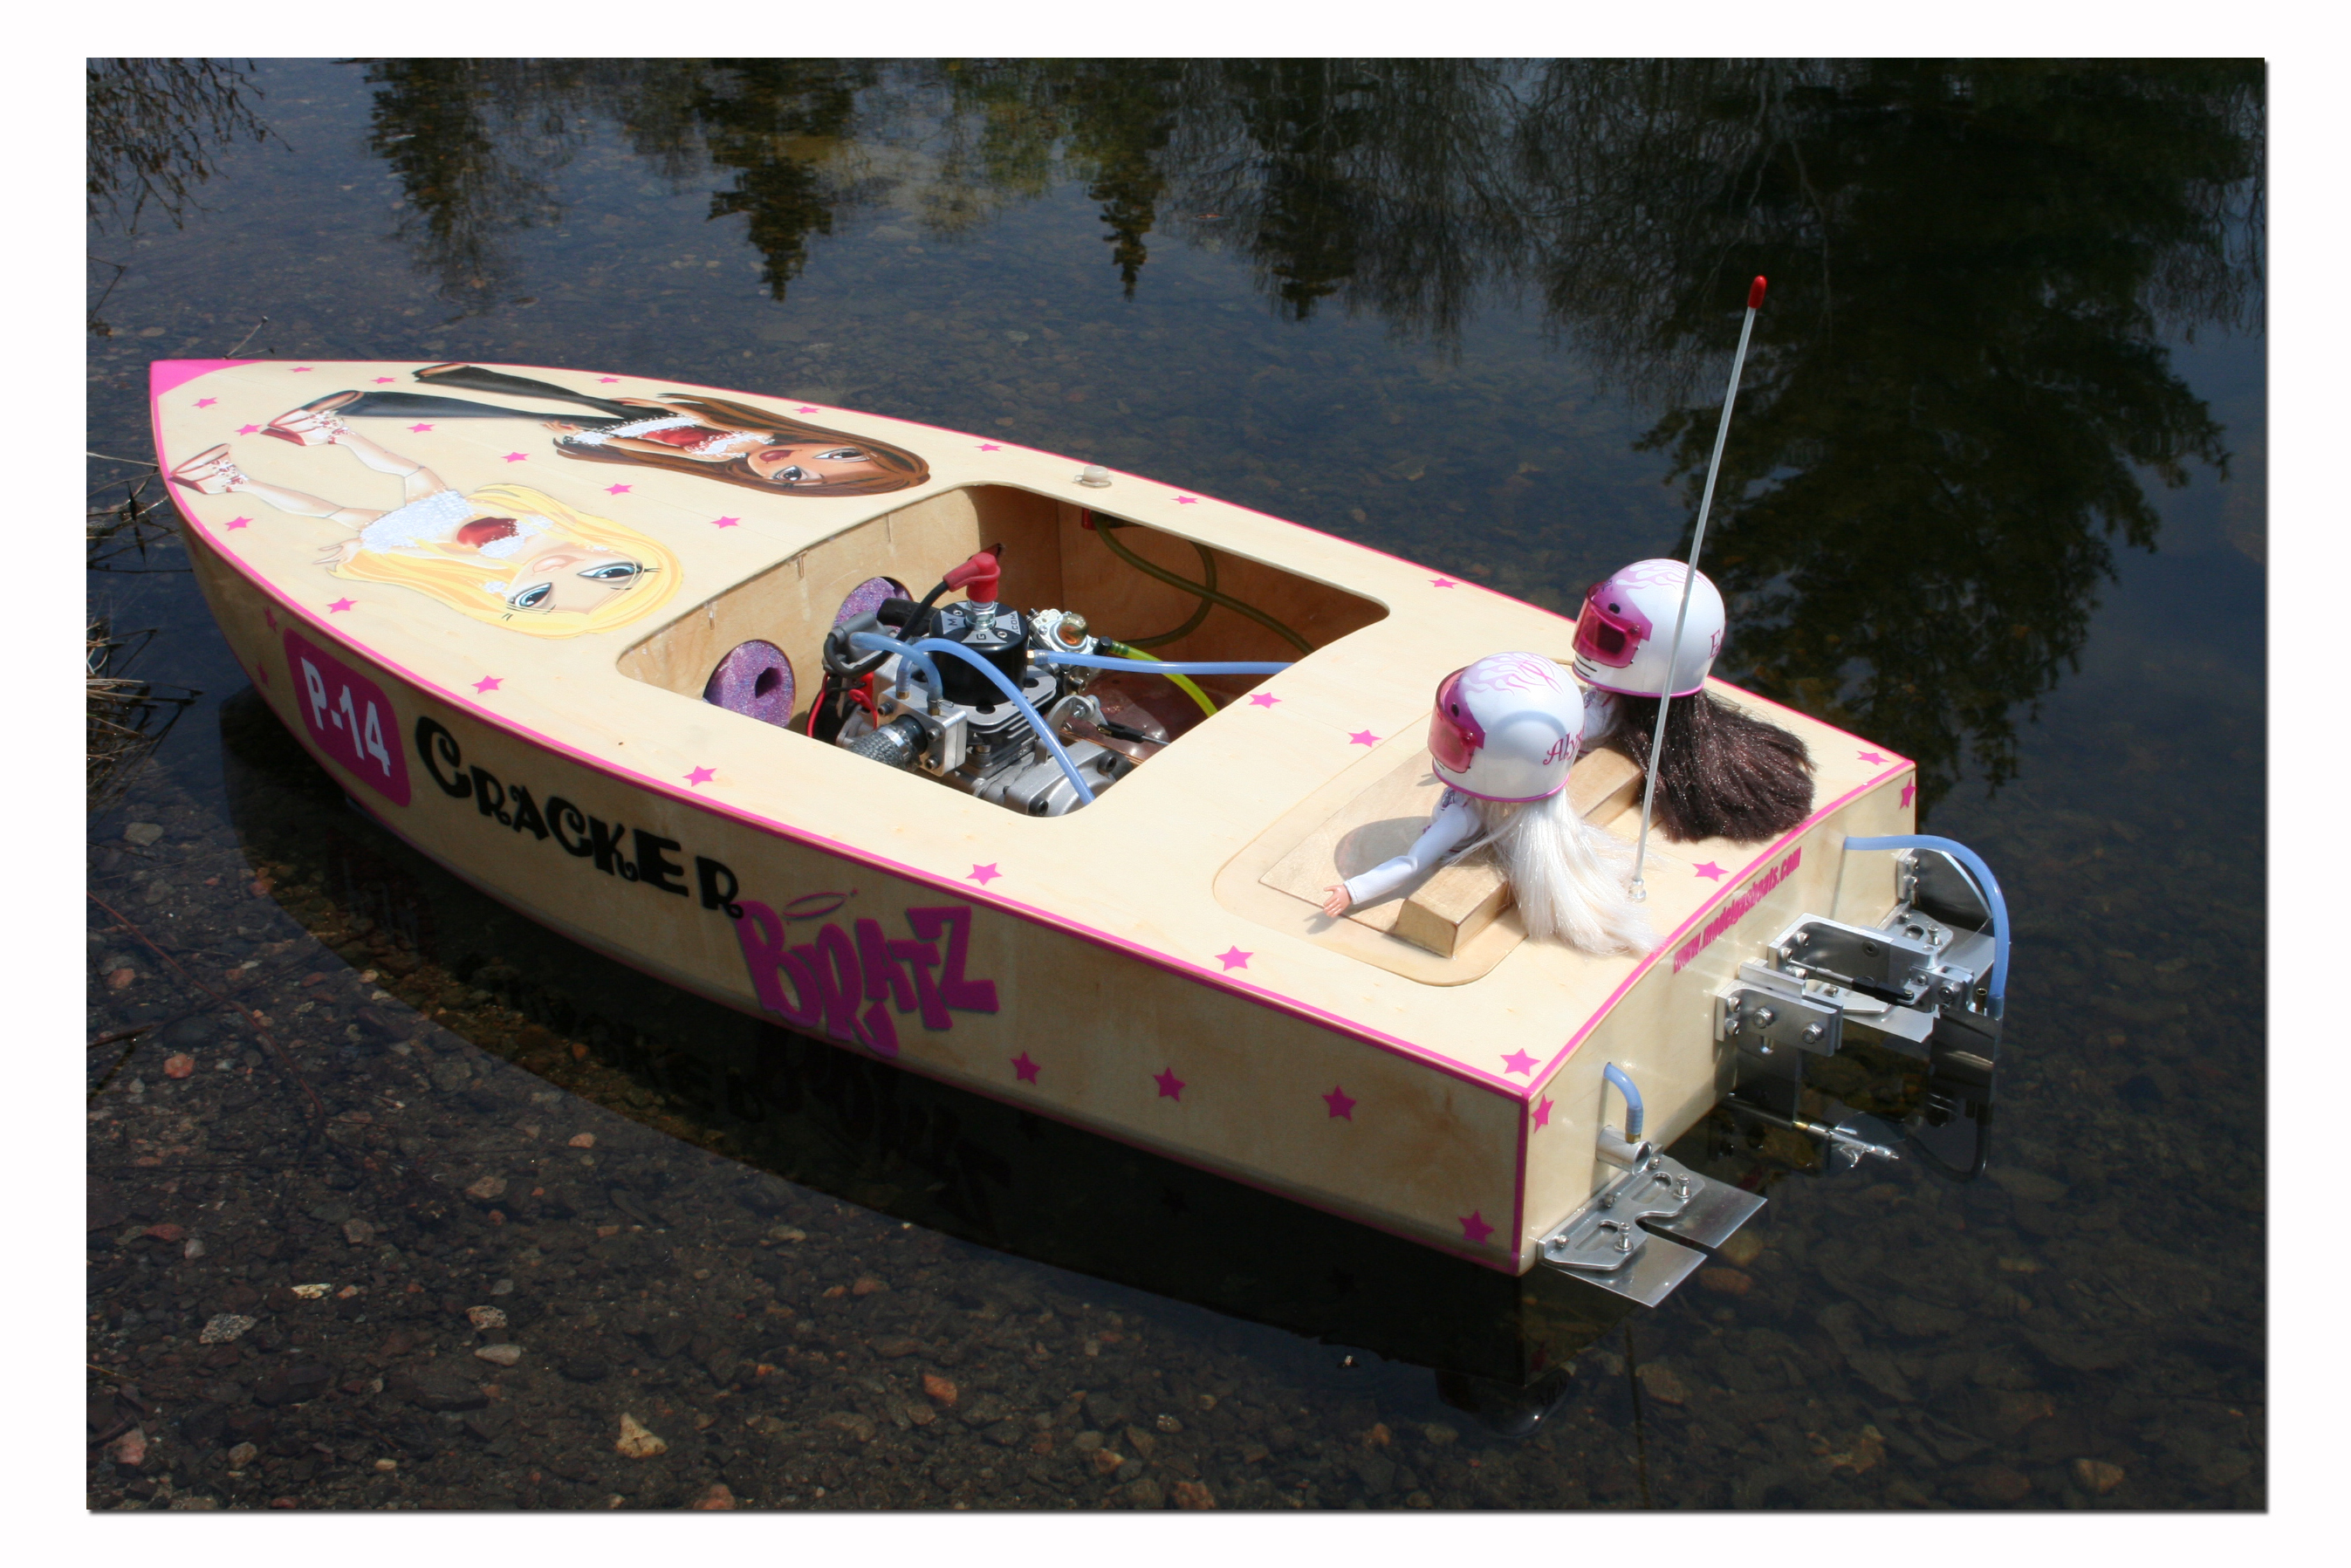
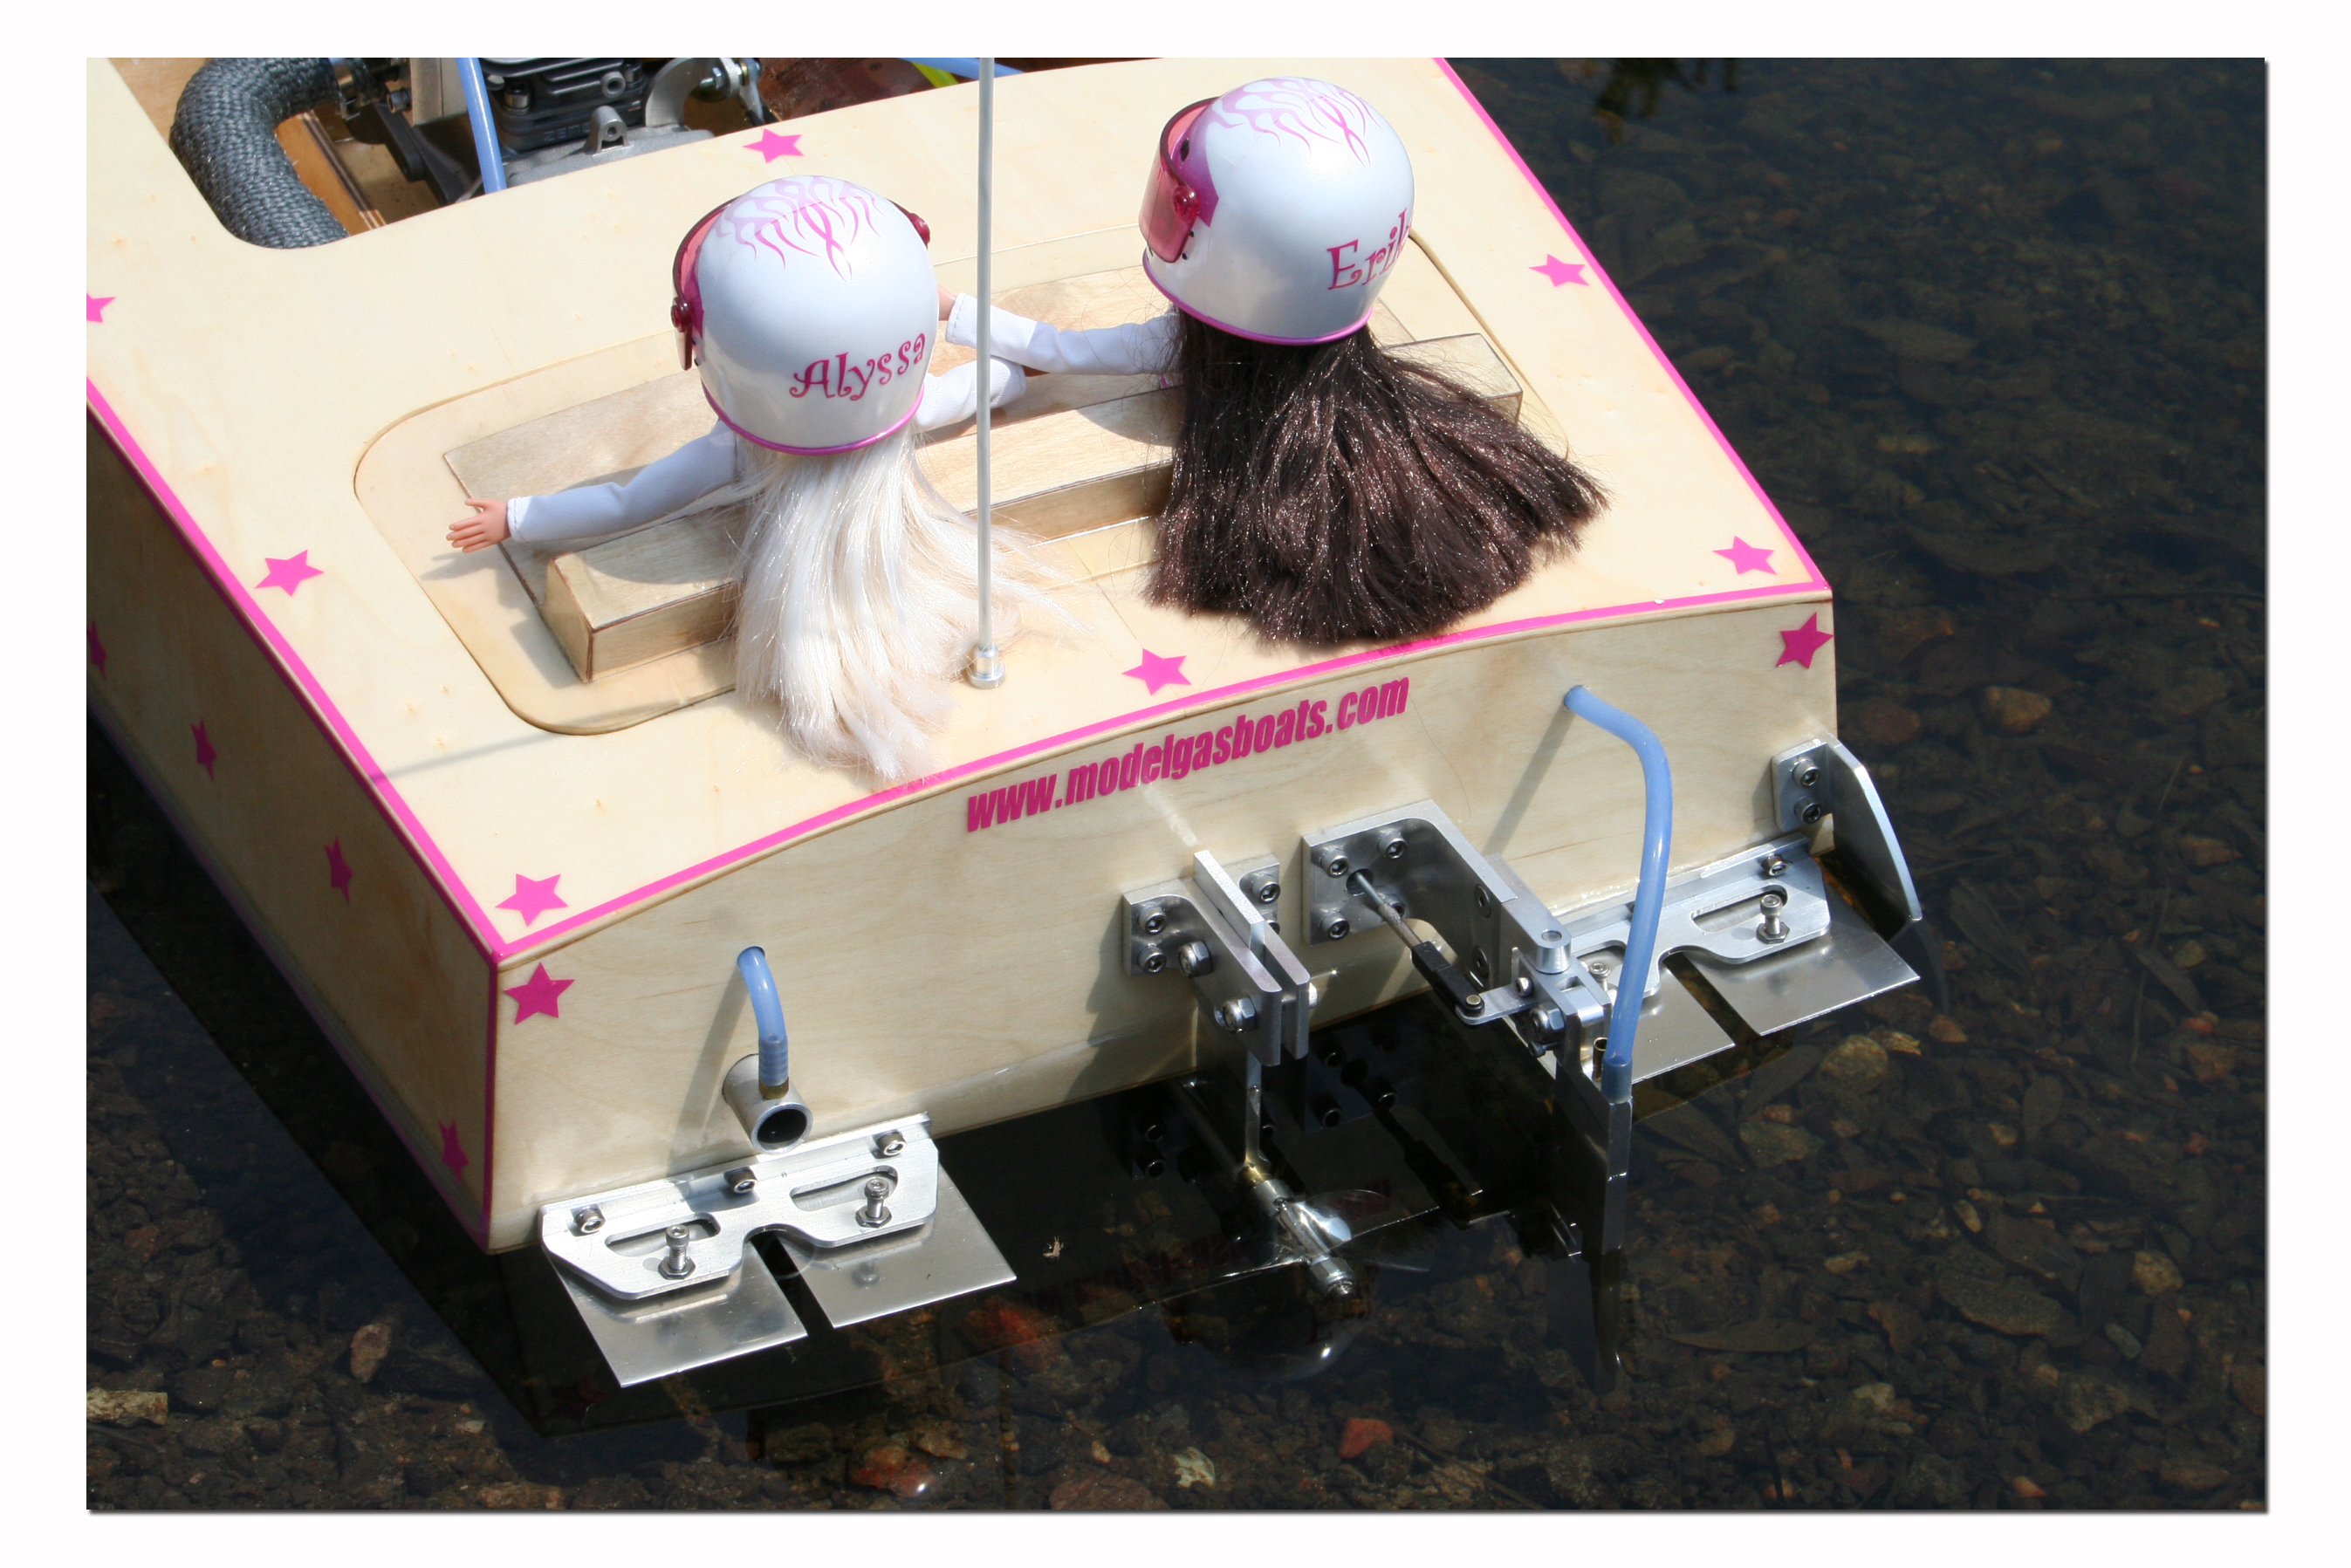
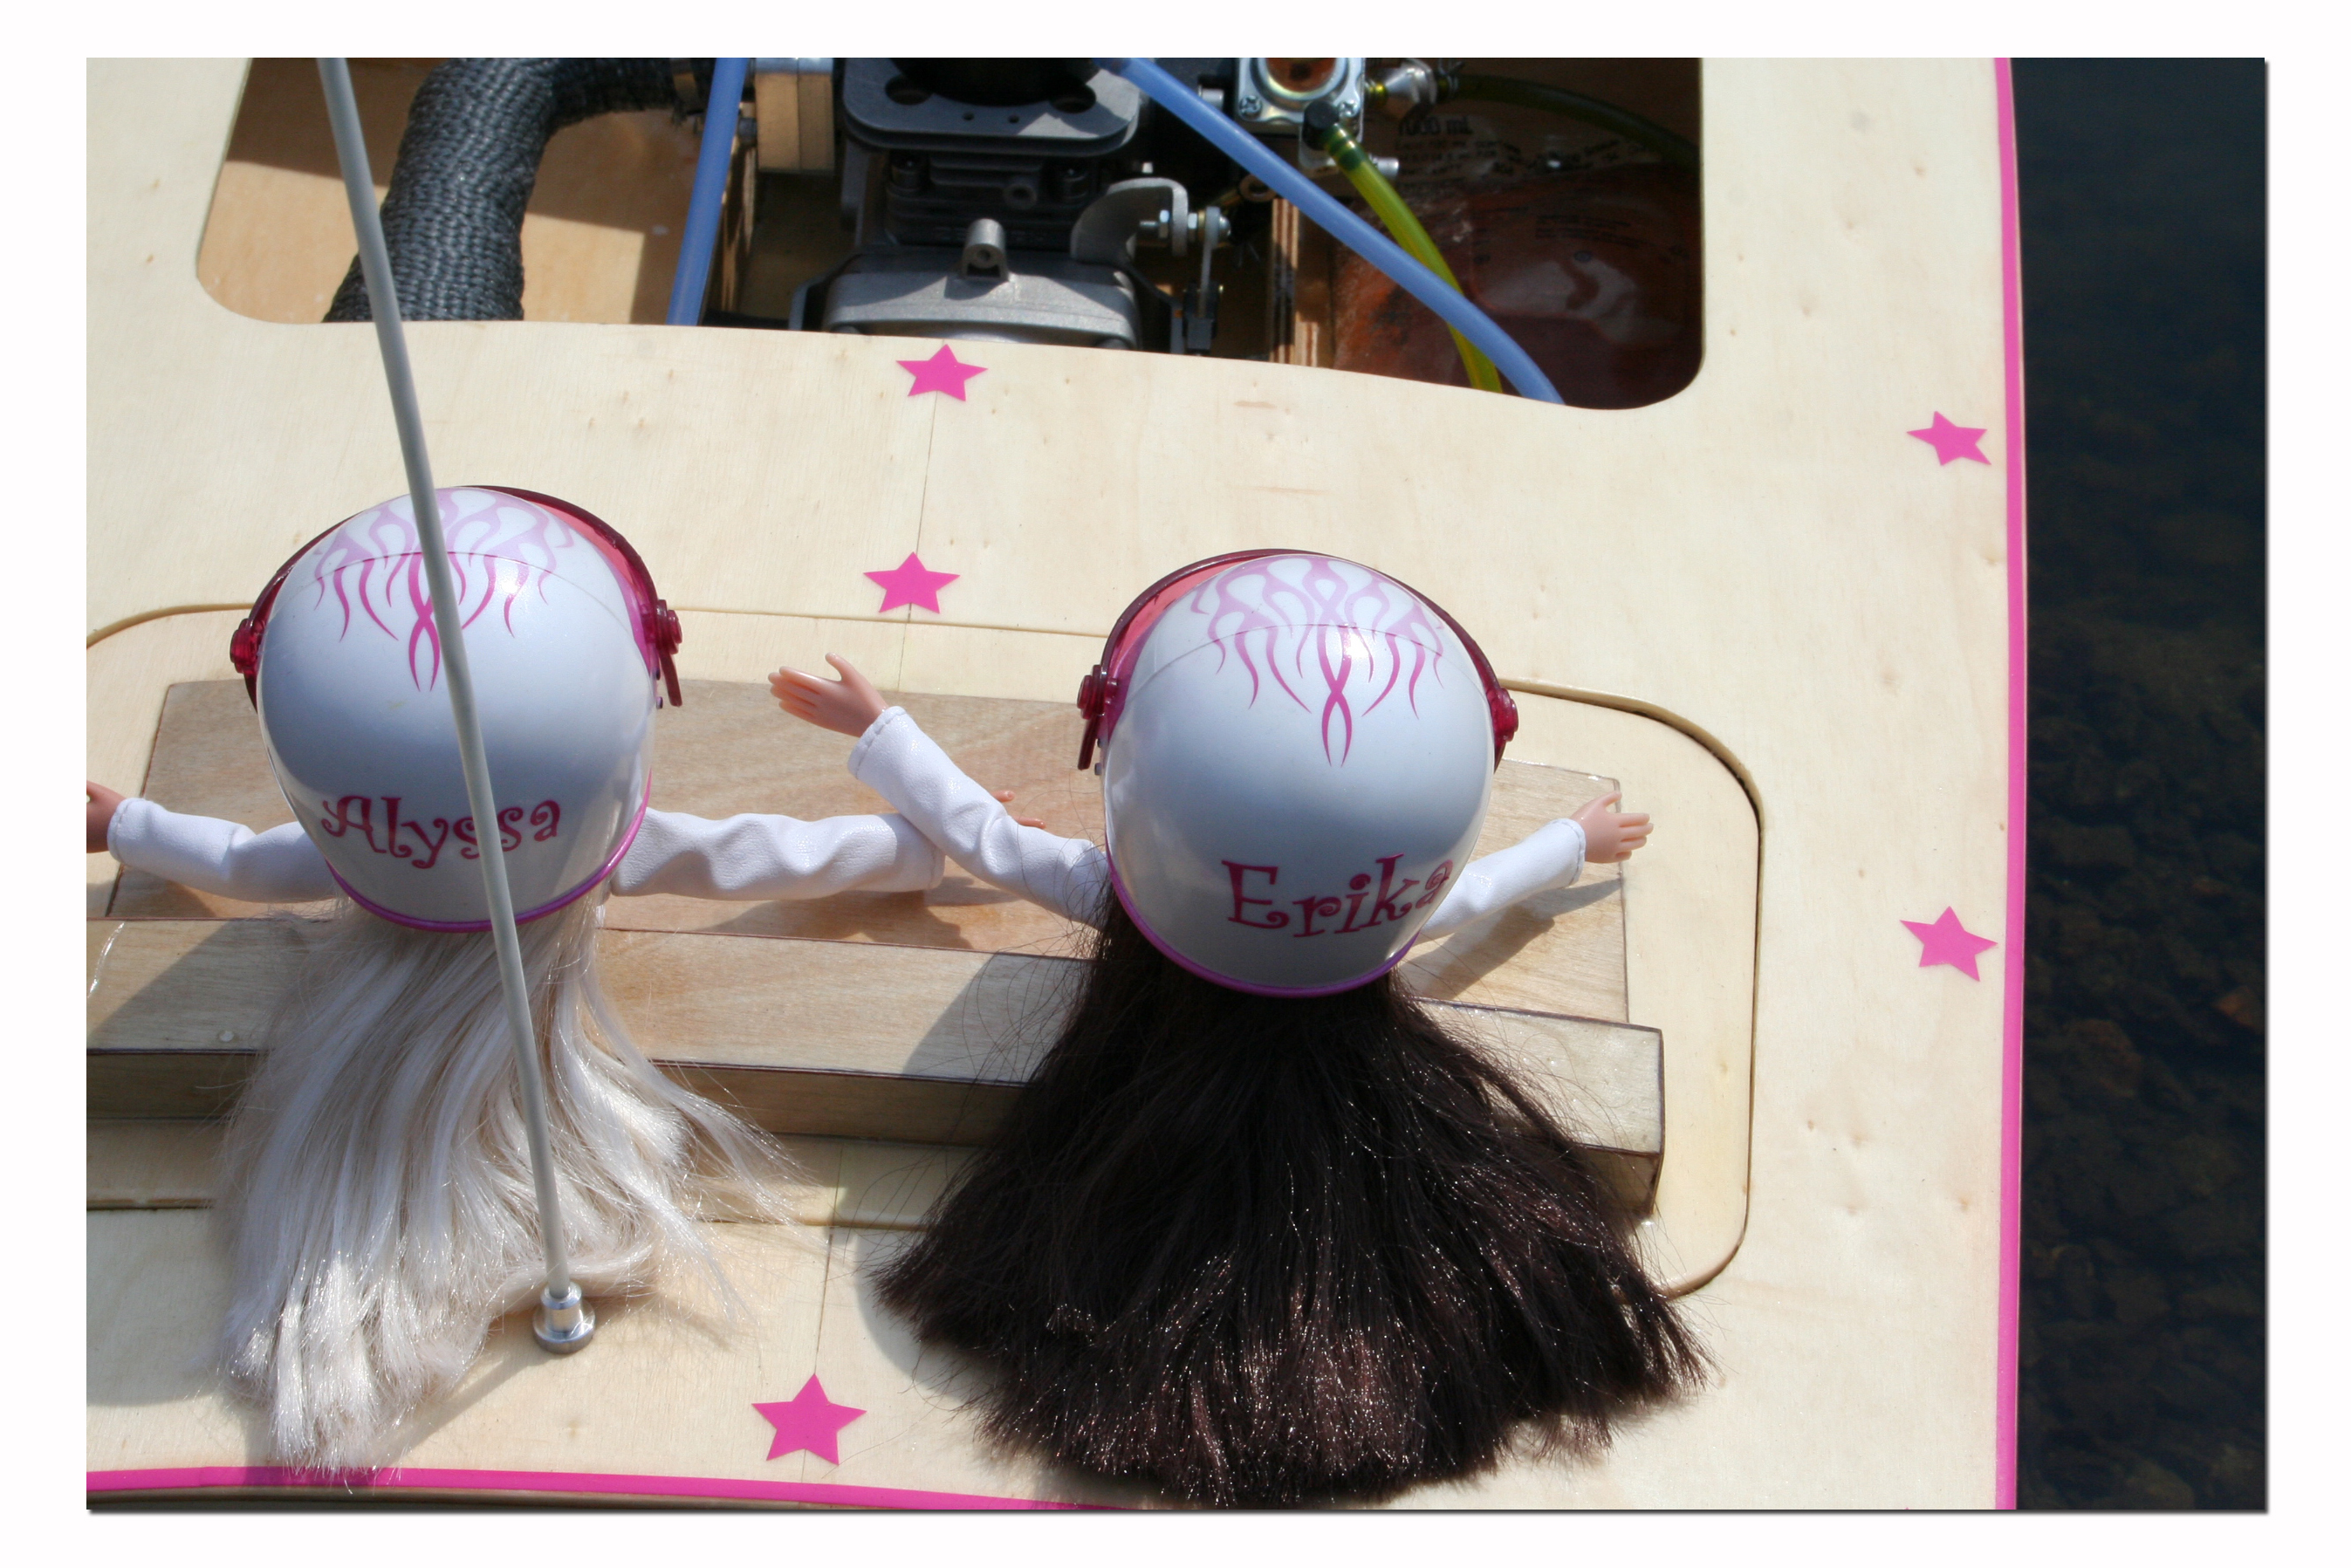
...and a couple a pictures with the proud owners!
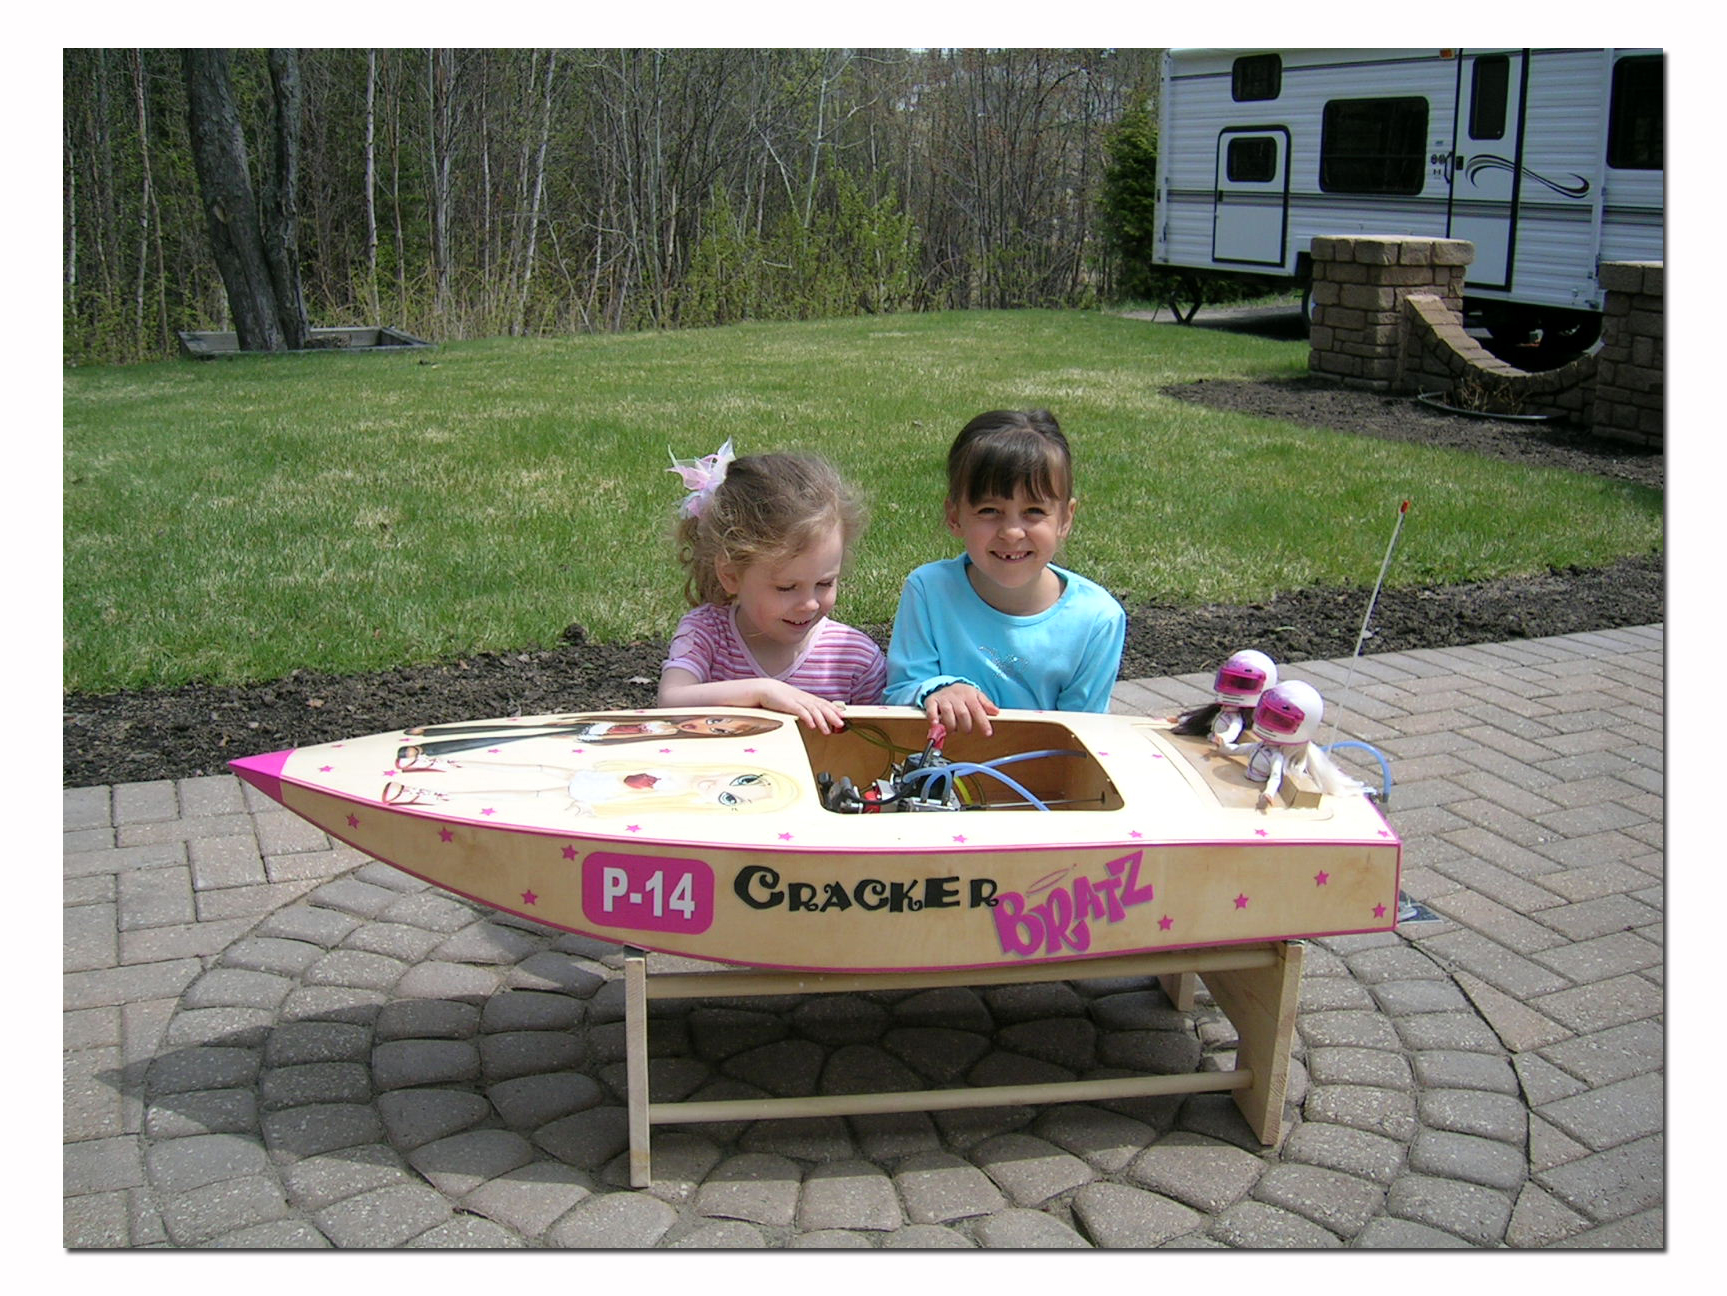
At this time I have only run the I-Box a couple of times and do not really have enough experience with it to give a good honest opinion on performance. I have been running the boat without a muffler (water injected stinger only) and no water pump. I also ordered a custom prop for it from Bob Austin at the Propworks . When all the parts come in and I have more run time on the boat I will report back. This will therefor be a two part review. Look forward to an update on performance in Issue 21 of Modelgasboats.com!
I can say nonetheless that I am already very happy with the way the boat looks and runs. The building of the boat was about as easy as it can be. All parts went together nicely and the finished product looks great!
I think this is definitely a good kit to consider if you are interested in buiding your own crackerbox! If you consider the price, quality and ease of building it is hard to beat!
Price of kit reviewed: $81.00 USD plus shipping. (confirm pricing with Zippkits)
Happy building!
Contact Information:
Zipp Manufacturing
Joe Petro
Website: www.zippkits.com
Email: This email address is being protected from spambots. You need JavaScript enabled to view it.
Kit Price: $81.00 USD (subject to change)
Click here to read Part 2 of this Review

