×
Pictures, videos, questions and/or comments about MGB products. Share your builds and feedback.
MGB Universal CAT/TUNNEL Stand - Assembly Instructions
marc created the topic: MGB Universal CAT/TUNNEL Stand - Assembly Instructions
If you wish to purchase a stand, see
THIS POST
for information.
I recommend gluing all parts together as you assemble, with medium CA (or even better, epoxy) and sealing your stand with epoxy or clearcoat.
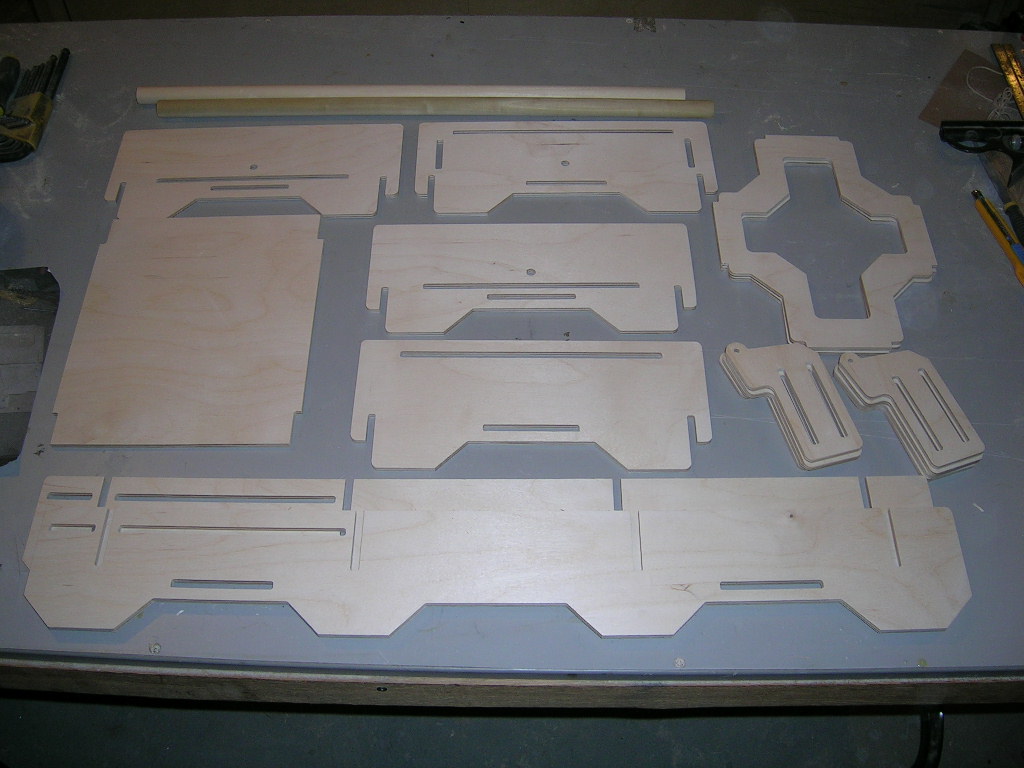
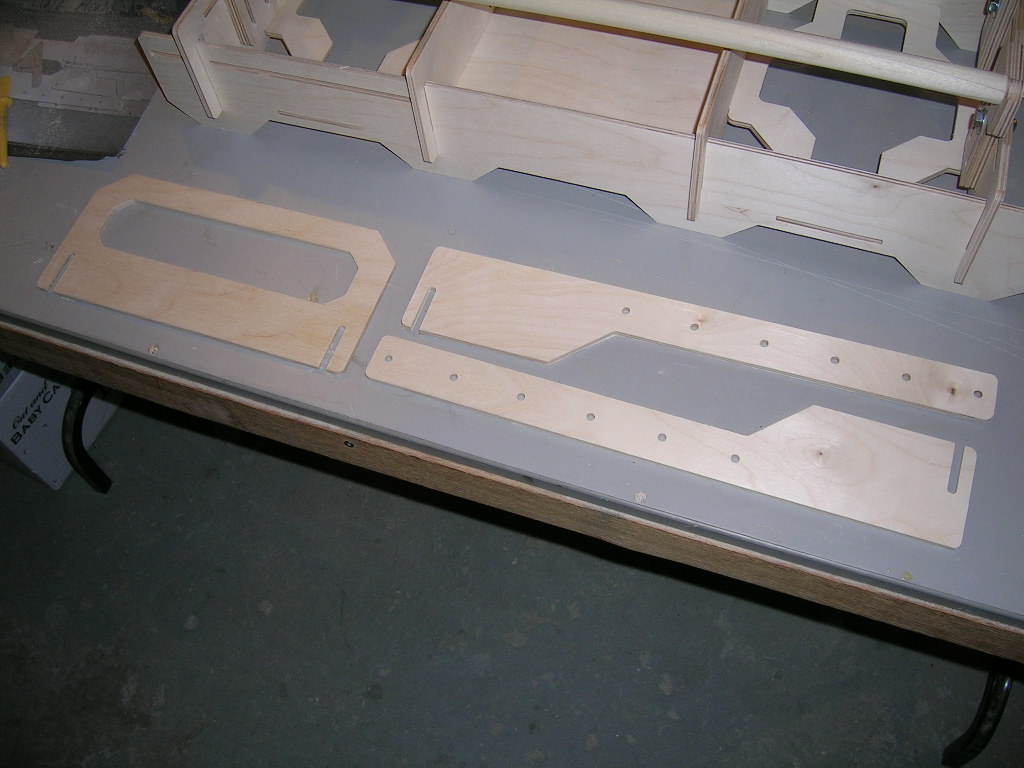
The Parts...
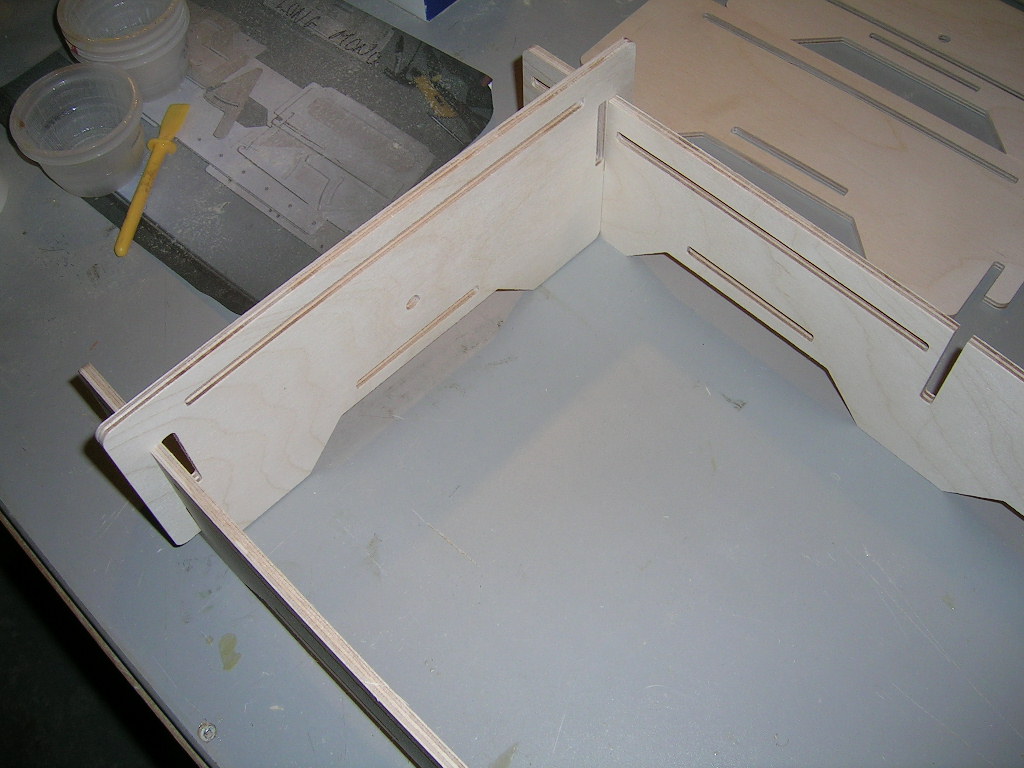
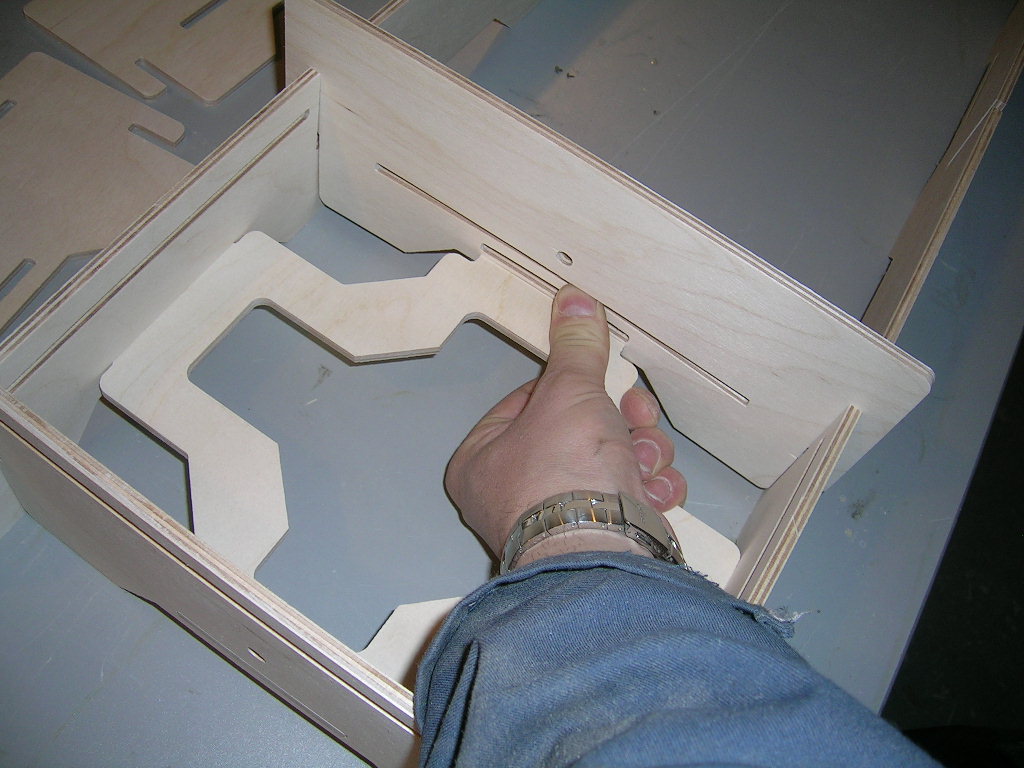
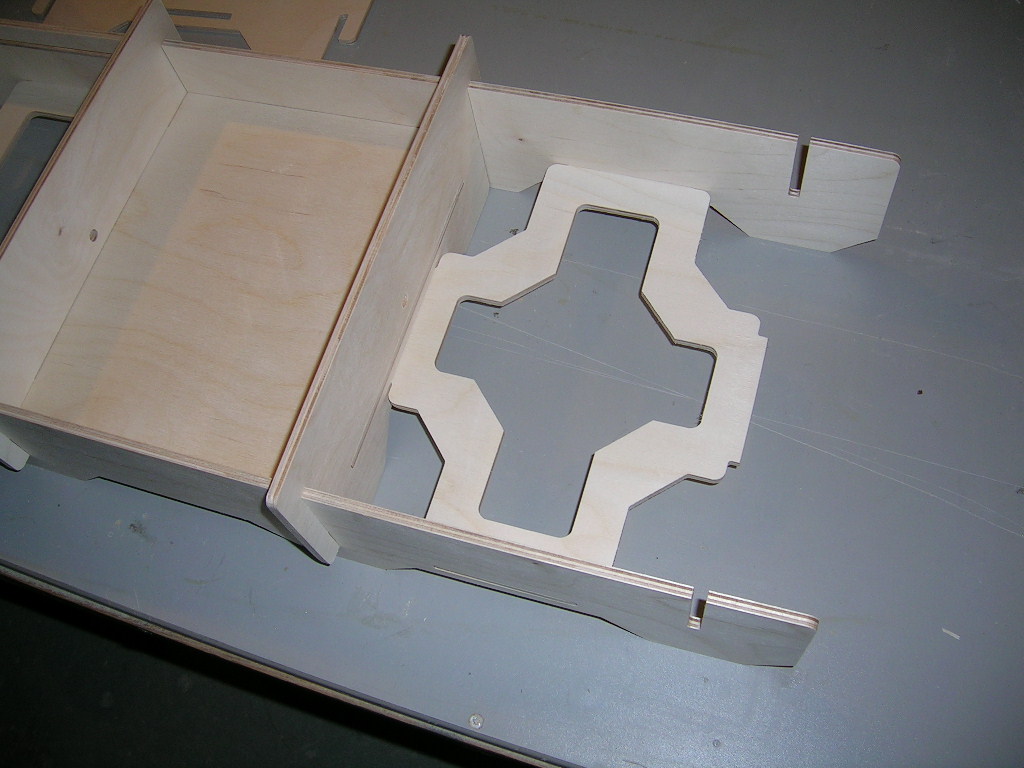
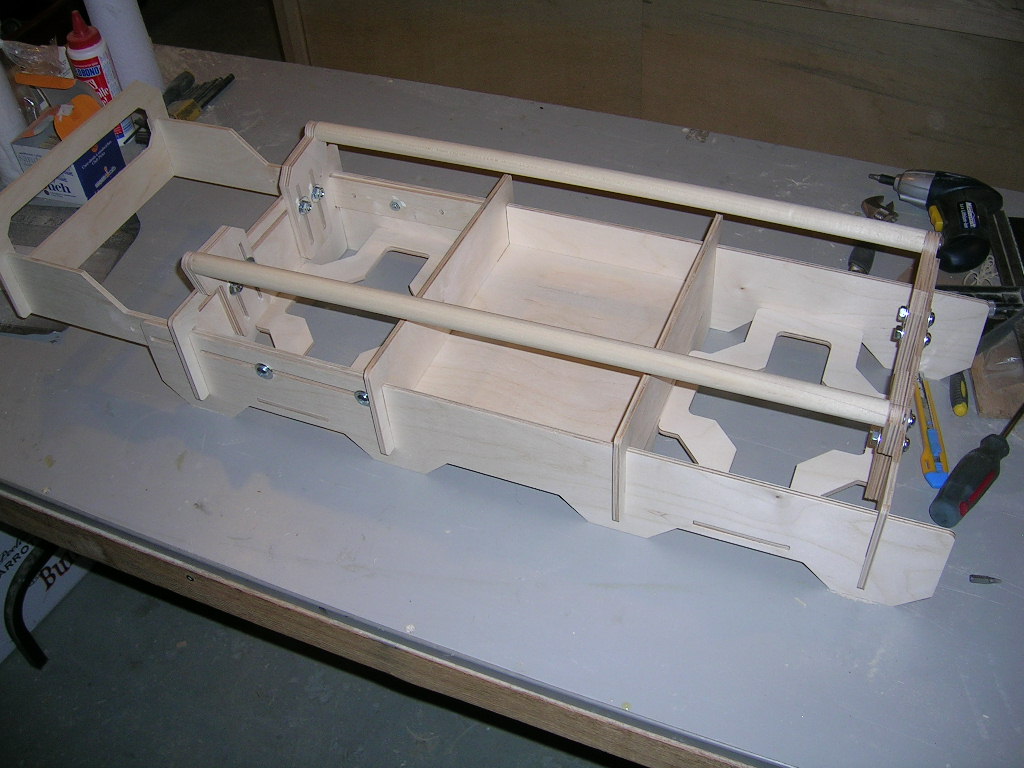
Install the rear brace (brace 1) between the two side rails then install the cross brace as shown. The rear brace is the one with two small 1.5" long vertical slots in it for the propguard. Keep side rails spread a little to get the cross-brace in.
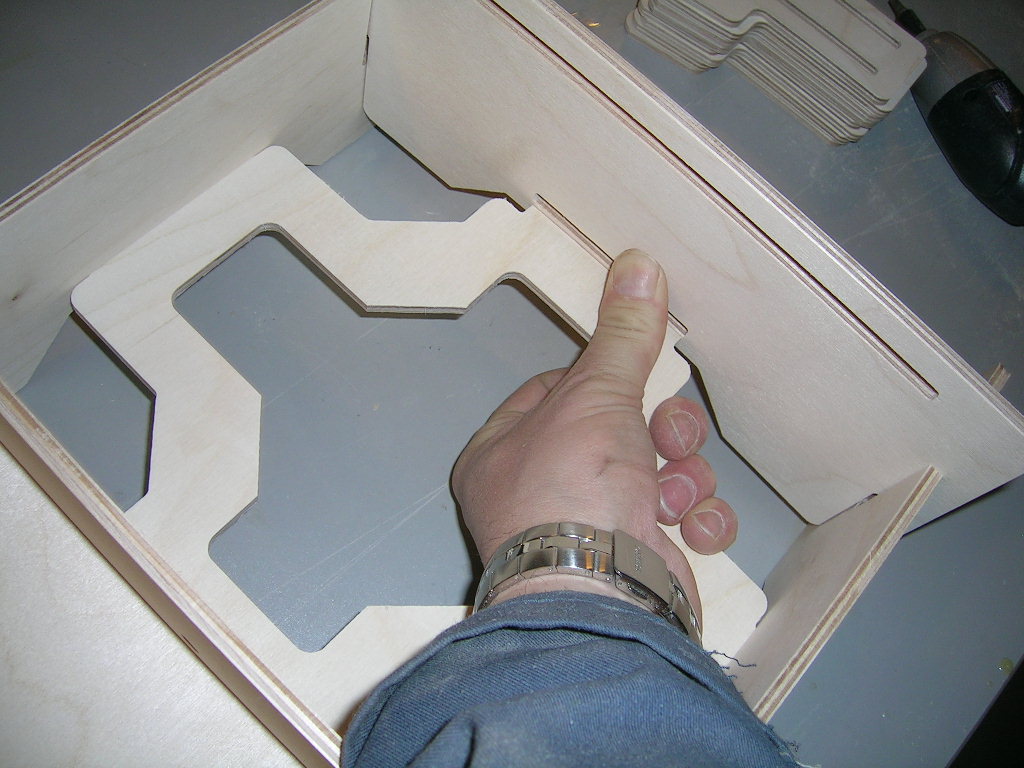
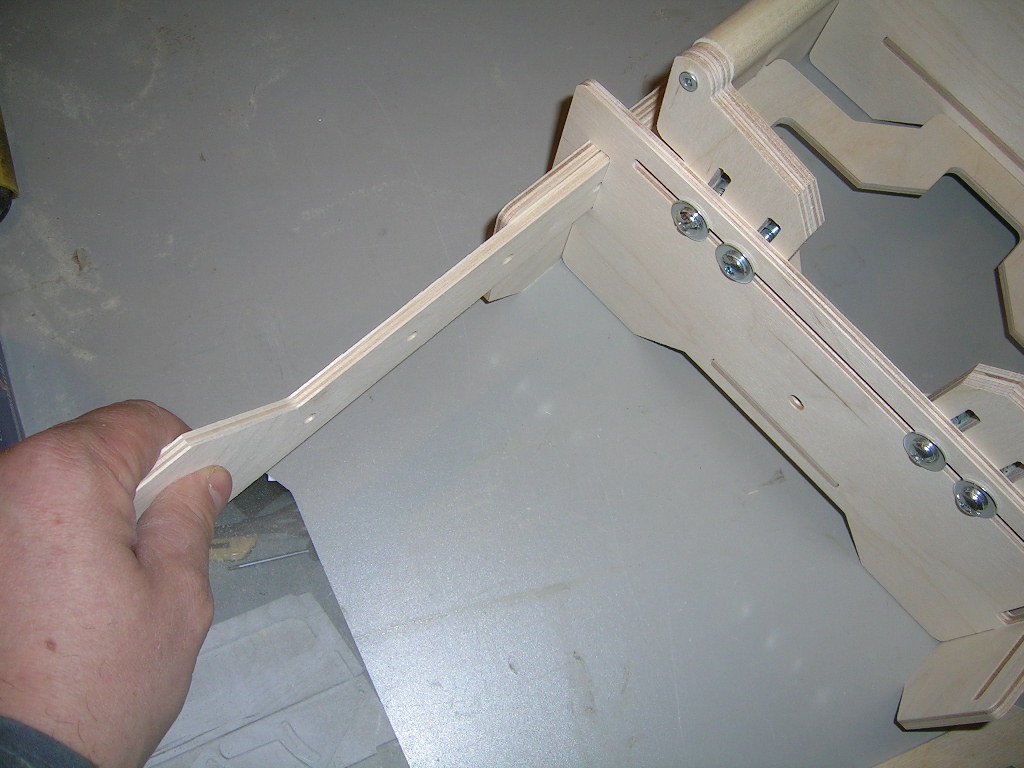
Install the second brace (brace 2 and brace 3 are the same)... this one will be more difficult to get in. You have to insert it into the slots in the side rails and while doing so, lightly pry the bottom a little bit to let the cross-brace into the slot in this brace. Take your time, it works. Just don't overdo it and break the pieces. I've assembled several stands without breaking a single one.
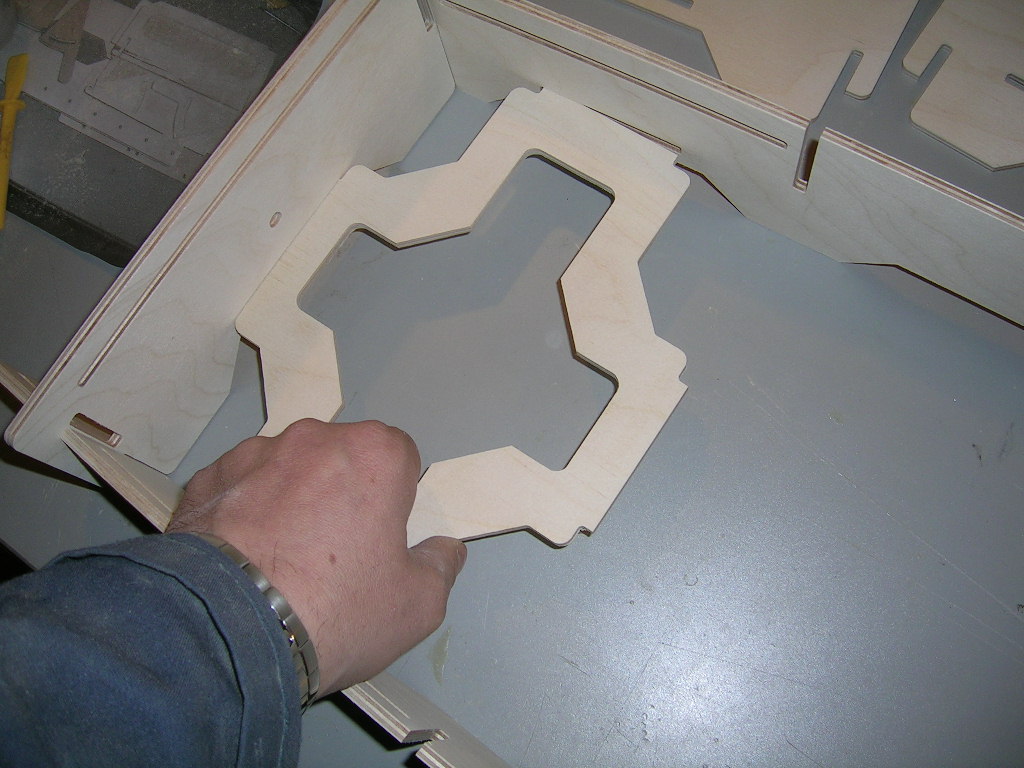
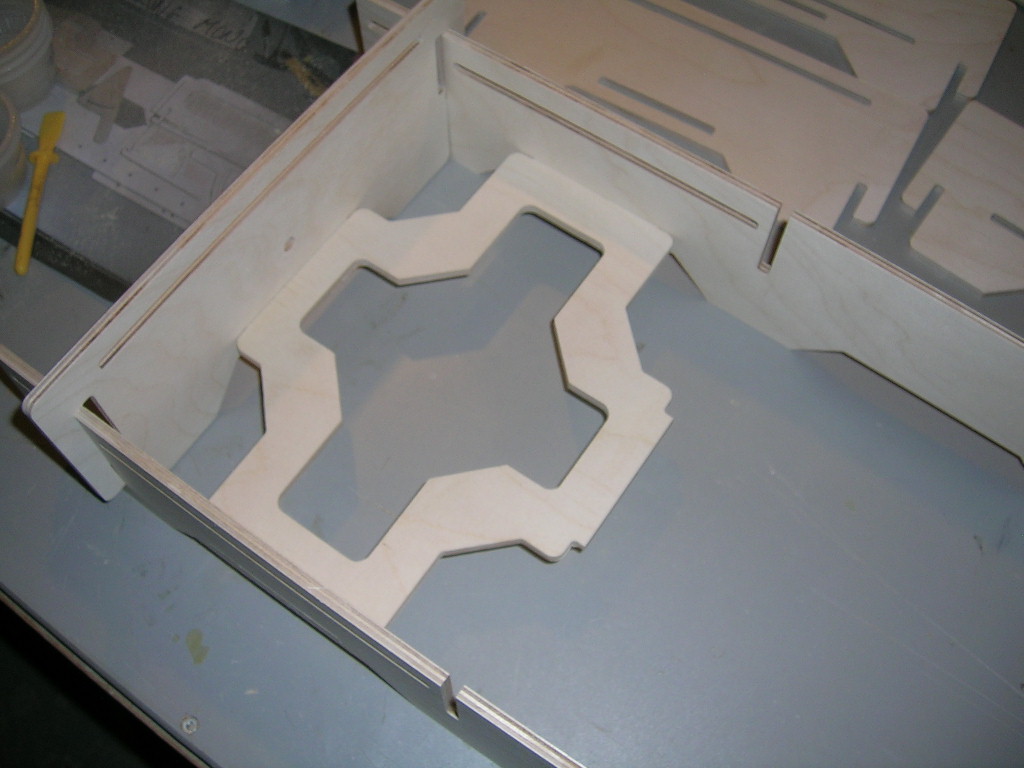
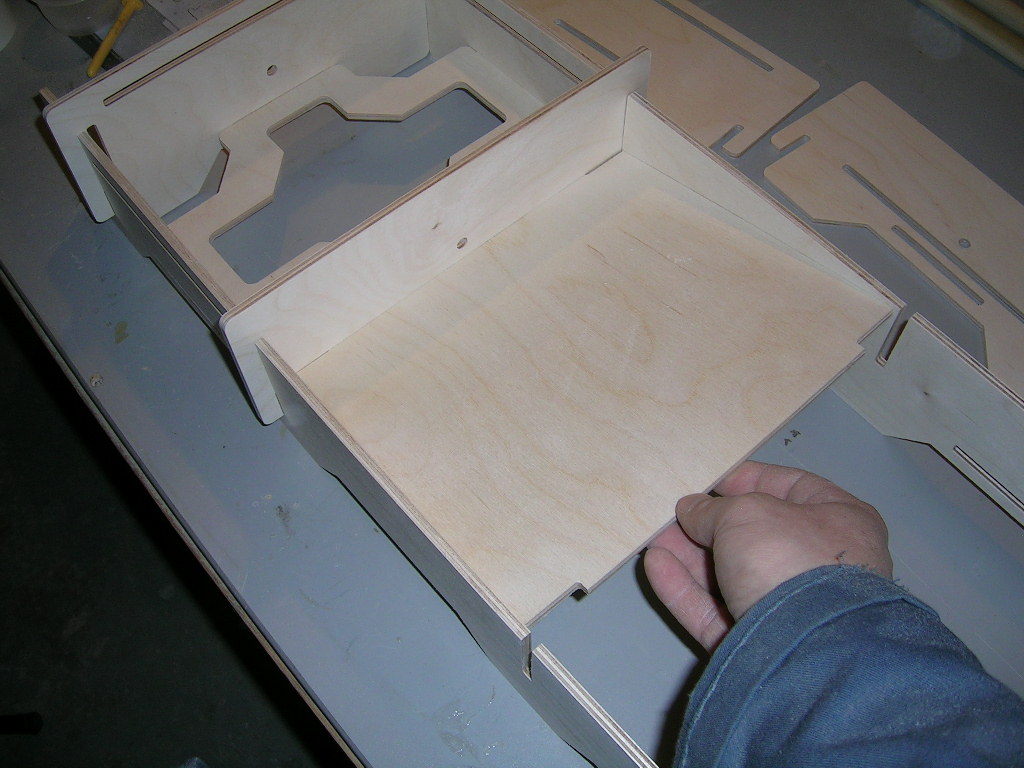
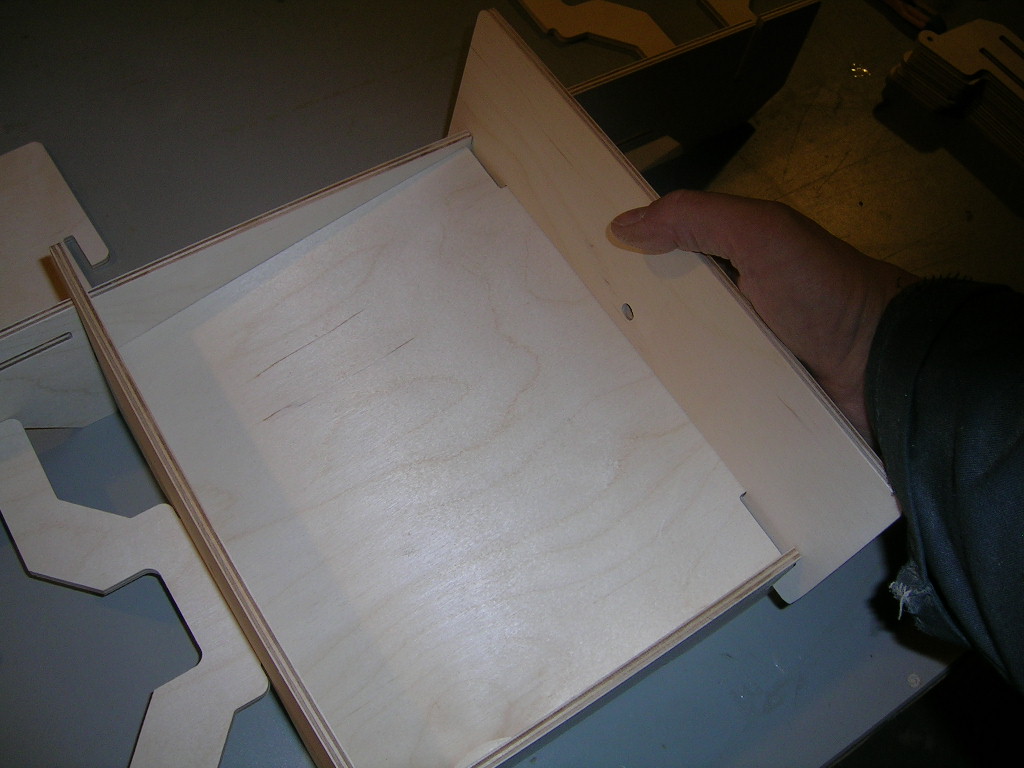
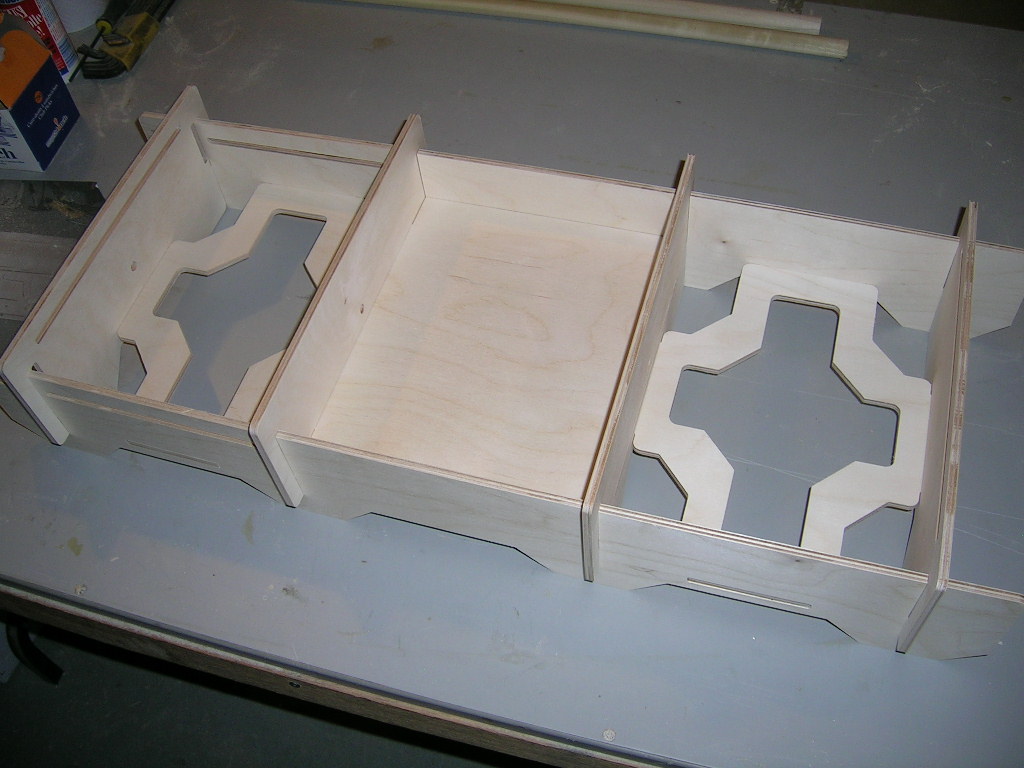
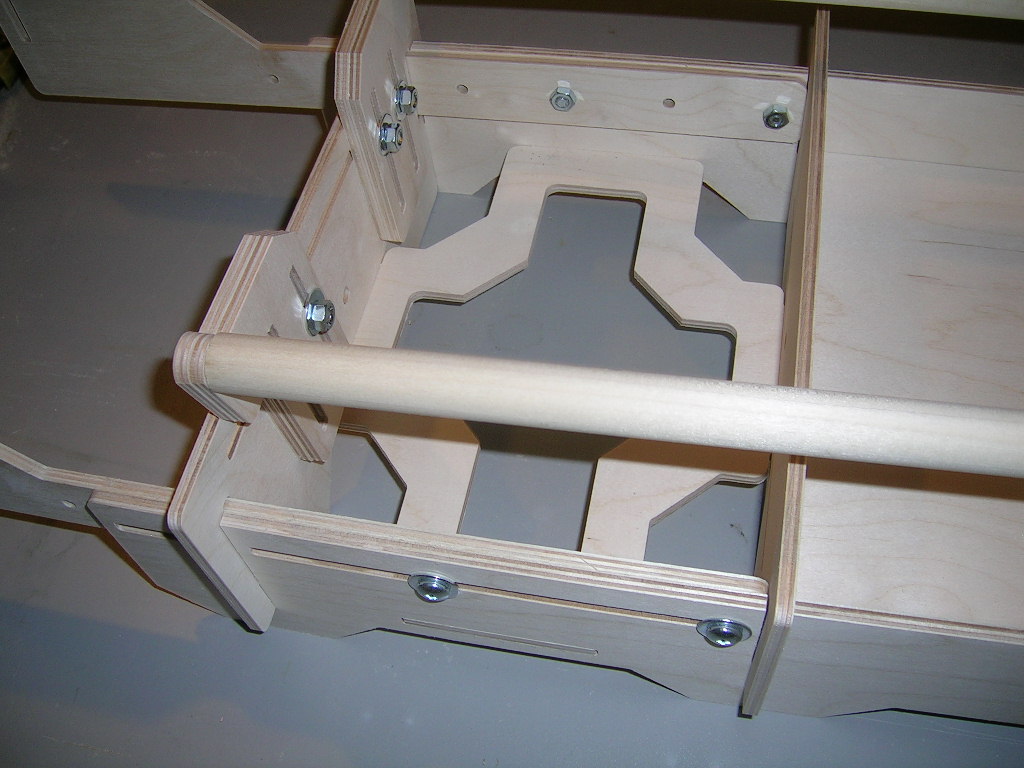
Now install the center compartment bottom and the third brace. These pieces are easy to put in. Put one end of the bottom piece into the slot of brace 2 and then holding the other end up insert it into brace 3 and slide them down into place at the same time.
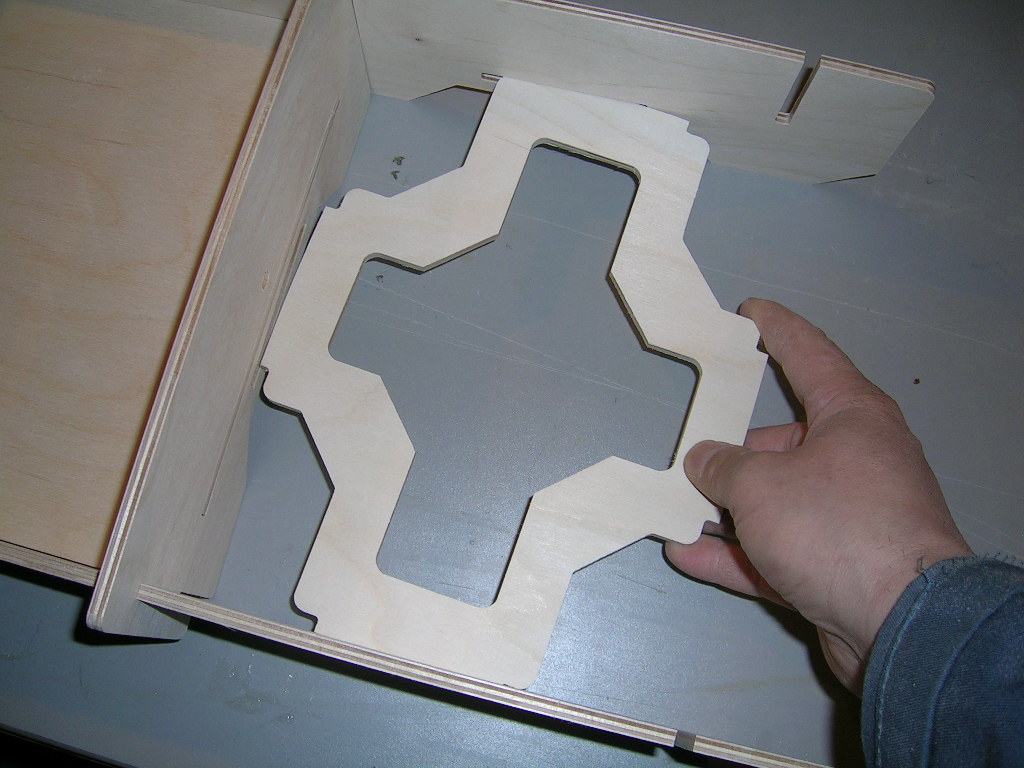
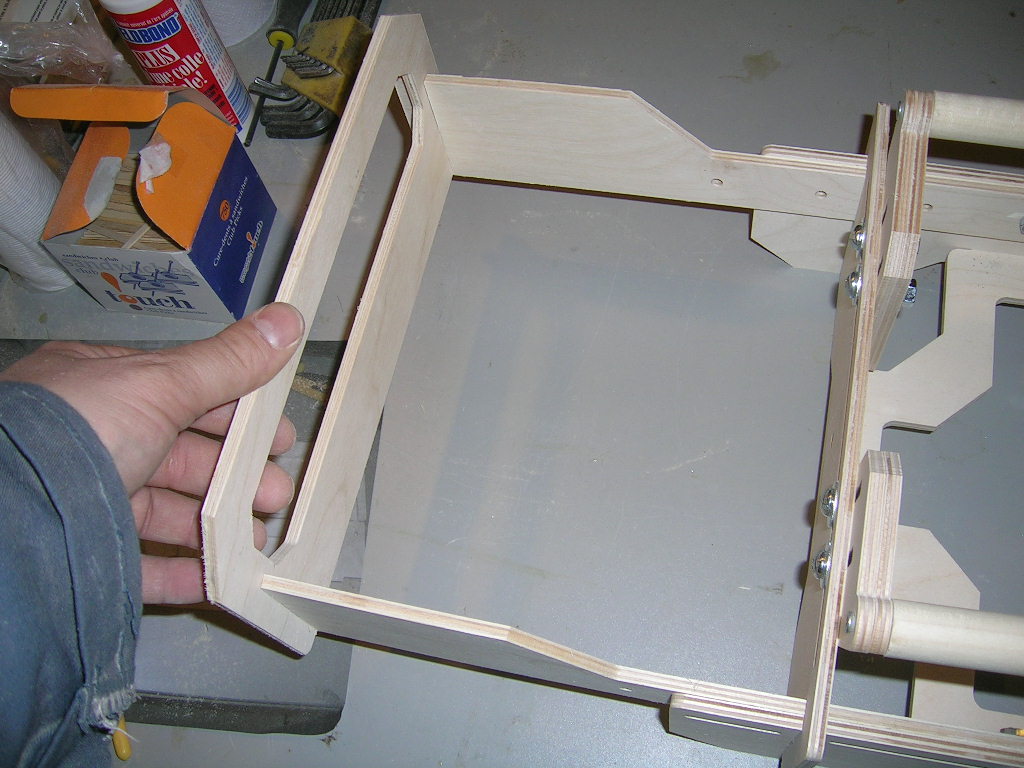
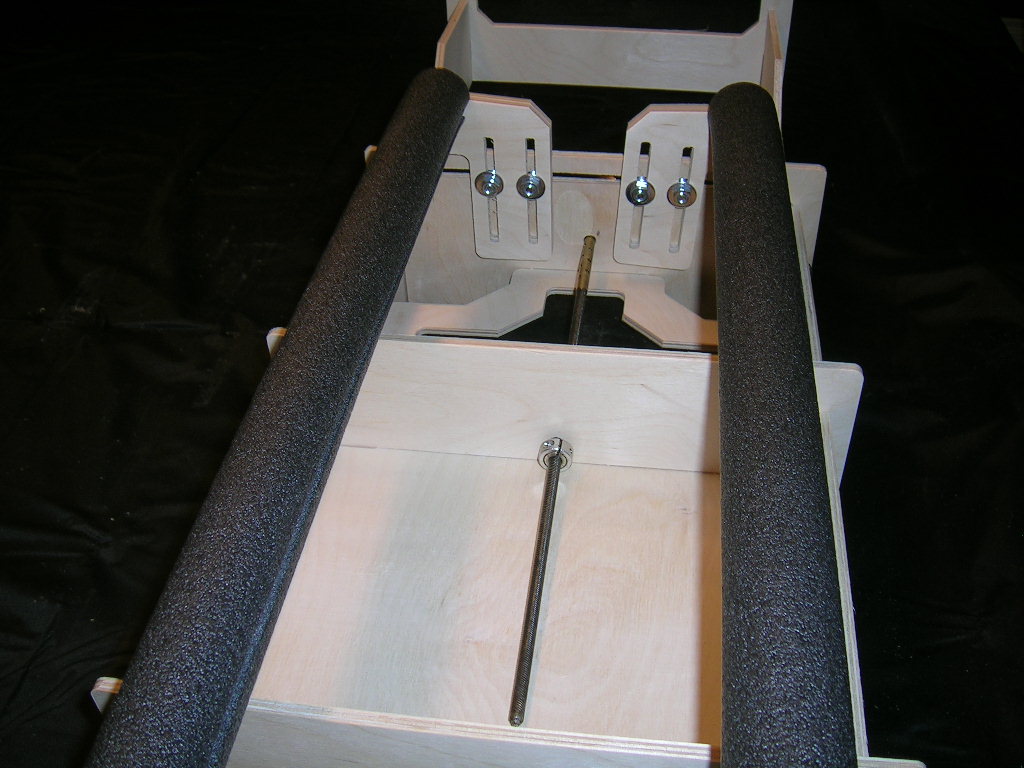
Now install the front cross-brace. You have to spread the sides a little bit to get this brace in as can be seen in the pics.
Finish by installing the front brace (brace 4). Again you will have to pry the bottom a little bit to get the cross-brace into the slot of brace 4 as you slide it down onto the sides.
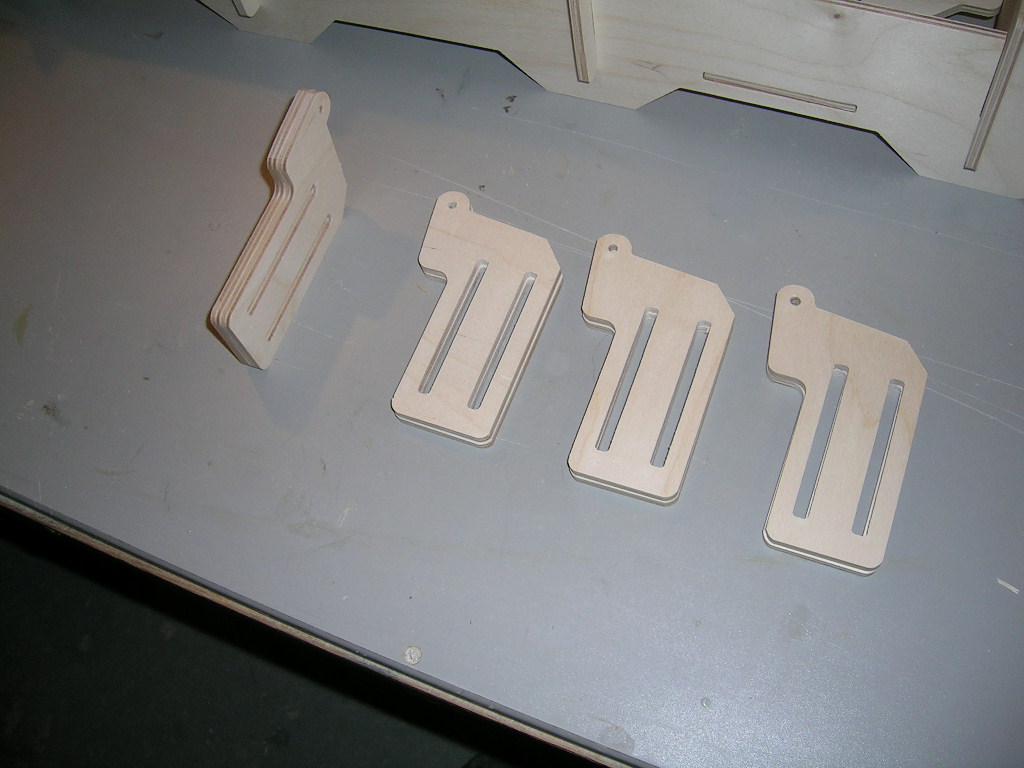
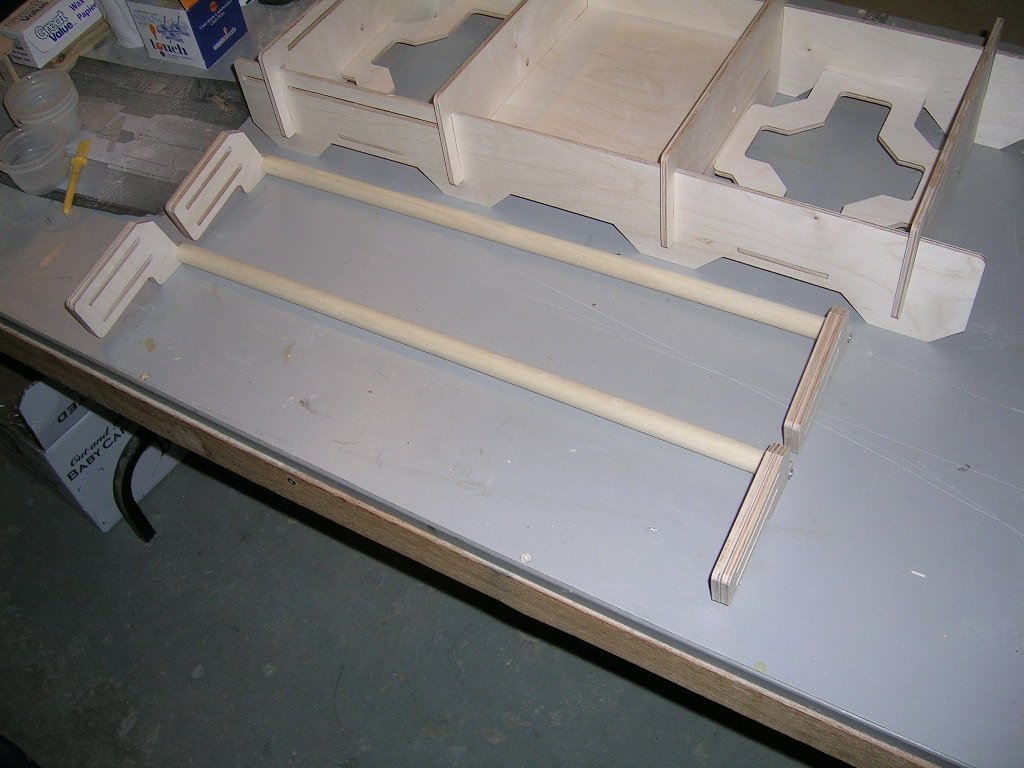
There are 8 hull supports supplied with the kit. Hardware is supplied to install them "doubled up". Glue them together in pairs...this makes them stronger. Once all paired up, screw one to each end of the supplied dowels.
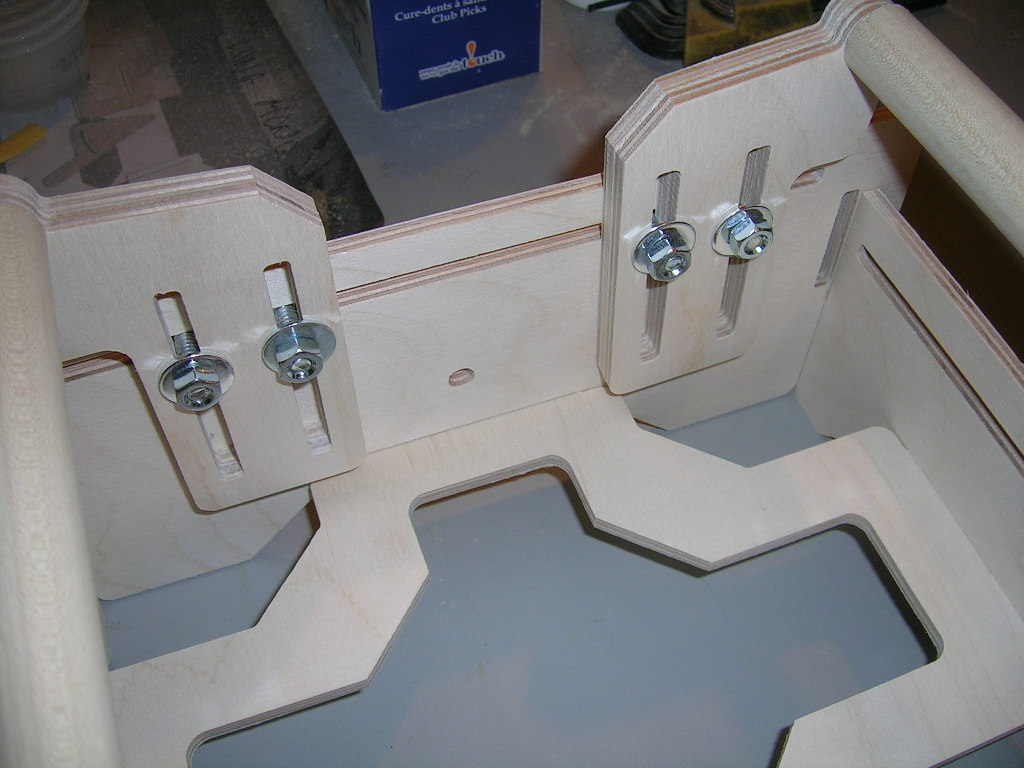
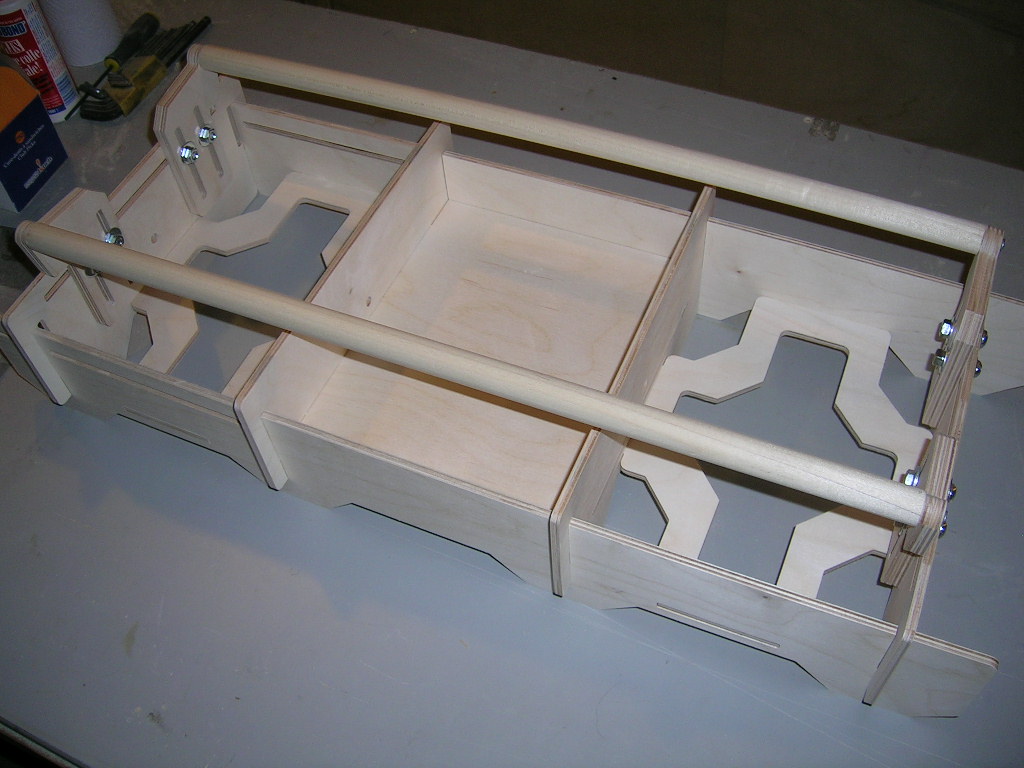
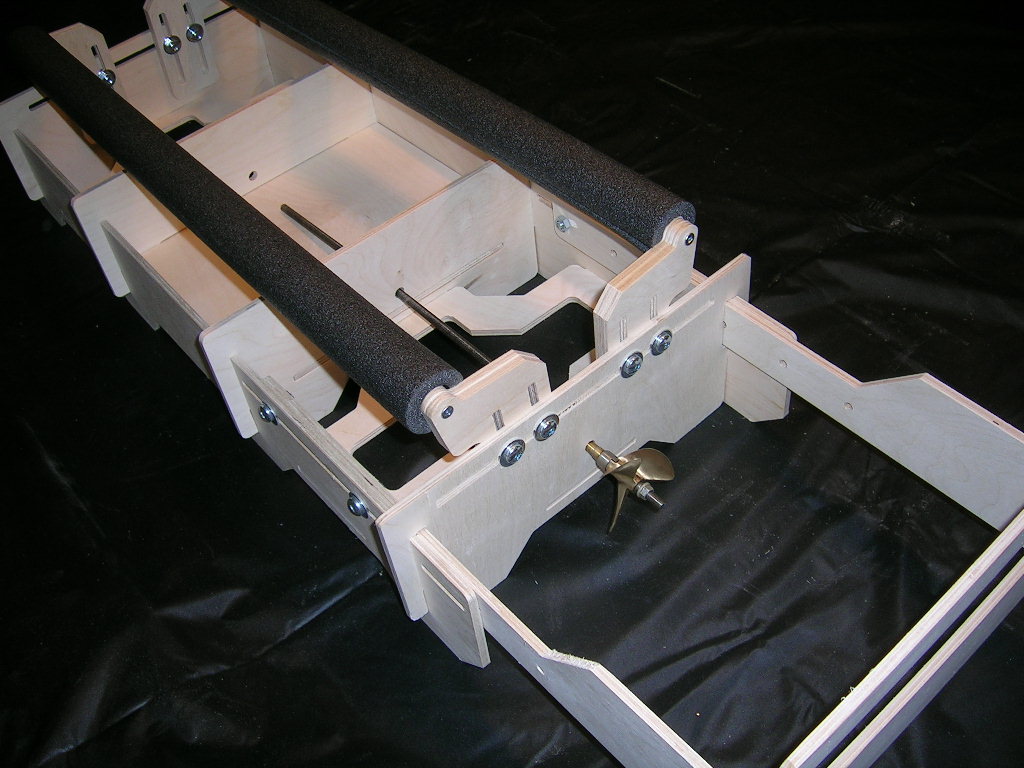
Now mount the hull supports to the stand using the included nuts/bolts/washers. (Note: if your have 4 shorter bolts in your kit, these are for the propguard)
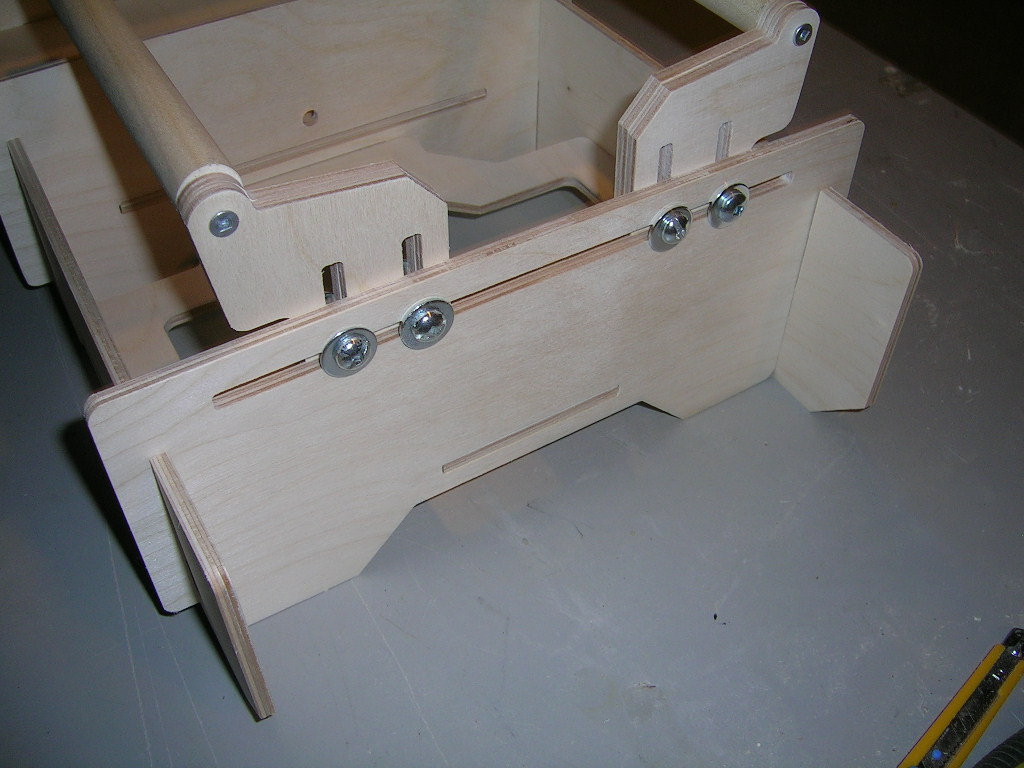
The propguard consists of two sides and a backplate. The two sides go into the slots in the back brace (brace 1) of the stand and bolt through the side slots as seen in the pictures below. The backplate simply fits into the slots at the back of the side pieces.
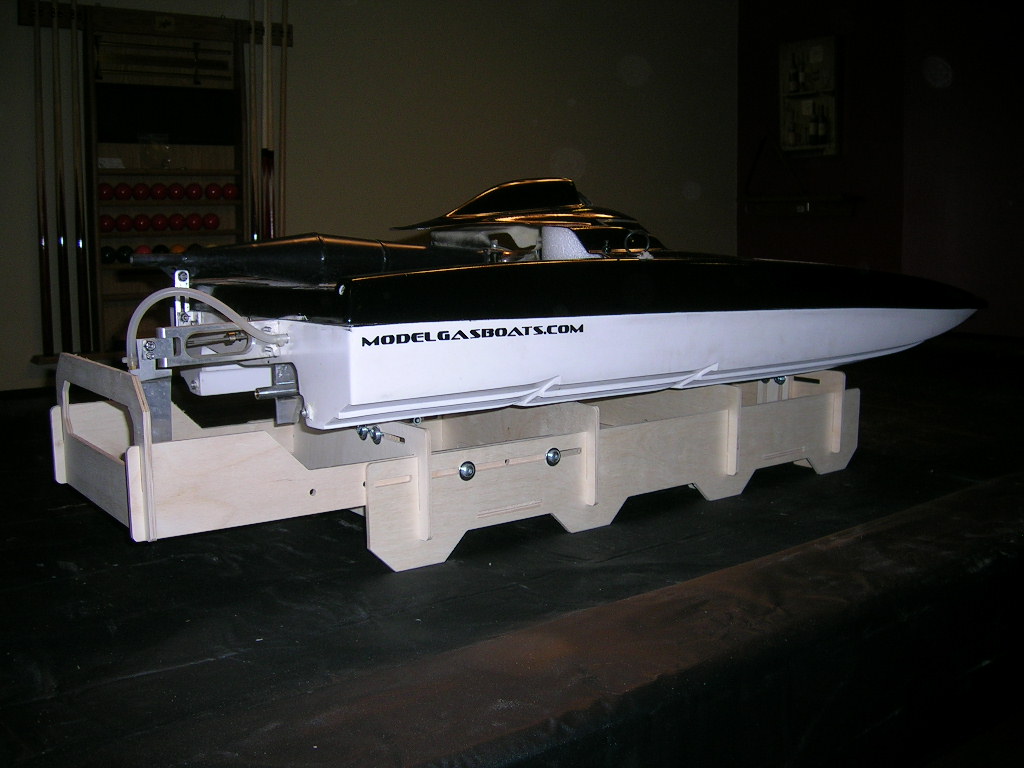
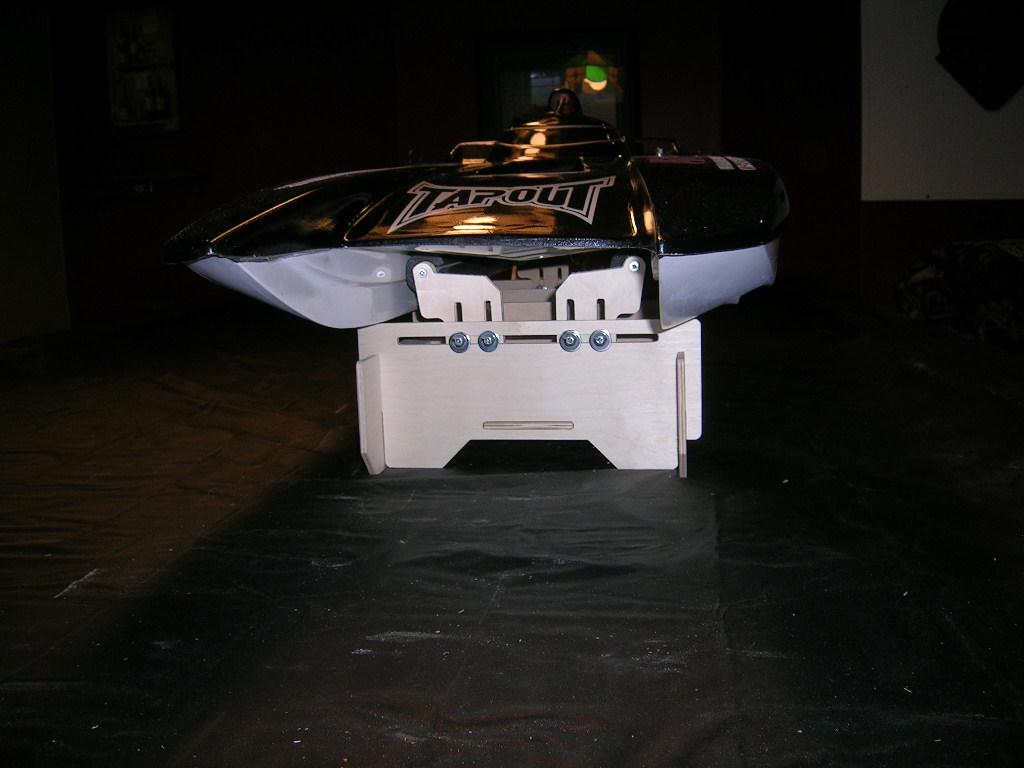
All that's left to do now is install padding to the supports and adjust them to the proper height and width for your hull.
Pictured below is the stand with 1/2" pipe insulation foam on the supports...it works great and is very economical.
"
Last edit: 14 years 10 months ago by marc.
Please Log in or Create an account to join the conversation.
- marc
-
 Topic Author
- Offline
- Posts: 2491
- Karma: 24
- Thank you received: 55
Time to create page: 0.077 seconds

