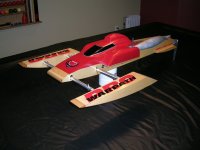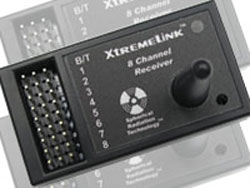
Our review of the new XtremeLink 2.4 GHz Spread Spectrum radio system from Xtreme Power Systems...
 You've probably heard about the Spektrum and Futaba FASST 2.4 GHz radio
systems...these new systems are the latest craze in R/C! Well there is another
manufacturer you may or may not have heard about...they are Xtreme Power
Systems and their version of the 2.4 GHz radio is the XtremeLink system.
 Xtreme Power Systems is a company based out of
The XtremeLink product is true bi-directional and will allow us to send back telemetry data in the near future. You will be able to send back parameters like RPM, EGT and battery voltage. We have many hours on the water with our system. Many of the top drivers in the country are now using XPS.
Scott Bahde, Xtreme Power Systems
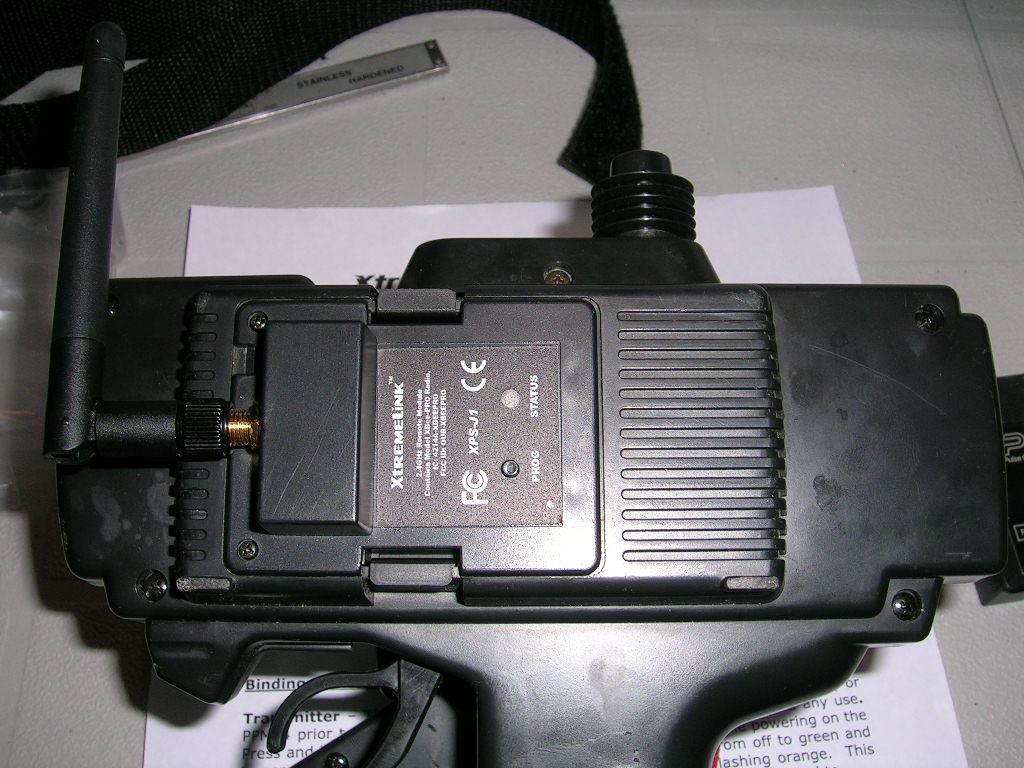
After contacting XPS about their system and informing them of the radio I was
currently using for running my boats (JR-R1 pistol grip radio) they informed me
that they had a module and receiver kit available for my radio. As a matter of
fact they have modules for just about every radio on the market today!
I received the kit from them shortly after and was anxious to go out and
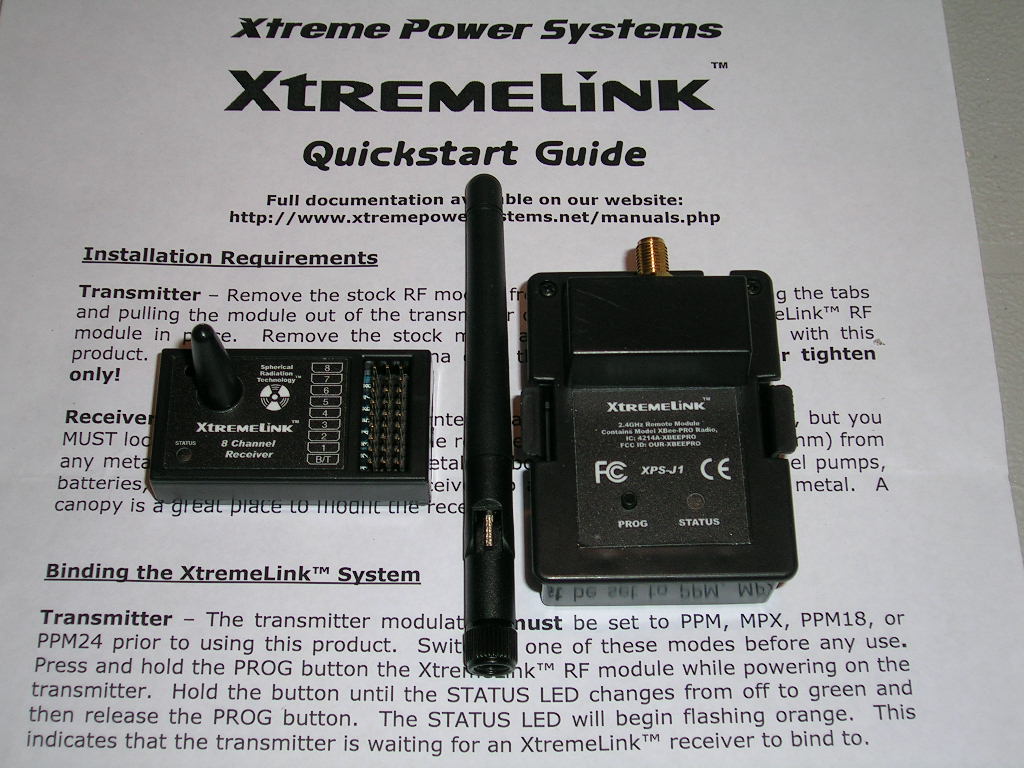
try it! The receiver and module kit was delivered with a quickstart guide that
made the installation and setup a breeze. The kit included an 8 channel
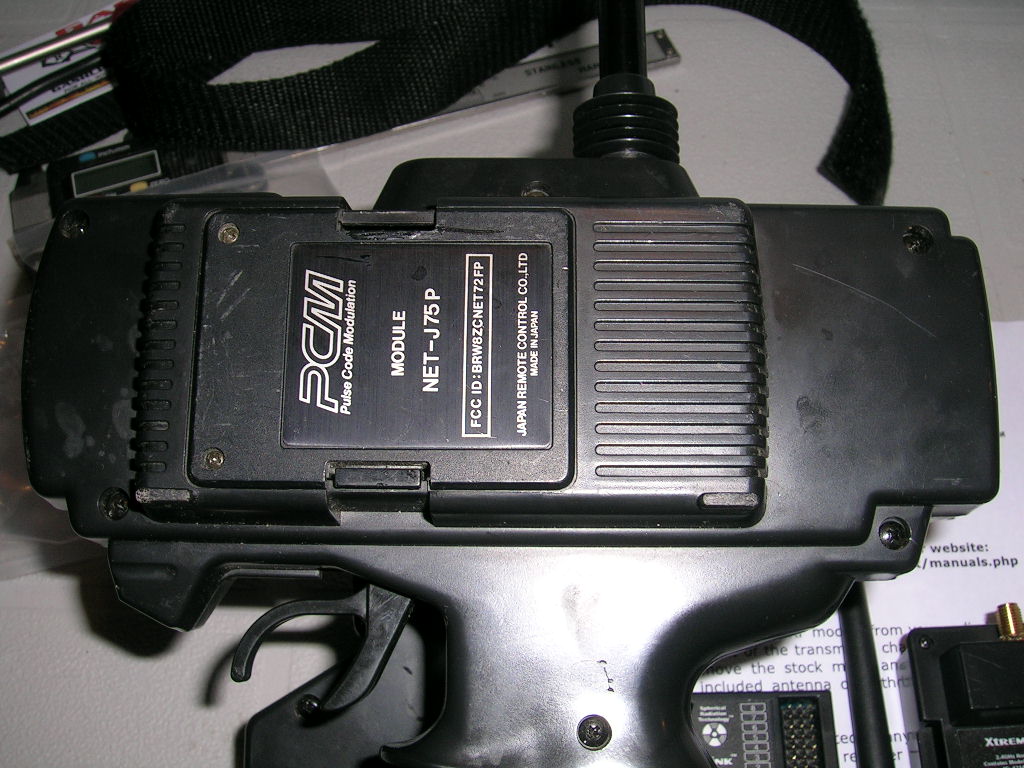
receiver and of course the module to replace the existing PCM module I was
using. I will not get into the details of setting up the radio, since it is all
very well explained in the Quickstart guide and the manual, but I will tell you
that it only takes a few minutes! It is just about as simple as replacing the
module in your transmitter and installing the receiver in your boat. Within a
few pushes of the programming buttons on the transmitter module and receiver,
you are ready to go!
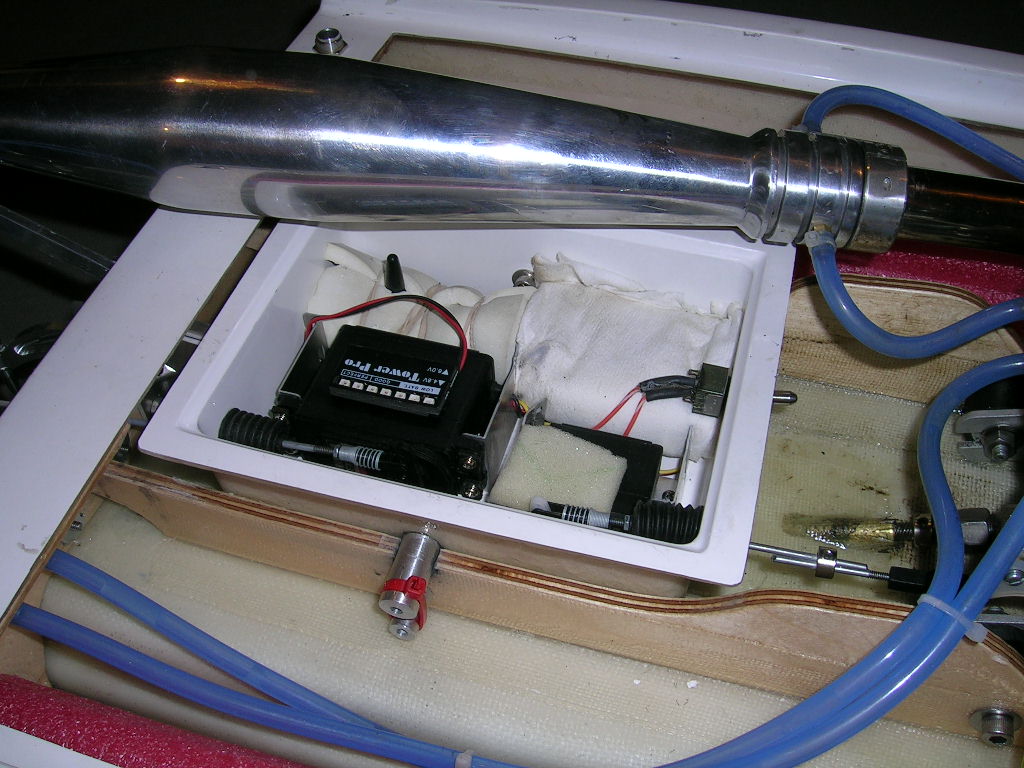
The instructions call for the antenna portion of the receiver to be mounted no
less than 2 inches from any metallic object. This includes metal,
carbon fiber, wires, servos, batteries, etc. In most cases this will be a
problem in our R/C boats. The radio boxes are usually very compact and will
make it very difficult to get a true 2" of clearance from any metal object
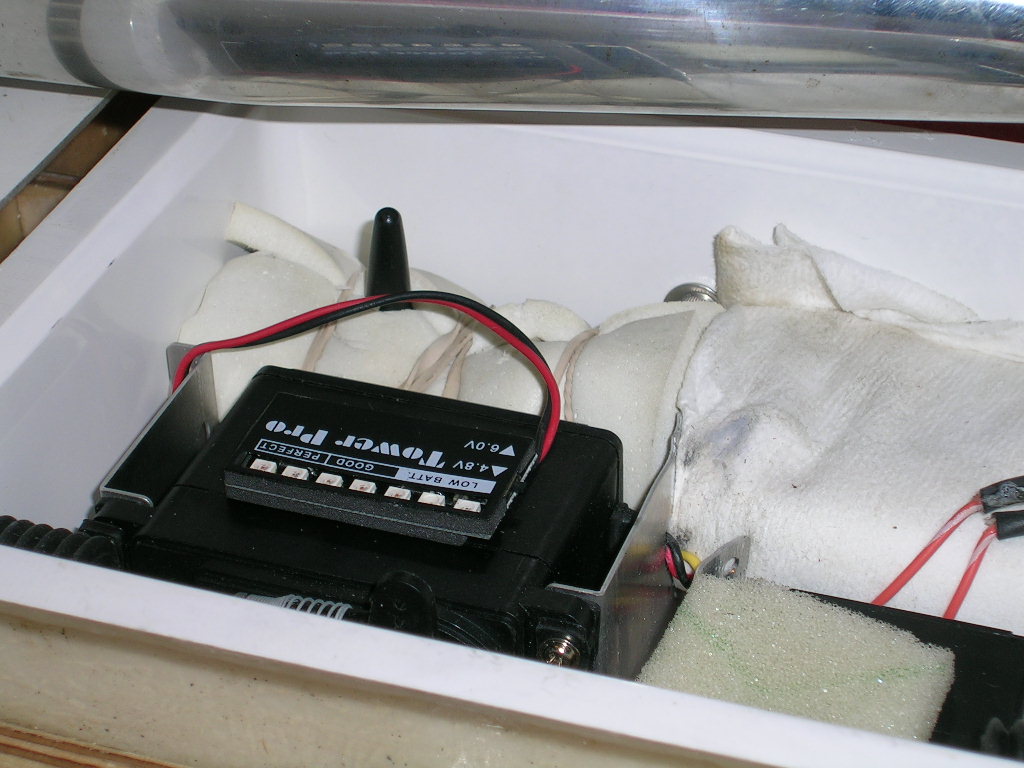
to the receiver antenna. Knowing this, I put the receiver wherever I could fit
it, which was where my PCM receiver was previously installed. The actual
clearance between the antenna and all other metal object (including the tuned
pipe) was 1 inch. I could have made a separate watertight box for the receiver
only and mount it somewhere else in the boat, but I wanted to put this system
to a test which would accurately represent the kind of situation most boaters
would be confronted with.
*note: the small antenna you see sticking out of the foam in the top lefthand side of the pictures below is the actual receiver antenna. Although the wire from the voltwatch seems to be close to the antenna, it is well over an inch away.
"We see many problems with voltage regulators, switches and battery packs that are "spot welded" . We like to use batteries that are soldered instead of spot welded. Always check batteries under load before using. Don't be afraid the charge after each race.
After physically installing the receiver in the boat and the module in the
radio, you must "bind" the receiver to the transmitter. This is a
quick and simple procedure outlined in the quickstart guide. Once done, I fully
charged my batteries and headed to the lake.
Note: when using the XtremeLink transmitter, the antenna on your transmitter
should be removed. The antenna on the Xtremelink module is used instead.
My testing was quite simple. I ran several laps with one other boat in the
water at the same time. We basically ran a few fun races coming in once in a
while to refuel and inspect the radio box for condensation making sure
everything was alright. Since we run on a small bay of an open lake, we have a
lot of space for testing the range of our radios. I did several runs deep in
the bay (much further than you would go in normal racing conditions) to see if
I would get glitches or interference and the system showed no bad signs
whatsoever. I have also run the boat with the XPS several times since my initial testing and have encountered no problems at all.
The system also has a lot of neat features including programmable failsafe (as previously mentionned) for every output channel (going to servos), channel mapping and power level
adjustments.
Transmitter Module Programming:
Set Power Level: the output power level can be adjusted within a range
of 1 to 5. For example, acceptable levels in
Receiver Programming:
Set Channel Mapping: this function can be used to assign channels to
different output pins. The default channel map is 1:1. So for example, since I
was using a JR radio and the throttle is on channel 2 for JR, then pin out
number 2 on the receiver goes to my throttle servo. If I wanted to change it,
I could remap 2 to output on pin out 4 on the receiver and plug my throttle
servo on pin out 4 instead.
Another interesting feature in channel mapping is that you can actually assign
more than one output to the transmitter's channels. For example: assuming I
wanted 2 throttle servos doing the exact same thing simultaneously, I could
remap channel 2 from the transmitter to output on both channels 2 and 8 on the
receiver (assuming you have an 8 or 10 channel receiver). Plug in one servo on pin
out 2 and the second servo on pin out 8 and both servos would be responding to
throttle inputs on the transmitter simultaneously! Not necessarily something
that we commonly would require with boats, but nonetheless a nice feature to
know is available. This could actually come in handy on some dual engine setups
where throttle linkages can be complicated.
Set Country: this function is to meet various FCC, ETSI, IC and other
guidelines. All countries except
Set Failsafe Map: this setting is to set the failsafe behaviour for all
channels. Available settings are HOLD or USER DEFINED POSITION. In HOLD mode,
the channel will hold the last position upon failsafe activation (for example
loss of signal or invalid data received from the transmitter). In the USER
DEFINED POSITION mode, the channel will revert to a position set by you during
the setup of the radio. This procedure is explained in section 4 of the manual.
As with any radio system it is important to always range check your system
before operating your model. This procedure is clearly outlined in the manual.
The manual is very thorough and explains in details the procedures to program
your XPS system. The manual as well as much other supporting documentation can
be downloaded directly from the XPS website.
Final Thoughts...
I absolutely love this radio system! I have been considering upgrading to a 2.4
GHz system but was a little reluctant due to the fact that I had not found one
that featured a programmable failsafe. There were other factors, but this was
my main concern as I like to know what my boat will do in case of loss of
signal. Holding the last known settings and running into the bank at 60+ mph just isn't an option I want to
live with if I can avoid it. The fact that this system has a programmable
failsafe for every channel with the addition of a programmable failsafe delay
made it VERY appealing. The system proved to perform flawlessly during my
testing despite the fact that the positioning of the receiver was not optimal.
On top of being an excellent system practically immune to interference,
probably the greatest thing about the Xtremelink system is that you can now
forget about waiting for your radio clip at the races...you just have to love
that! If you are a racer you know what I'm talking about!
To top it all off, the system is made in the USA!
To anyone wanting to move up to a 2.4GHz system, I would seriously recommend looking into the XtremeLink system. Contact information is listed at the bottom of this page.
Happy Boating!
Company Information
Xtreme Power Systems
Website: www.xtremepowersystems.net
Email Information
Sales Department - This email address is being protected from spambots. You need JavaScript enabled to view it.
Technical Support - This email address is being protected from spambots. You need JavaScript enabled to view it.This email address is being protected from spambots. You need JavaScript enabled to view it.


