Product Review Article ...by Rudy Hilado
Fine tune some props with the handy pitch gage...
If you want to get every last MPH out of your boat, you may be tempted to modify your propellers to increase the pitch. But to properly modify a prop, it's important to know exactly how much extra pitch has been put into your prop and make sure both blades are evenly modified.
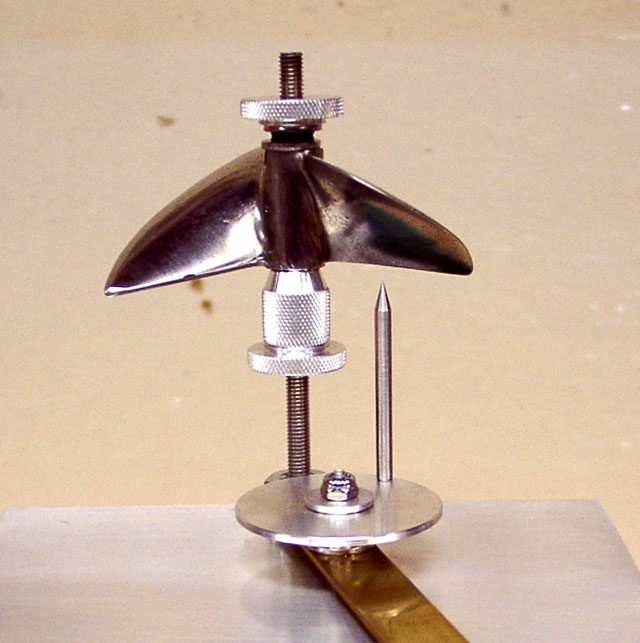
Paul Dahms has designed a pitch gauge that allows you to make measurements of your props. The pitch gauge is a custom machined device that makes use of a simple mathematical formula to calculate pitch: Pitch = Distance X 360 / Degrees.
The pitch
gauge is composed of several parts including a base plate, prop holder,
indicator assembly and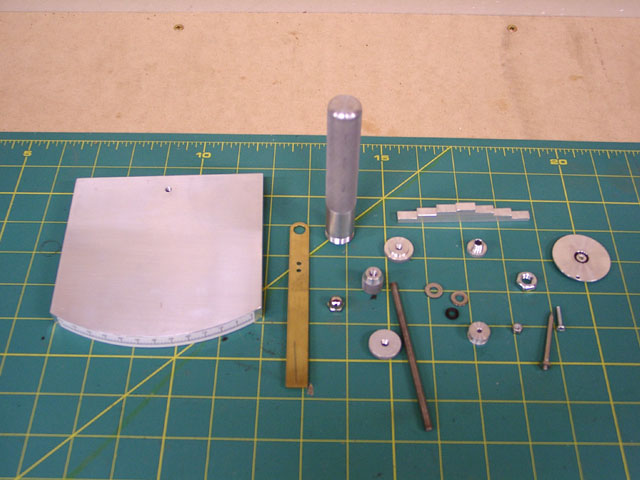 step
gauge. Instructions are included with the gauge that clearly shows how the
device should be assembled. The machine work on the parts is extremely clean and
precise. Everything fits together as it should.
The basic operation of the pitch gauge is to make two measurements along the face of the prop blade. The gauge provides an angle reading and a distance reading. With these two numbers, the pitch can be looked up on an pitch grid, which is included.
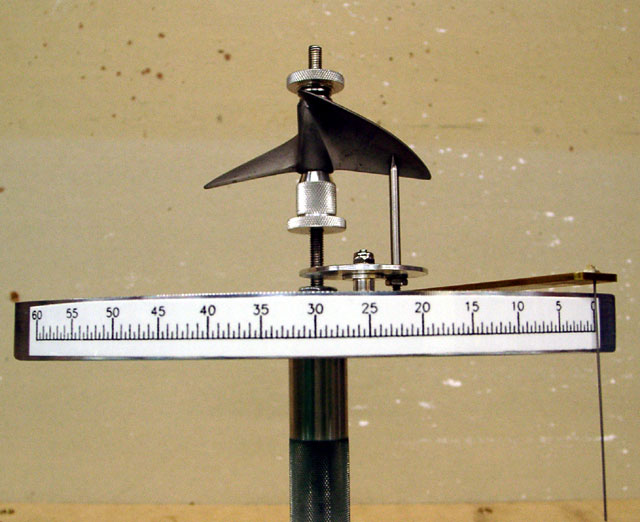 First, you mount the prop with the face of the
blades pointing downward. The prop should be positioned so the indicator pin
touches the face of one of the blades, at the starting point of where you want
to measure, and the face plate pin reads zero degrees.
You then rotate and raise the indicator pin to a new position on the blade. You then insert the step gauge under the indicator pin. The step gauge gives you a precise way to measure the vertical travel of the indicator pin. Choose the step that causes the pin touch the blade closest to the point where you want to measure. You can then read the angle from the face plate. Given the step height and the face plate angle, you can look up the actual pitch (in inches) from the pitch grid.
For
example, I used the pitch gauge to measure a stock Prather P275 prop. I measured
back half of the 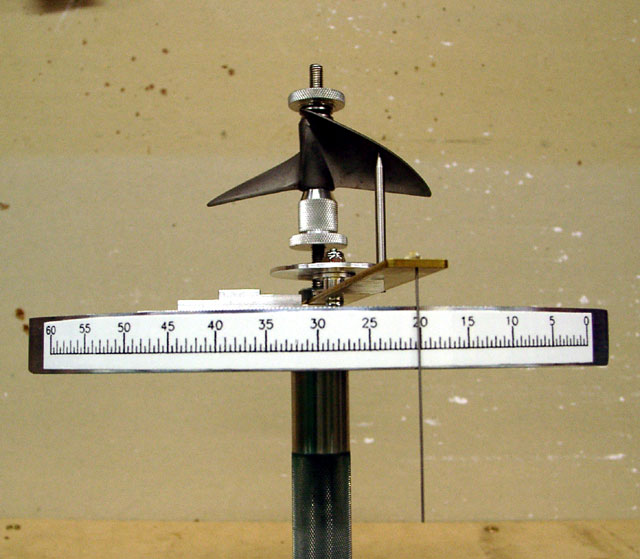 prop,
and the pitch gauge showed that the indicator pin was raised 5/16" (.312") and
the angle was 20 degrees. This translates into an average pitch of 5.625"
between the two points I measured.
It may sound a little complicated, but after making a couple of measurements, it's actually fairly straight forward. Just zero out the indicators, then rotate and lift the indicator pin using the step block, and look up the pitch from the table. Nonetheless, the most challenging part of using the pitch gauge is the step gauge (or block). The step block is not marked, so you have to often refer to the picture in the instructions to know the number of each step. It would be a nice improvement if the step block had the height of each step etched into the aluminum, but I could probably make it easier for myself by just writing the numbers on there using a permanent marker.
The pitch gauge comes with a nicely machined handle that attaches to the base plate, but it can be slightly cumbersome to work with the gauge with one had as the other is holding the base plate. Also, due to the handle and the long face plate pin, it is awkward to set the pitch gauge down, as it lays on it's side, the indicator arm will swing down, possibly damaging the fine indicator wire. I would like to see the base plate come with "legs" so it could be set on a table top instead of being hand held.
Paul's pitch gauge is a very useful tool if you are modifying your own props. Having a device that is able to measure the pitch of your prop is the one of the keys to a super fast propeller!
Specifications:
Cost:
$95
Available from RocketCityRacing or e-mail Brian Watts at This email address is being protected from spambots. You need JavaScript enabled to view it.
Builder Contact information
Paul
Dahms
(561) 575-4312
This email address is being protected from spambots. You need JavaScript enabled to view it.
