Product Review Article...

Review of the Backlash from Blazer Marine...
After seeing the new Blazer Backlash run at the 2011 IMPBA Gas Nats in Selina Ohio, I knew this was the boat for me if I wanted to be competitive in the Gas Sport Hydro class. Brian Blazer along with his father Bob, were campaigning their new design at this event and took first place in both Gas Sport Hydro classes. There were many Blazer Whiplash hulls racing however, their new Backlash design was much quicker especially in the corners.
I’ve seen the workmanship boat builder Marc Levac (of modelgasboats.com) puts into his Warpath gas riggers and after a little coaxing he agreed to build the new Backlash for me. I’m not much of a builder and thought I’d leave it to an expert.
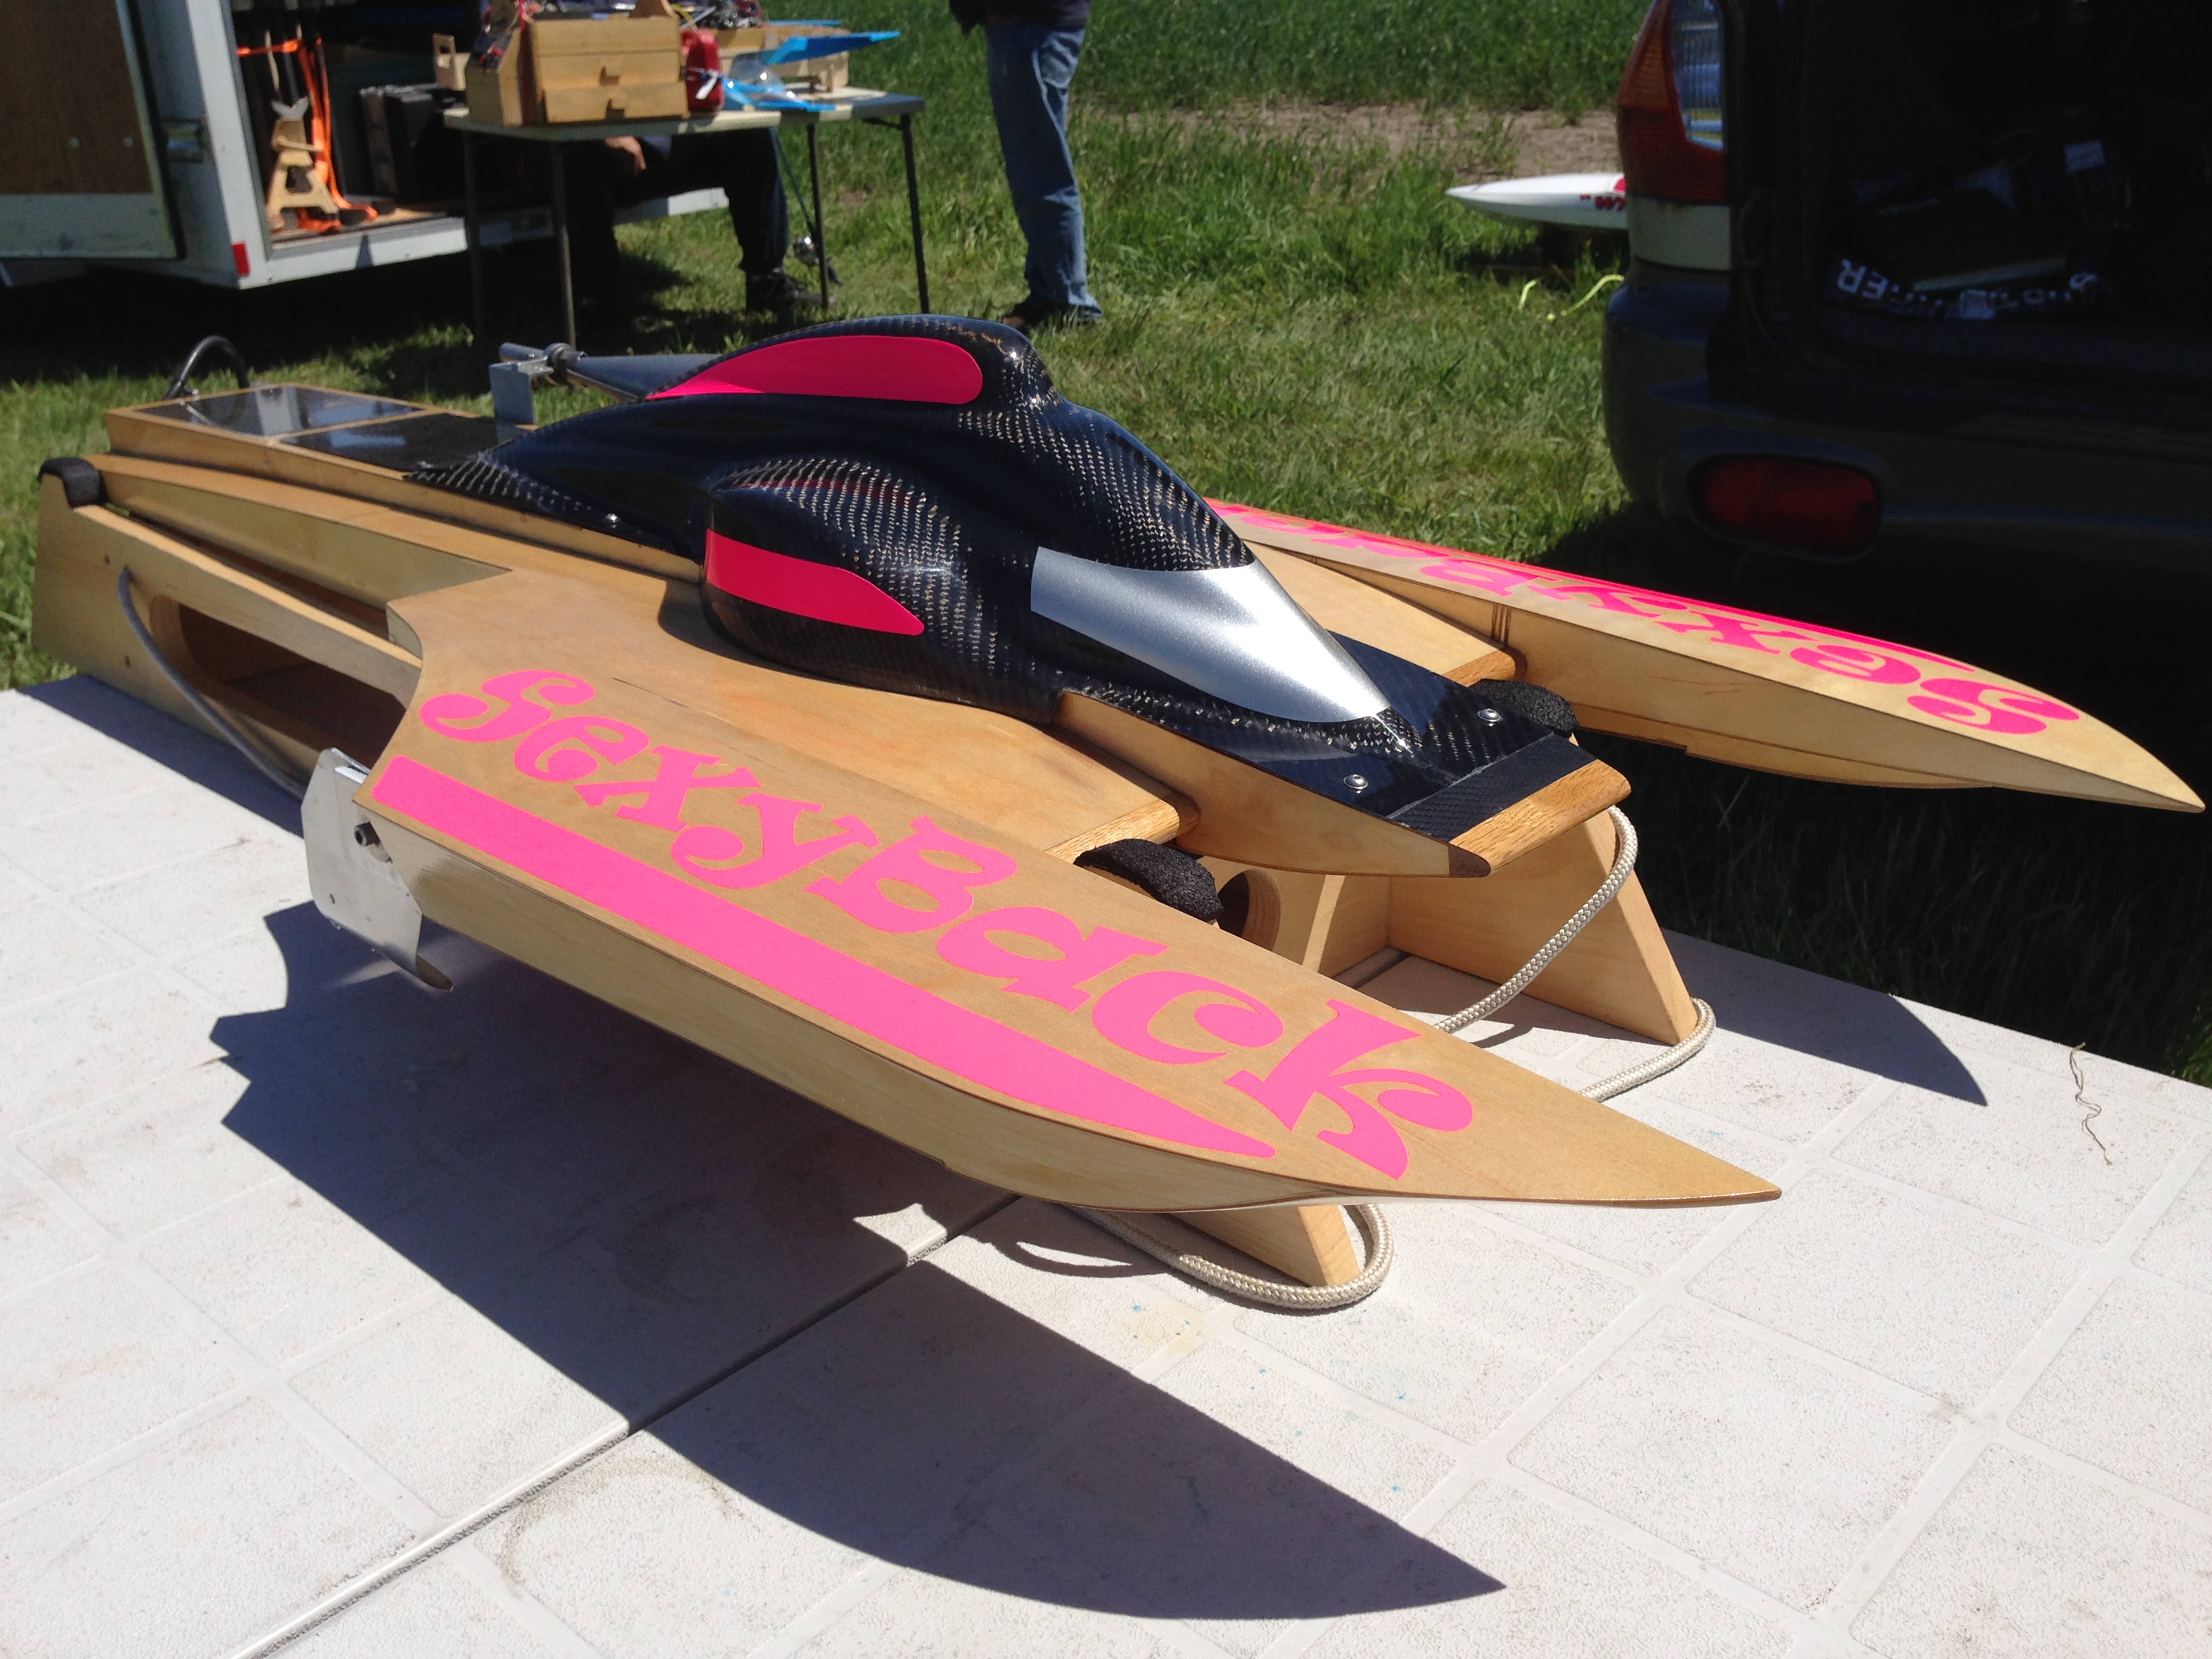
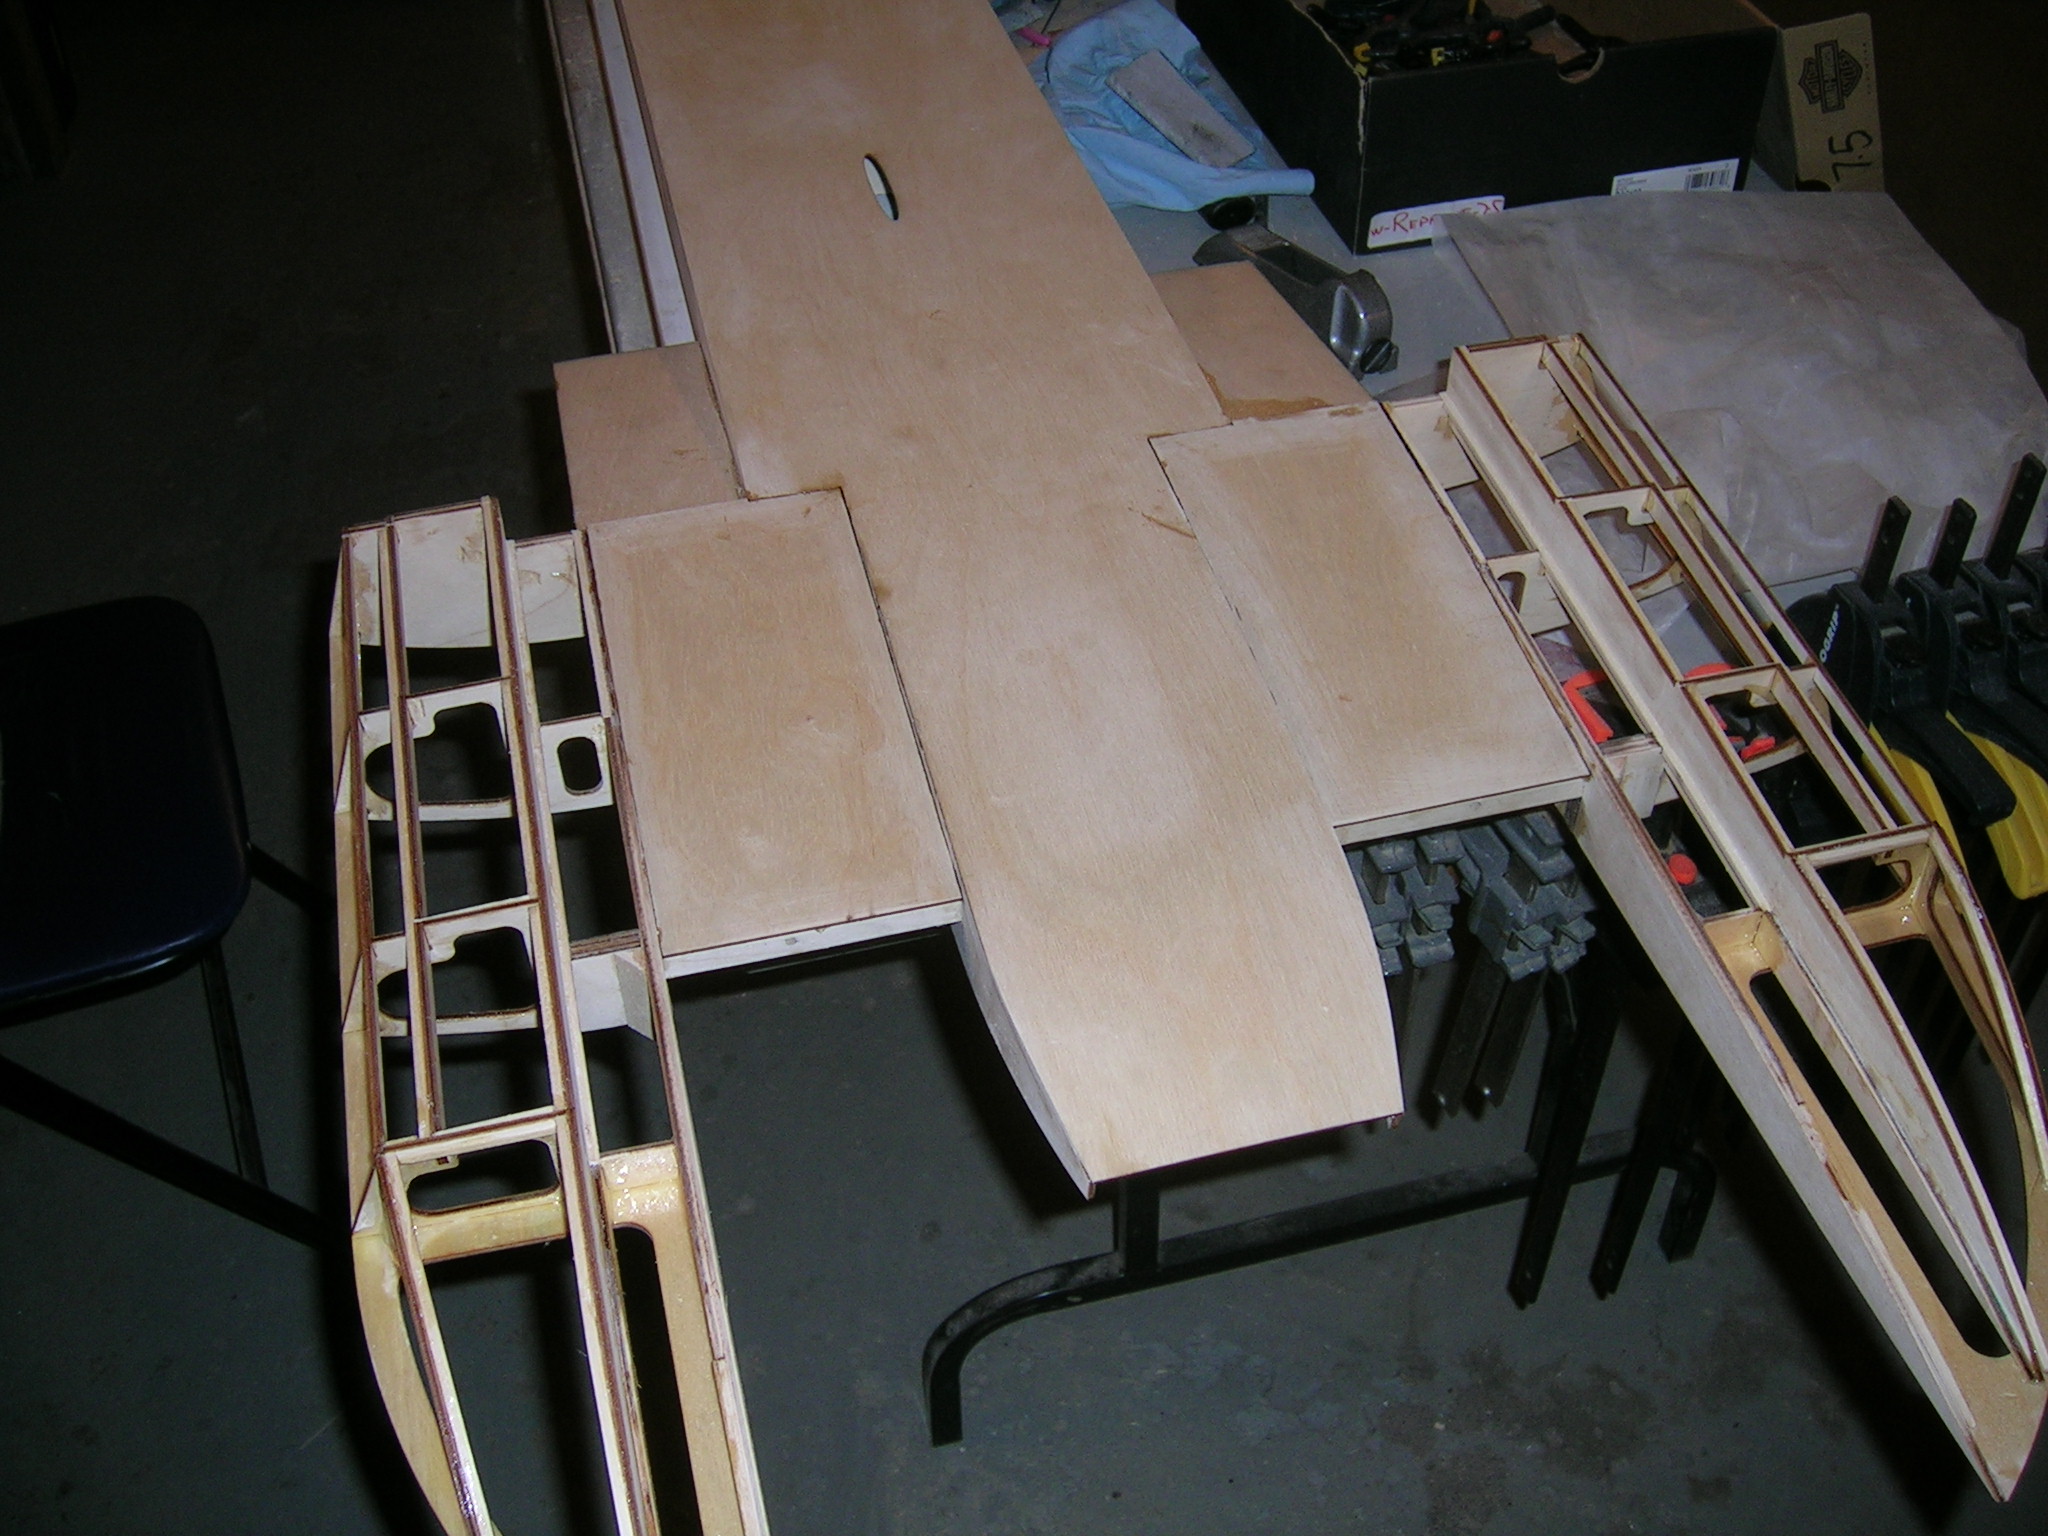
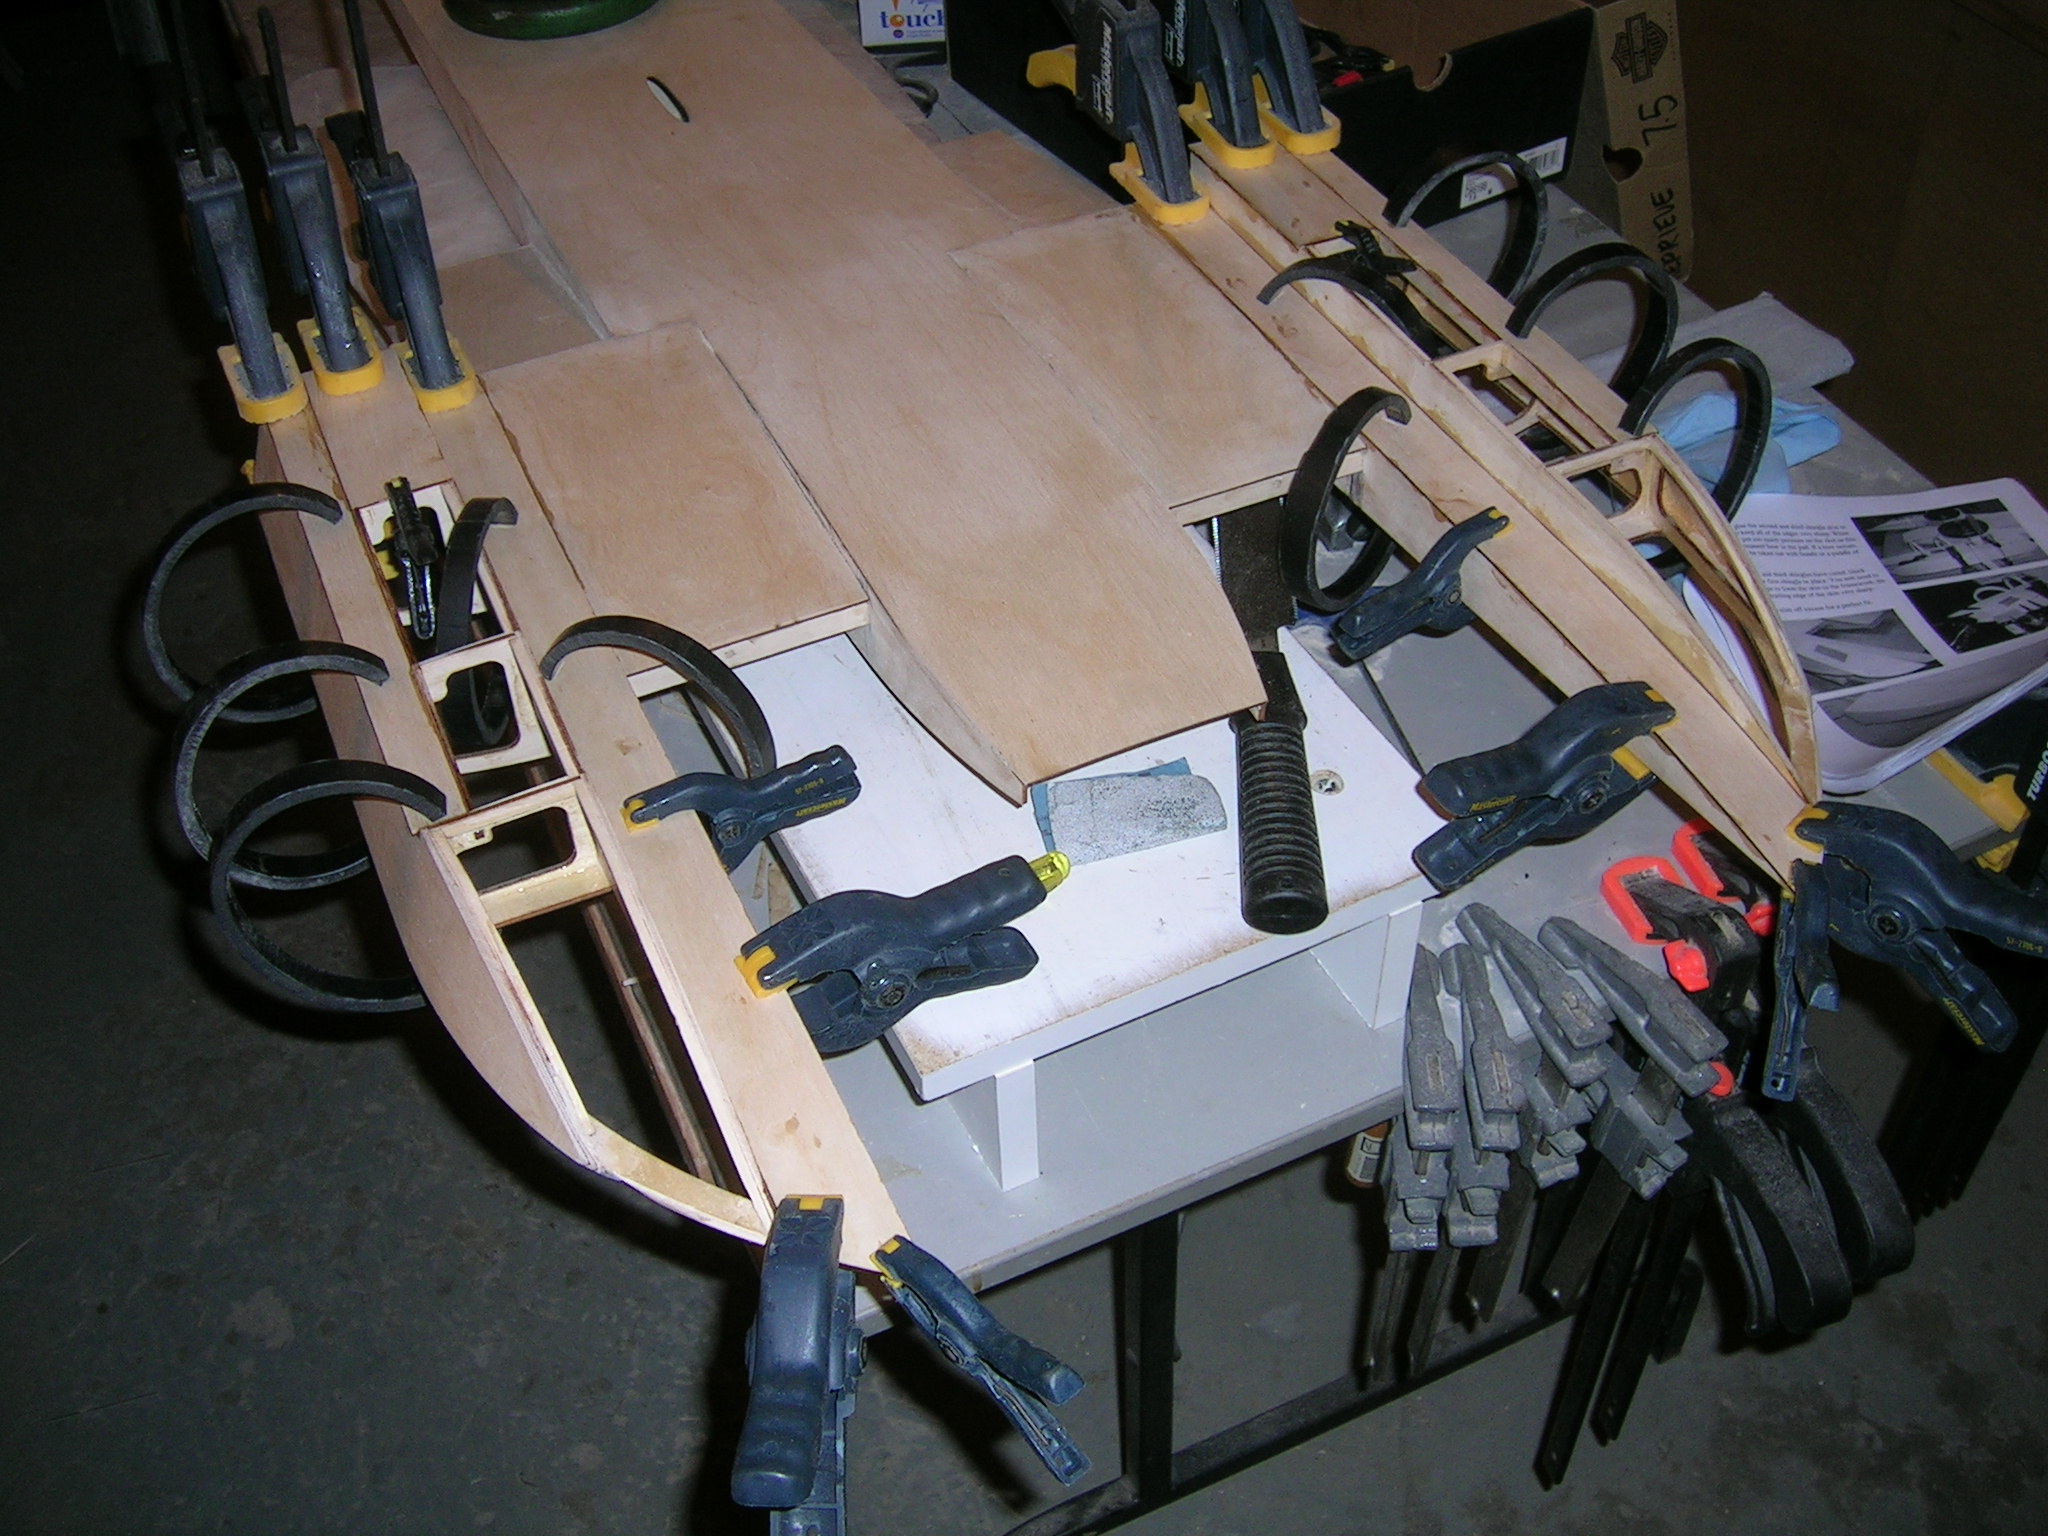
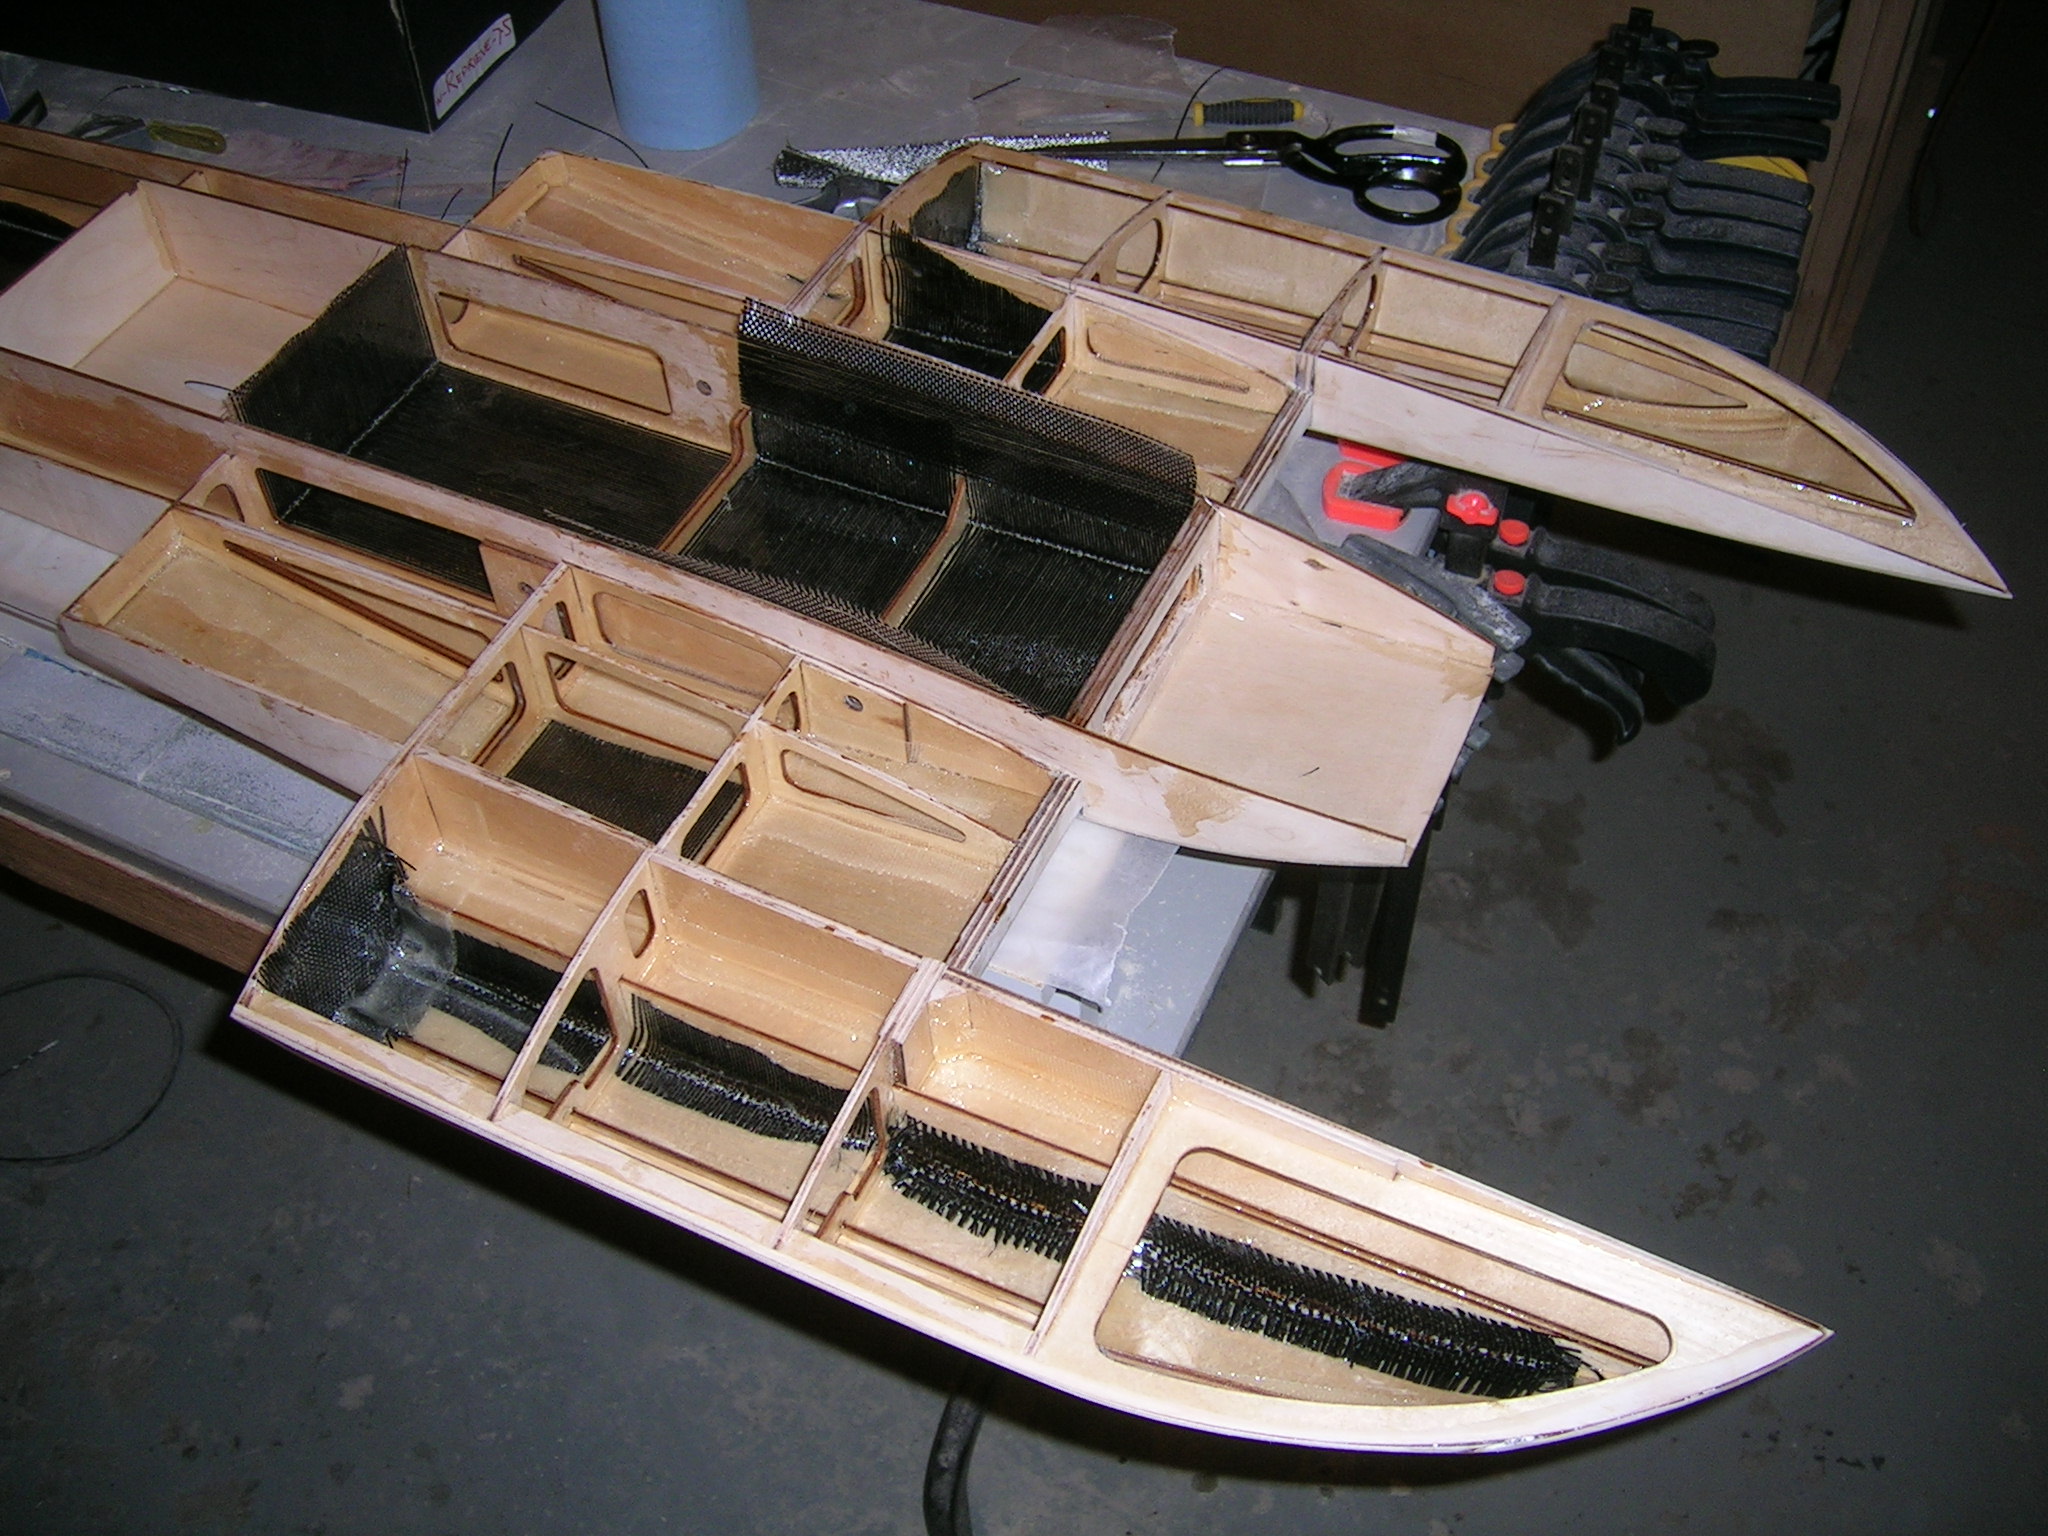
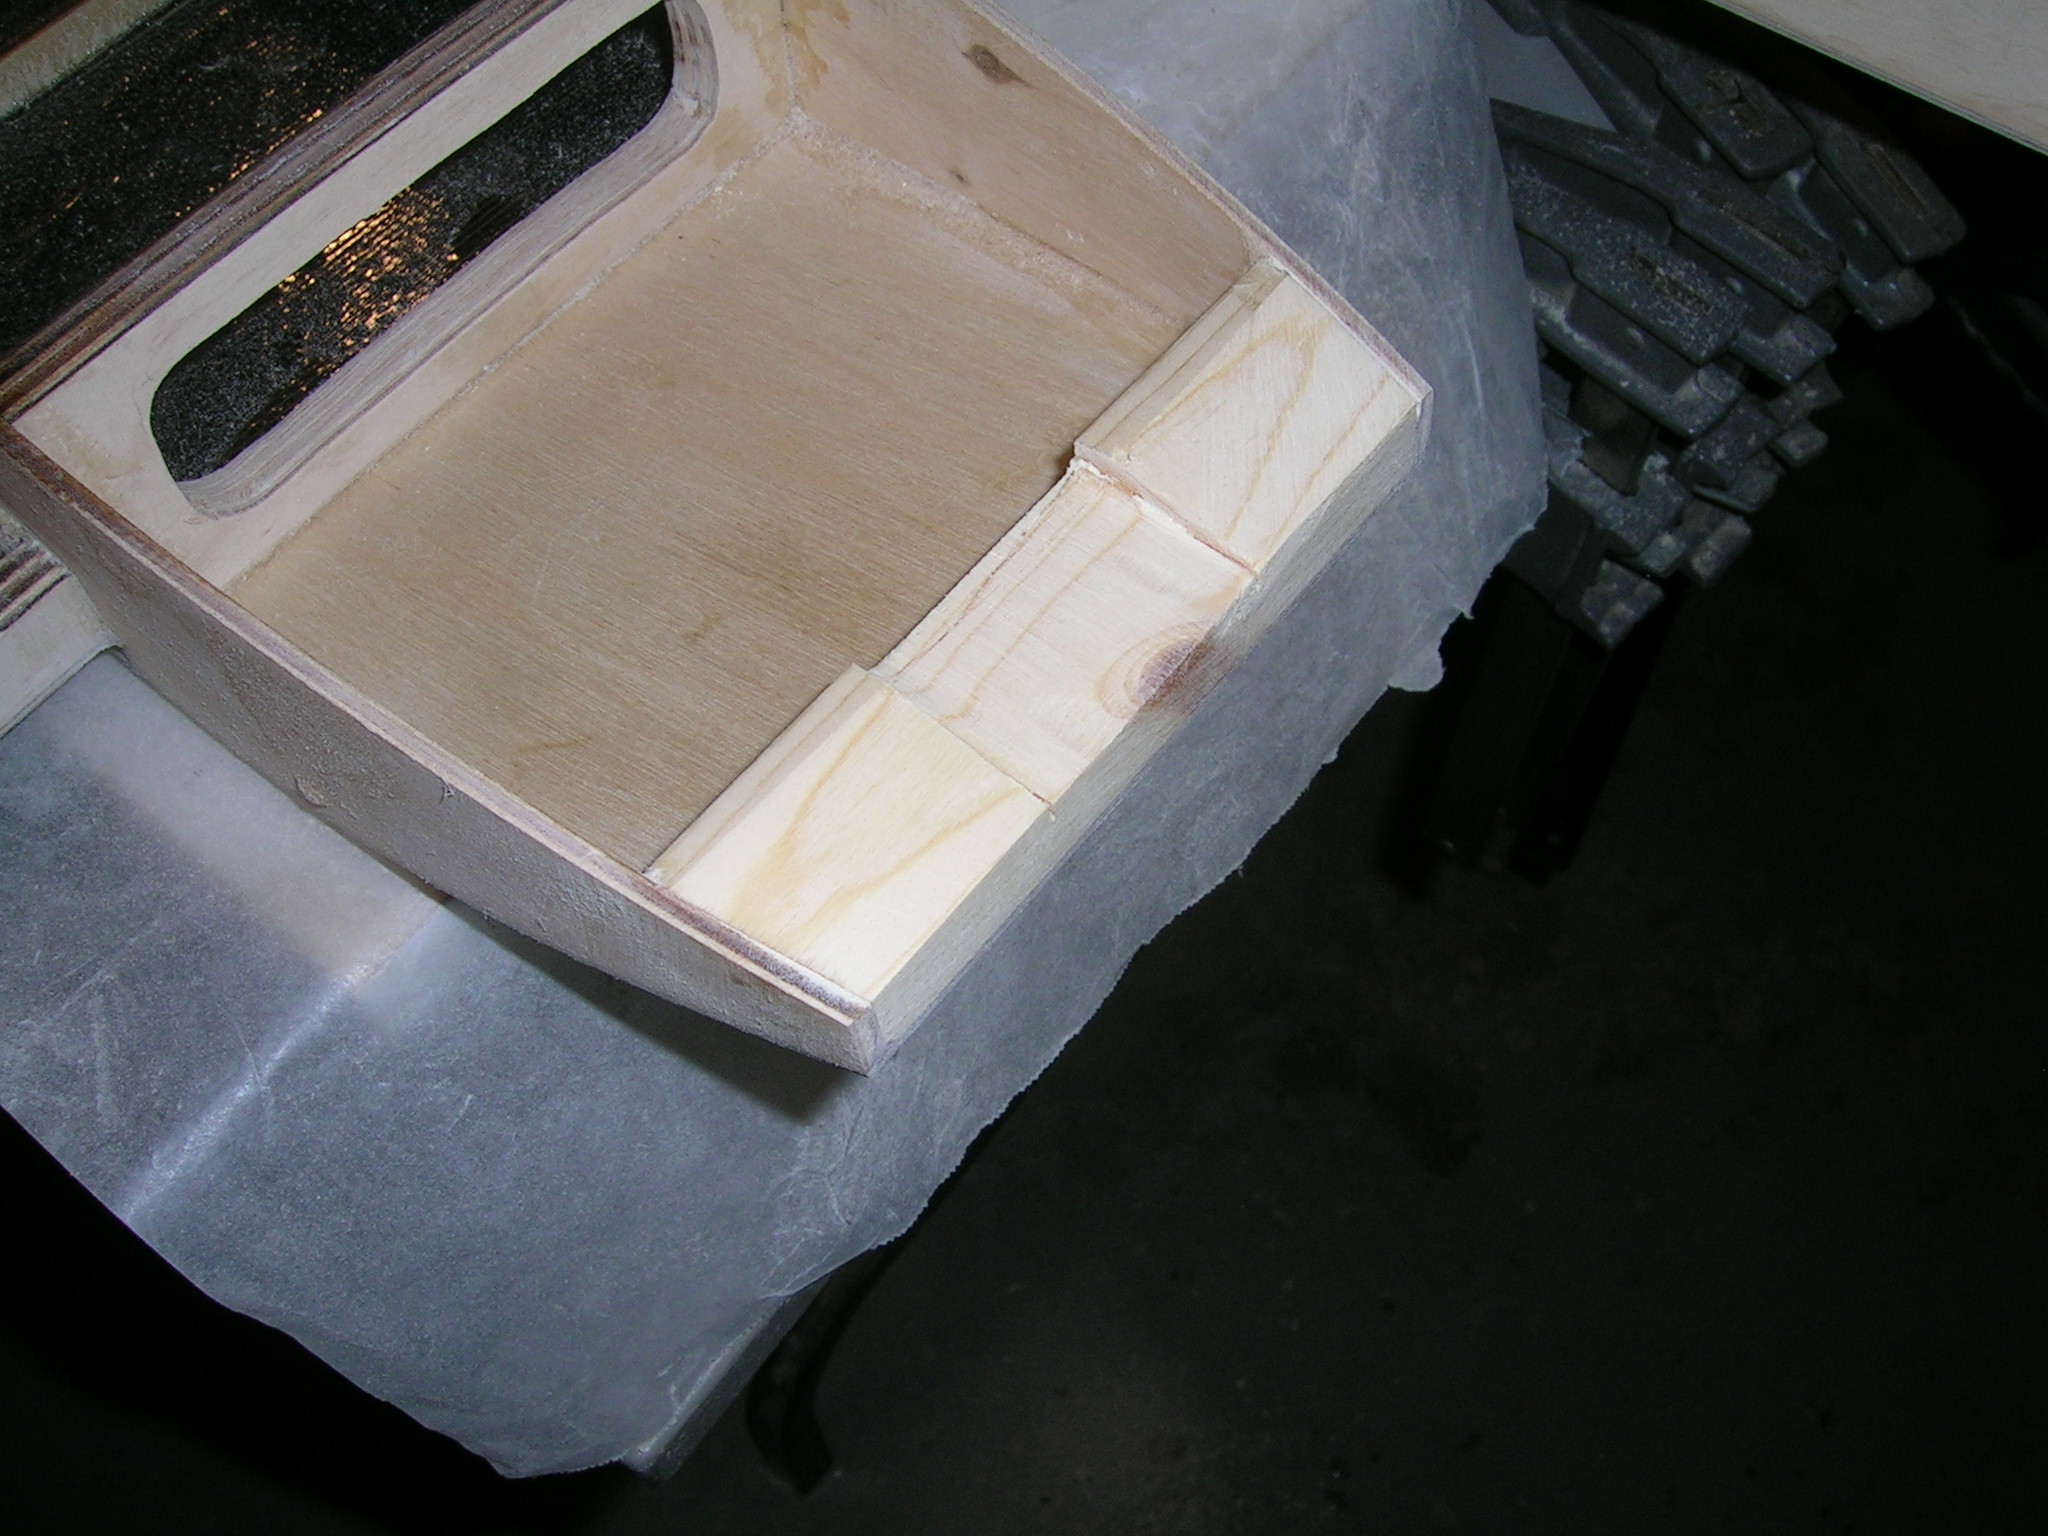
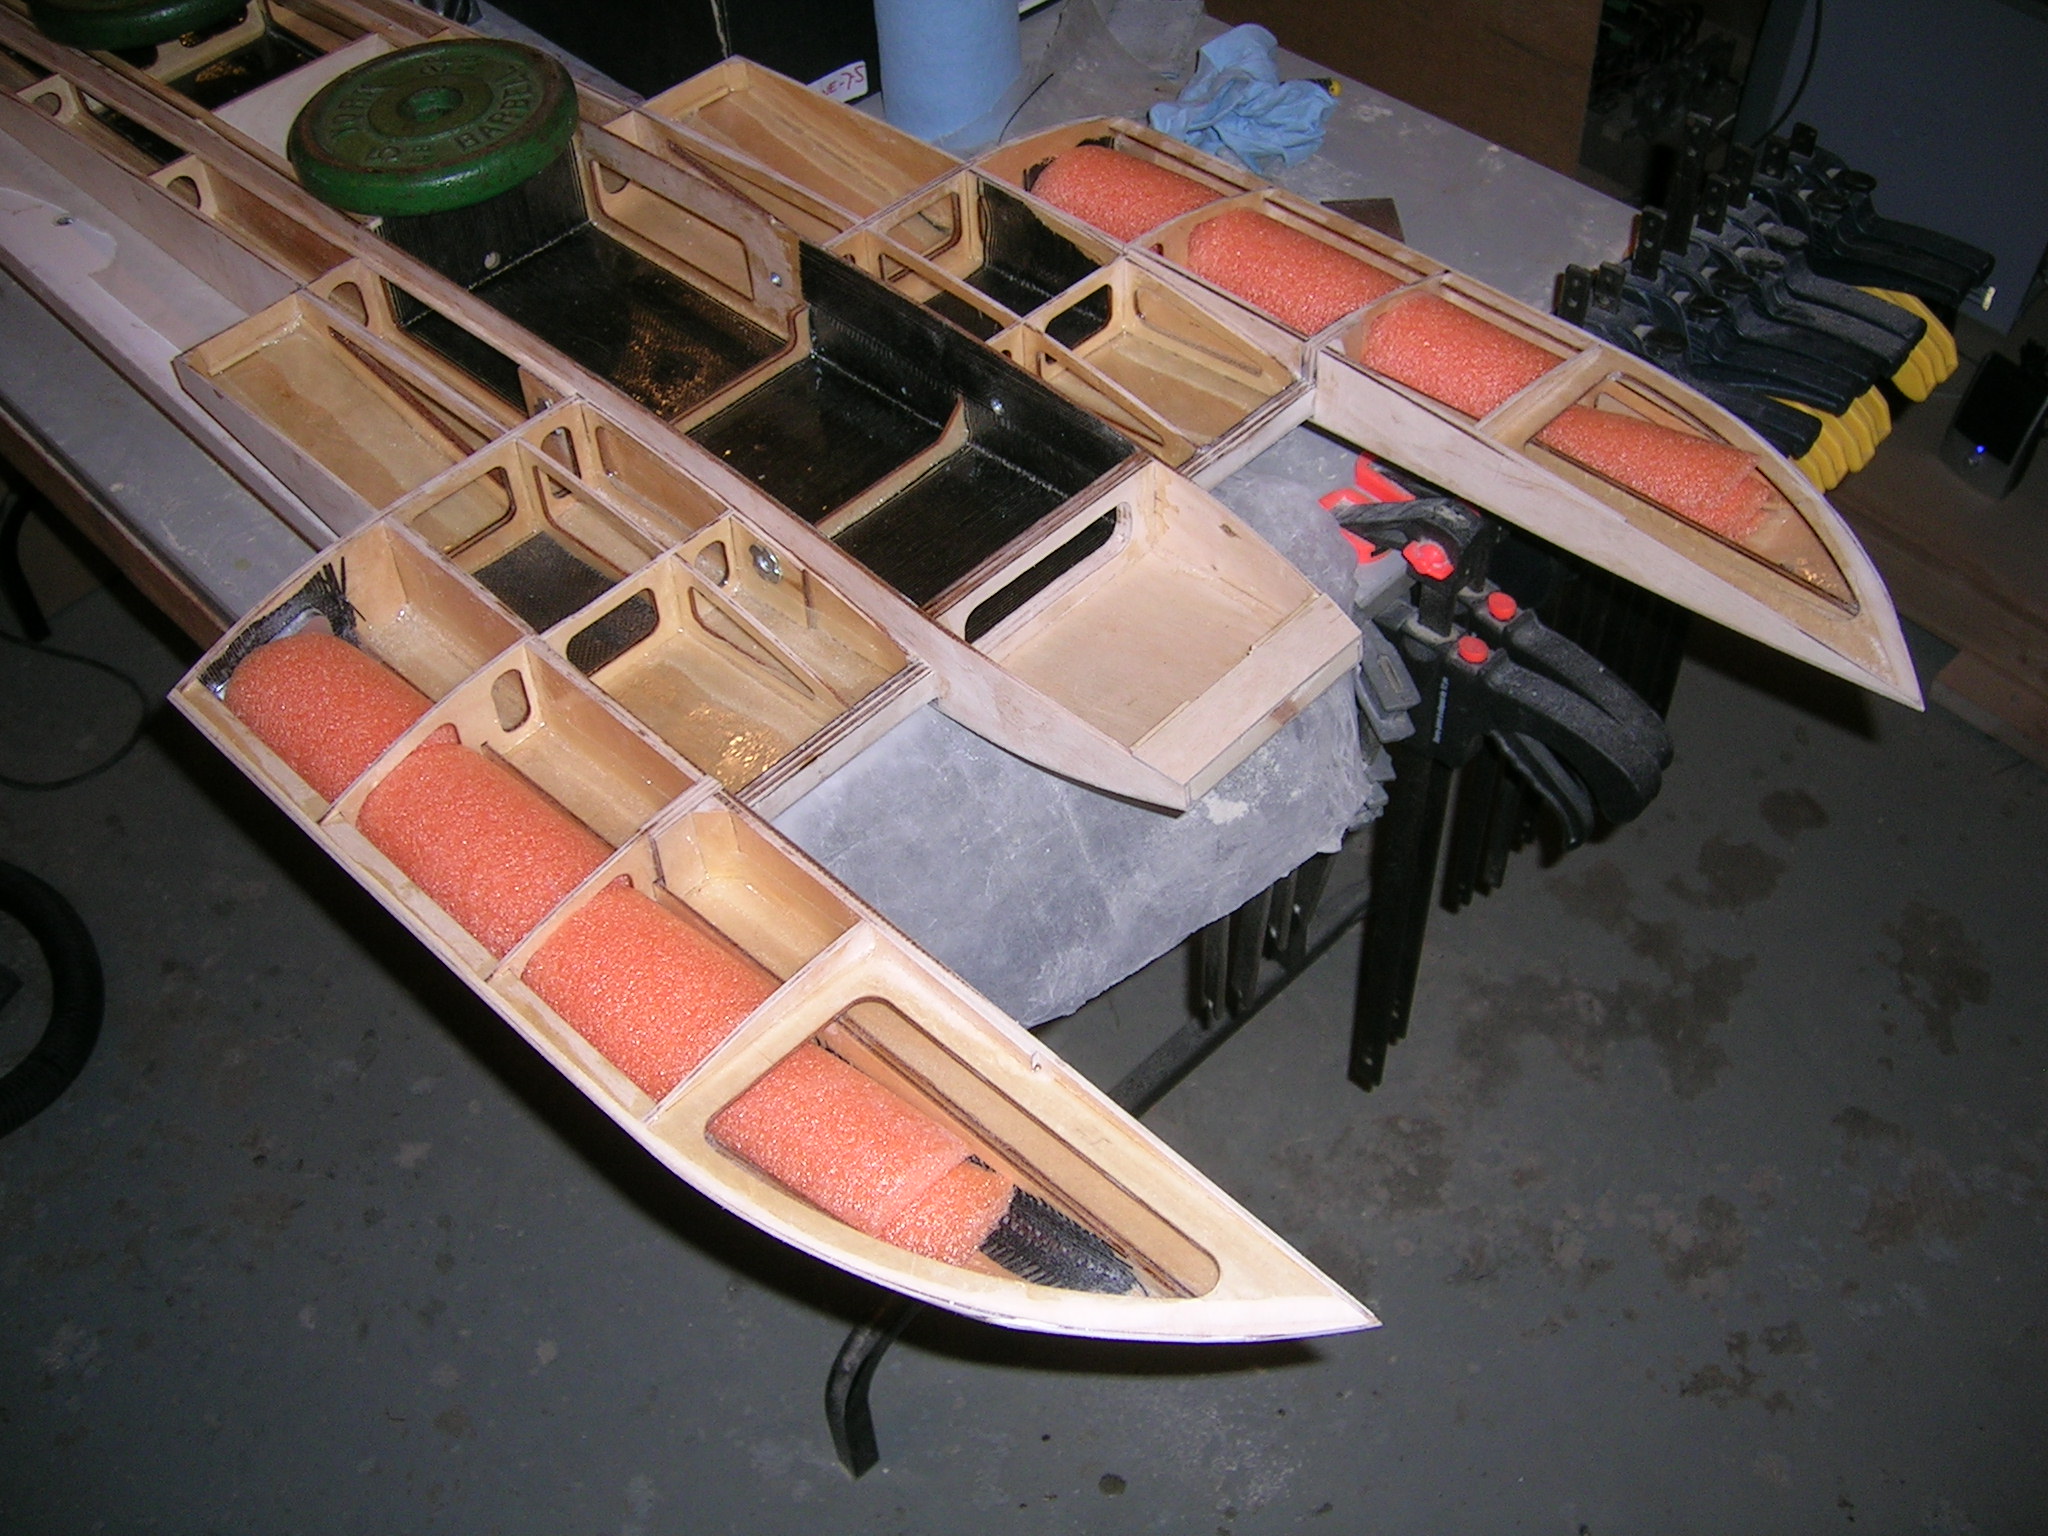
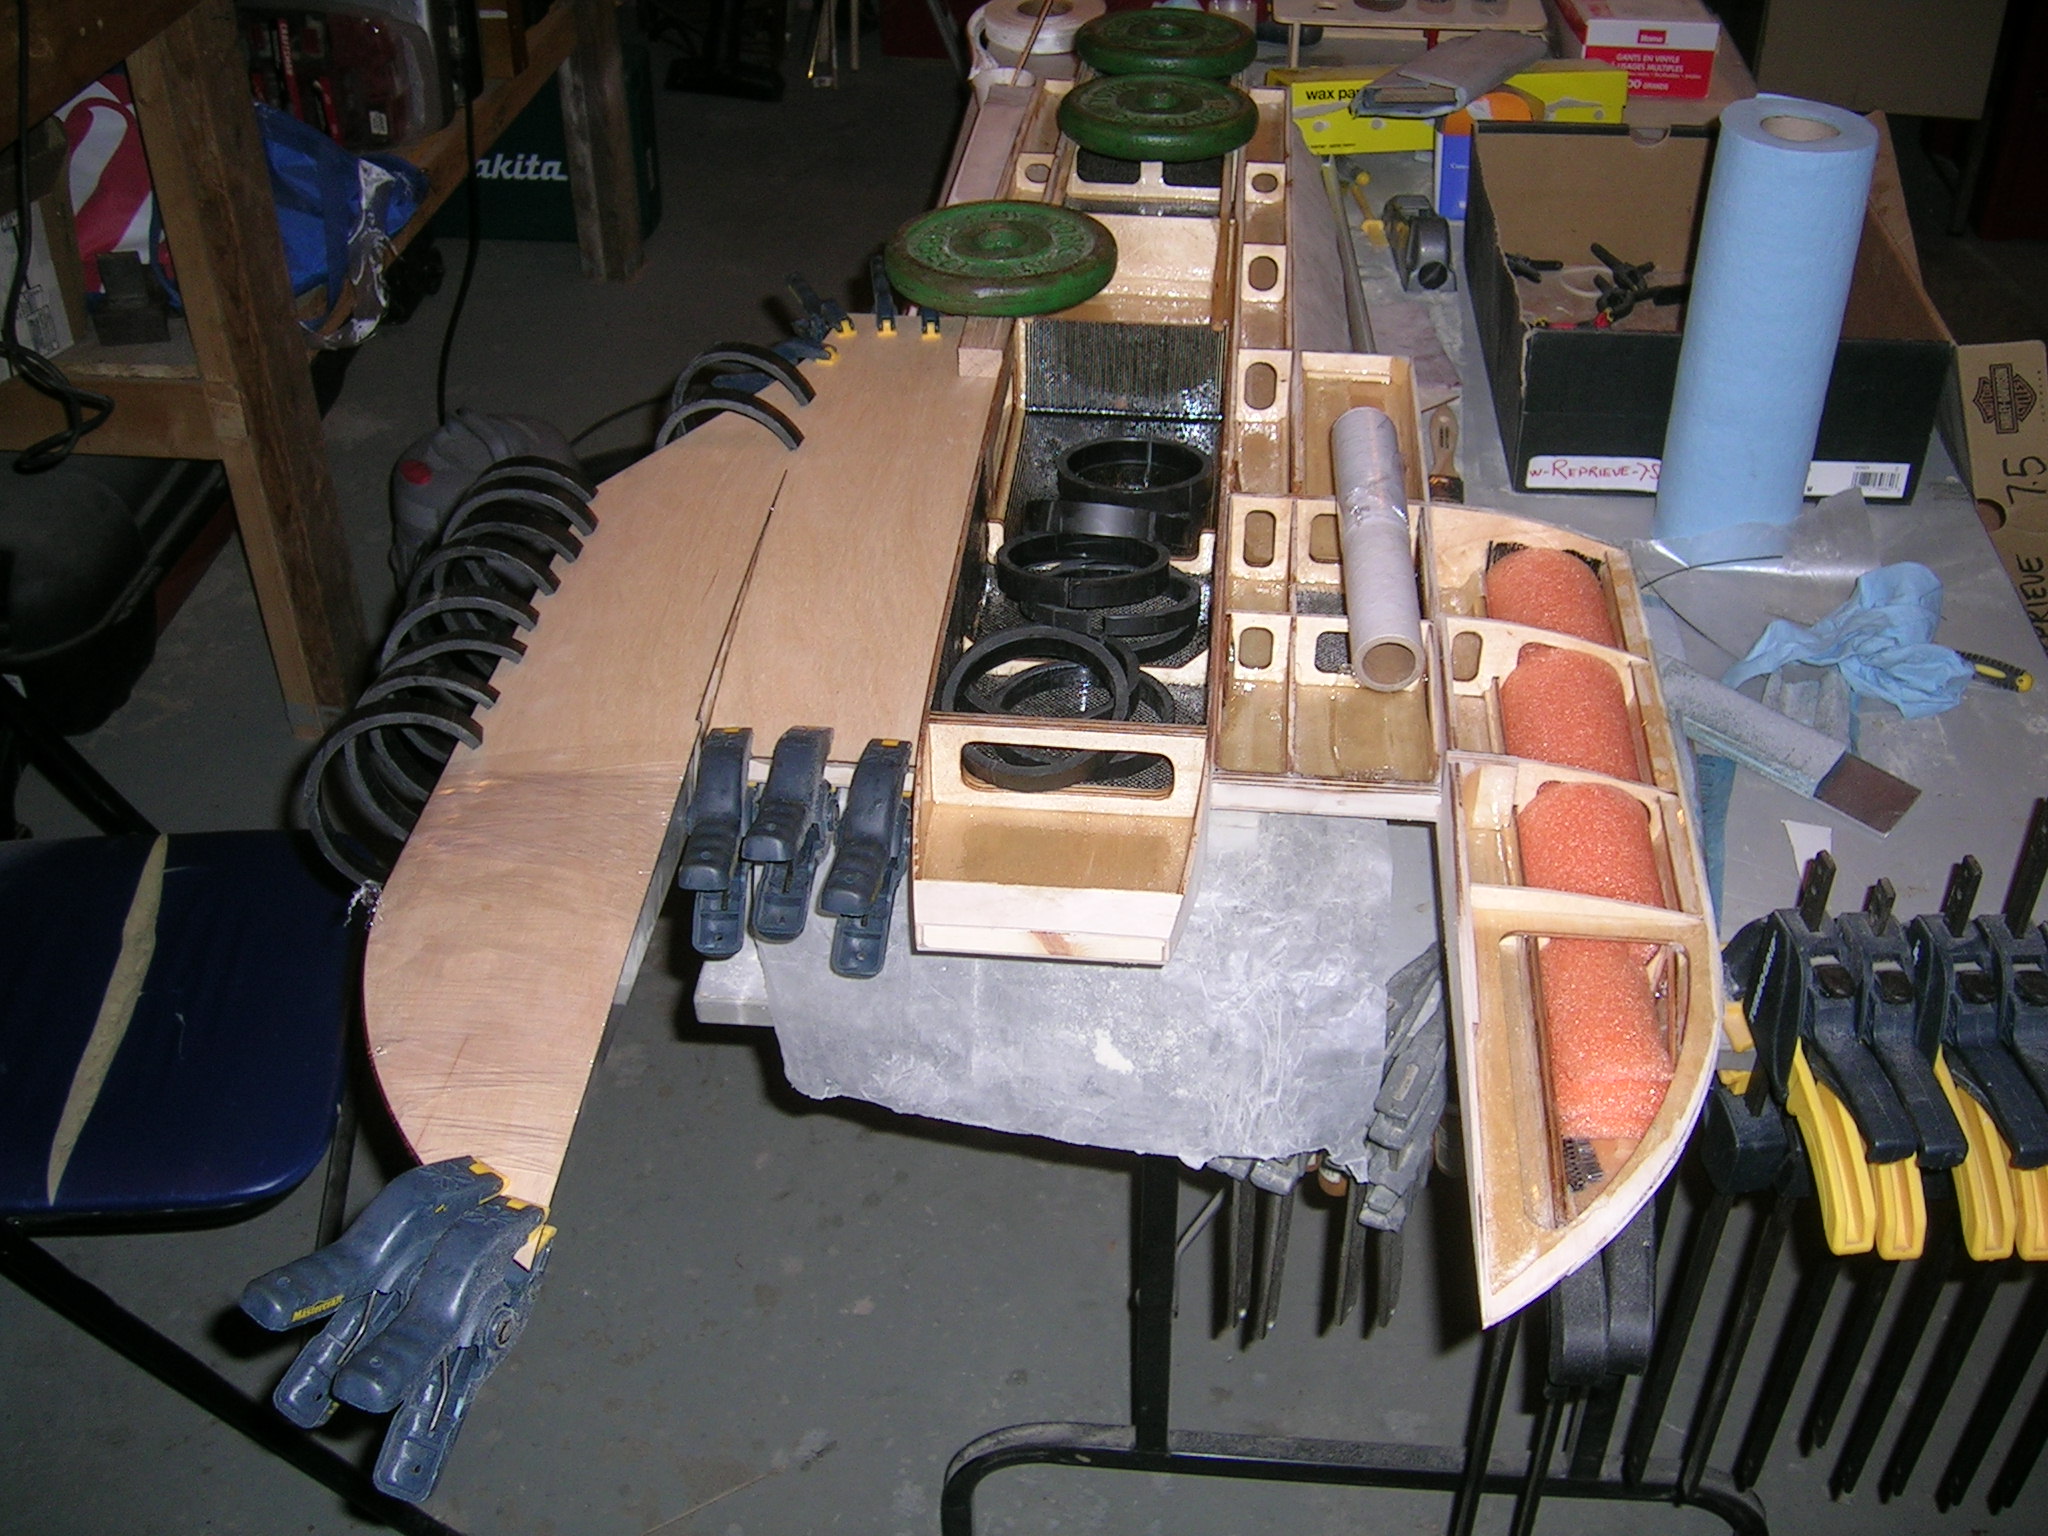
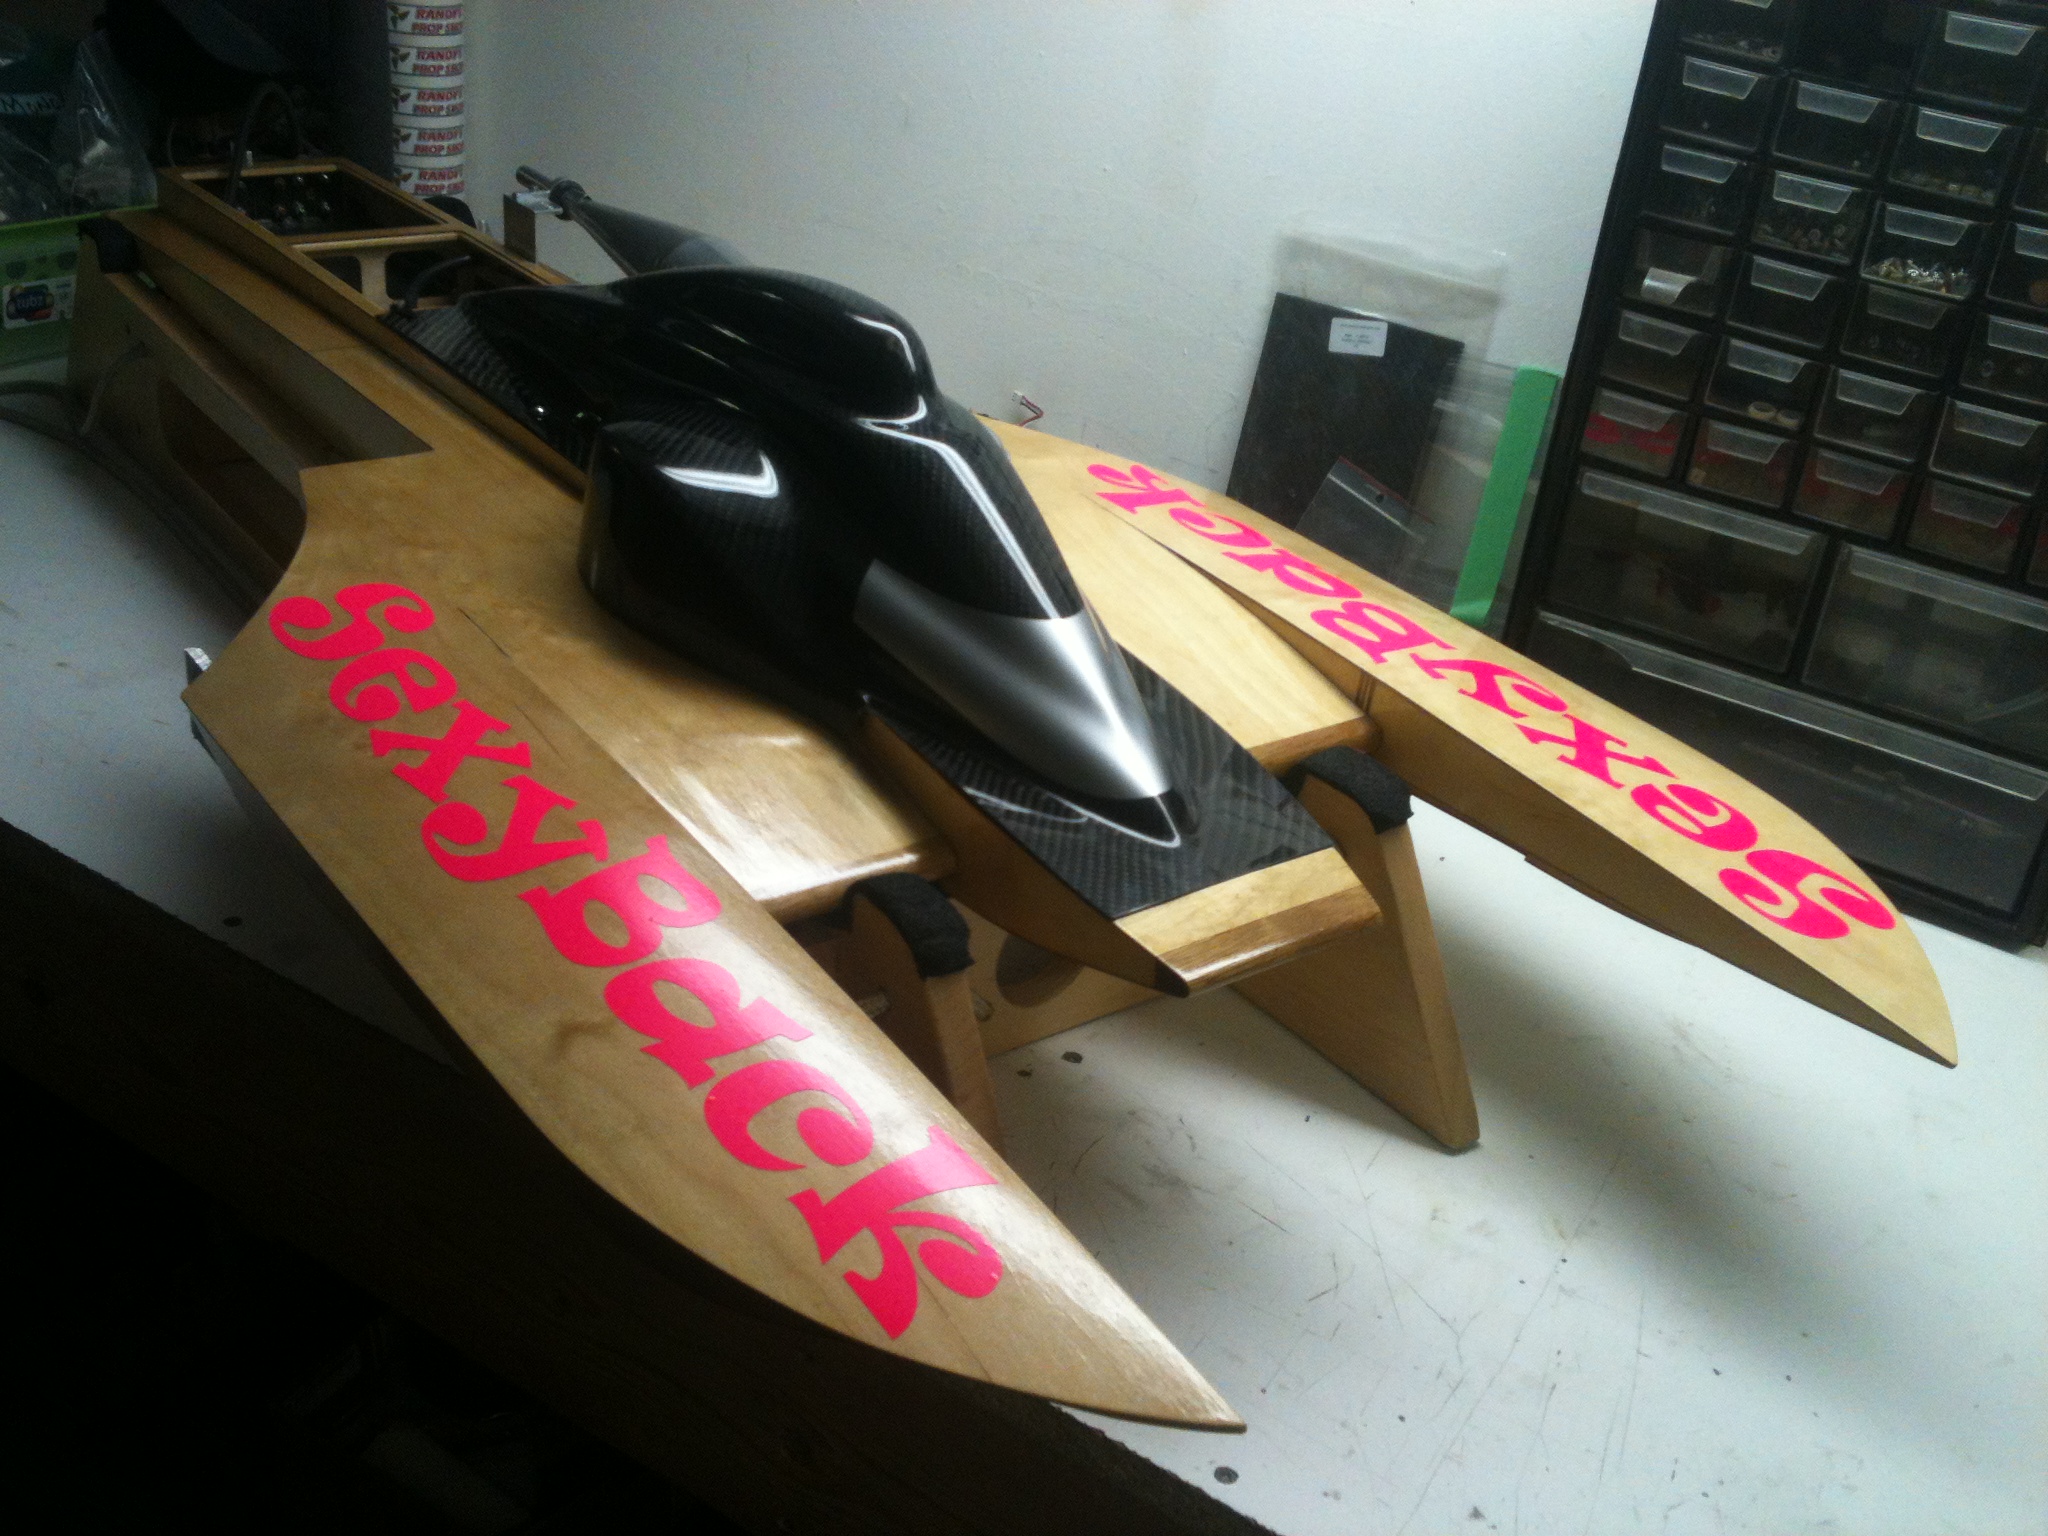
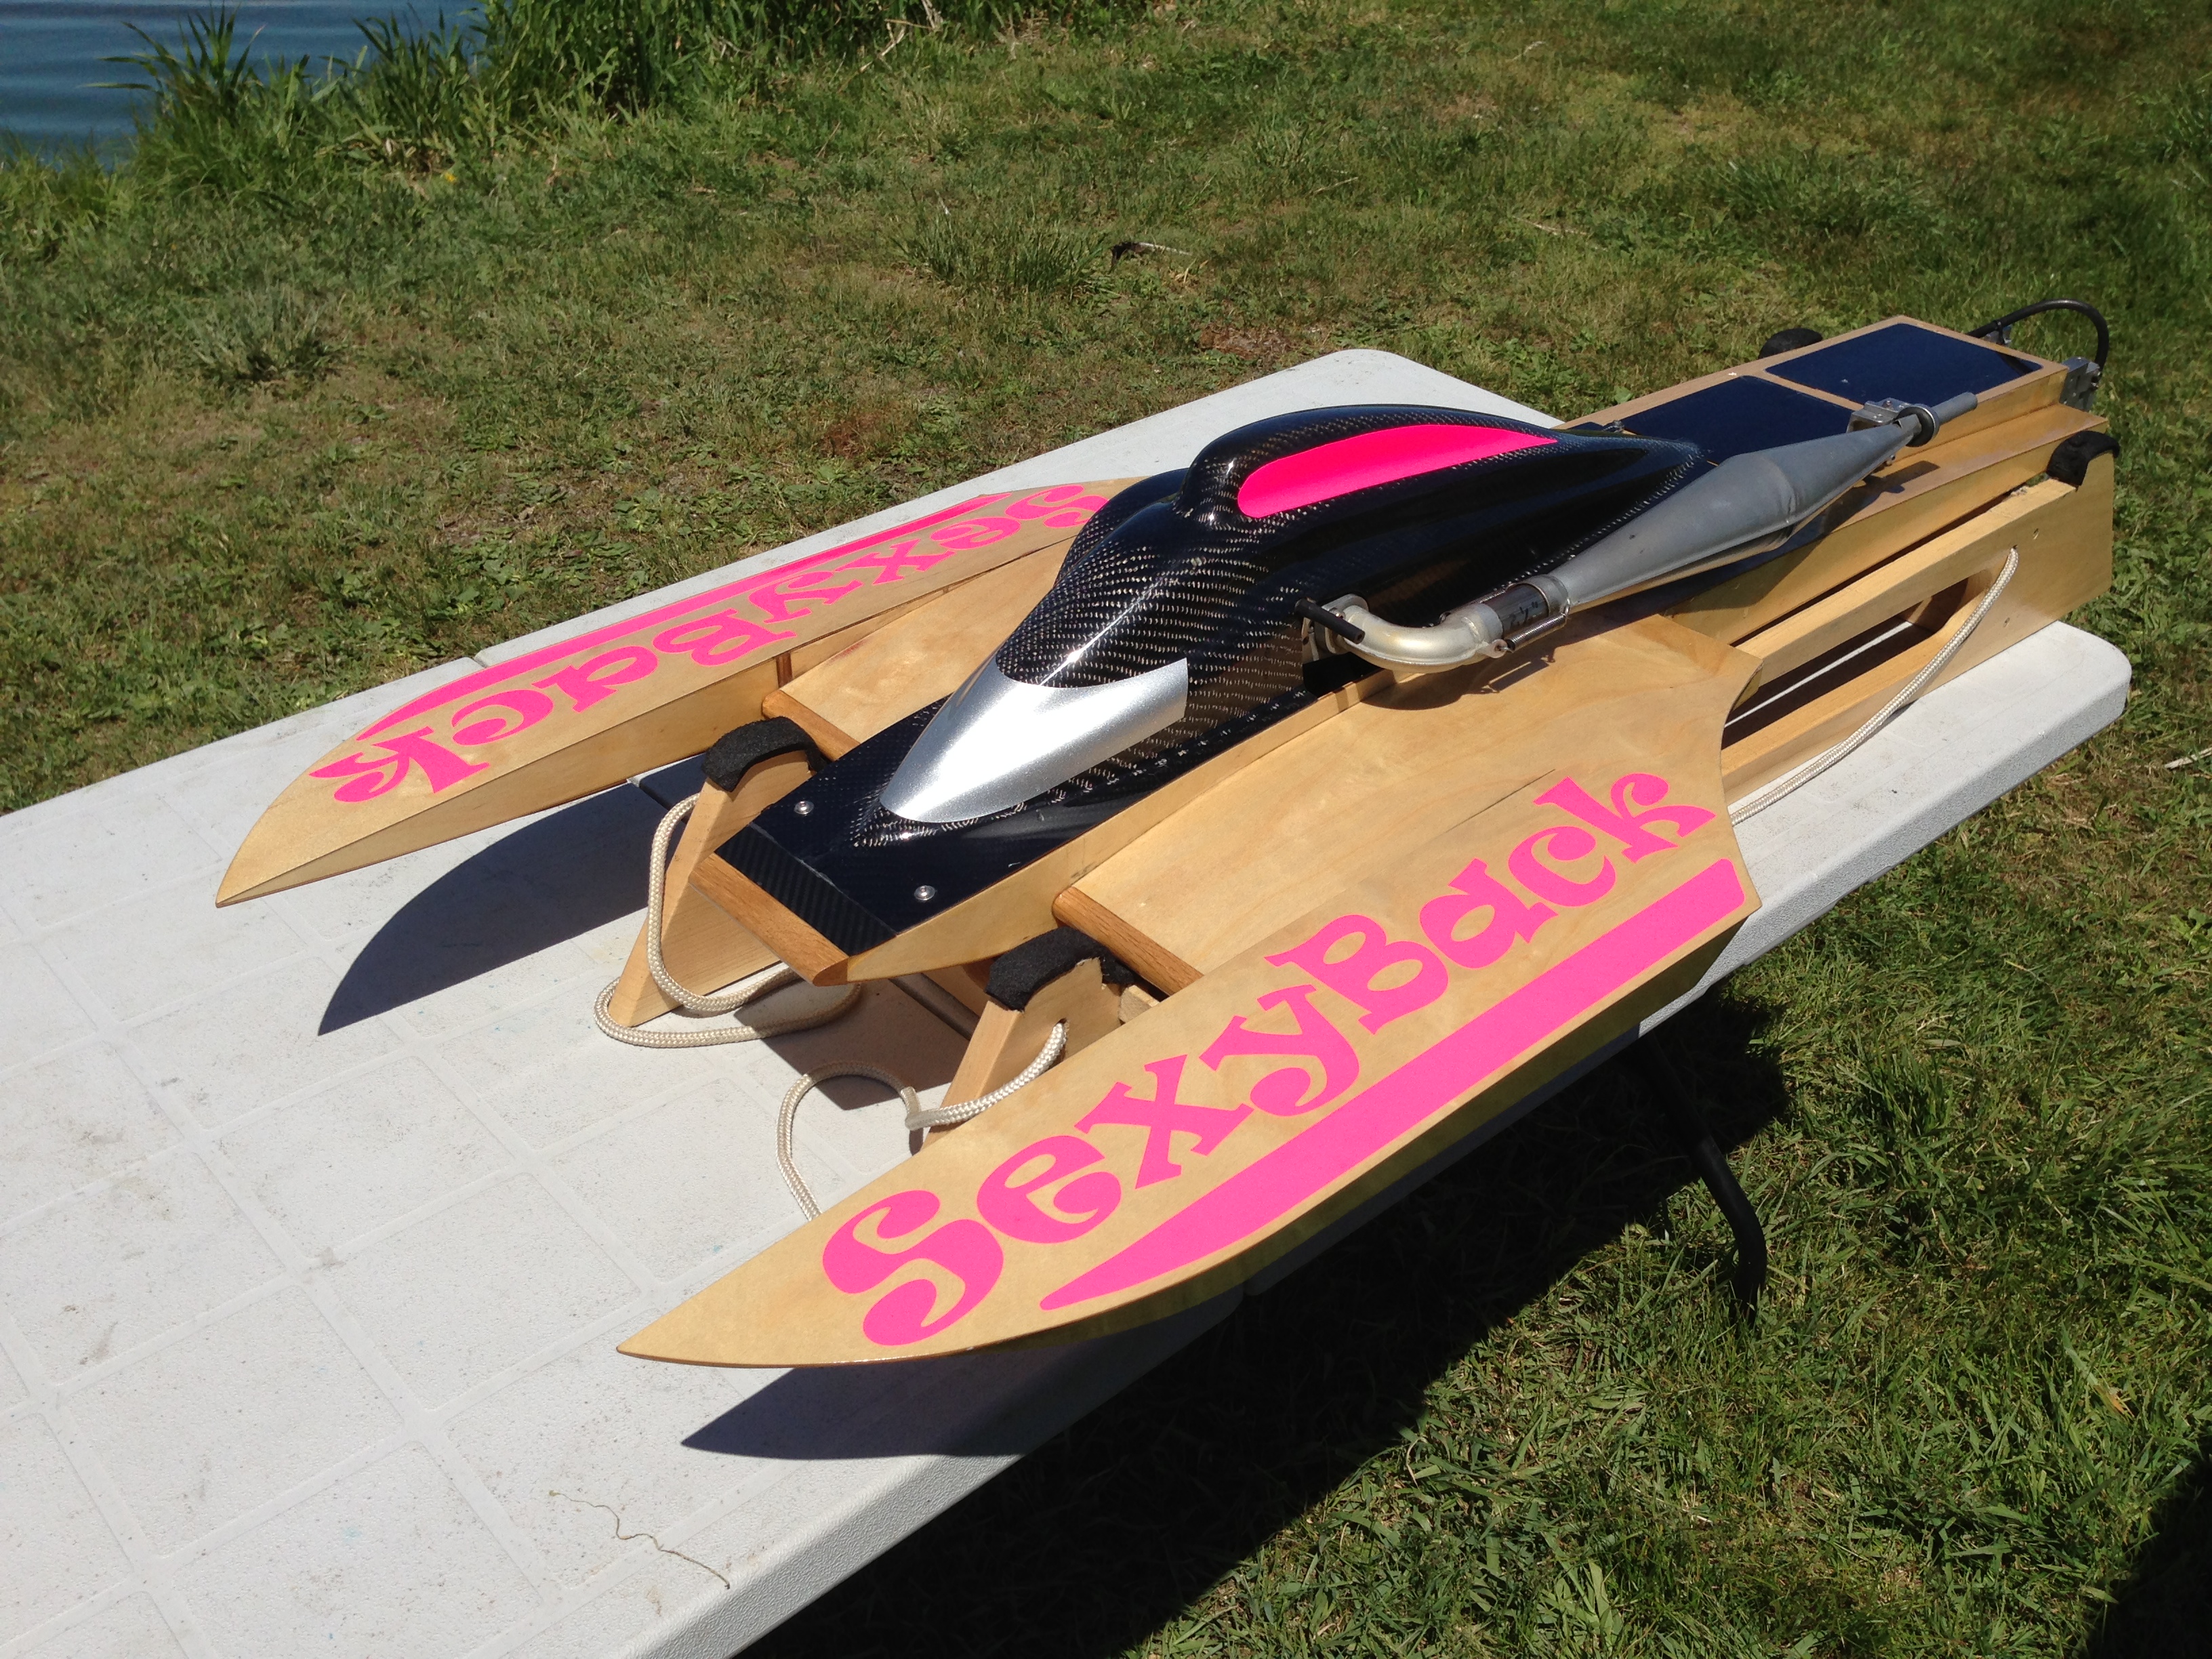
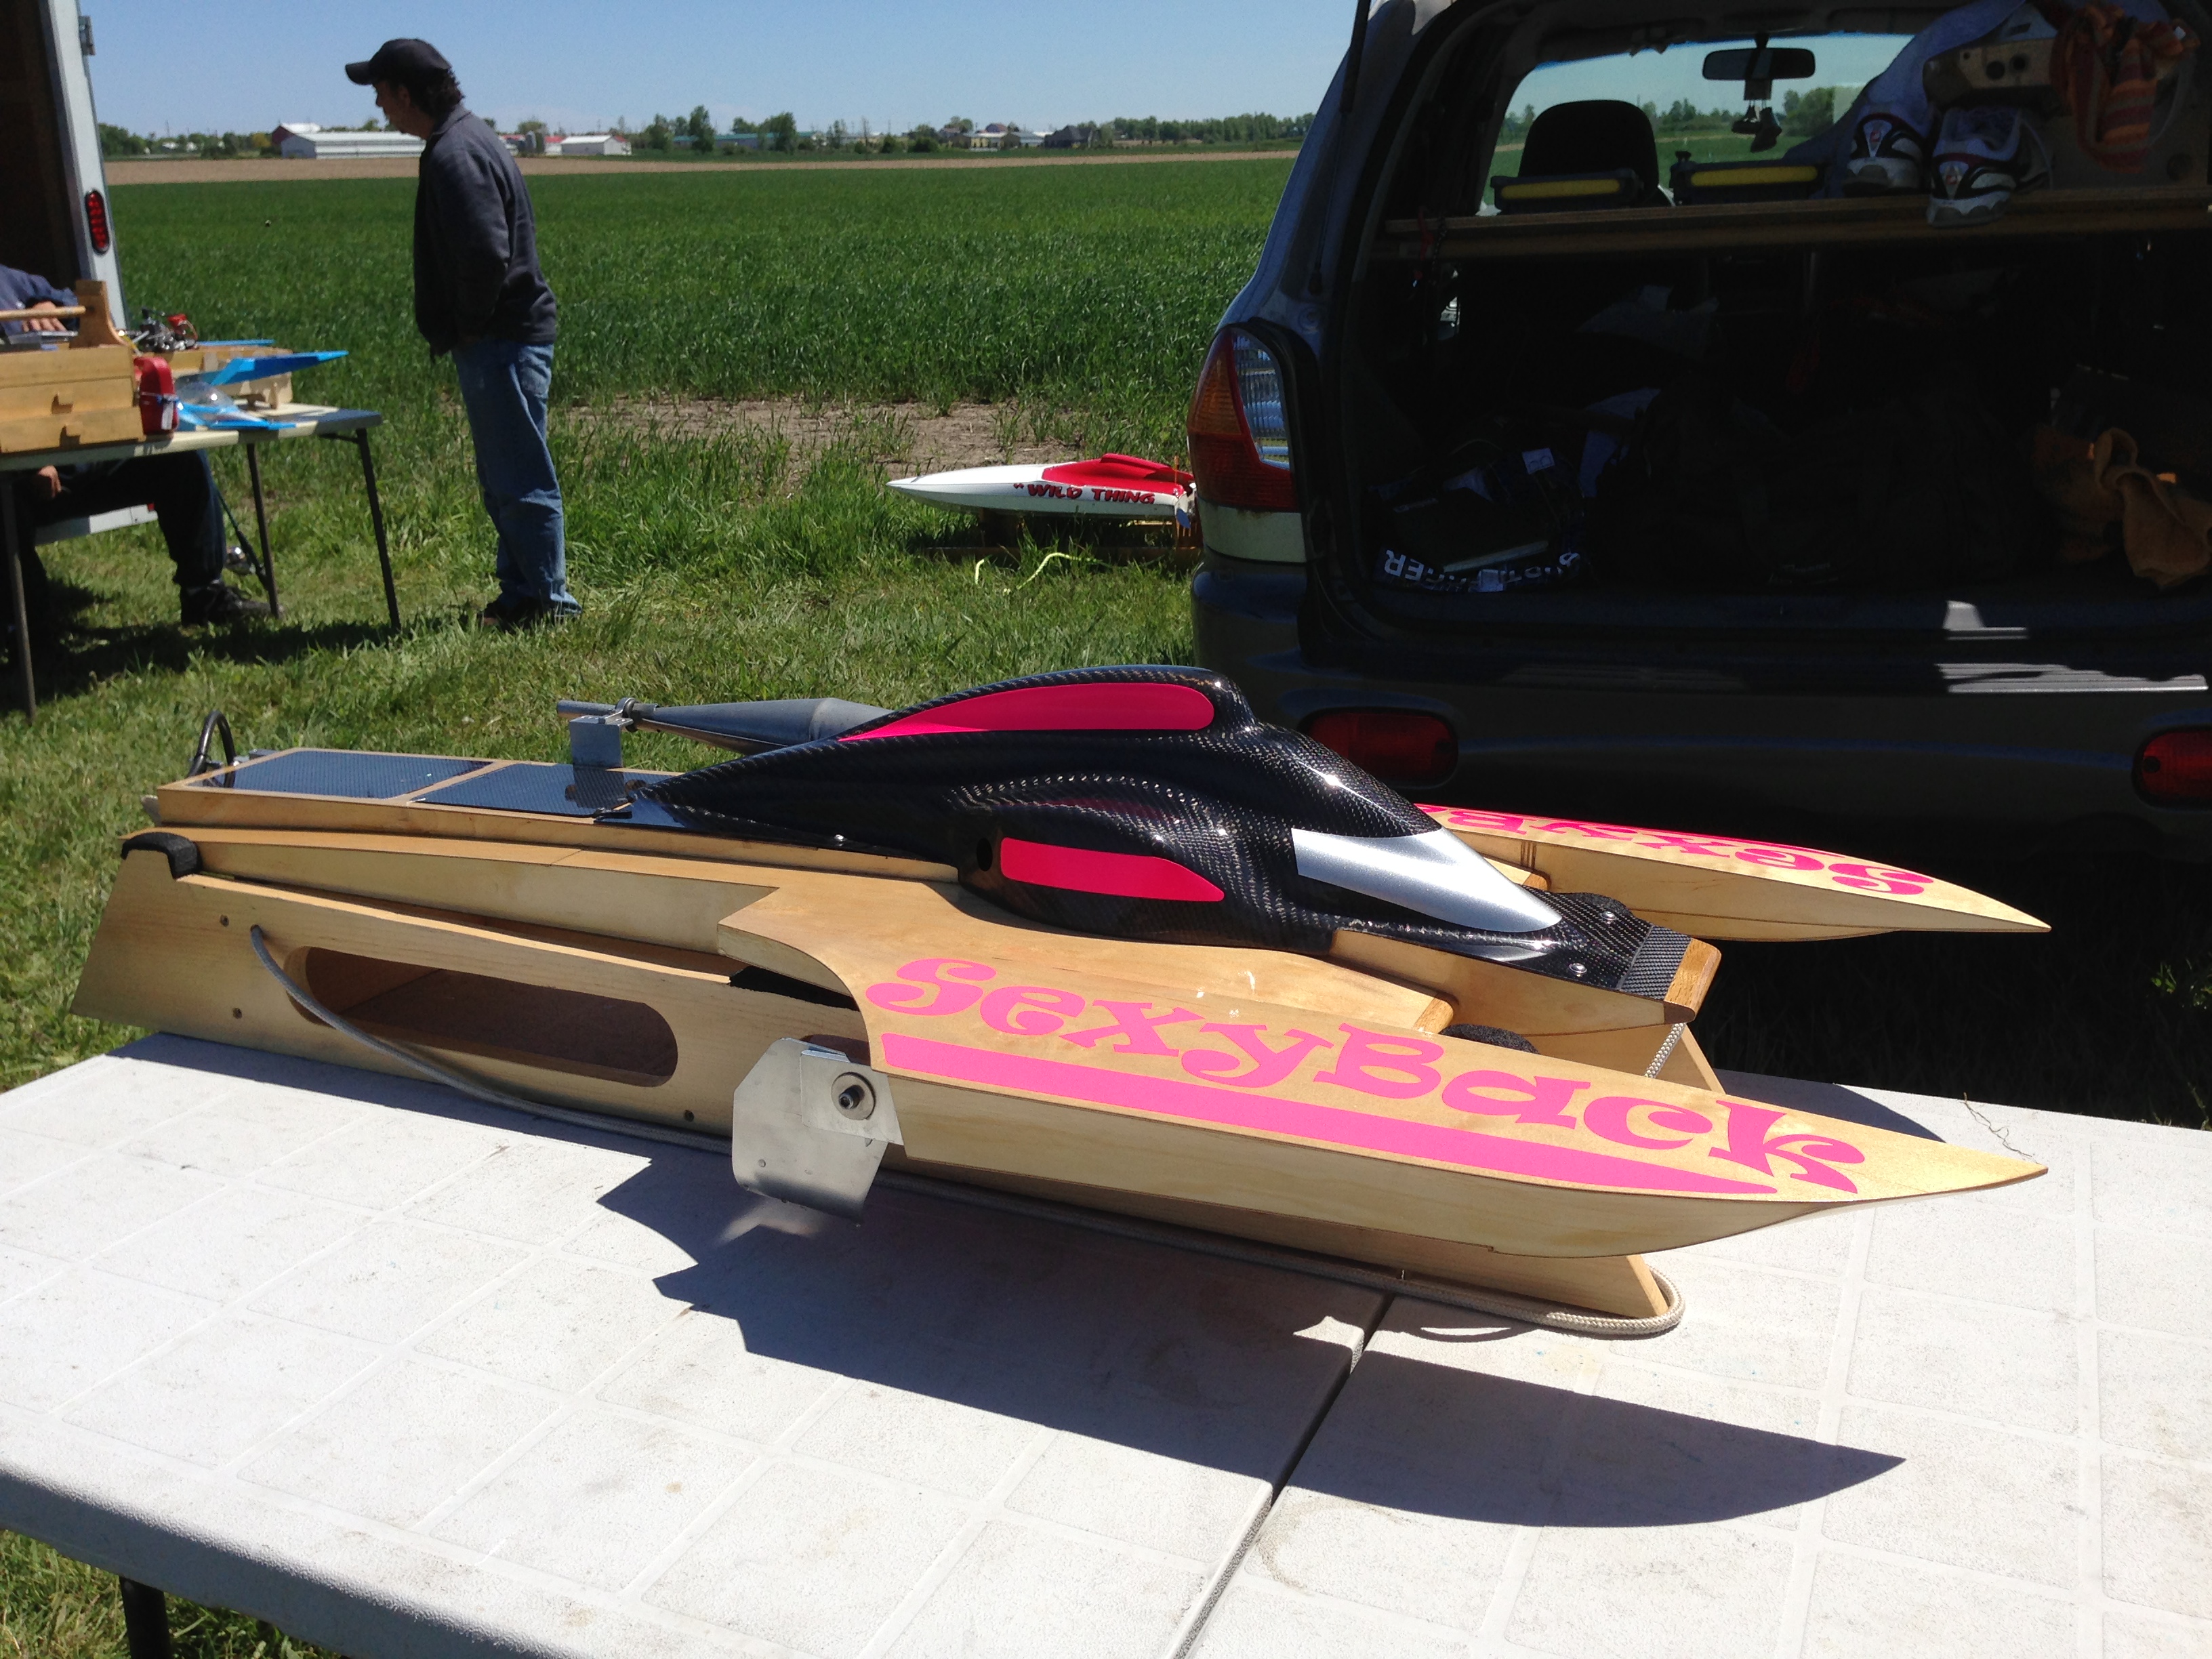
I received the hull from Marc in late 2012. All I can say is WOW! He did a fantastic job. The hull has beautifully finished. All natural wood with some added Carbon Fiber where he felt it needed a little extra strength so that the hull would last for many seasons of hard racing.
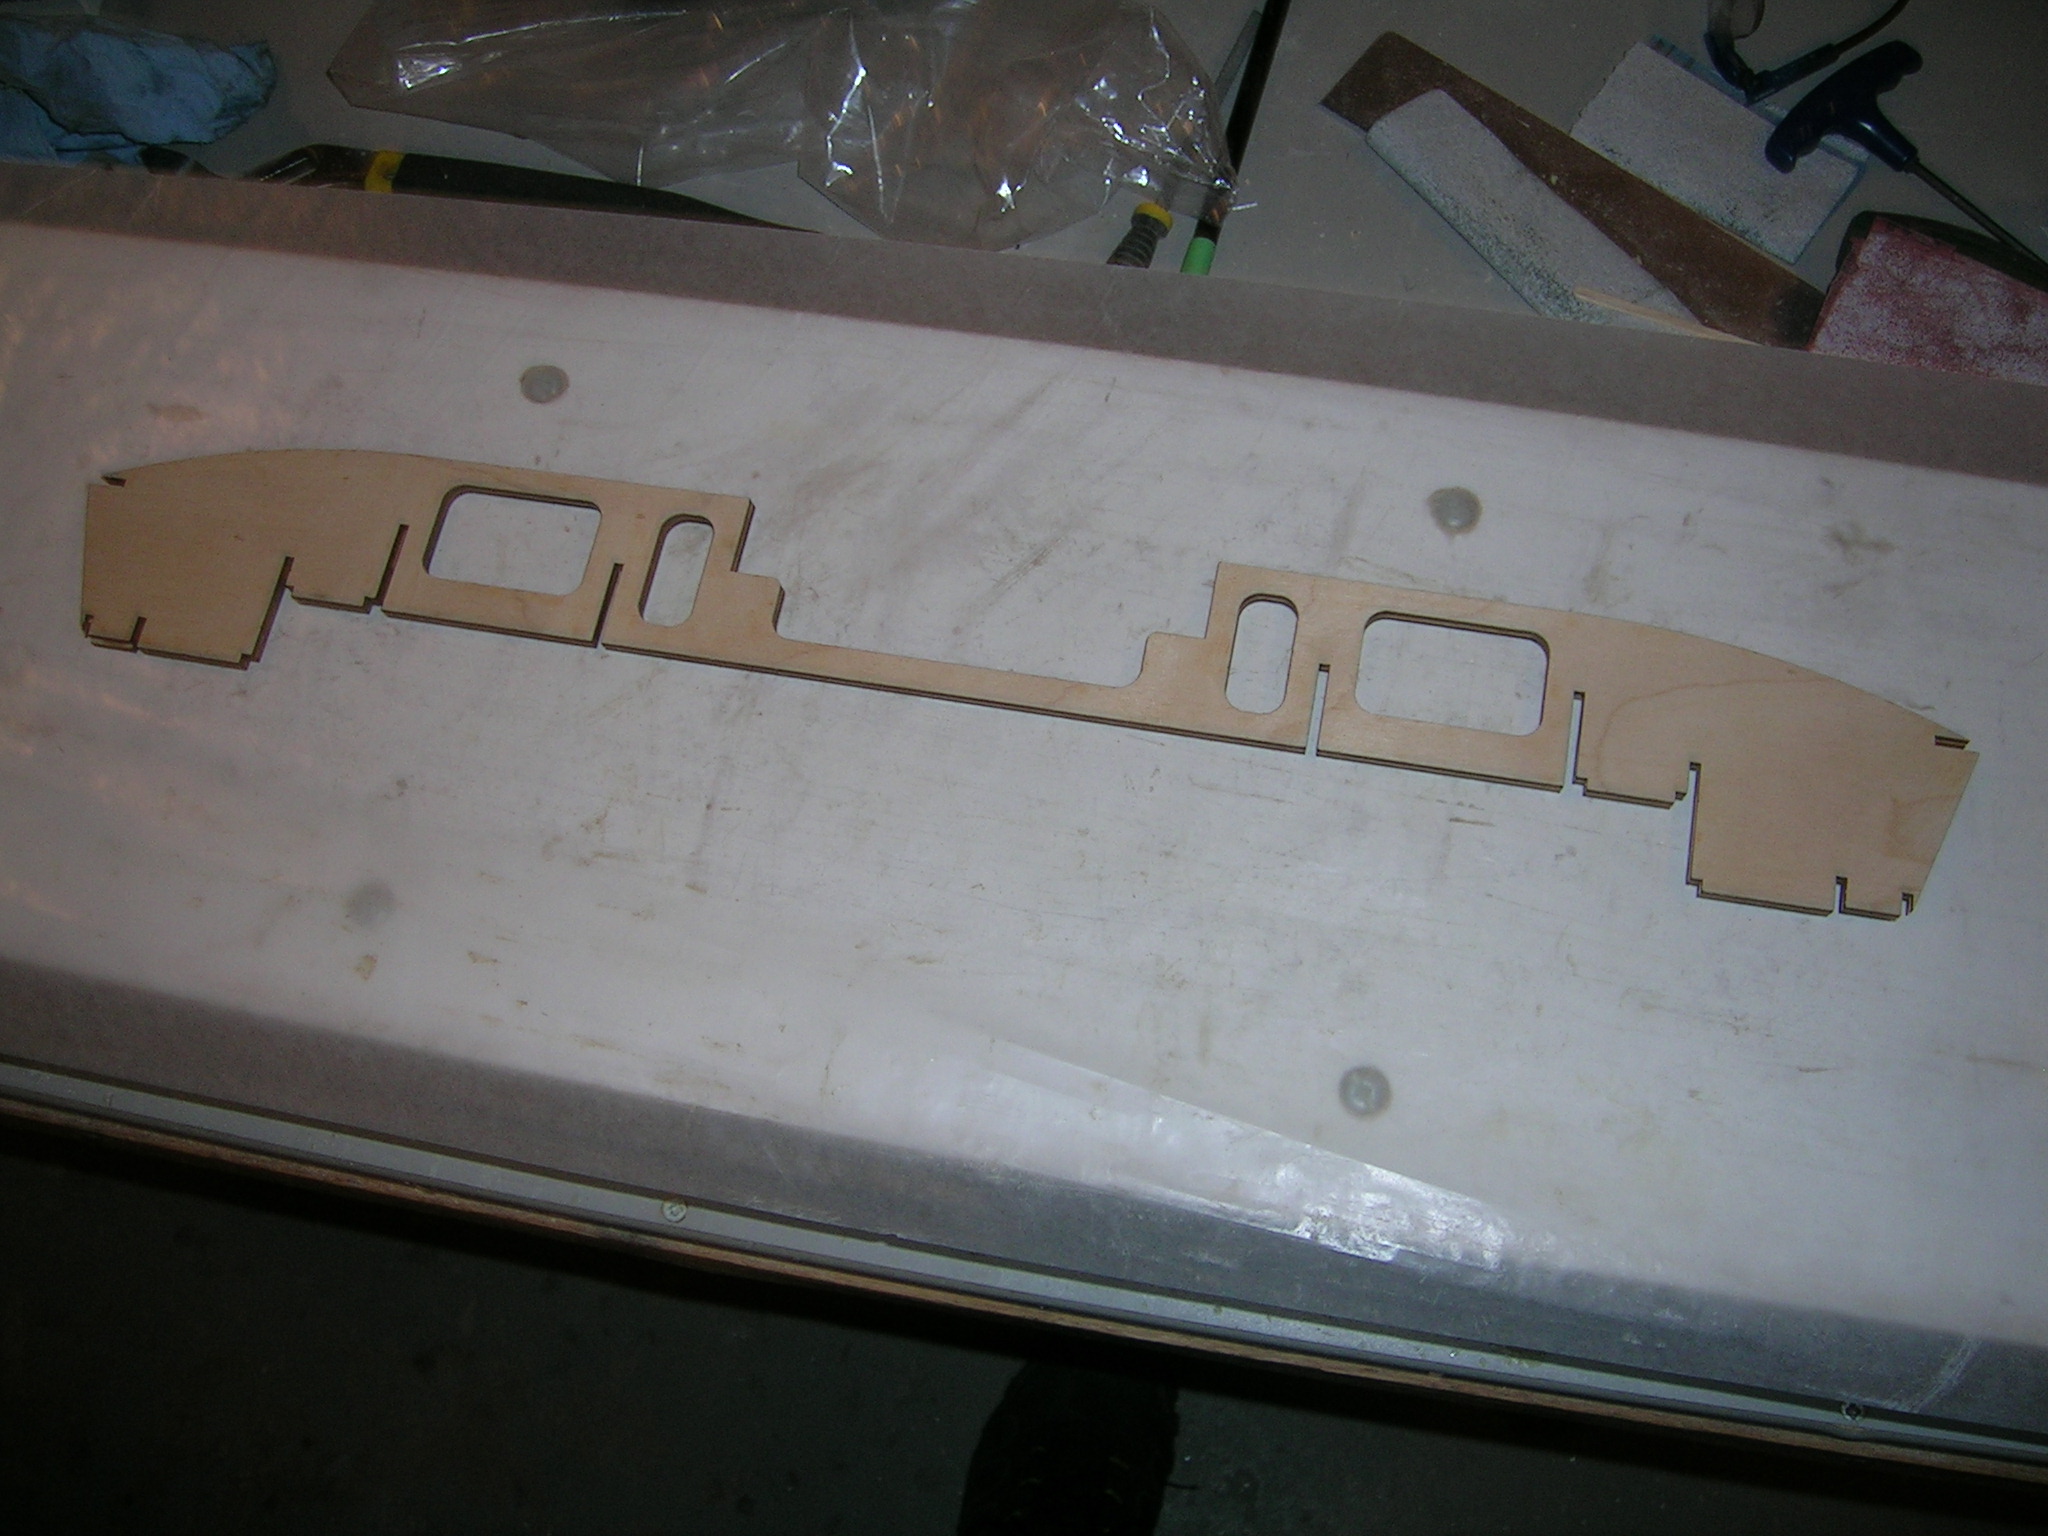
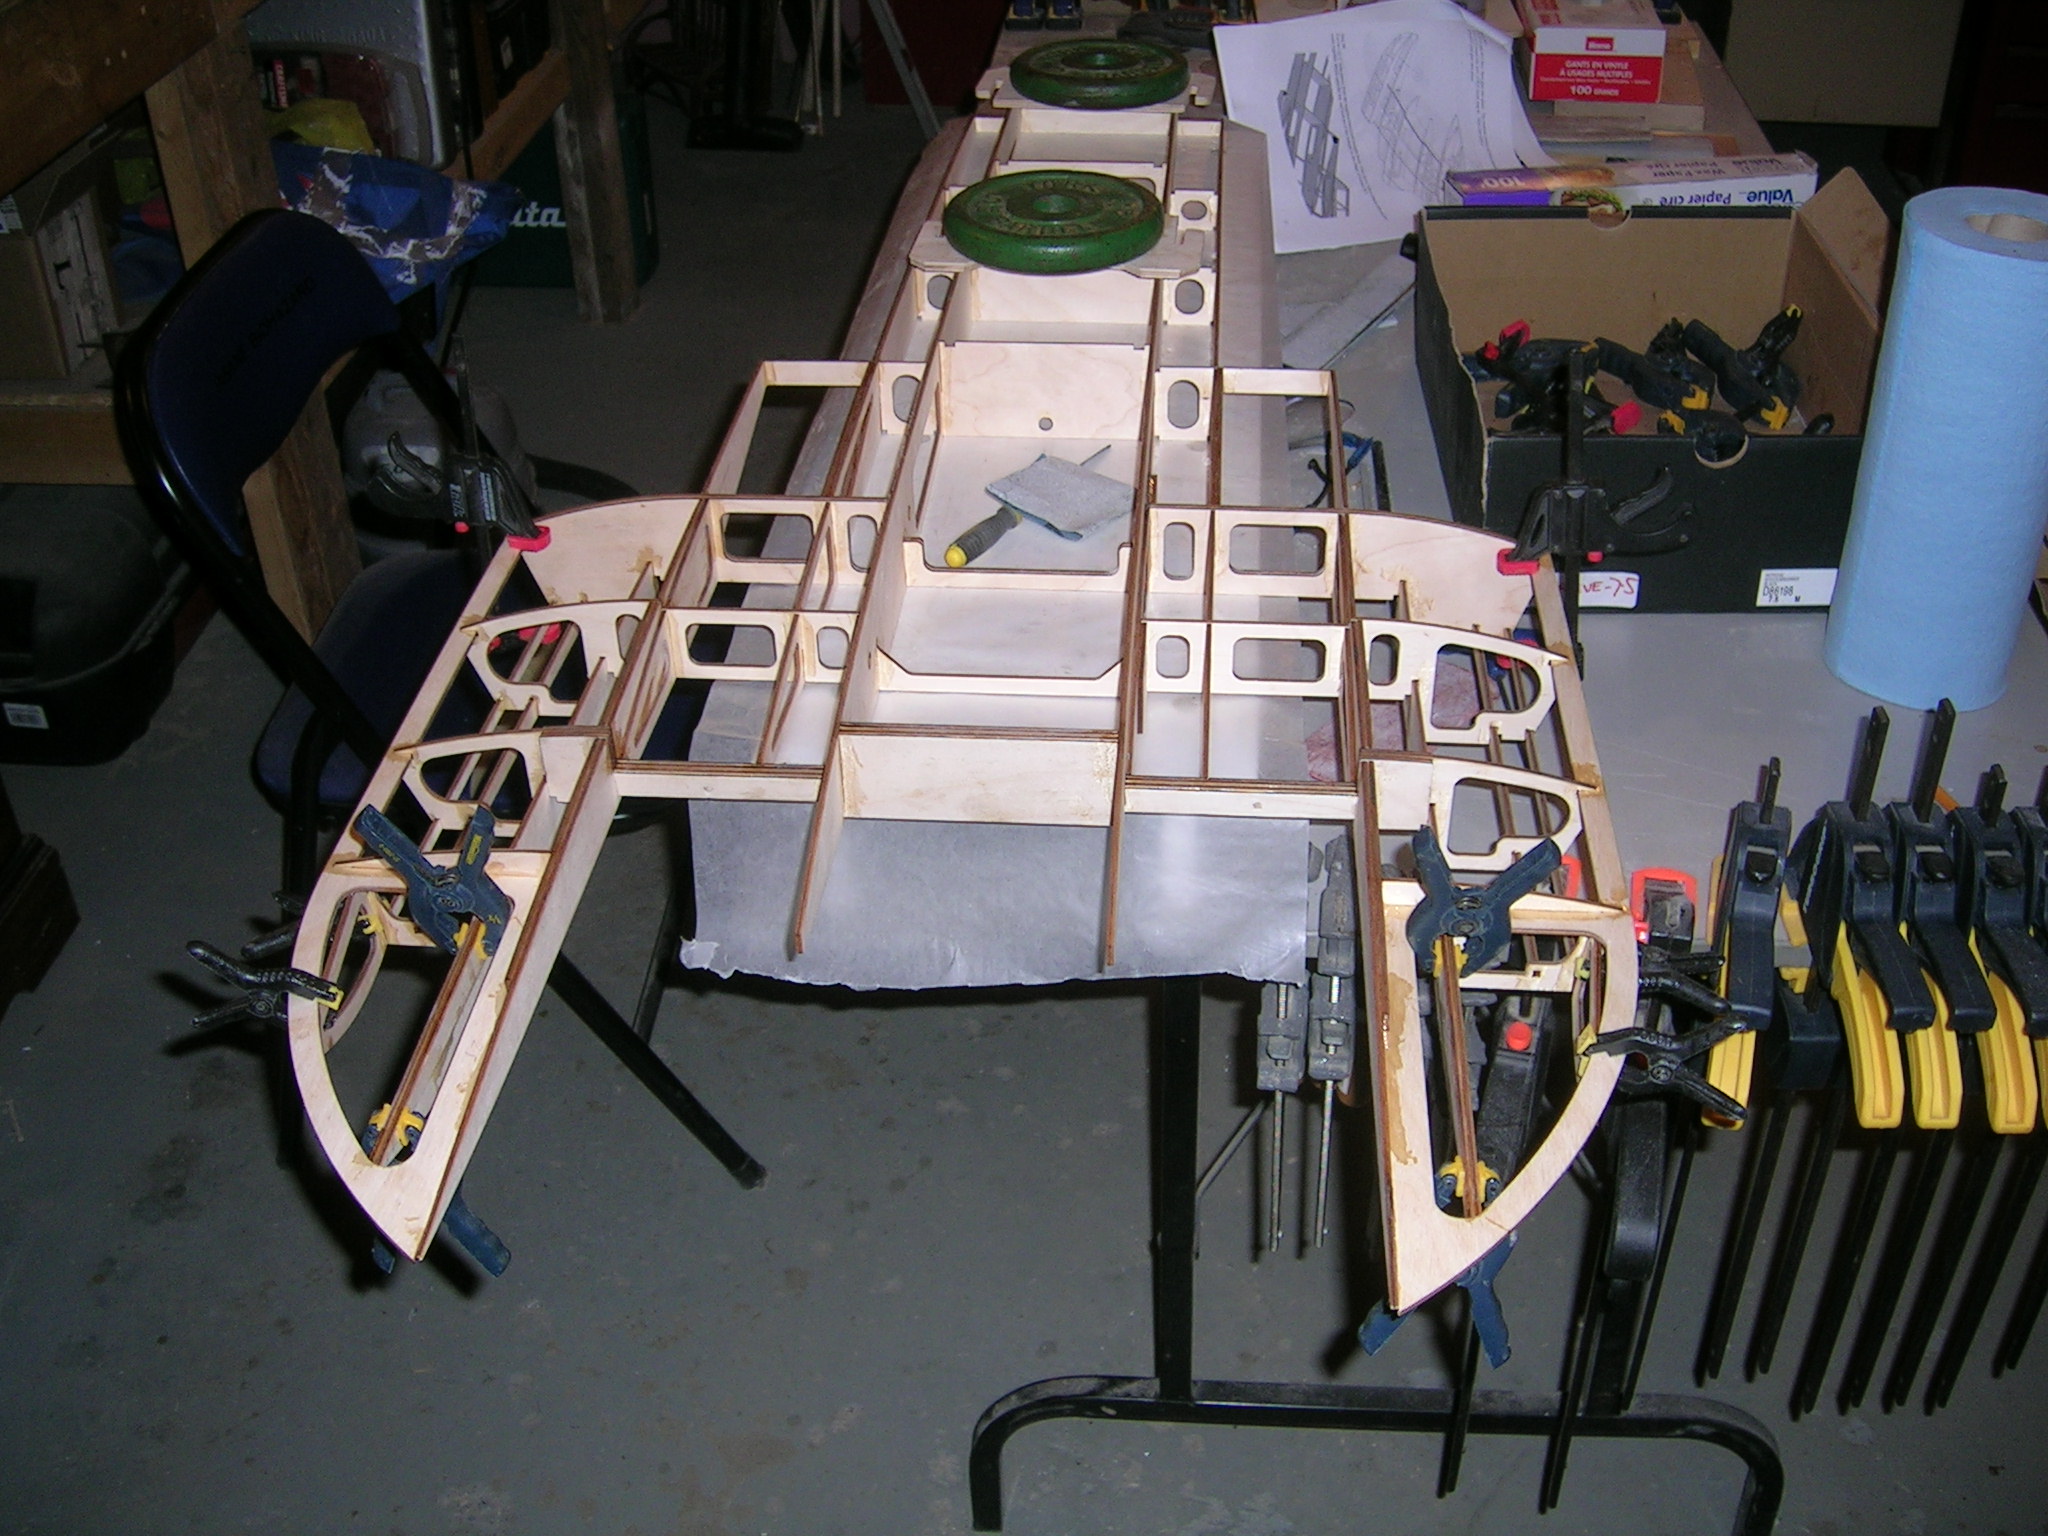
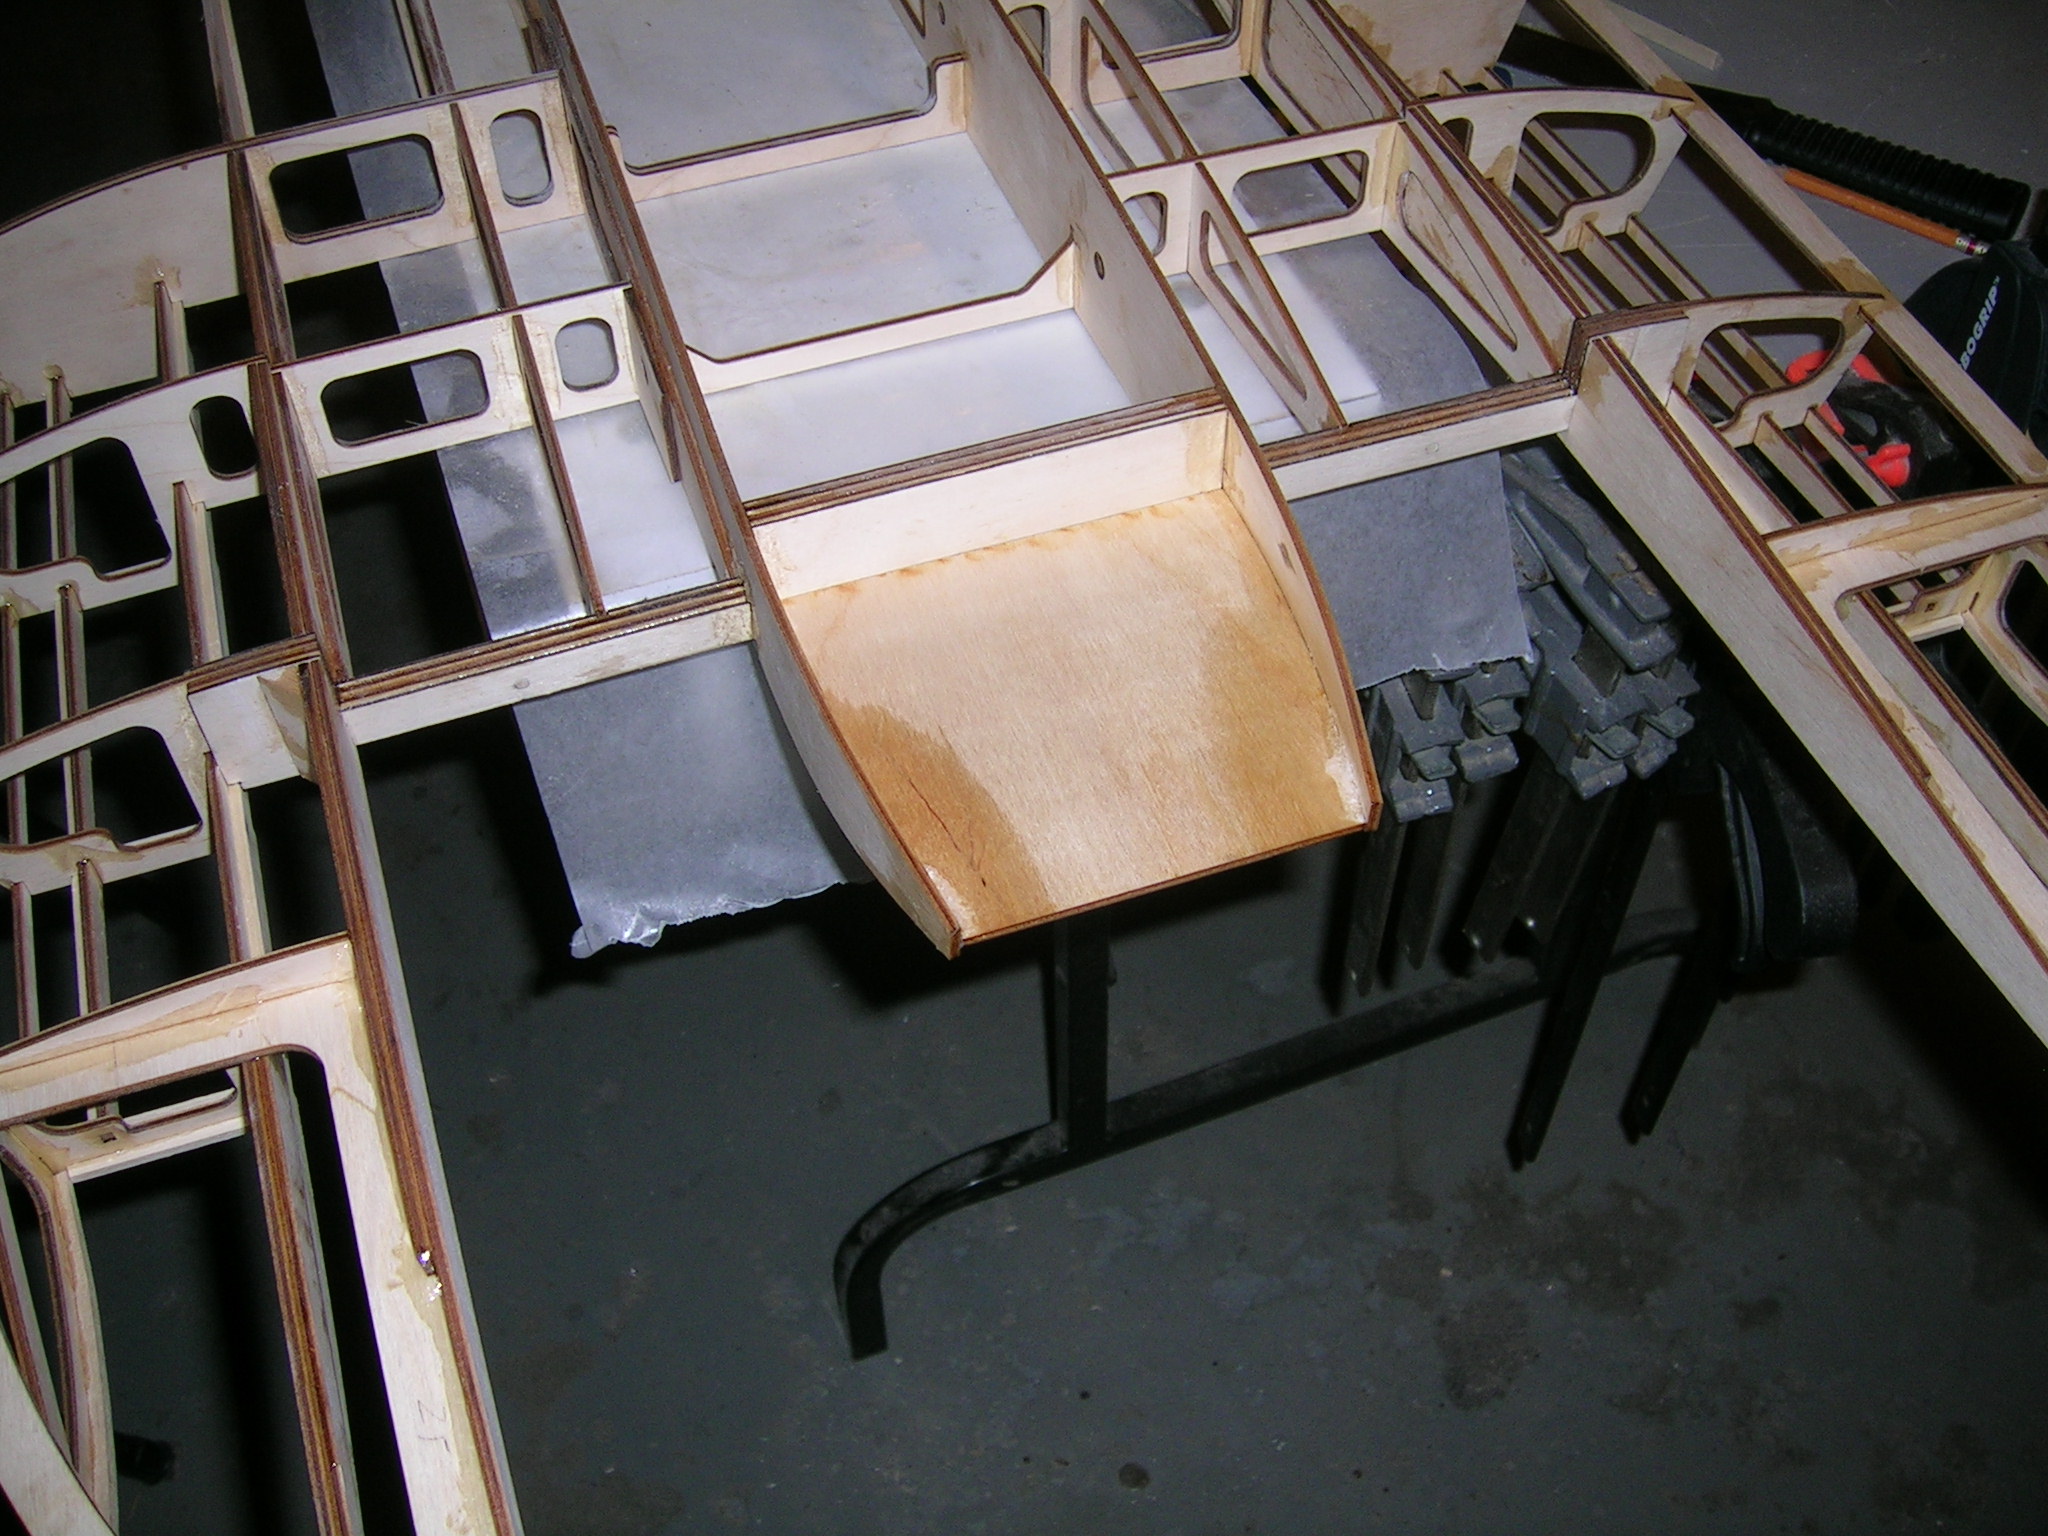
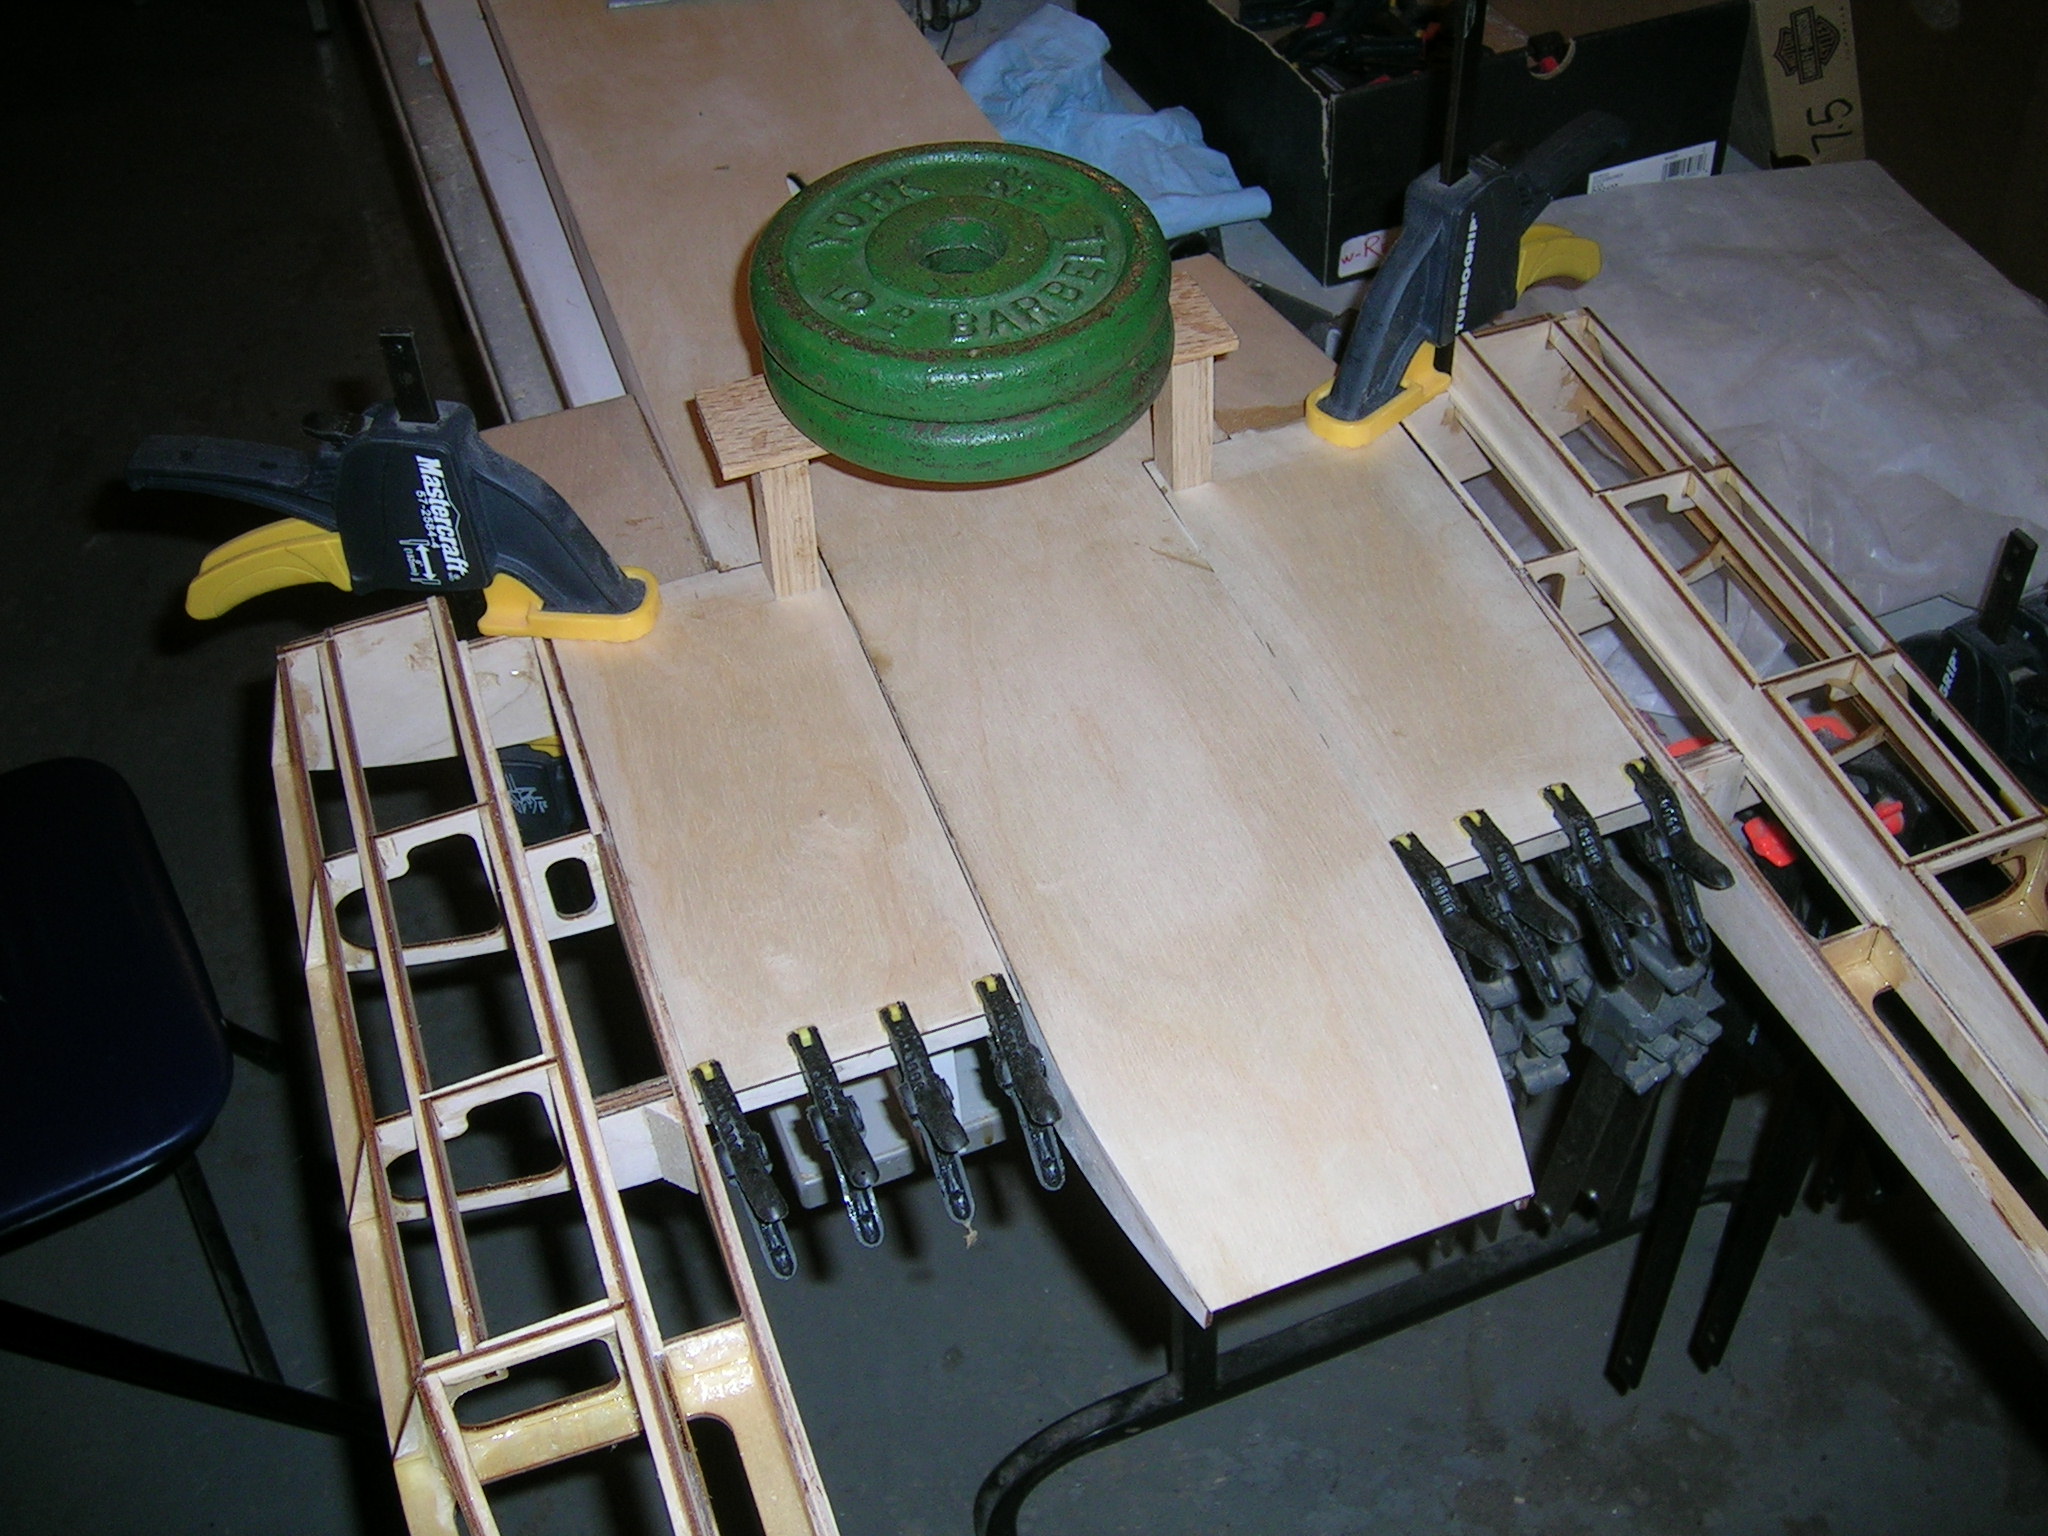
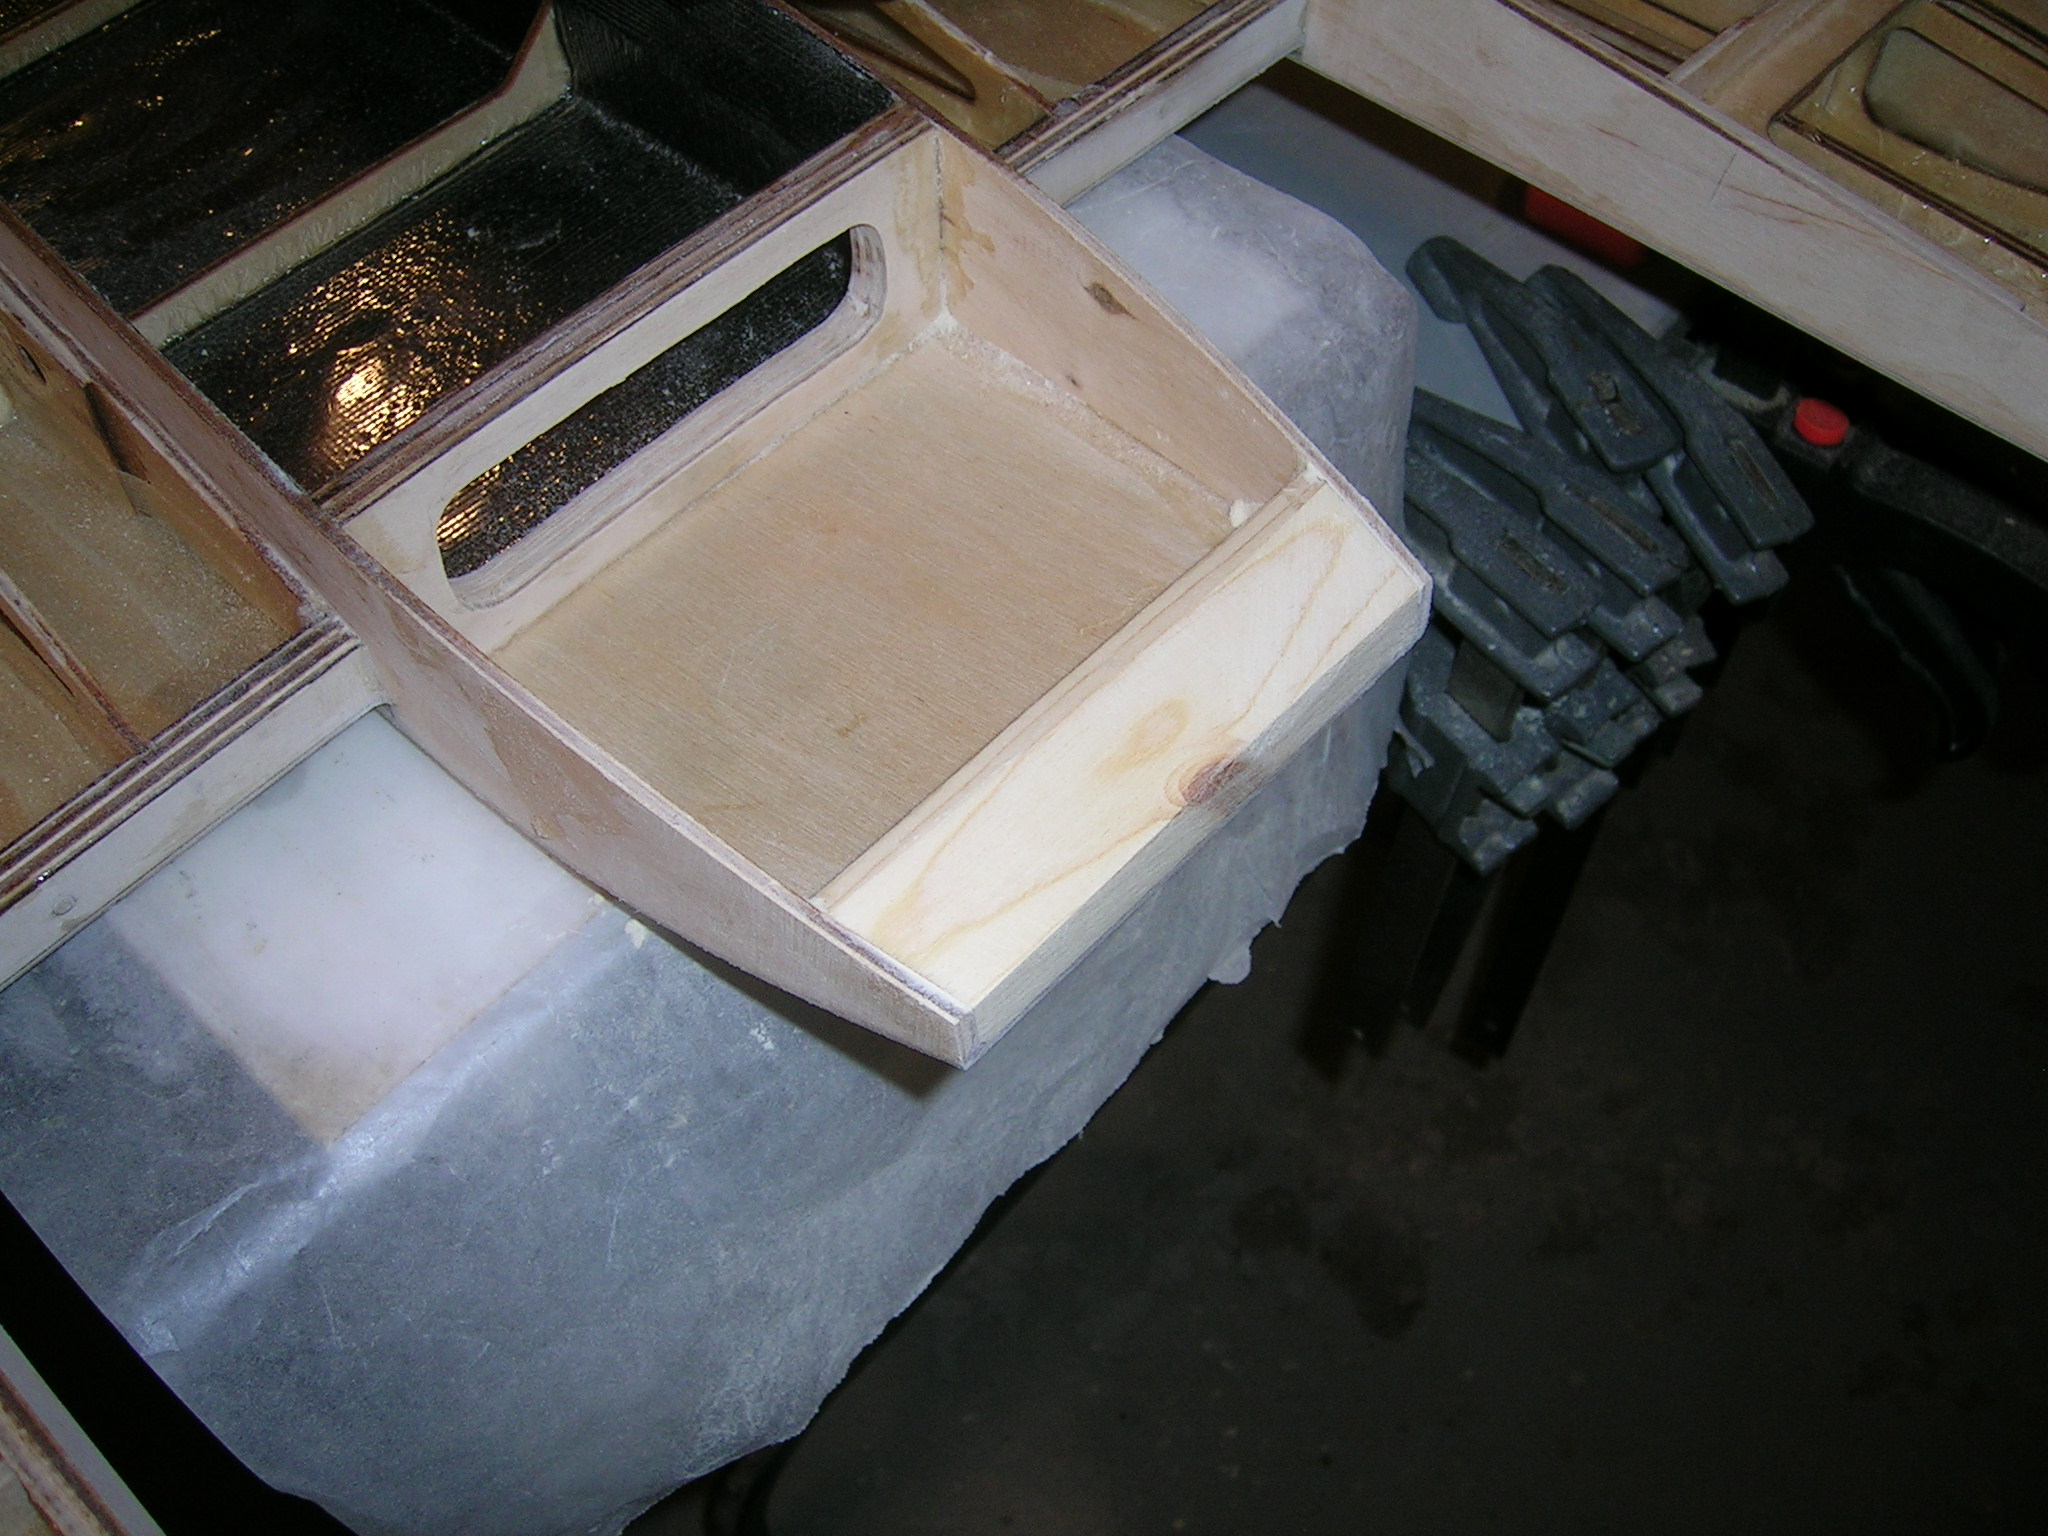
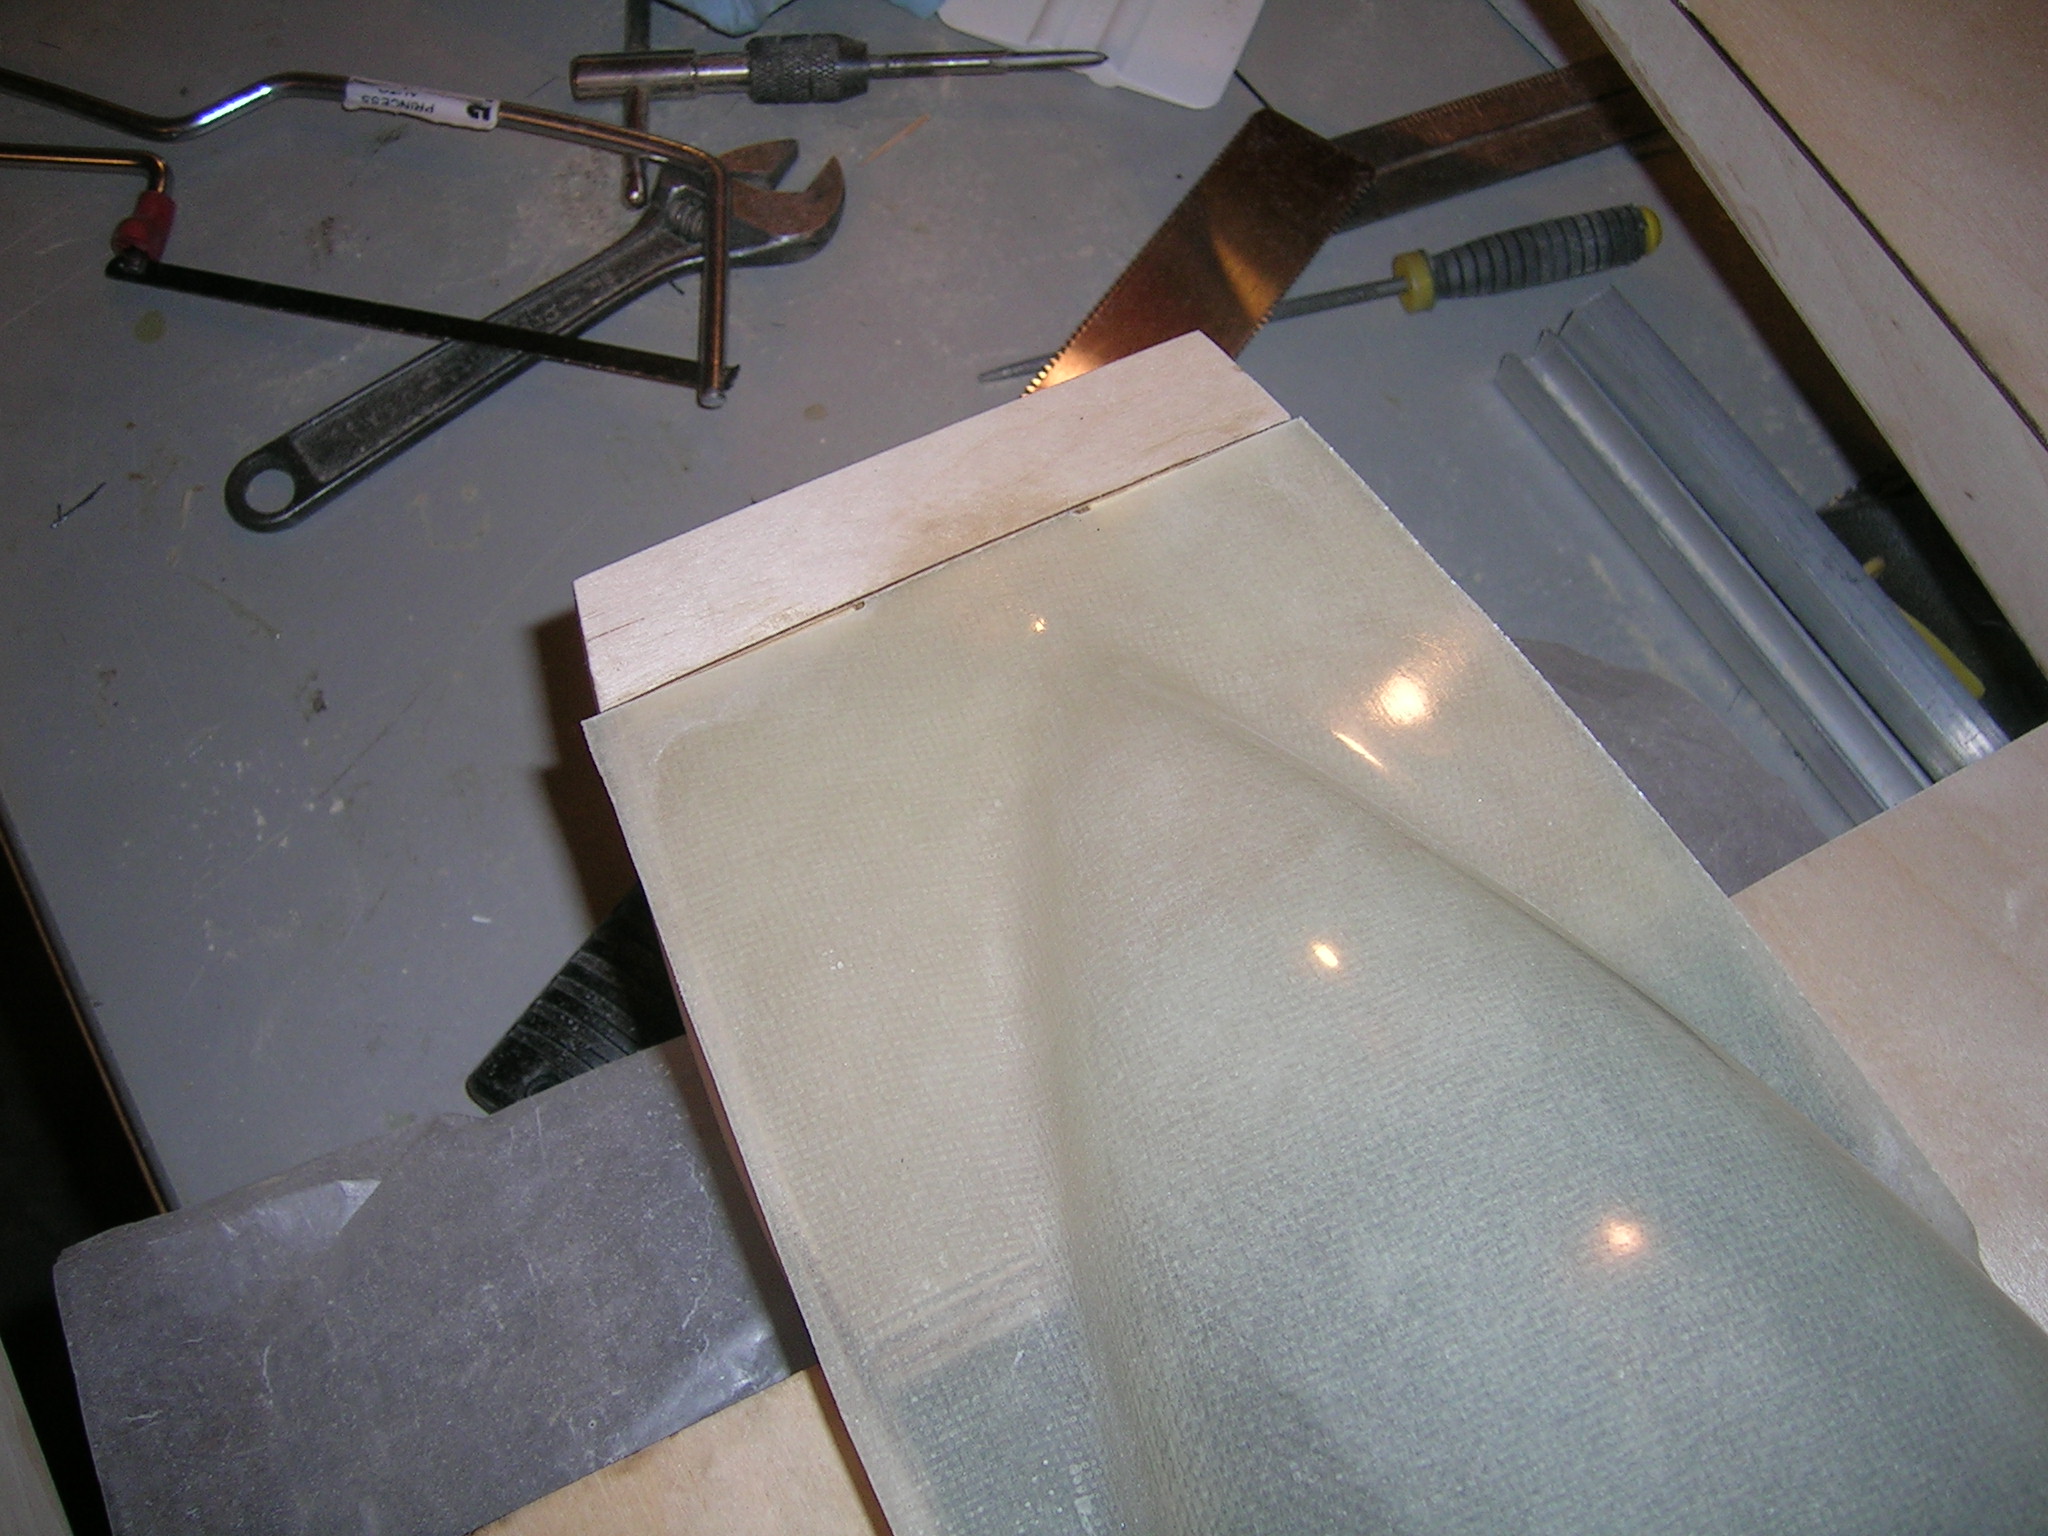
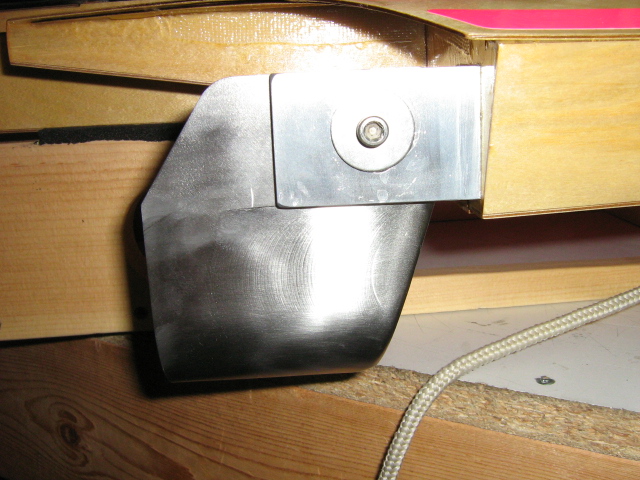
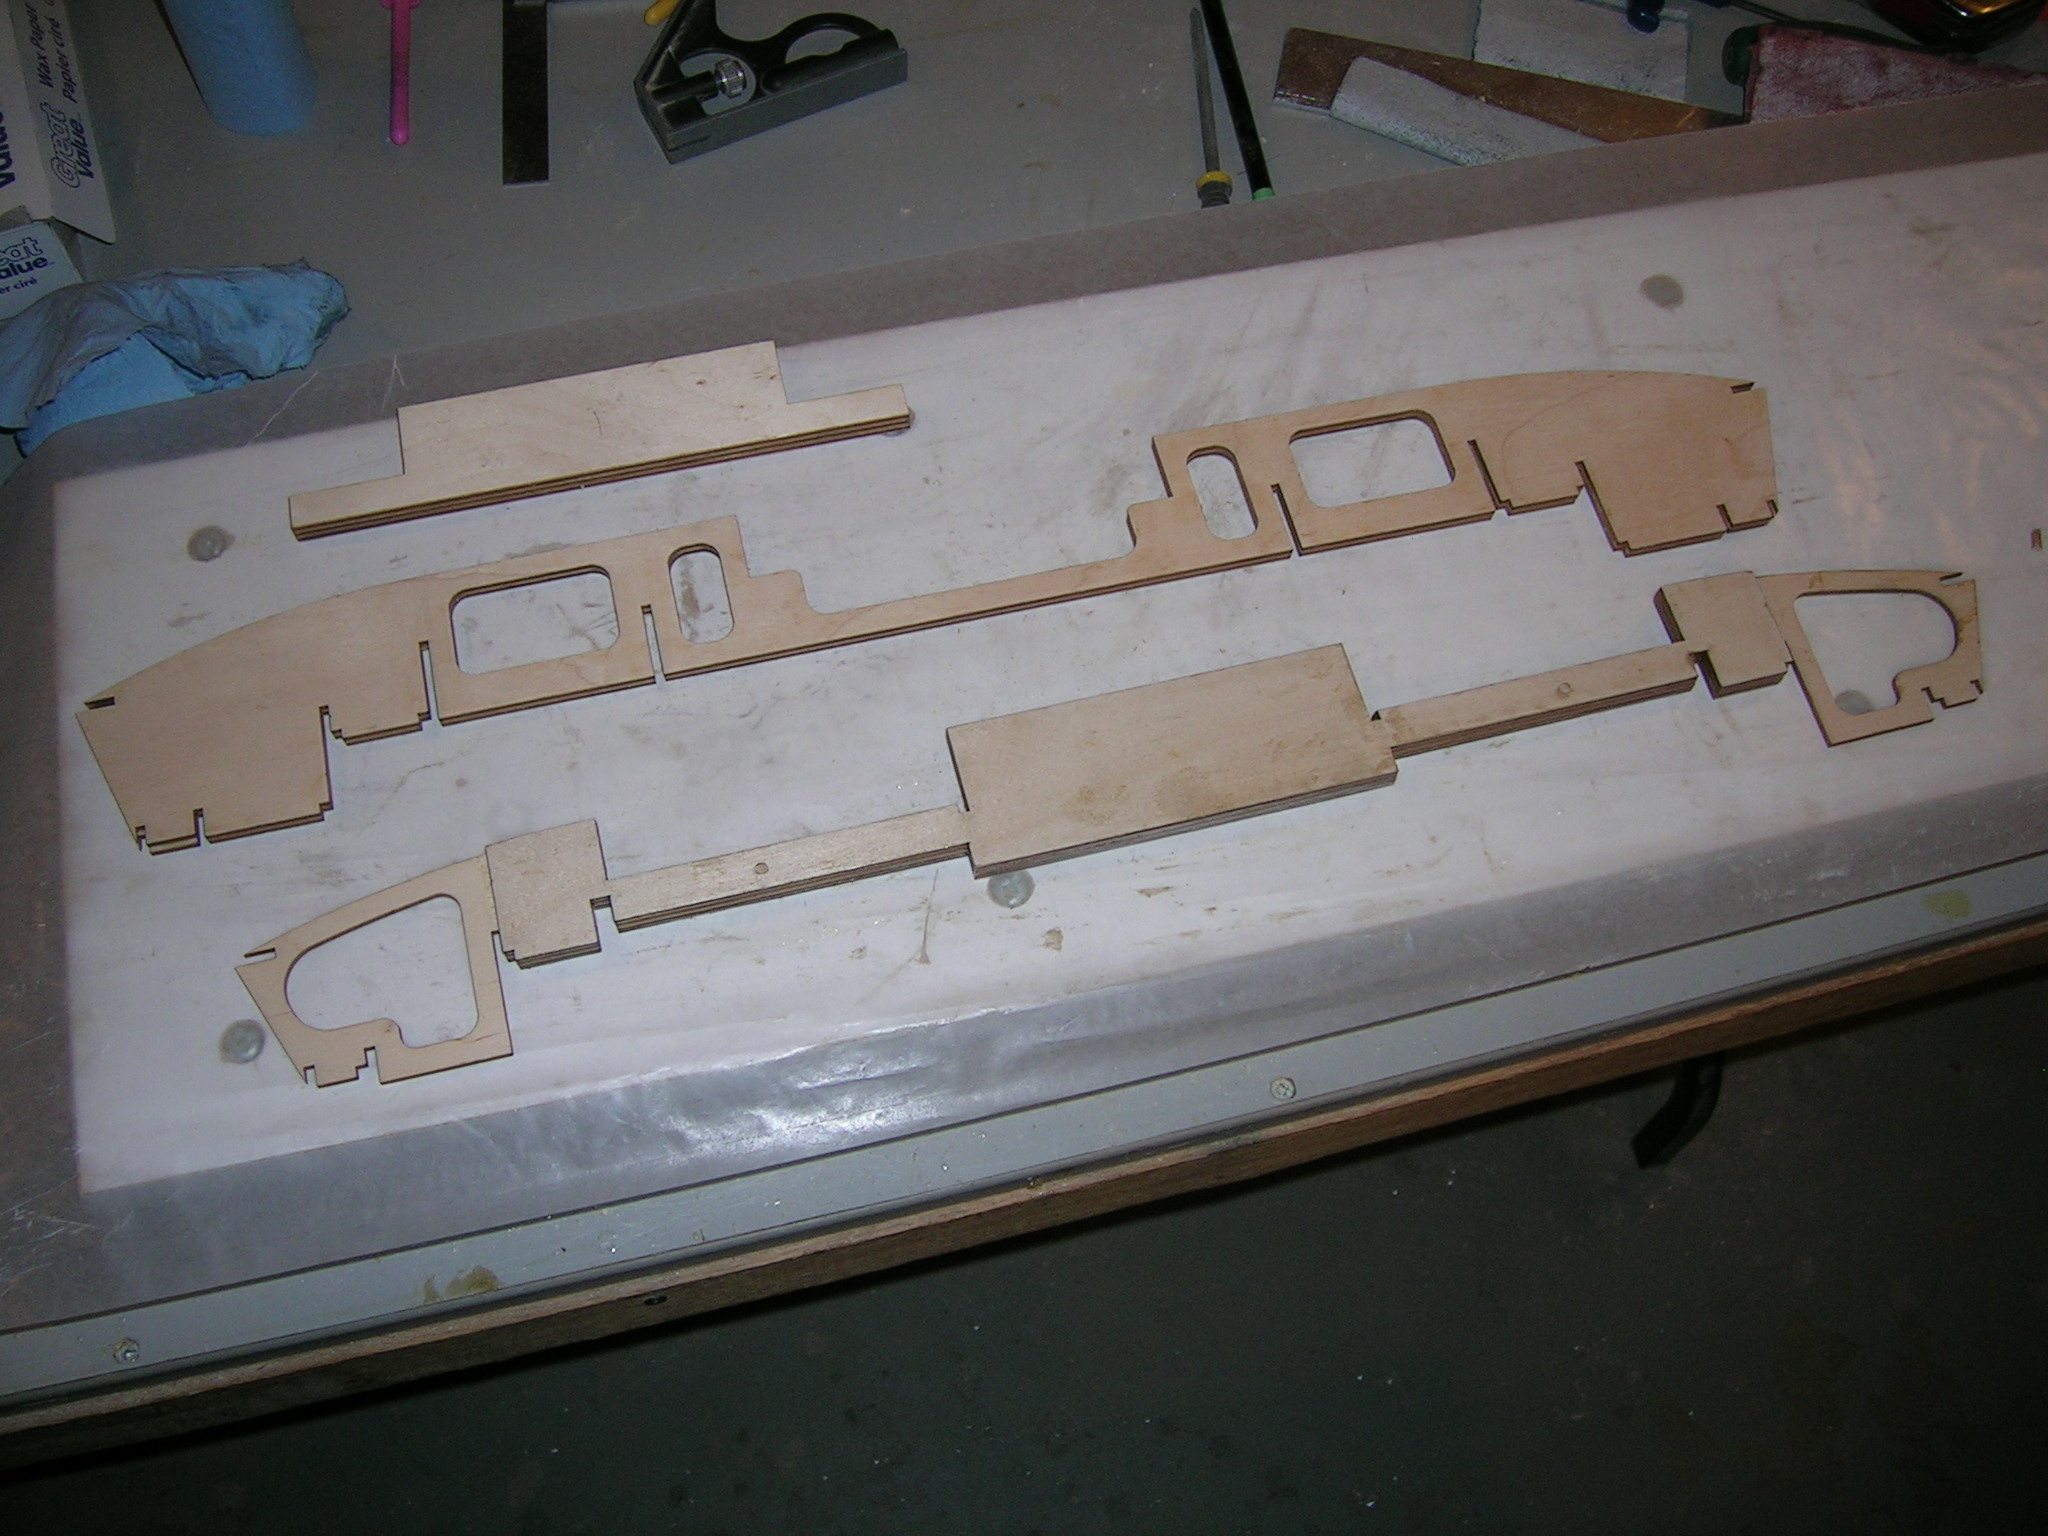
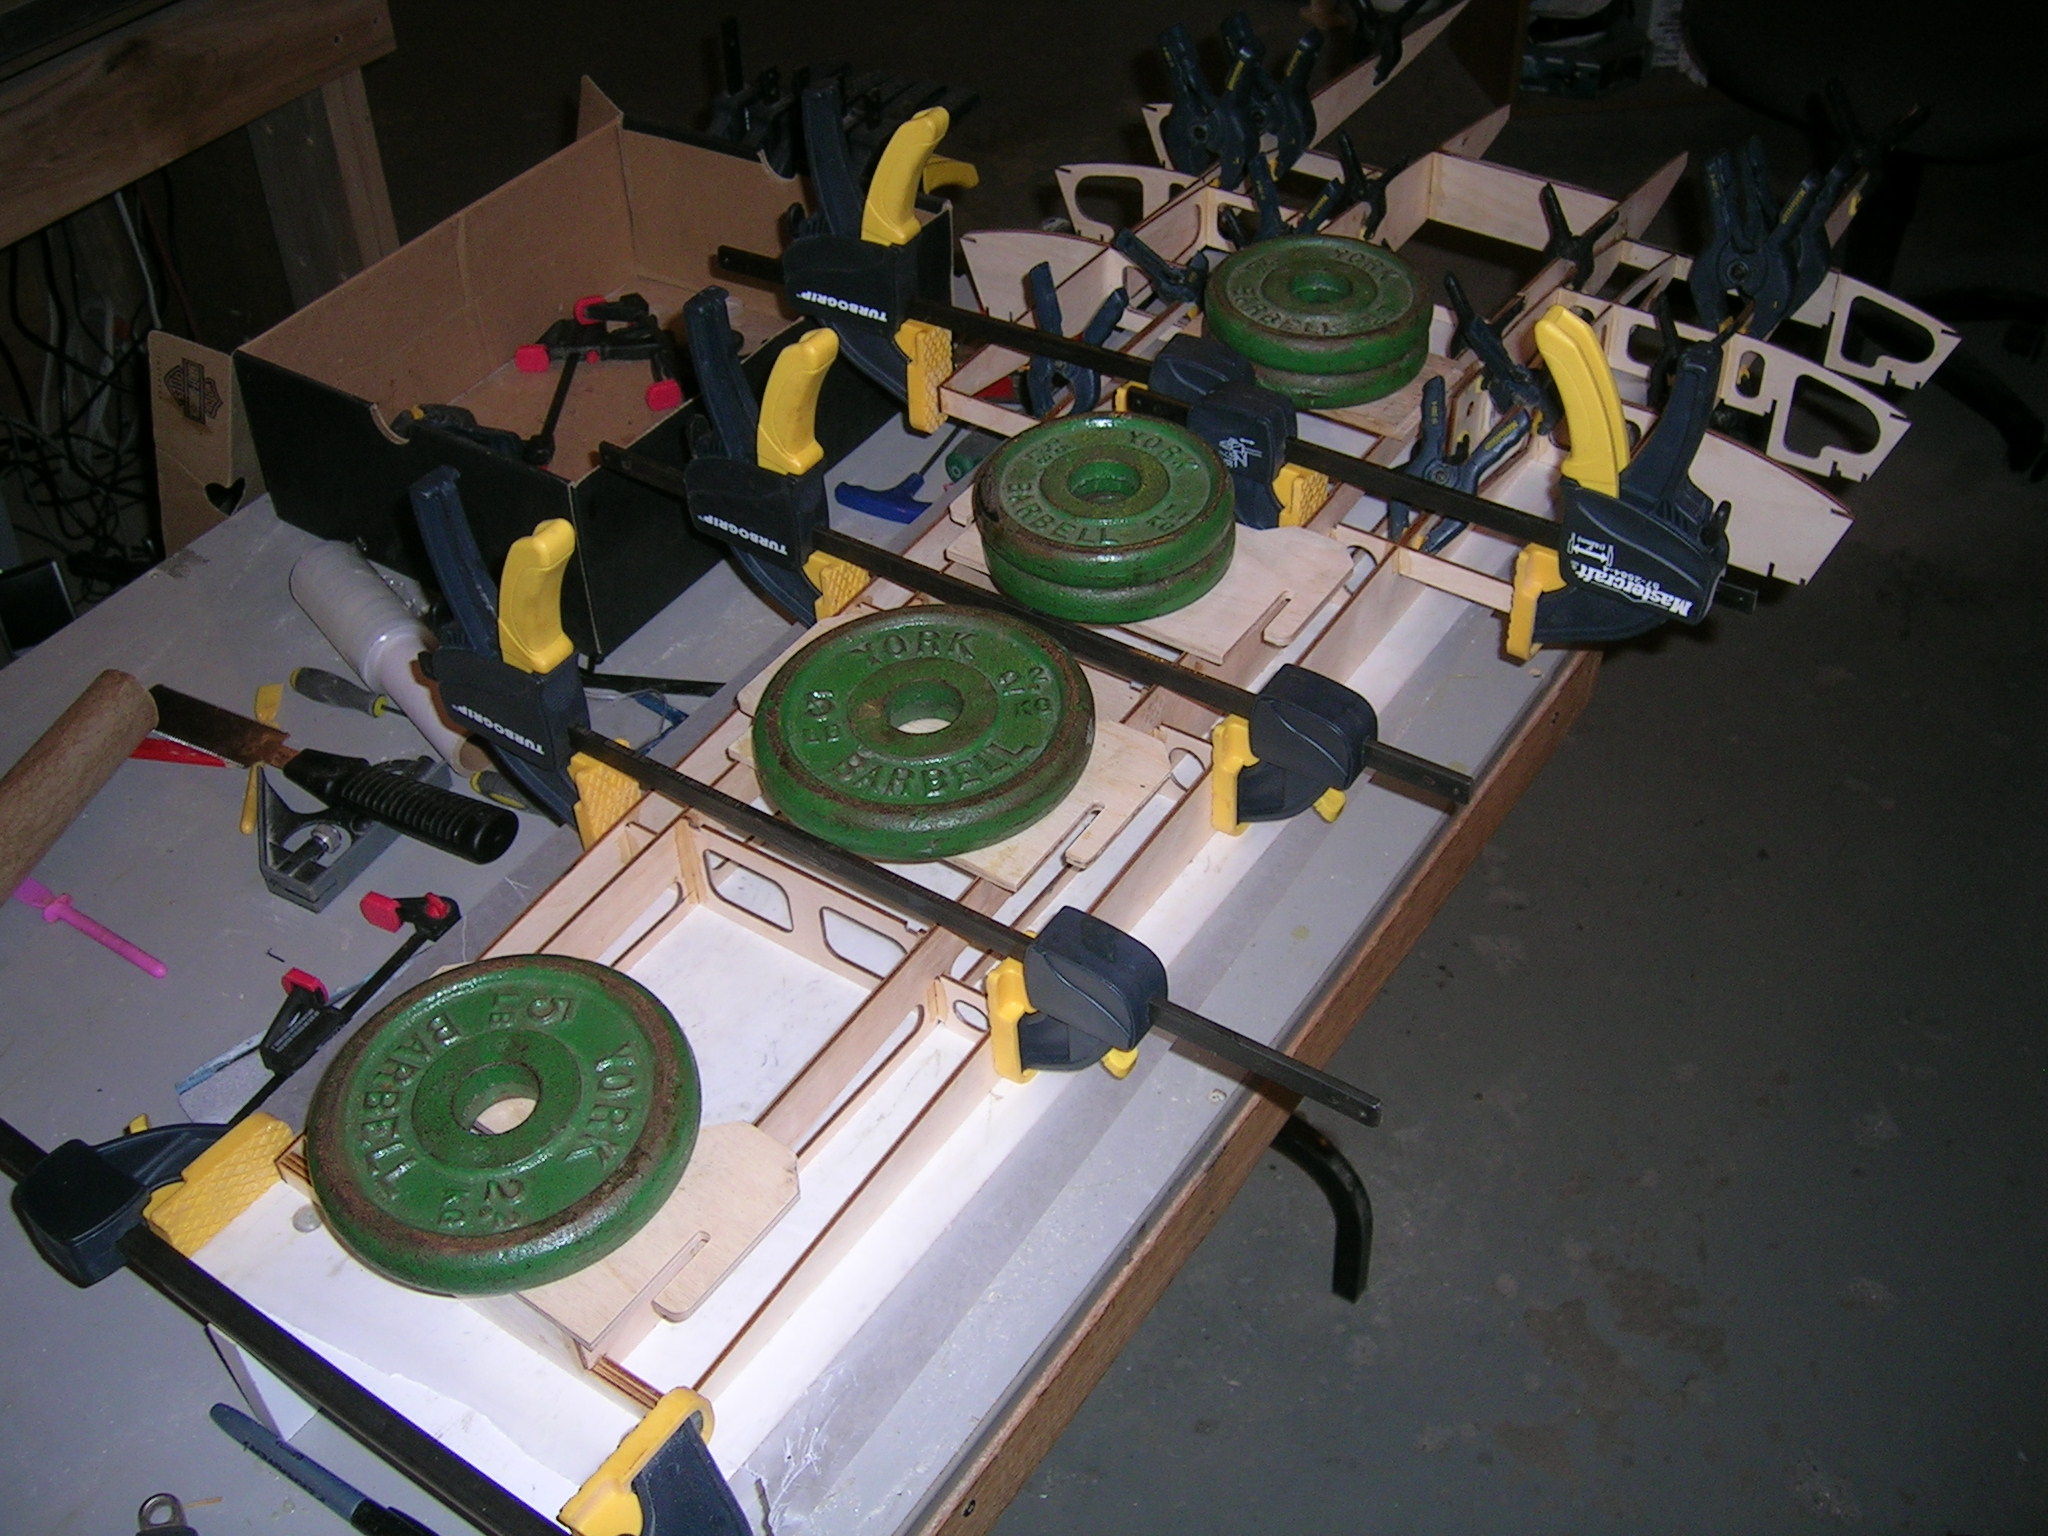
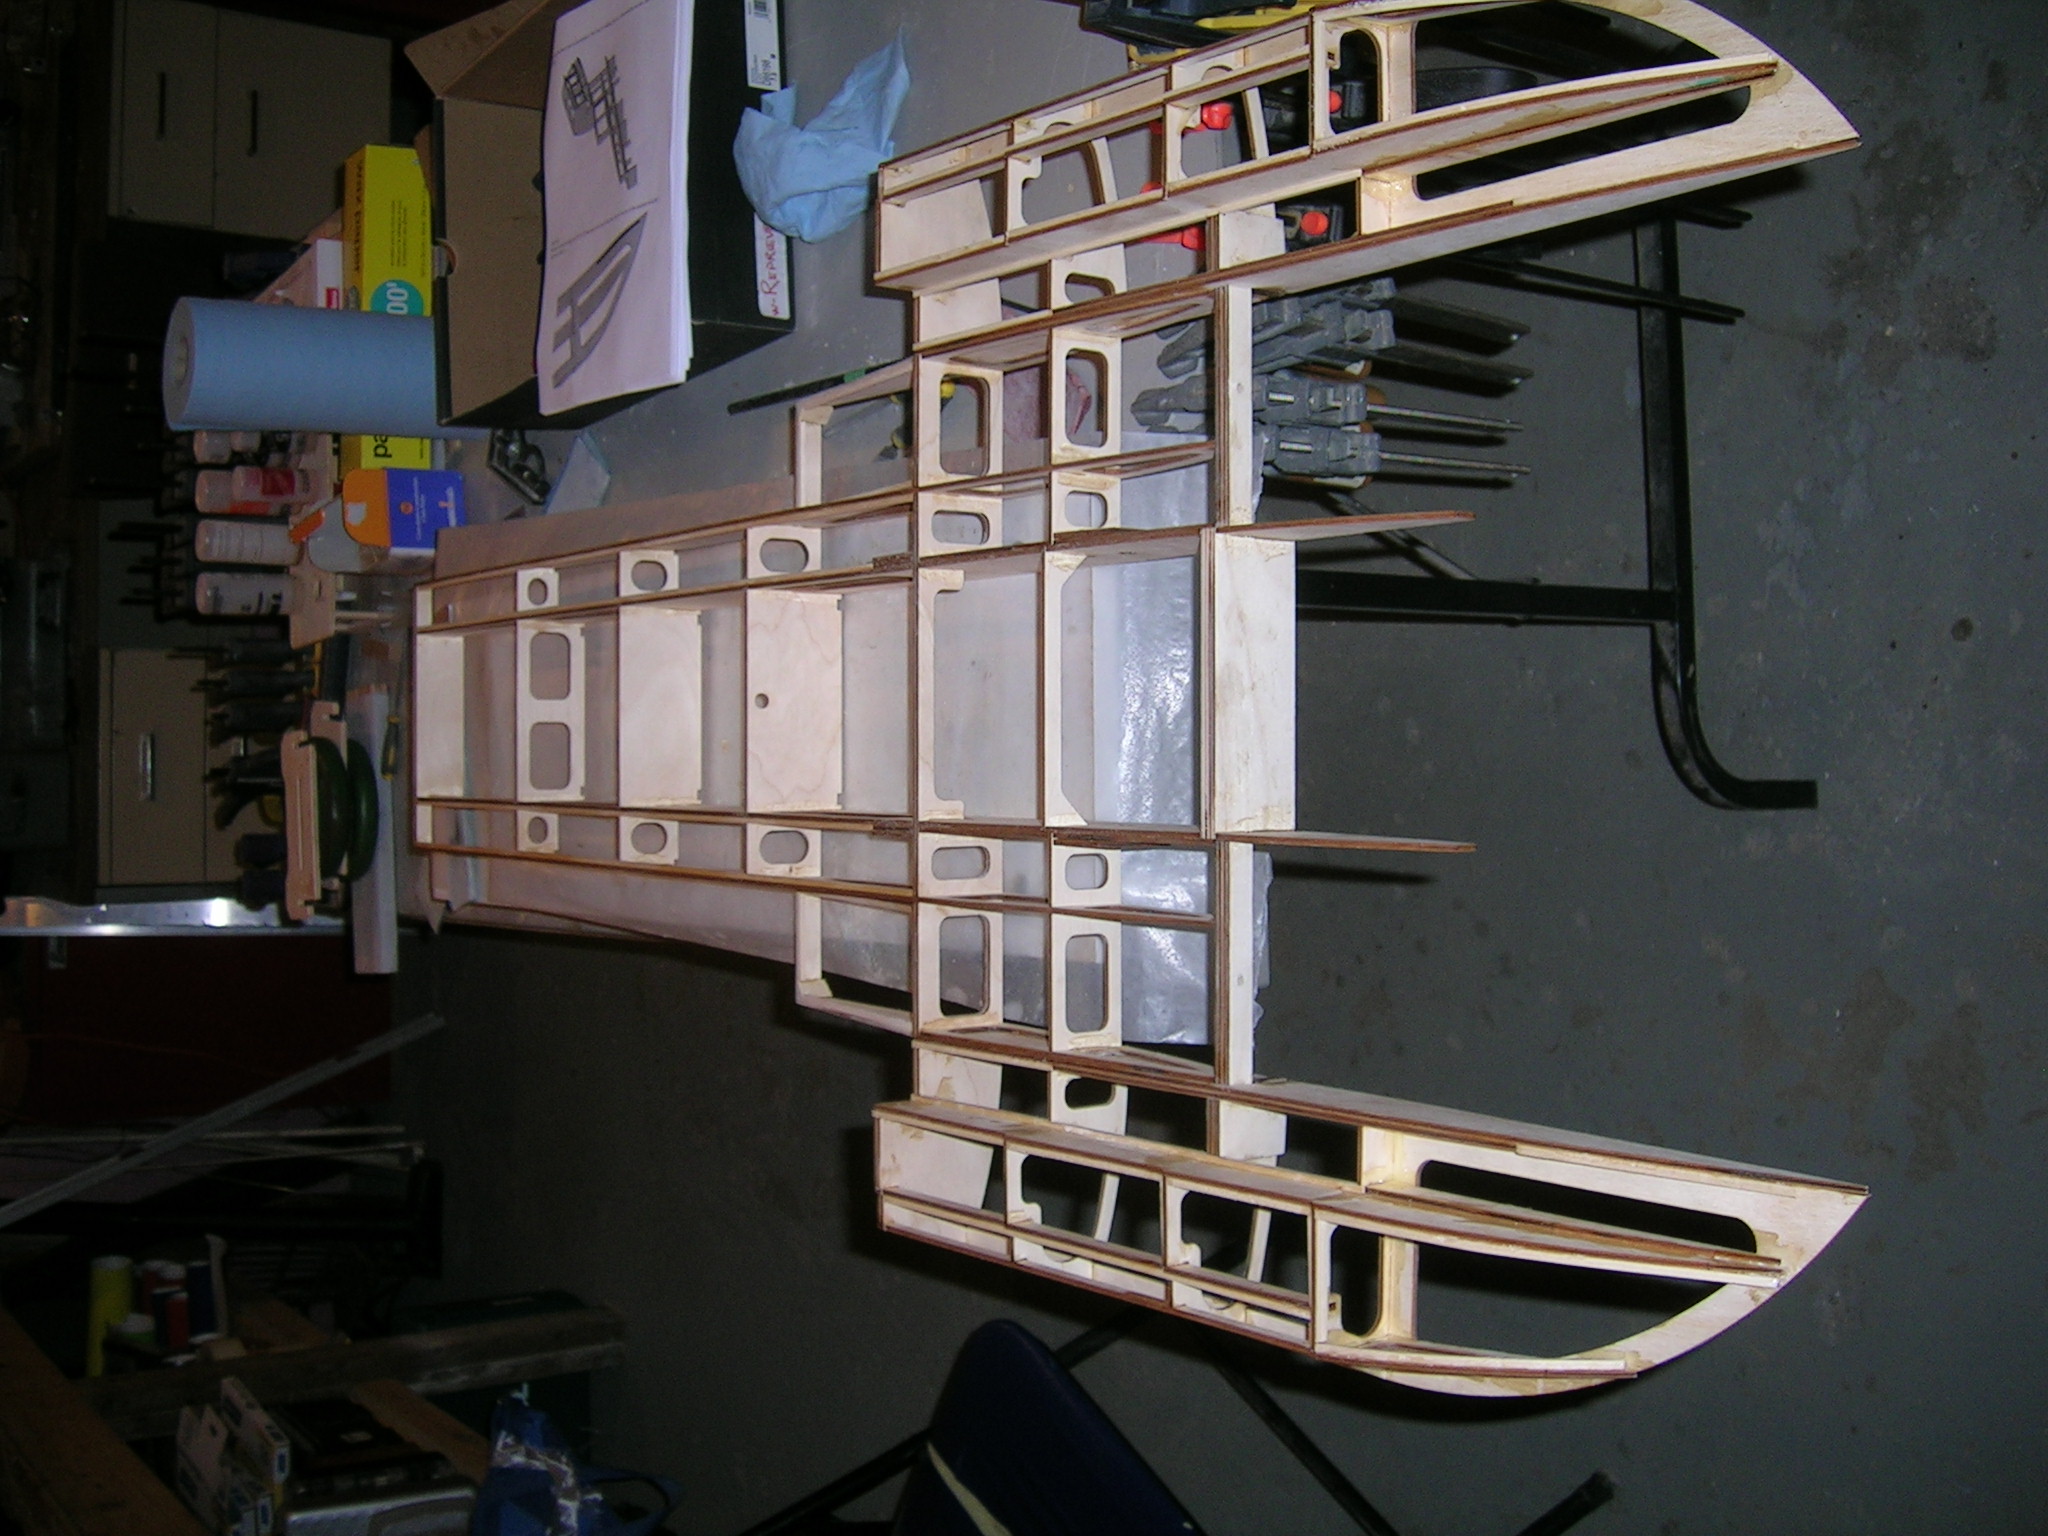
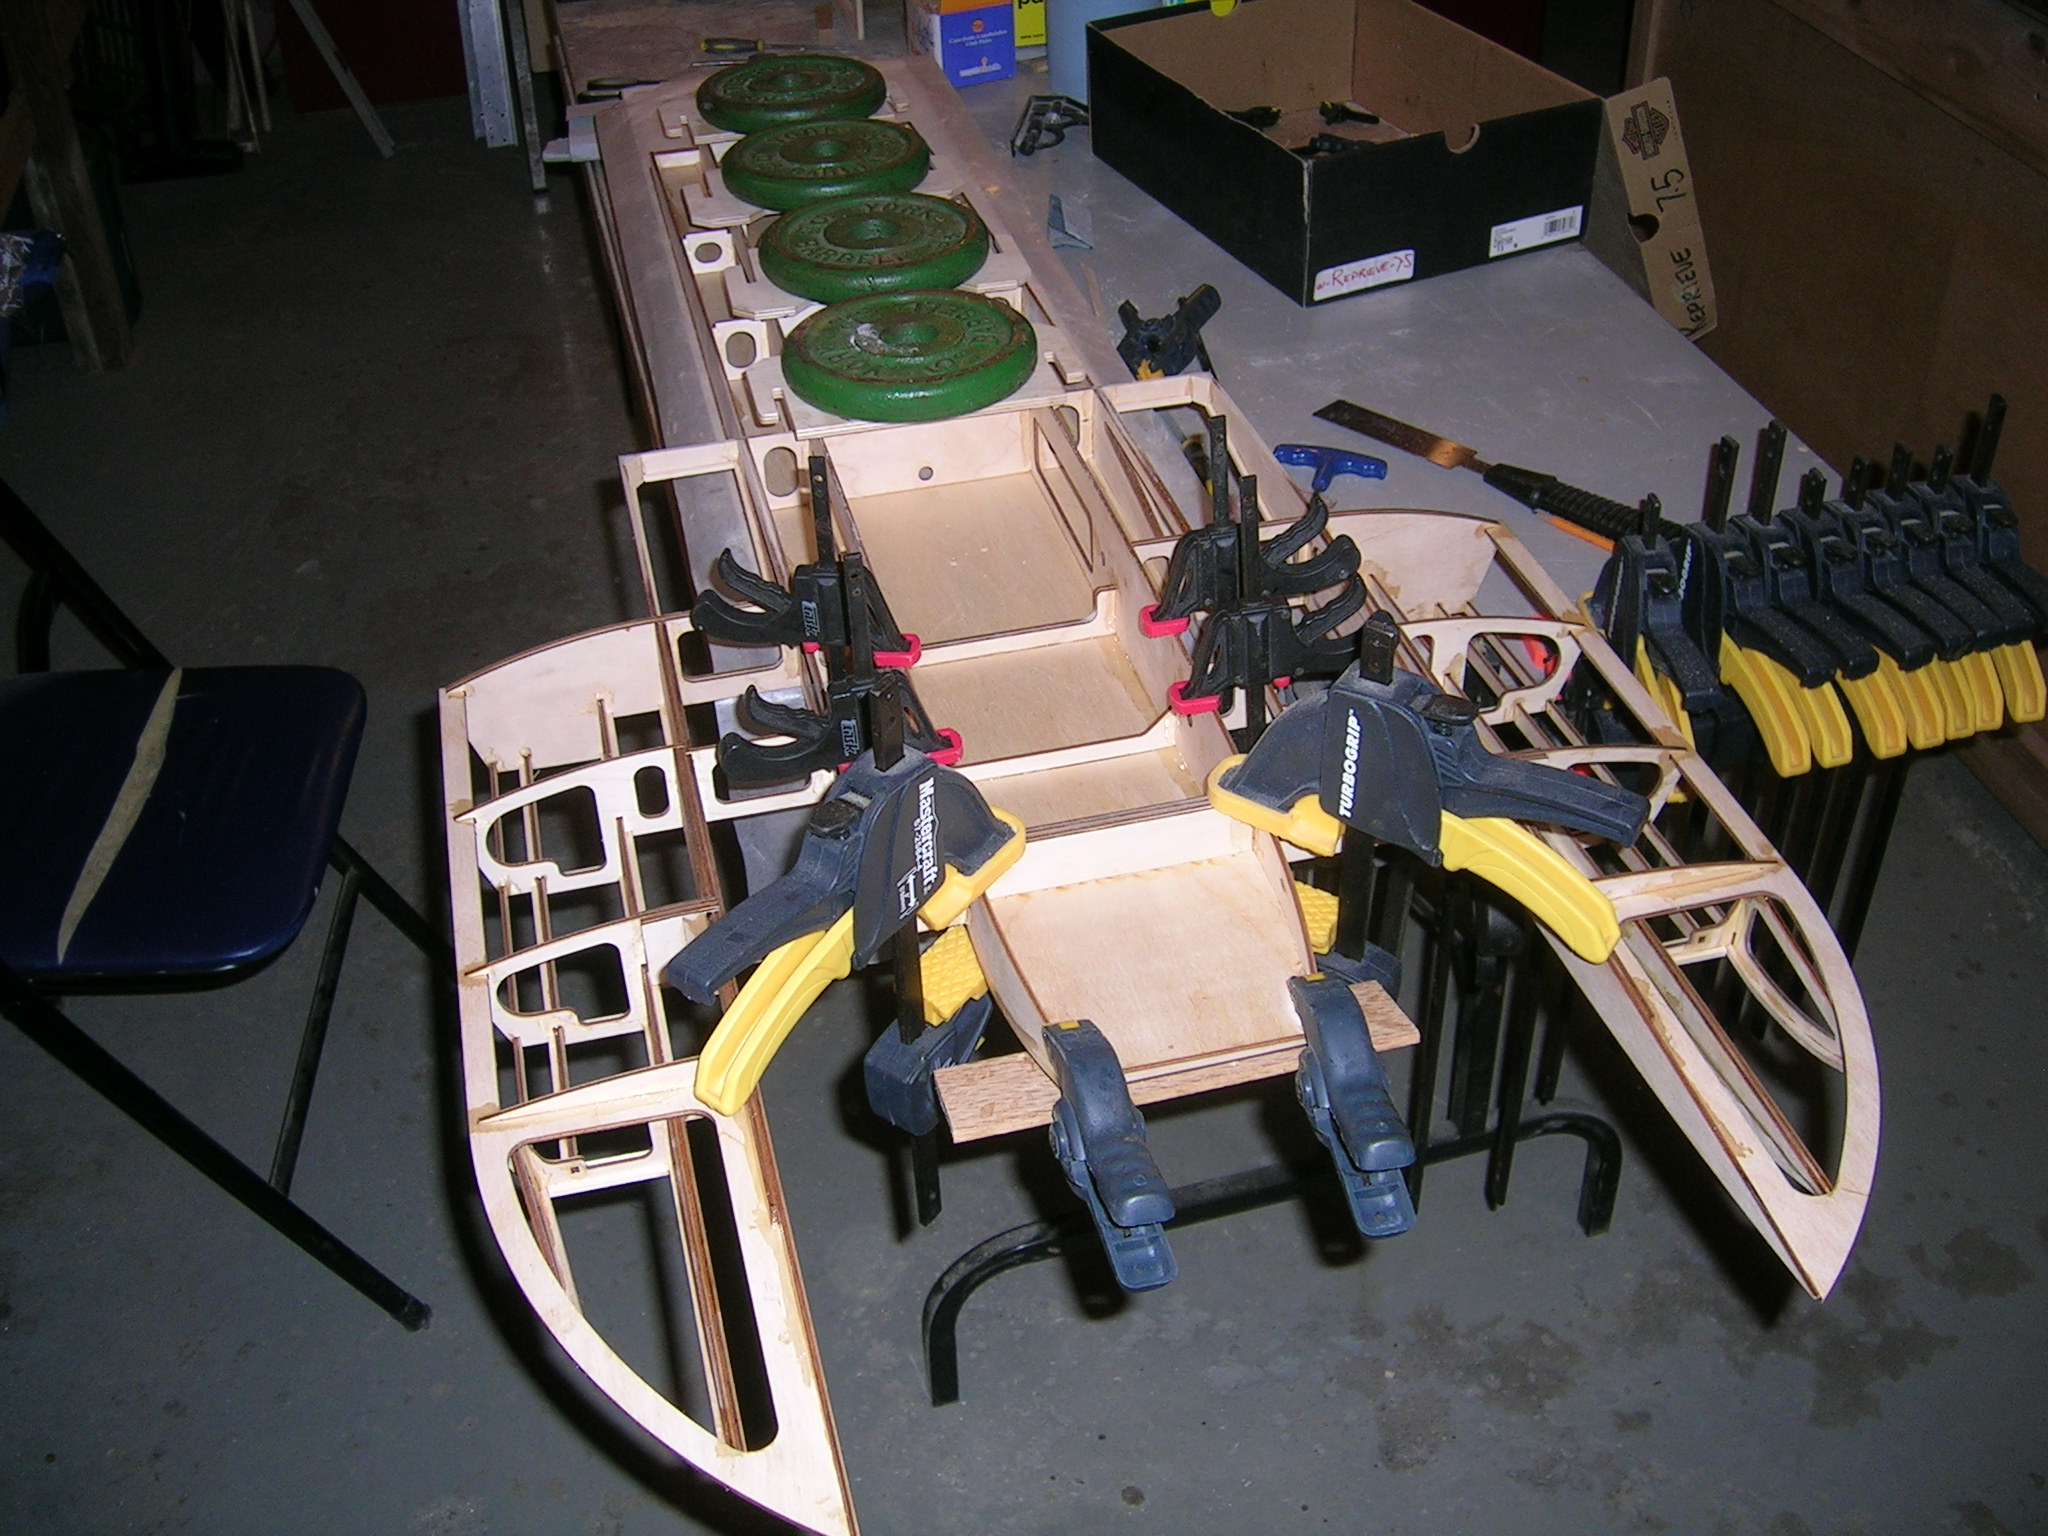
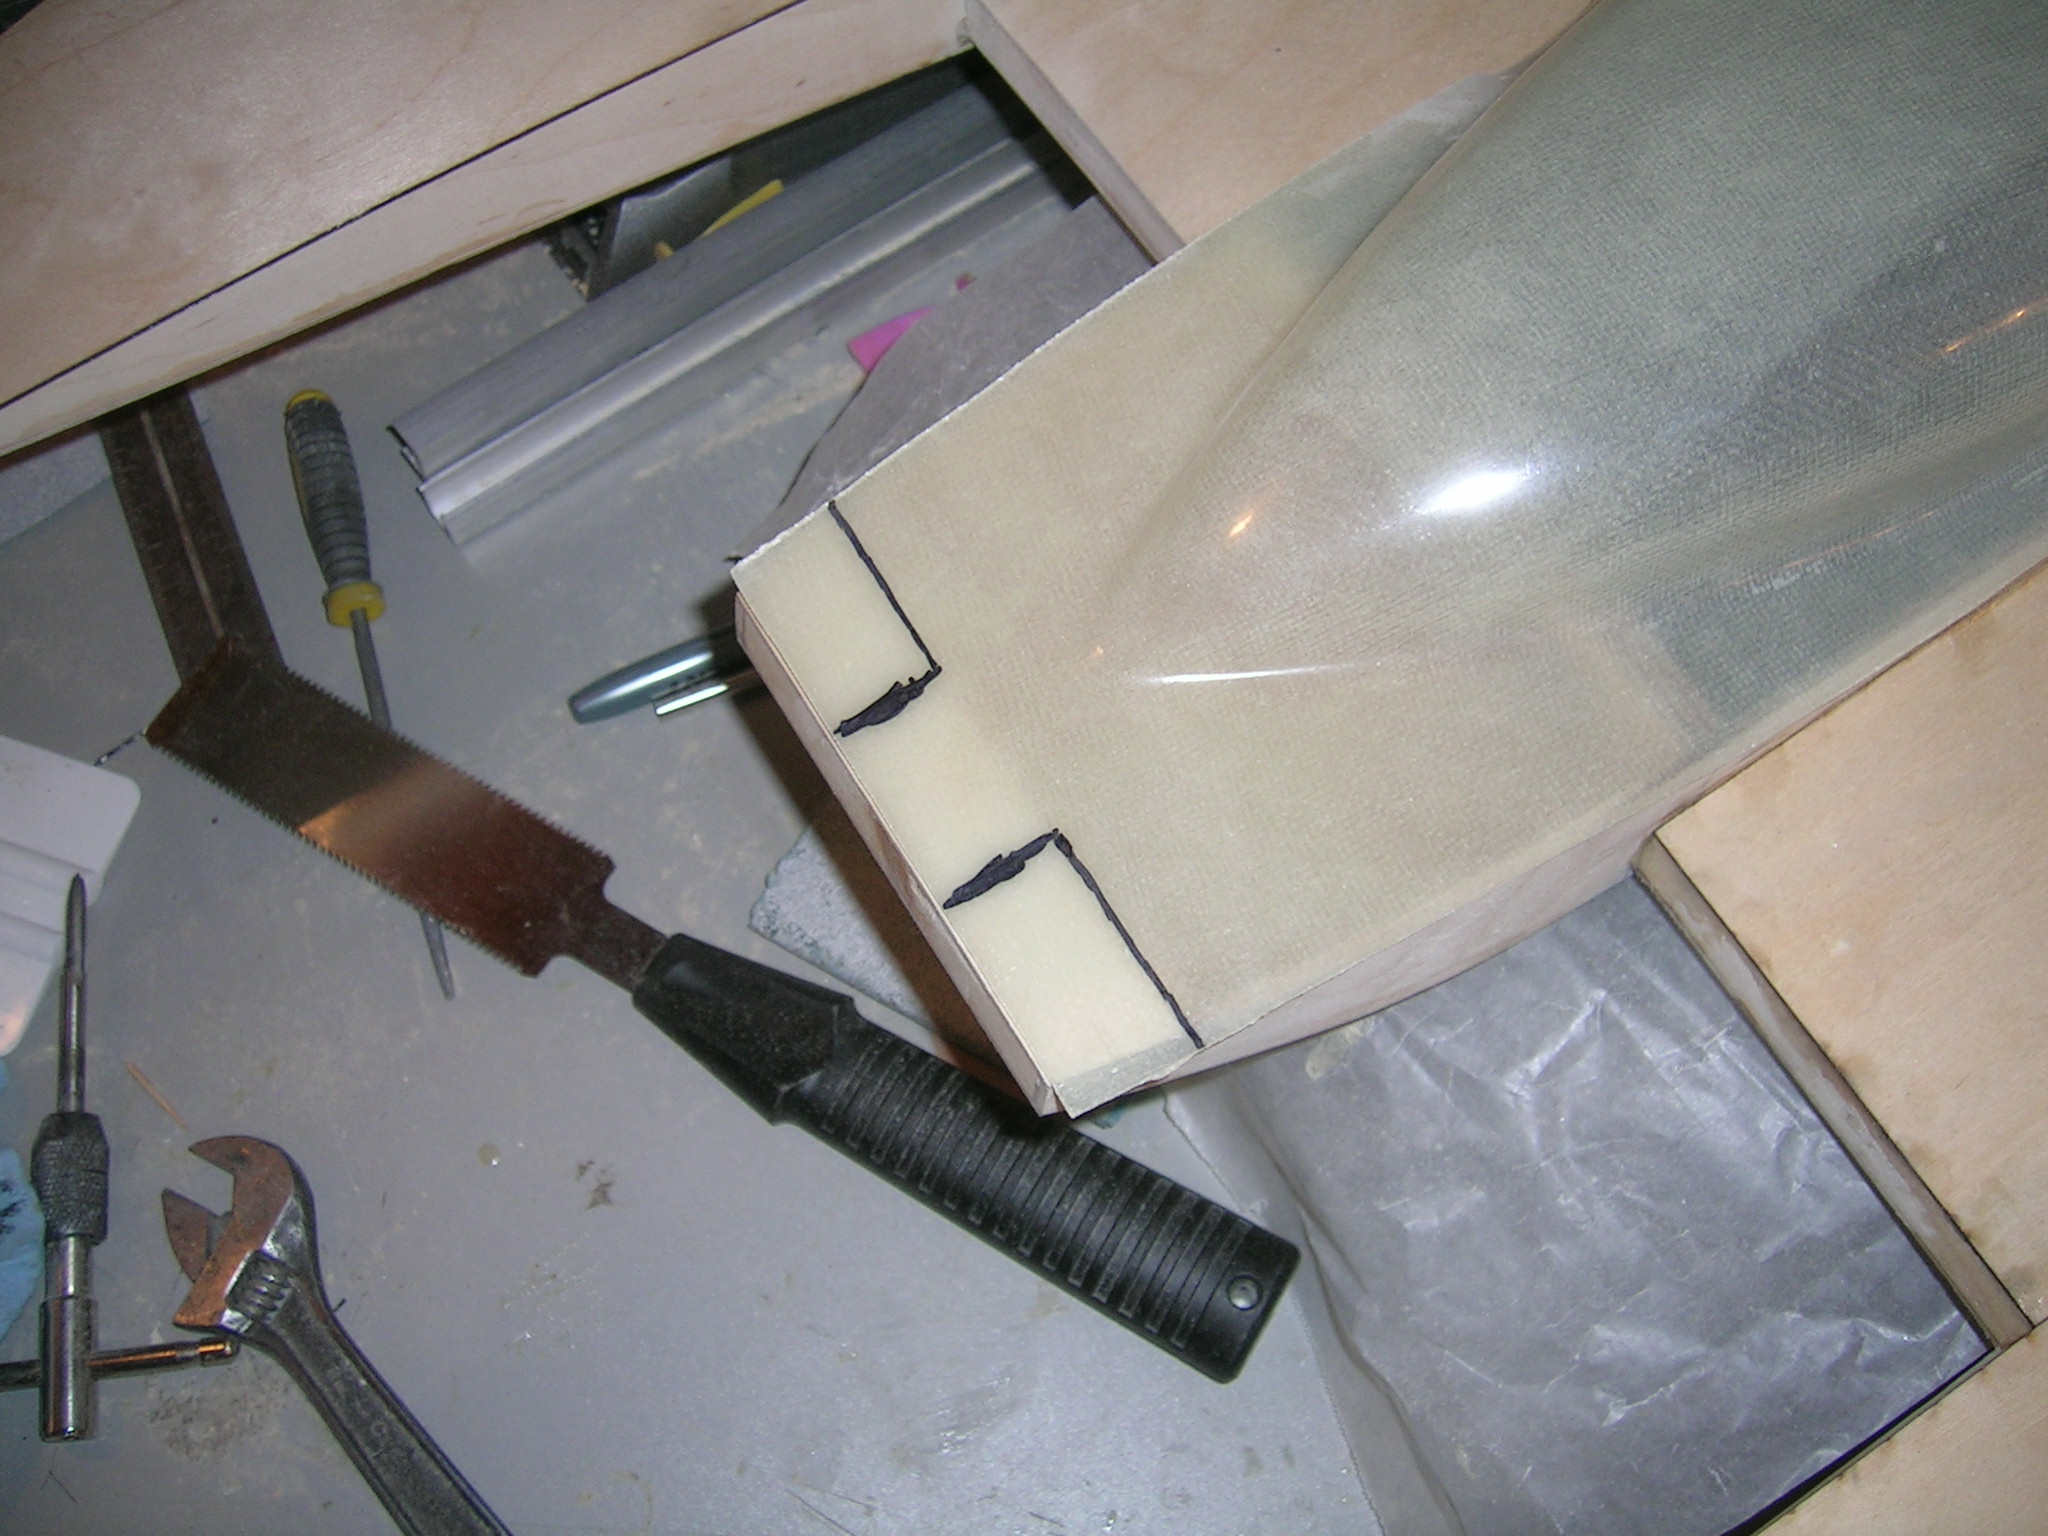
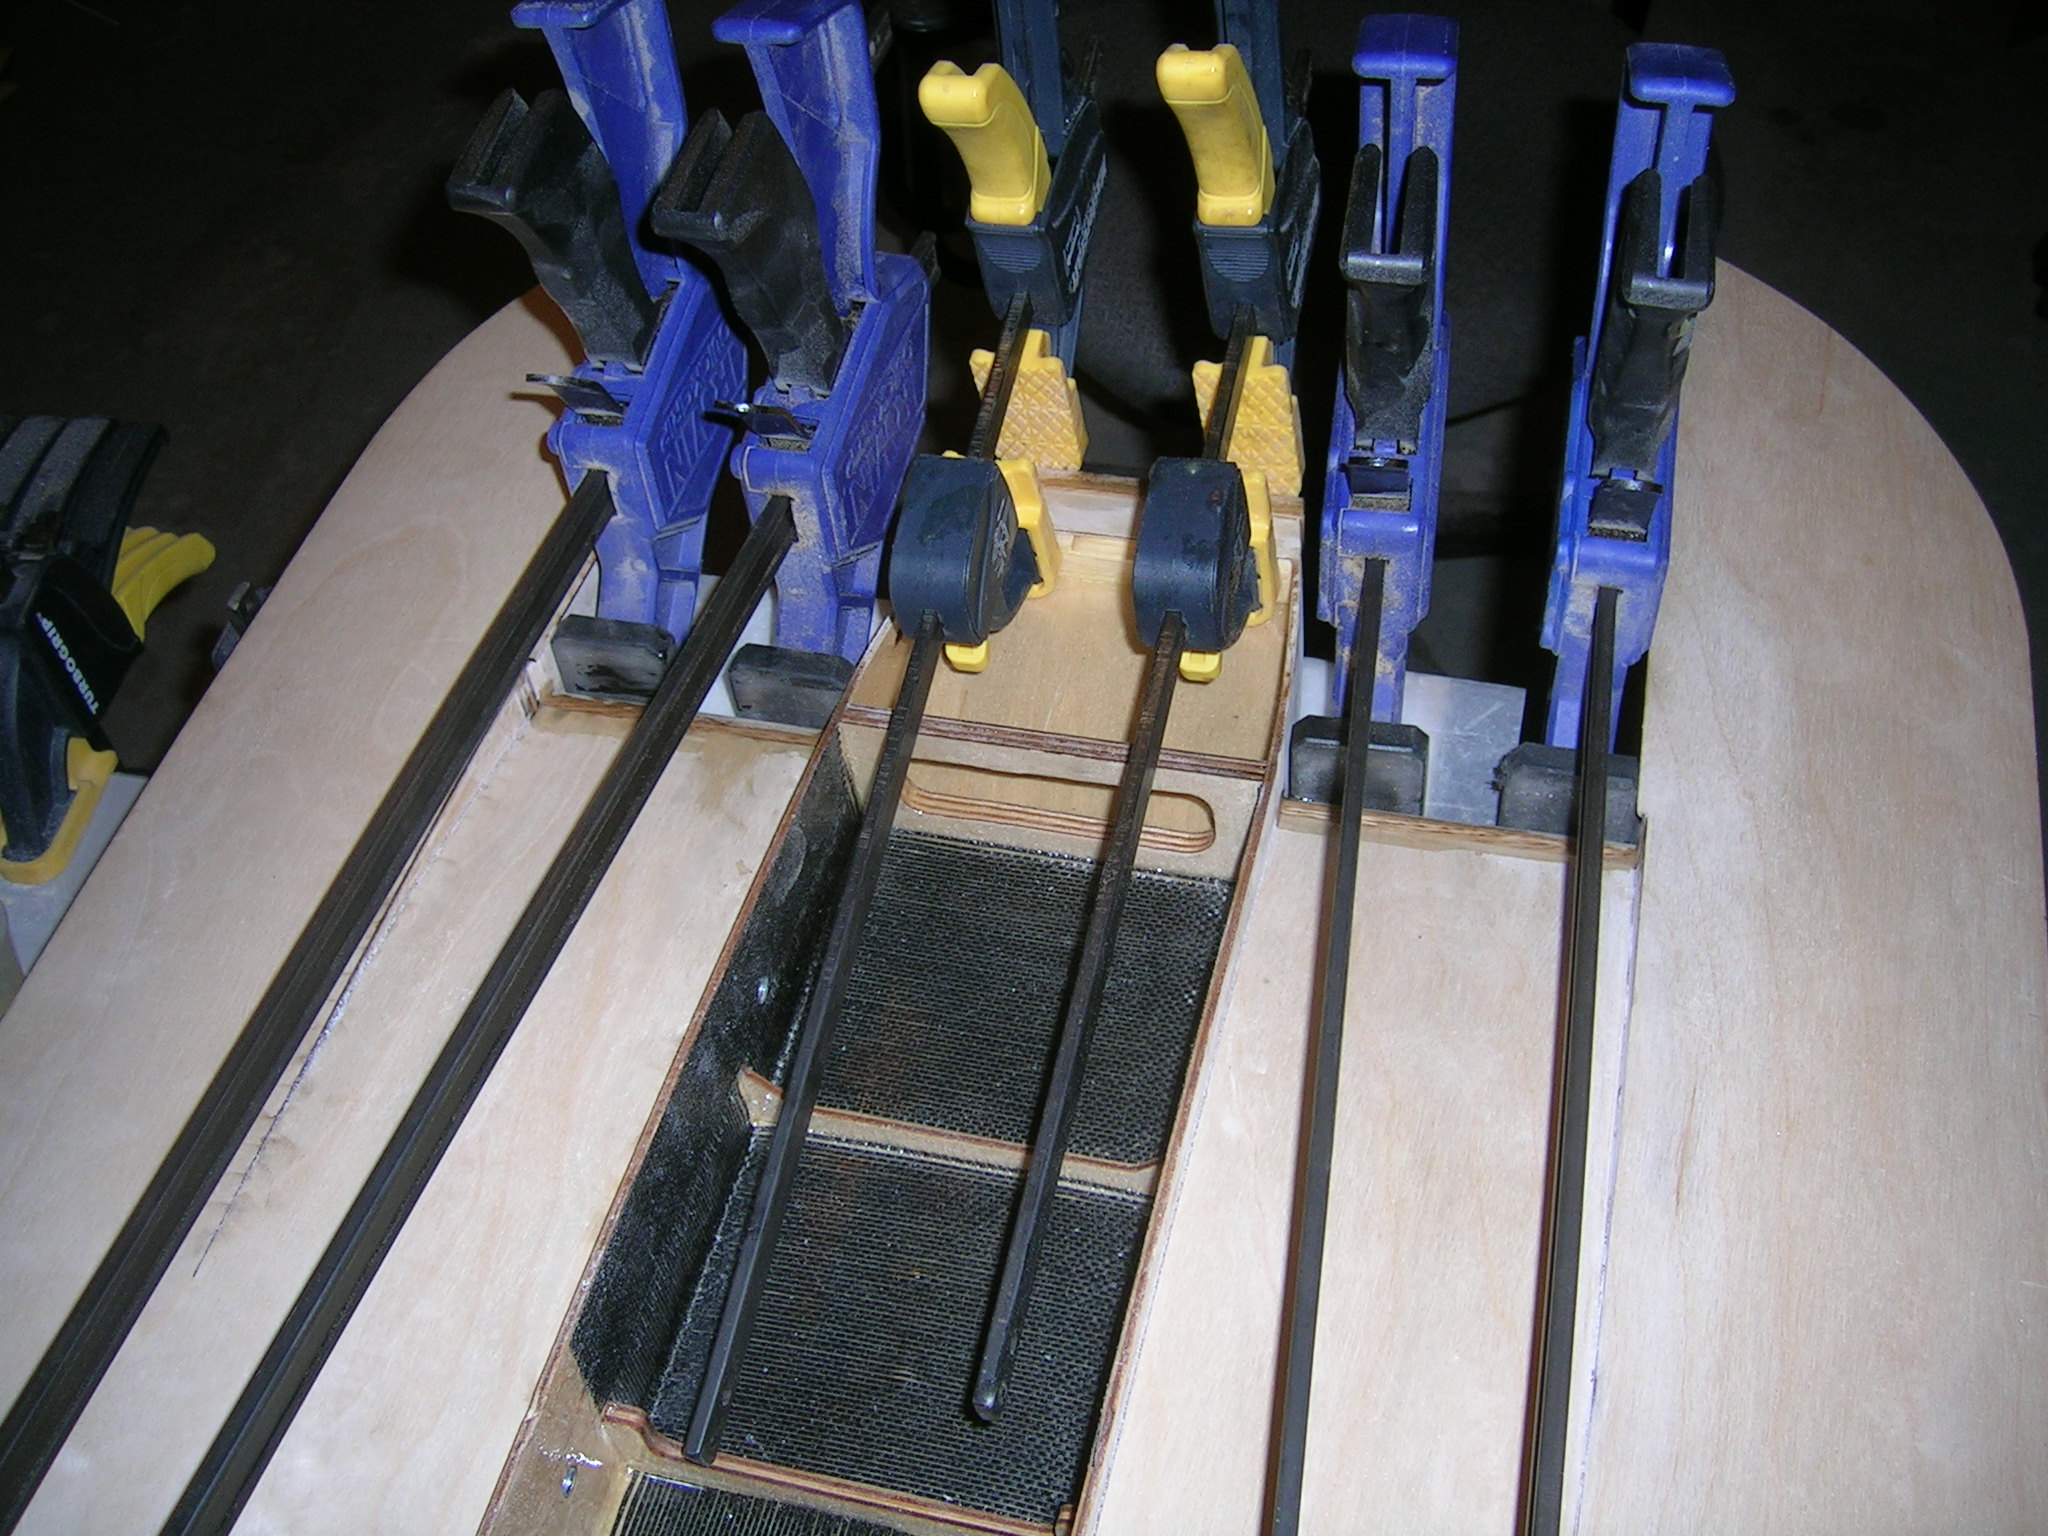
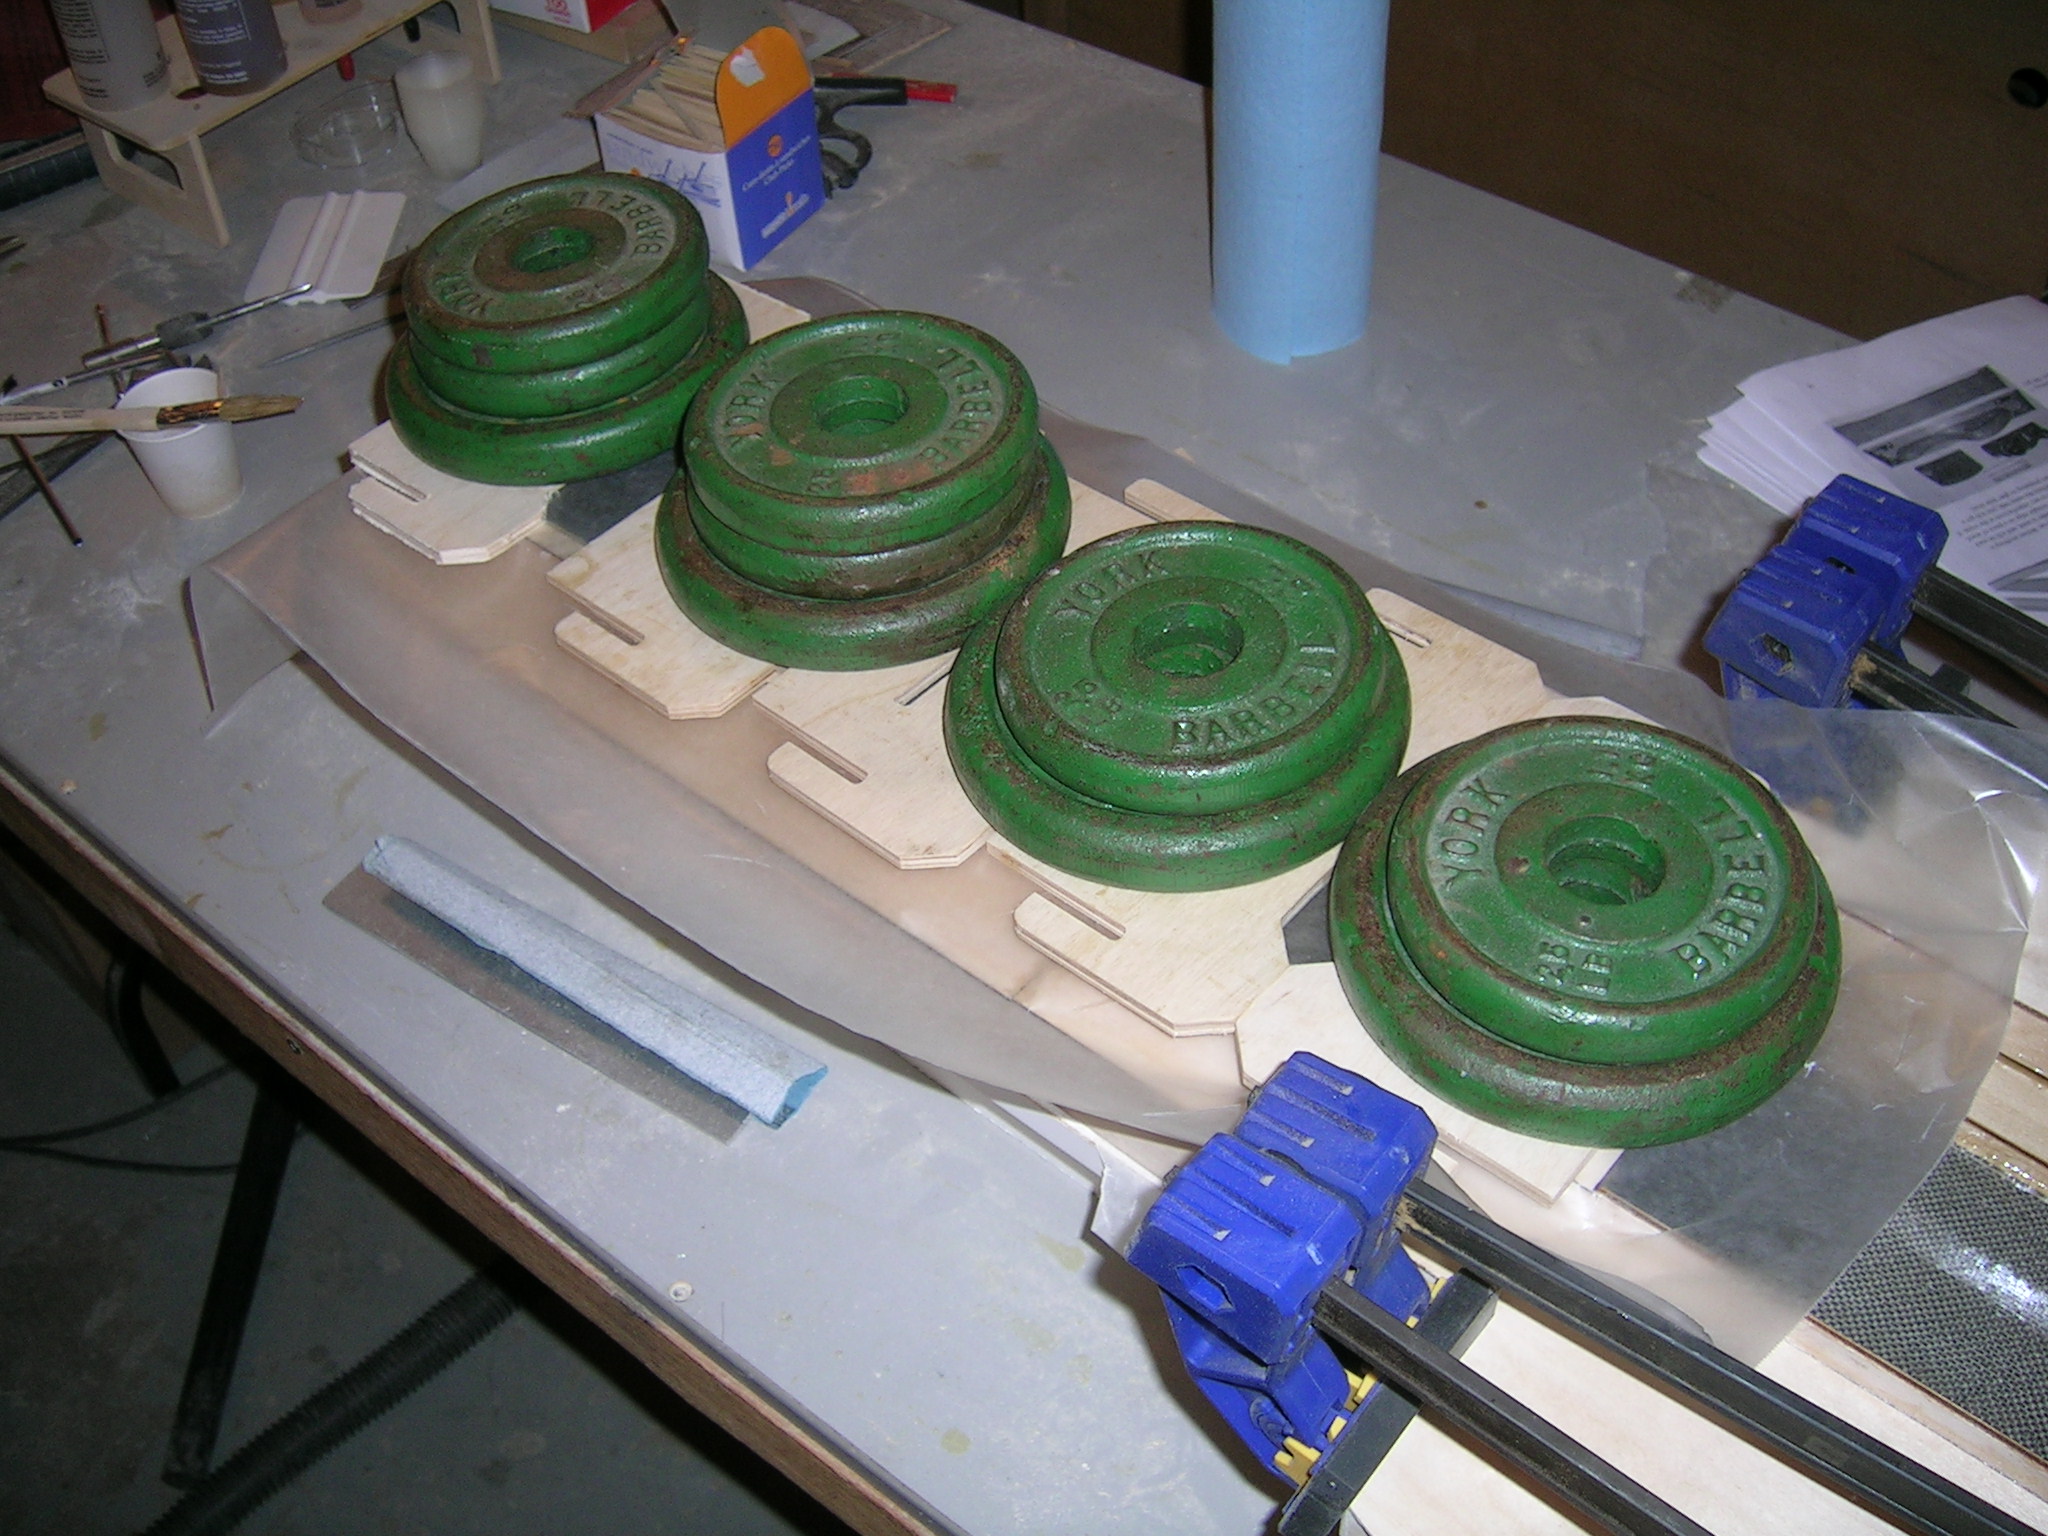
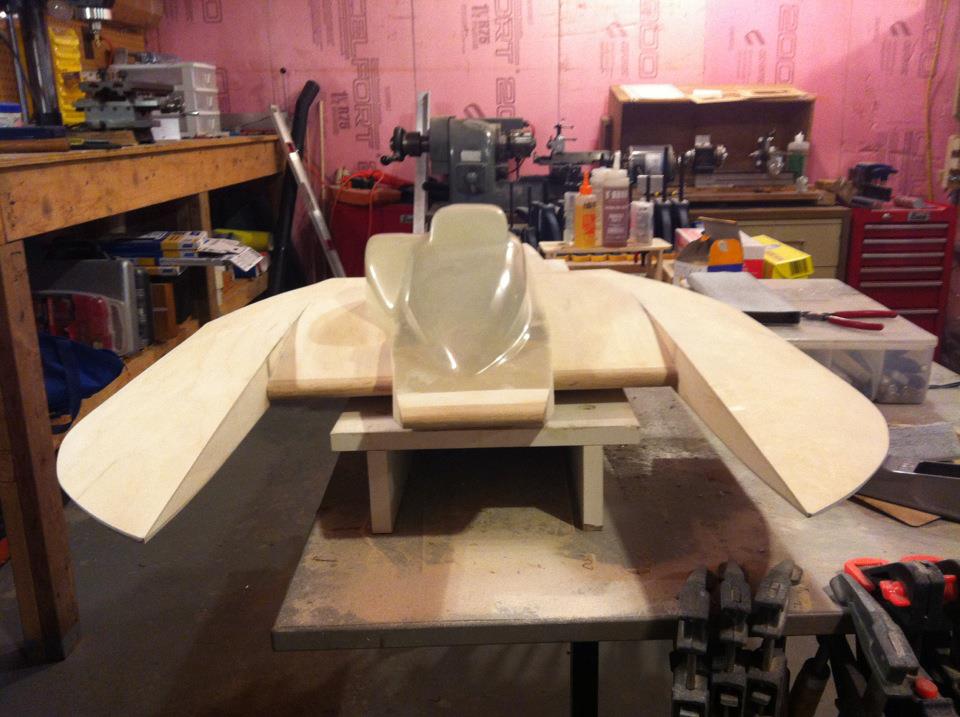
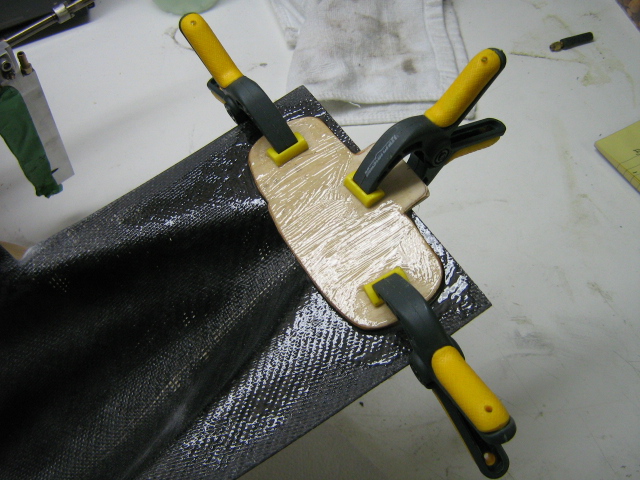
Below are some pictures of the actual building of the hull. We will not go through all the steps...it was built exactly as described in the included manual, with the exception of using oak nose pieces, added carbon fiber reinforcements and a custom MGB turn fin backplate. Scroll down to the "Rigging" section if you do not want to see all of these! :)

















"Rigging"
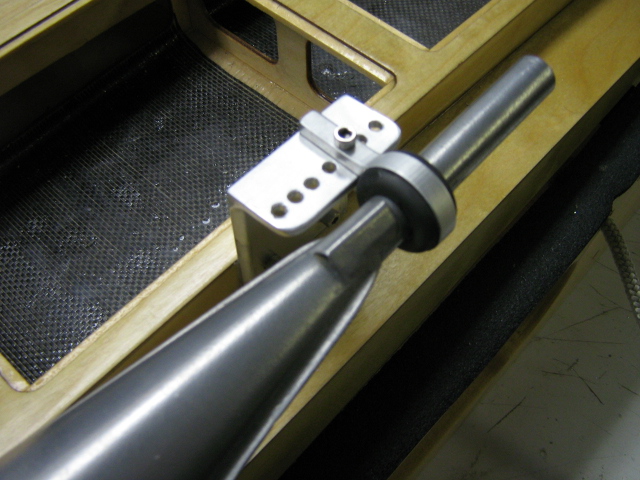
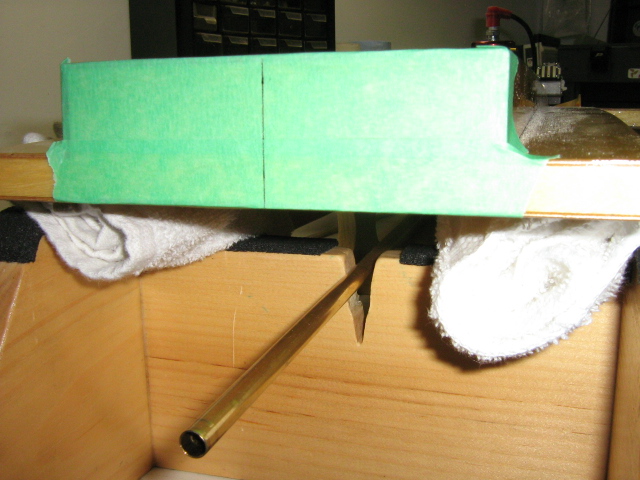
The first thing that needed to be done was to install the stuffing tube. I could have used a Butch Block however I decided to epoxy the small length of stuffing tube into the hull and reinforce it with a few strips of fibreglass cloth inside of the compartment. I taped the bottom of the hull around the stuffing tube so that the epoxy wouldn’t run straight through. This method gives a nice clean results. When using epoxy I always use West Systems. To align the tube at the proper angle one must have the engine installed and I like to use a small piece of ¼’’ metal dowel slid through the stuffing tube right into the engine collet. You want the angle of the shaft going through the stuffing tube to be the same angle as the engine. After the stuffing tube has been installed and the epoxy has hardened I removed the metal dowel and slid a long piece of brass tube which will now act as the flex shaft tube (or drive shaft tube). A slight bend is needed where the brass tube exits the hull. Be careful not to kink the tube. These hulls use a long ¼’’ flex shaft. I purchased mine from Vince at GAS RC PRODUCTS. Get the 34’’ ones and trim what is not needed.



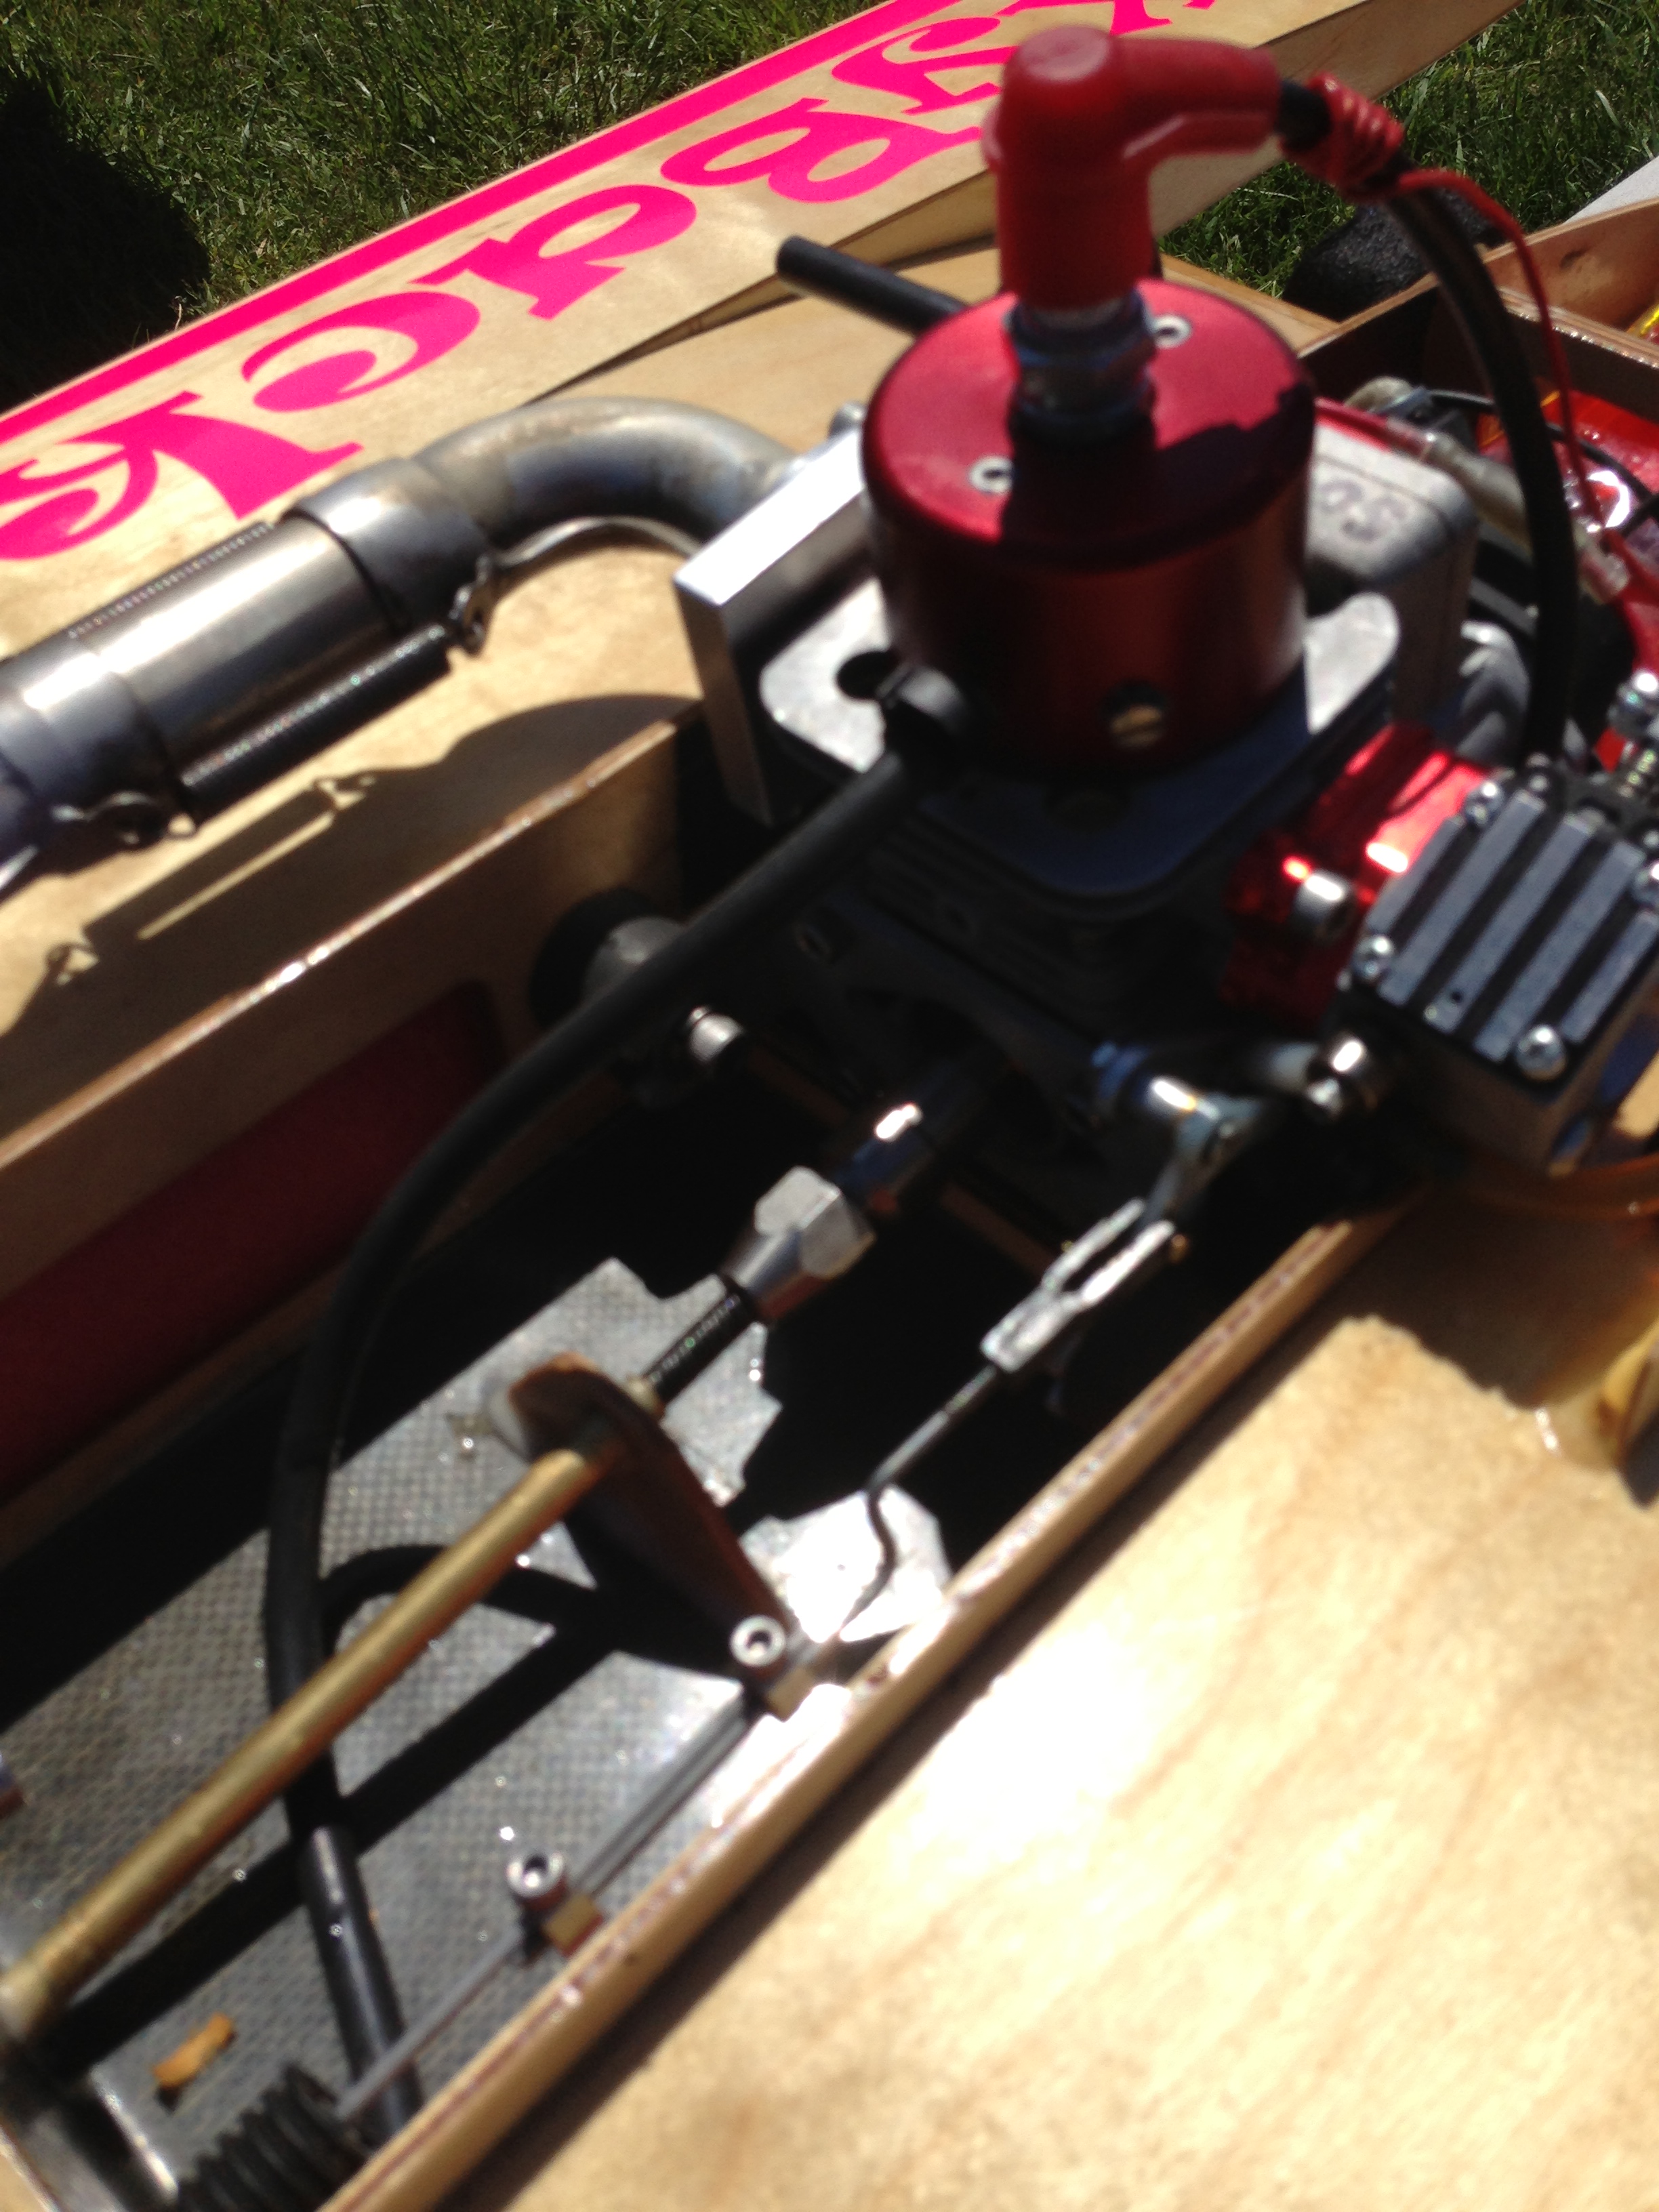
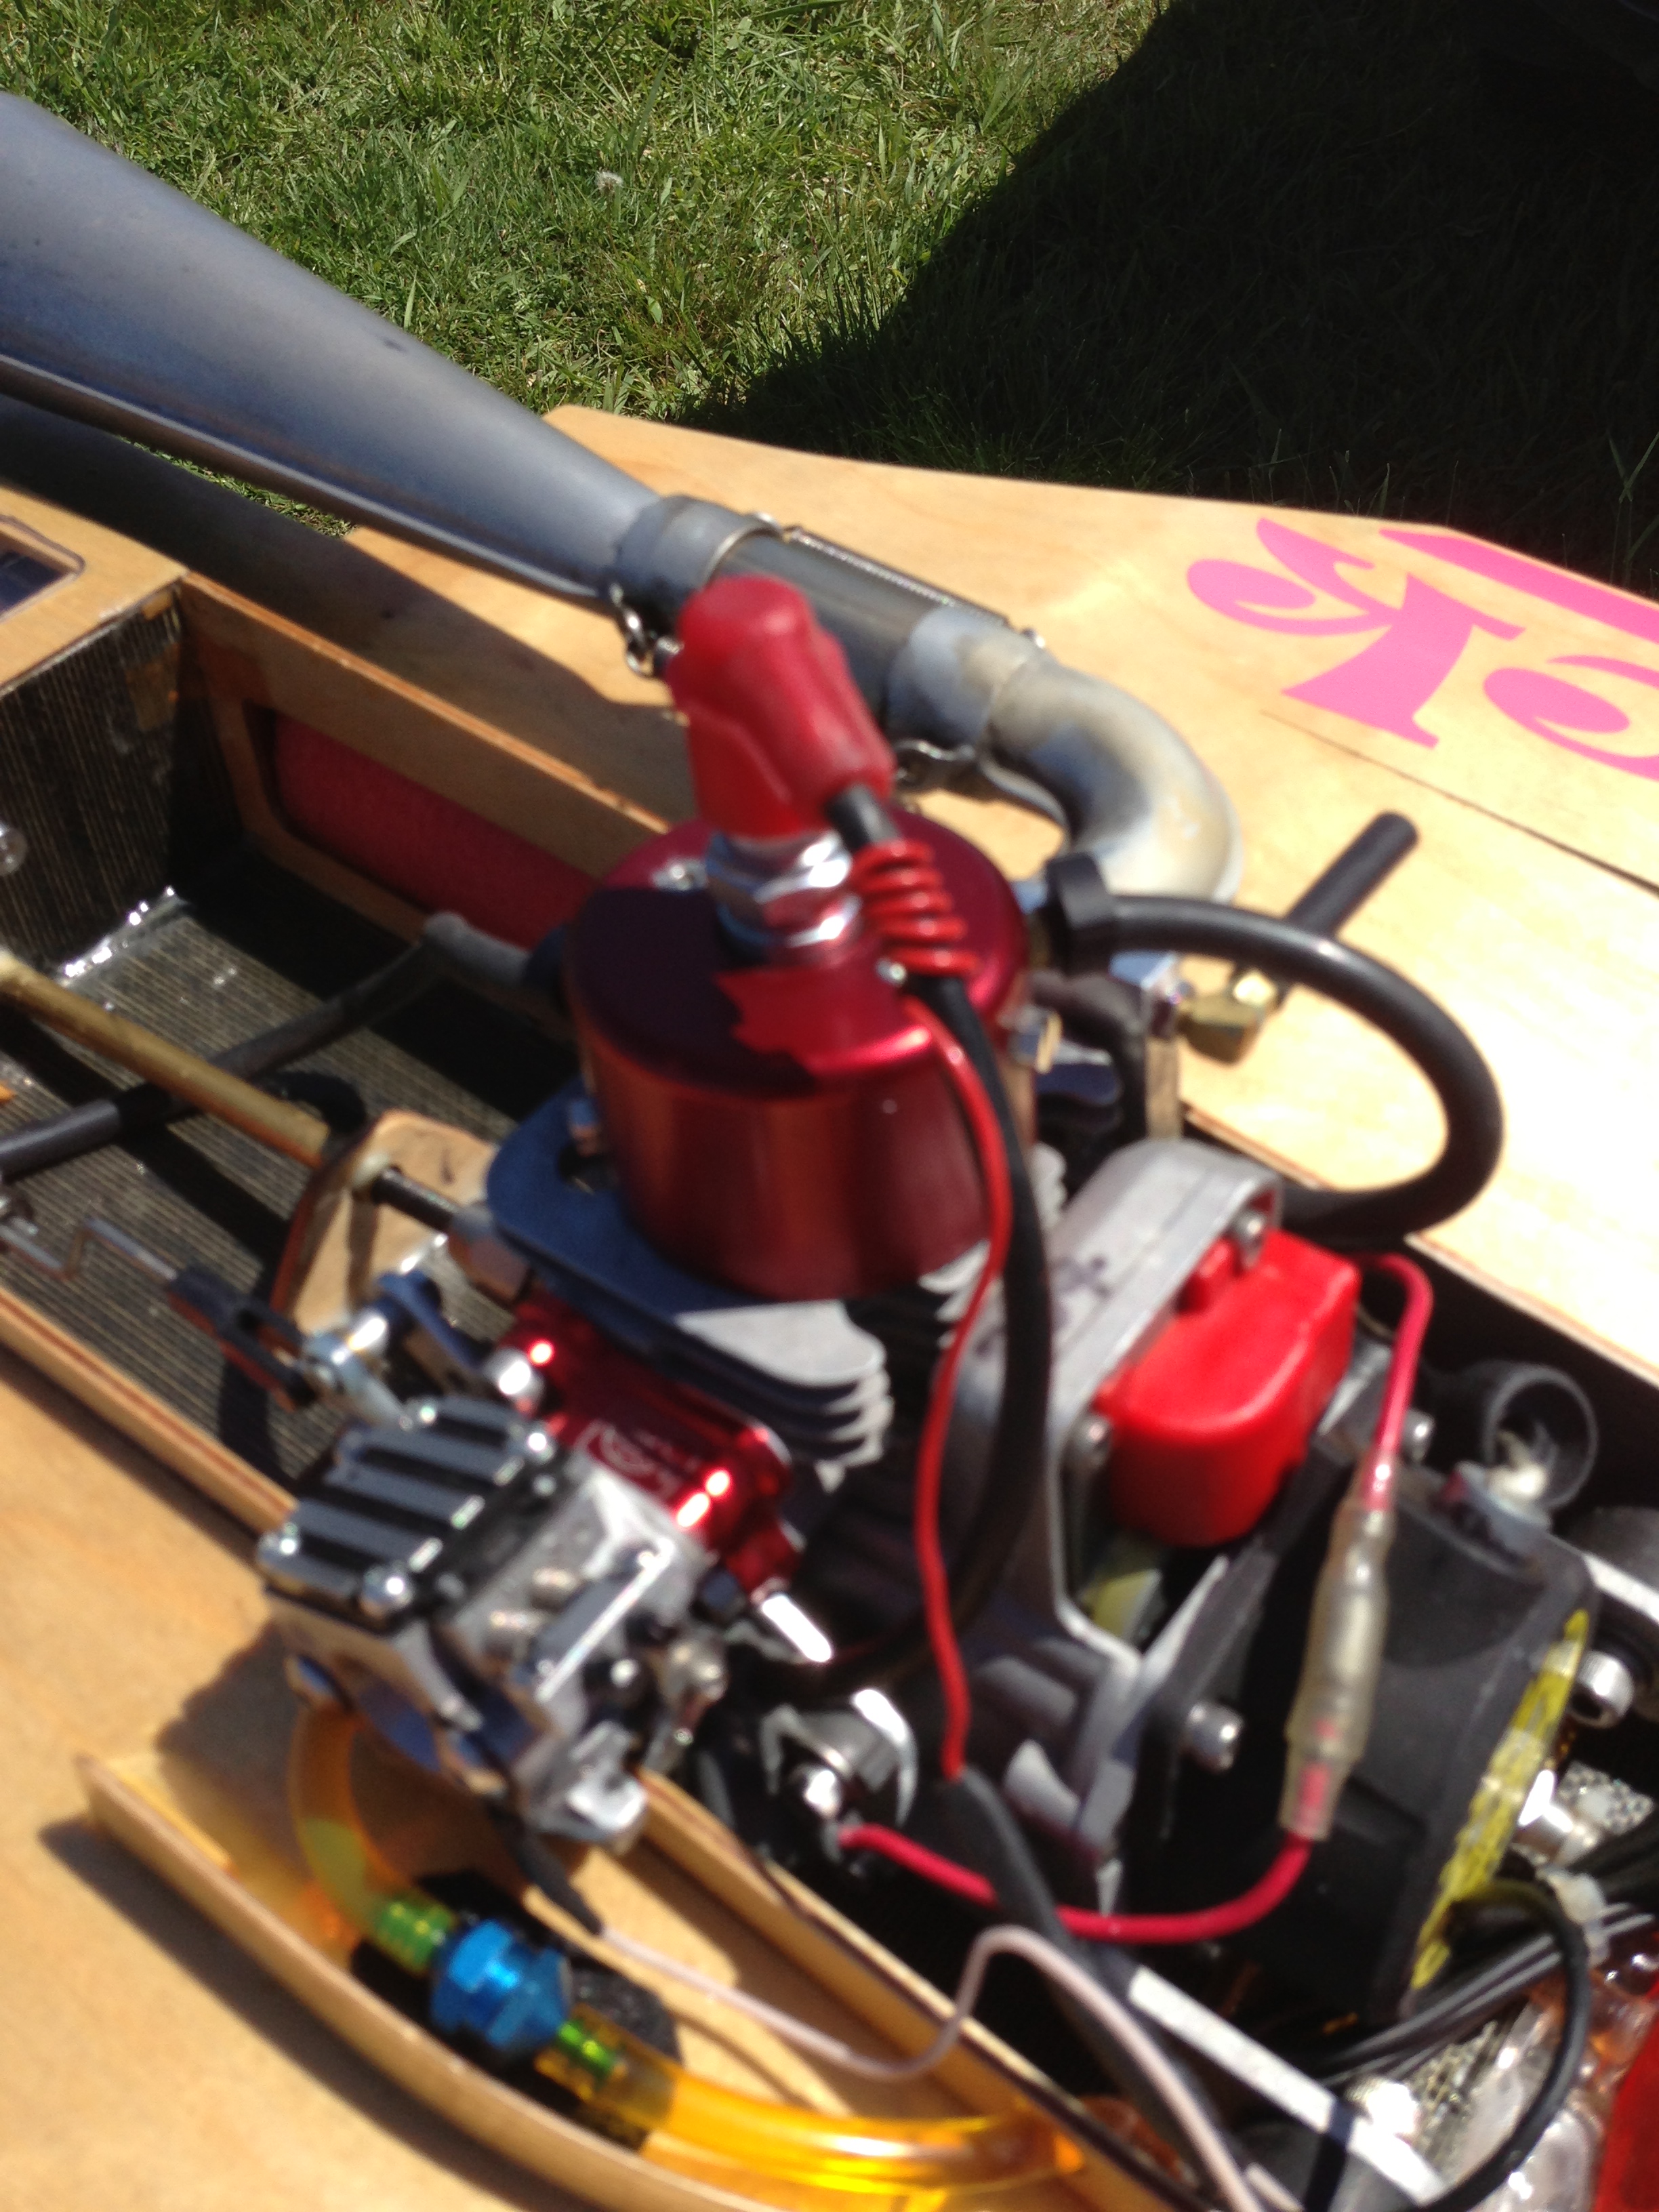
For an engine I went with a Zenoah 260 Modified by Mike Ross of SUICIDAL ENGINES. I’ve been using his engines for years and have been more than satisfied with his workmanship and customer service. For a tuned pipe I went with a ceramic coated Hotpipe with an internal stinger. Hotpipes are what Mike recommends for his modified engines. The motor mounts are from CC RACING and the water-cooled exhaust manifold is from GIZMO. After a few runs I decided to try an add on T-MOD muffler. WOW! What a difference. Noticeably quieter with no loss of power whatsoever. This should make the neighbours happy. For the engine to sit properly in the hull and the carb to clear the hull I had to notch out some of the side wall.


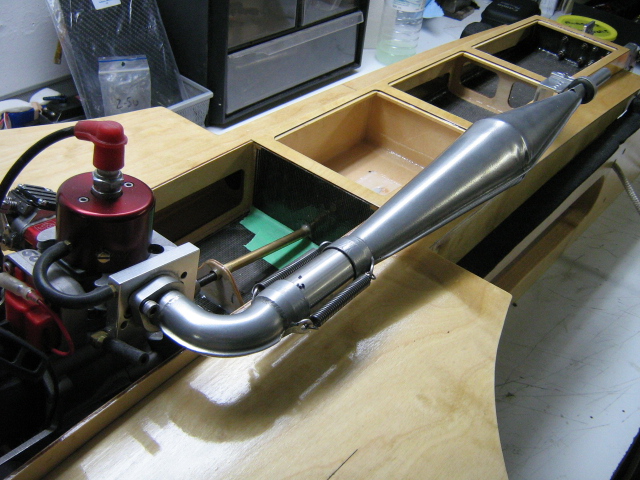
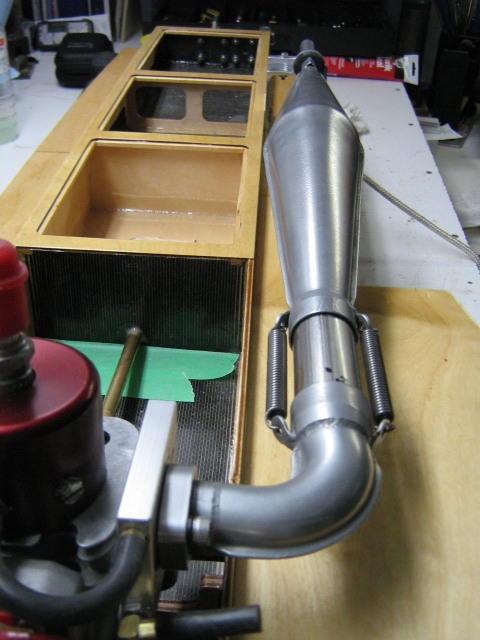
I made a simple little aluminum ‘’L’’ bracket to hold the rear of the tuned pipe. It mounts directly to the hull side and has holes drilled into the bracket to allow pipe adjustments.
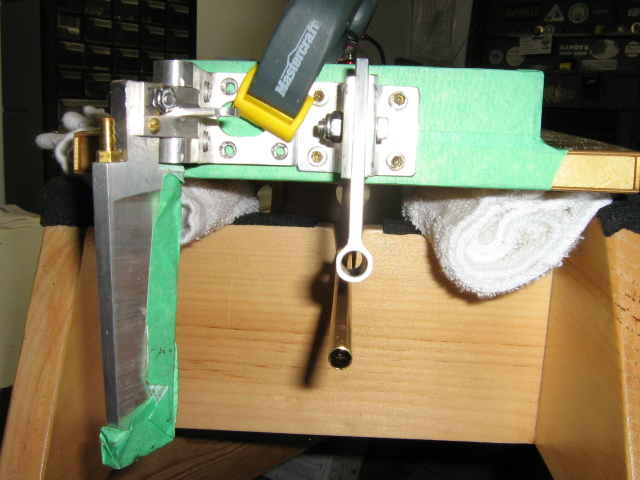
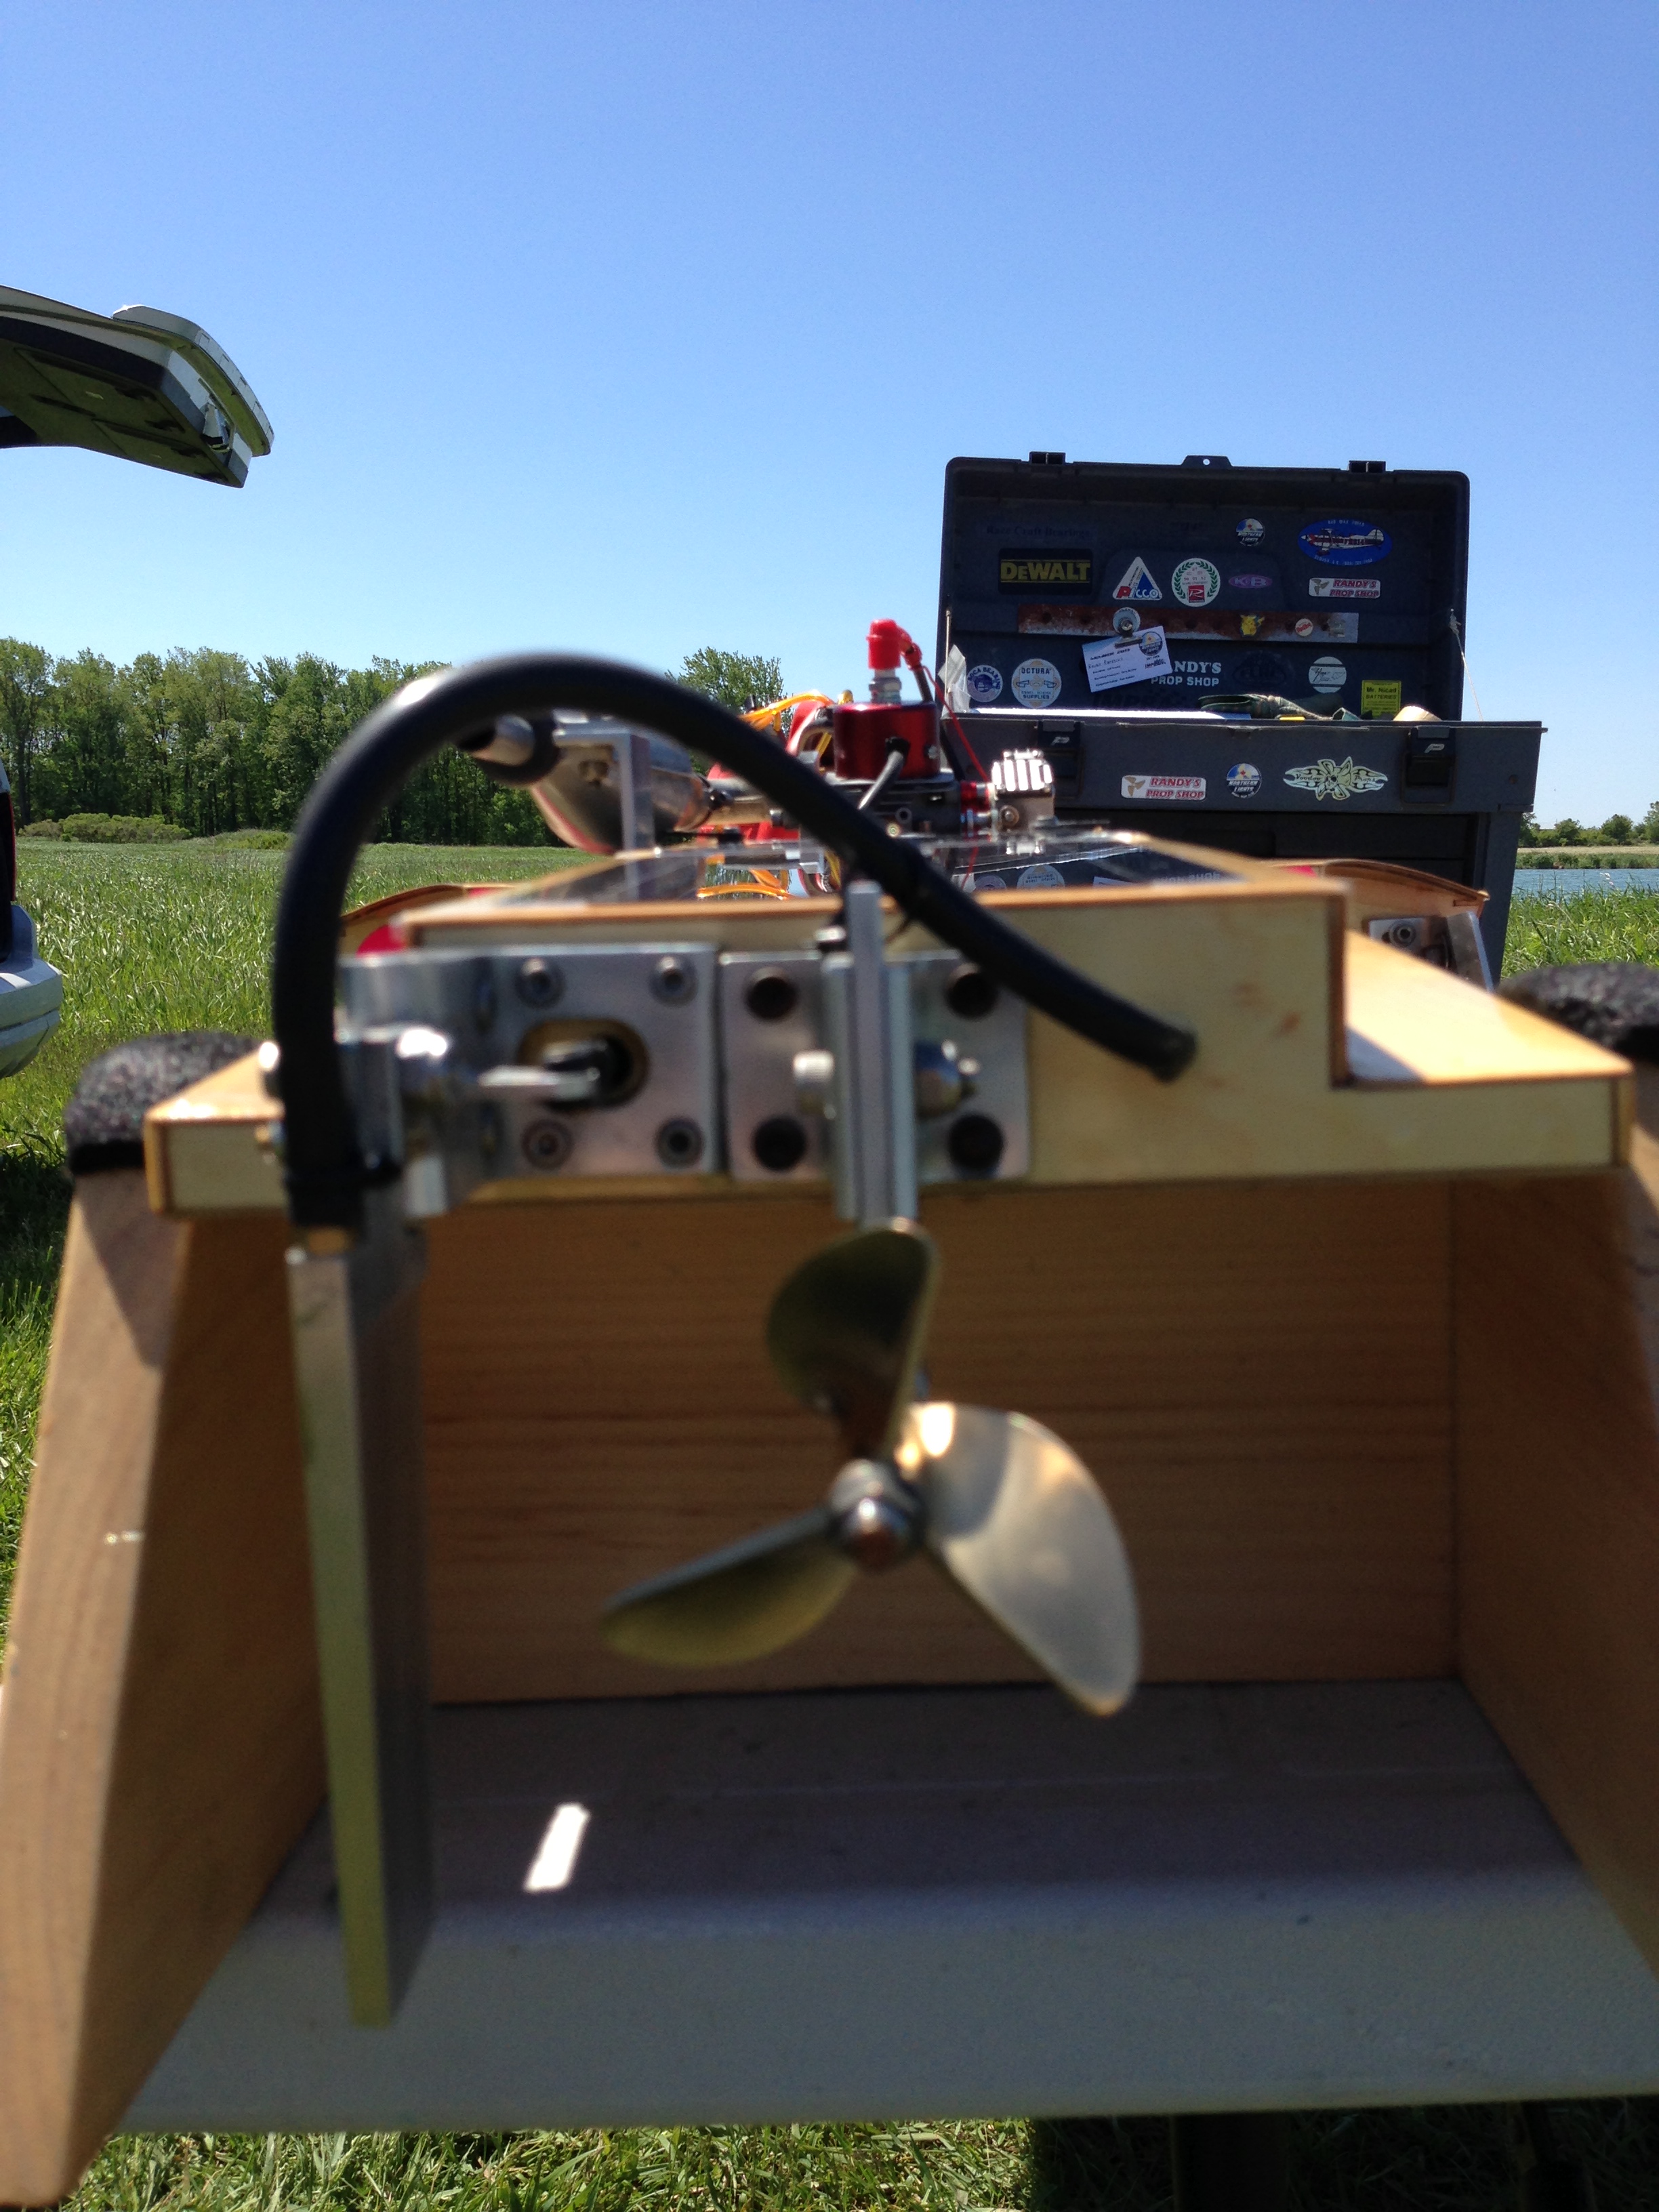
For a rudder and strut I went with SPEEDMASTER as suggested by Blazer. The strut is the flat bottom ¼’’ hydro style. The rudder is the 60/90 style. I shortened the rudder blade so that it is ½’’ below the single water pick-up. I mounted the tapered rudder on the left size as recommended by Blazer. The strut was set at a 3/4’’ depth measuring from the bottom of the hull to the bottom of the strut. The strut was also set flat with the hull bottom.

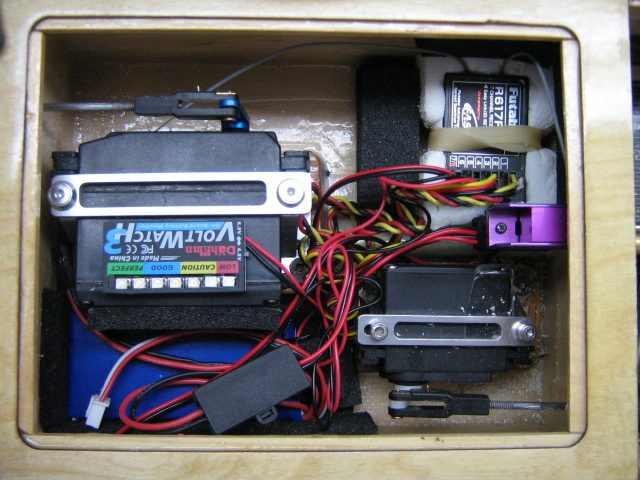
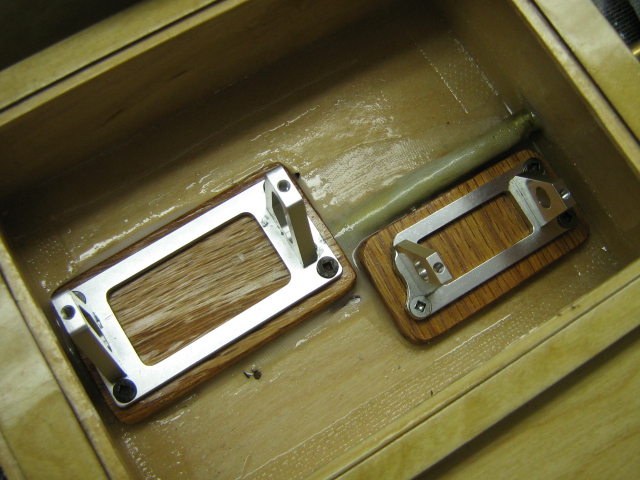
The radio box was pretty straight forward. I epoxied two pieces of hardwood onto the radio box floor so that I could screw the servo holding brackets in place. I went with ZIPPKIT brackets and AEROMARINE push rod seals. The throttle is a standard HITEC servo. I went with a HITEC hi-torque ¼ scale servo for the rudder. I wanted to make sure this Backlash can hold lane one at full speed. 4-40 push rods that are doubled up and held together with collets do the trick for the steering. I also added a little support bracket between the radio box and the transom to reduce any vibration of the 4-40 push rods. HOR RACING supplied the on/off switch which is the best I’ve seen. The battery pack is a LiFe flat pack which fits in nicely. I use a 2.4 GHz Futaba radio and leave the receiver antennas within the radio box. I do this with all my boats and have never had an issue with glitching or lost signals. The radio box lid is made of clear Lexan so for easy visibility.

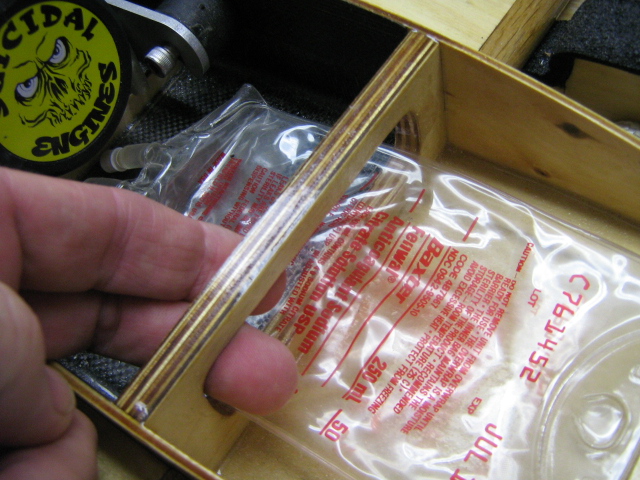
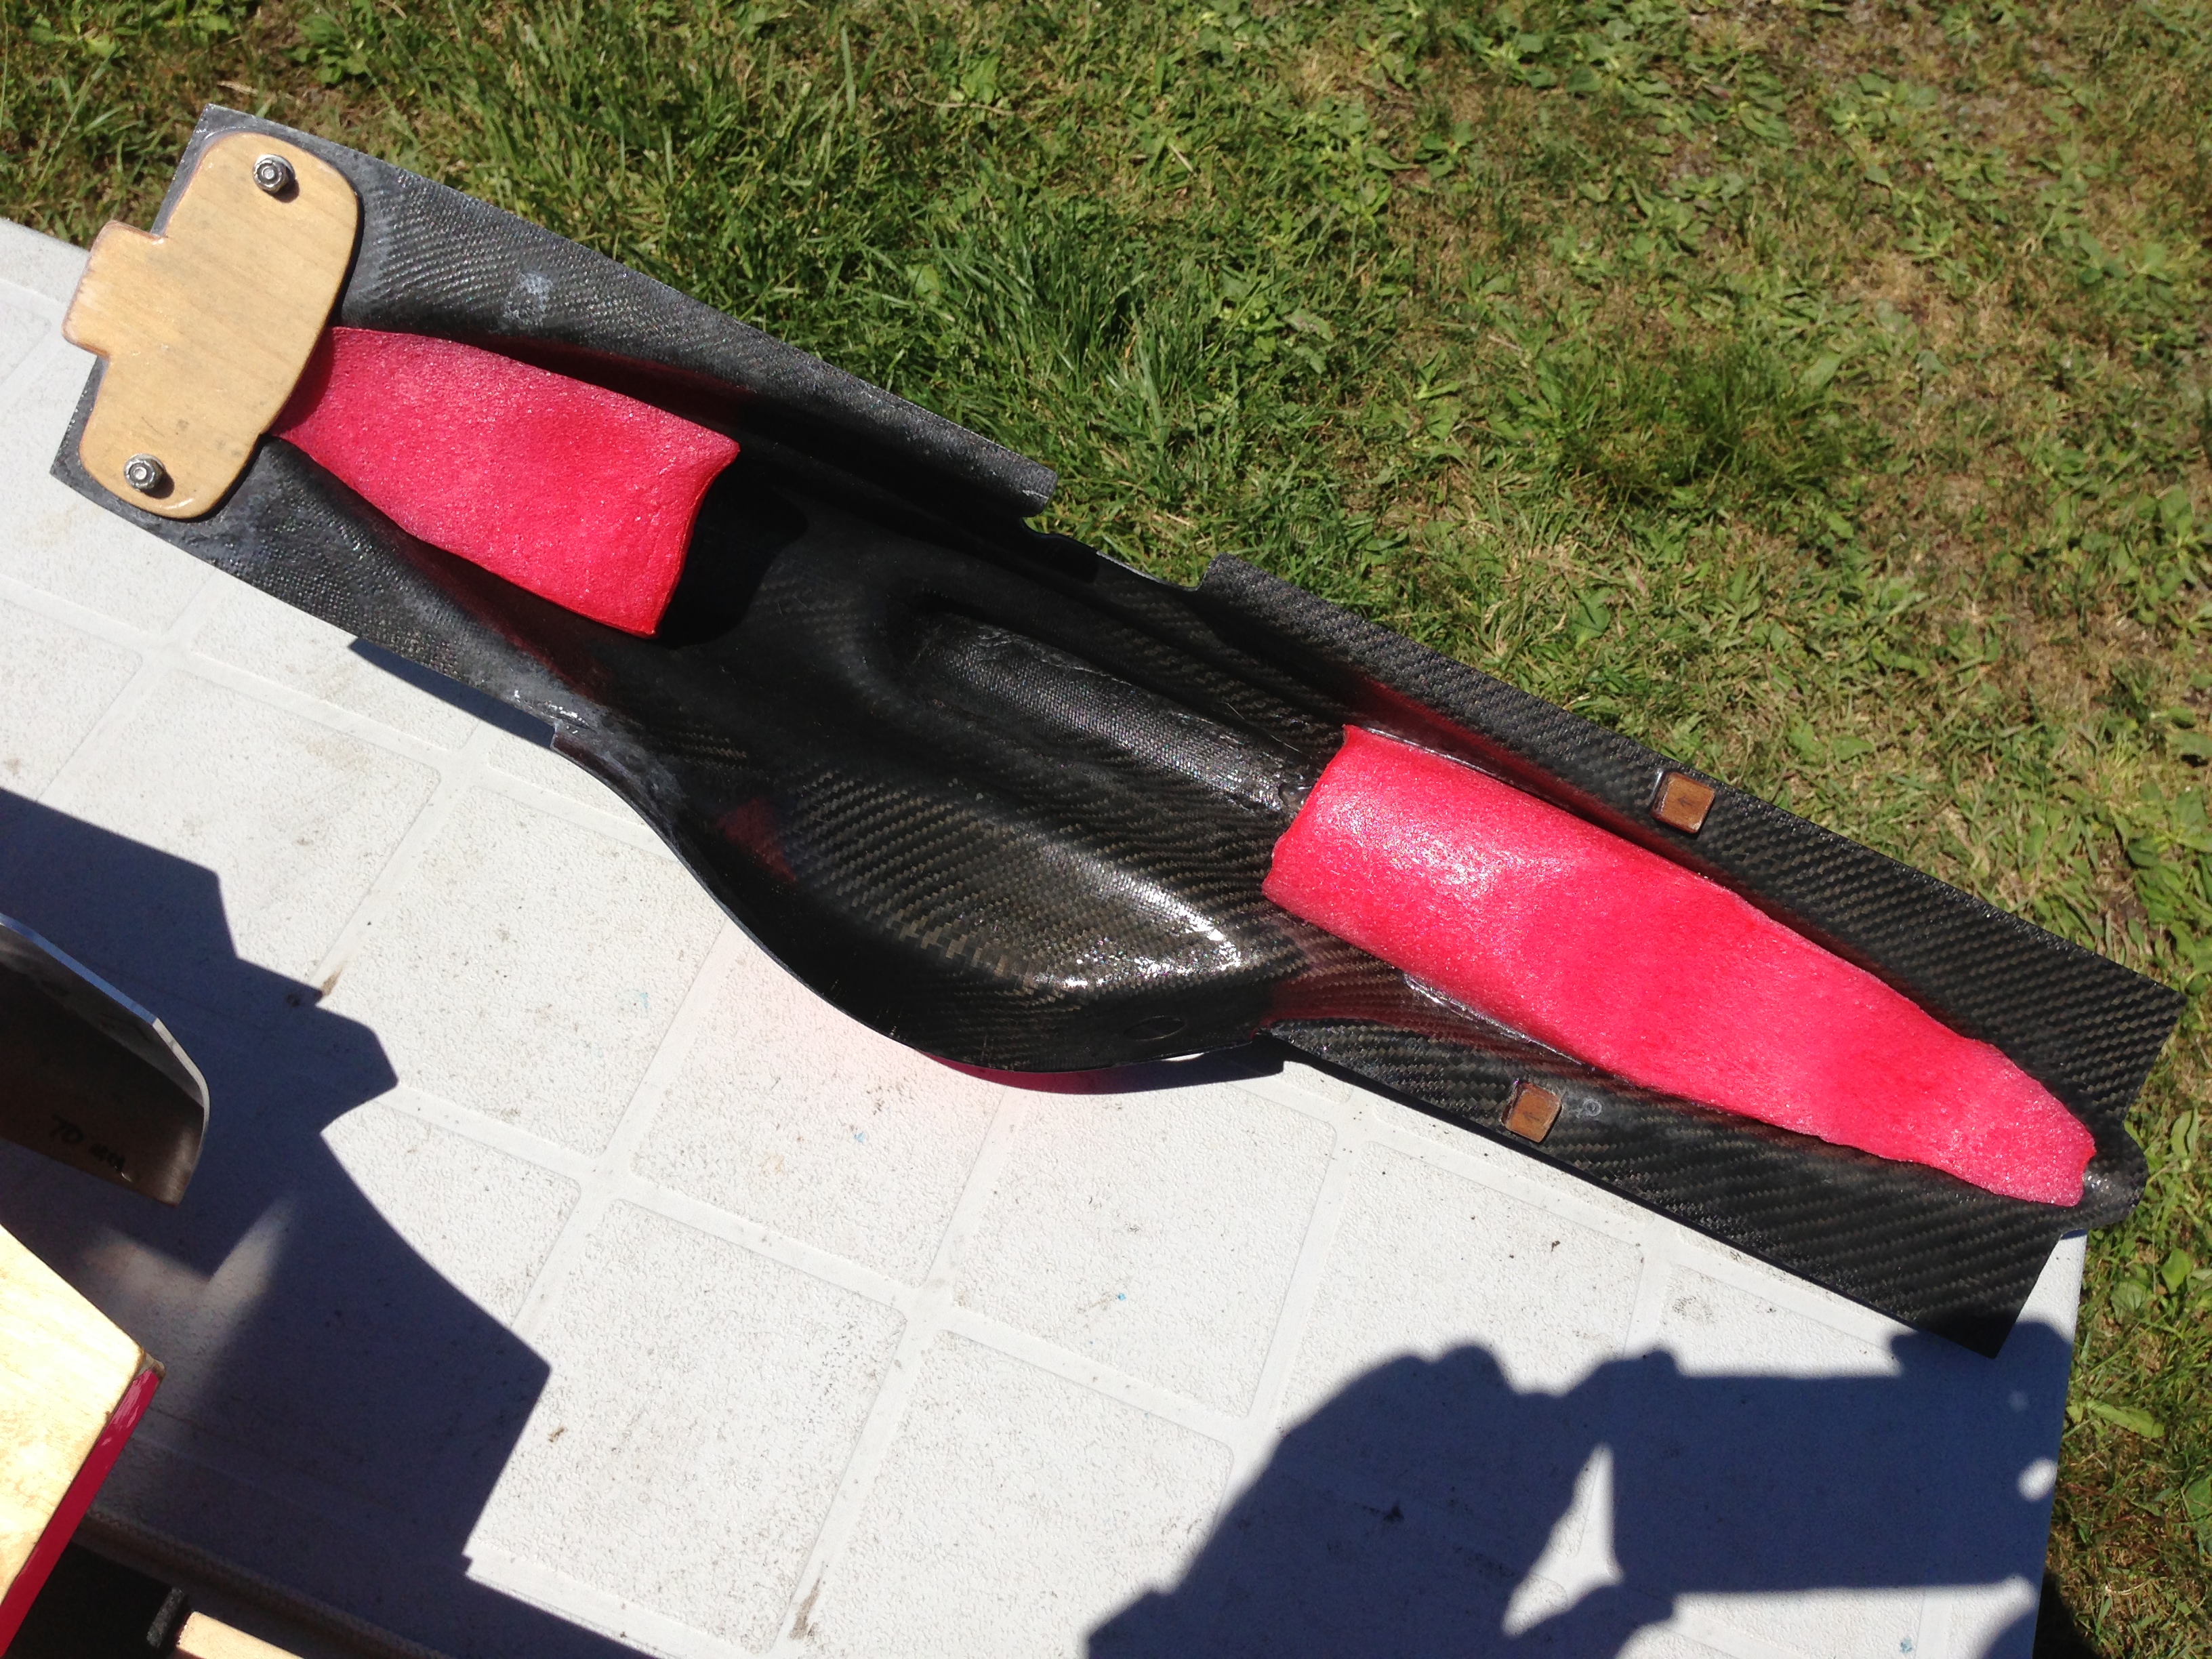
I wanted my boat to look a little different than the others so I decided to offset the beautiful wood grain finish with Carbon Fiber. I purchased a CF Cowl from GIZMO and fit some CF panels for the rear two hull compartments. The cowl required some trimming to clear the exhaust. One thing I like about this CF cowl is that it covers the entire engine and there is no need to cut a hole for the spark plug. I went with a simple method to secure the cowl to the hull. The front has a lip glued to the cowl which slides into a slot at the front of the hull. The back is secured with two pivoting servo arms. The CF panels are simply taped on, same as the radio box lid. Floatation is glued onto the inside of the cowl and panels. I needed something bright to be able to see this boat when it’s racing so I went with Hot Pink. Don’t laugh.
I’ve tested this boat 4 or 5 times now in various water conditions. I found out that looking for a cooling water exit coming out the side of the hull near the rear is almost impossible. I changed the water exit so that it comes out straight up from the exhaust manifold. Problem solved.
At the pond...
I tested various props and turn fins. I found a PROP WORKS WEST 6719/3-654 works best, consistently giving GPS speeds of 75 mph. A 2716/2 - 20 degree prop is a close second. I tried various turn fins and found the one that comes with the kit to be best so far. I had to angle the fin back slightly to pull the right sponson down and also adjusted the turn fin bracket so it angles inward approx 10 degree. This allowed me to run full speed in lane one and the right sponson stayed planted in the water. Initially I was having problems with the right sponson lifting in the corner and the boat would barrel roll (as seen in the one video). I contacted Brian Blazer and he told me exactly what how to fix this and it worked!





Final thoughts and thanks...
I LOVE this boat. It was fast from day one and only needed a little bit of tweaking to get it ready for race day. 75 mph is FAST! This boat could easily compete with the Gas Riggers. A huge thanks to my friend Marc Levac of Model Gas Boats (Home of the Warpath riggers) for building me a truly beautiful and fast boat. Thanks to Mike Ross of Suicidal Engines for the killer power plant. Thanks to Brian Blazer of Blazer Marine for the tips and advice when setting up this water rocket.
If you want a Gas Sport Hydro that will get you into the winners circle, then this is the boat for you.
Here are a few videos during initial testing:
Randy Rapedius
Contact Information:
Blazer Marine www.blazermarine.com

