Product Review Article...

Our review of the Insane Generation 2 Catamaran...
Over the years we have done quite a few reviews of hulls from Insane Boats and we have always had very positive things to say about the quality and performance of their products. This one is no different. As with all Insane Boats, the Generation 2 Catamaran is an all out racing machine designed from the ground up with the racer in mind. Don't get me wrong though, the Gen2 Cat can be a great play boat if that's what you are looking for in a cat, but the fact remains that racing is what this cat was designed for and heat race water conditions (rough water) is where this boat will shine.
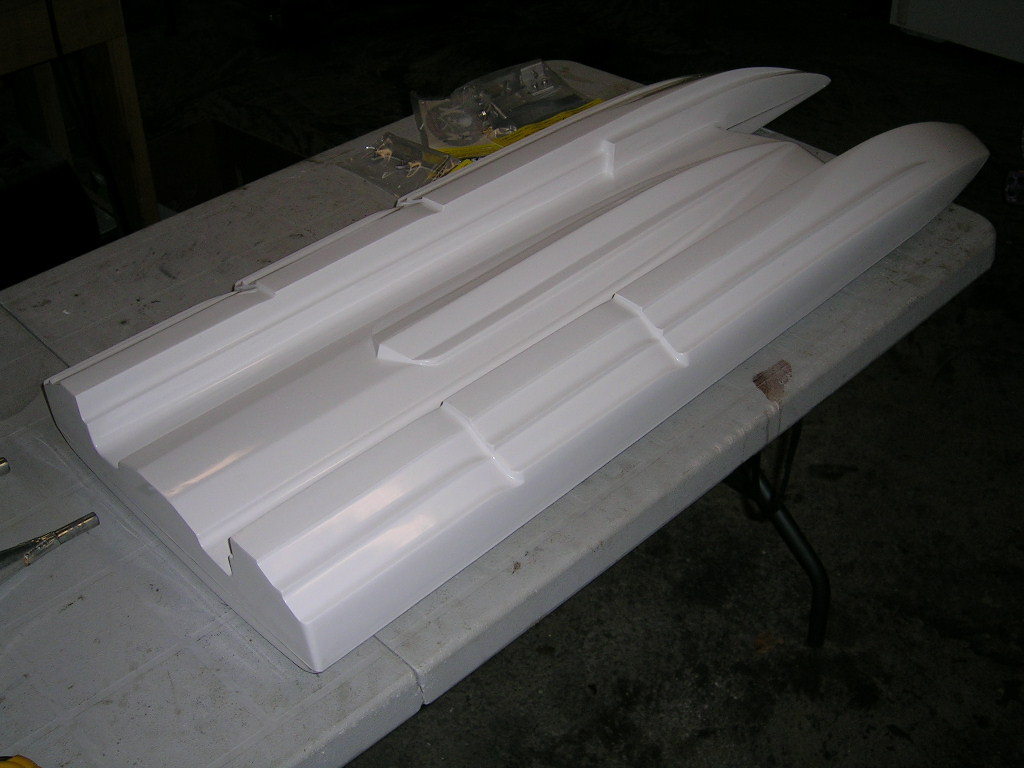
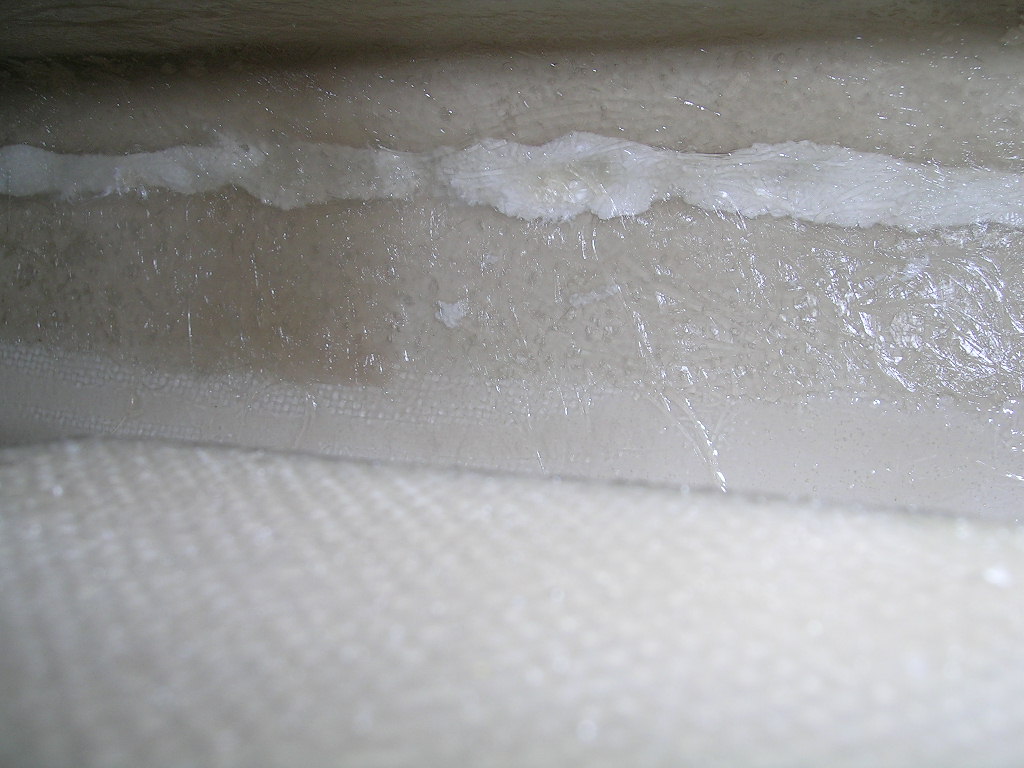
The Gen2 is made of fiberglass with polyester resin and features a clean "seamless" clamshell design. This means that the top and bottom halves of the hull are mated together without an overlap as would be the case with a shoebox design. This makes for a cleaner finish but more importantly is takes away a surface that can actually create unwanted lift in some race hulls. The seam is reinforced from the inside with fiberglass tape.
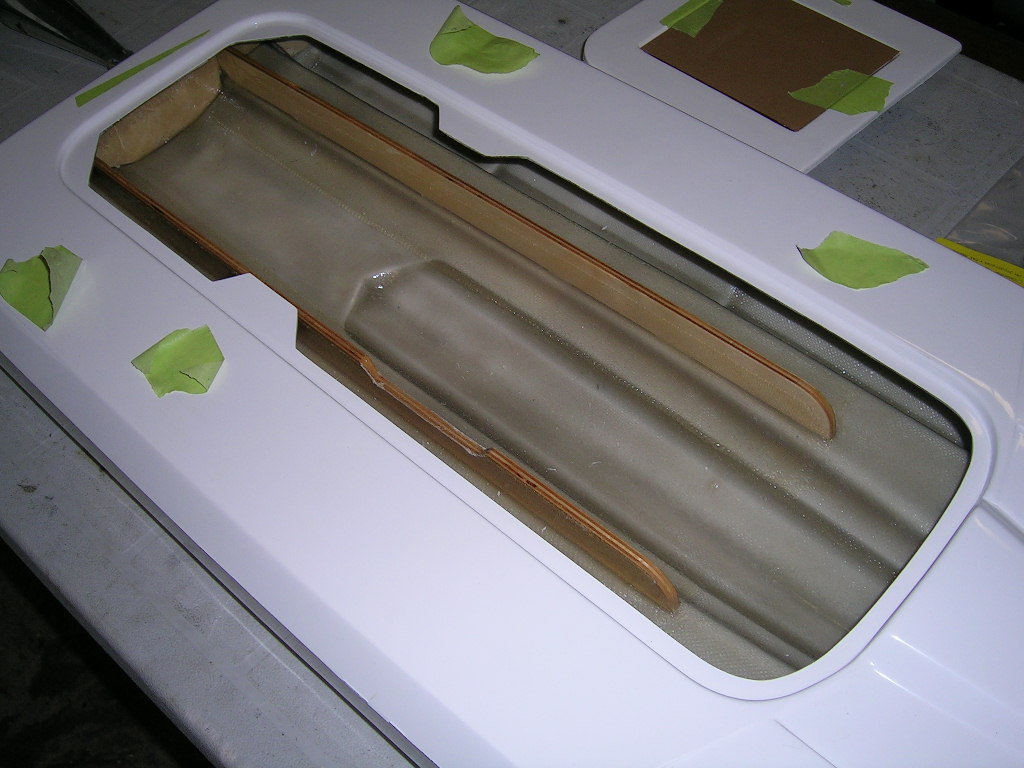
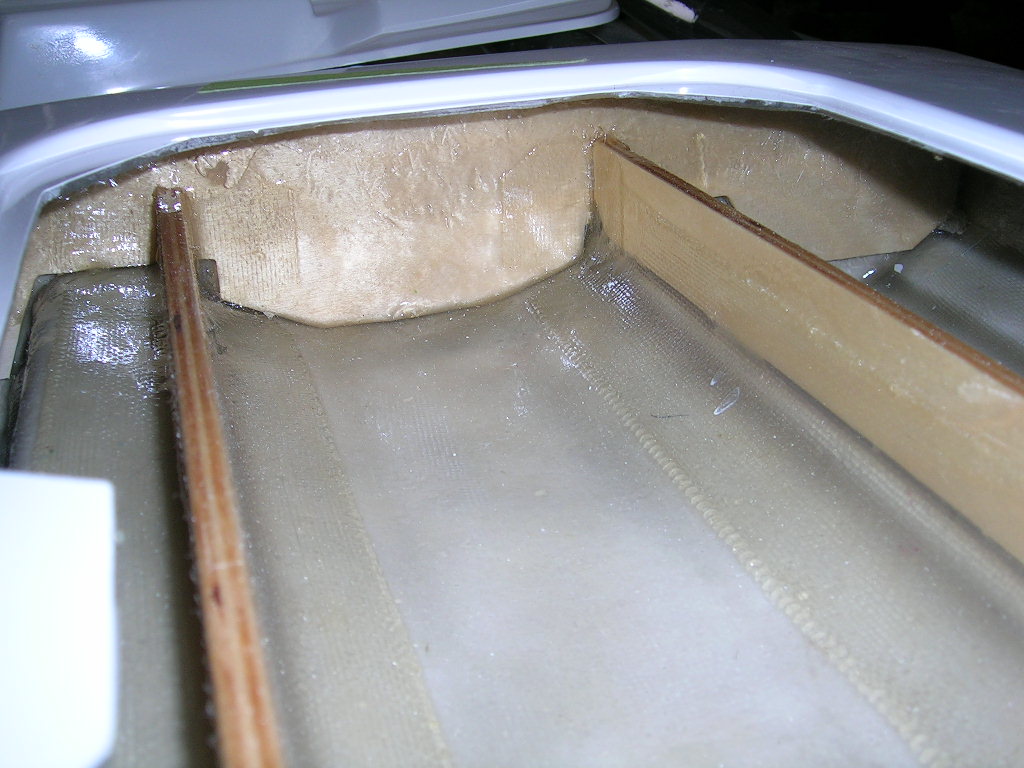
The hull is 43 inches long and 16 inches wide. The 1/4" marine plywood engine rails are pre-installed (as with all Insane Boats hulls) and are spaced at 5 inches to accommodate most gas engines. The transom is also reinforced with a 1/4" marine grade plywood.
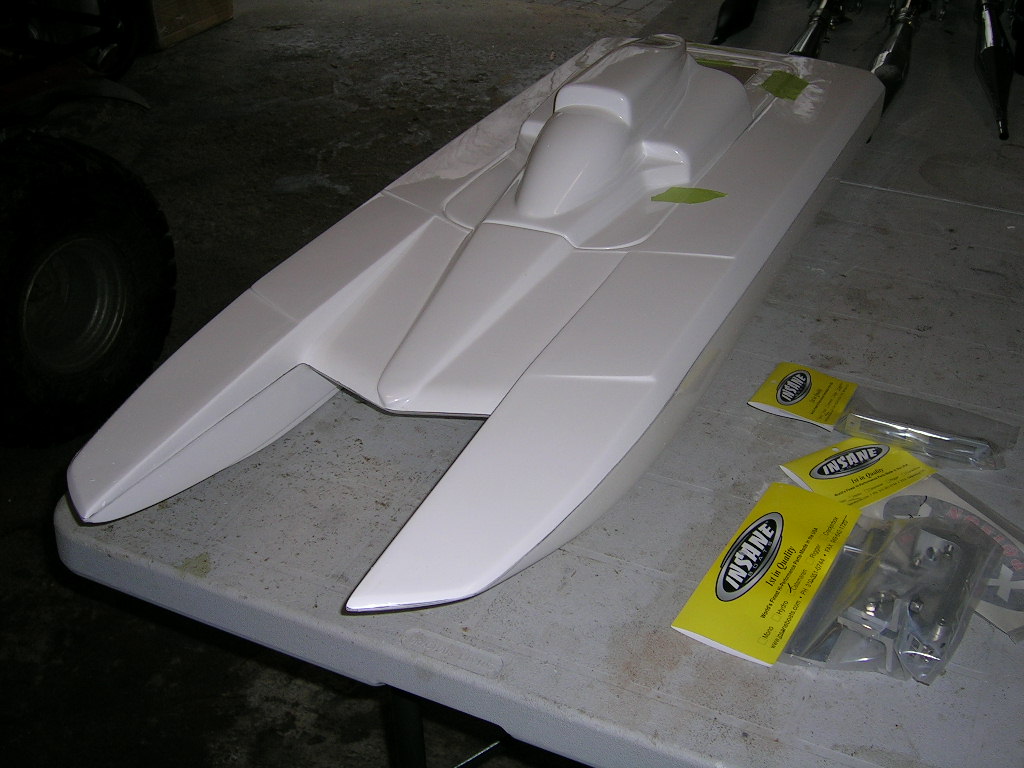
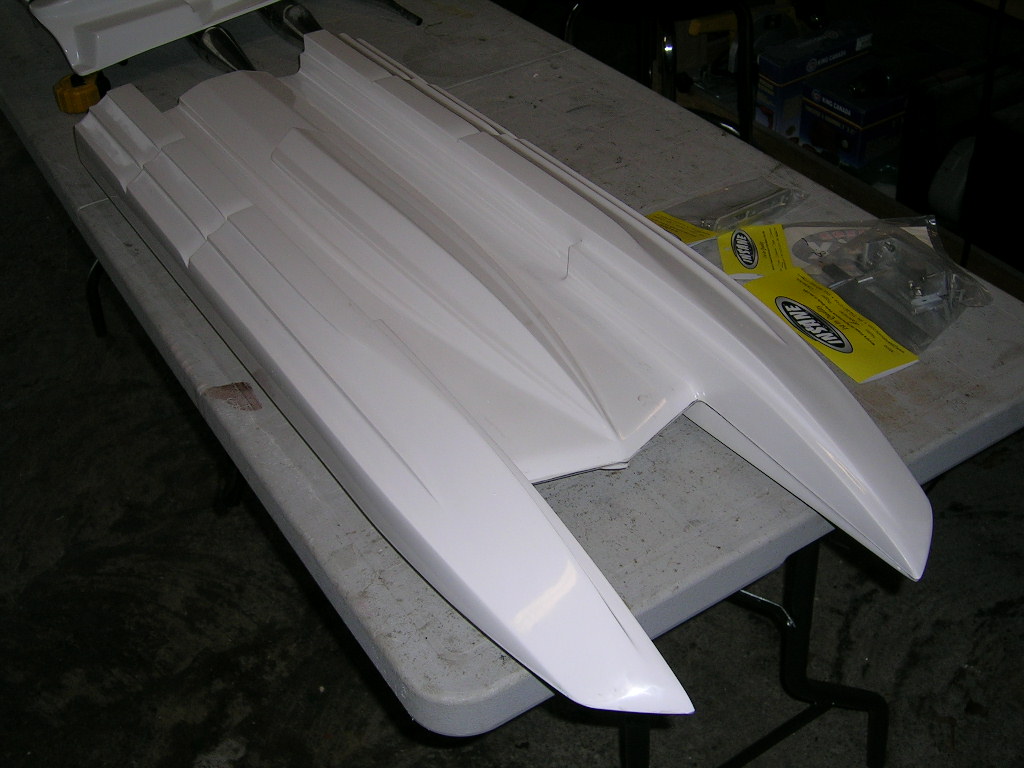
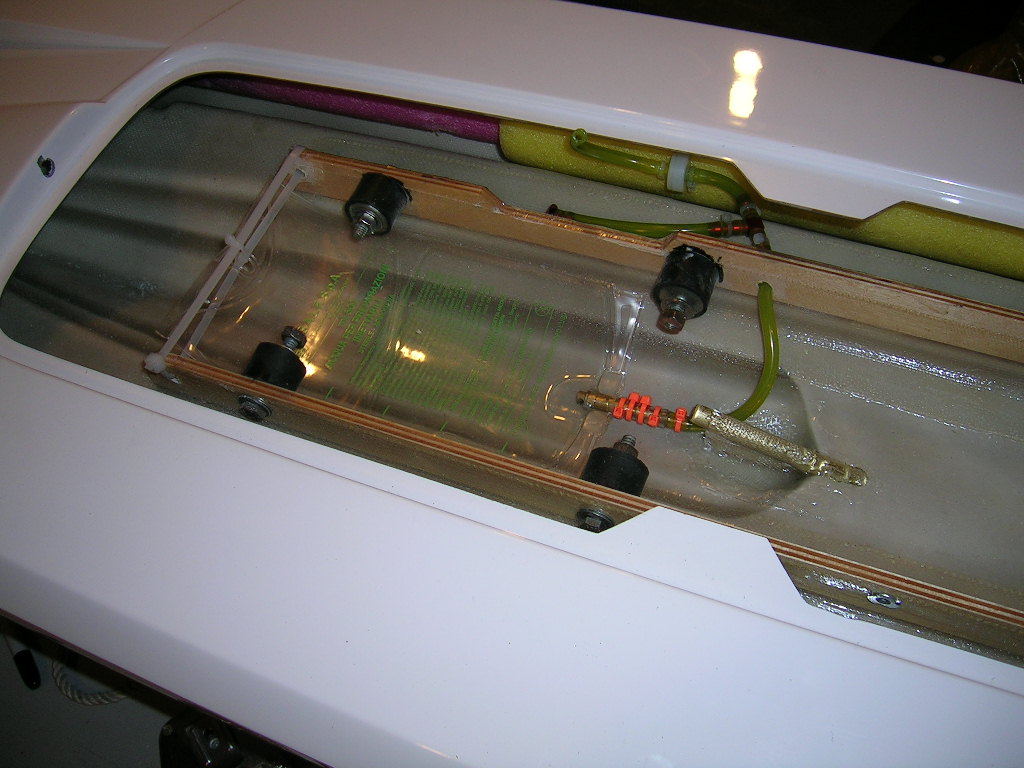
The Gen1 Insane Cat featured a flat drop down section in the tunnel to get the motor lower inside the hull. The Gen2 also has a drop down section, but in this case it is shaped like the bottom of a "V" hull instead. As with the Gen1 it allows to get the motor lower but also helps prevent the hull from digging into the water in rough conditions and in turns. Pictures can be seen below.
The fiberglass lay-up is thick and strong and the finish is a glossy gel coat available in several different color combinations.
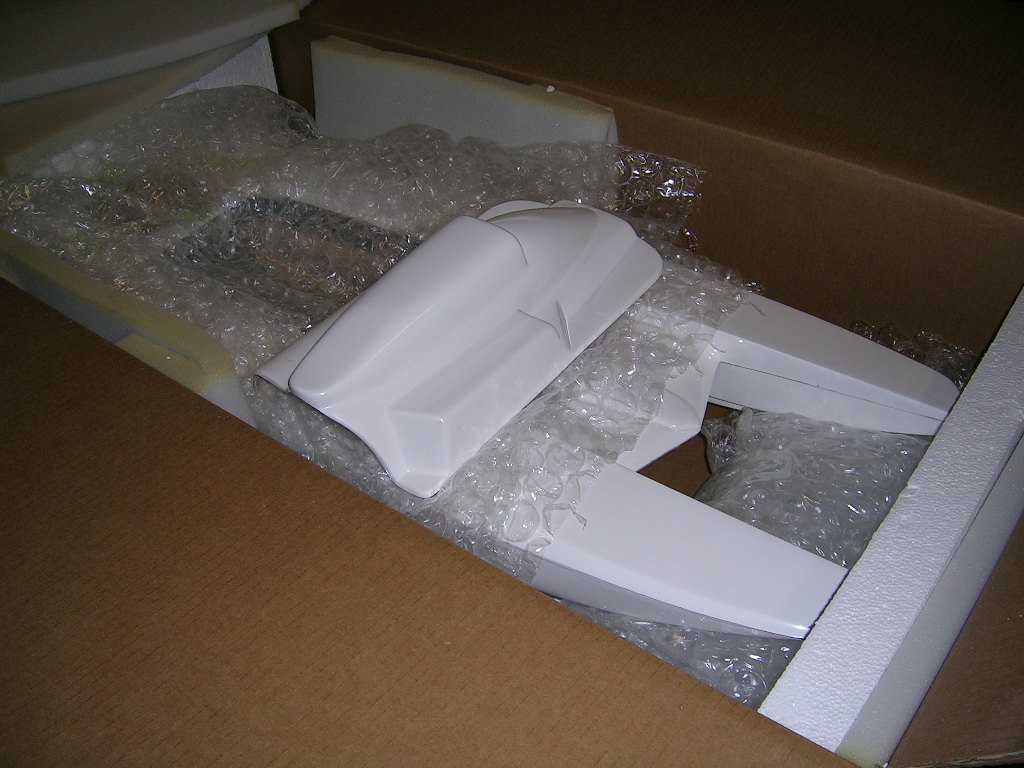
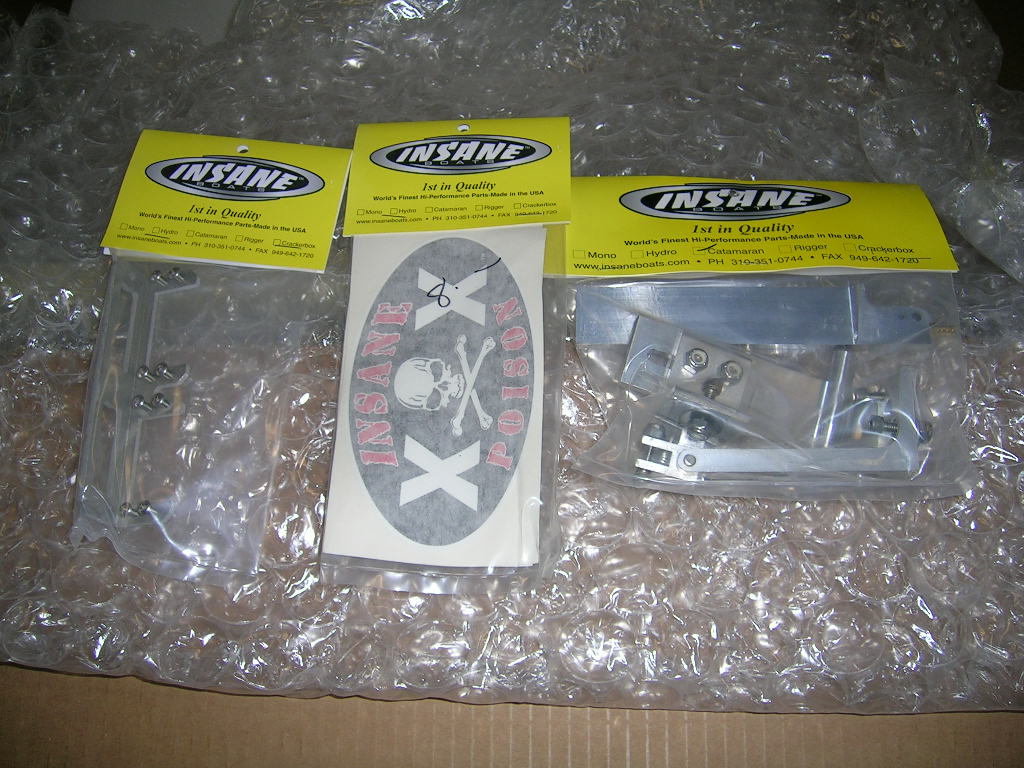
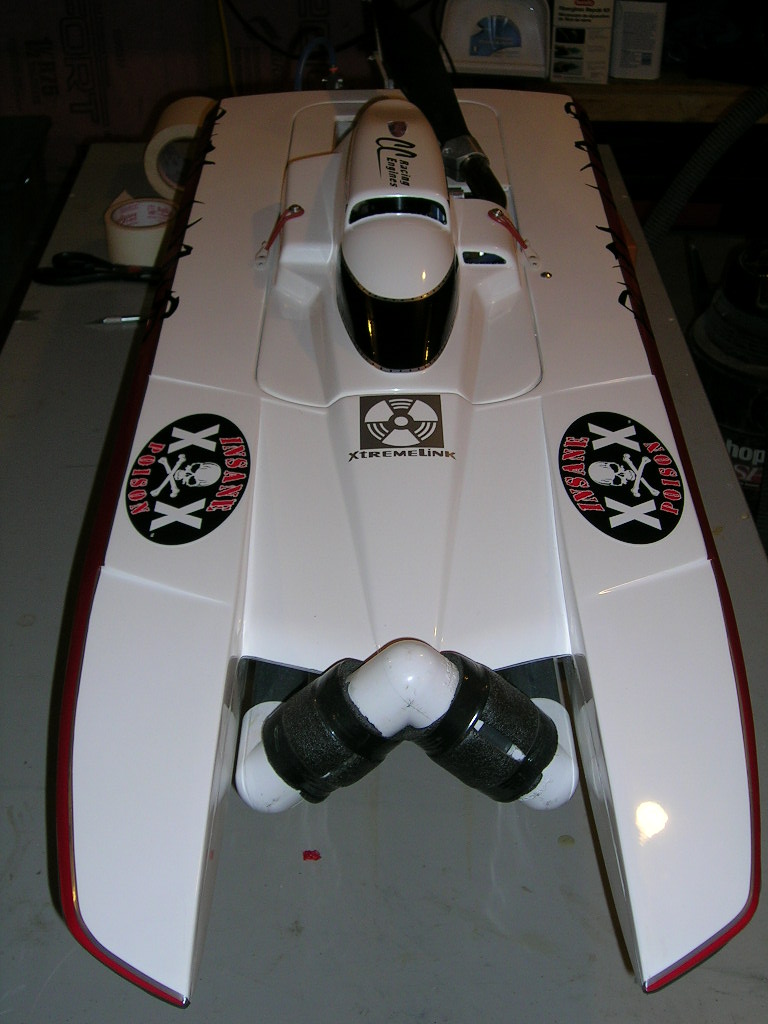
Here are a few pictures of the boat as received from Insane Boats. We ordered the hull and hardware combo for this build.

The build...
The assembly is pretty straight forward following the included setup sheet. Depending on which components you use for the build, some steps will vary slightly. I am referring mainly to the way the cowl will have to be trimmed depending on pipe/header and engine mounts combo. This cat is designed for Zenoah PUM style engines. To use other types of engines may require additional trimming and modifications.
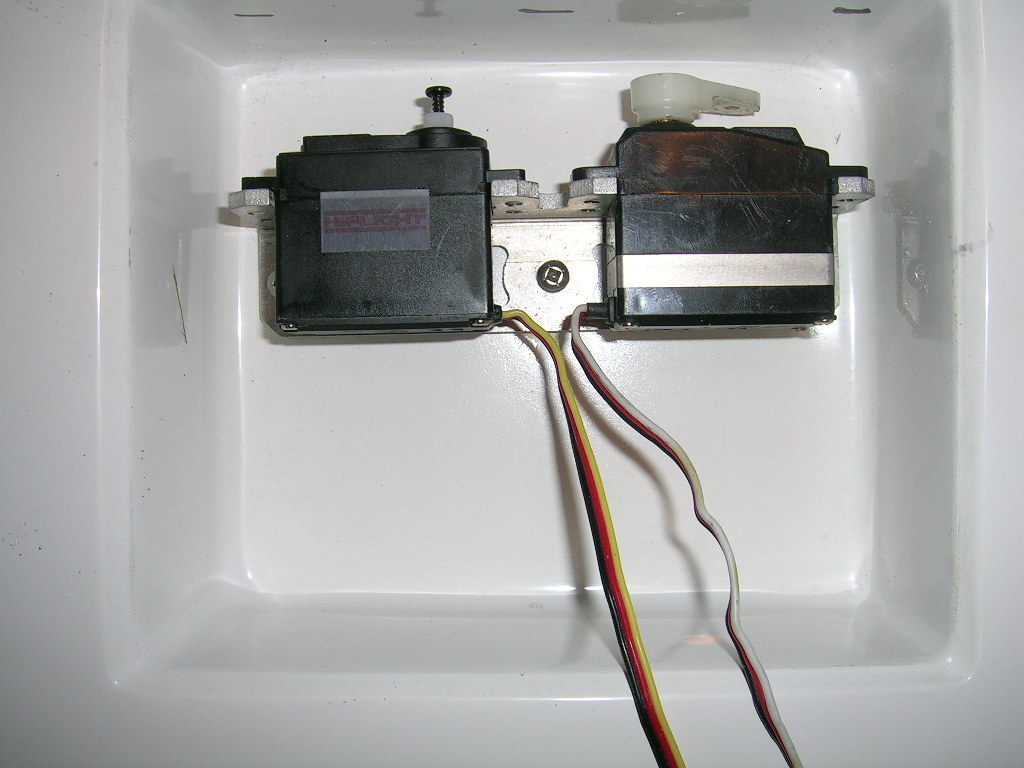
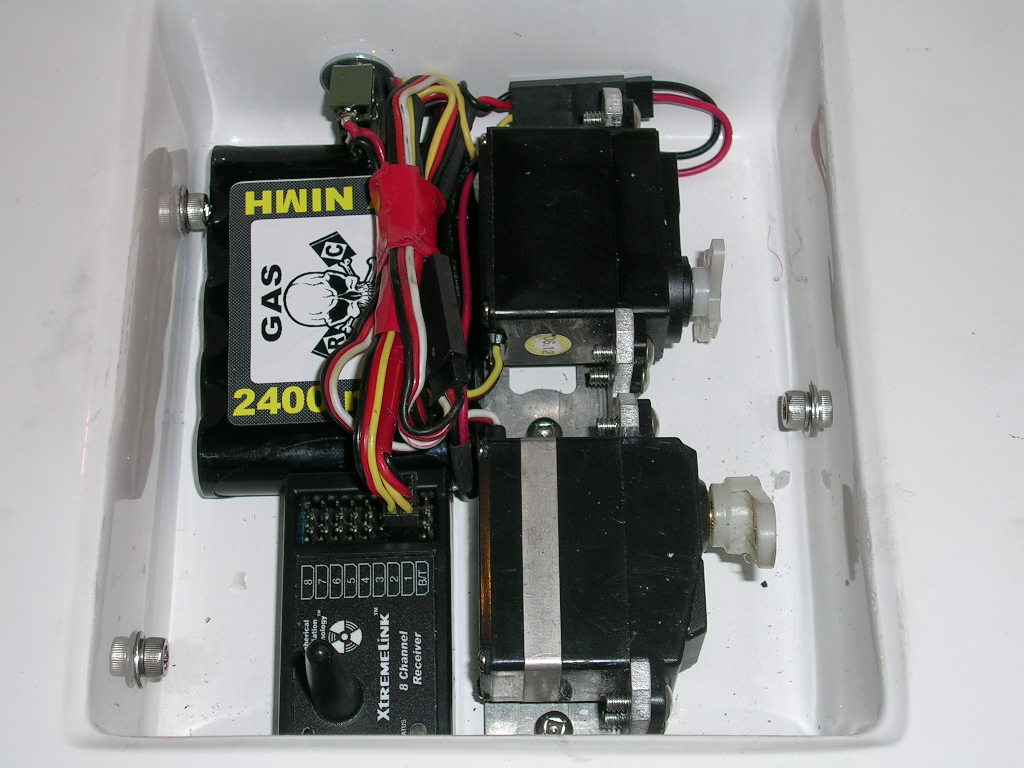
I started the build by preparing the radio box. A piece of 1/4" thick oak was epoxied to the bottom of the radio box and sealed. The Insane double servo bracket was then mounted inside the box with 1/4" stainless steel screws that go through the bottom of the box and into the piece of oak that was laminated to the underside of the box. Perfectly watertight and very strong.
I started the build by preparing the radio box. A piece of 1/4" thick oak was epoxied to the bottom of the radio box and sealed. The Insane double servo bracket was then mounted inside the box with 1/4" stainless steel screws that go through the bottom of the box and into the piece of oak that was laminated to the underside of the box. Perfectly watertight and very strong.
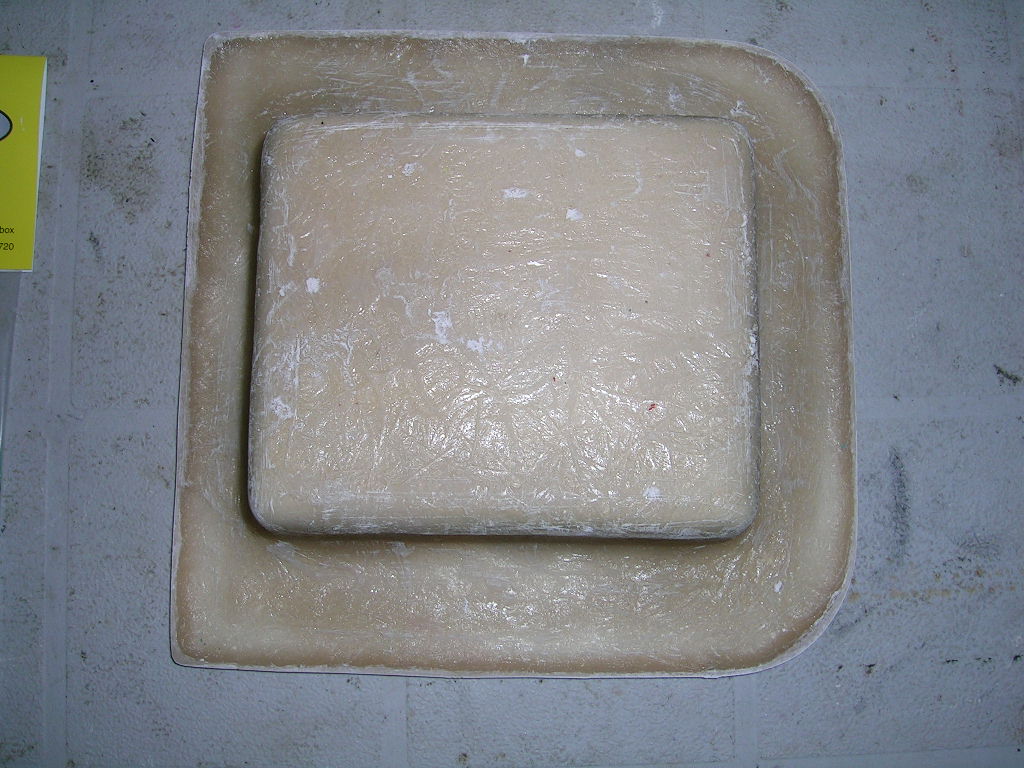
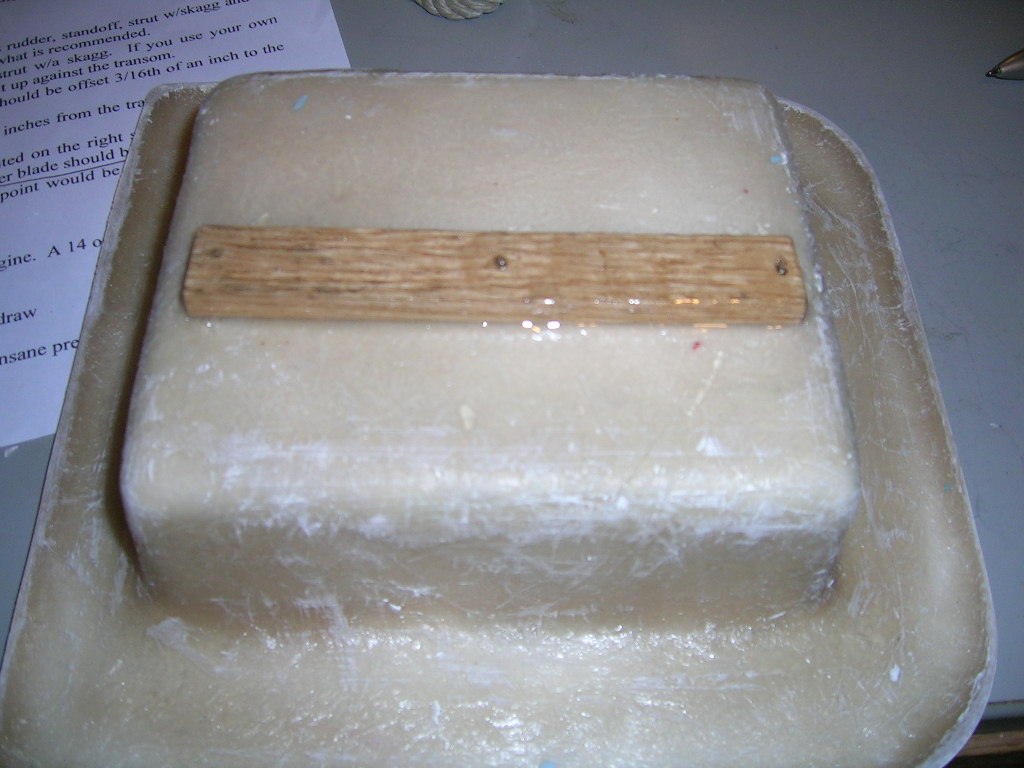
The box in the Gen2 isn't your typical radio box. It features a wide top lip that flush mounts onto the top deck of the hull. When you sit it in position you can notice that the box is not really snug between the engine rails (stringers). To fix this I used some Bondo to fill the gap. I laid a piece of plastic inside the hull over the stringers and sprayed it with a little bit of WD40. Some Bondo was then applied to the radio box sides where is would fit between the rails and I positioned the box in the boat where it should be mounted. The Bondo took the form of the stringers. After a few minutes I removed the box and the plastic from inside the hull. I now had a box that fit perfectly between the stringers.
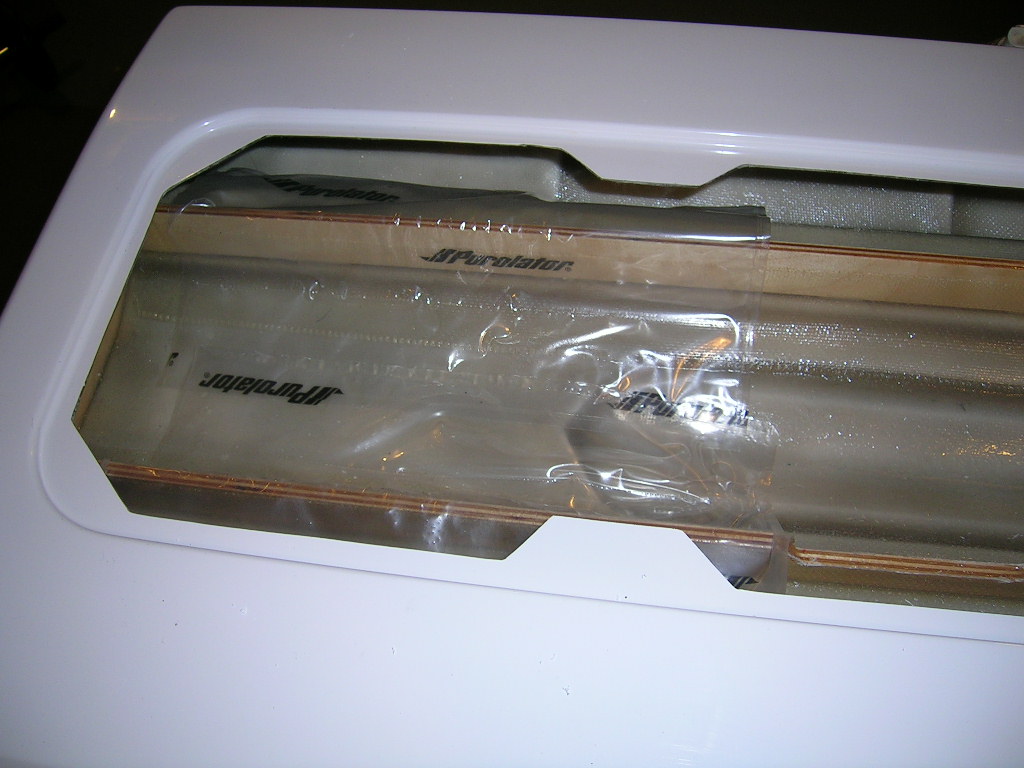
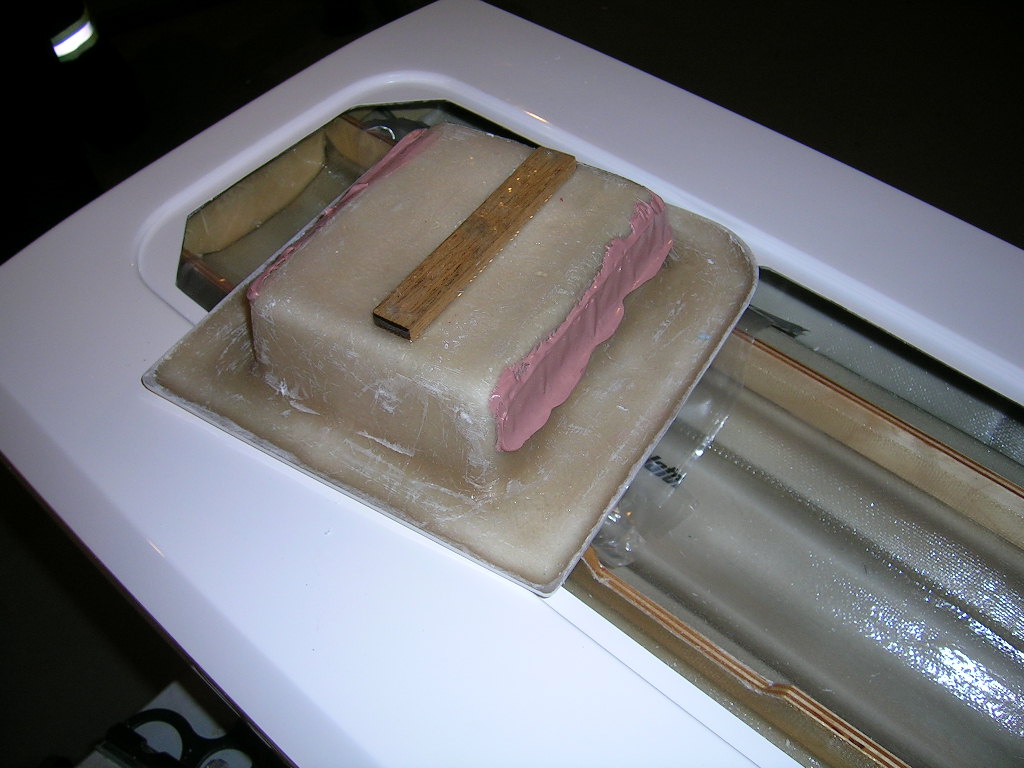
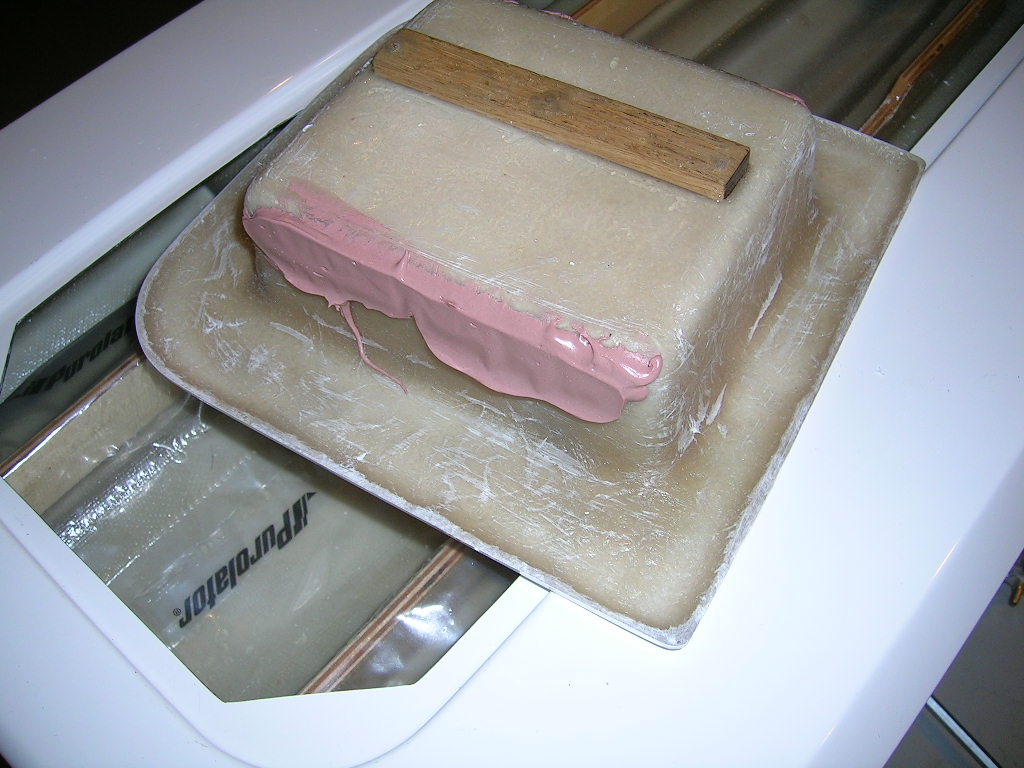
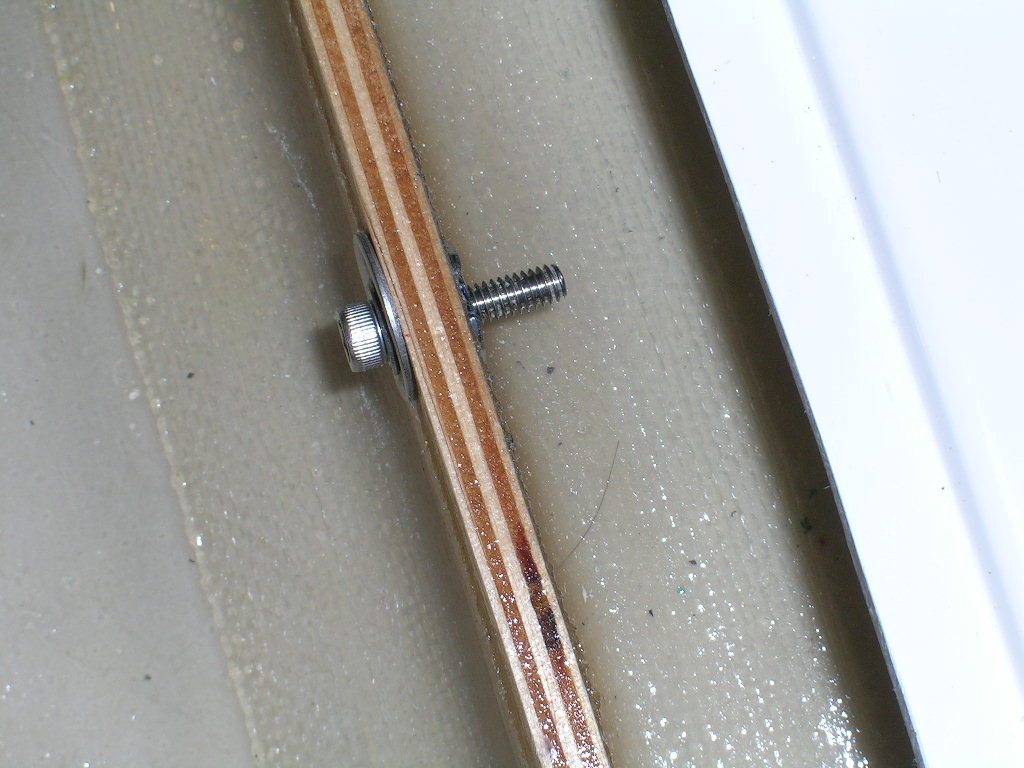 To mount the box I used three stainless steel cap screws that run through the sides of the box and into blind nuts (T-nuts) in the stringers. Holes were drilled through the box and stringers and then the blind nuts mounted to the stringers. I used a big flat washer and bolt to insert the blind nuts in the stringers and get them to seat properly before actually mounting the box to avoid applying too much force against the box itself in order to seat the blind nuts.
 There are more pictures showing the radio box mounted further in this article.
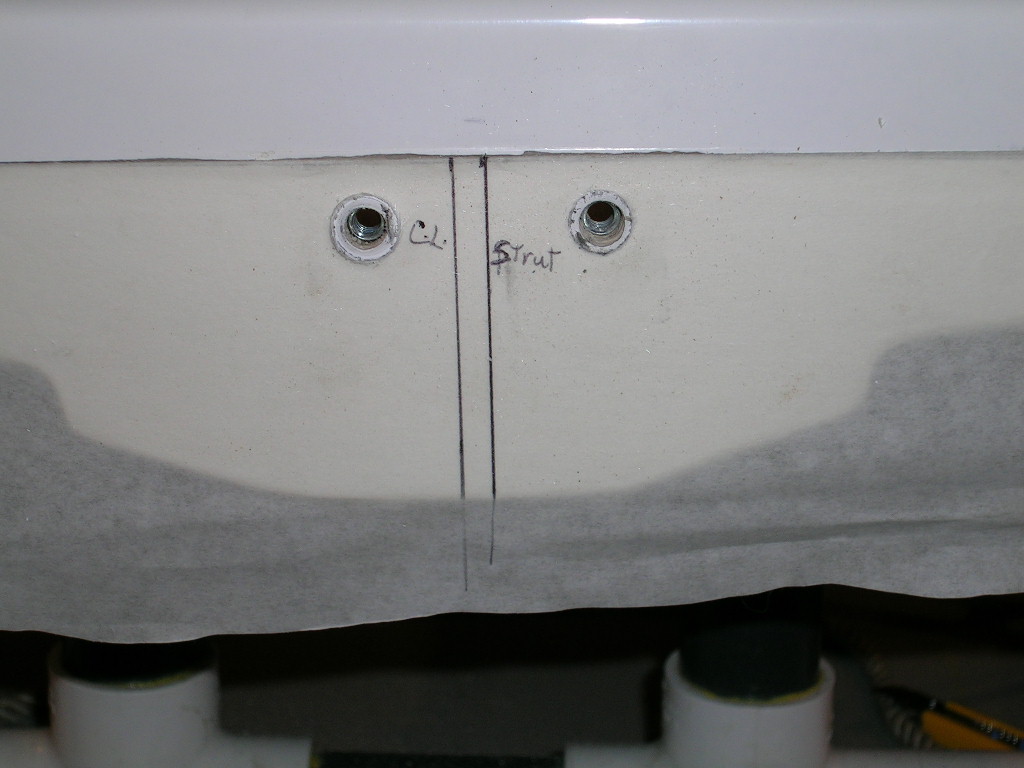
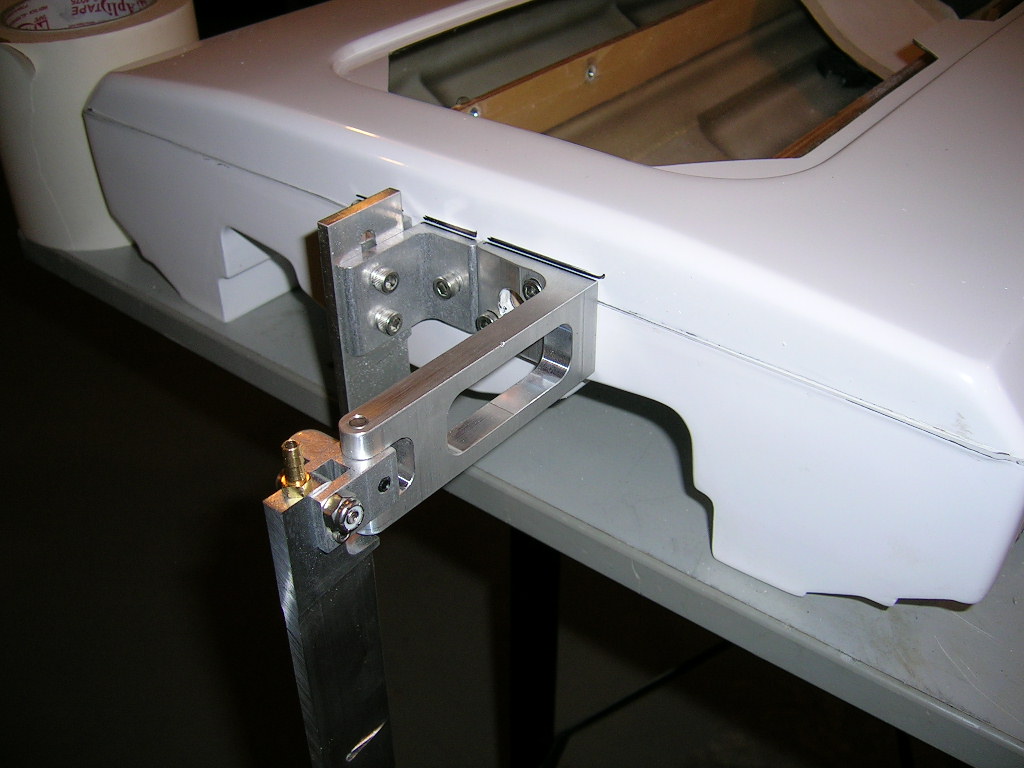
The strut and rudder were installed next. After masking the transom of the hull I measured and marked the hull's center line (C.L.) and the rudder's C.L. which is offset 3/16" to the right as per the instructions. To allow for proper depth adjustment of the strut, the bracket should be mounted so that its upper edge is about 3/16" higher than the parting line (seam) in the hull.
I drilled the mounting holes and installed blind nuts for the transom hardware. Note: the Insane hardware kit does not come with blind nuts. I added these. The hardware comes with nylon lock nuts and washers. The use of blind nuts here is simply a matter of personal preference.
The rudder is mounted so that its center line is in line with the right side stringer in the hull. Basically you butt the rudder bracket against the strut bracket and it's very close if not perfect. Double-check before drilling.
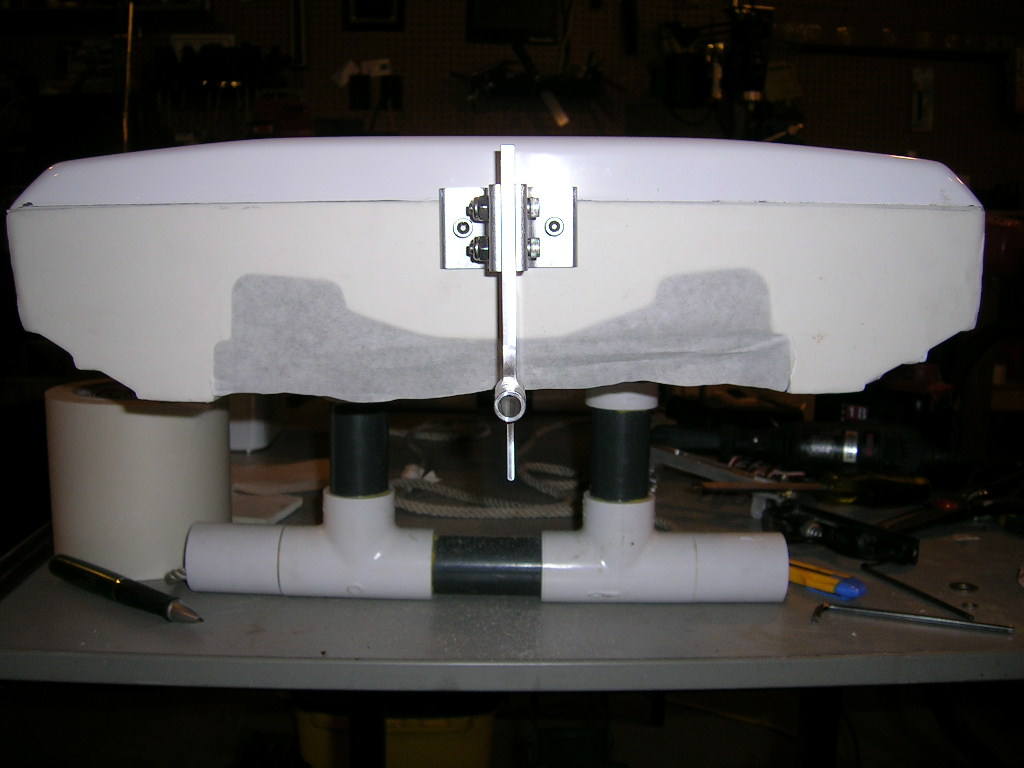
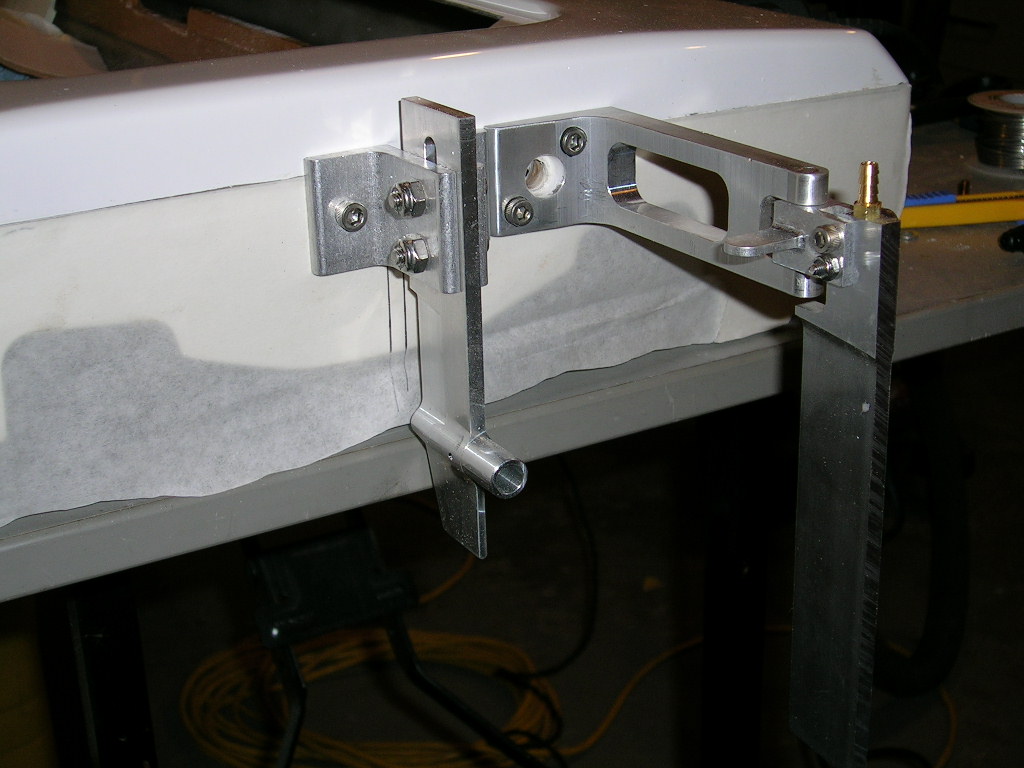
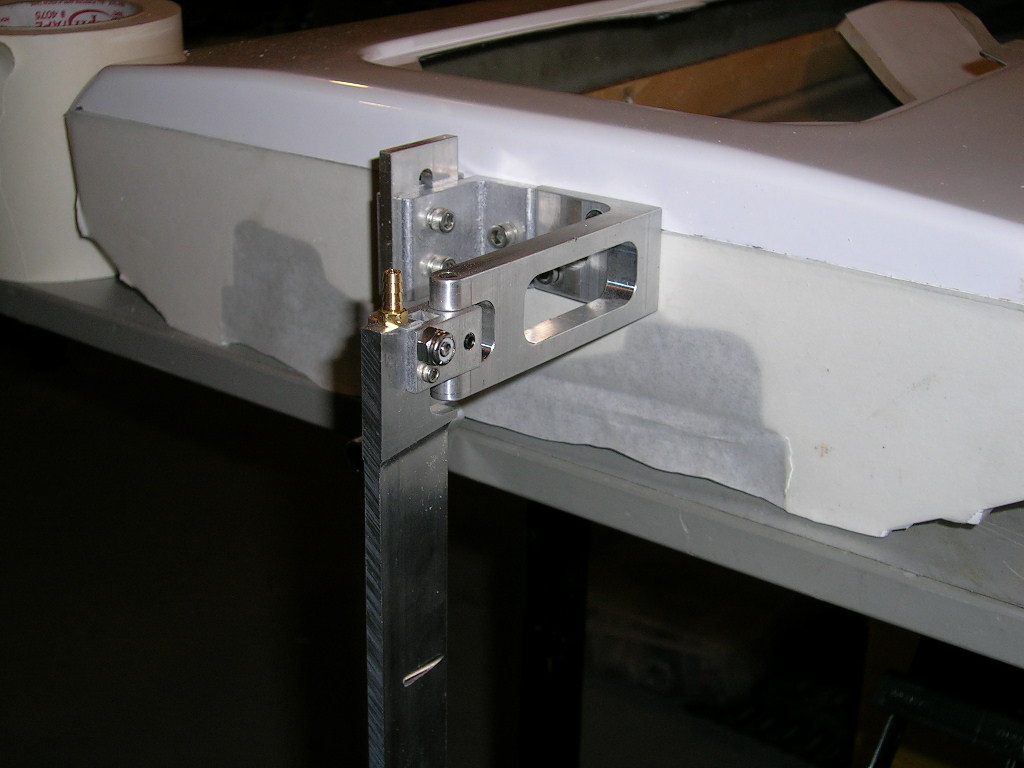
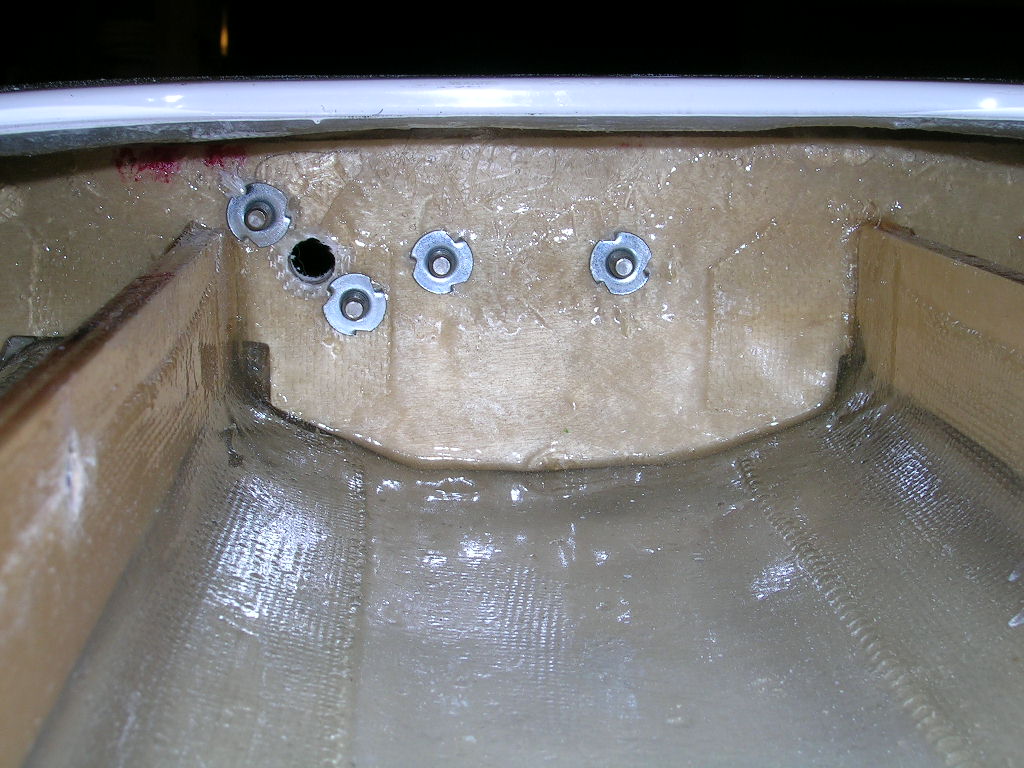
The next step was to mount the motor. *It is a good idea to install floatation (pool noodles) in the hull at this time. It's a tight fit to get the floatation in there so take your time.
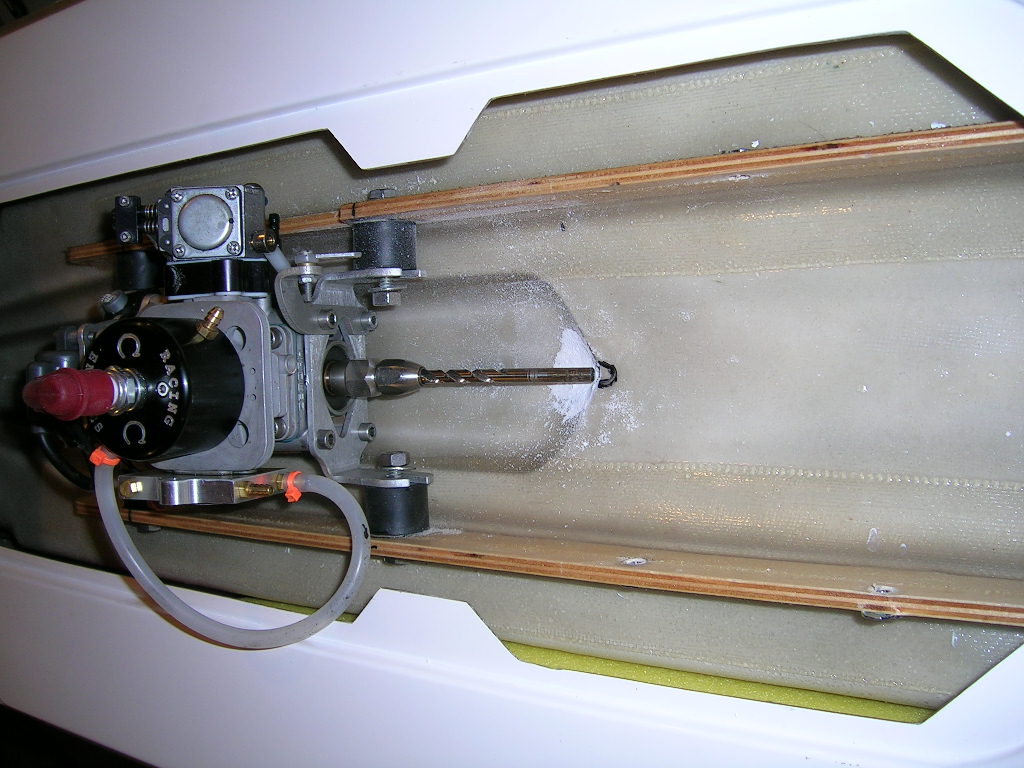
To keep the engine as low as possible and take advantage of the drop section in the Gen2 Cat, a set of drop mounts are required. I used CC Racing Engines drop mounts. I marked and drilled the stringers and mounted the engine. I think I could have mounted my engine a little bit flatter than I did and avoided having to trim the cowl for the spark plug boot (seen further). The back mounts were as low as I could get them but the front ones could have gone lower. You should test fit the cowl when mounting your engine. It was an oversight on my behalf and by the time I noticed it was too late.
To keep the engine as low as possible and take advantage of the drop section in the Gen2 Cat, a set of drop mounts are required. I used CC Racing Engines drop mounts. I marked and drilled the stringers and mounted the engine. I think I could have mounted my engine a little bit flatter than I did and avoided having to trim the cowl for the spark plug boot (seen further). The back mounts were as low as I could get them but the front ones could have gone lower. You should test fit the cowl when mounting your engine. It was an oversight on my behalf and by the time I noticed it was too late.
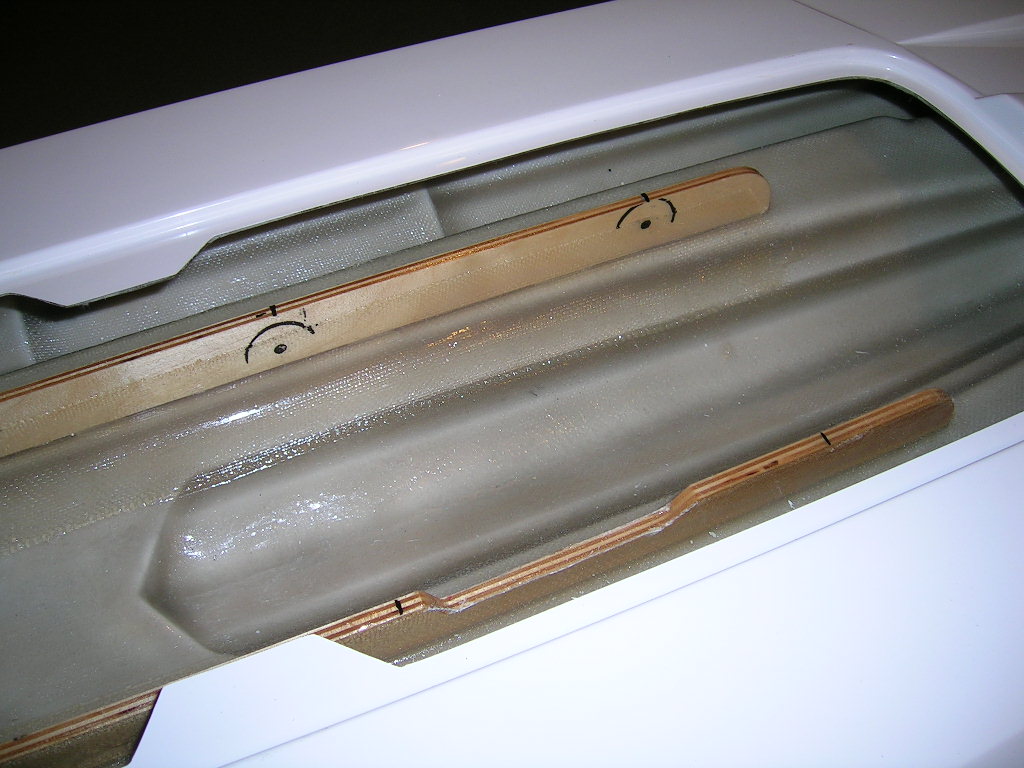
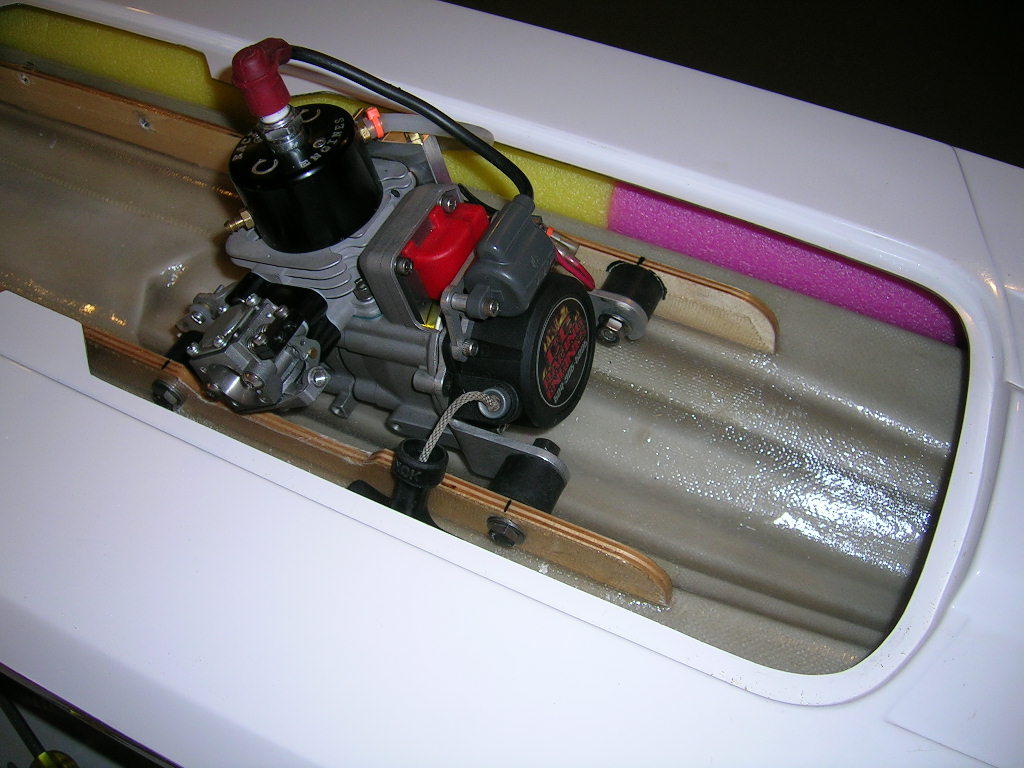
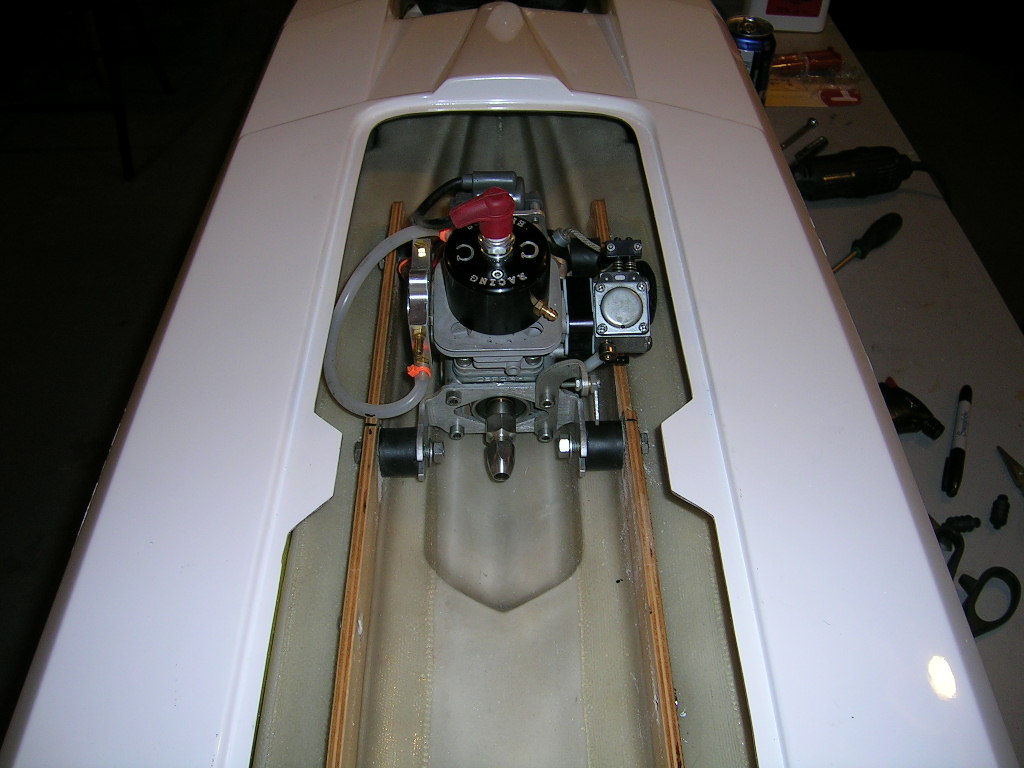
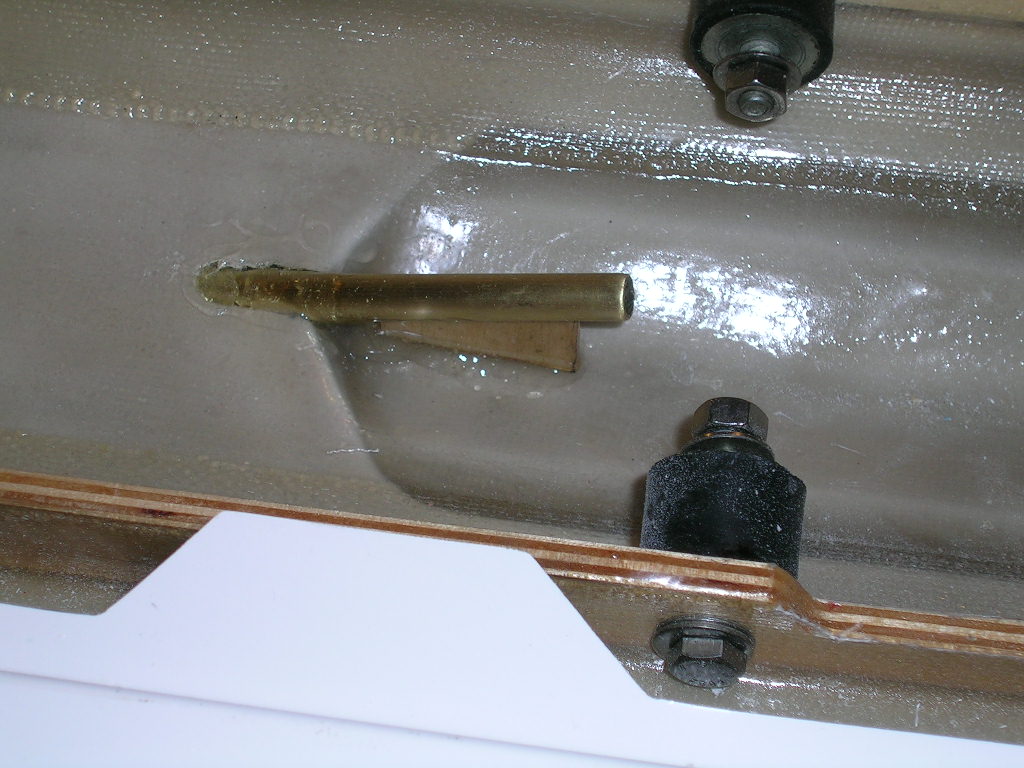
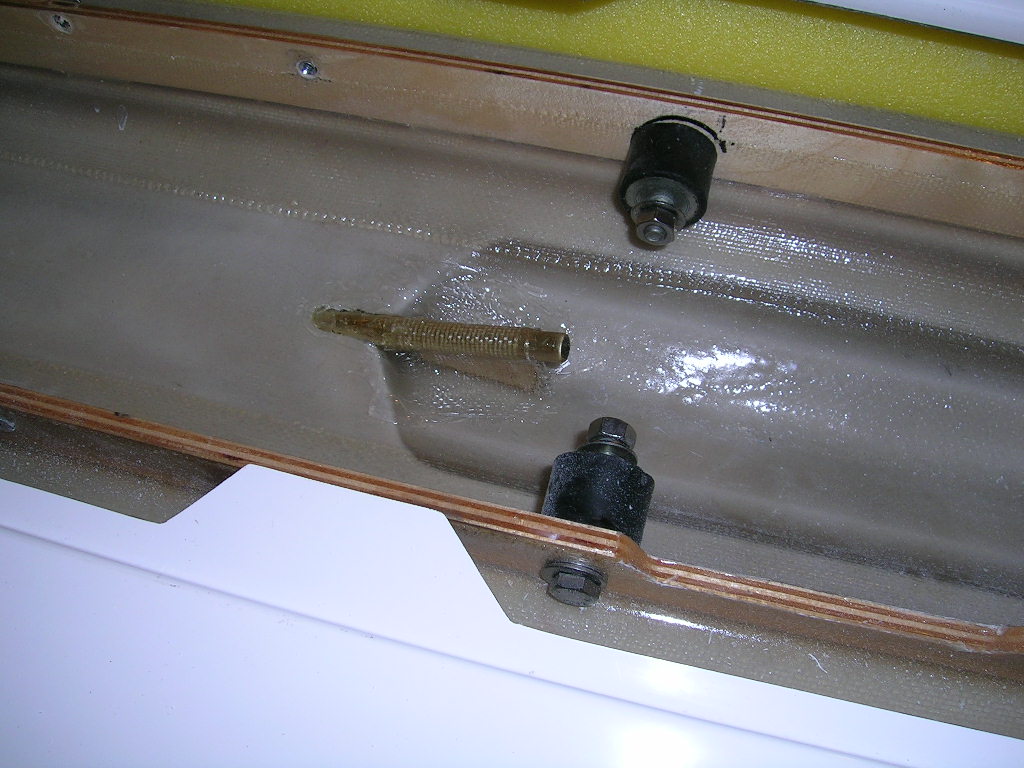
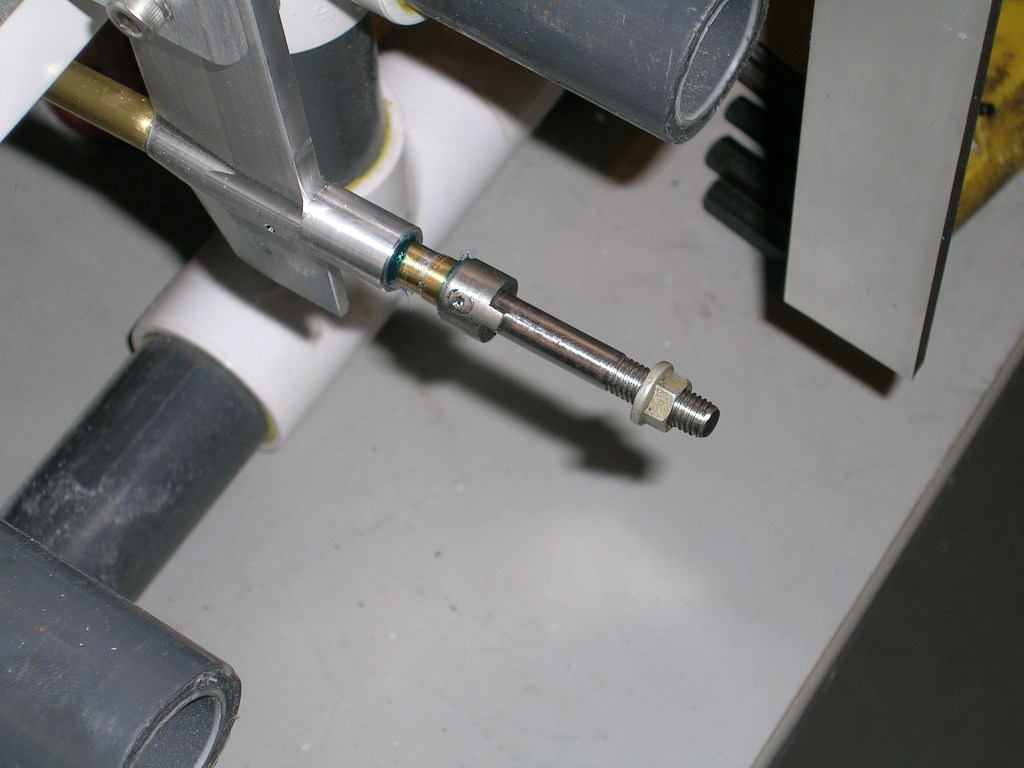
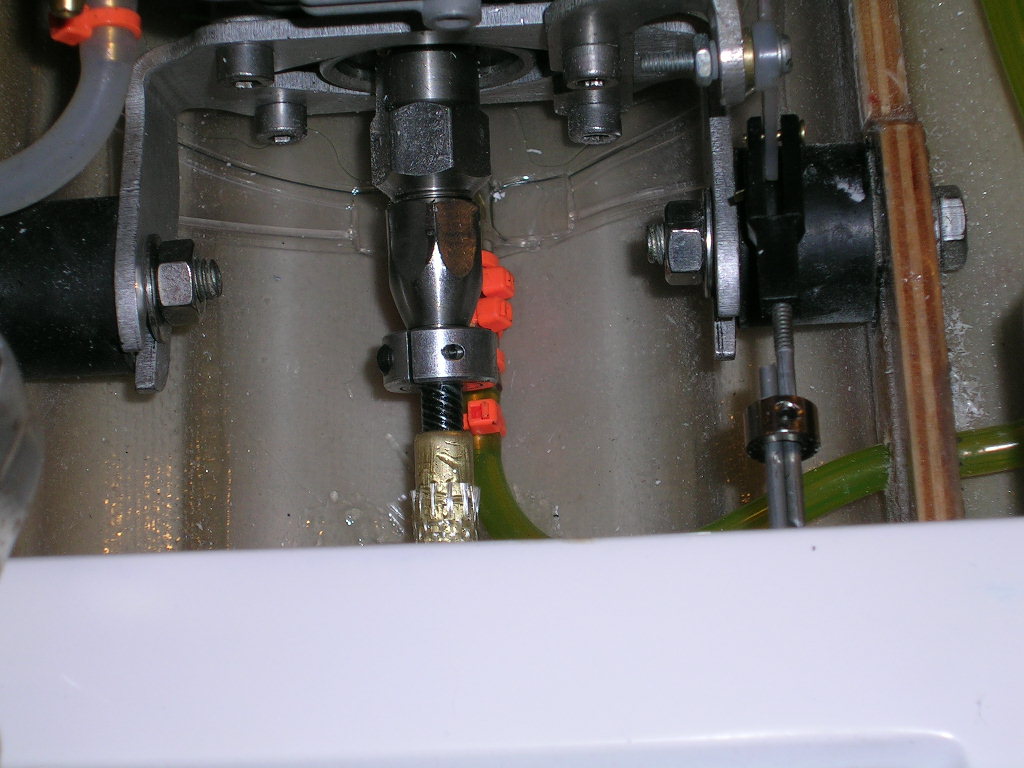
After mounting the engine, I put a 1/4" drill bit in the engine's collet to see where I needed to drill for the stuffing tube's exit. I made a small wedge shaped support out of wood to fit under the stuffing tube. The tube was then installed and laminated into place with epoxy resin and fiberglass cloth.
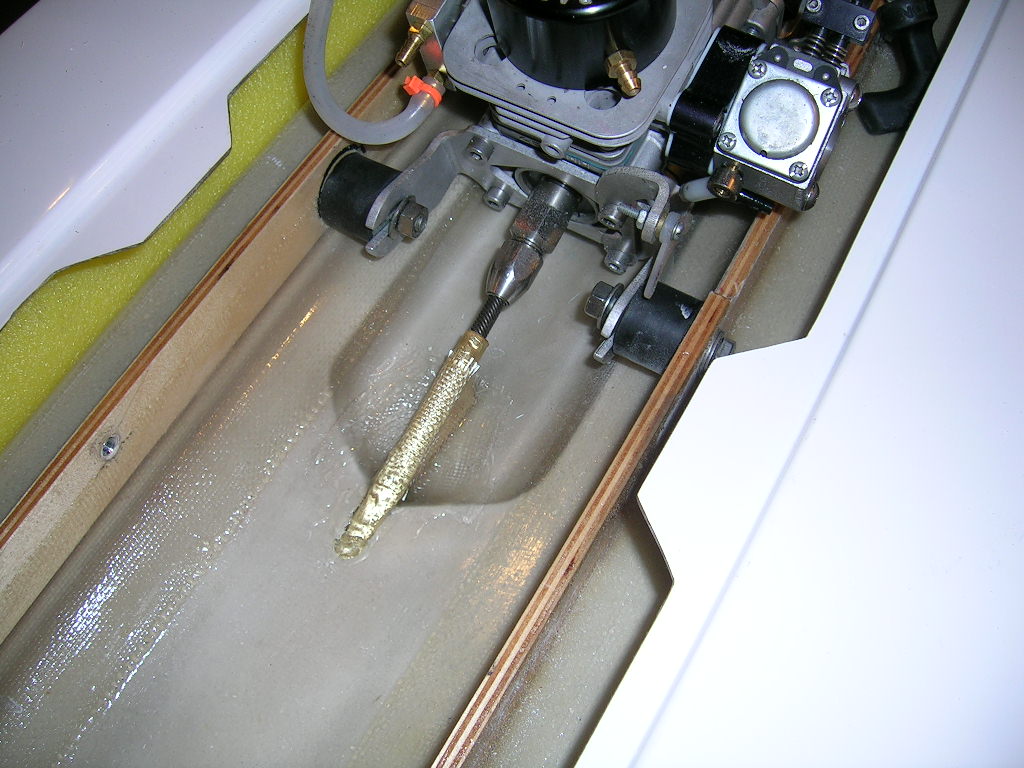
Another nice feature of the drop section in this hull is that is makes for a perfect space under the engine to fit your gas bag if you use them! I used a 500ml gas bag setup from American RC Boats.
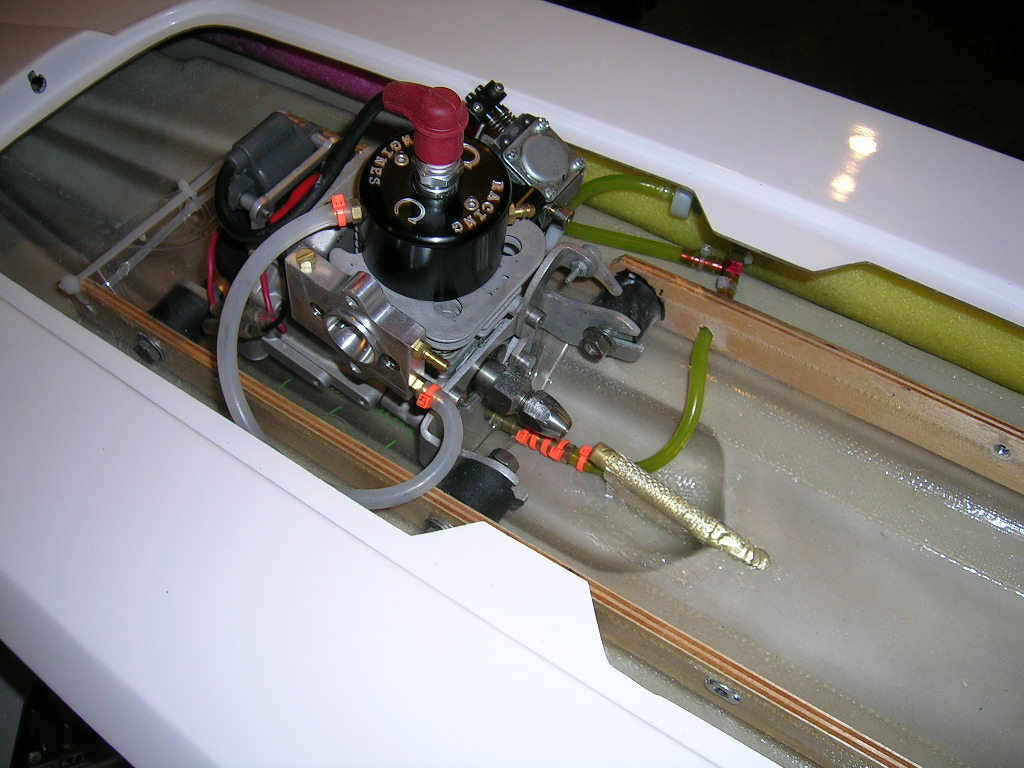
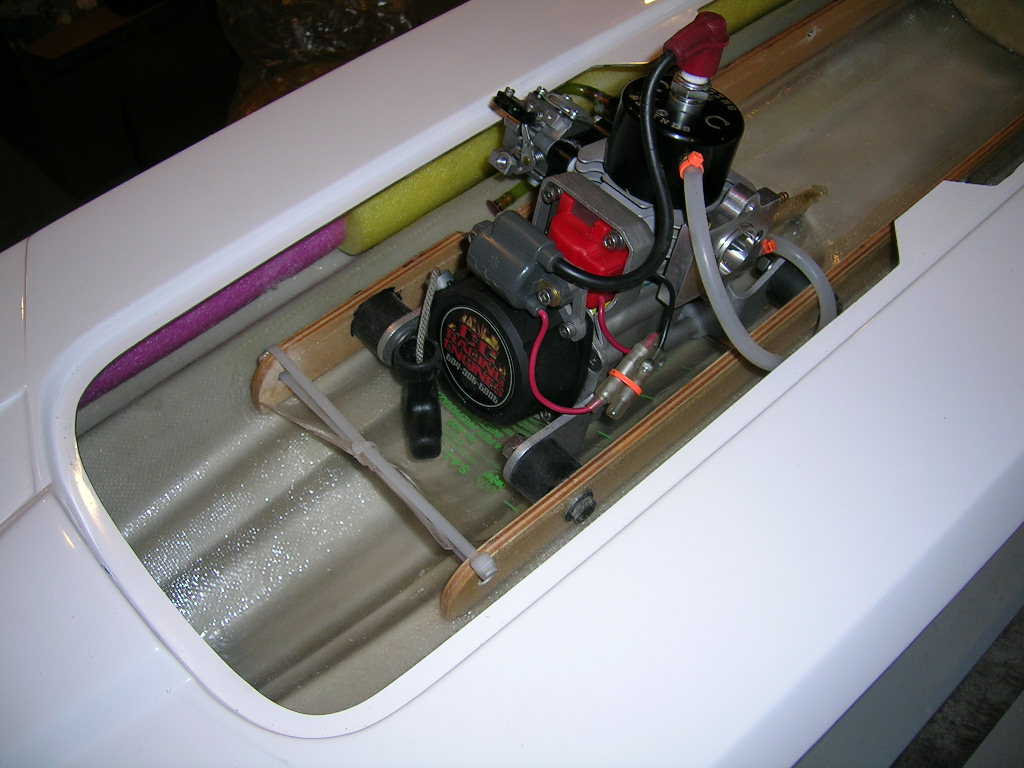
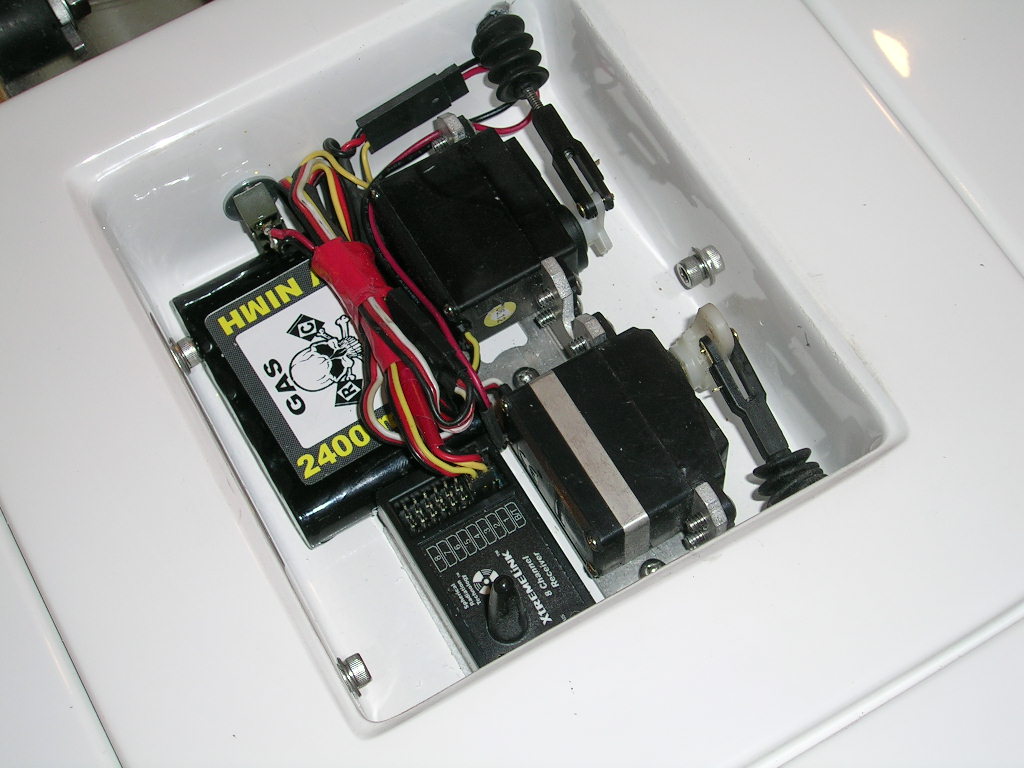
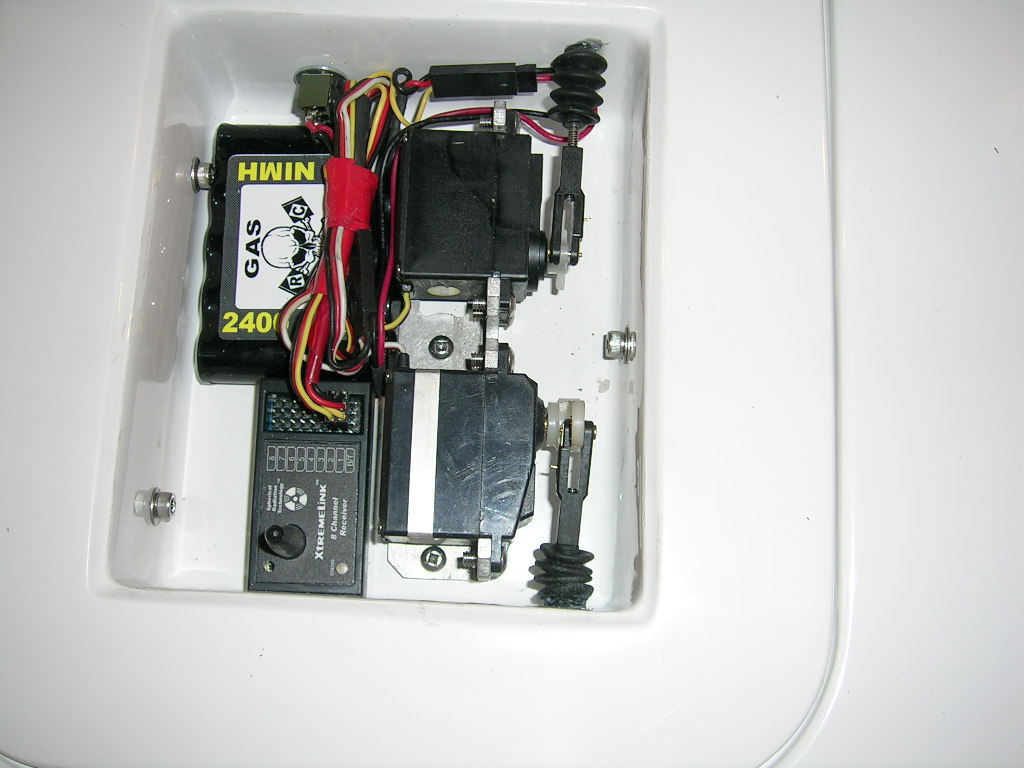
At this point I completed the radio box installation by mounting the box, installing linkages and the rest of the radio components including the receiver, switch and battery pack.
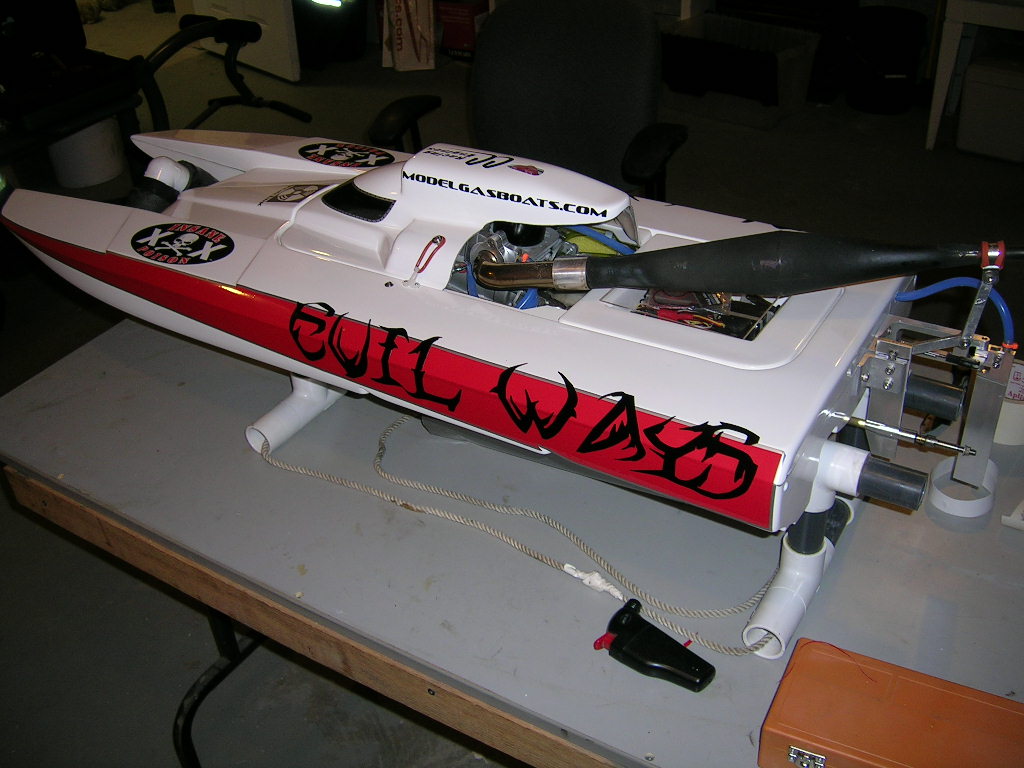
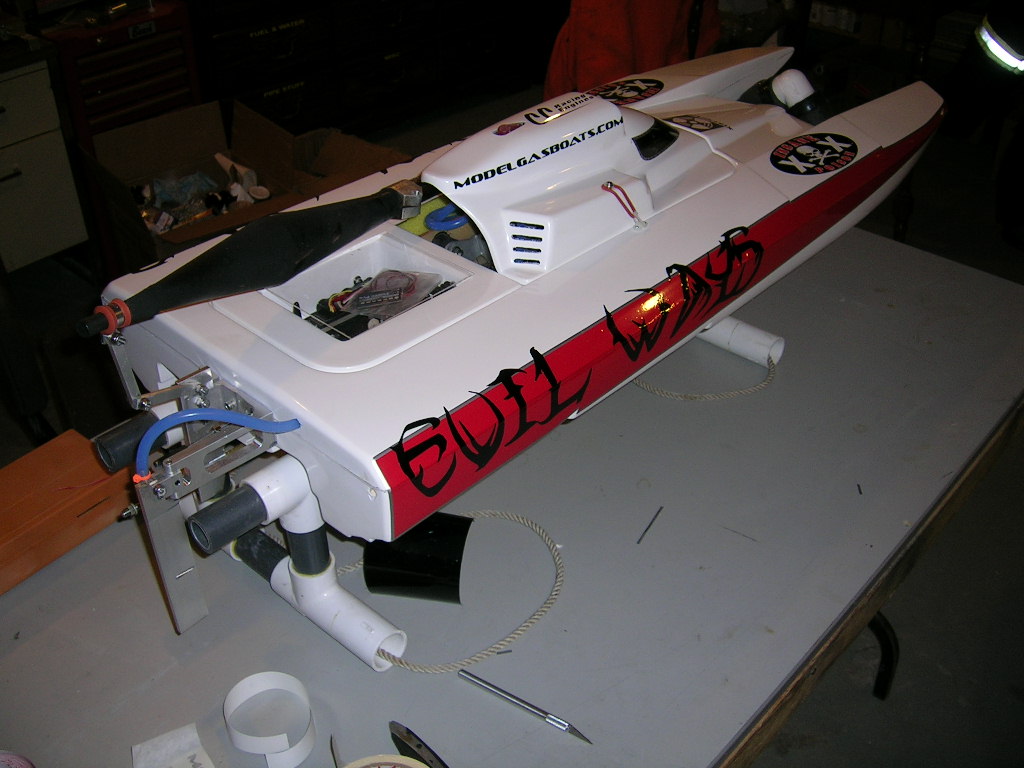
I also installed the tuned pipe and made a transom bracket for it. The water and fuel lines were then installed. The water line outlet can be seen on the top deck just forward of the exhaust header. The flex cable was also cut and installed. Below are various pictures of these steps.
I also installed the tuned pipe and made a transom bracket for it. The water and fuel lines were then installed. The water line outlet can be seen on the top deck just forward of the exhaust header. The flex cable was also cut and installed. Below are various pictures of these steps.
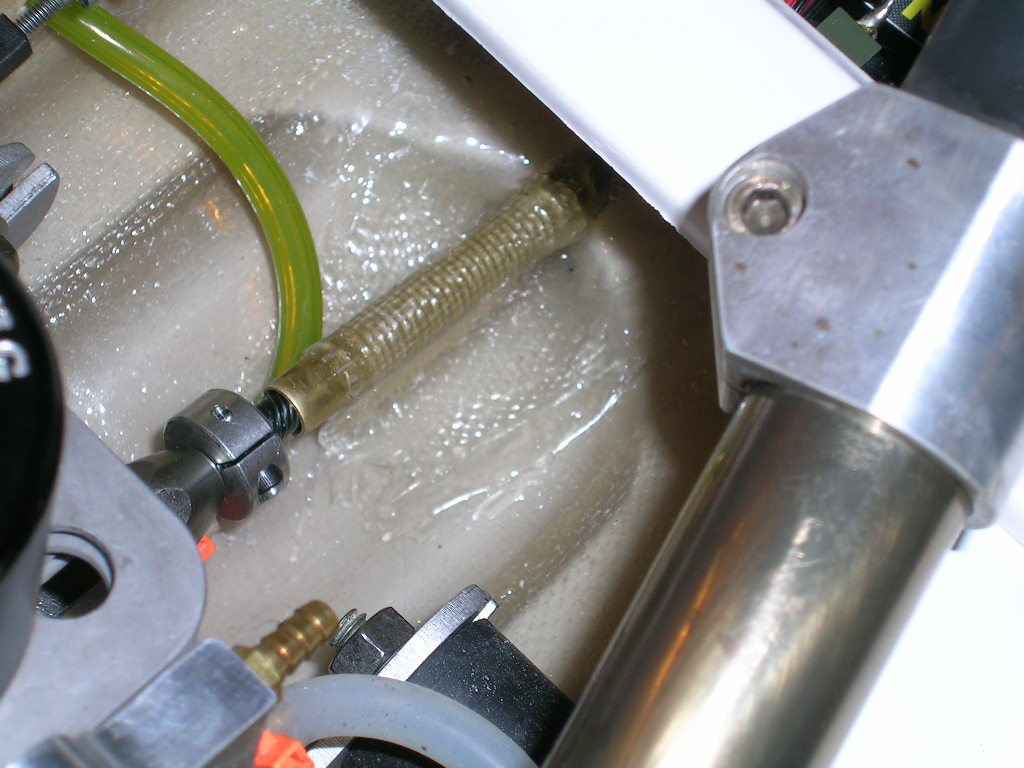
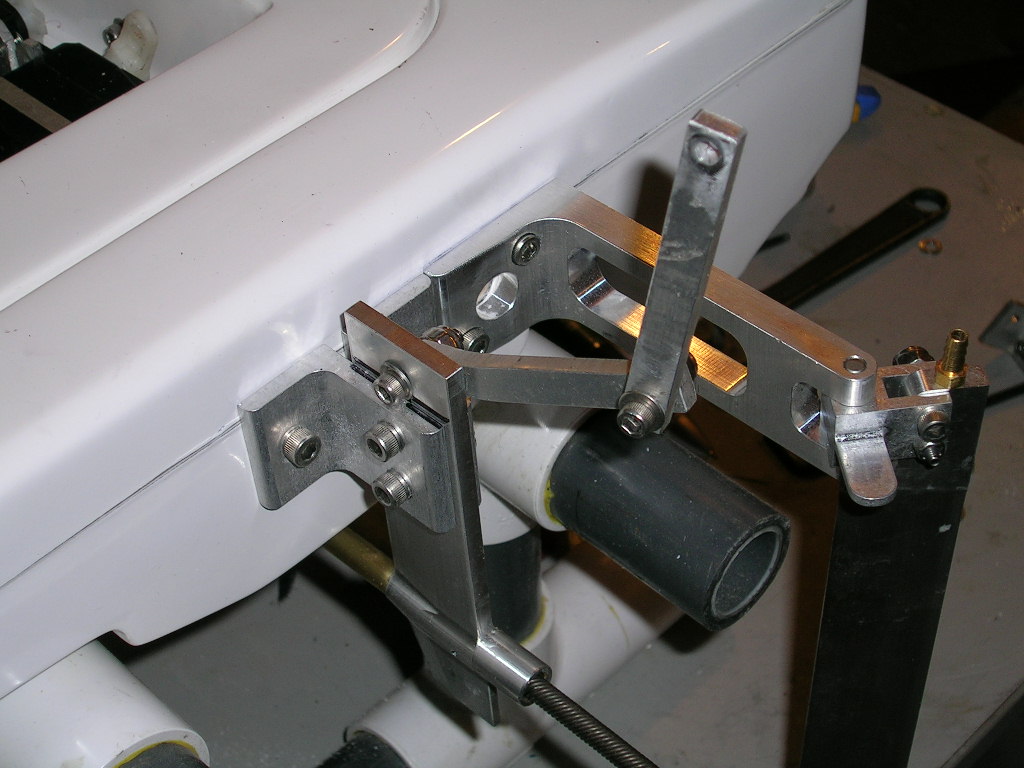
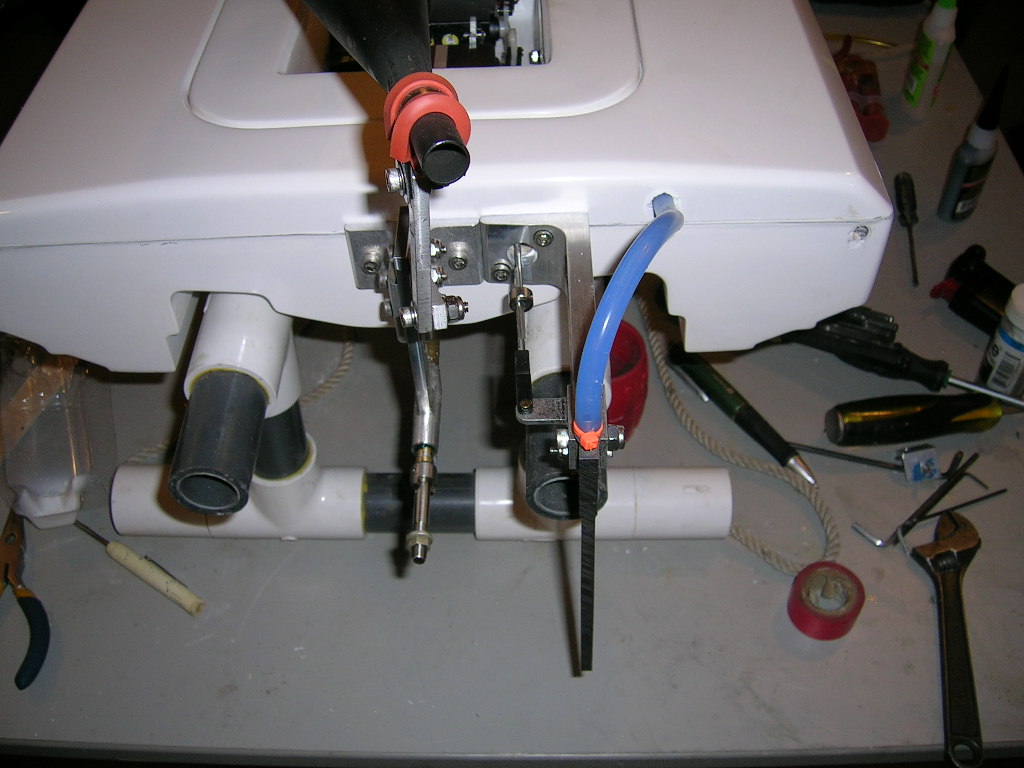
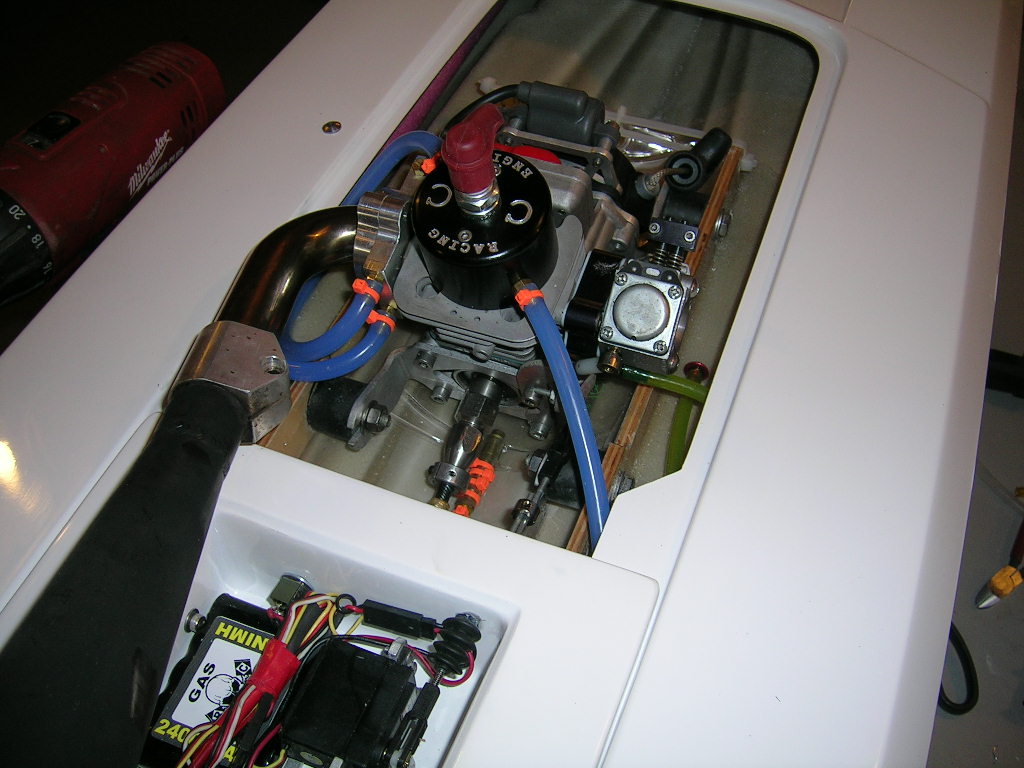
The cowl was then trimmed and fitted. I opened up the top scoop completely as well as the small scoop on the exhaust side of the cowl. The way I trimmed open the back of the cowl on the exhaust side really doesn't require much extra air intakes as the pipe is fully exposed thus not creating any heat inside the cowl. On the carburetor side I made some slot openings behind the carburetor but none in the front. We do not want water coming inside the cowl close to the carburetor.
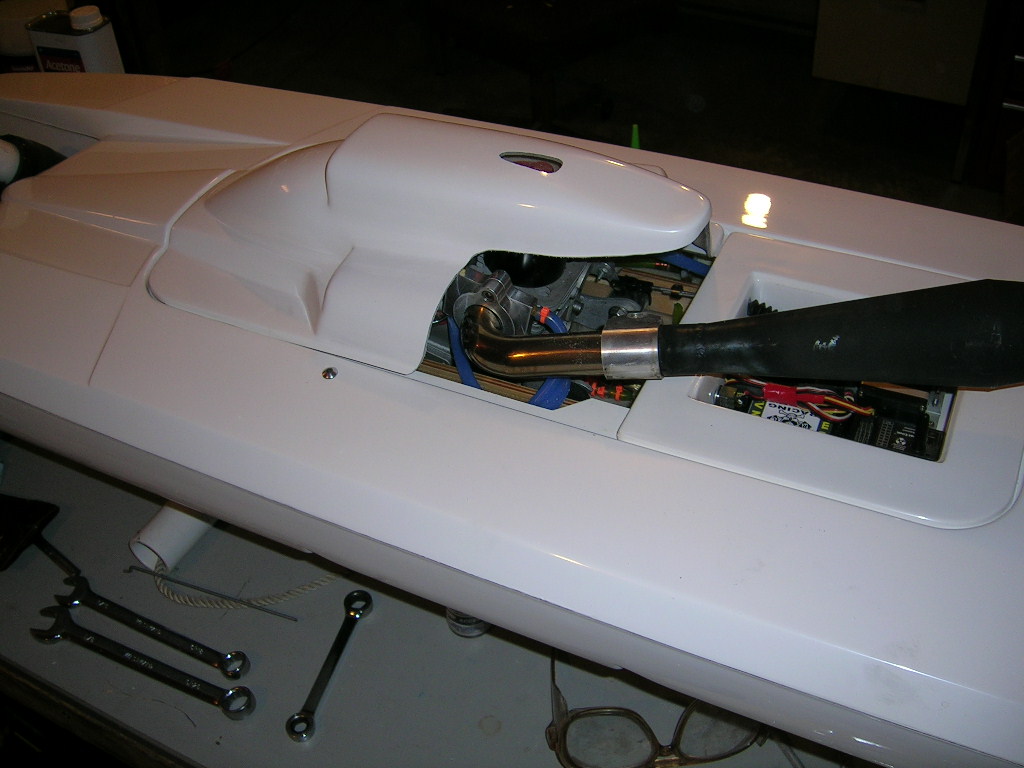
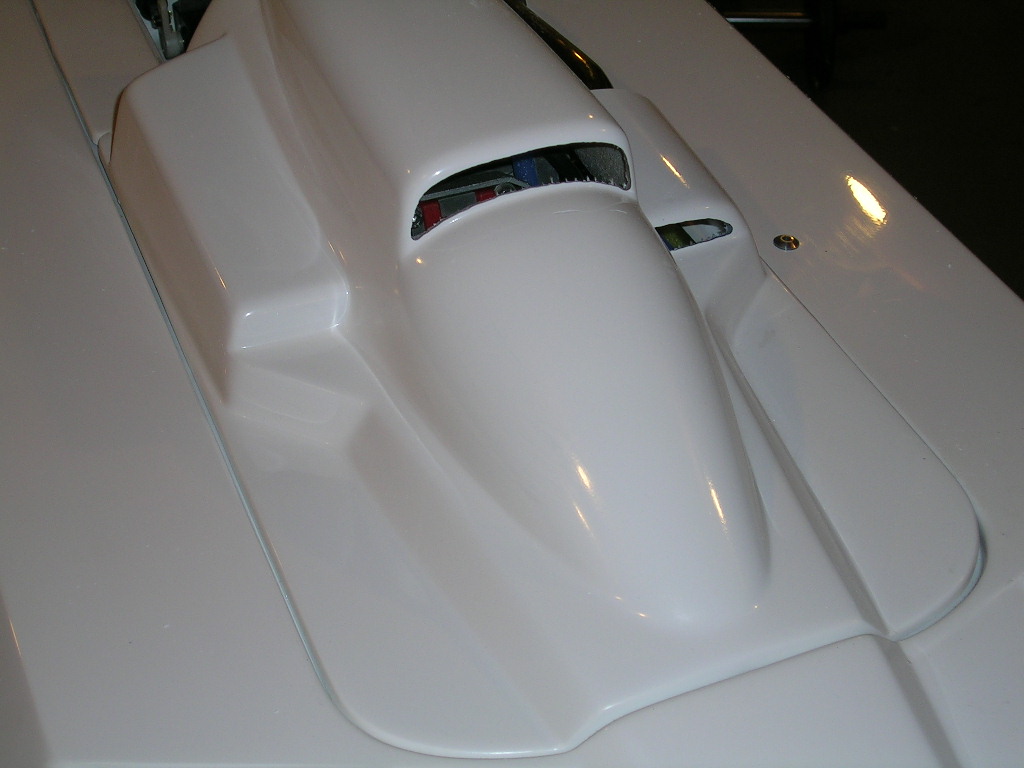
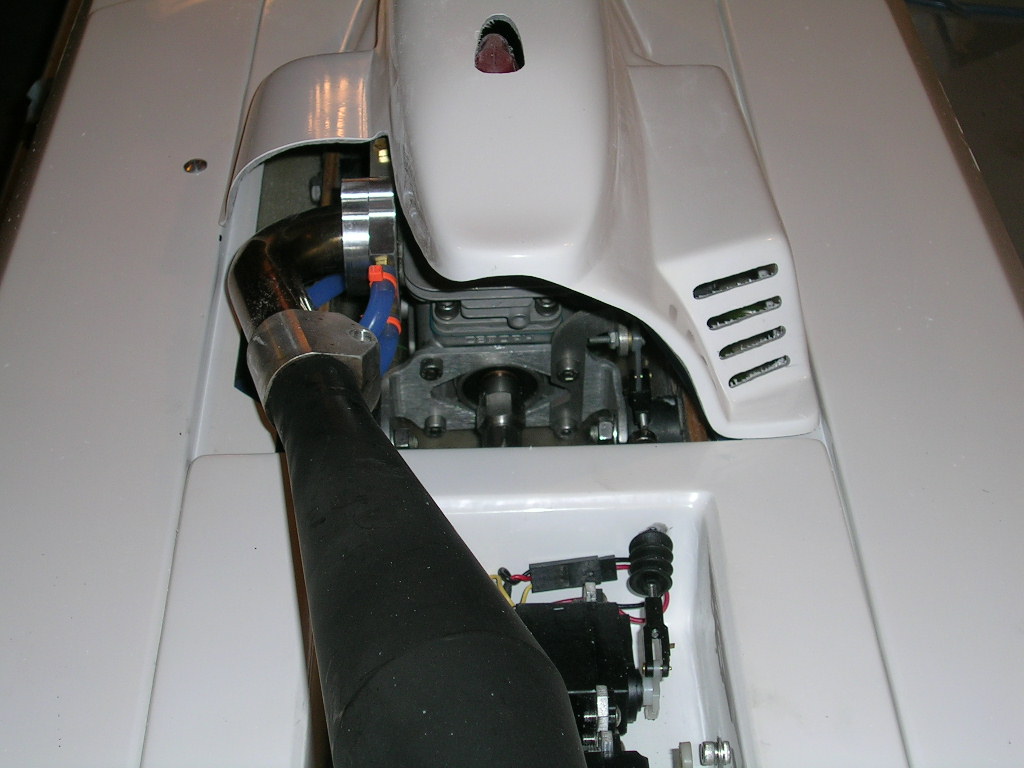
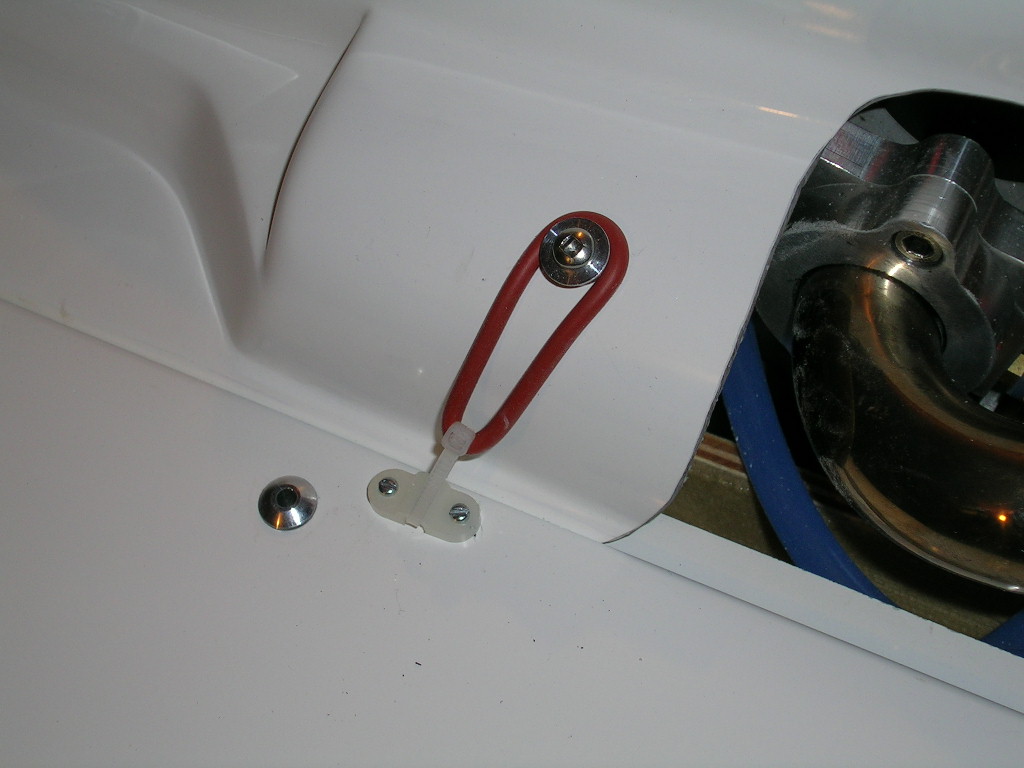
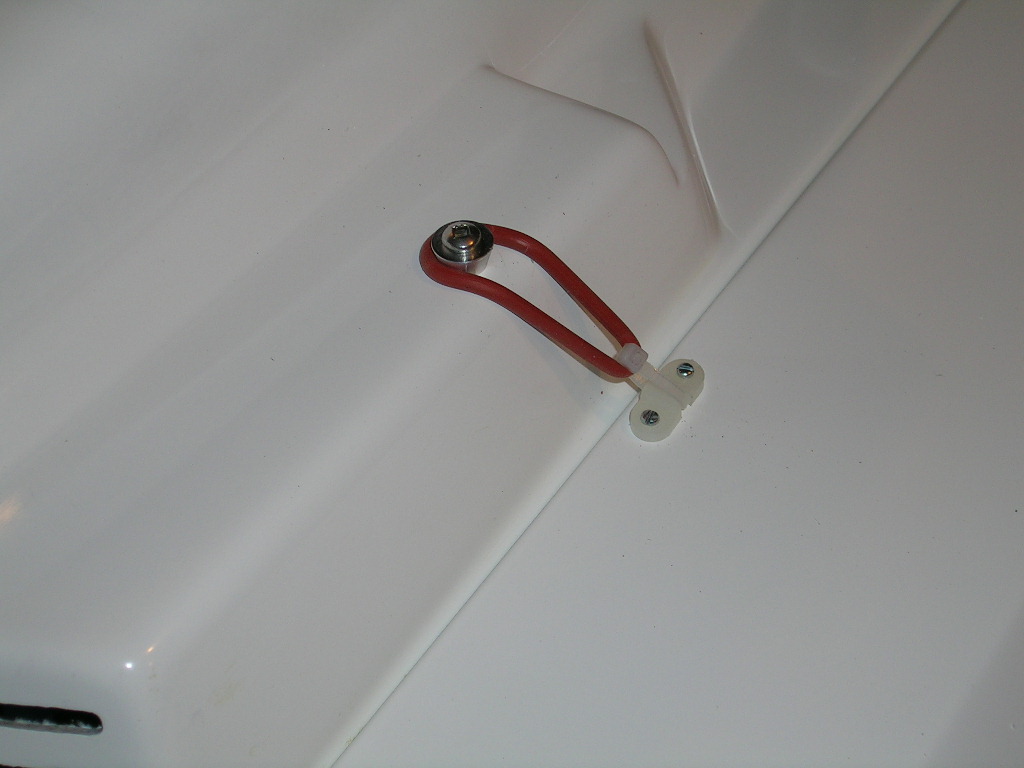
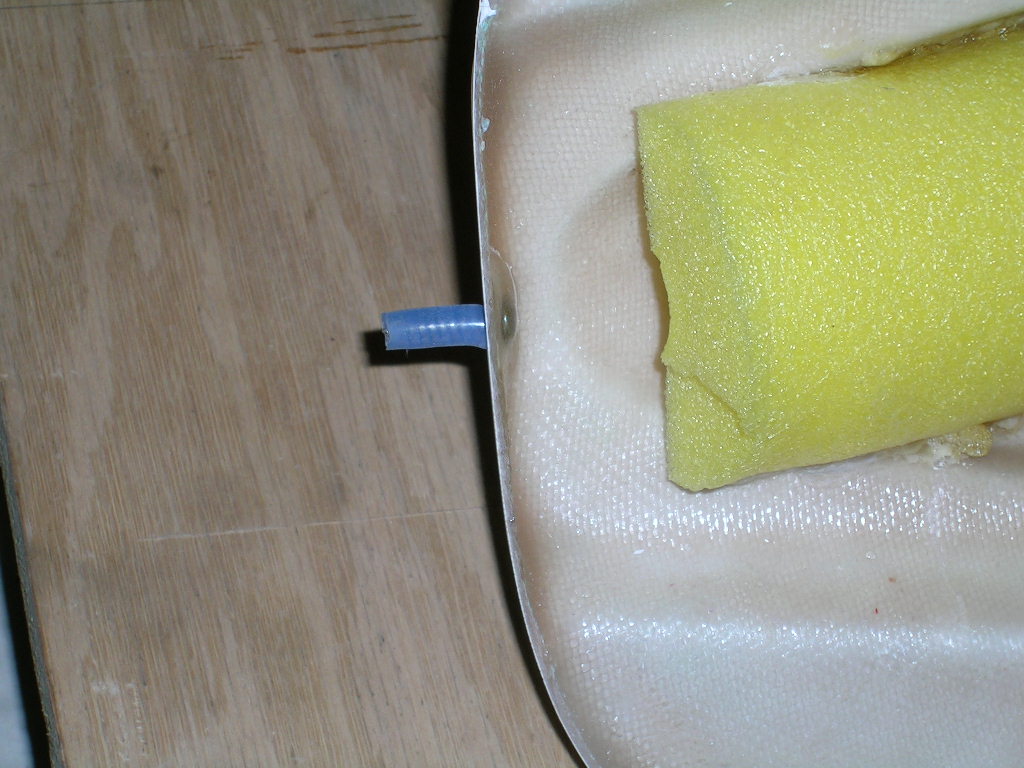
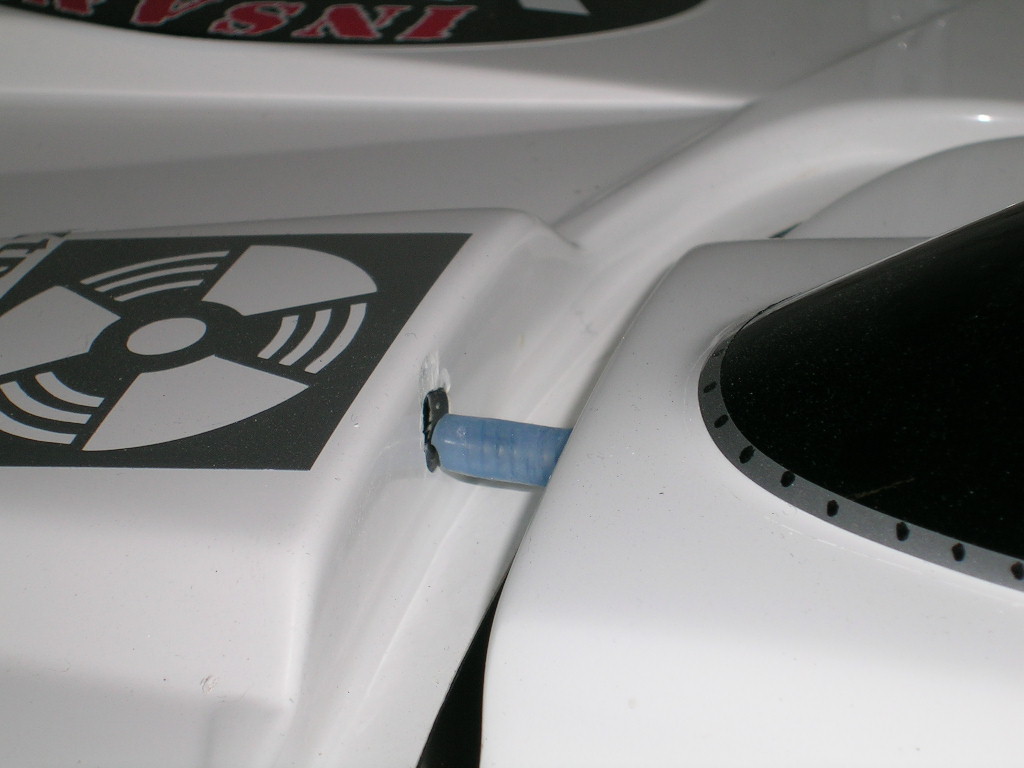
For mounting the cowl I used a simple pin type mount in the front and Orings in the back. The front pin is simply a big stainless steel screw covered with a piece of silicone tubing. The front of the cowl is drilled, the screw inserted and epoxied in place and the tubing placed over the screw. It's quite simple and works well. For the back I use a typical Oring setup. I like to use small zip ties to hold the Orings to the straps so that if you break one at a race, it's very quick to replace by simply using a new zip tie. No need to unscrew the strap from the hull. I machined the small receivers for the Orings.
A piece of pool noodle was glued inside the cowl for floatation. I have been testing different adhesives for this and to date my preference is Gorilla Glue. It is a polyurethane glue that is water activated. I simply wet the foam and cowl with a wet towel, apply the glue and set the foam in place. It sets fairly quickly and is absolutely water proof. I have never had a foam come loose since using this glue. Do not use too much of this glue as it expands when curing.
A piece of pool noodle was glued inside the cowl for floatation. I have been testing different adhesives for this and to date my preference is Gorilla Glue. It is a polyurethane glue that is water activated. I simply wet the foam and cowl with a wet towel, apply the glue and set the foam in place. It sets fairly quickly and is absolutely water proof. I have never had a foam come loose since using this glue. Do not use too much of this glue as it expands when curing.
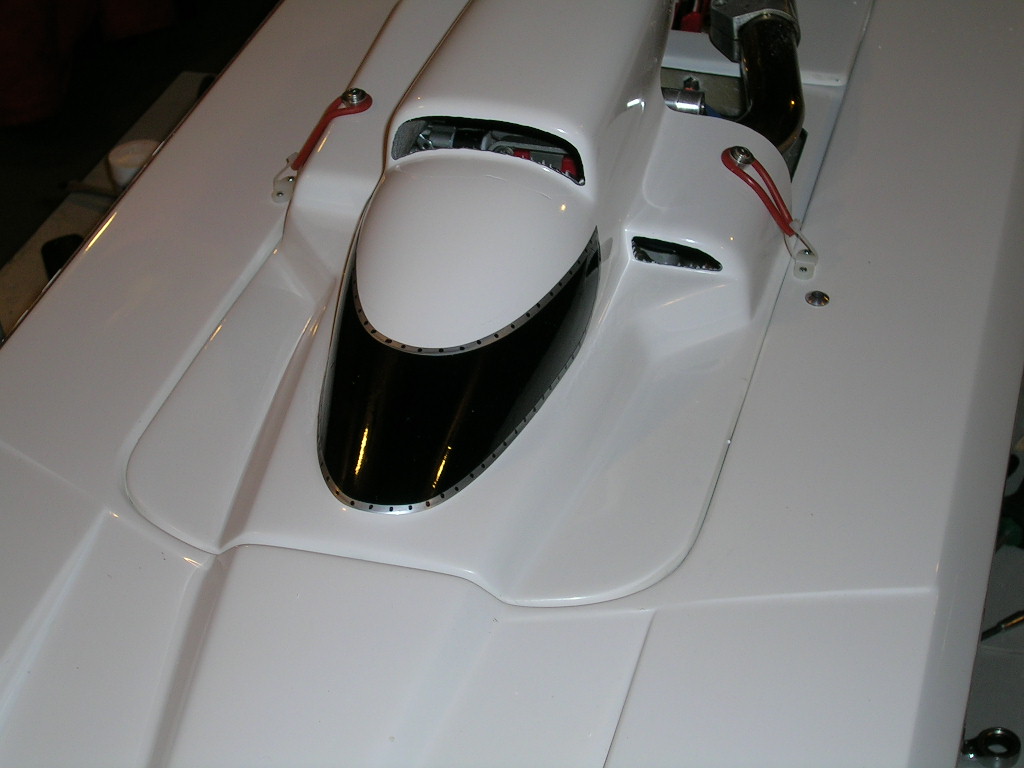
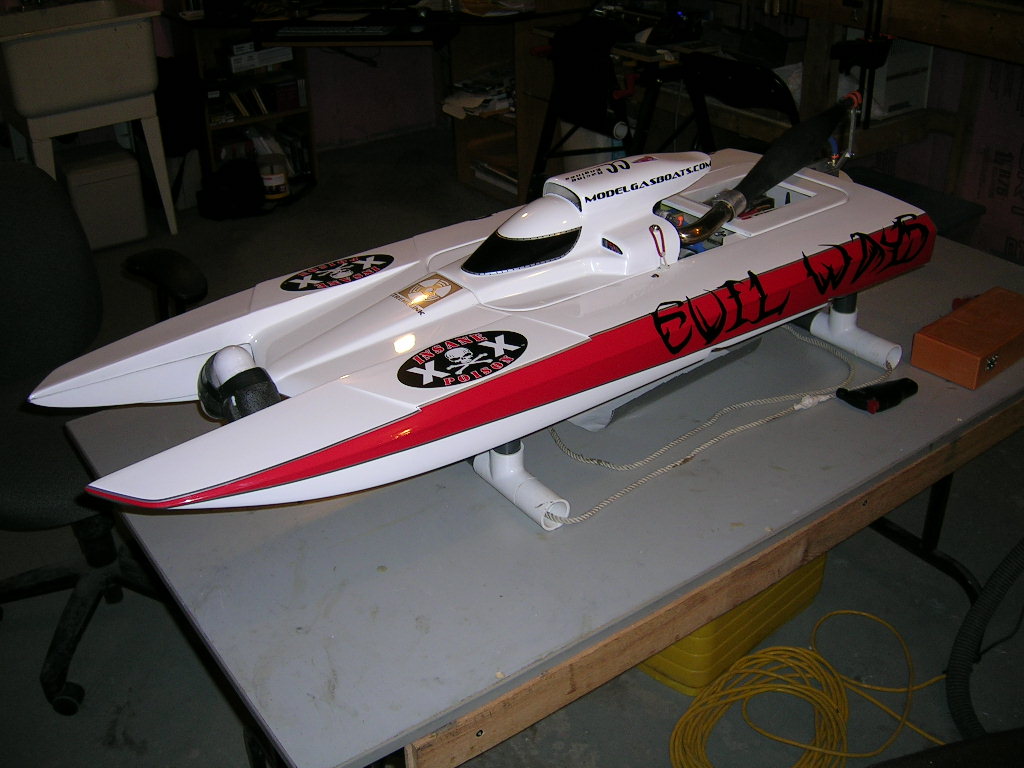
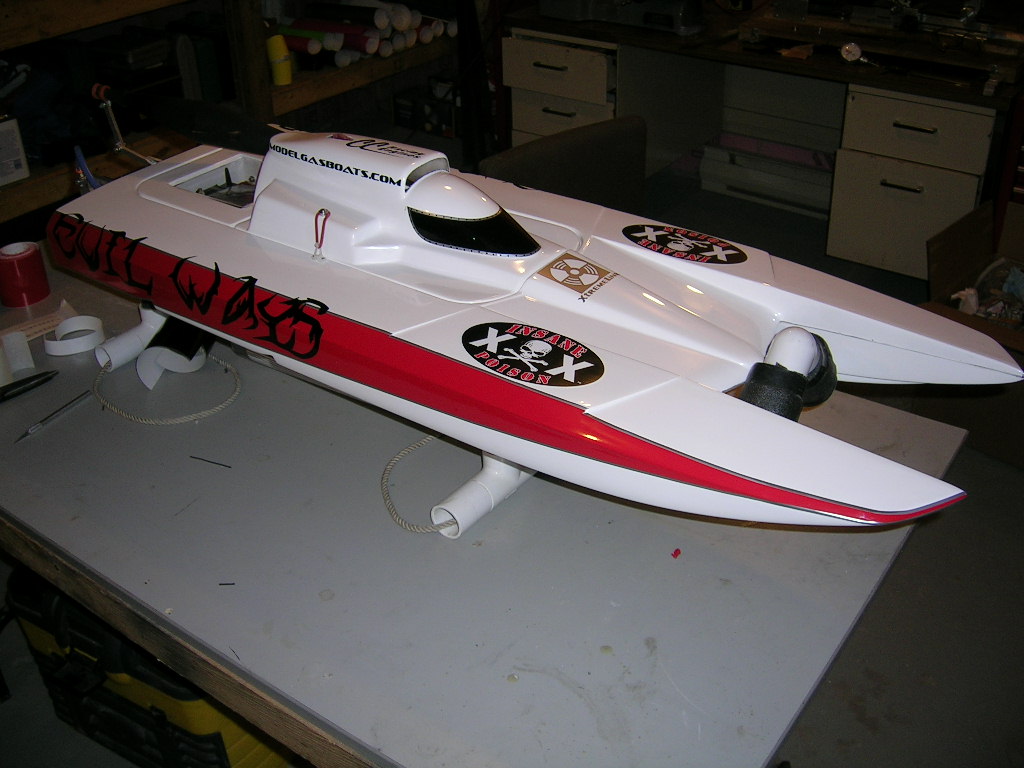
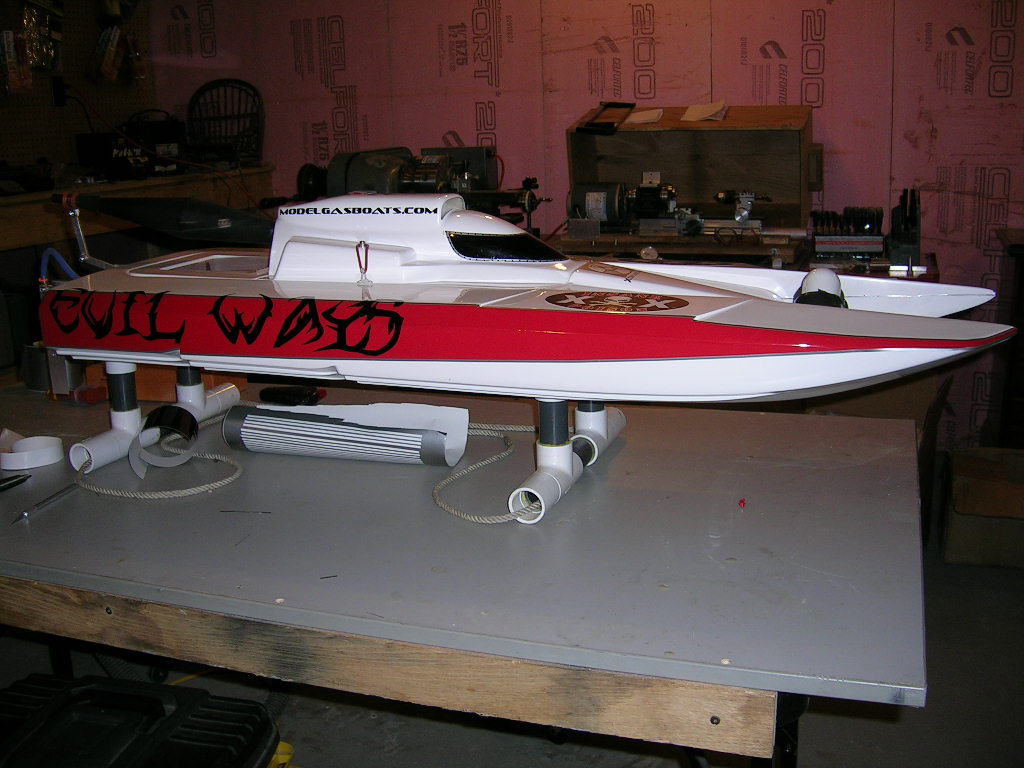
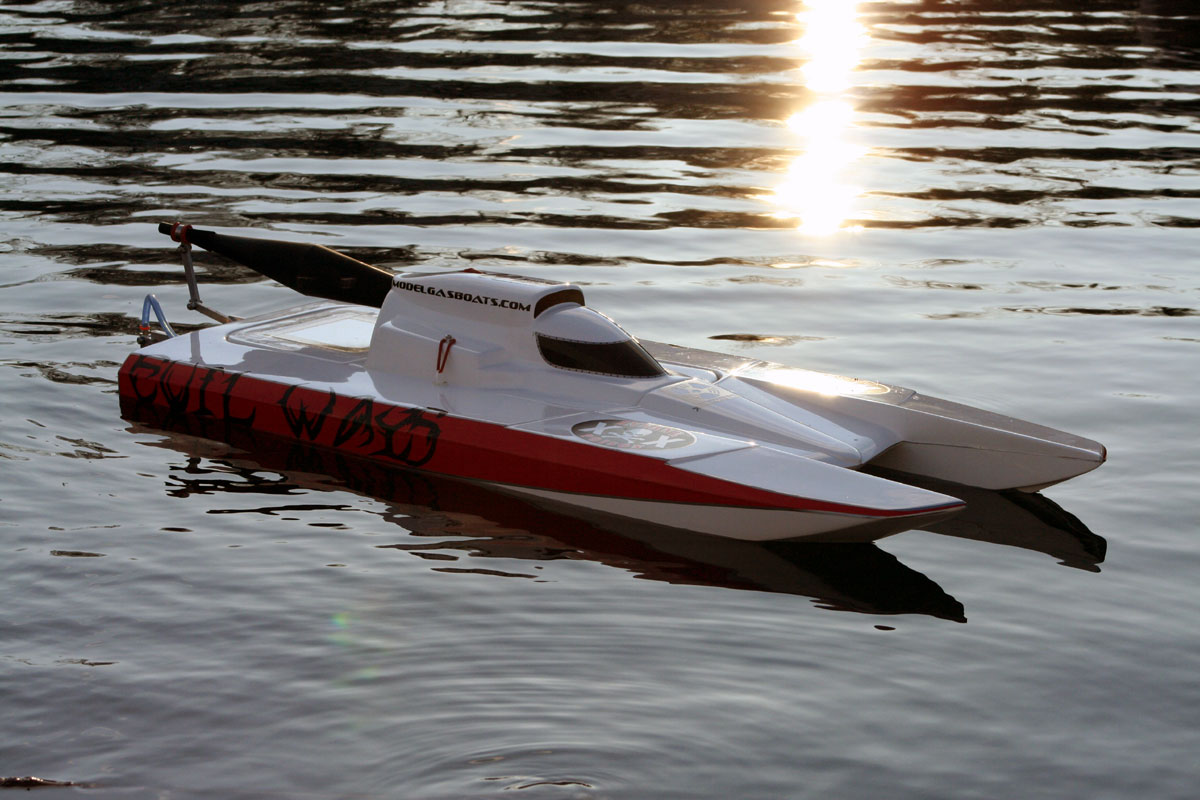
At this point, all that was left to do were the graphics. All graphics were done in vinyl including the windshield. Here are some pictures of the finished boat.
At the lake...
Final thoughts...
Happy Boating!
Setup as tested:
Motor: CC Racing Engines - Modified Zenoah G260PUM
Pipe: CC Racing Engines steel pipe with 1" header and no-leak flange
Prop: Modified 6516/3 from The Propworks
Gas Bag Setup: complete setup from American RC Boats
Strut Depth: bottom of strut 1/8" above bottom of sponsons
Strut Offset: 1/8" to the right
Strut Shim: 1/32" shim on right side of strut
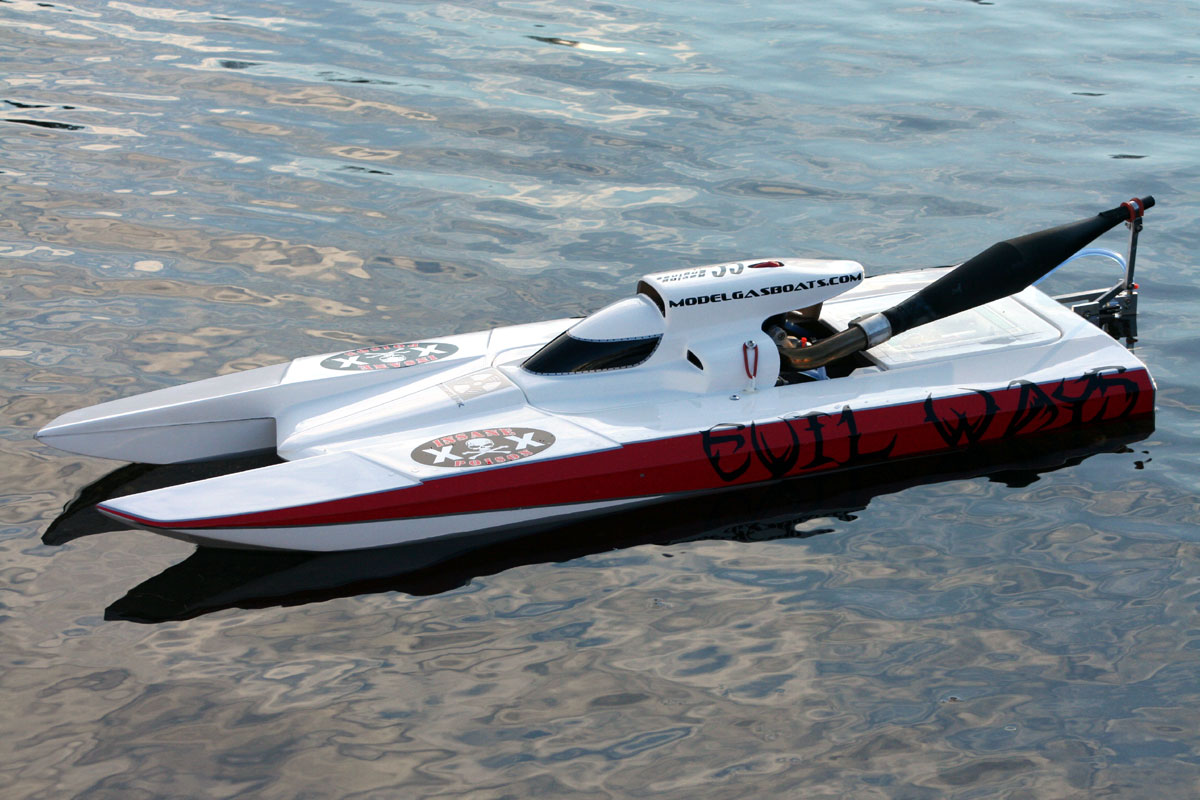
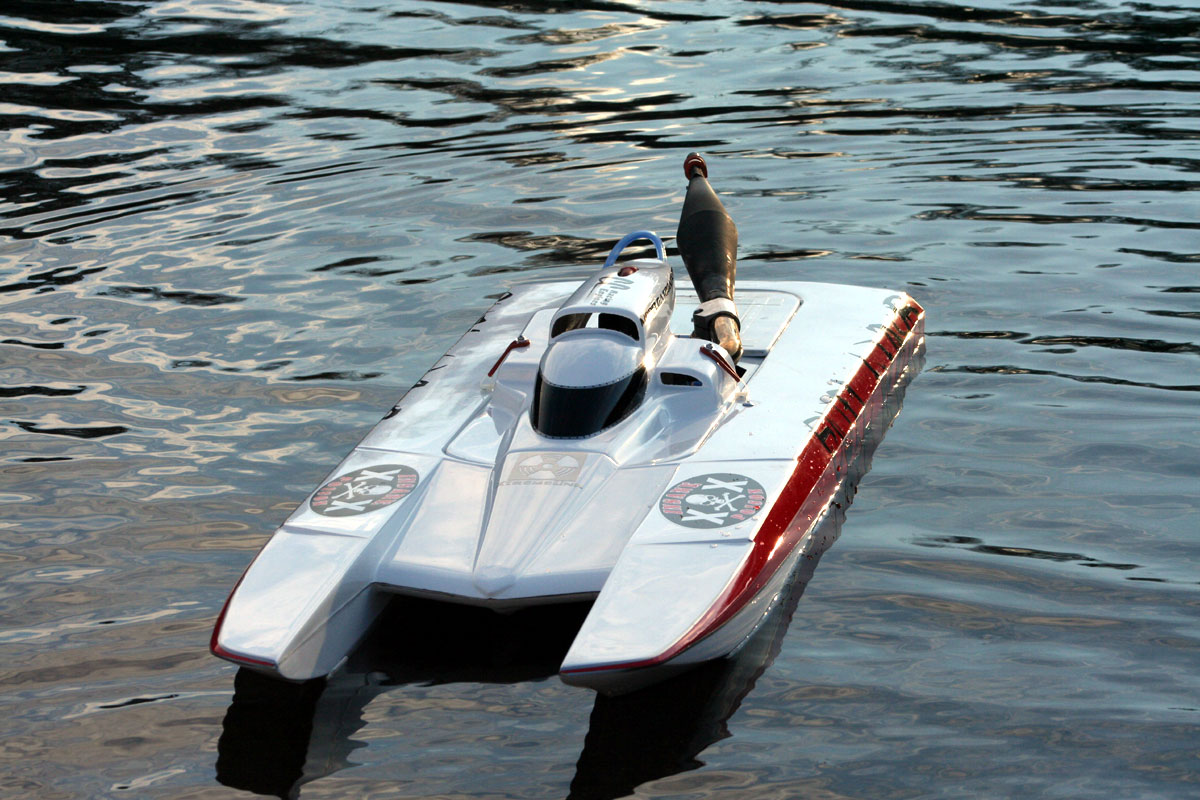
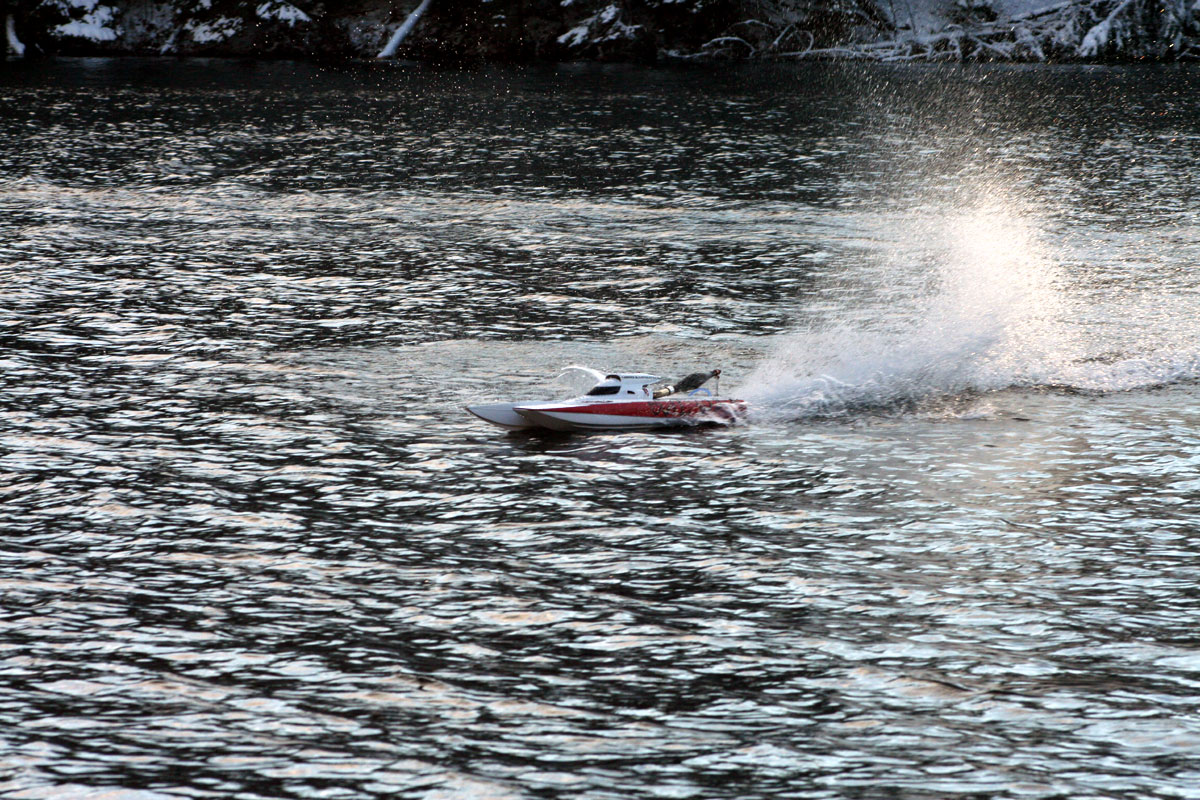
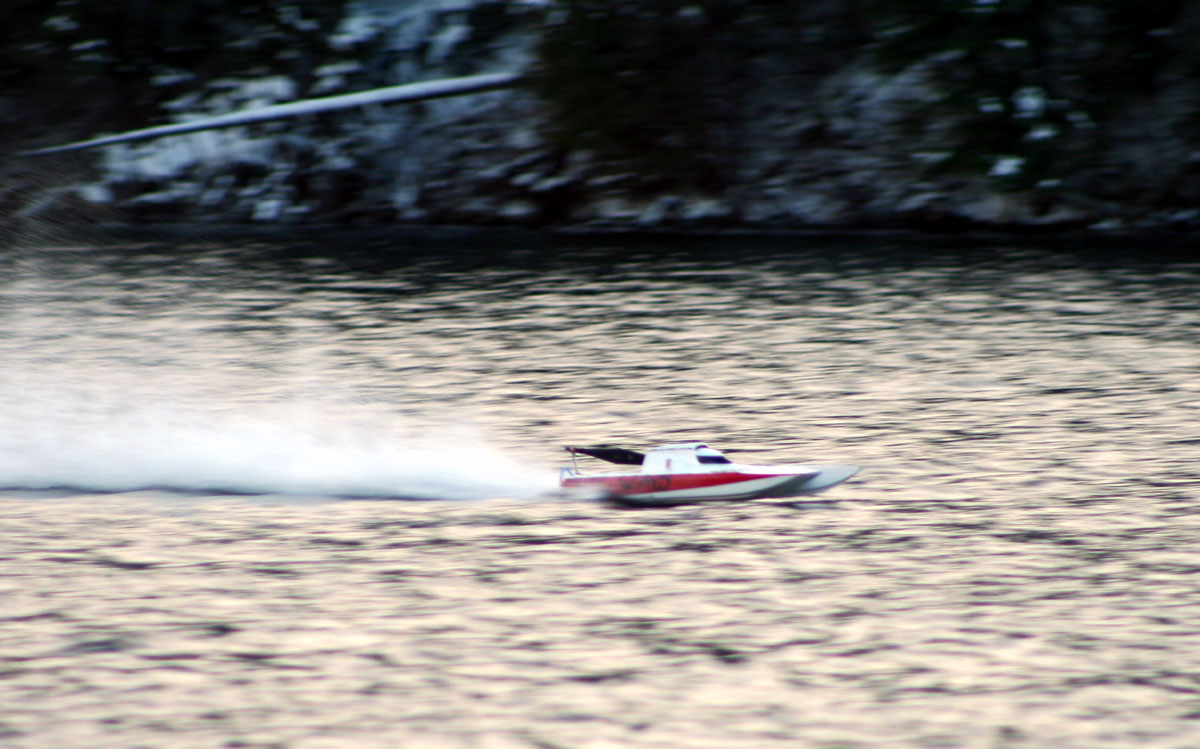
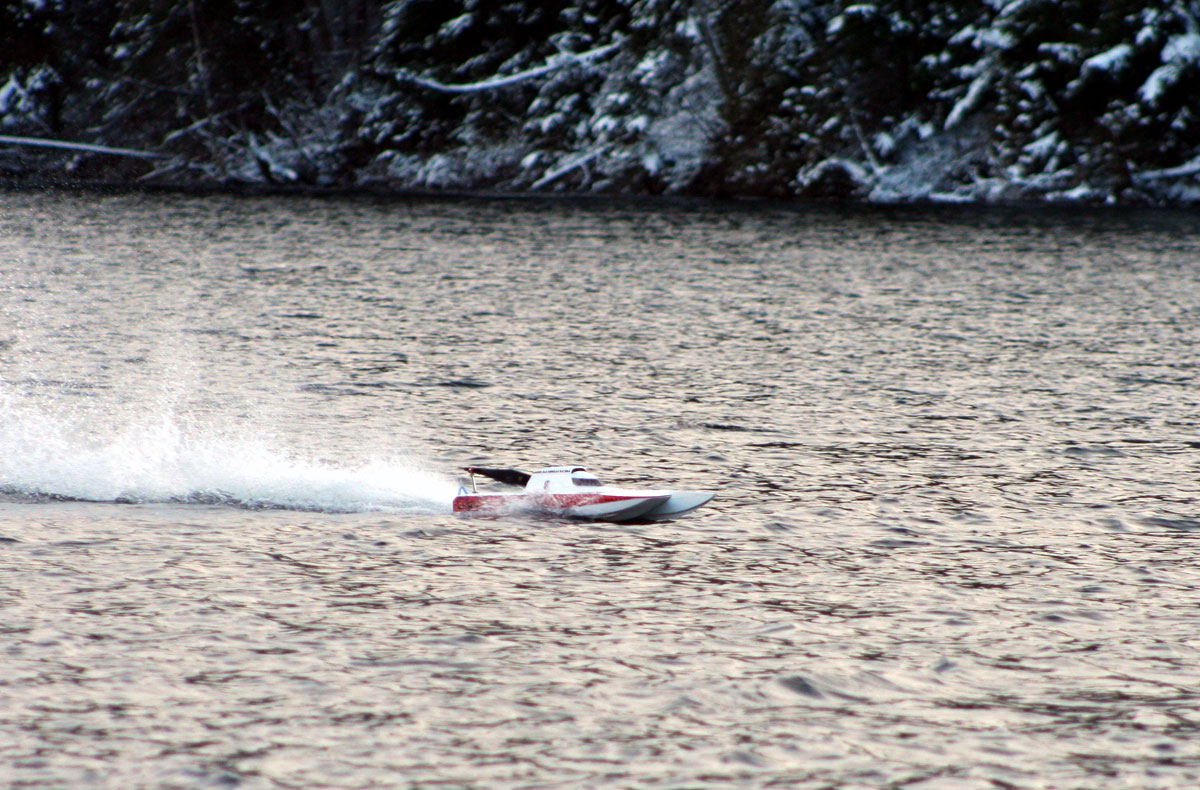
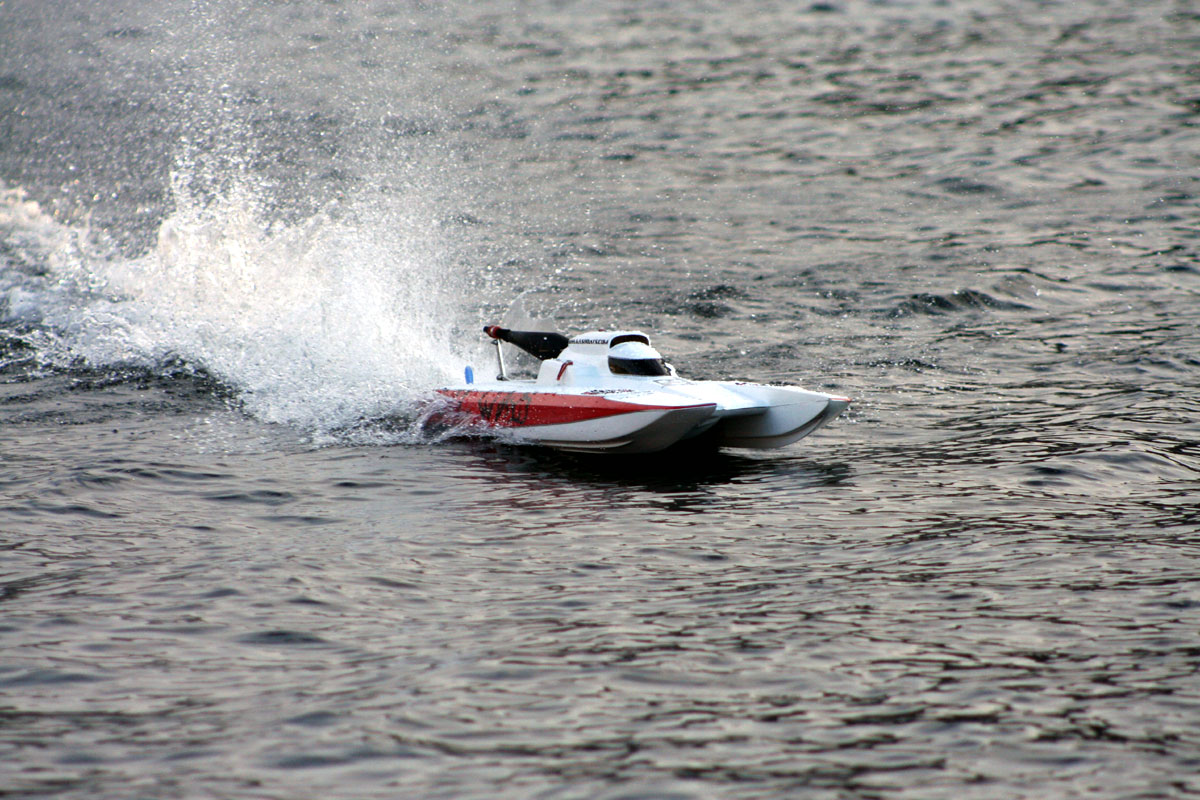
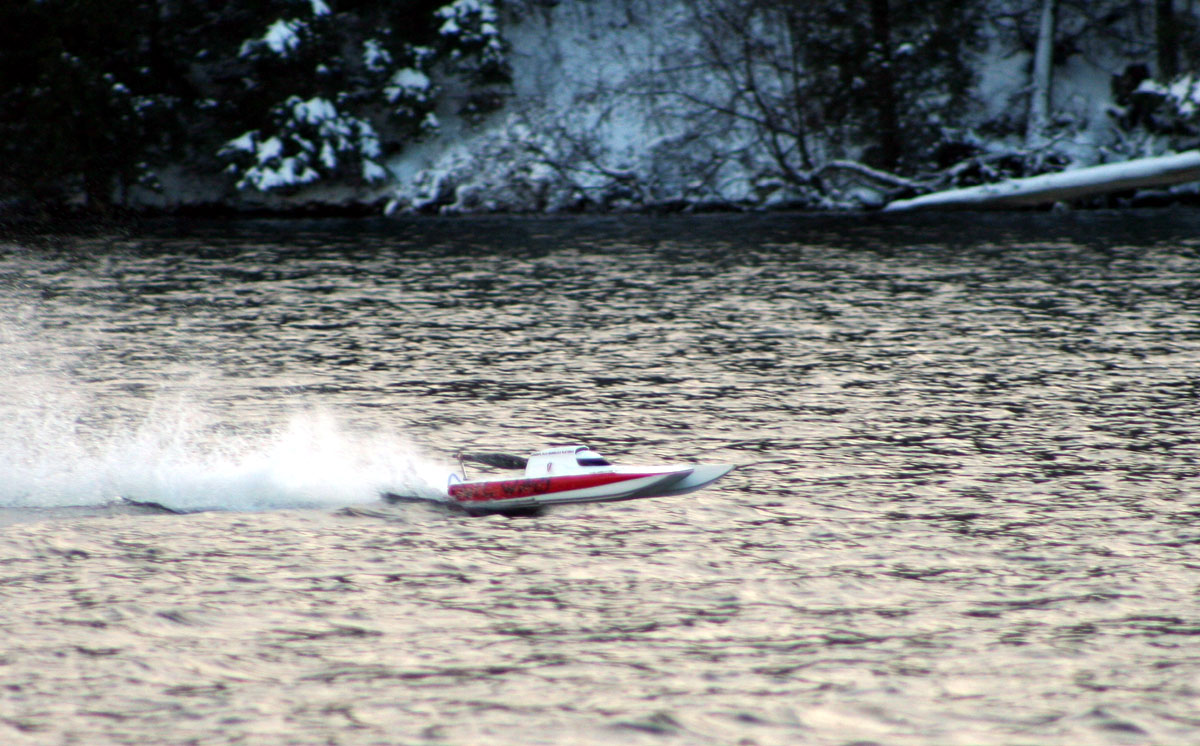
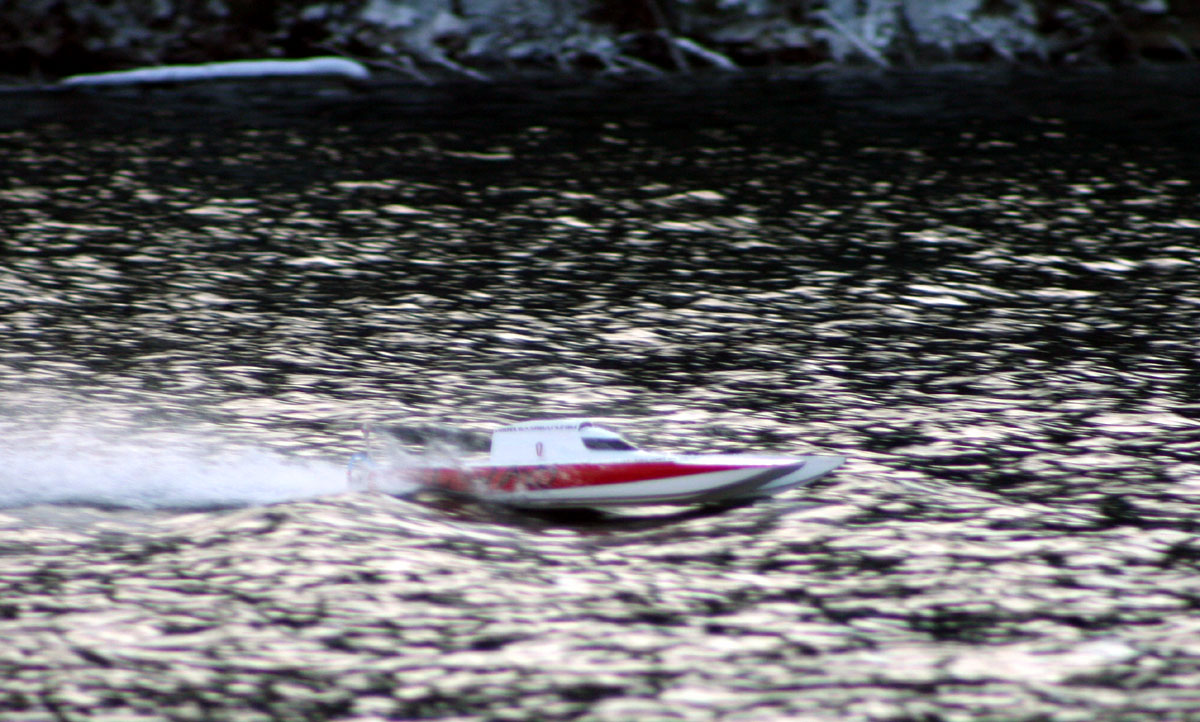
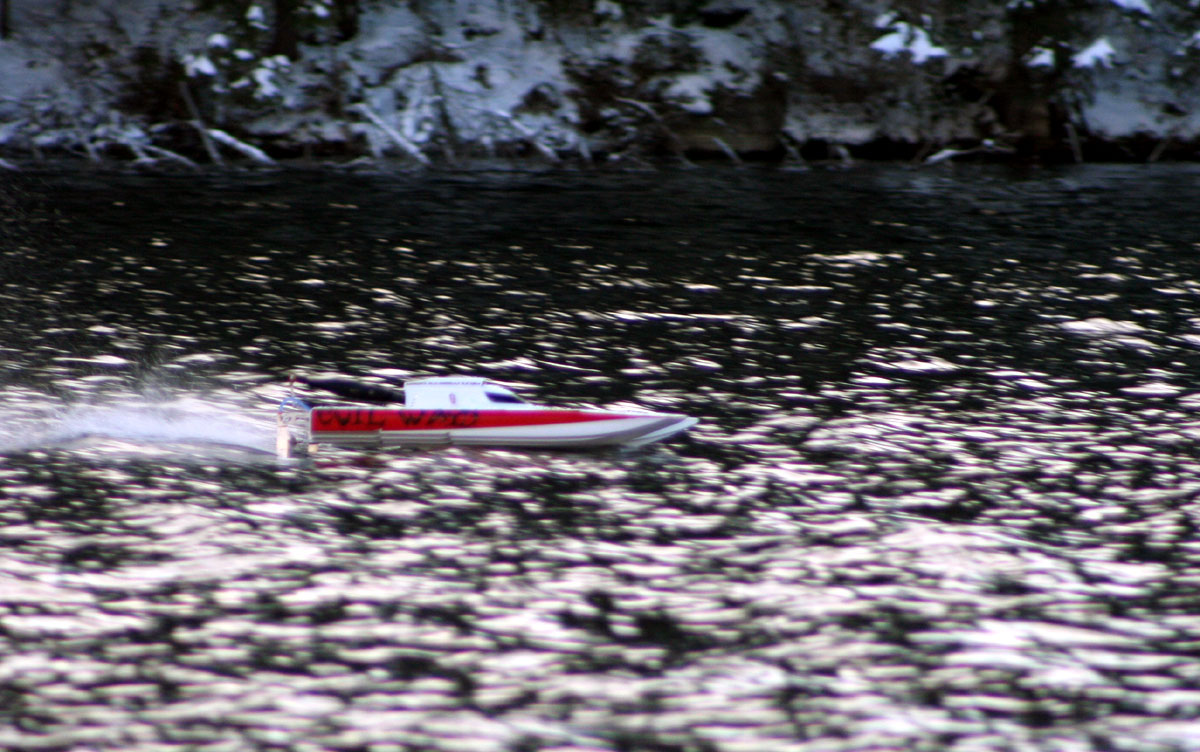
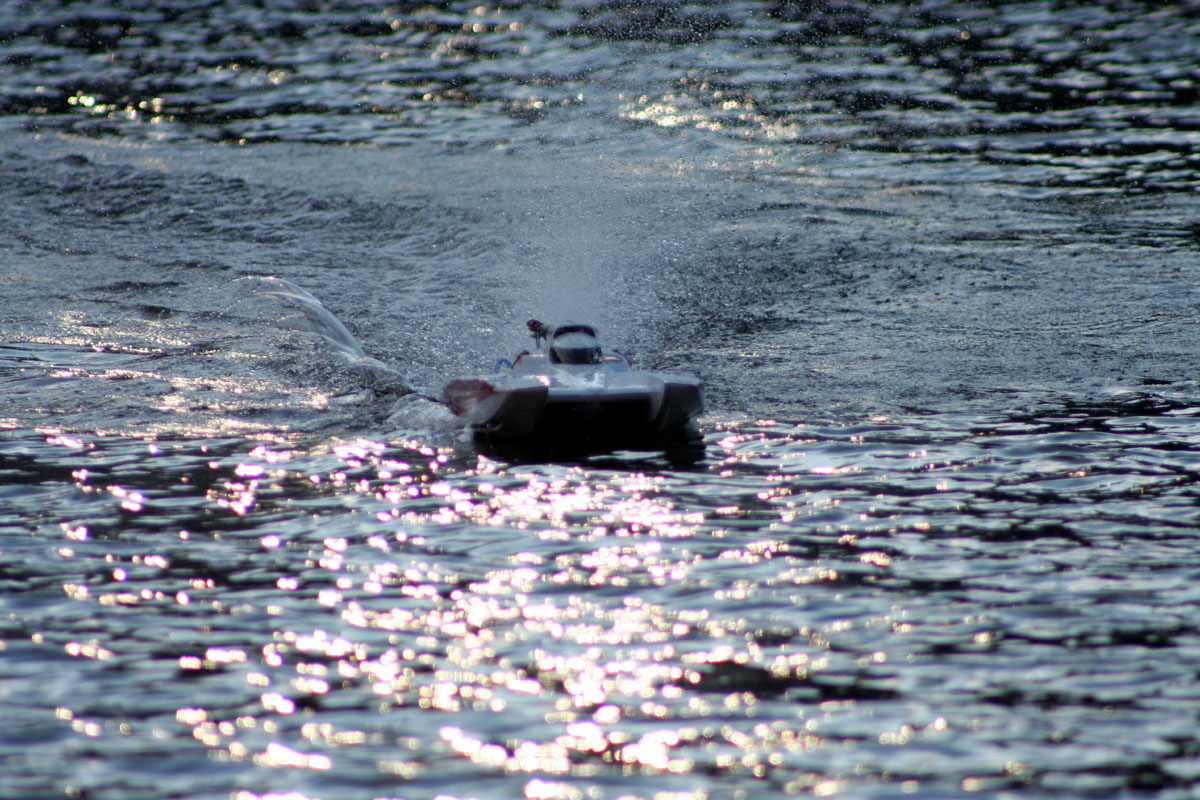
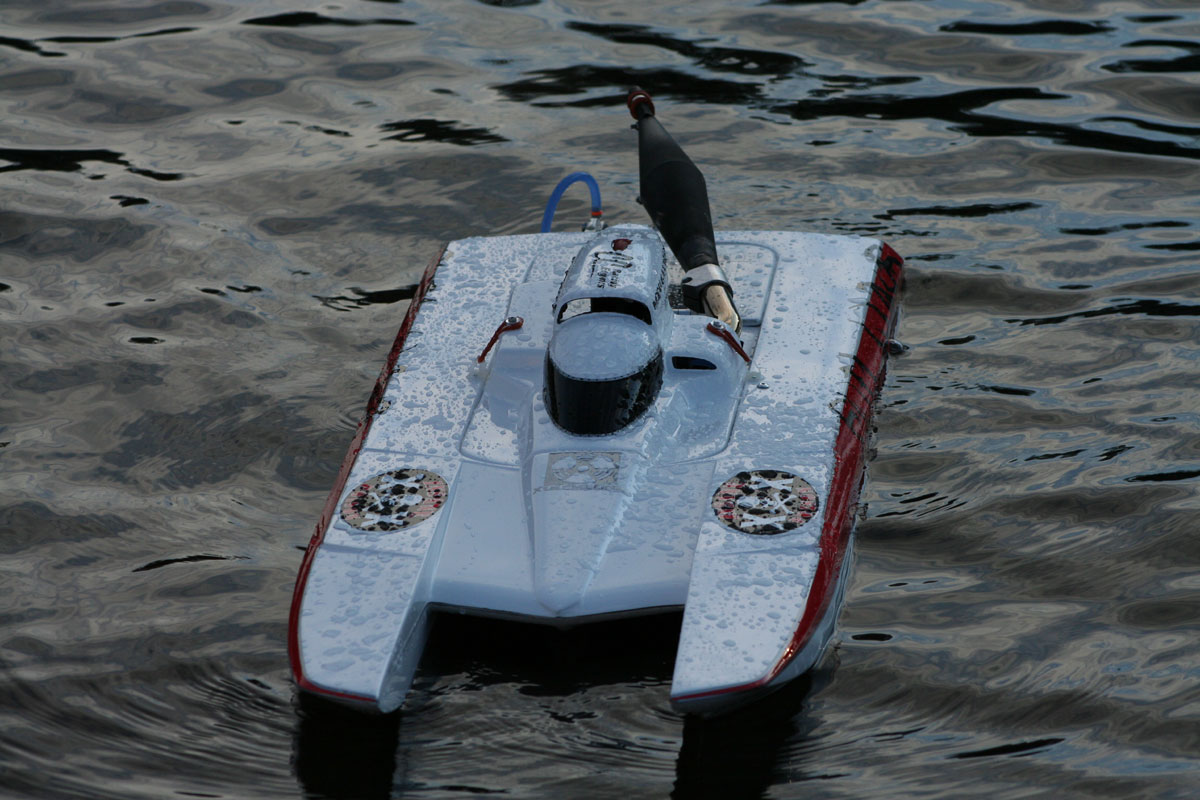
The boat performed real well on its first time out. It was late in our season when I tested this boat and although the conditions were far from perfect (notice the snow on the ground and ice on the boat) I still got to run it a few times and get a good feeling of what it was capable of. The water was very rough and some rollers were coming in from the big lake so high speed turns were quite a challenge, but the Gen2 handled the rough water and strong winds like a pro.
The pictures and video below are from the first outing with the Gen2...straight off the build table! It will only get better when I run it some more and really fine tune it to my engine/pipe/prop combo.
* in the last picture you can actually see the ice on the boat after a run. That's how cold it was when we tested!


Final thoughts...
The quality of the Gen2 is nothing short of excellent. I checked the bottom of my Gen2 on a flat table and the boat sat flat the way a good quality cat hull should. The steps were even and the edges sharp.
I really like the way the boat performs. I love how it eats up the rough water and is seemingly not affected by strong winds. In my opinion this is a great heat racing cat if setup properly and powered accordingly.
I really like the way the boat performs. I love how it eats up the rough water and is seemingly not affected by strong winds. In my opinion this is a great heat racing cat if setup properly and powered accordingly.
Happy Boating!
Setup as tested:
Motor: CC Racing Engines - Modified Zenoah G260PUM
Pipe: CC Racing Engines steel pipe with 1" header and no-leak flange
Prop: Modified 6516/3 from The Propworks
Gas Bag Setup: complete setup from American RC Boats
Strut Depth: bottom of strut 1/8" above bottom of sponsons
Strut Offset: 1/8" to the right
Strut Shim: 1/32" shim on right side of strut

