Product Review Article...

Our review of the all new racing mono from Insane Boats...
For years now the Insane mono has been one of the top performing monohulls in races around the world. The original, the Generation 1 is still frequently seen in the winners' circle as is the Generation 2 which was the successor with an enclosed cockpit configuration. So why would Insane Boats feel the need to come out with a Generation 3 mono you ask? Well, to be honest, it probably wasn't necessary since the Gen1 and Gen2 are actually both great racing hulls...but, that said, racing boats being the main focus for Insane Boats, owner Jeff Michaud felt the need to make the Insane Mono even better.
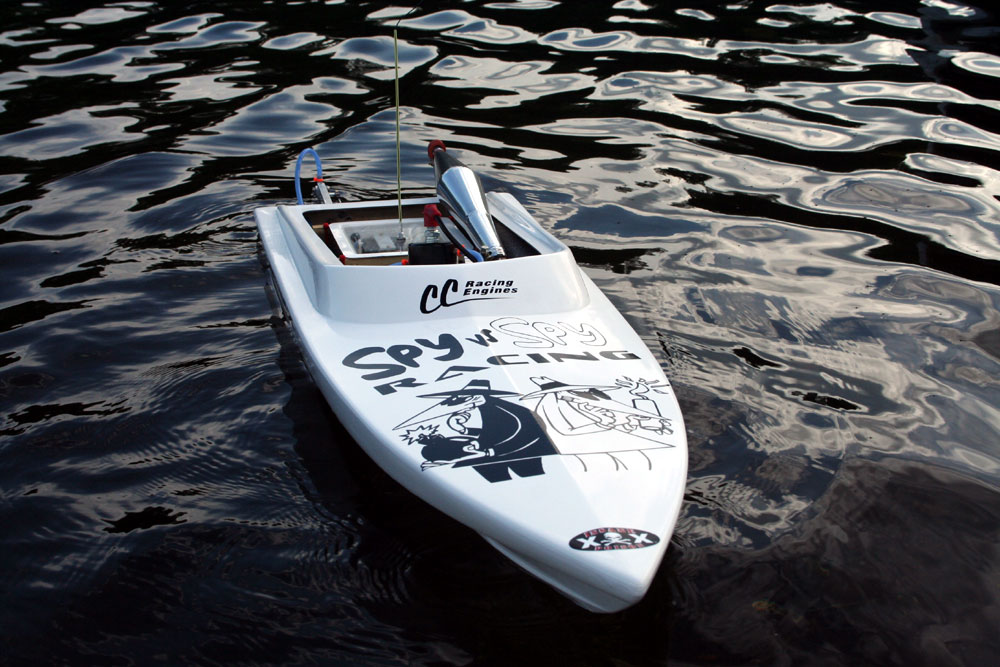
At first glance the Gen3 might seem like it's basically the same as the Gen1 but if you look closely you will notice some changes that do in fact make this version a better boat. First and most noticeable is the "clamshell" deck/hull joint. A clamshell is a "seamless" joint. The Gen1-2 hulls feature a shoebox joint which means that the upper deck overlapps the bottom half of the hull at the joint. This is a very strong joint, but the disadvantage that this type of joint has is that the "lip" all around the hull can in fact trap air and create unwanted lift on the hull. This is especially true at the speeds we are now running these gas boats! The new clamshell joint completely eliminates this and makes for a much more streamline hull.
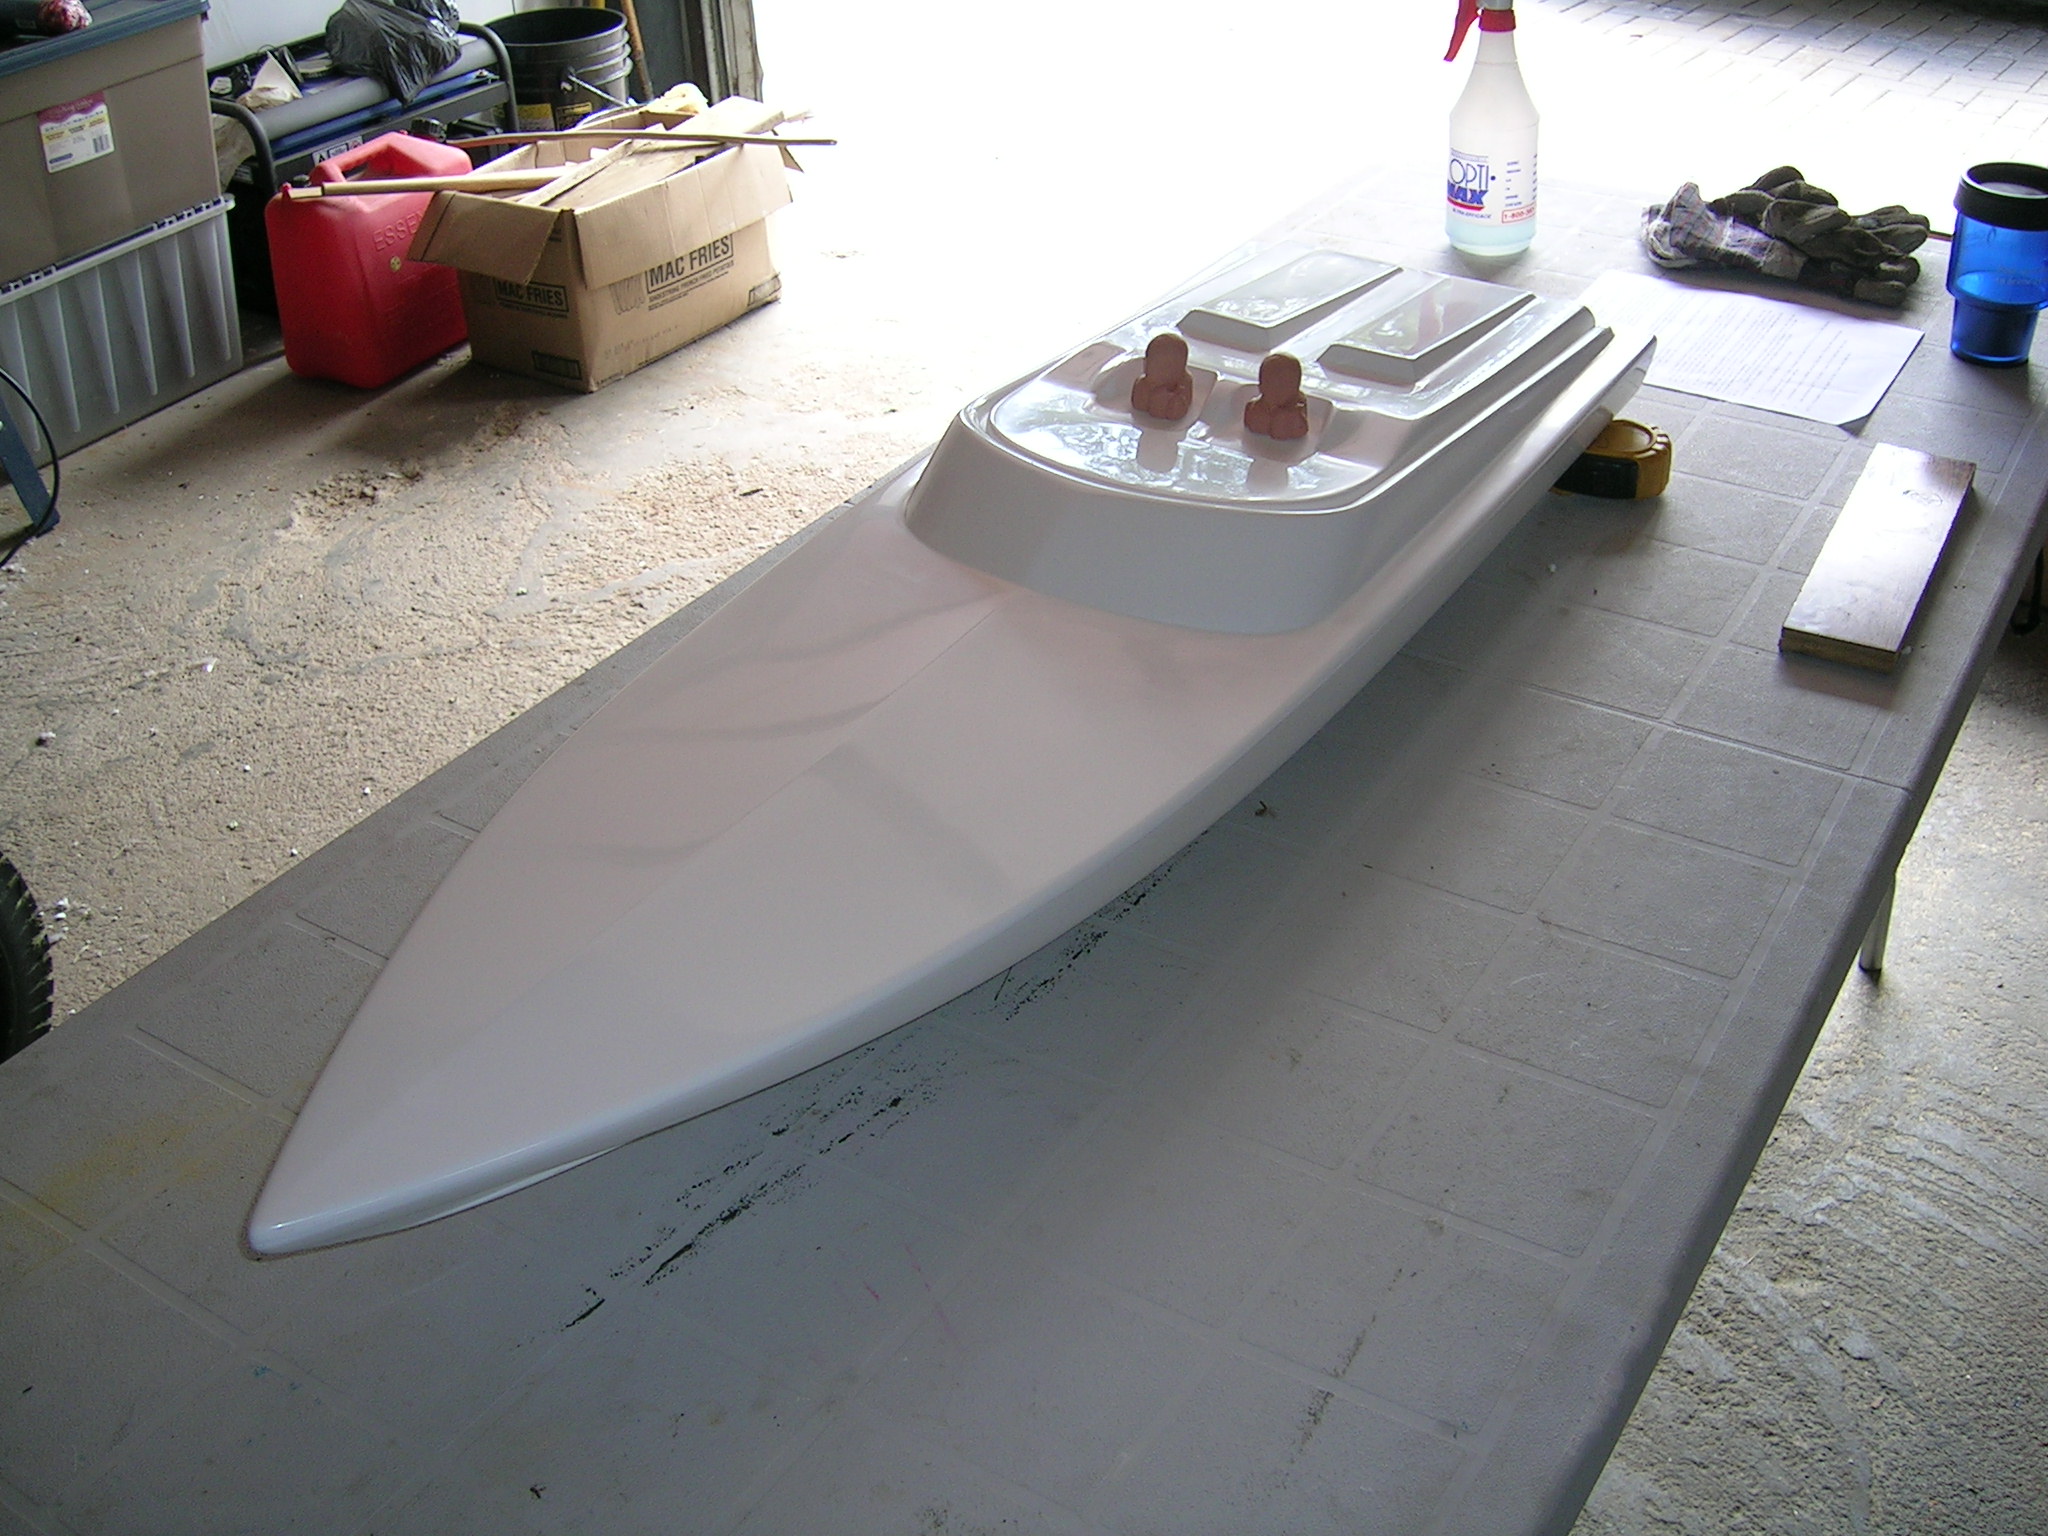

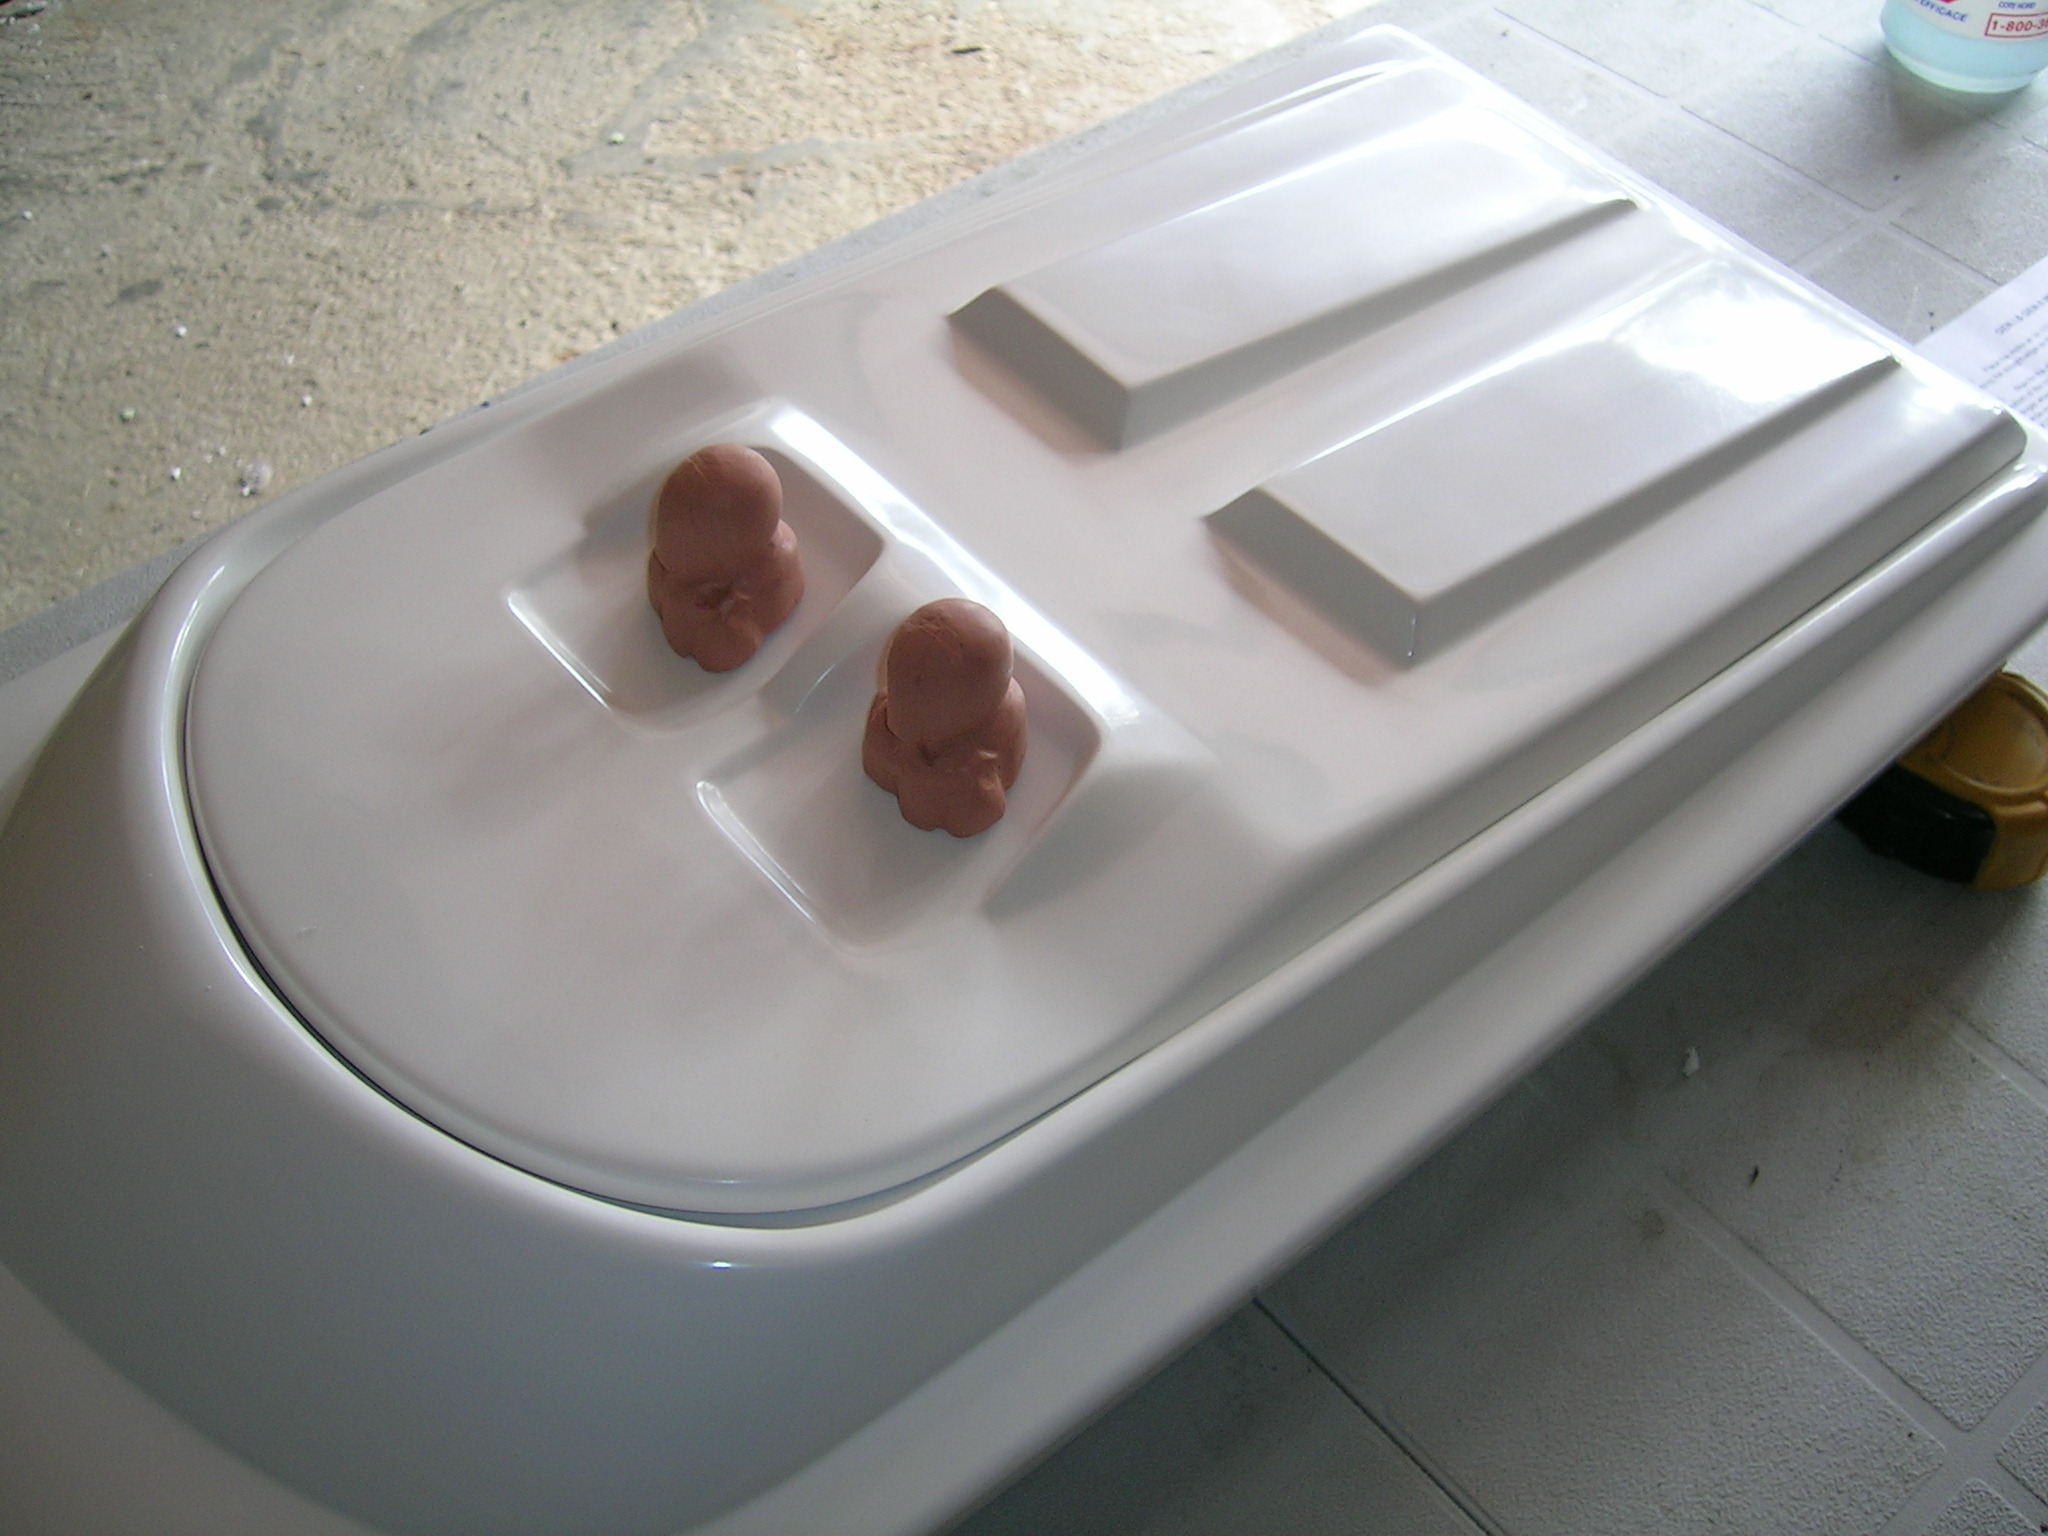
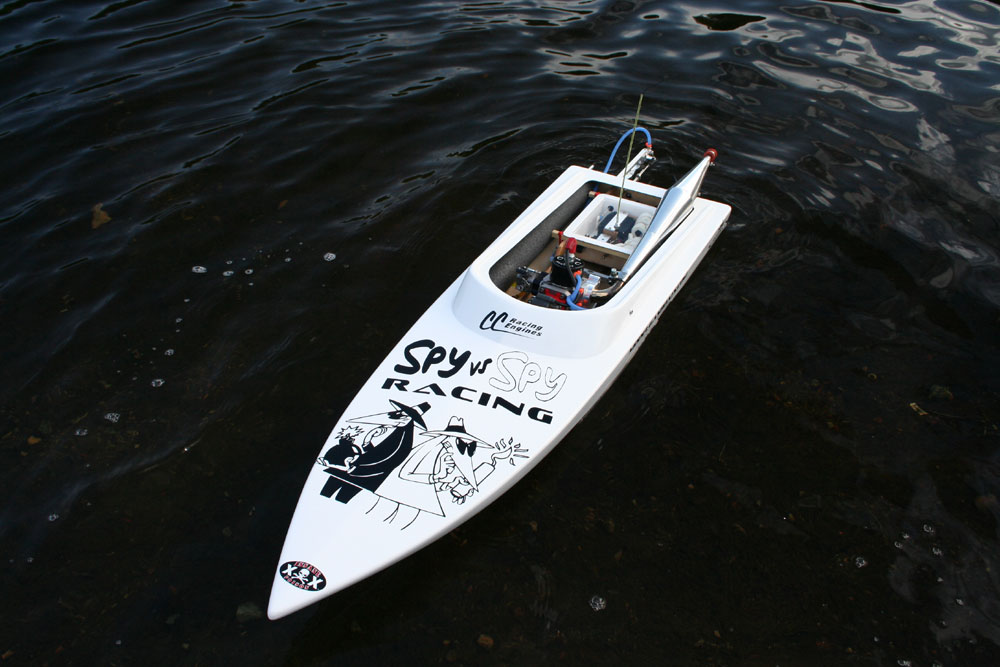
Another thing that was changed on the Gen3 is the engine compartment opening. This opening has been made considerably wider, making access to the engine and components much easier and also allowing the use of a 90 degree tuned pipe without trimming the hull. The edge of the opening has been tapered to zero at the back of the hull allowing the tuned pipe to sit very low in the hull, again without trimming. The widening of the hatch opening has also made the front "windshield" wider and in fact added some down force on the hull.
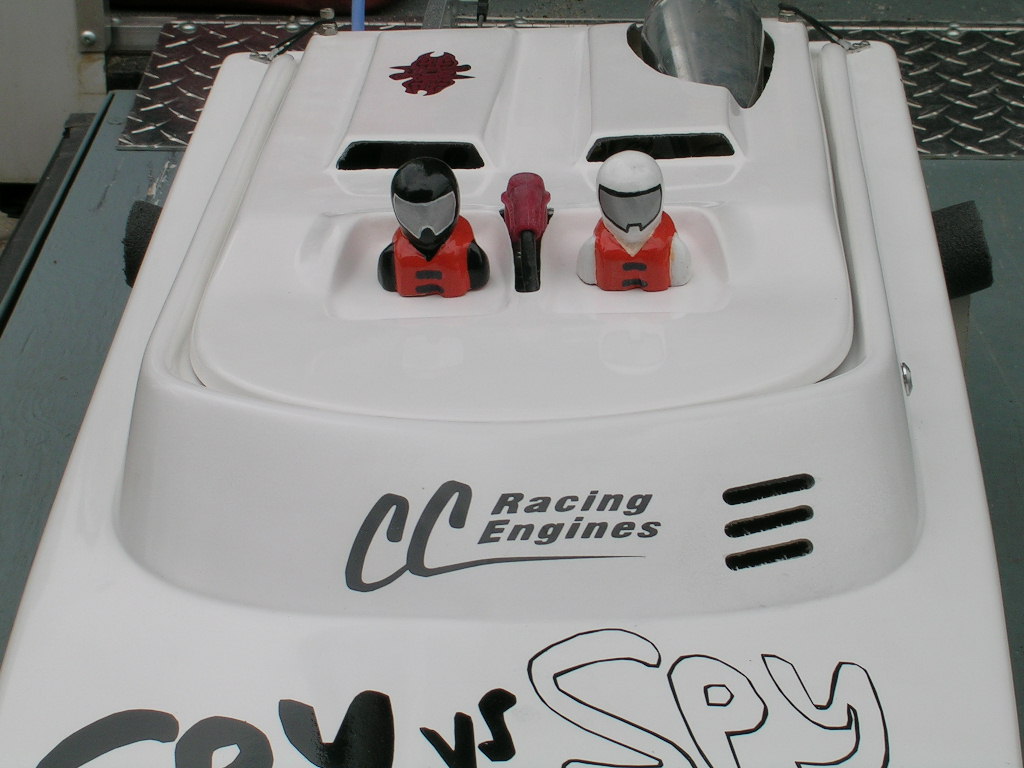
The Gen3 is also available with an offshore style hatch cover (or cowl) that has driver seats molded in. There are also scale drivers available for the mono. This makes the Gen3 legal for the offshore class without the need to make covers and paint on windshields etc...
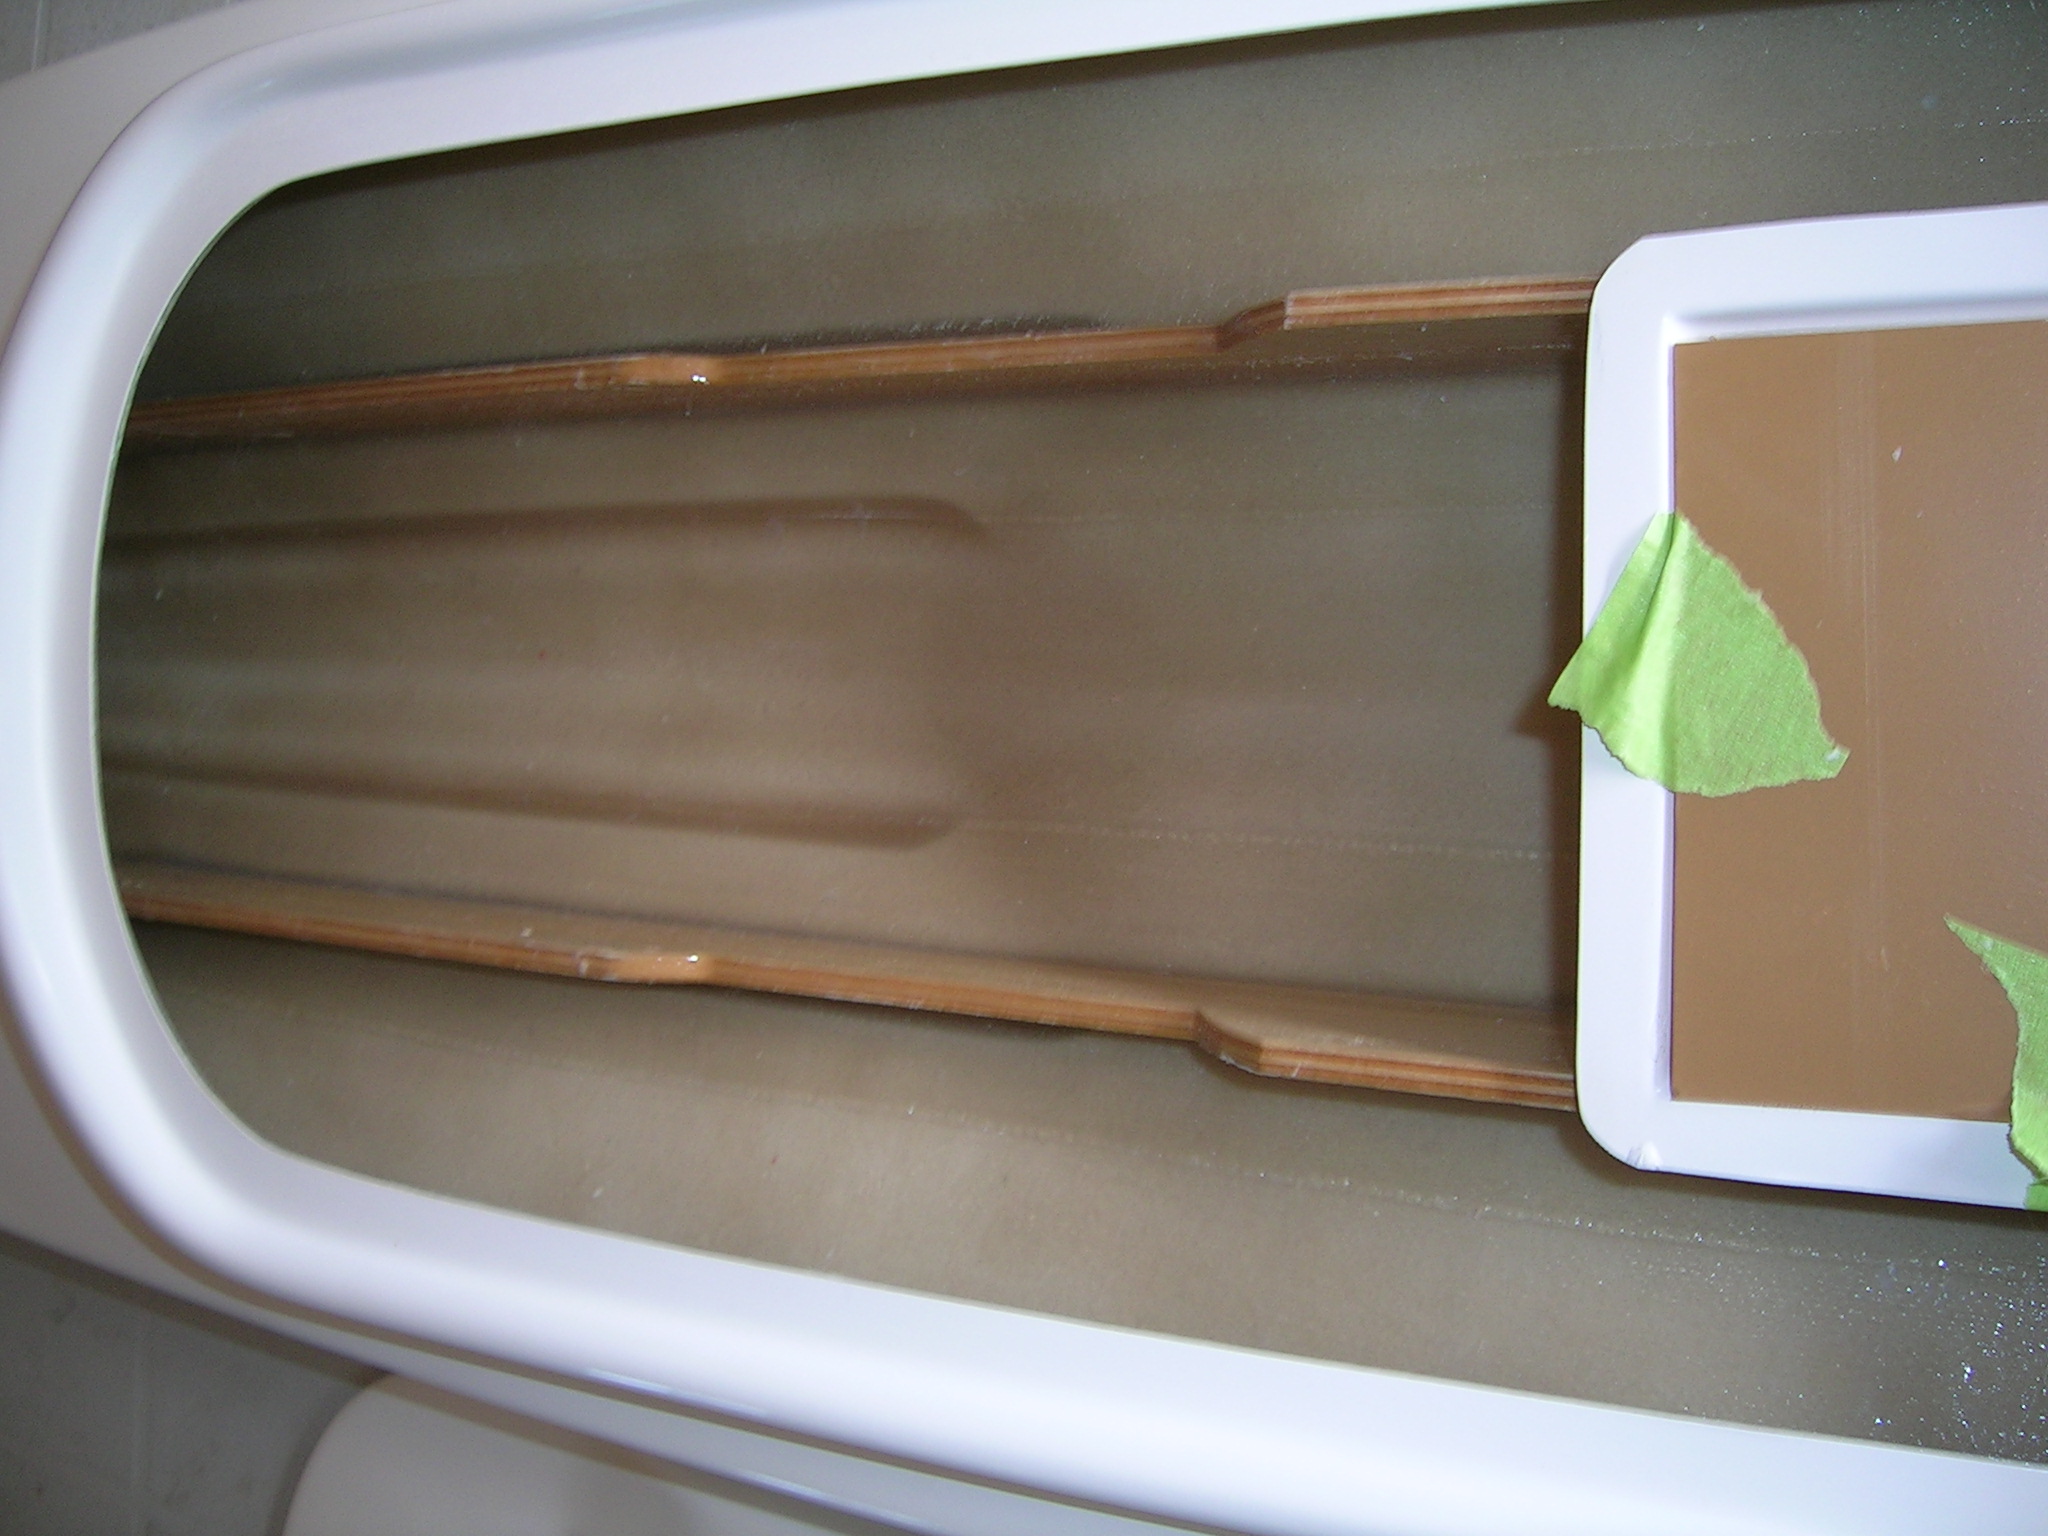
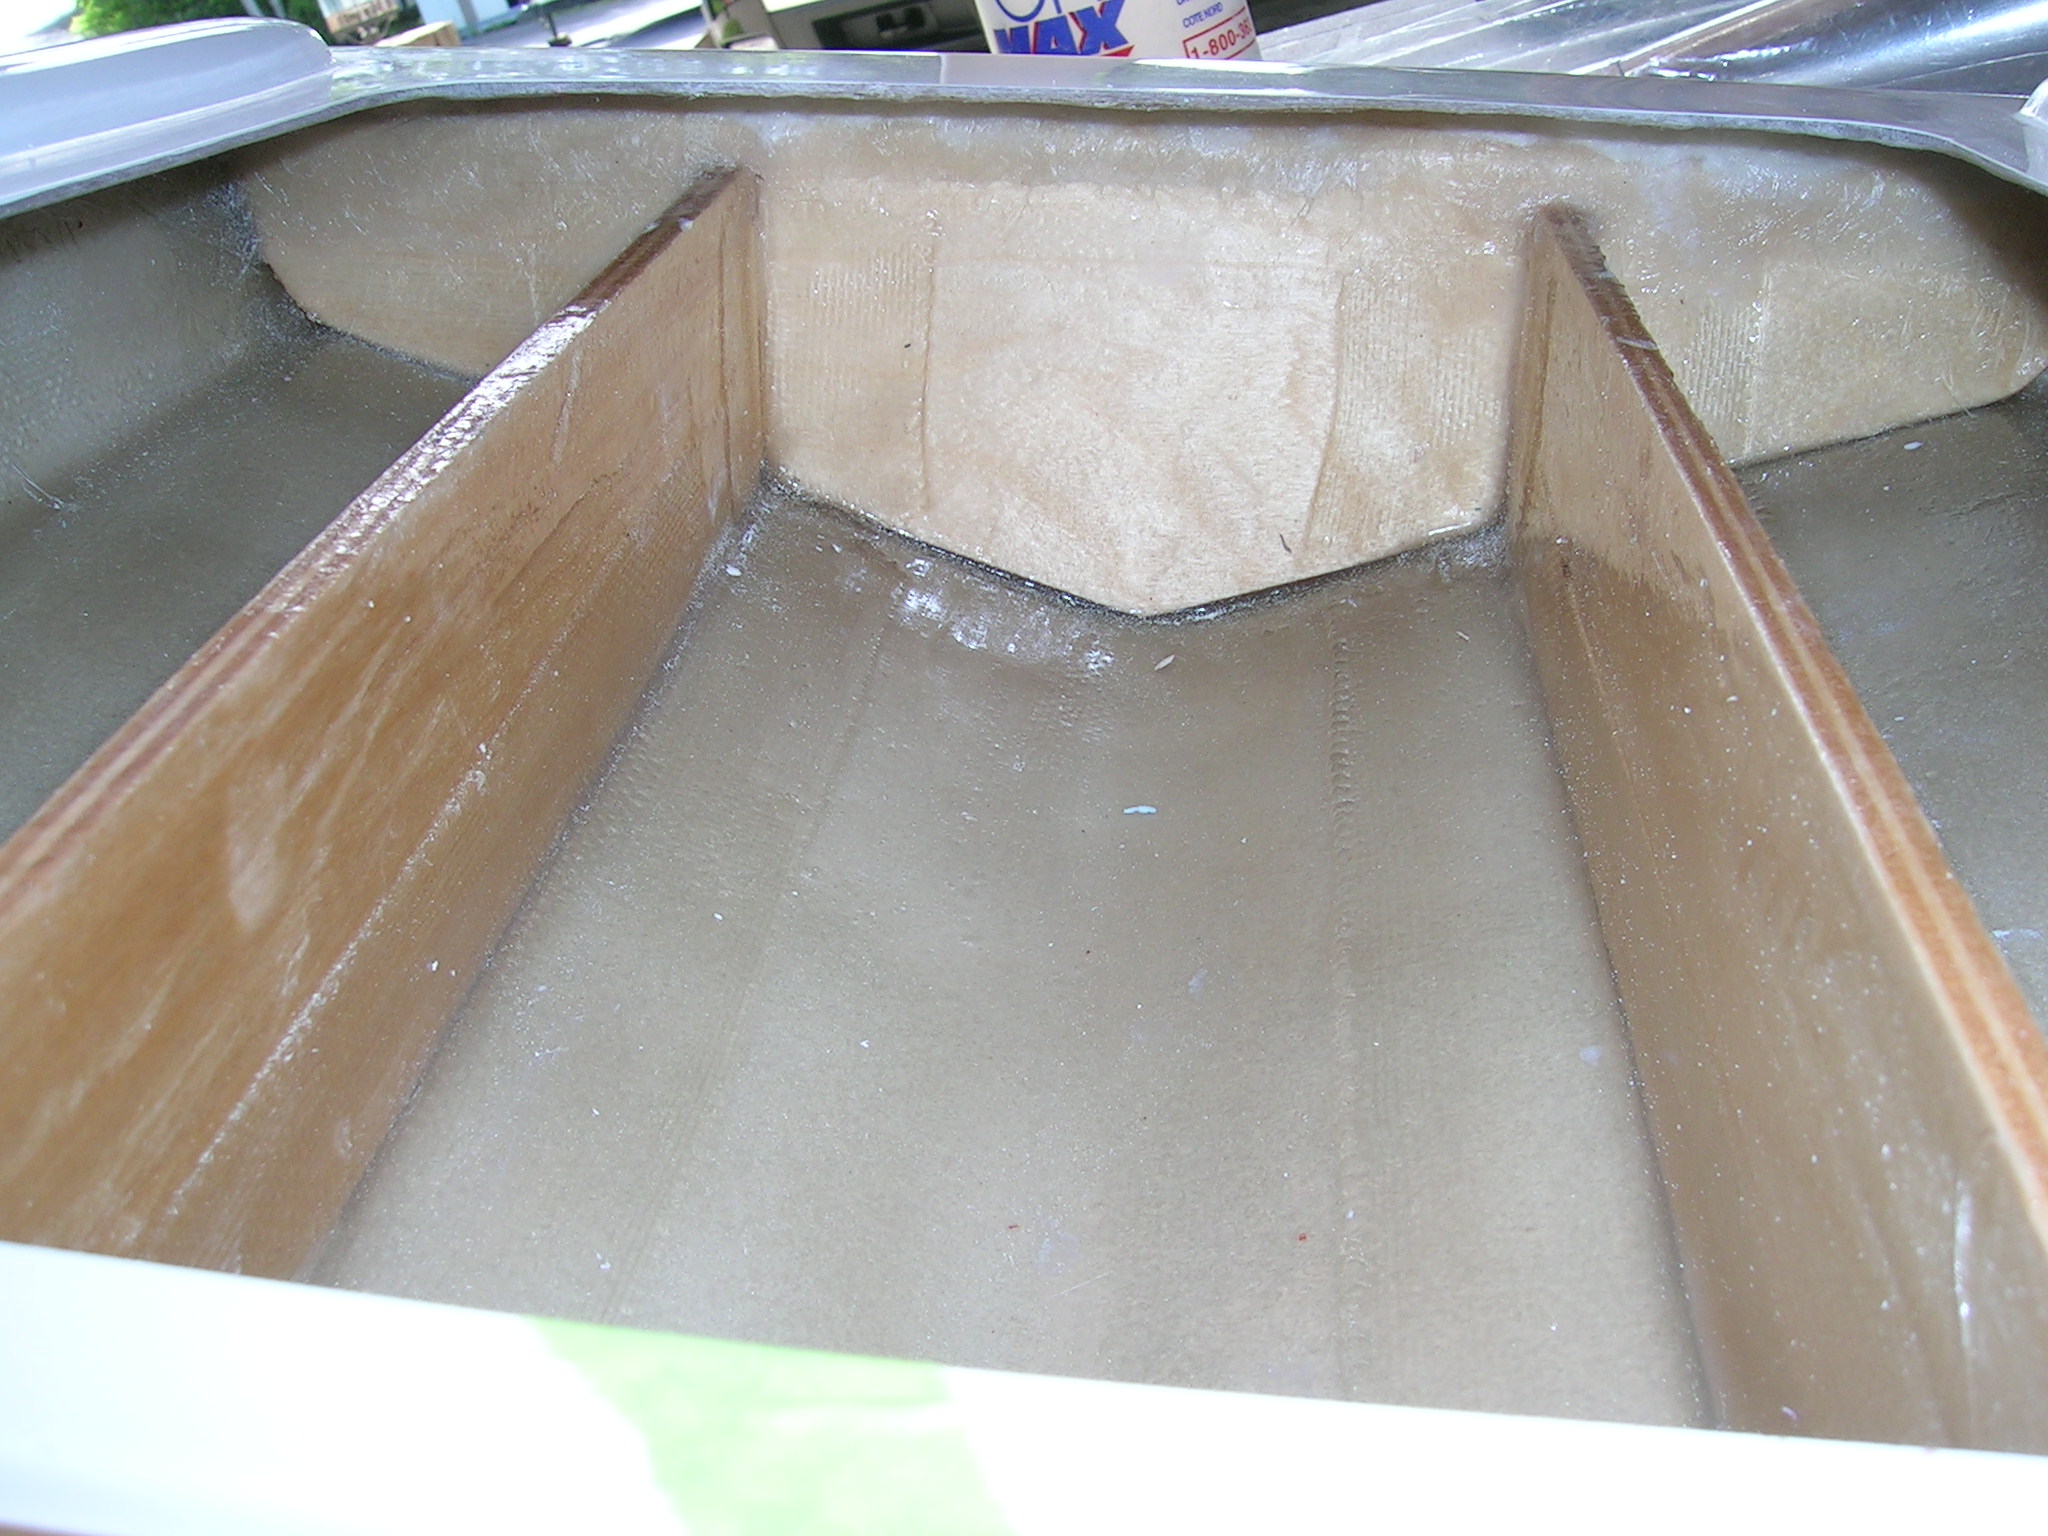
The dimensions of the hull remain the same at 45" in length and approximately 12" wide. The hull is made of hand laid fiberglass and features a high gloss gelcoat finish available in several color combinations. The hull/deck seam is made with a high quality adhesive and fully fiberglass taped from the inside for added strength. The lay-up is thick making this a very sturdy race hull. The engine rails (or stringers) are made of marine grade 1/4" plywood as is the transom. Both are glassed into the hull and completely sealed.

The Build...
Building the Insane mono is pretty straight forward if you follow the included setup sheet. If you do not have a setup sheet it is also available for download on the Insane Boats website in the setups section. For optimum performance and ease of assembly, it is highly recommended to purchase the available hardware kit from Insane Boats.
The instructions call for installing the engine at 14.5" from the spark plug to the back (outside) of the transom. Please note, if you plan on using the offshore cowl, you will have to use drop mounts for the engine in order to get enough clearance between the cowl and the engine's water cooling jacket. Otherwise standard Insane mounts can be used, but in my opinion the drop mounts are better in any case since they help keep the center of gravity of the boat as low as possible.

The stinger drive should be mounted right on the hull centerline at 1/2" above the bottom of the keel. You can see this indicated on the picture below as "prop C/L".
To mount the drive, drill a 1/8” pilot hole through the transom on the prop centerline mark. Making a smaller pilot hole will help ensure you get the hole right on the mark. Assuming you are using a collet (welded cable) setup, re-drill the hole to 5/16”. Install a length of 5/16” brass tubing into the drive and pass it through the hole in the transom getting the stinger drive flush against the transom. This will keep the drive centered on the exit hole so you can mark the transom for the drive mounting bolts. Make sure the holes you drill are centered in the drive mounting slots. This will allow for equal up and down adjustment of the drive when tuning. After the drive mounting holes have been drilled, it is a good idea to elongate the stuffing tube hole in the transom vertically, about 1/8” both up and down, to allow for future adjustment of the drive if required. Mount the drive to the transom.
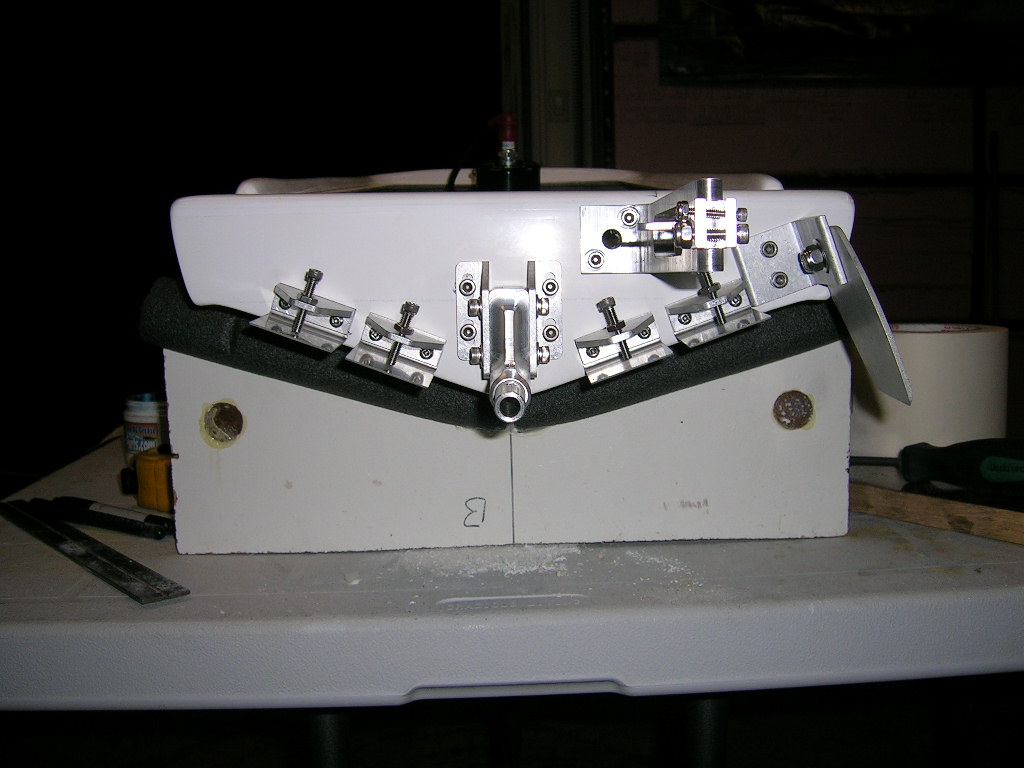
The rudder centerline should be inline with the centerline of the right (starboard) side stringer. You want to mount the rudder bracket so that the top of the bracket is 1/16" below the hull parting seem.
The turn fin should be mounted so that is perpendicular (90 degrees) with the hull's bottom. It should be inline with the outer edge of the spray rail (the point where the hull's bottom and side meet). It should be approximately 2" deep under the hull surface for best performance. If required, drill a hole 1/2" above the stock hole and slot the turn fin from one hole to the other, so that you can move the fin up and down for tuning.
Install the inner trim tabs 1.5" from the center of the keel following the hull bottom. The trim tabs should be mounted 1/8" above the hull bottom. Install the outer trim tabs 1/4" from the inner tabs, again 1/8" above the bottom of the hull.
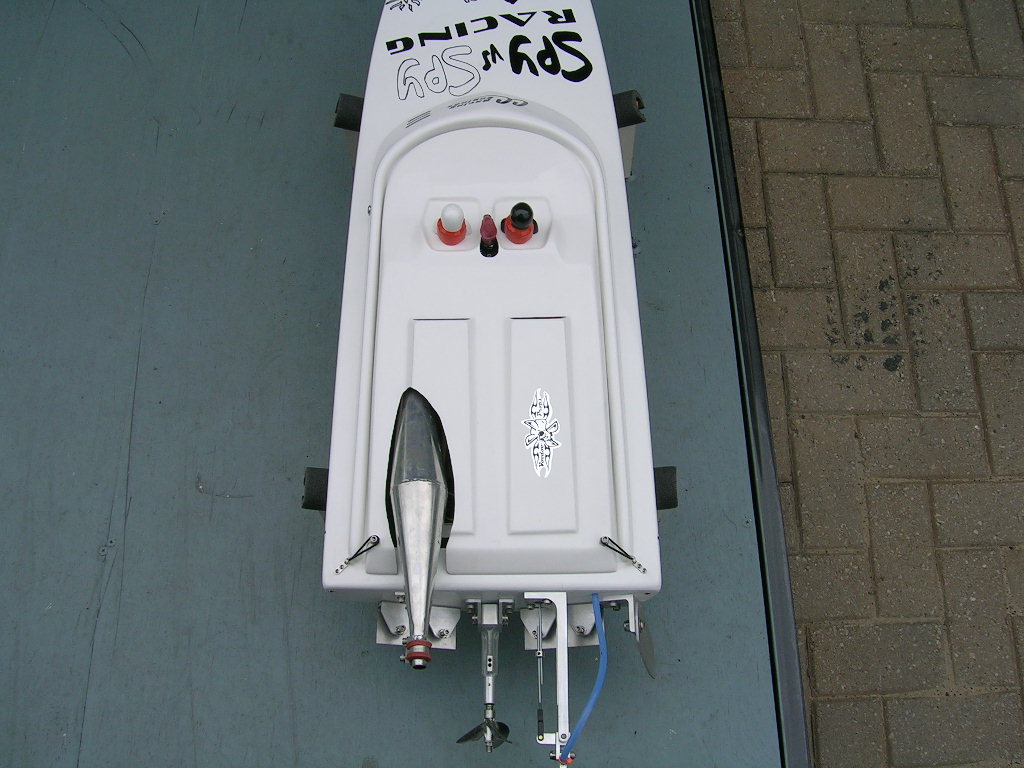
Below are pictures of the rest of the build, which is pretty much the same as with any mono hull. To support the stuffing tube at the engine end I used a T-bar from Insane Boats. To mount the radio box I simply installed four stainless steel bolts through the engine stringer and epoxied two pieces of 3/8 square dowel to the underside of the radio box's lip. I grooved the stringers for the pieces of dowel to fit into and simply hold down the box with zip ties. This system is easy and effective. Removal of the box is very easy and quick also. I made servo mounts with solid oak epoxied inside the box and aluminum top plates to secure the servos in the holders. I used a 1000ml gas bag from American RC for a fuel cell. It fits half under the engine.
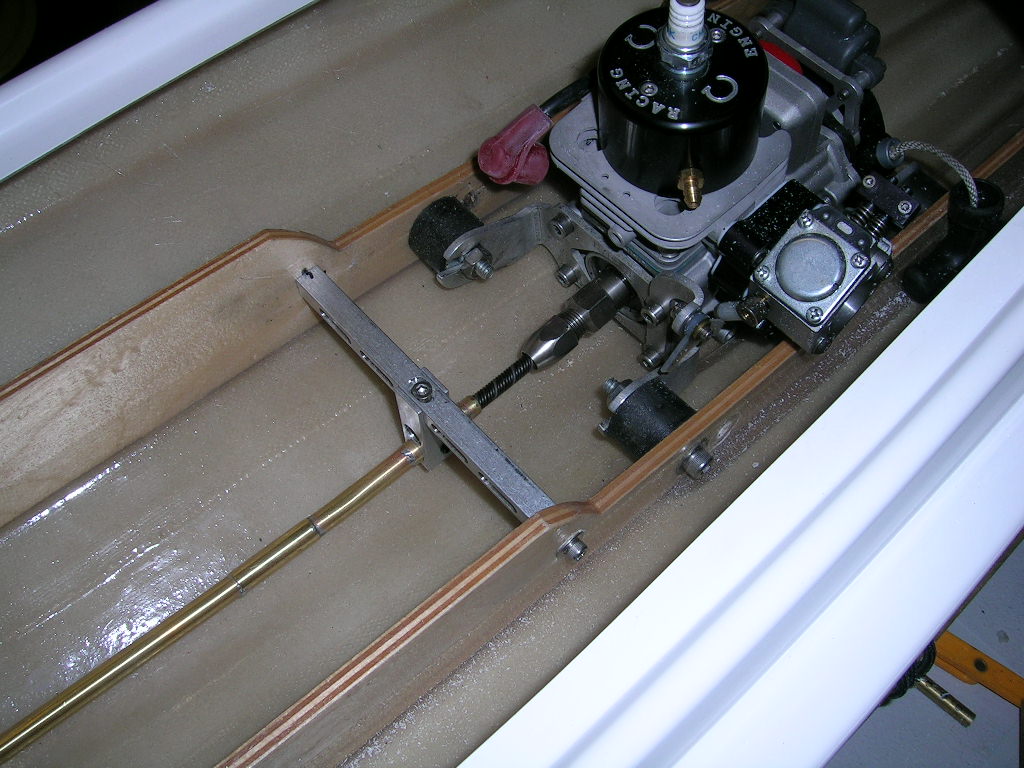


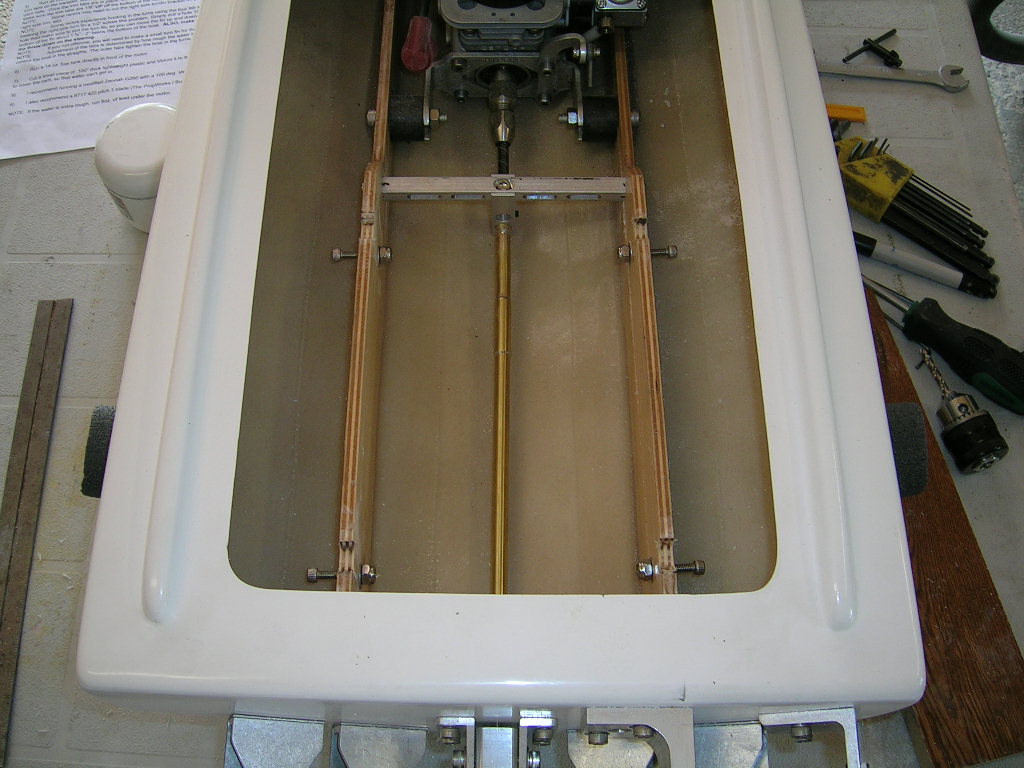
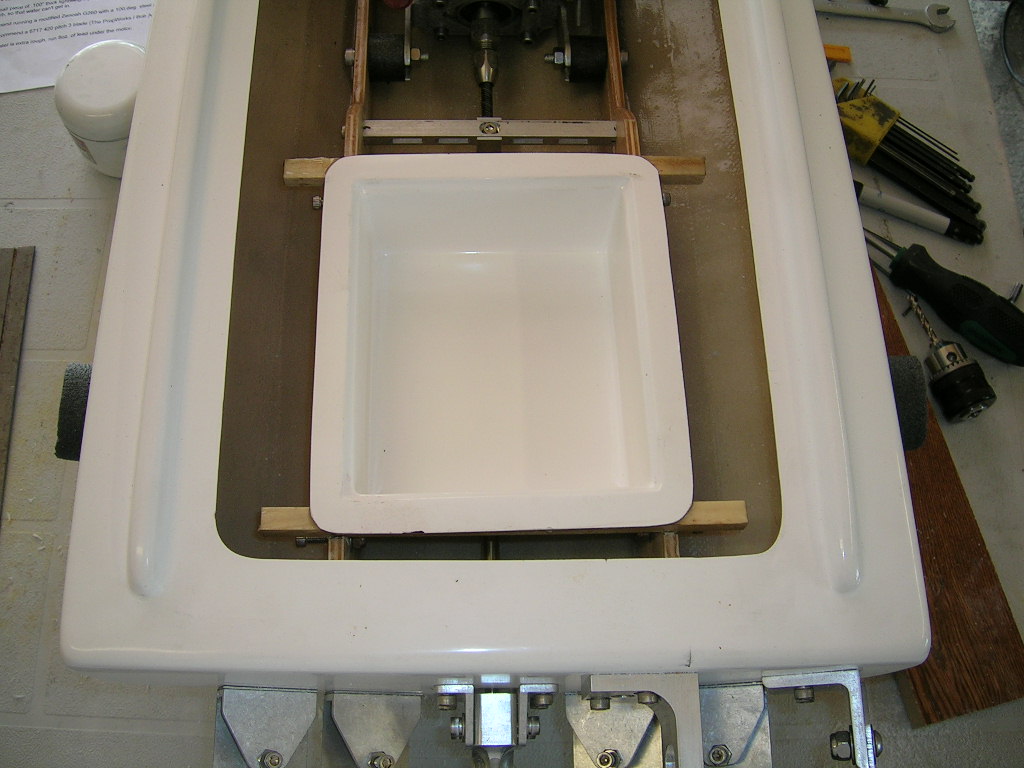
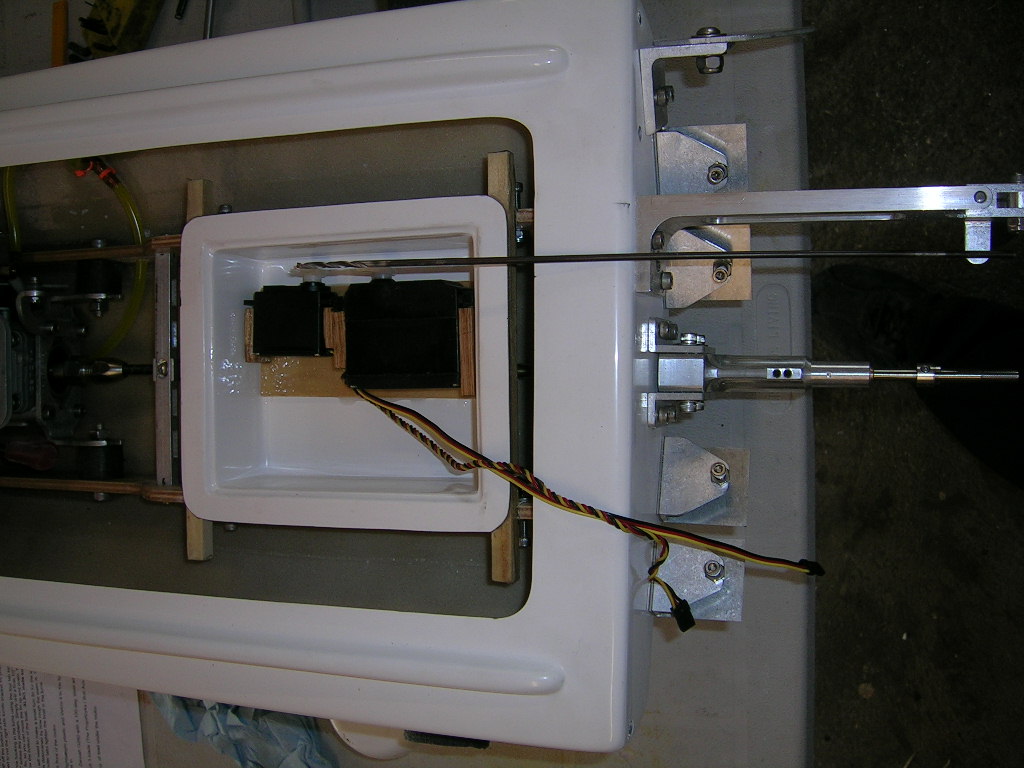

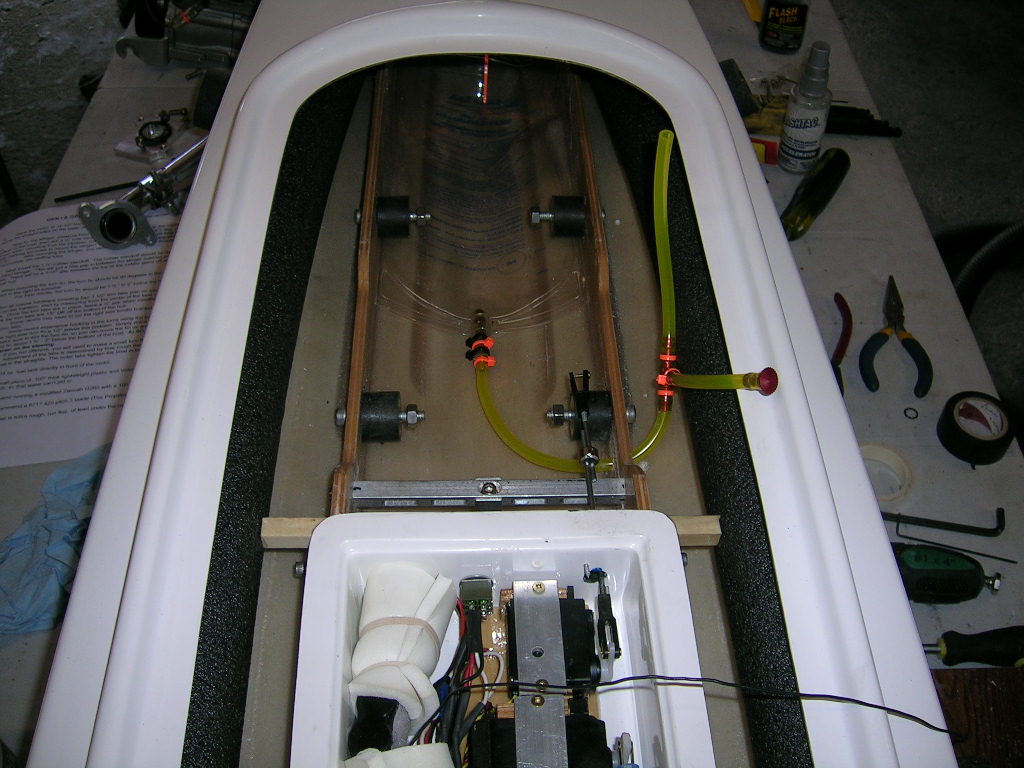


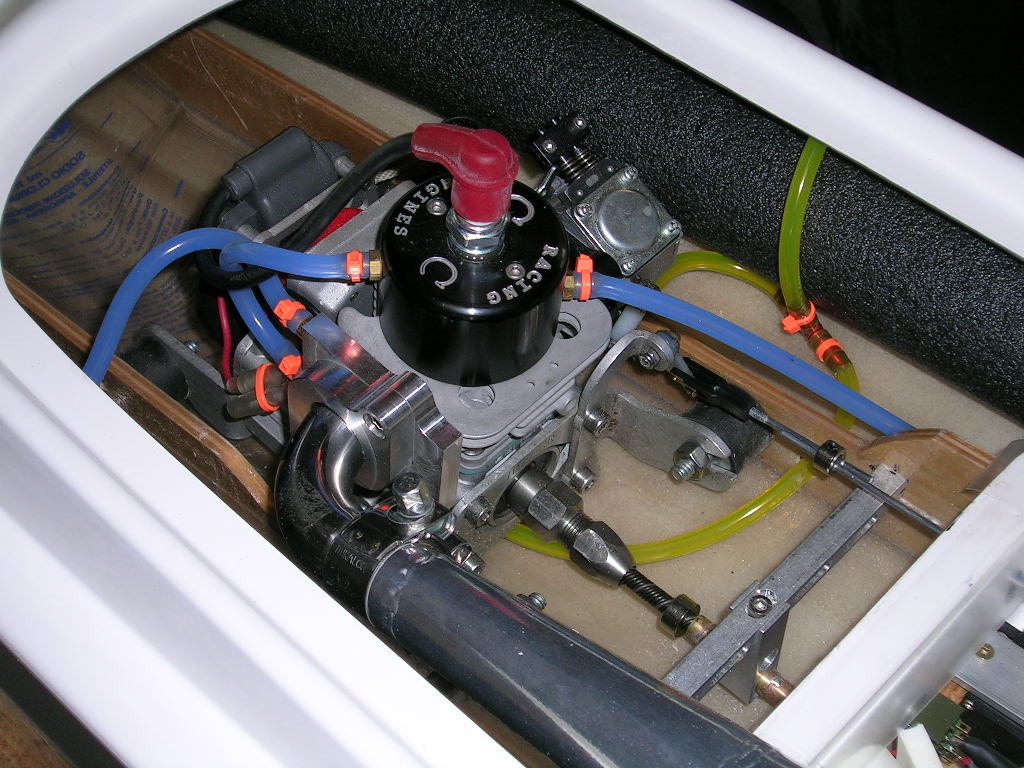
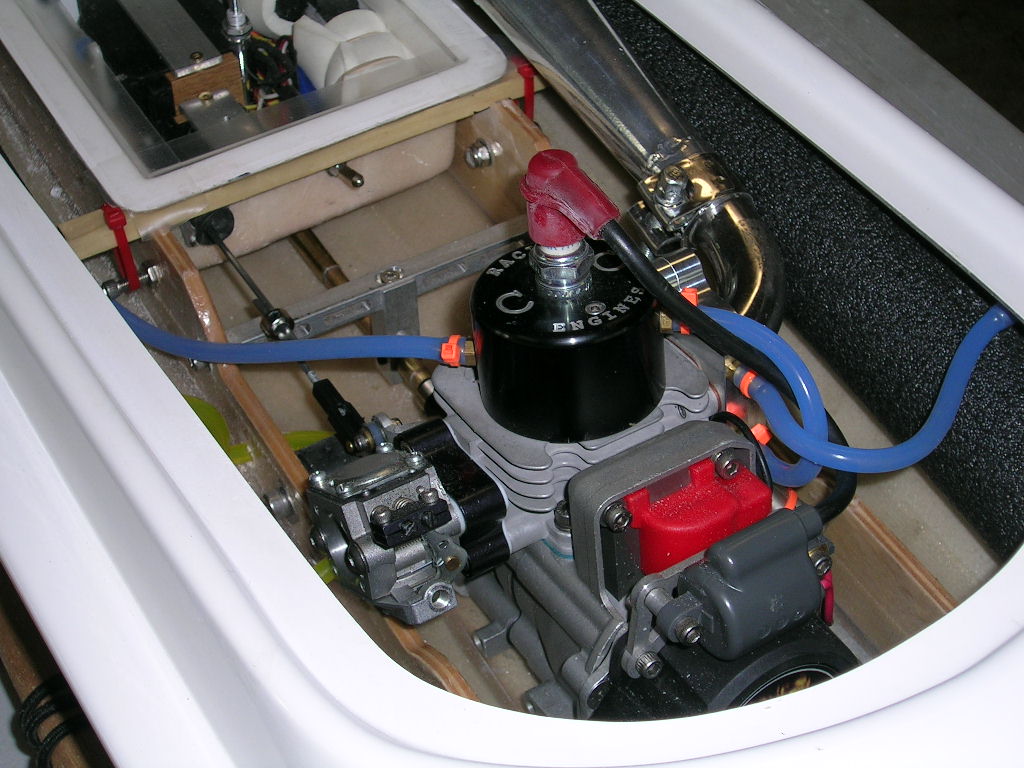
Some trimming of the cowl was required for clearance of the spark plug boot and the tuned pipe. Mounting of the cowl was done with a wood front tab that slides under the front of the deck opening and Orings were used at the rear. Air slots were cut in the front of the deck opening and in the front of the cowl's simulated engine compartments. This in combination with the pipe opening which was cut approximately 1/4" larger than the pipe itself seemed to supply enough fresh airflow in the boat during testing. Additional air openings can be added if need be however.




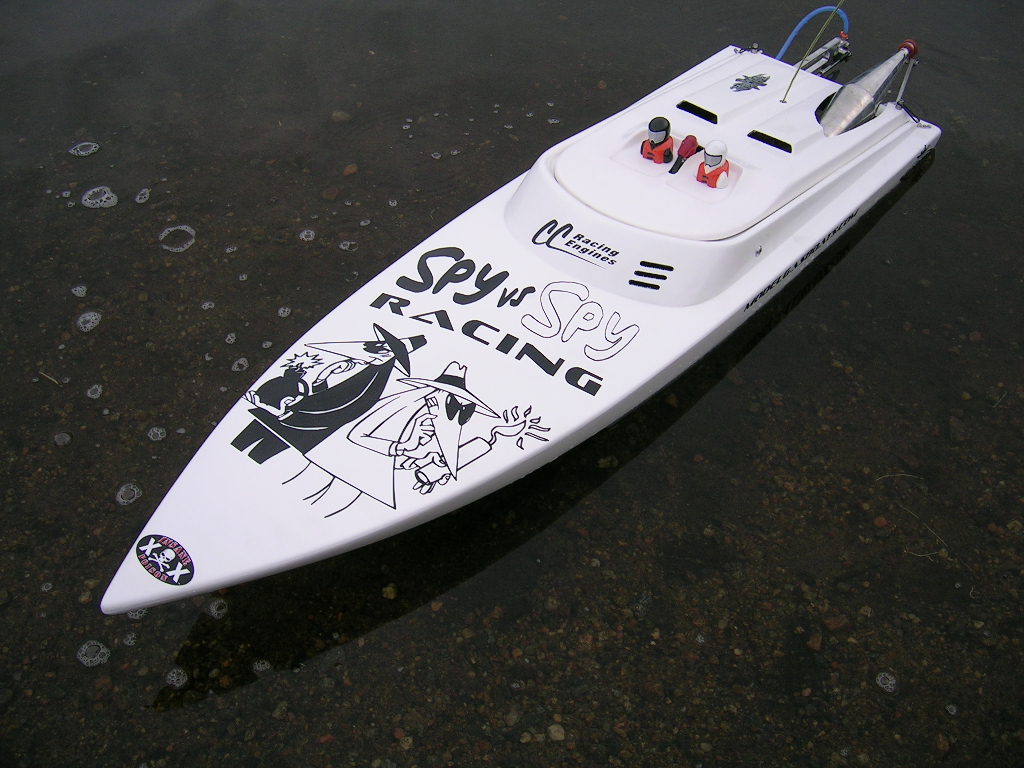


At the lake...
The first time out the Gen3 performed very well and was basically ready for racing. The boat was fast and handled great. To me what was most noticeable was how well the boat cornered. It also seemed slightly faster that the Gen2 mono which I used to race. The boat never showed any signs of wanting to lift the nose in rough waters or in head winds. Keep in mind that this testing was done on relatively calm waters, and either alone or with only one other boat in the water...the ultimate test would be actual racing conditions!
About two weeks after having built and tested the Gen3, I raced it at the Northern Nats in London Ontario Canada. Carlo of CC Racing Engines was pitting for me during the races and after a few heats and observation of the boat he suggested I add weight in the boat. The boat had spun out once (which I managed to recover) and although this might not seem too bad, I was confident we could eliminate this. During open water testing I thought the boat was perfect but as most racers will tell you, race water is a whole different thing! We ended up adding about 8 oz of weight up against the starter cup of the engine. With this change the boat ran even better and was very predictable. The next heat I came in first. I ended up finishing 3rd overall in LS27 mono with the Gen3...not bad for a first race with the boat! I am confident that I could have done much better had I added the weight in the boat from the start.


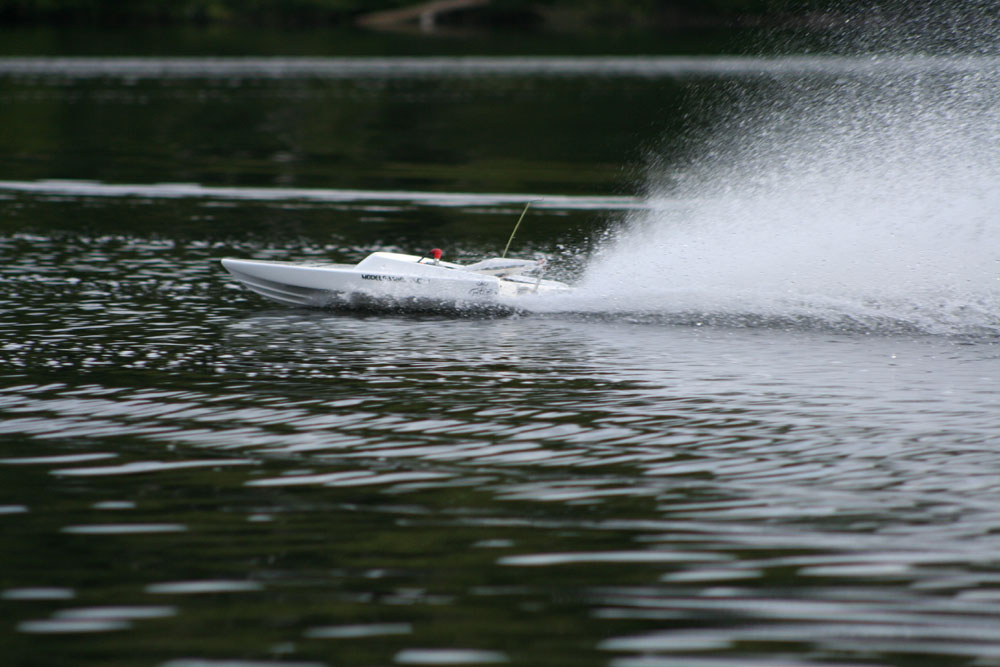


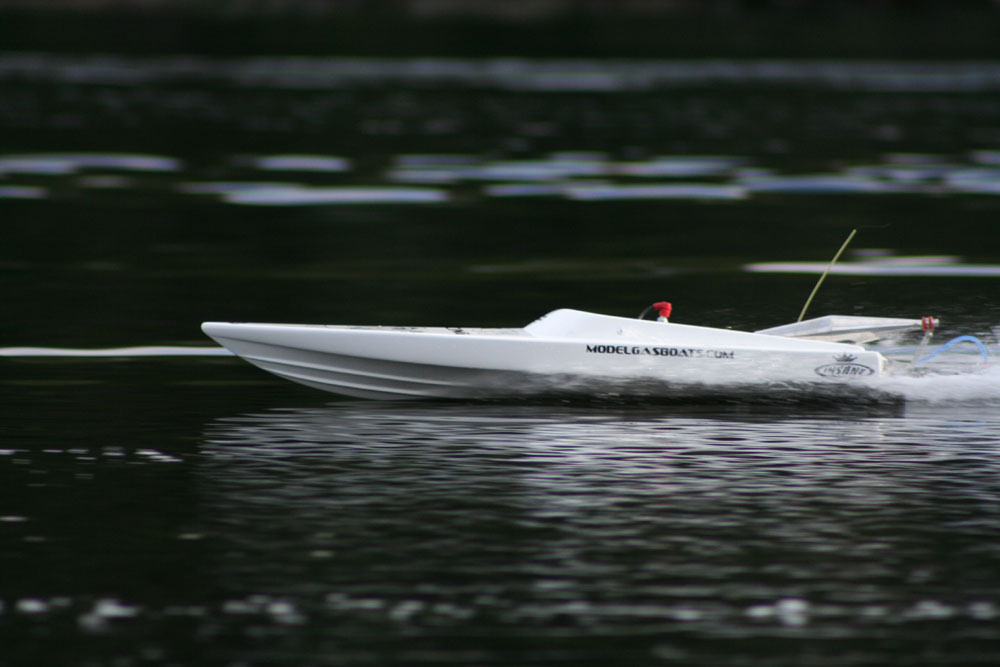

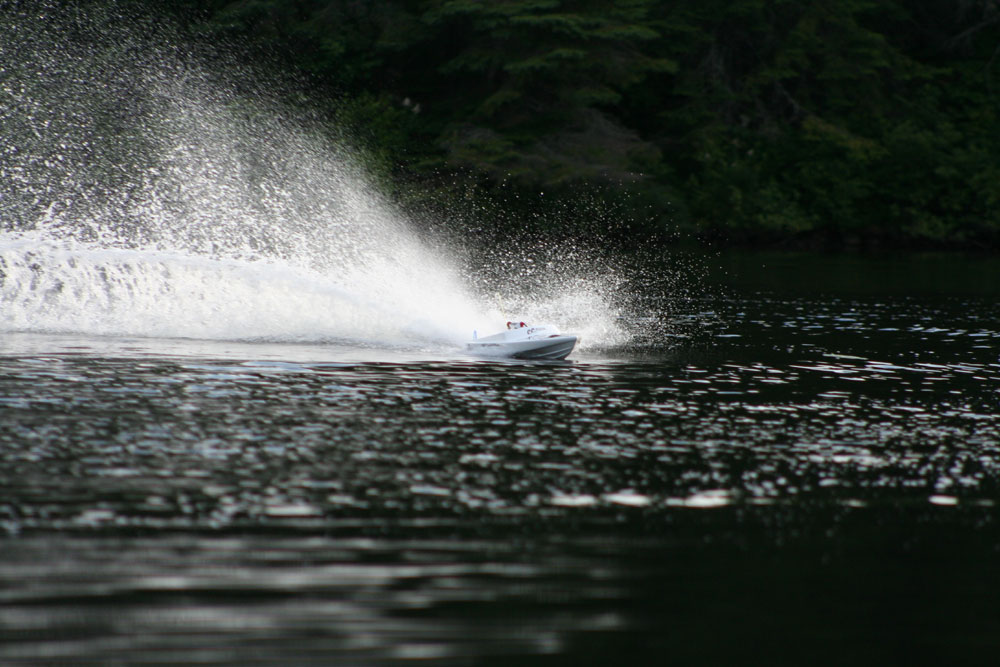
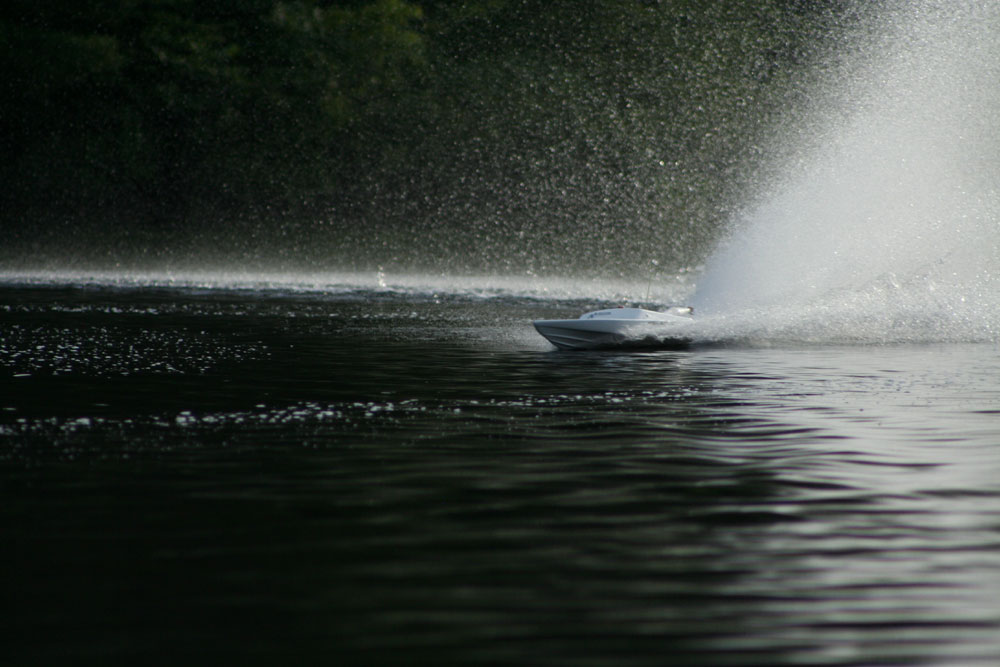

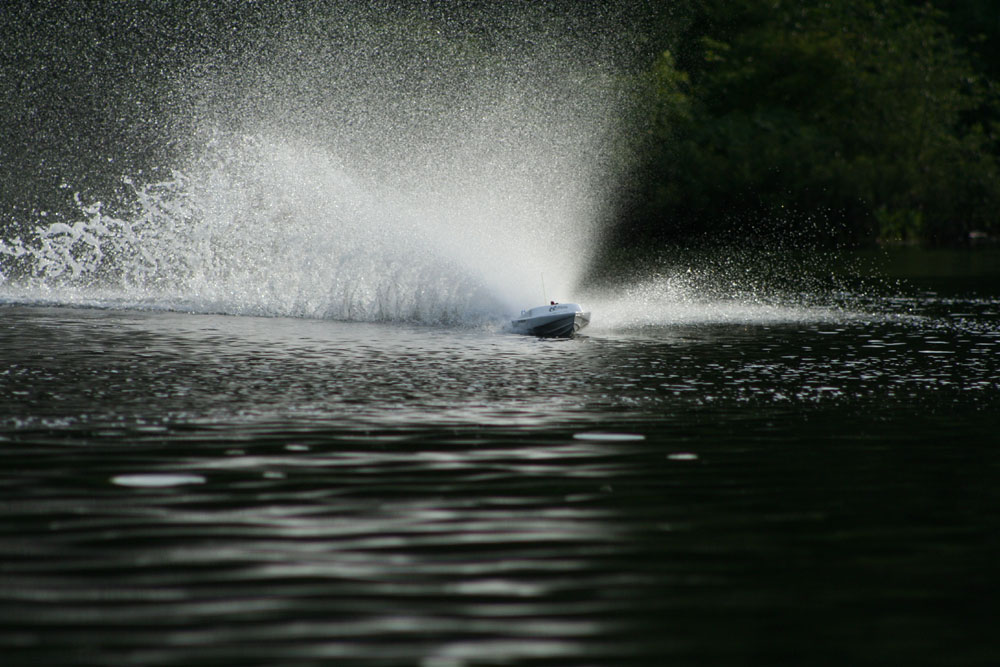
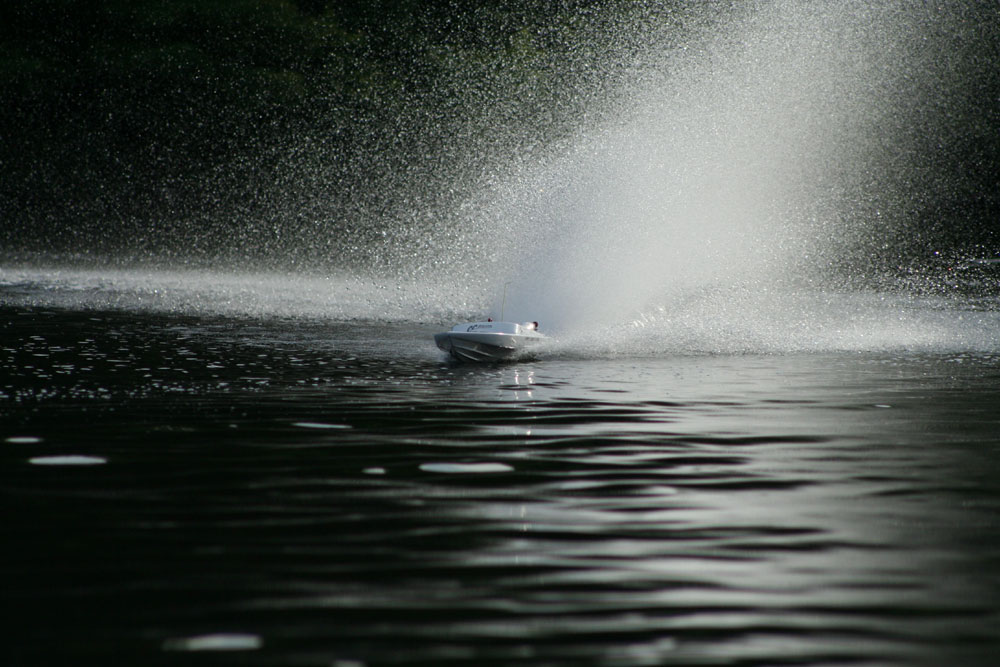
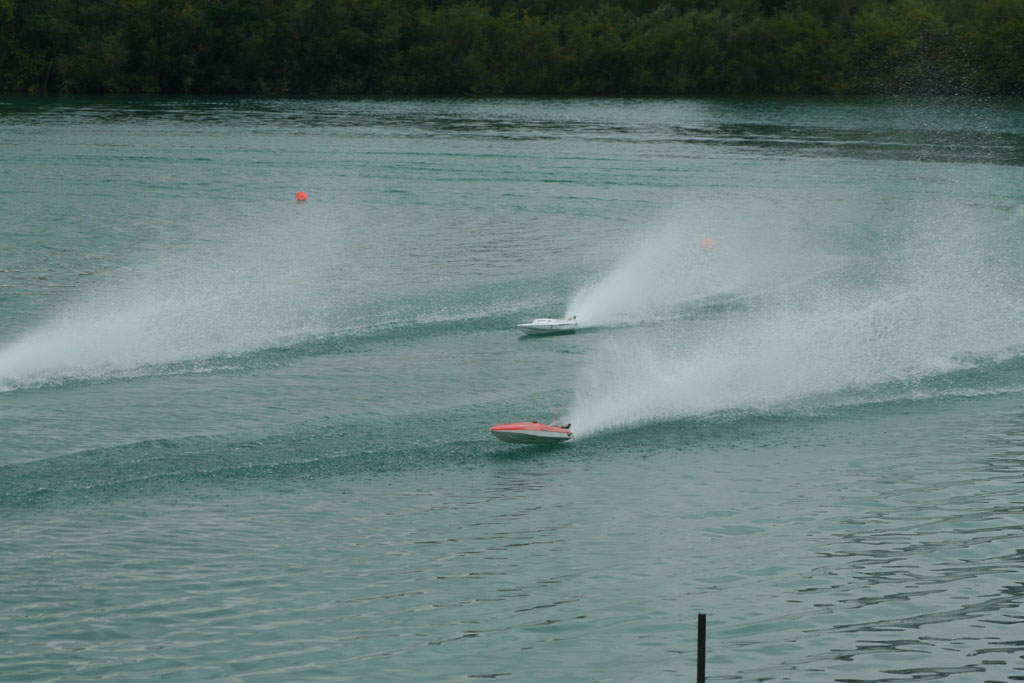

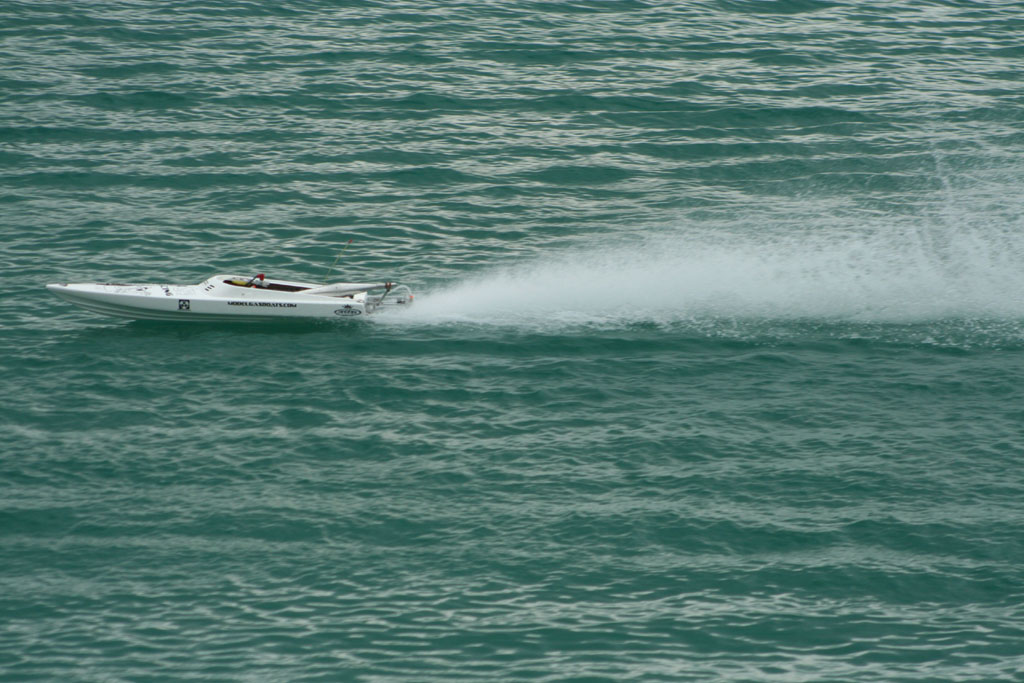
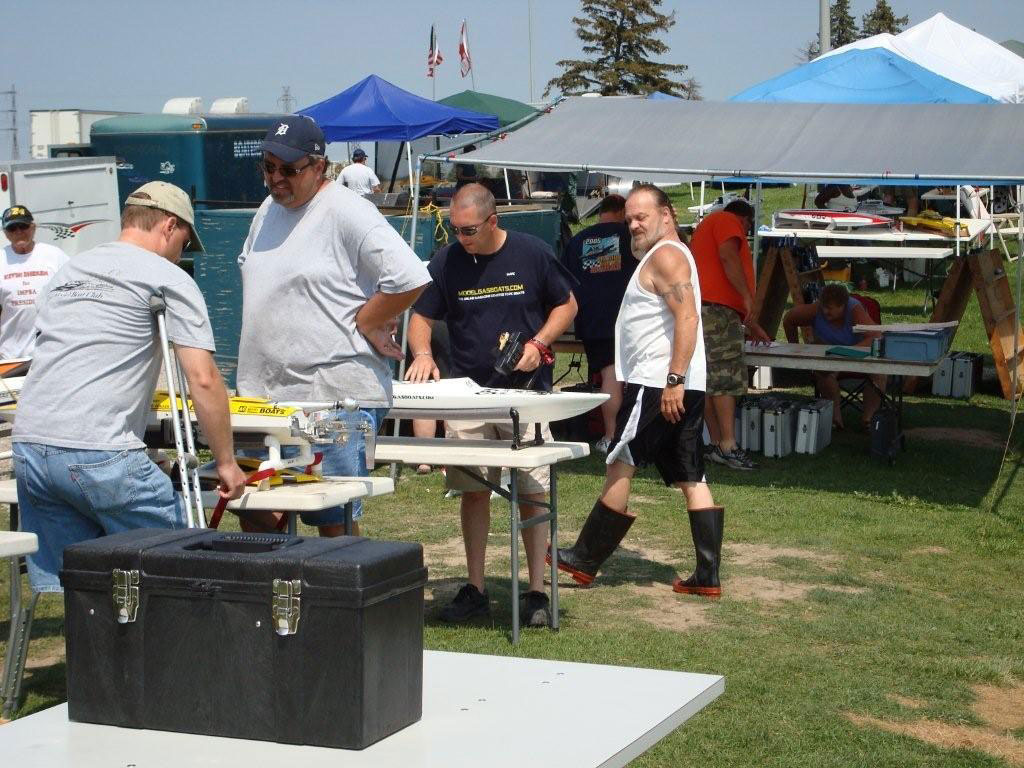


Here is a video clip!

Engine used: CC Racing Engines
Best Prop Tested: El Diablo by Voodoo Props
Drive height: 1/2" from center of propshaft to bottom of keel
Drive angle: 1 degree negative (prop end lower)
Trim Tabs: Outer tabs level, Inside tabs slightly down (approx 1/16")
Weight added in boat: 8oz against starter cup
Radio system used: JR R1-PCM and XtremeLink DSM
Final thoughts...
The Gen3 is another great race mono from Insane Boats. It is fast both in the straights and through the turns. The use of the 4 trim tabs (which can be used on all 3 generations of Insane Monos) really helps settle the boat down in the straights. I think the addition of the wider windshield and removal of the deck lip around the seam has made this an even better mono than its predecessors. The glass work is the same high quality as all Insane Boats hulls.
This boat is a winner in my opinion. If you are looking for a great heat racing mono I honestly think you can't go wrong with the Gen3!
Happy Boating!
Contact Information:


