Product Review Article...
Our review of the Rockett Thunderboat from Zippkits...
INTRO
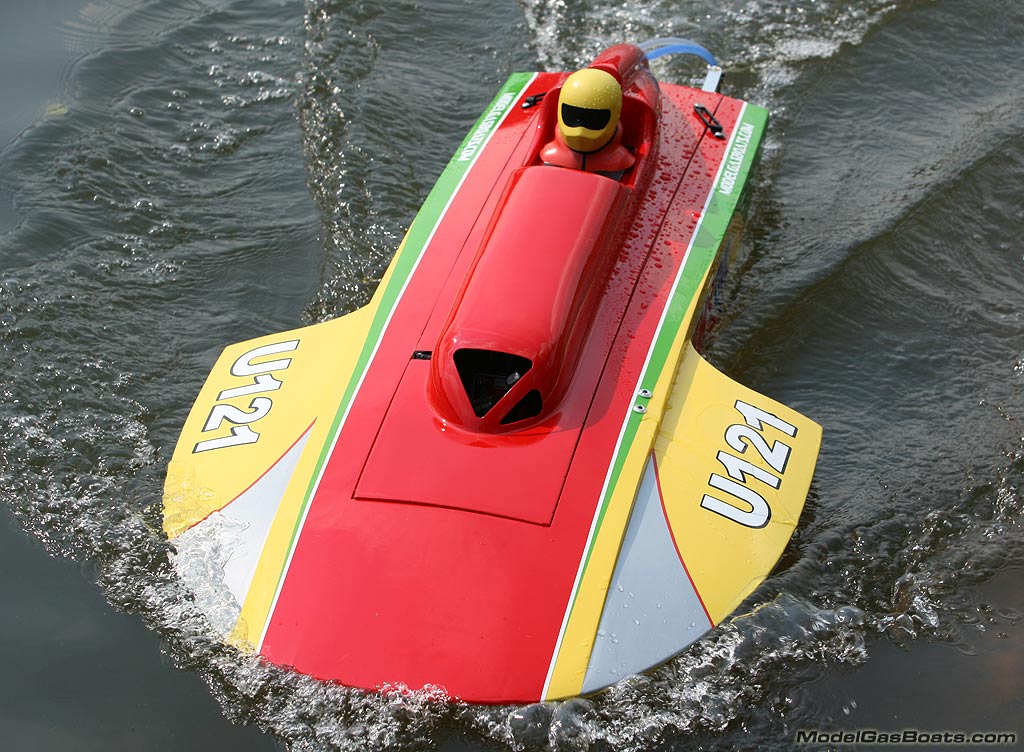
The Thunderboat. More of a work of art than anything else, and its name alone evokes thoughts of nostalgia. Those sleek, subtle lines of that shovel-nosed hull masked the raw power of the big Rolls-Royce and Allison engines that were required to push them into the triple-digits. Some sported large fins that flowed off the back of the cowl like an airplane’s horizontal stabilizer, while others ran sans-fin. Some covered their power plants with cowls to reduce drag; others raced without a cowl and benefited from the cool air across the engine and the reduction of weight.
The Thunderboat is a hydroplane in its most raw form; a no frills monster of a race boat designed for competition. And that’s what attracts all of us gas model boaters to the T-boat; it’s as classy as they get and still competitive. But with the Thunderboat craze in full-swing comes the fundamental concept of supply and demand. As they fly off the shelves faster than the few companies wise enough to capitalize on their popularity can make them, the price stays relatively high, and you soon find yourself staring at a bare hull with a $500 price tag… before shipping. For a class that was designed to be light on the wallet, that’s a lot of dough to fork out. Fortunately, a company by the name of Zipp Kits has come to the rescue.
Zipp Kits are makers of high-quality boat kits that are constructed of 100% birch ply and go together quite easily. In fact, anyone that can hold a sanding block on one hand and not poke your eye out with it can build one… seriously. The directions included with each kit are comprehensive and include photos, as well as setup info and performance tuning; everything from gluing the first pieces together to fine-tuning the hull is covered.
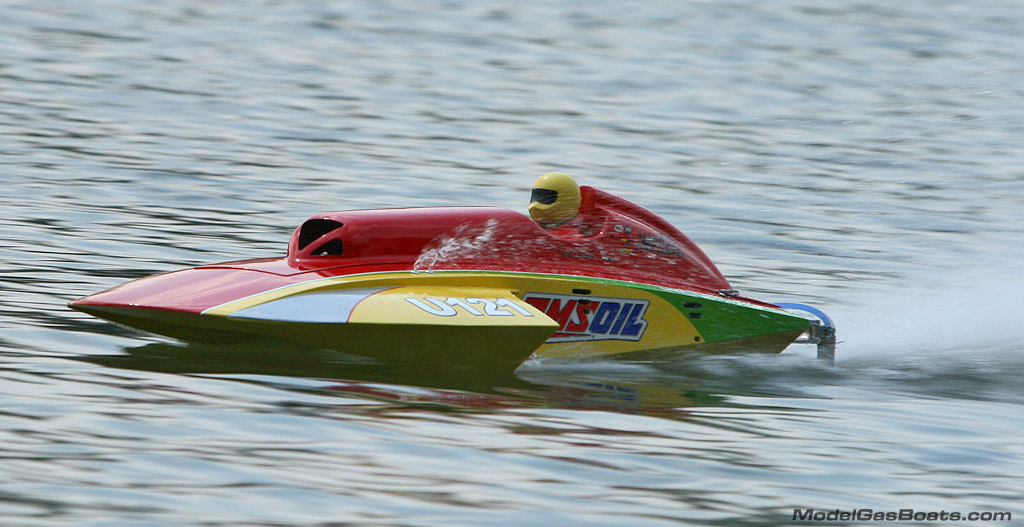
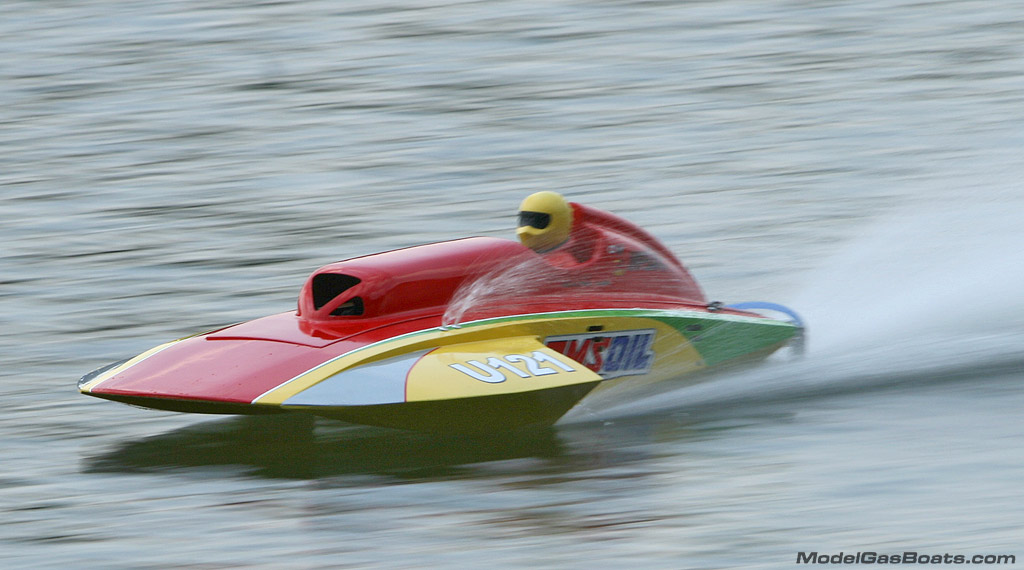
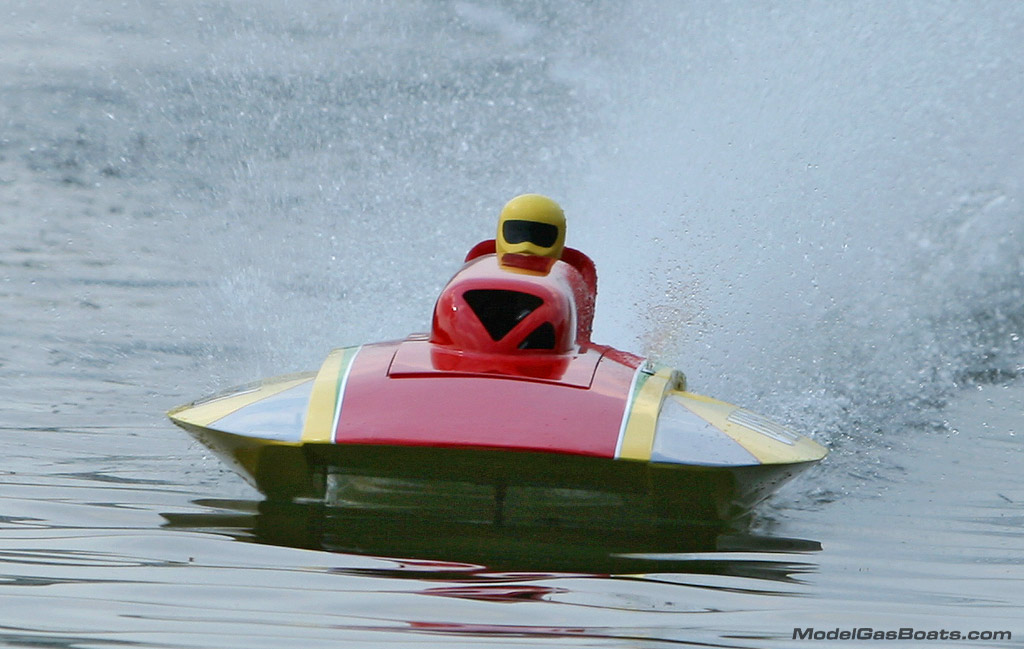
The Zipp Kit’s thunderboat that I chose to build is called the Rockett. It’s a dropped-sponson design that runs just like any sport hydro on 3 points; the front sponsons and the prop. The idea is to use a propeller that will lift the rear end out of the water. This does two things; by lifting the rear, any positive angle of attack is removed, thus helping to eliminate blow-overs. You are also eliminating a lot of induced drag as the entire stern is out of the water. Ok, enough theory, lets take a look at Zipp Kit’s Rockett.
THE BUILD
I’m not going to cover every step of the build, let’s just call this an overview, as I will touch on a few key areas of the build and later, we’ll detail its running characteristics. The very first building step is basically a large warning about your building surface. You MUST use a flat surface, free of any bumps or bulges, in order to end up with a true hull. If you build on a substandard surface, you will own a substandard boat. Period. With that being said, the build is quite an easy one, with the majority of the work going into sheeting the Rockett. The framework of this thunderboat can be laid out and glued in a few hours. The birch parts fit together easily thanks to their being CAD drawn, and CNC cut. When removing parts from the sheet they were cut from, make sure to sand them to remove any splinters as well as the small tabs that hold them in place. Then test fit everything before gluing. The manual covers each step in detail and Zipp Kits makes it clear when to glue and when not to glue… it’s a fool-proof system!
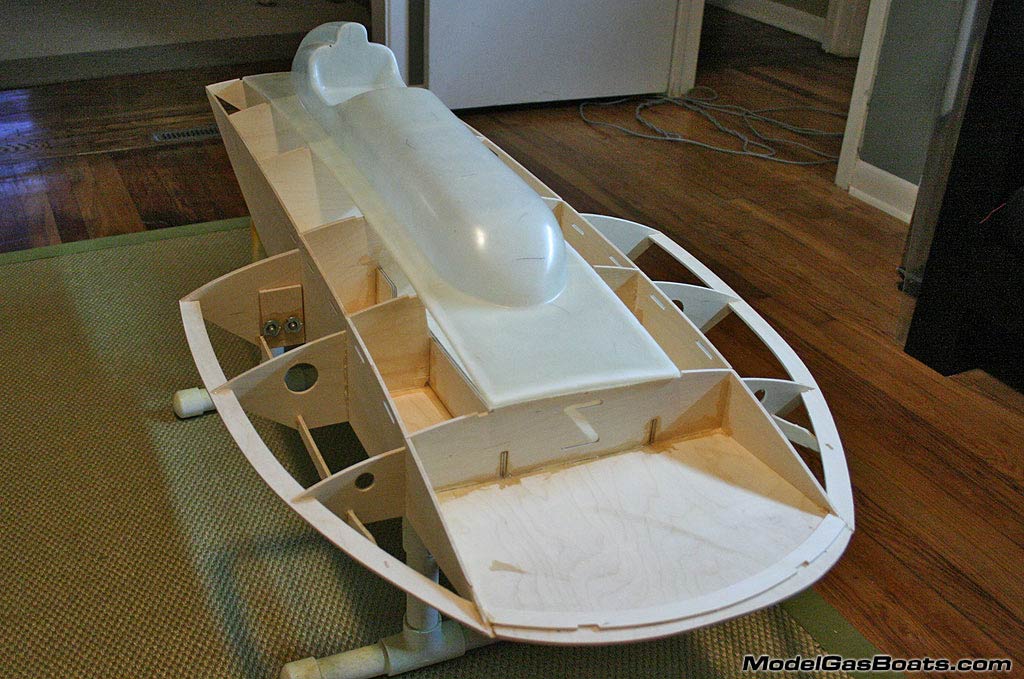 Once you’ve got the stringers and bulkheads in place and securely glued together, it’s time to sheet this beast. This is where a little patience goes along way. Make darn well sure you have the right piece before you glue; many parts look identical but are slightly different in size, especially the non-trip sides and sponson sheets. Mark them before you remove them from their sheets. After test fitting a piece, apply your epoxy as directed in the instructions and tape the heck out of it. I’m serious; you don’t want to see any wood, only tape! Ok, that’s a little exaggeration, but you do want to make sure it won’t pop up during the curing process which will ruin your day. Try weighting the piece down to insure it won’t move while the epoxy hardens. As you move forward, and you begin to polish your building skills, you will come to appreciate the plane. This little hand held device has been used for centuries to remove excess wood quickly and miraculously will do the same thing for your Rockett. All the sheets are purposely cut larger than they should be and the hand planer makes quick work of removing the overlap. A small hand plane can usually be found at the hardware store for fewer than 10 dollars. Go get one now, I’ll wait…
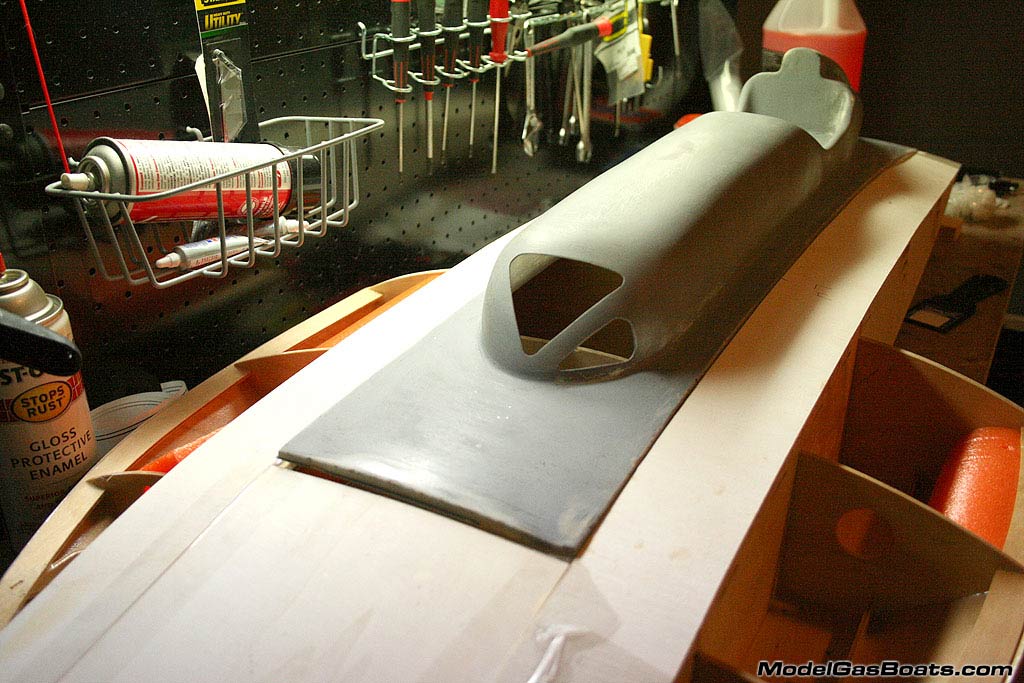
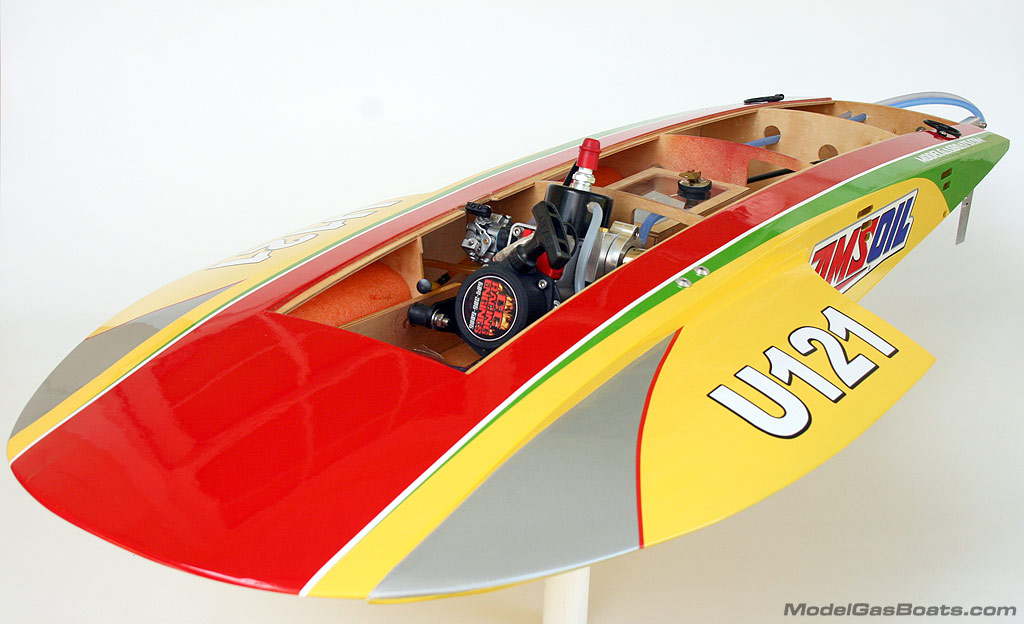
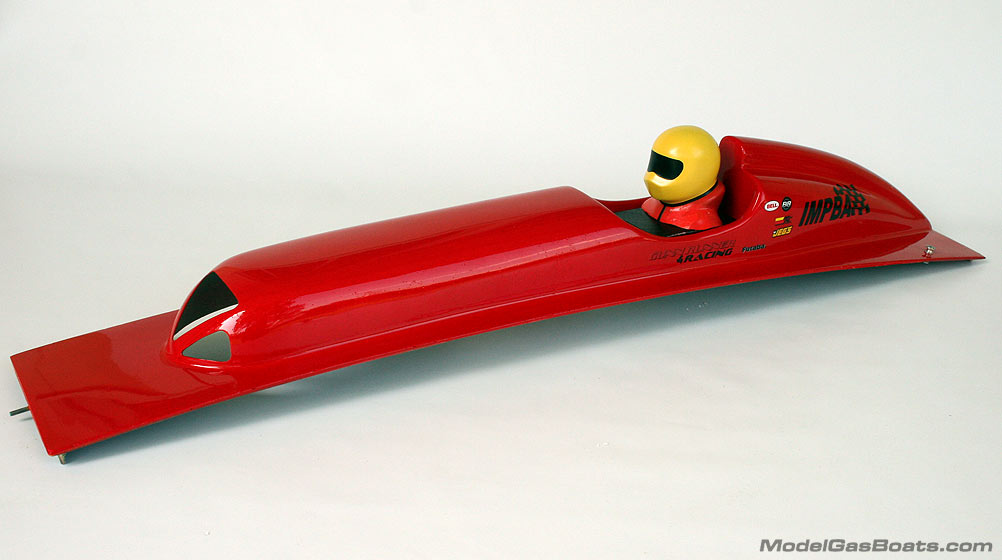
After sheeting is complete, and you’ve admired your awesome handy-work, grab the sanding block because it’s time to make some dust! I think I spent just as much time sanding the hull as I did building it. Taking this diamond in the rough and smoothing it down to reveal its mix of gentle curves and sharp edges is very rewarding. After all, it’s the finishing work that will separate your thunderboat from the next guys; take your time here. The Rockett is available with two different cowl materials. You can choose a raw fiberglass cowl which is light-weight but requires some finishing work, or you can opt for the gel-coated white cowl that’s super smooth and is a little heavier than the raw cowl. The latter still requires finishing, but considerably less than the raw one. I chose the raw cowl because I wanted to end up with the lightest boat possible for racing, which turned out to be right at 15.5 lbs dry …that’s the entire boat, not just the cowl …ok, just checking. After sanding, fill the tiny imperfections in the raw cowl and whatever you feel needs some attention on the hull with wood filler. I like to apply a small layer with a spreader then sand, and repeat the process. You’ll get good at this real quick!
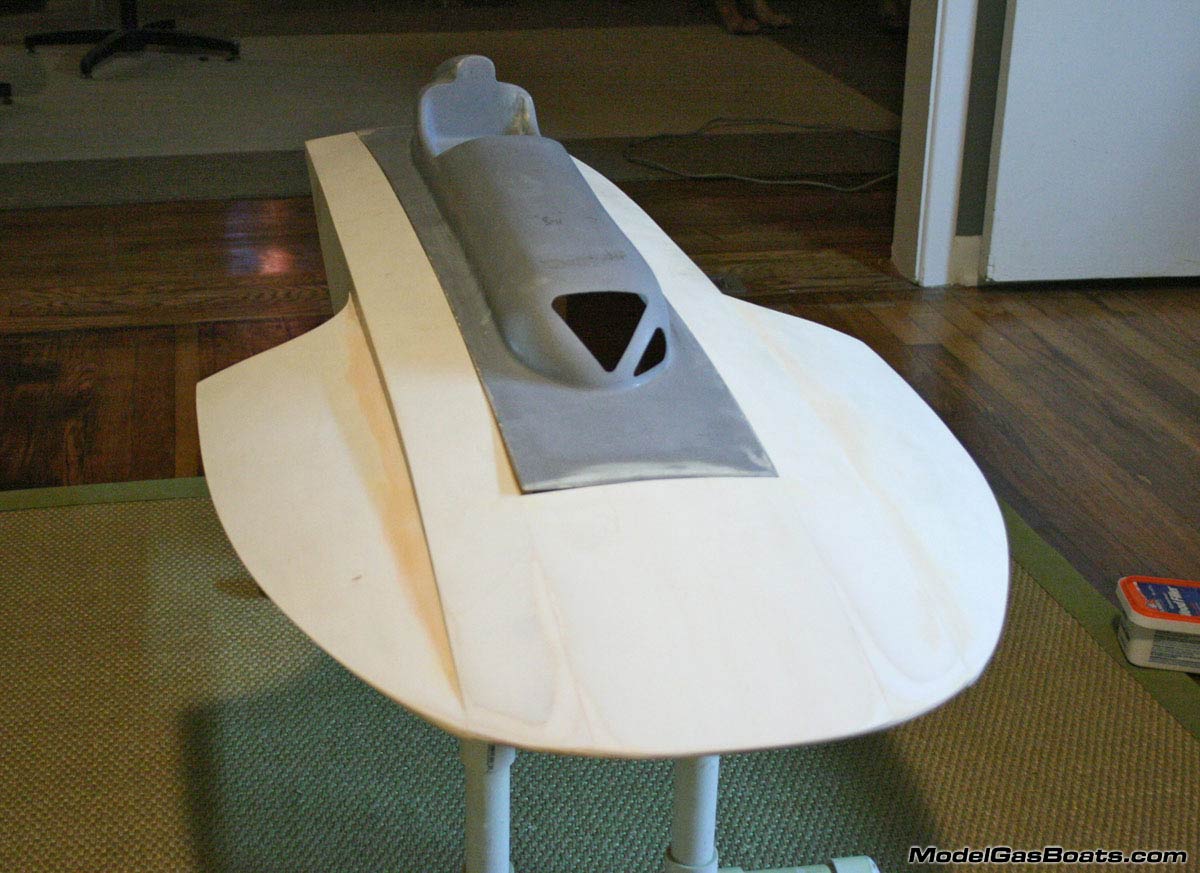
Now that your Rockett is really looking fresh, it’s time to call in your wife and/or girlfriend to show them you’re good for something else besides fixing the dishwasher. No, wait… lets get some hardware on it first! That extra shine of the aluminum 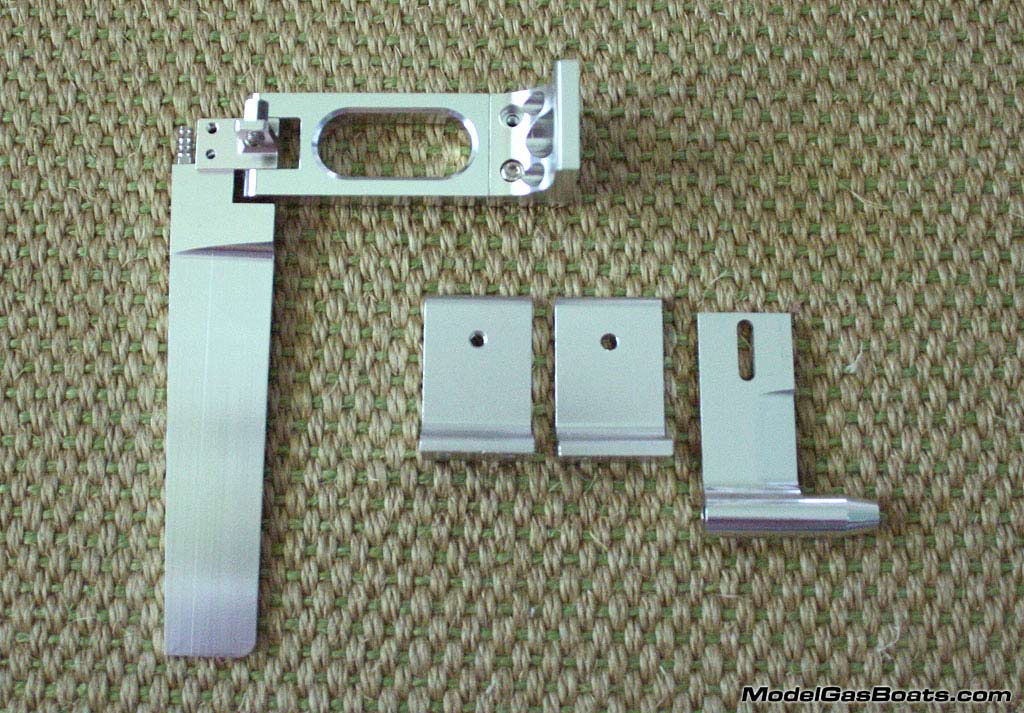
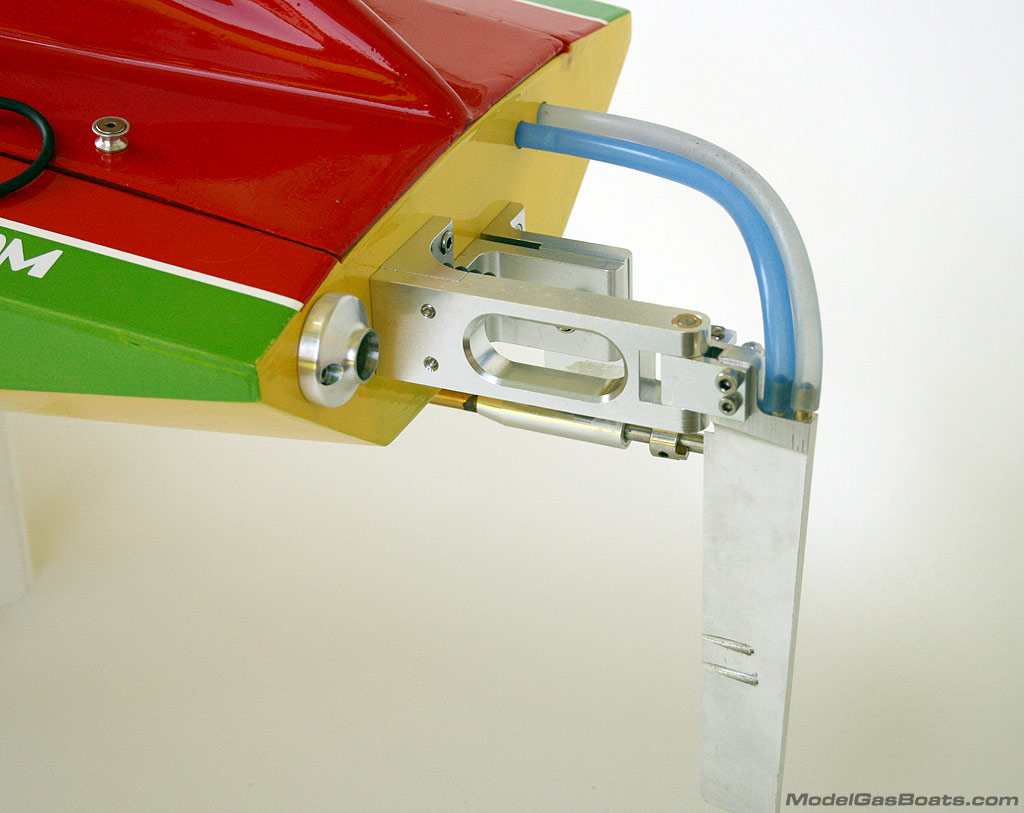
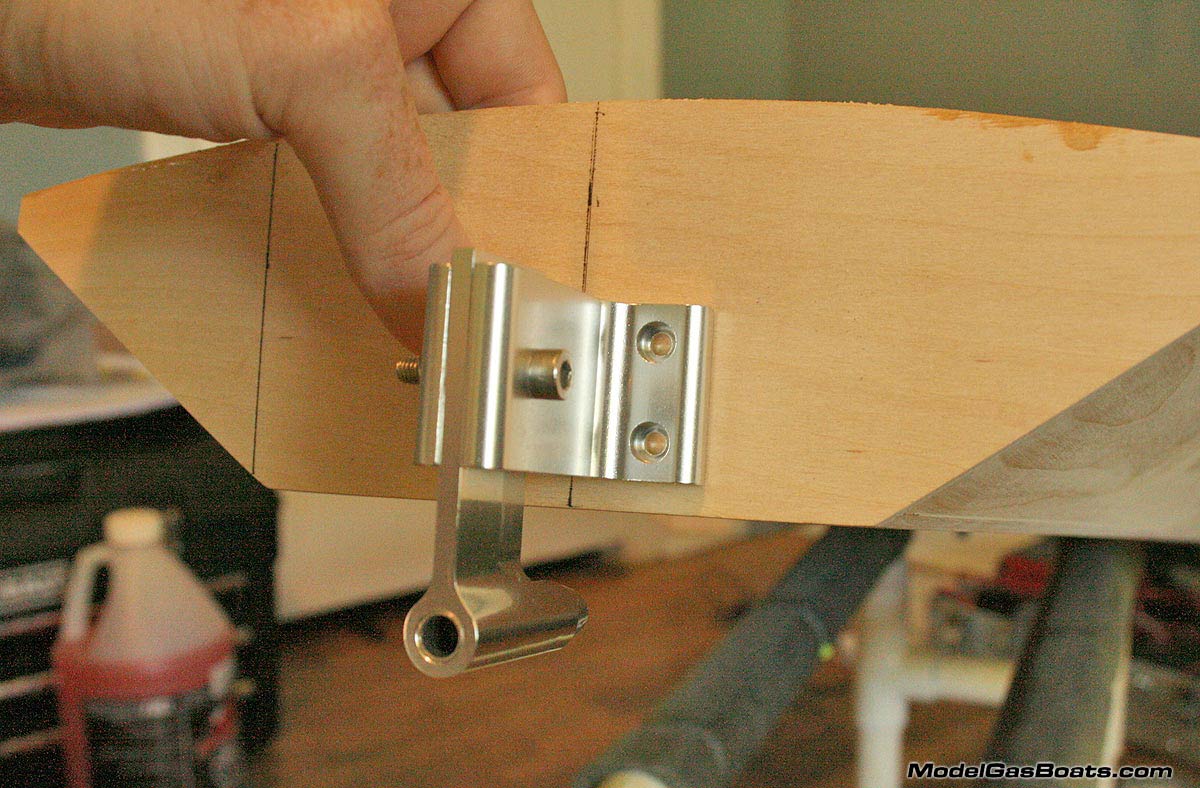 will do the trick for sure. Zipp Kits offers all your hardware needs for the Rockett. Each piece is as well crafted as any I’ve seen and compliment the hull well. The rudder is tapered, sharpened well, and also pivots well with no slop. The strut features internal bushings and a single nut/bolt that holds it tight and allows for quick adjustments. The turn fin is another Zipp Kits special that must be sharpened before you run it. My favorite pieces of hardware in the Zipp Kit’s collection are their motor mounts. They are made of black-coated aluminum and feature built in throttle bell crank mounts for both horizontal and vertical setups. I found through testing different mounts that the Zipp Kits mounts fit best in this hull. New additions to the line up are oversized water outlets. These little jewels have a larger .155 inner diameter and flow more water than standard outlets, which to me is a no-brainer! I’ve since picked up two more sets for the rest of my fleet.
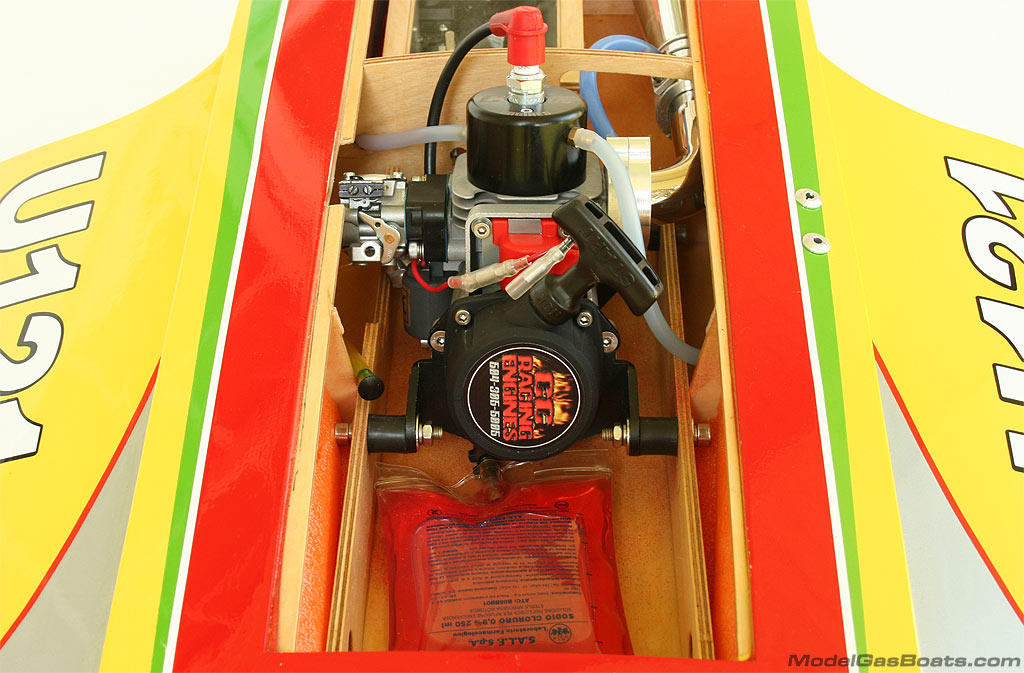
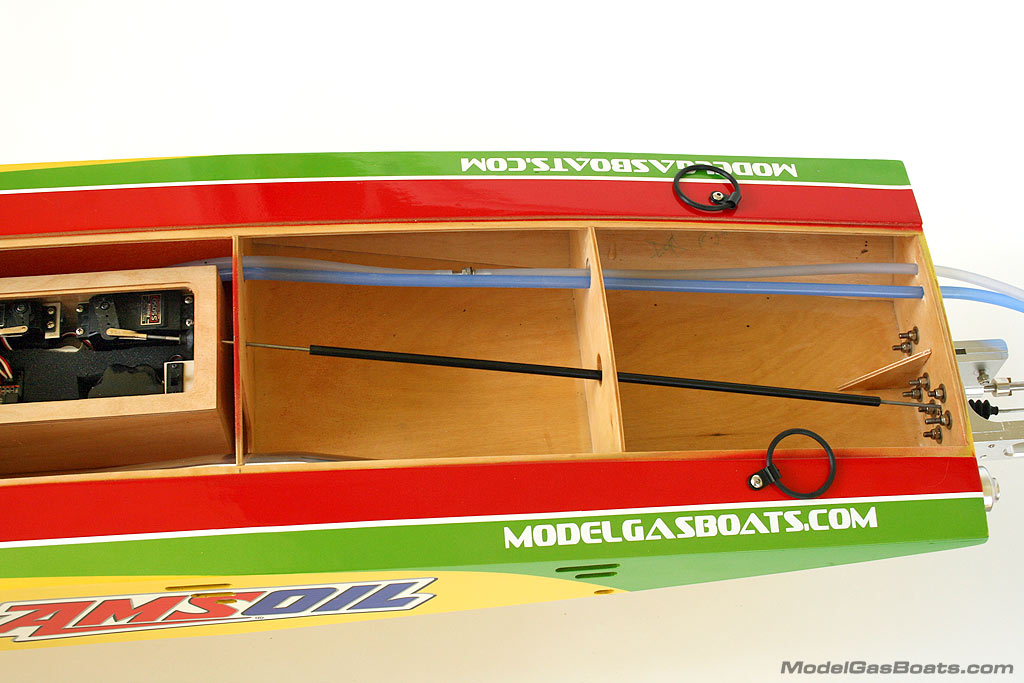
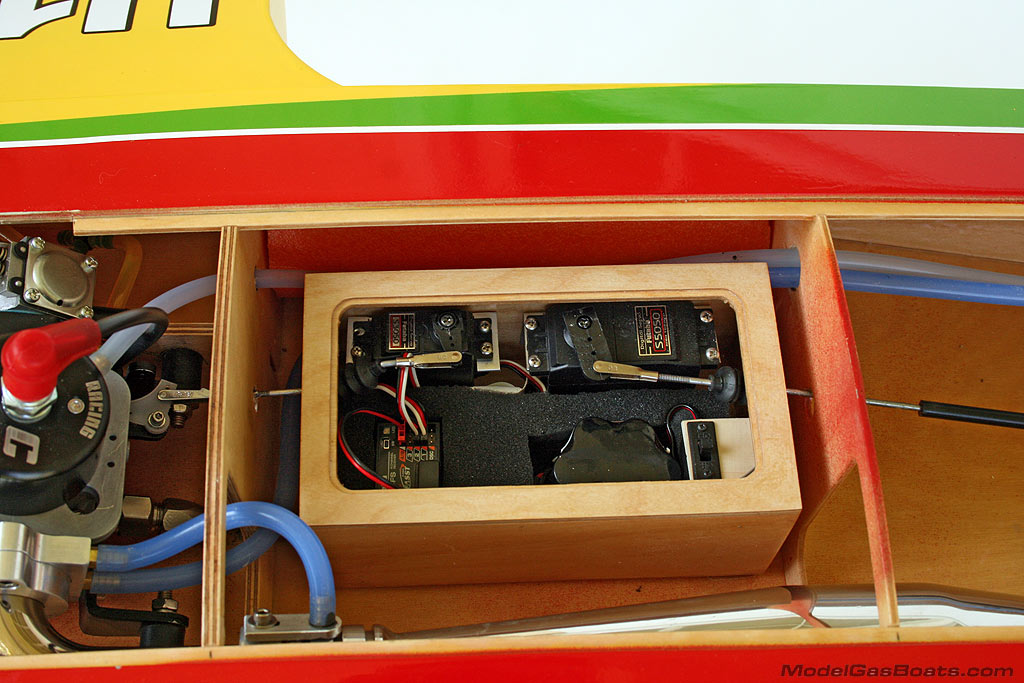
The remaining hardware and accessories were chosen because they have worked well for me in the past. For securing the cowl in the rear, I chose Top Secret Boats’ cowl locks. They are perfect for the racer looking for an easy on/off approach while still securing the cowl. If you’re going for super-scale, you might want to look into magnets or twist-locks. For fuel delivery, I knew I wanted to use a gas bag, but due to space issues was limited to a 250ml bag. A 500ml bag would have been more practical, but would require me cutting the forward bulkhead and sliding half the bag into the nose. This just wasn’t practical so I opted of a 250ml bag from American RC Boats, which fits almost too well in the space in front of the engine. The smaller bag gives me 12+ laps before it empties …more than enough time to mill the course and race 7 laps. Ok, back to the build.
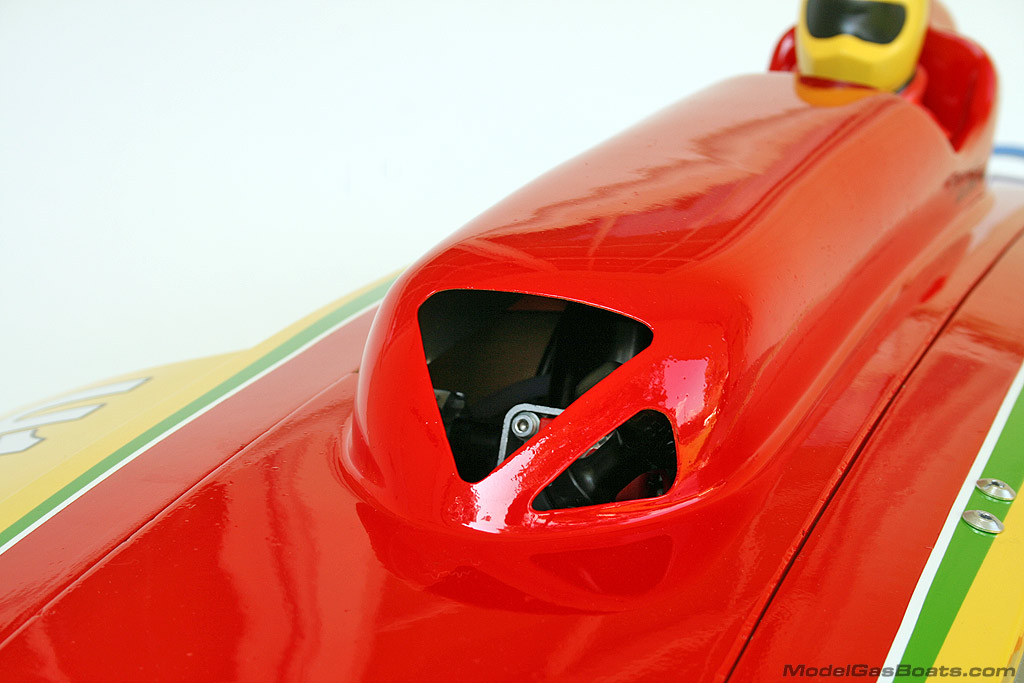
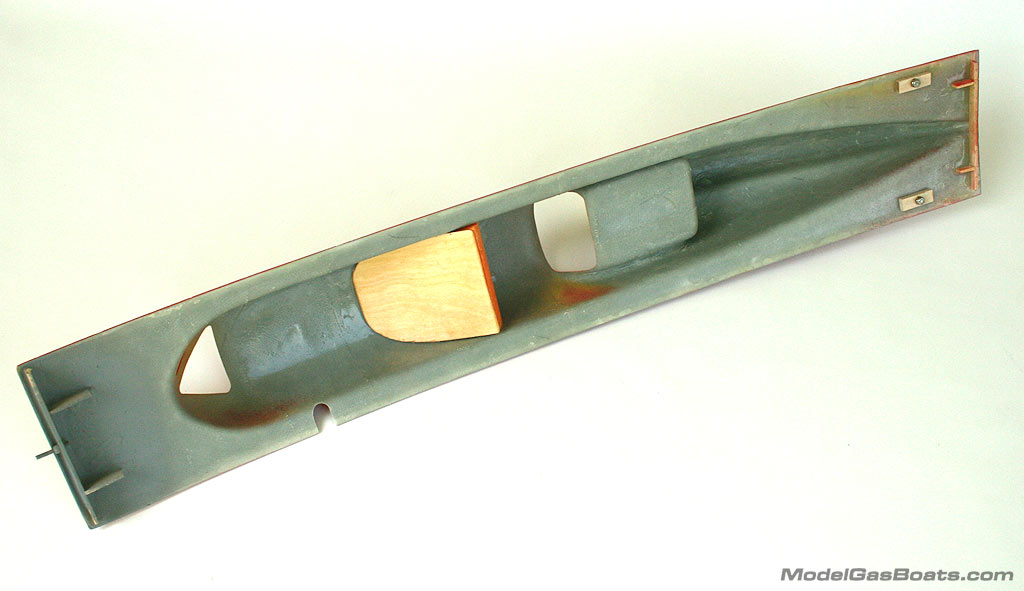
So you’ve skinned your hull, sanded the heck out of it, and filled any imperfections with wood filler. Don’t forget to cut air holes in the cowl because she’s got to breathe. Take your time here and draw out your intake with a marker then use a Dremel with a router bit or something similar to make the cuts. Afterwards, you can use sandpaper to clean it up nicely. Cut an exit for the hot air to escape in the dash area of the cowl, the bigger the better. If you don’t get the hot air out, performance will suffer, and so will your lap times. Now would also be a good time to drill some drain holes in the transom, one high on each side. Now that all your holes have been drilled, and all openings cut, it’s time to coat her in finishing resin.
Once again, we’ve reached another “take your time” area of the build. Use a quality finishing epoxy such as West Systems Epoxy which is very thin and spread able. The goal is to pour a little epoxy on and spread it around using a credit card (not the one you buy boats with) until the hull looks wet. You don’t want to over do it here; a little goes a long way. If you put it on too thick, it will just create ridges that will need to be sanded down once it cures. Save yourself the headache and apply it sparingly. Do your first coat, and then wait 10 hours or so for it to cure. Sand lightly, and then apply a second coat and sand again to remove any high spots. You’ll get the hang of it real quick, I promise. If you’re satisfied with the waterproof shell you’ve created, you can move on to painting, which is, in my opinion the most fun part of any build.
This is where you get to show your skills, imagination, and creativity …or pay someone else to! The first thing to do is lay down a few nice coats of primer, and I usually finish it off with one coat of primer sealer. Choose your base coat and spray the entire boat at least twice, and wet sand with 1000 grit between coats to remove any bumps and provide the next paint layer with a good surface to bond to. After your base coat has dried, you can do whatever you want with more paint, or leave it one color. I like to mask out some nice lines with Scotch-Blue painter’s tape. Again, it’s up to you to create your own unique masterpiece. Your last step should be wet sanding lightly with 1000 grit paper and spraying the entire hull with automotive-grade clear coat.
THE POWER
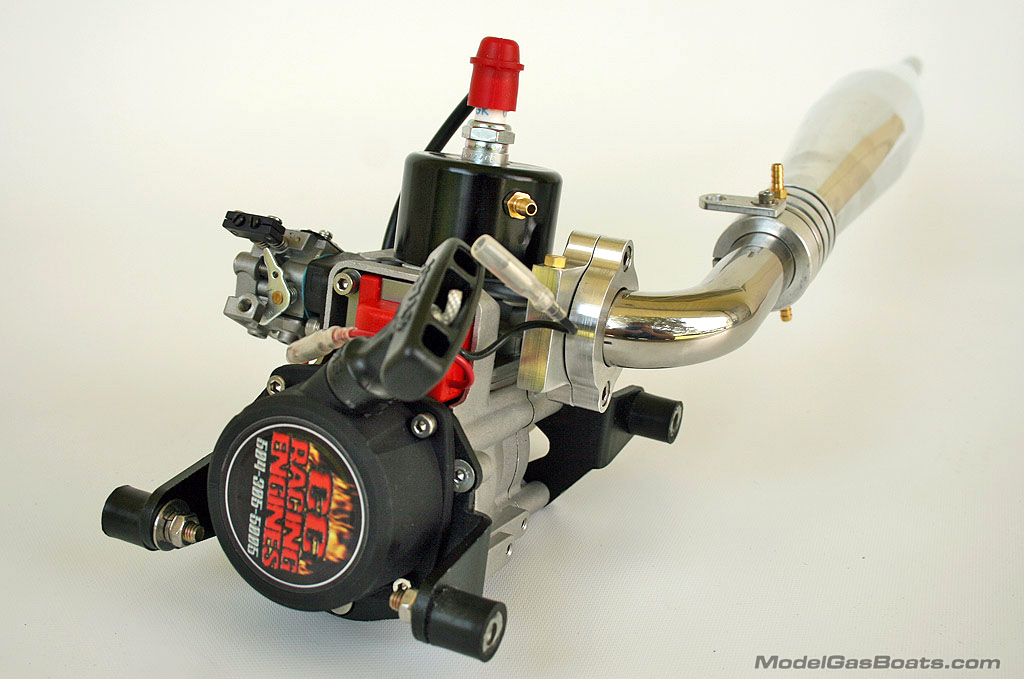 You have two options with a thunderboat; use a stock motor and race in a stock class, or run a modified motor and race in a sport hydro class. I chose the latter of the two, and my power plant of choice was the CC Racing Engines’ ProMod G260. The ProMod is an excellent choice for any hull-type, especially when paired with the Powermaster exhaust system, which we will get to shortly. The instructions for mounting the ProMod put the engine a little too far aft, and I was unable to get a good balance when all was said and done. Zipp Kits suggests you mount the engine so the carburetor is centered between the notch in the right engine rail. At this position, my Rockett required almost 20 ounces of weight in the nose to get it to balance around ½” behind the sponson transom. Keep in mind, everyone’s building habits will differ and the amount of resin and epoxy you use will affect the balance point. My suggestion is; wait to mount the engine last after everything is in the hull.
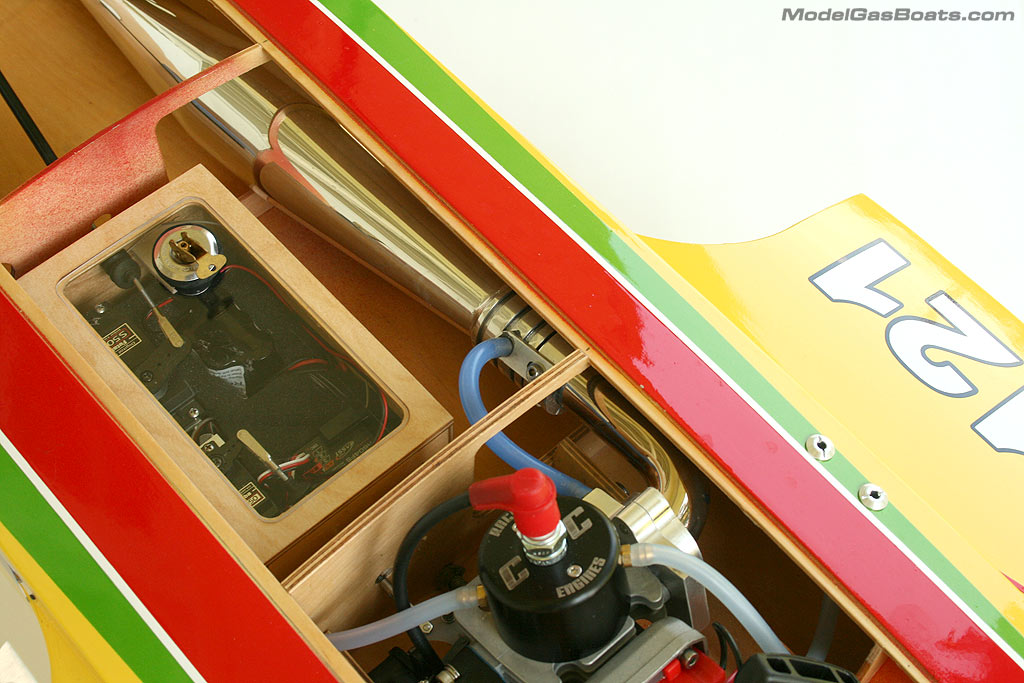
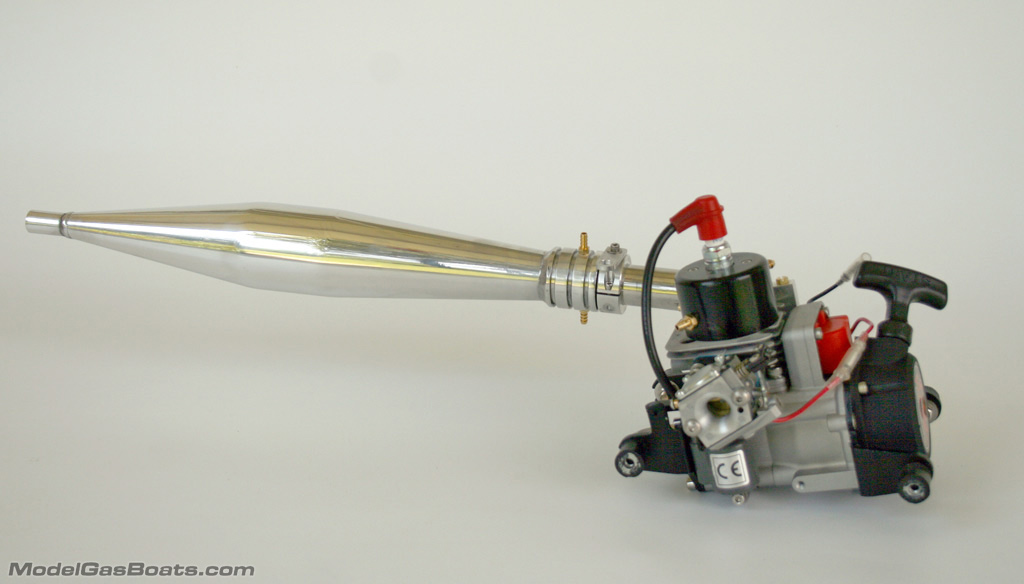 Exhaust systems can be tricky in thunderboats, and there are a number of options to choose from with the ultimate goal being to get the exhaust out at the transom. I chose CC Racing Engine’s Powermaster exhaust kit due to its aluminum pipe, no-leak flange, 2” band, and internal stinger. Basically, you get it all in one package! Choose the 90 degree pipe with no offset for this thunderboat, which fits very nicely under the deck. Because the motor is way up front in a thunderboat, you will be faced with a tuned pipe that ends around 11” before the transom. The easiest way to get the exhaust out is to use a flexible tube and Insane Boats' Thunderboat Transom Exhaust Kit is just the answer. It features a high-temp silicone tube, 2 pipe clamps, and a very nice looking flange to mount on your transom. To get the silicone tube connected to the Powermaster pipe, you’ll need to cut a hole in bulkhead number 3 for the tube to pass.
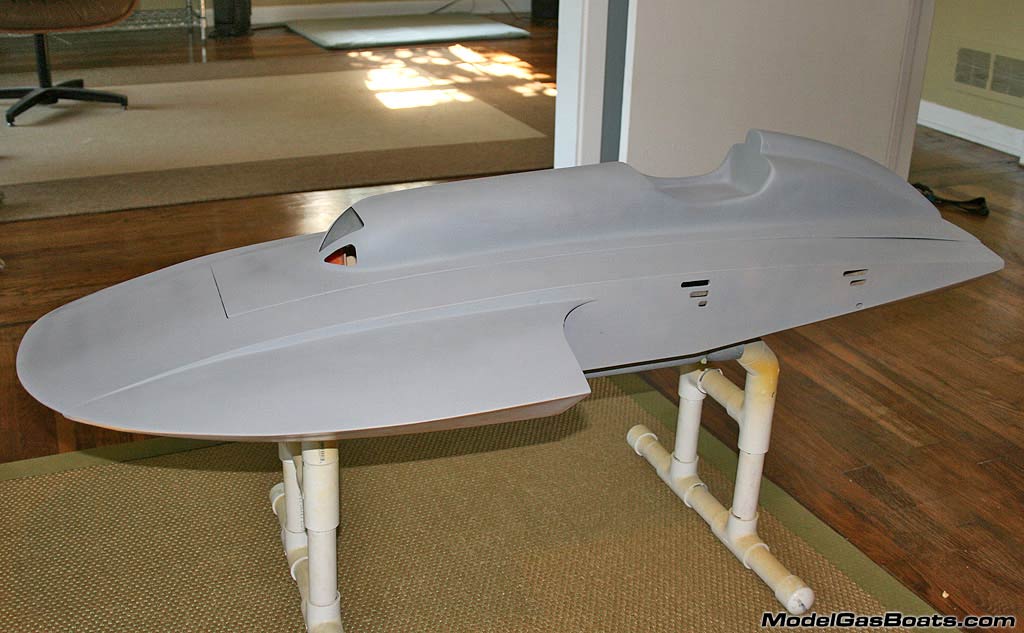
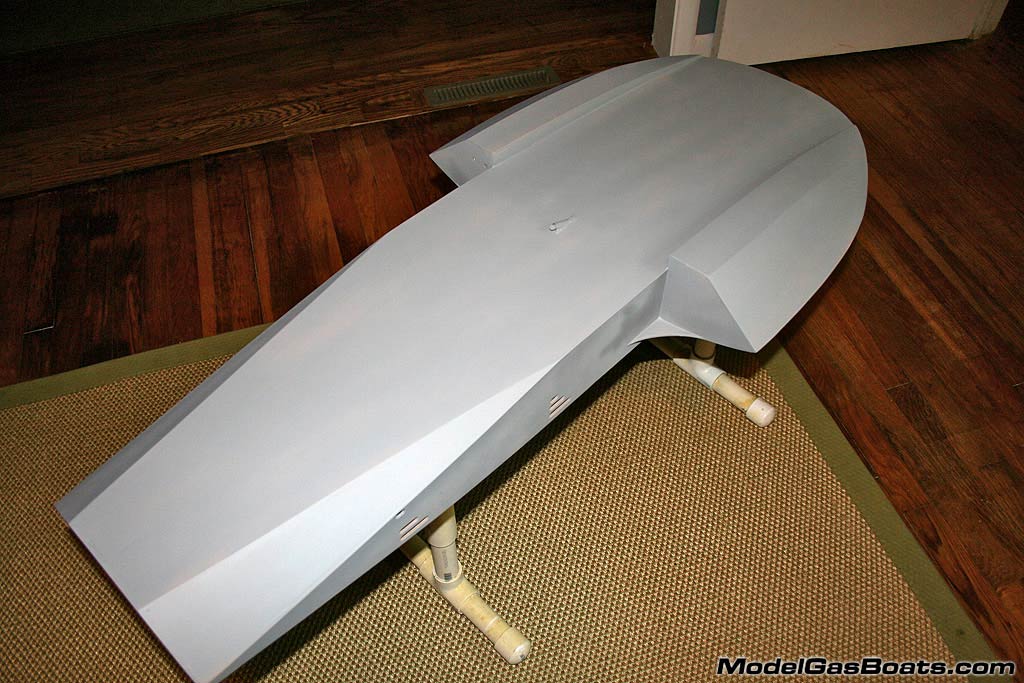
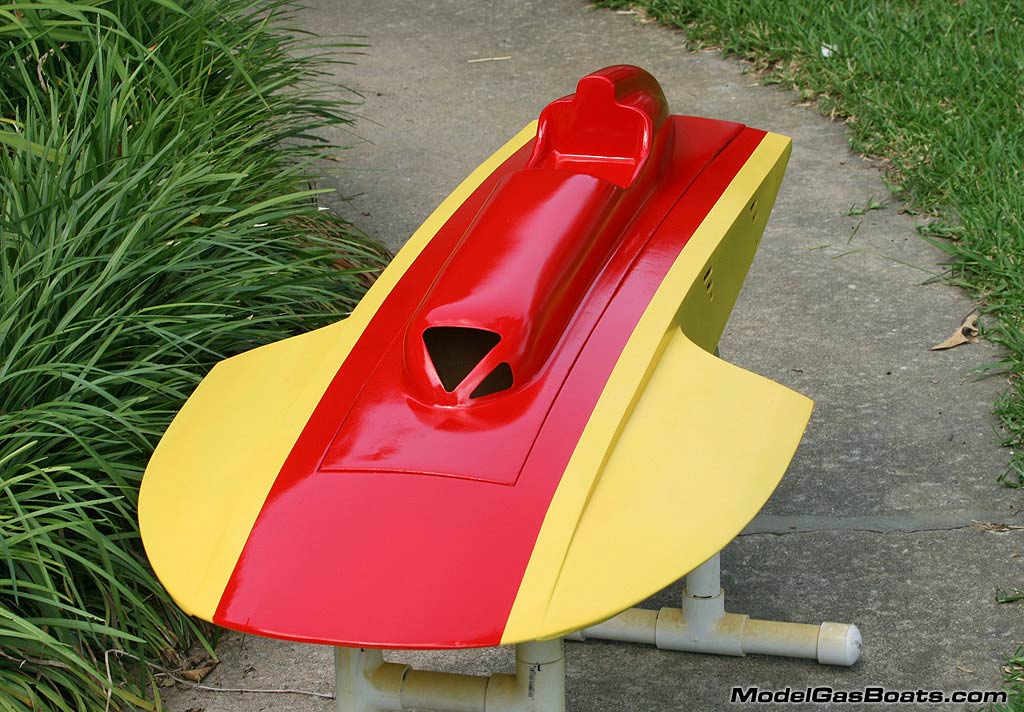
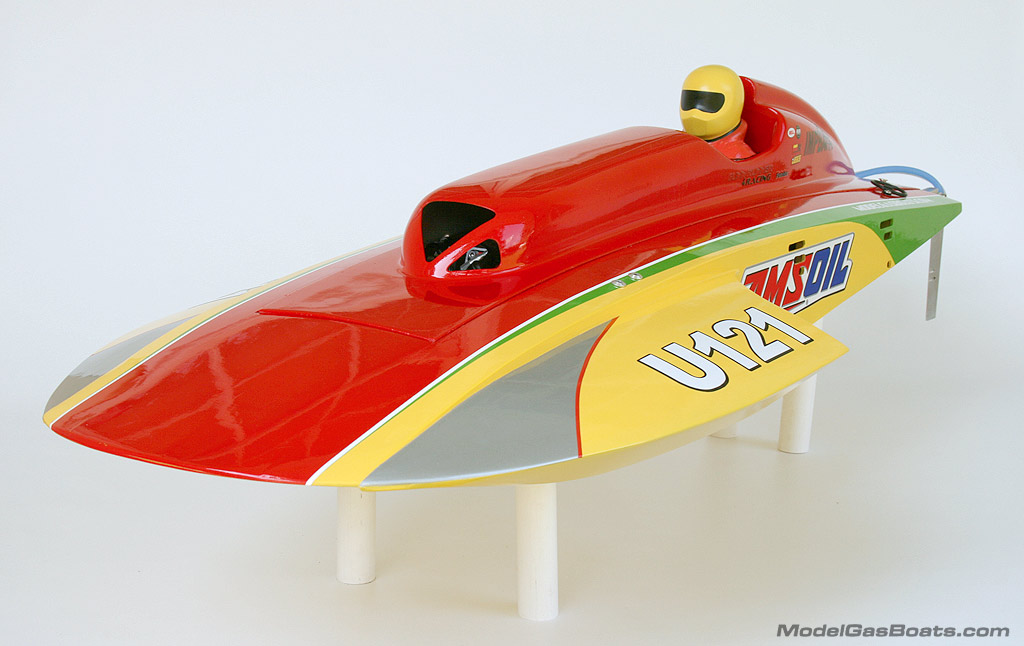
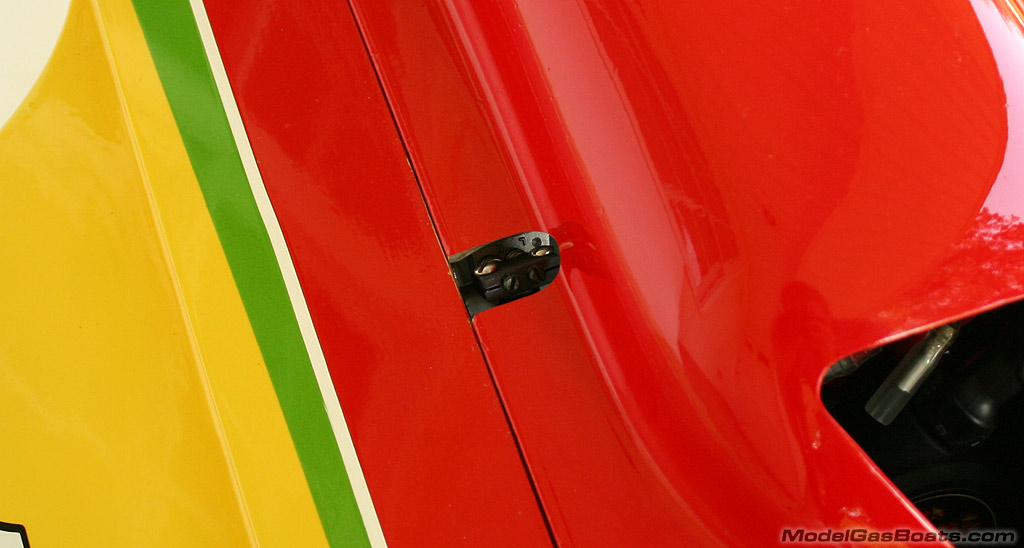
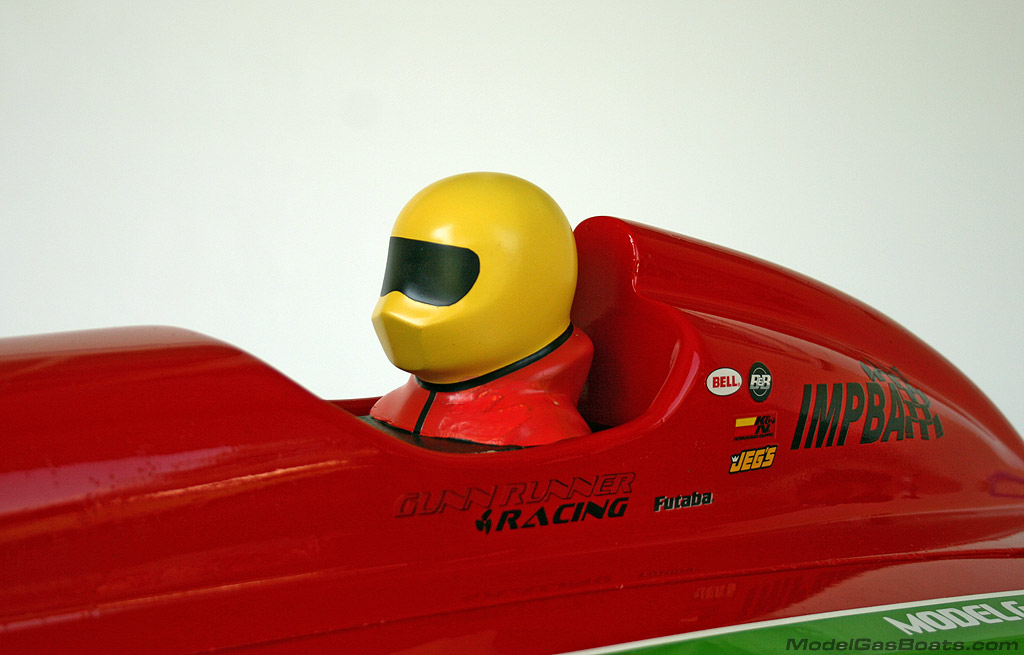
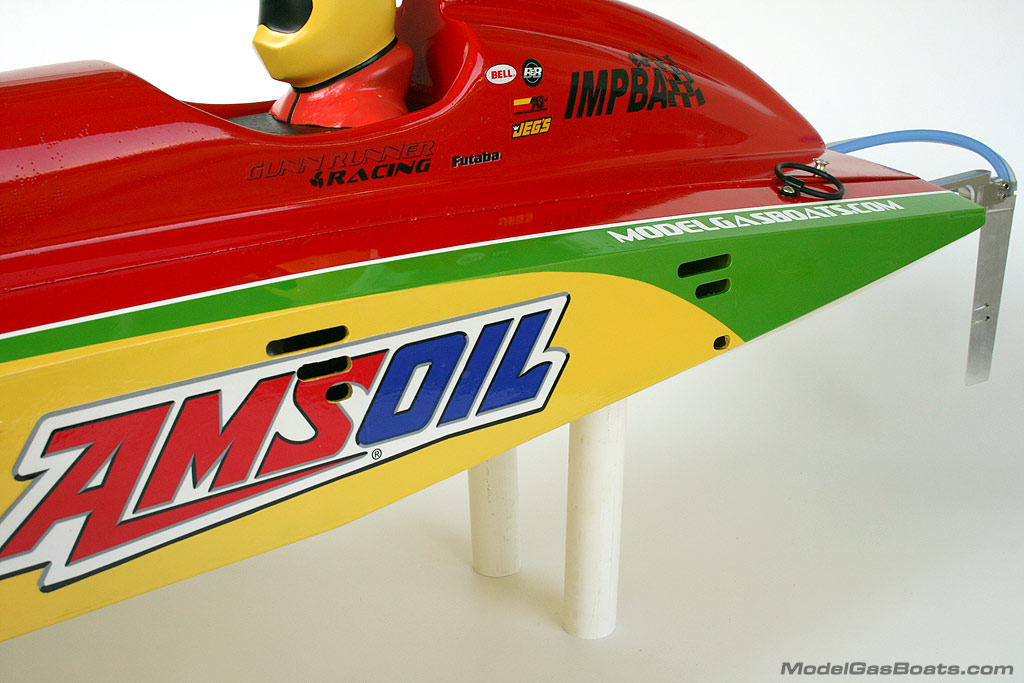
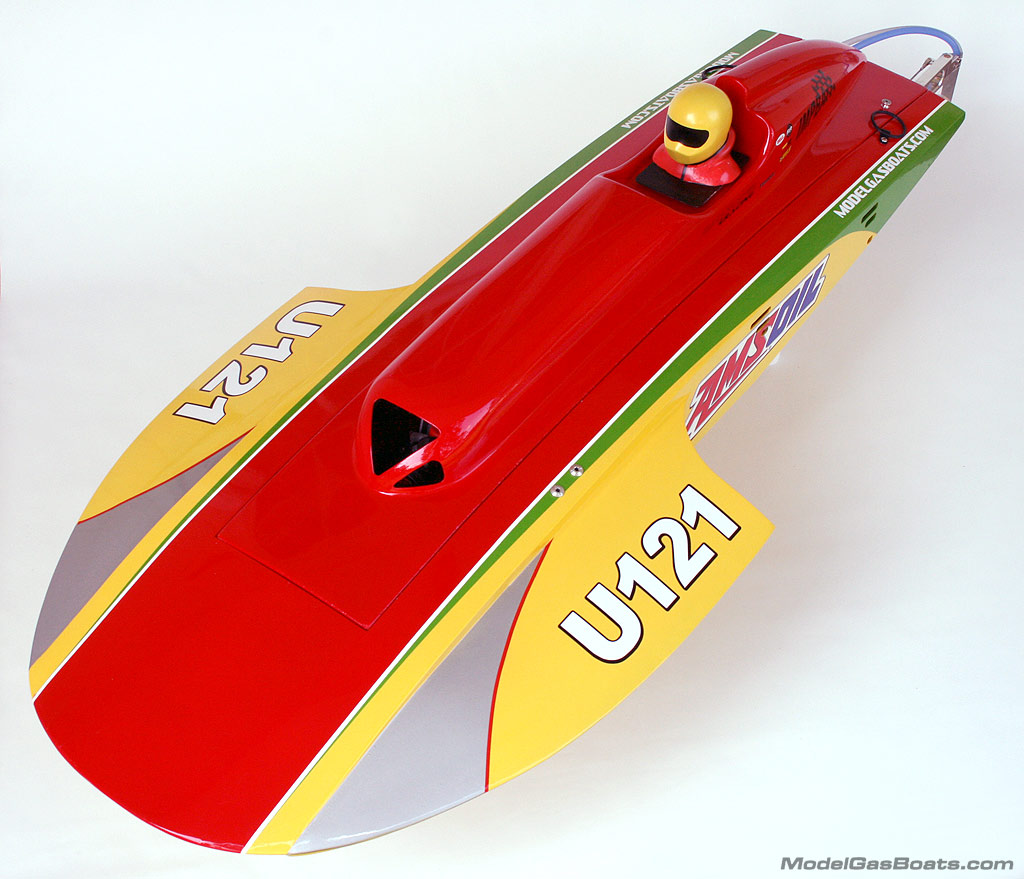
Here are some pictures of the completed boat with paint
THE SETUP
Place your finished thunderboat on a flat table with the rudder hanging off and set the strut so there is a distance of 7/8” between the transom and the table. This is a good starting point for getting her running right. Your goal is a flat running hull with no positive or negative attitude when flying down the straights. Now is a good time to pick up the hull ½” behind the sponsons and see if she balances. If you have not fixed your engine in place yet, move it forward until it balances or add some lead weight up front. You don’t want to push the engine too far forward or it could interfere with the front of the cowl. Check your turn fin and make sure it is in line with the direction of travel. If you look down the length of the hull, the fin should be straight in line and not tilted too far forward or back. Now, it’s off to the lake!
PILOTING
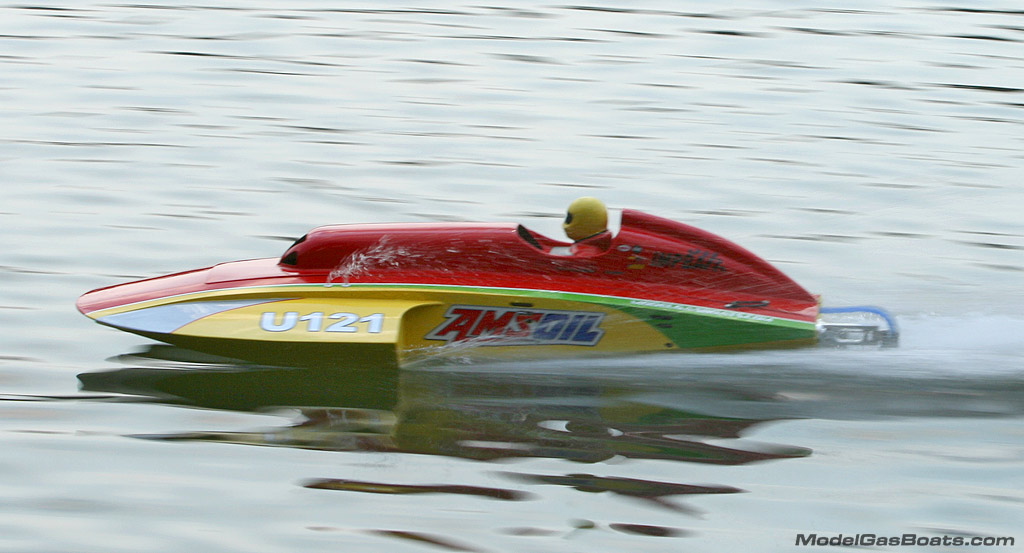
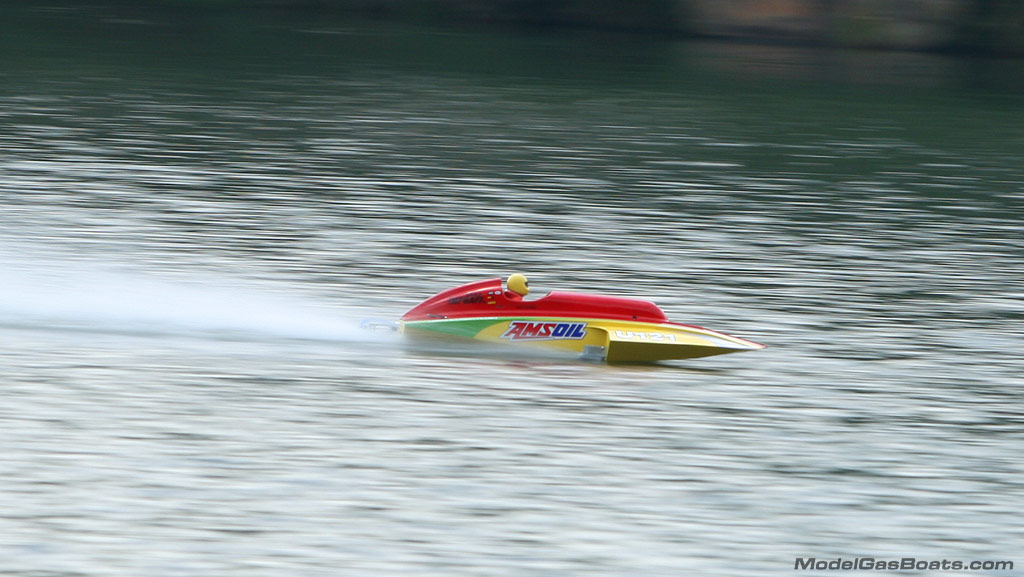
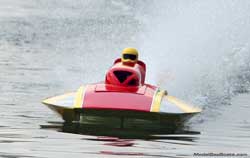
After a few problems with hopping in the turns, which fell on the center-of-gravity issue that I had totally overlooked, I got her dialed in to run the buoys quite well. I had originally started with 7016/2 prop but it had a little bog in the beginning of the straights that I couldn’t get rid of so I switched to a 6717/3 that really did the trick. The Rockett runs level in the straights and really carves hard in the turns. My only problem is with the fiberglass cowl; it’s a little weak and can get torn up if the boat stuffs or flips. Those running a stock motor shouldn’t have much of a problem. If you are going to run a full mod, I suggest getting the gel-coated cowl that’s a little thicker and sturdier.
The engine stays pretty cool thanks to the holes cut in the cowl and the small side vents near the pipe on the left side of the hull. They scavenge hot air from the pipe while also drawing water out when the boat turns hard right. I’m sure the oversized water outlets are doing their parts as well in keeping the motor and pipe cool.
Some Action Shots
In conclusion I’ll say I’ve had a good time building and testing the Rockett. I’m looking forward to racing it for the first time in a few weeks, and I am fairly confident it will hang with the other hydros. If you’re itching to jump on the thunderboat bandwagon, I suggest you take a look at ZippKits’ Rockett due to its great running characteristics, ease of assembly, and a price that’s less than half of what you would pay for a fiberglass or pre-built wood hull.


