A look at how to make your own custom deck railing for that "scale look"...
Since I am very into scale looking boats, I realy needed a railing for my boat. I also wanted extra protection for the bow, since there is a big chance of scratching the boat when it contacts other boats bank of the lake.
Here's how I made my own custom deck rail and handle...
I started by finding the center of the boat and marking it using a big ruler.
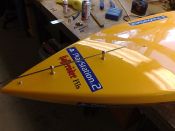
Then I decided how many rail holders would be required for it to look good. I divided the length and drilled 4mm holes in the boat's deck. Then I started fabricating the rail holders. I used 10mm thick brassbars since I would paint the railing so no alloy here. I really like the railing that I have on my other boat ("No Mercy" from MHZ). The rail holders are nice and round. So i started turning pieces in the lathe. First I made a tool for the curve in the top. But since it should be very flat I couldn't just use the radius as measurement. I tried out several curves and finally found a flat nice curve. So I made ten rail holders with the"right" topcurve. I only needed six but it's better to have too many then to lack one when your almost done. I decided to use four rail holders on the deck and then make a grip at the stern using two more the same design.


The first holder would be 19mm high, the second 21mm high and the last two on the deck 22mm high. The handle at the stern would also be 22mm high. The reason for this height is that I also wanted to use the railing as handle to carry the boat.
I then took a second look at the holders. I wanted them to look fragile and discrete so they got another spin in the lathe. Afterwards they were cut down. Then it was time for the railing hole. I decided to use 4mm brassbar as railing. So I made 4mm holes in the rail holders and 4mm thread in the bottom of the holders. I then made a brassplate 30 x 160mm. This would add additional strength the rail holders when I carried the boat, so the holders wouldn't get ripped out of the hull.


I then mounted the rail holders on the boat and soldered the brassbar in the holders.
The railing should stop at least 30mm before the window/hatch otherwise there could be problems later on when the hatch opens. After the soldering I took the railing off and used a small hobby blowtorch and made the soldering nice and even.


I then started working at the bow. I made a template of cardboard and adjusted it untill I was satisfied. Then I cut out several small brass plates and started to solder them. I did this directly on the boat. During the process I knocked the brass into shape several times. This process is very time consuming but the end result yields a perfectly custom-fitted piece. The last piece of brass plate was placed in the front and soldered on. Then i bent the railing so it would terminate on the bowpiece. When this was done I sanded down all of the pieces and cleaned them with acetone so there was no grease or marks on them.


In the end they were finished with several layers of paint.
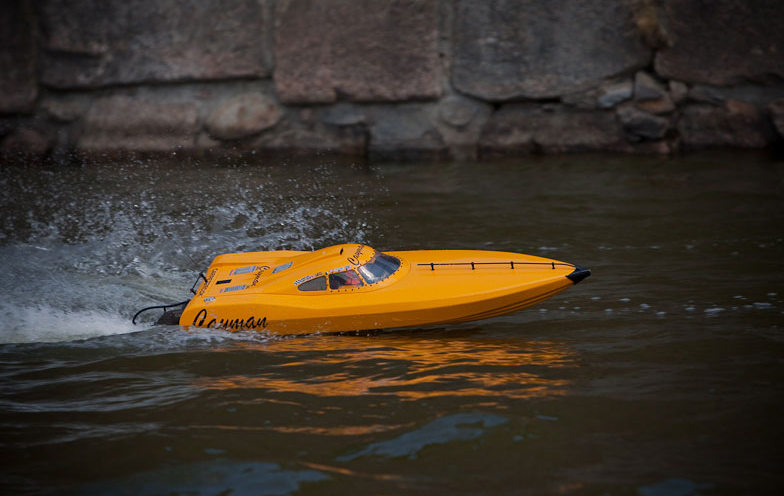
Now I have a custom made railing with a handle at the stern and I have no problems carrying the boat since I can use the railing as a grip.


