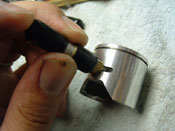
Learn how to make your own tool to easily install C-clips in pistons...
Piston pin C-clips... commonly known as "Jesus" clips. Yes a common name as they spring free and fly accross your shop, shortly followed by statements of "Jesus...where did it go"?
Here is a do-it-yourself tool that takes the hassle and frustration out of getting these little clips back into the piston pin boss groove without the use of needle-nose pliers or tweezers.
* The size of the tool in this article is for Zenoah, CY or RCMK 8mm wrist pins. The design can be built for any size clip using the same basic idea.
Note: RCMK clips have a very tight end gap and are "hit or miss" using this type of tool. I personally use a Zenoah clip in their place without any issues.
** The tubing must be cut with a saw and kept or made square so that tubes freely slide within each other.
The inside pusher tube needs to be heavy wall type or a solid piece so that the clip cannot end up inside of it.

* Outside tube: 11/32" K&S brass ( Stock # 1152 )
* Inside pusher tube: 5/16" .035" wall K&S Aluminum or .029" wall Brass ( Stock # 9313 or #9211 )
Solid 5/16" O.D stock will also work for pusher.
* Inside pusher tube: 5/16" .035" wall K&S Aluminum or .029" wall Brass ( Stock # 9313 or #9211 )
Solid 5/16" O.D stock will also work for pusher.
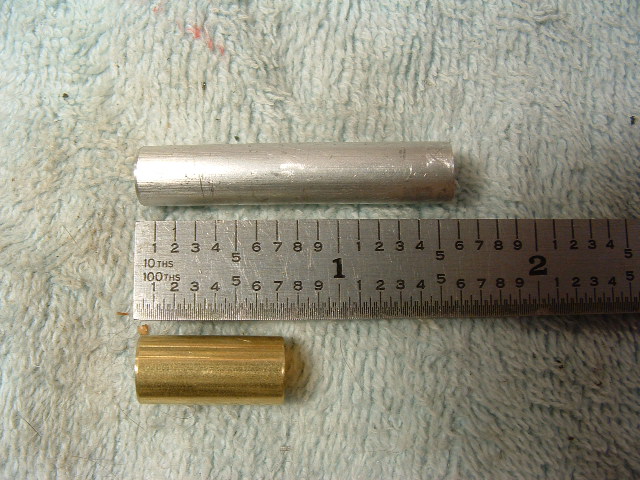
Cut tubing to approximate length shown. (longer is fine and easier for big-fingered folks)
* Just make sure once assembled the pusher portion ends up @ 1/8" out open end so clip is pushed out far enough to seat into the retention groove.
* Just make sure once assembled the pusher portion ends up @ 1/8" out open end so clip is pushed out far enough to seat into the retention groove.

The outside tube needs to be flared a bit on one end only. Use any tapered round tool you have to do this.
*The other end needs to be slightly beveled on the outside. *Note the better picture of this below.
*The other end needs to be slightly beveled on the outside. *Note the better picture of this below.
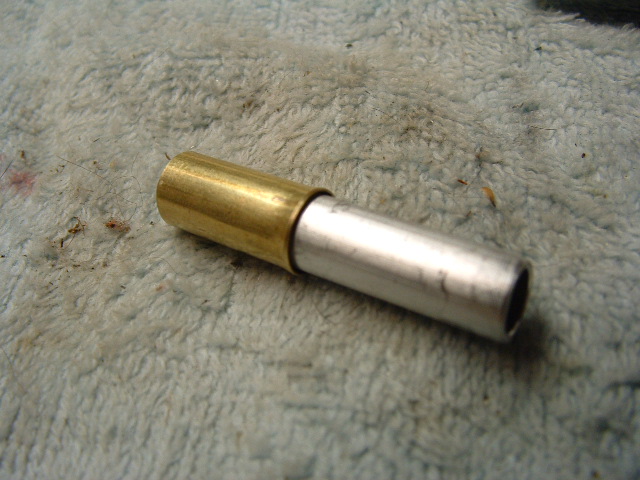
Here is what the flare should look like with the inner tube inside of it.
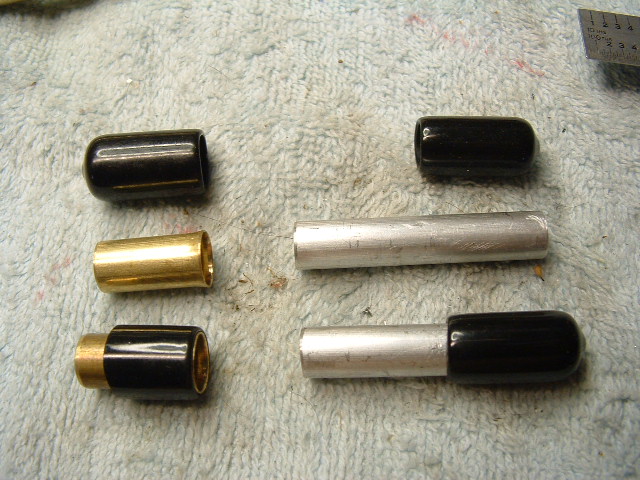
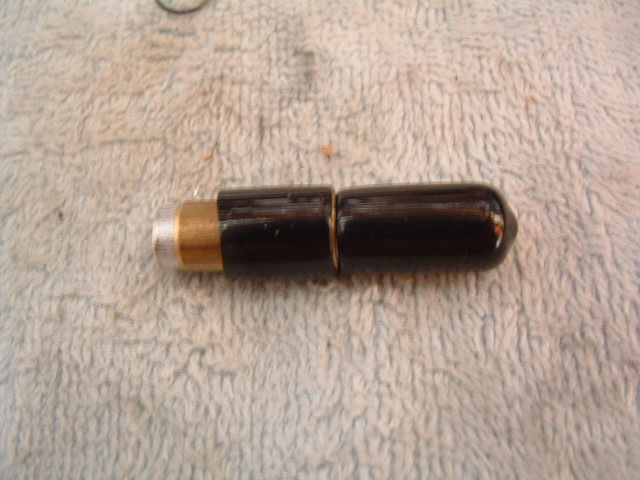
Shown here are the bare cut tubing pieces, and plastic tubing caps.
(One cap over inner tube, the other gets closed end cut off for the outside tube to pass through.)
Bottom showing assembled parts ready to be used. This is so simple you will wonder how you got along without one!
Once the inner tube is inserted into the outside tube, the rubber cap should bottom out on the flared area with approximately 1/8" of the inner tube sticking out the other end.
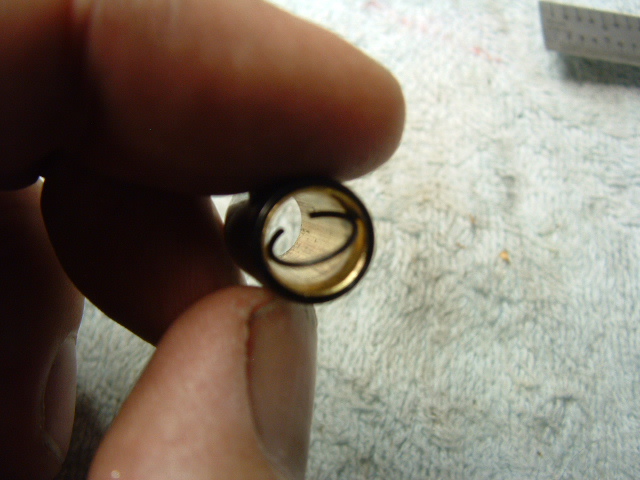
Using the tool: You start the process by placing a pin C-clip into the flared end of the outside tube, having the clip's end gap in first. Firmly push the clip down into the tube making sure it does not pop back out and become a "Jesus clip"...that's a joke!
*Tip* once inserted, tilt the clip semi-sideways prior to inserting pusher and place a drop of oil on it.
*Tip* once inserted, tilt the clip semi-sideways prior to inserting pusher and place a drop of oil on it.
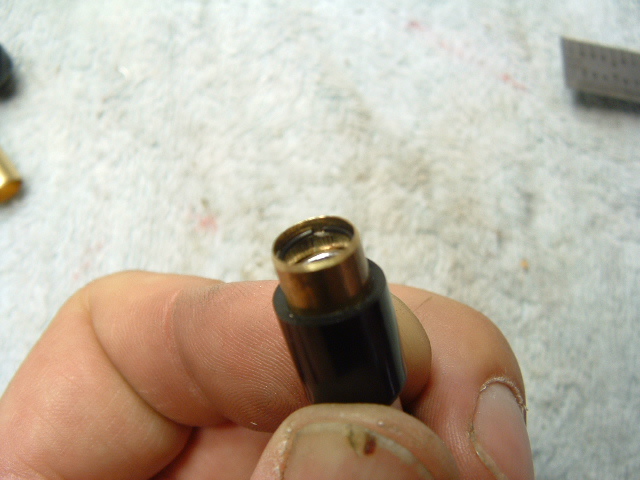
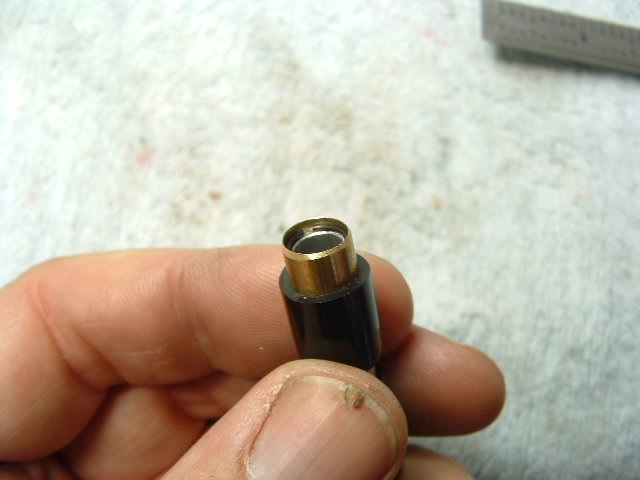
Next place the pusher (smaller tube) in behind the clip, wiggling and twisting it to get the clip to spin and get radially compressed within the tube. Now gently push the tubes together and the clip will start to slide towards the open end. Stop pushing the clip once it is within the last 1/16" - 3/32" of the open end.
(*Notice and do before hand: Slightly bevel the outside of the outer tube on the opposite end of the flare.)
(*Notice and do before hand: Slightly bevel the outside of the outer tube on the opposite end of the flare.)
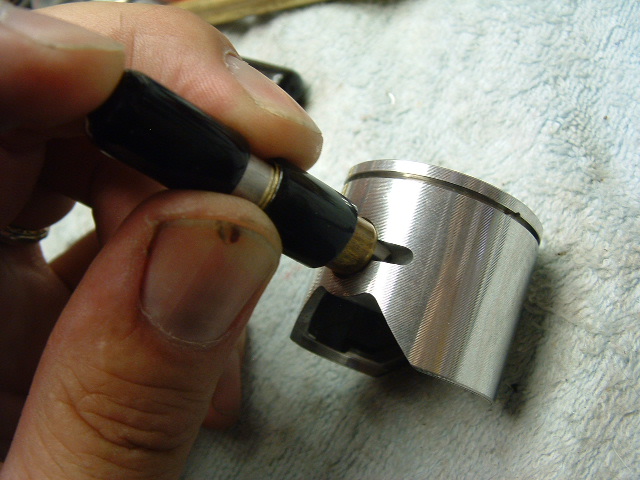
* Take note of where the end gap of clip is within the tube. Place this end gap at the 12:00 or 6:00 position when placing the clip into piston!
Now all you have to do is firmly hold the outside tube against the piston pin boss while you firmly and quickly press the pusher, sliding the clip out of the tube and into the piston boss retention groove! (DO double-check to make sure the clip is fully seated into the retention groove.)
Practice makes perfect. Once you get the hang of this you will be giggling at how simple this task now has become!
Happy Boating,
Scott Schneider
Modelgasboats.com - Technical Advisor
Fabrication info / General FYI :
When building for other size pin clips, KEY measurement is that of the wrist pin diameter. The I.D. of outside tube c-clip is compressed into MUST BE equal too or slightly smaller than the pins diameter. Taper placed on the open end of tube should be at such an angle that end of tube is allowed to get very close to if not right against the pin hole of piston boss area. Any gap of tool will allow c-clip to expand prior to entering pin boss area ! .. Idea is to have clip only expand once at the retention groove.


