How-to Article ...by Matthew R Robinson

A second article on how to take on-board video from your model boat!
Once upon a time
(and before reading this article) the accepted notion of getting onboard  video
shots was to purchase a wireless camera, video camera, new 9V batteries and
bringing your buddy with you to the pond to either drive or shoot the
video. And, of course, the expectation
for quality video would be low. That is
now a myth - and you can be shooting your own quality onboard video without any
help - if you choose. The secret is out.
video
shots was to purchase a wireless camera, video camera, new 9V batteries and
bringing your buddy with you to the pond to either drive or shoot the
video. And, of course, the expectation
for quality video would be low. That is
now a myth - and you can be shooting your own quality onboard video without any
help - if you choose. The secret is out.
Digital cameras aren't just for pictures anymore!
I think most folks would think twice about putting their digital camera on top of a 40 to 50mph gas model boat. Sharp turns; quick acceleration; water splashing everywhere - - seems like the wrong place to imprison your family camera - that same camera which you snap pictures of family vacations, weddings, etc. Yet - - - I suggest you strap that camera on top of your boat - and I think you are going to love it.
How to do it:
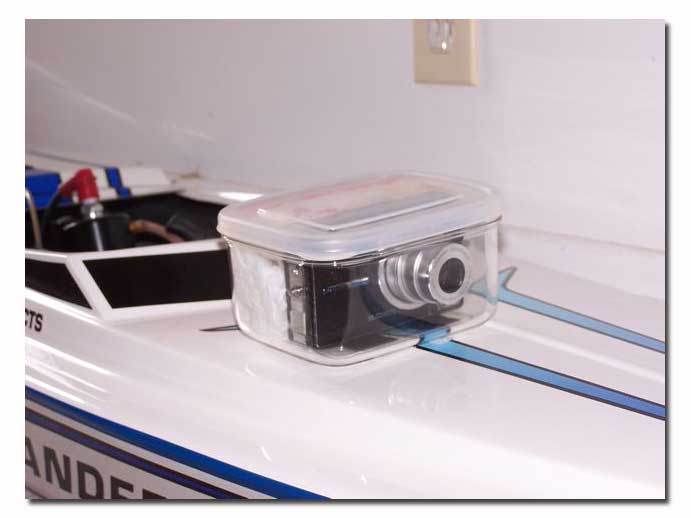
First step is to protect your family's camera! Accidents happen, and the last thing you want to have happen is having your camera on the bottom of the pond. That is why you are going to purchase a water tight see through container to safely house your camera. I found mine at The Container Store. Oddly enough, I found it difficult to find the right container (before finding The Container Store) as most stores only sell murky-clear containers. You need your container to be very clear so as not to distort your video.
Your clear container will serve as a water-shield and insurance policy for your camera - in case your boat decides to eject its "passenger". Before your first shot, I recommend putting stones, old batteries, or anything you can find to match the weight of your camera to test the system - try throwing the container in the water to see how it will float - and whether or not the contents stay try. If it stays dry and floats - - you are prepared - - but not prepared enough.
Make sure you have a retrieve boat at the pond! Your camera container will be like a needle in a haystack floating along until some lucky person finds it. Having a retrieve boat will allow you to find your camera before someone else does.
 Next,
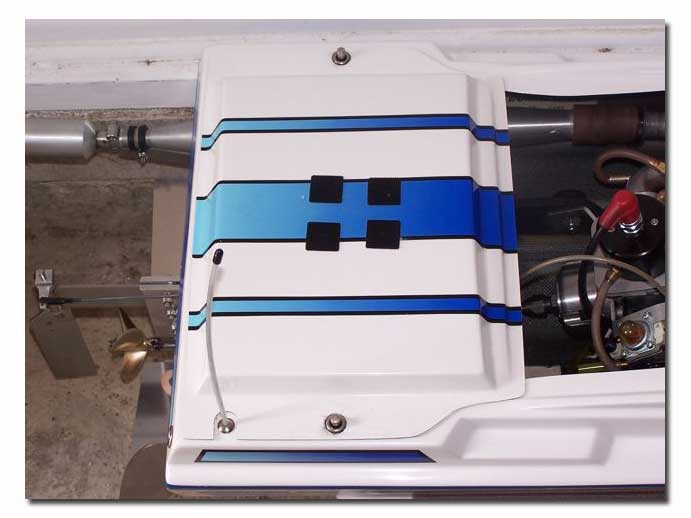
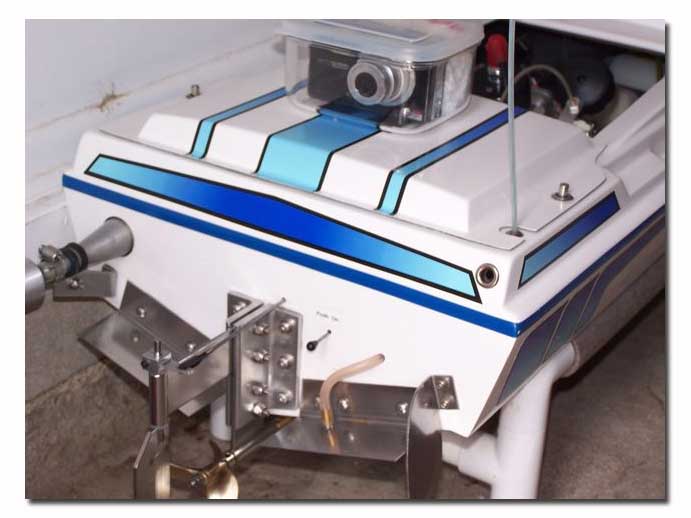
buy some Velcro and choose the location(s) on the boat you would like to shoot
from. I put Velcro on the bow and on the
rear for views from the bridge and wake.
In the
container, you need to secure your camera.
I used plastic grocery bags - I jammed them
up in back of the camera (see picture).
You could use packing material or foam as well.
 As far
as what type of camera to use, I will start off by telling you what I
used. I used my wife's (I confess, I
only told her about it after the video was taken) Kodak V550, a 5 Megapixel
compact camera. I selected the video
mode, and had a memory card of only 256 MB.
I have since upgraded the memory card to 2 Gig - - a present for my wife
(who says I am selfish?) The 256MB gave me
close to 7 minutes of video time. I
think any compact digital camera will suffice as long as it has a video mode
and fits in your container (and fits on the boat, of course).
 I hope
you are excited about taking your wife's camera, running to the pond, and start
videoing, but there's more to talk about.
Next is editing.
I edited my video on my Apple Macintosh. The Macintosh has a program "iMovie" which you can easily edit your videos, add titles, transitions, cut and paste, and spend more time than you ever imagined playing around. Of course there are PC editing programs out there - so if you do not have a video editing program, it is time to purchase one.
Click Here to see the Video (Quicktime required)
Now you know how to make great quality onboard videos - and you can do this alone.
Have fun!
(Lastly - - when people remark "You're crazy for putting your digital camera on your boat" you can tell them: 1) This is my spare camera. 2) I bought it on ebay, so I can risk it. 3) It's my wife's.)

