Learn how to fix a broken sparkplug wire, otherwise headed to the dumpster!
We've all had it happen to us, or at least seen it happen to someone else's engine...the sparkplug wire torn out of the coil! Lasst year this happened to a friend of mine at a race. Of course we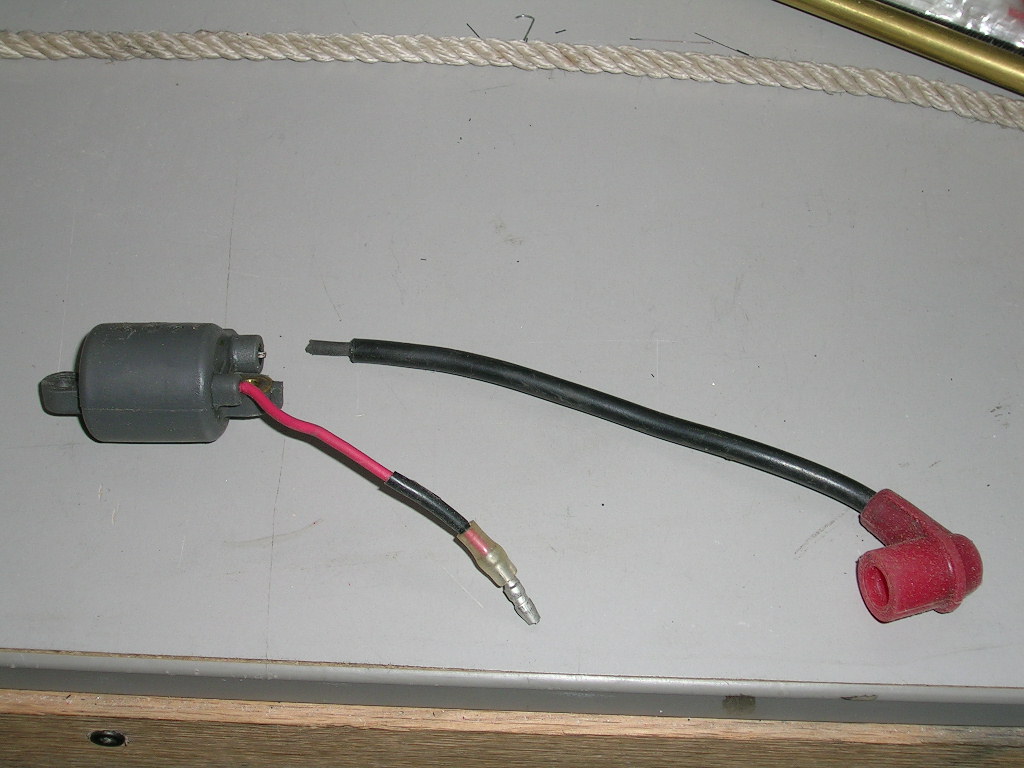
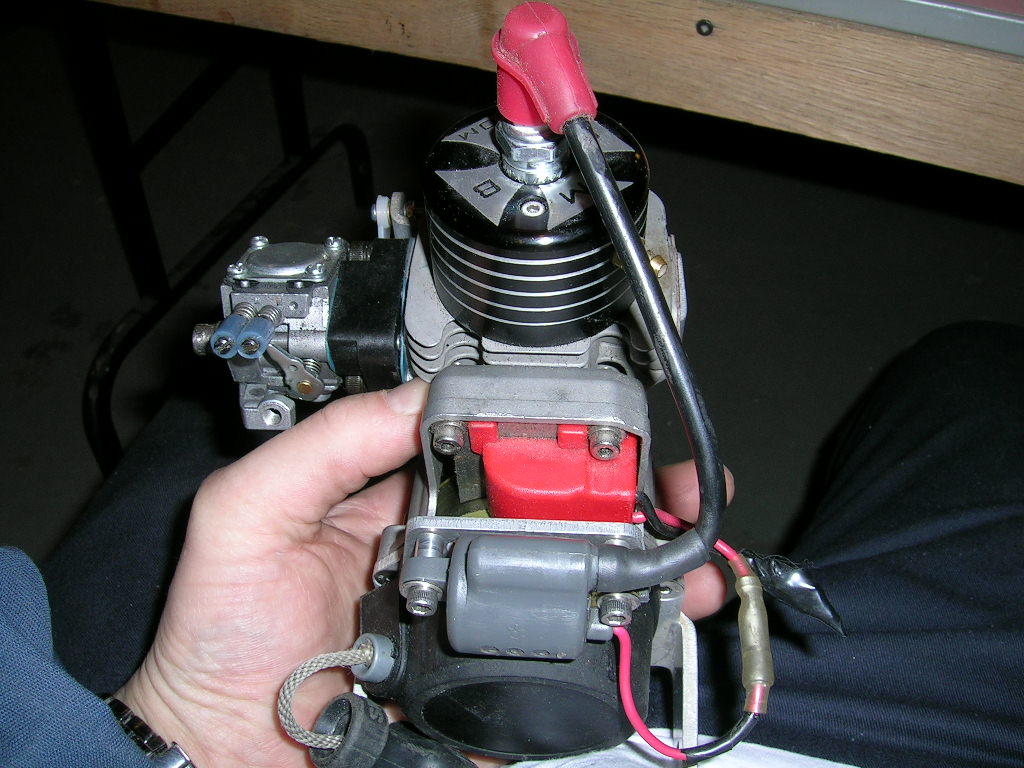
Well it took me about 15 minutes to fix the one you will see in this article and I double checked to make sure spark was good and not jumping. All tested good and engine fired up fine. Of course only long-term testing will prove if this fix is worthy, but I am very confident it will last a long time. This coil might not end up in a boat I take to a race but it will definitely go in a sport boat for messing around at the local pond. For the record, a new coil and wire assembly is about $35.00.
So here is how I did it!
(I encourage readers to interact with us on this by using the posting function at the end of this article...it automatically adds your comments/suggestions to a related thread in the forum! If the thread doesn't yet exist, it will automatically create one! This new feature is now available for all articles on Modelgasboats.com).
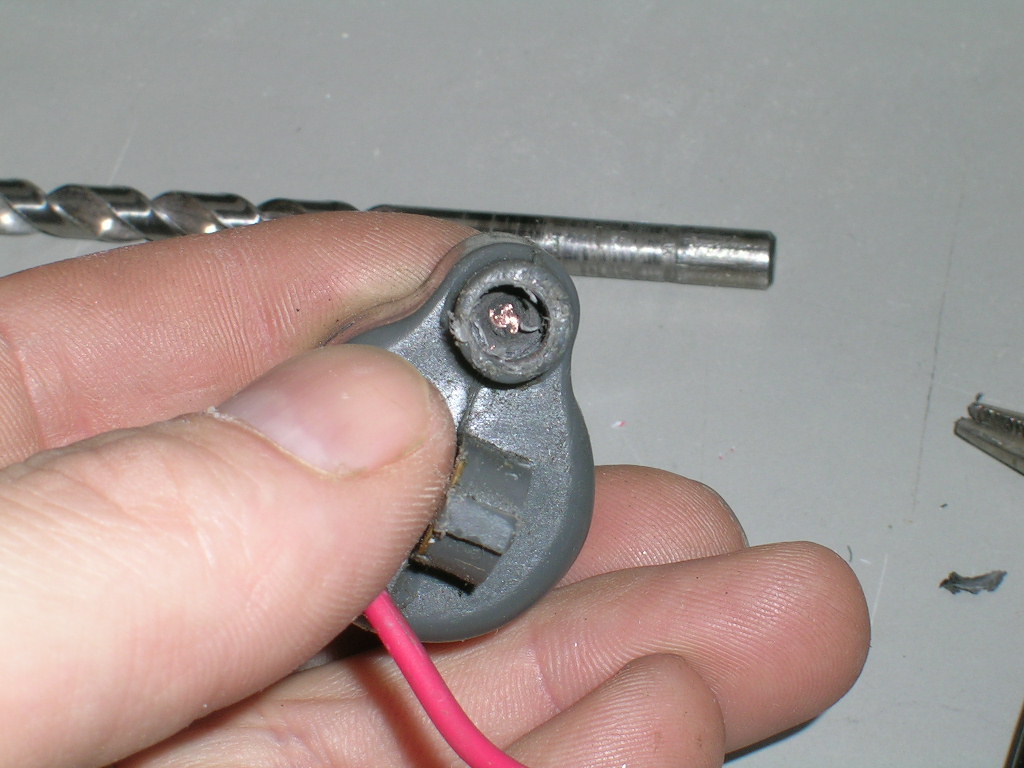
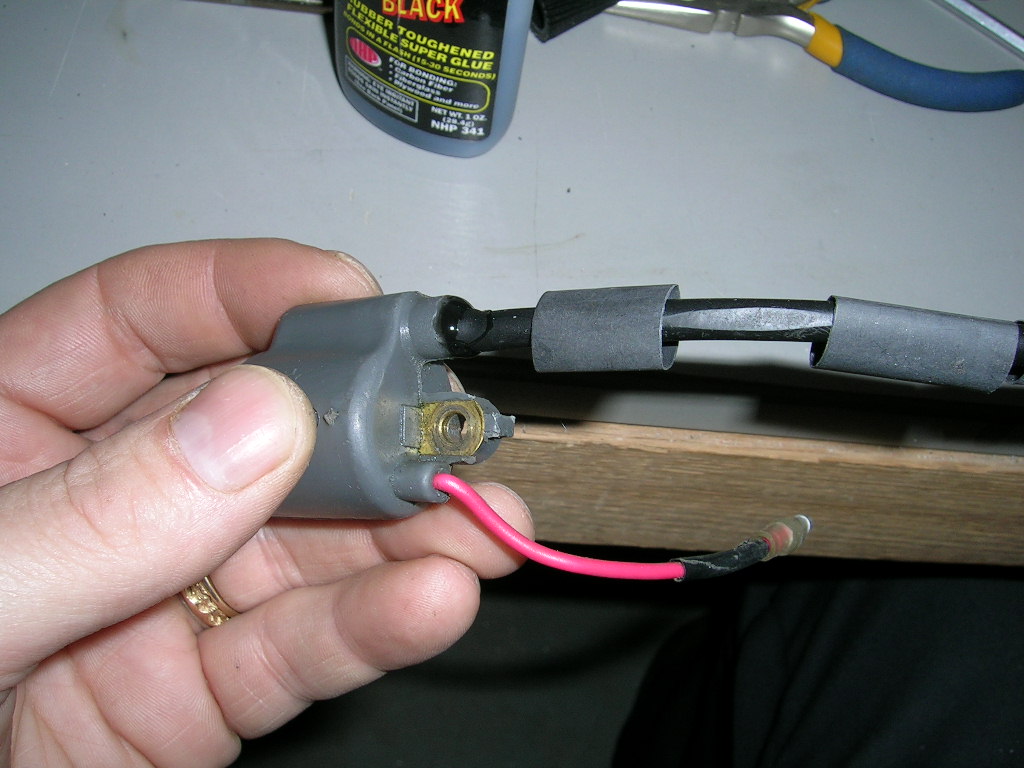
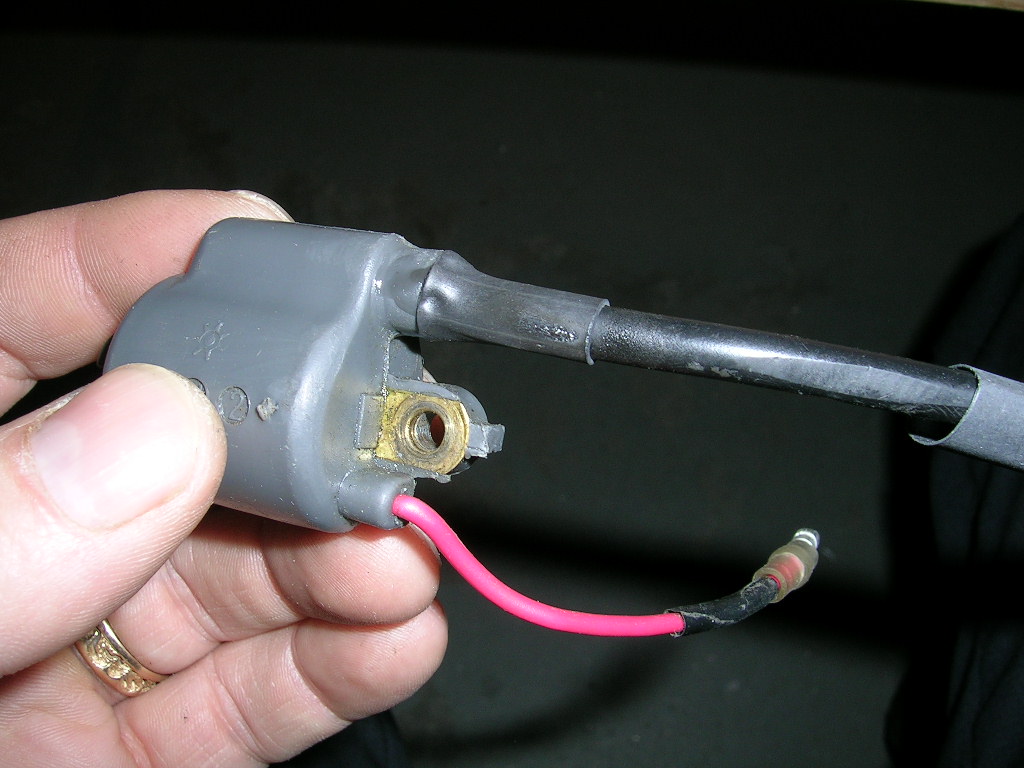
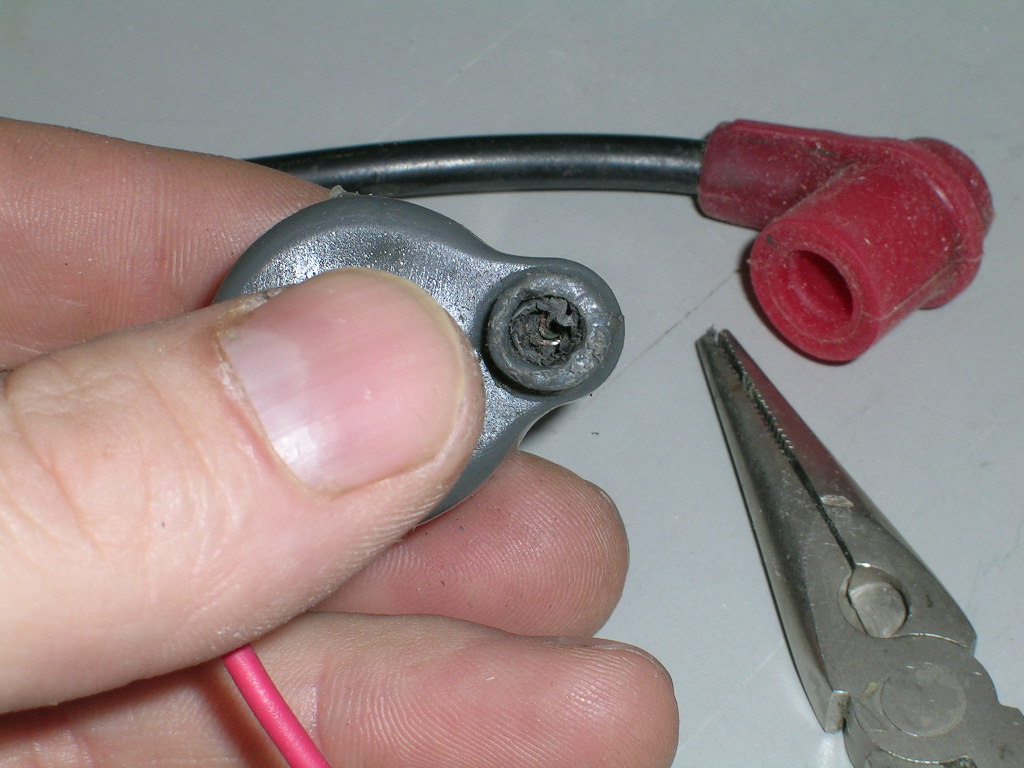
Step 1: Clean out the hole for the wire in the coil. For lack of a better term I will call this the "coil stub". I used a 15/64" drill bit to do this. I started by hand and then used a drill going in at high speed but very lightly. You just want to take out the old wire sheathing and broken wire strands. When you’re done you will see the remainder of the wire strands. It should look something like the second picture below. If you can get it cleaner, even better, but it's not easy!
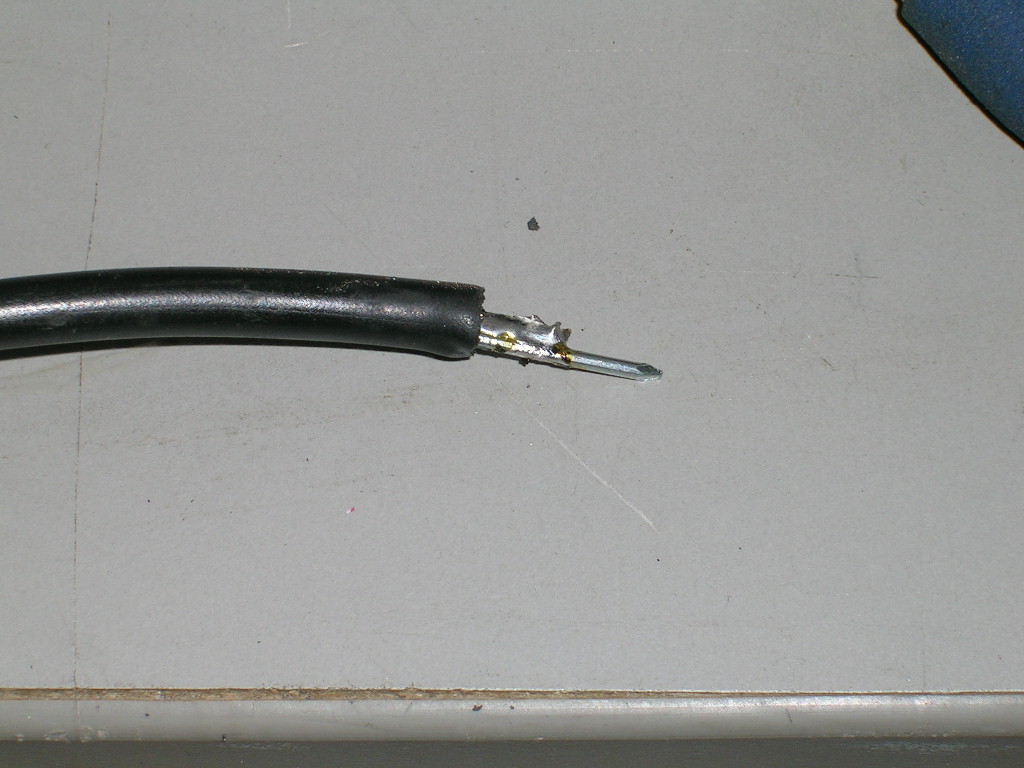
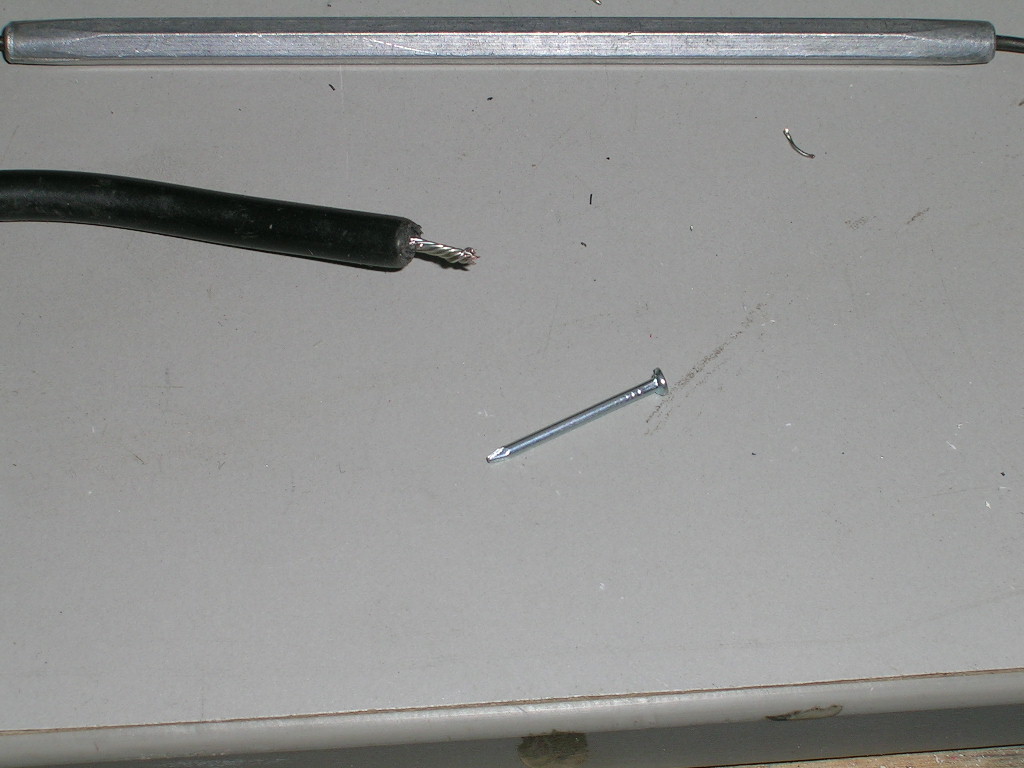
Step 2: Find a small nail about 1/2" -3/4" long and cut off the head. I used a small finishing nail. Trim the sheathing to expose about 3/16" of the copper strands. Remove as little as possible from the wire because you want to keep it as long as possible. They are not very long to start with! Push the nail (cut end first) in between the sheathing and the wire and solder it in place with about 3/16" sticking out past the wire end.
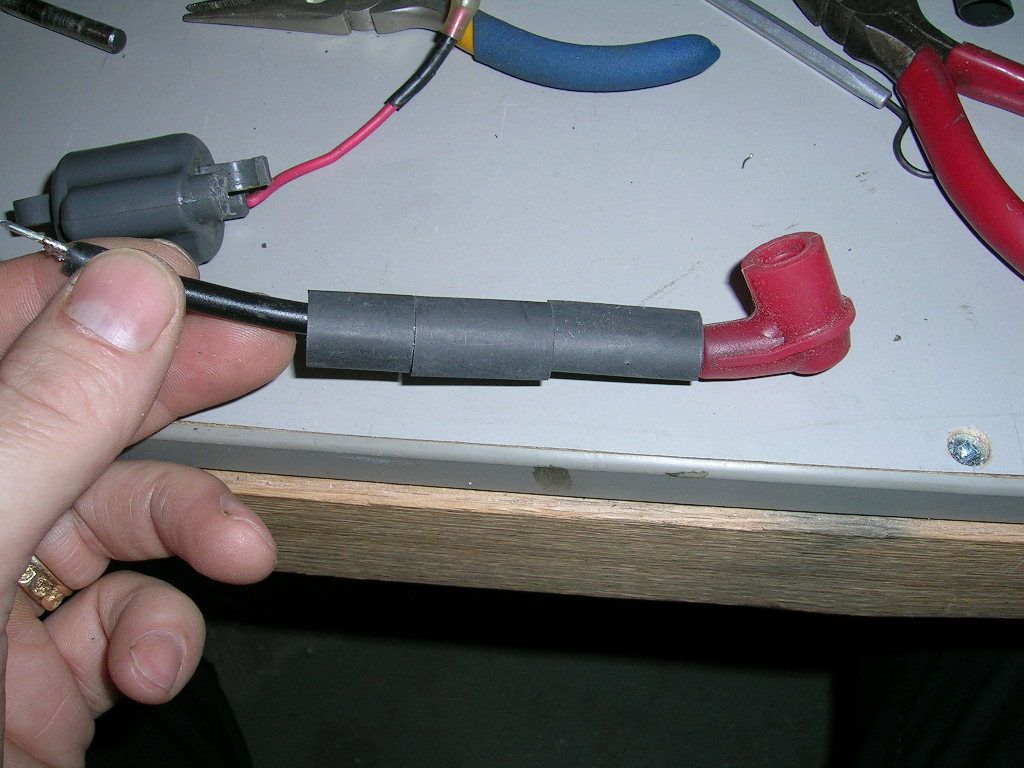
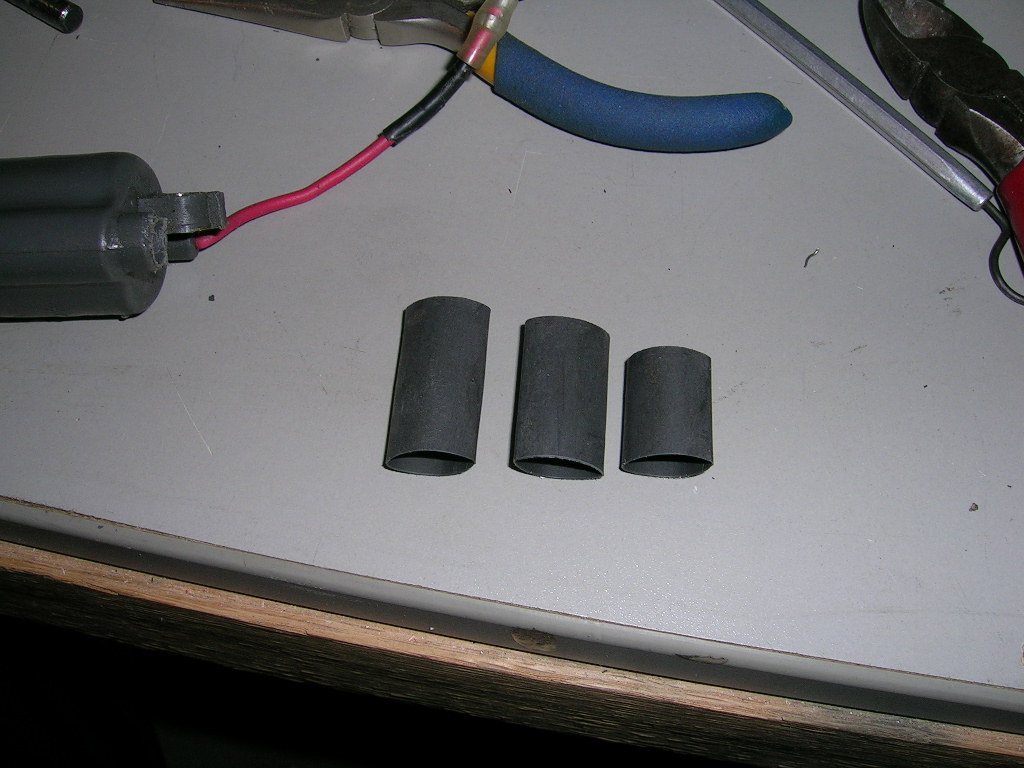
Step 3: Cut three pieces of progressively longer heat shrink tubing. About 3/4", 1" and 1-1/4" will do. The tubing must be big enough to fit over the coil stub. Slide them over the coil wire longest one first, ending with the shortest.
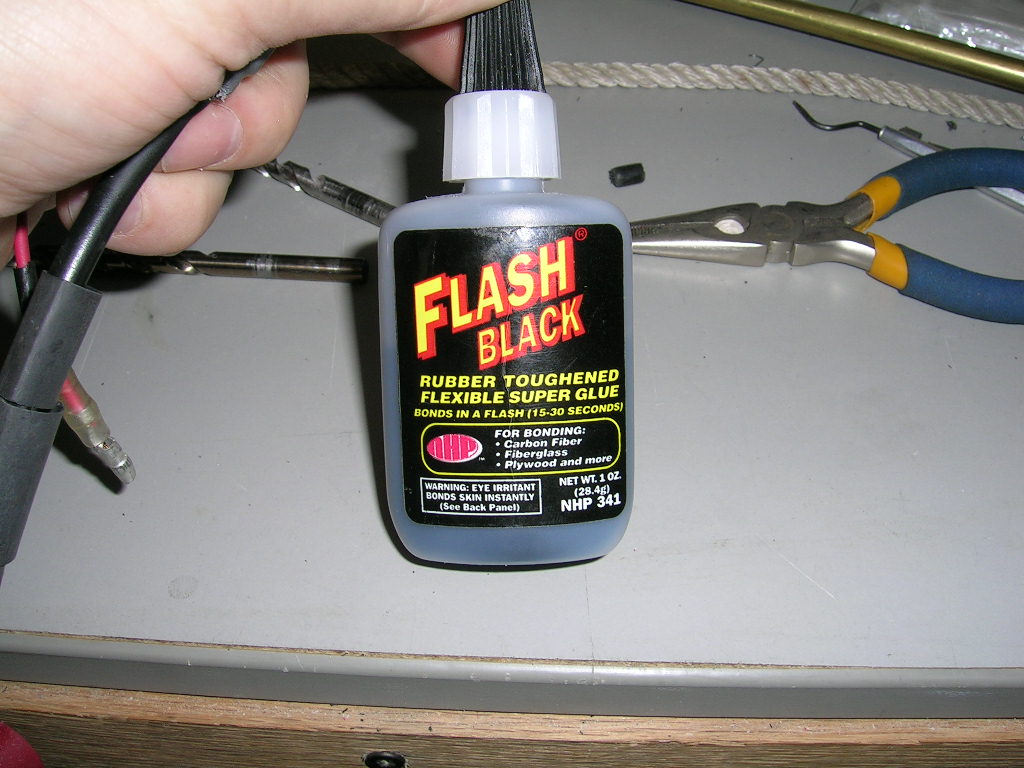
Step 4: Now you want to push the wire in the coil so the nail penetrates into the middle of the old wire that is still inside the coil. This is how the contact will be made. I used a dentist's pick first to make a small hole in the wire that way it's easier to get the nail in and lined up properly. Push it in far enough to get the sheathing inside the coil stub. Put a little bit of adhesive at the joint of the coil stub and sparkplug wire. You should also put some on the wire as you press it into the coil. I like to use Flash Black CA. It is a rubber reinforced CA and allows sufficient working time.
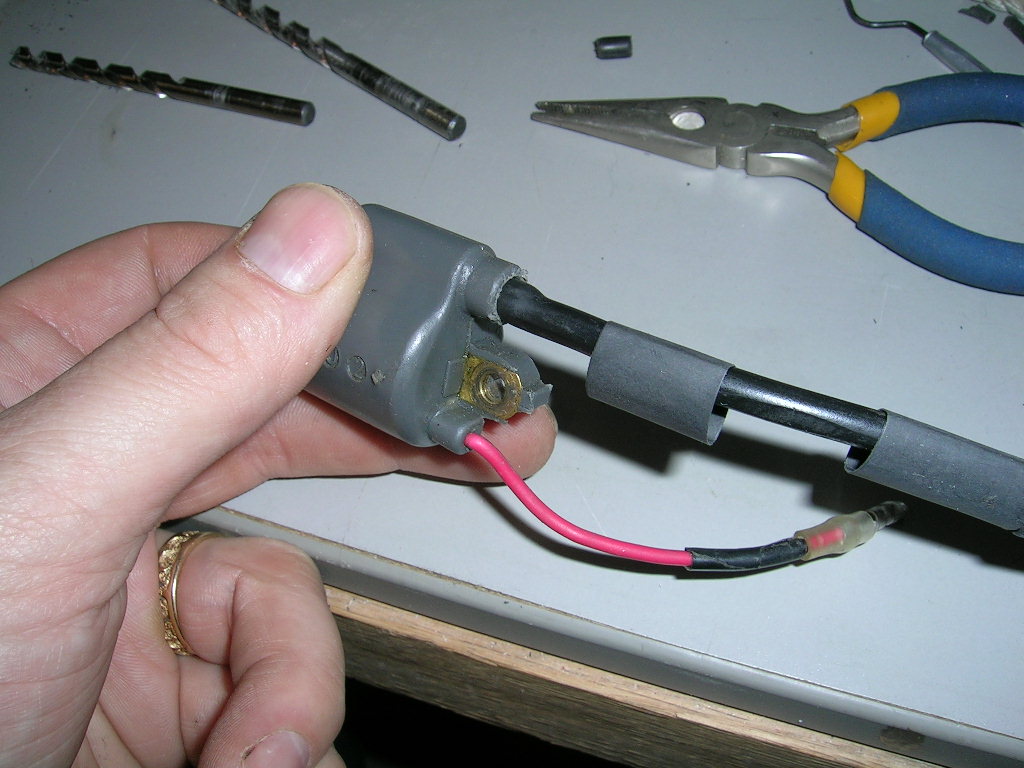
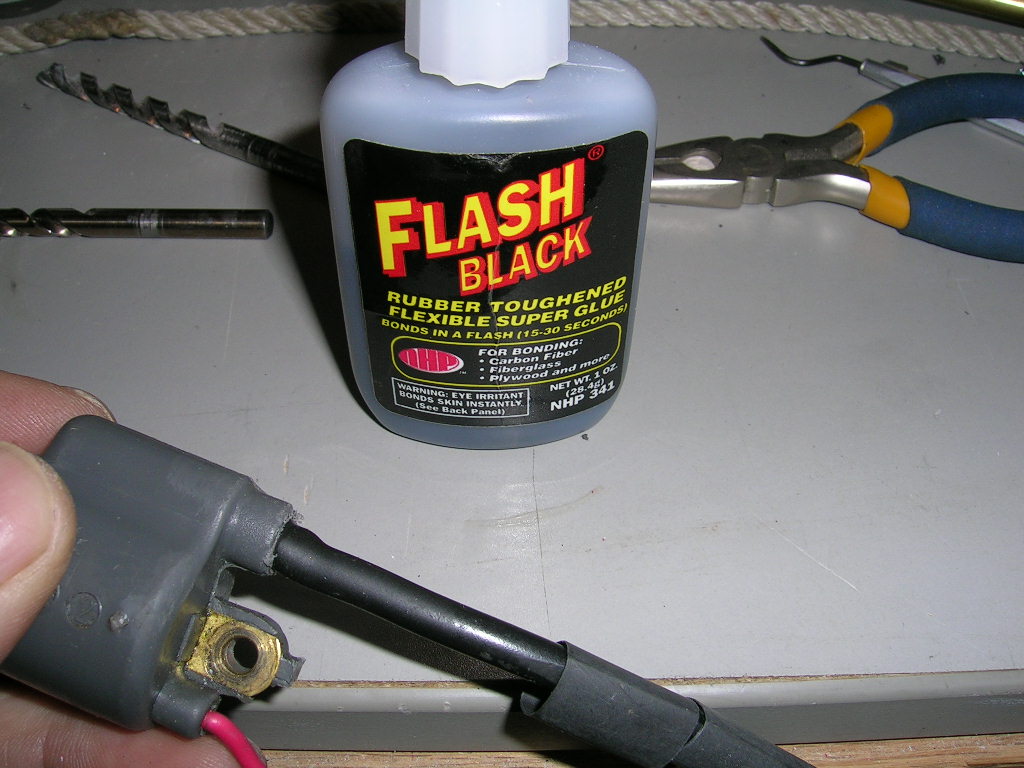
Step 5: Slide the shortest piece of heat shrink tubing to the joint of the wire and coil and shrink it.
Step 6: Slide the second piece of heat shrink tubing completely over the coil stub and the previously installed heat shrink tubing and shrink it.
Step 7: Finish up with the longest piece of heat shrink tubing that will cover everything up. Shrink it. This makes for a very good seal that securely holds the wire in place and will help prevent future breaks at this joint.
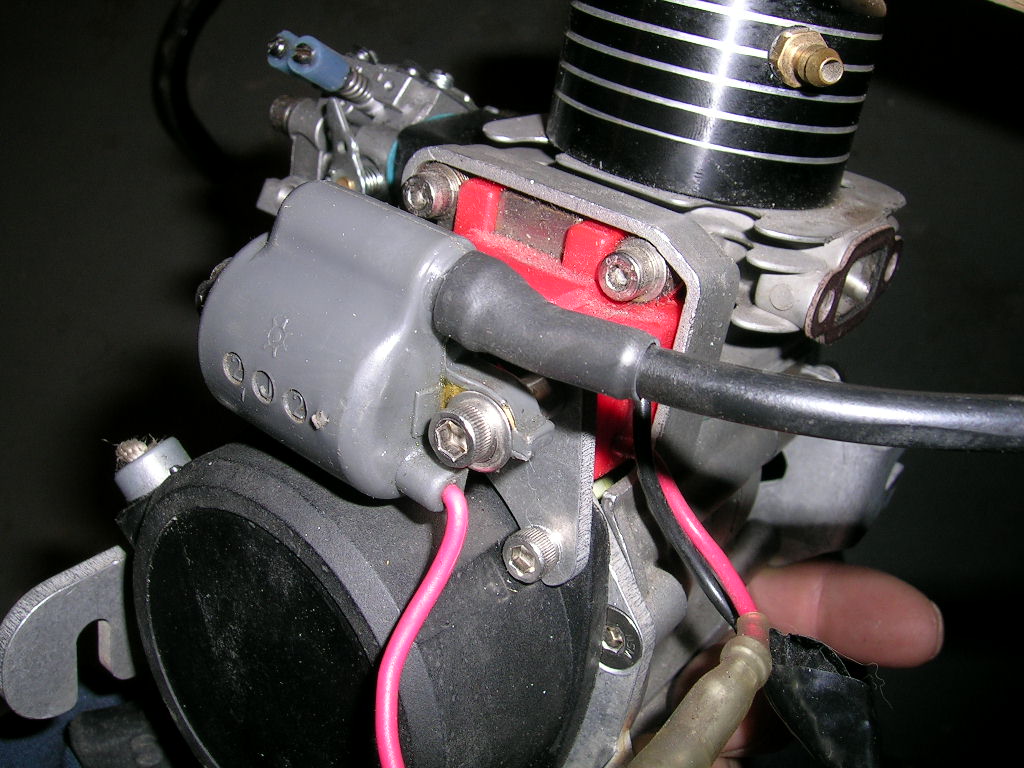
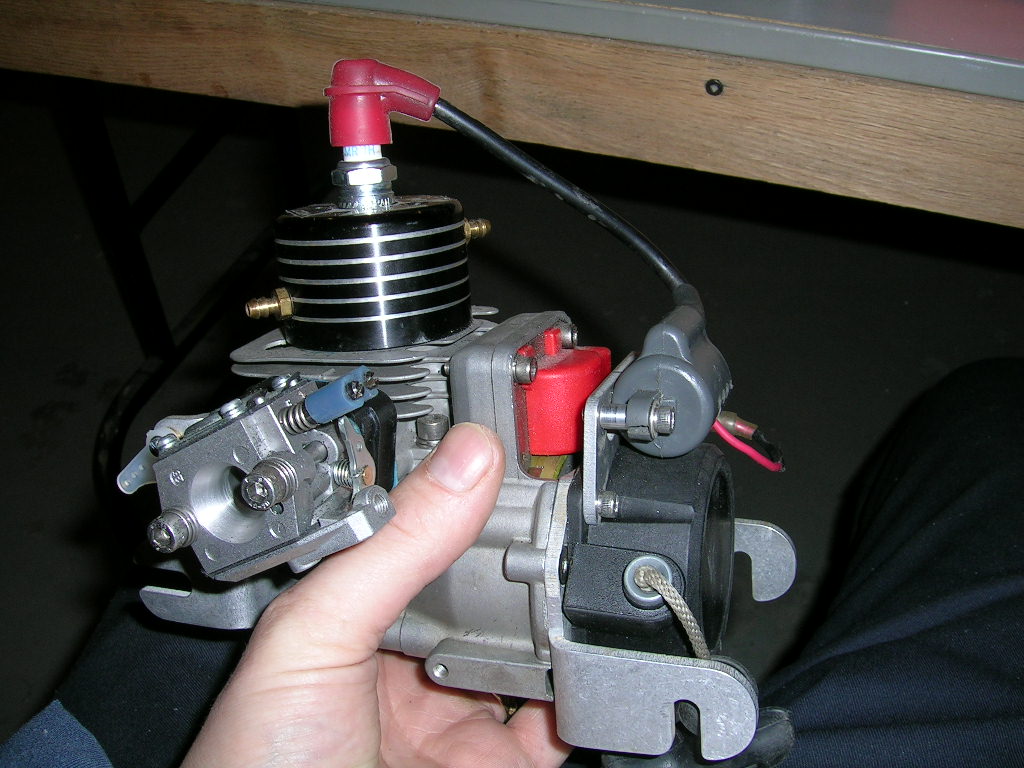
That's it! Test your coil for spark and you should be good to go!
Happy Boating!


