Learn how to make your own strut bushings...
During my latest build I got to
the point of installing the flex cable in the boat and realized I was out of
strut bushings! Needless to say I wasn't really happy because ordering new ones
would set me back about a week or so and I was on a tight schedule. I started
looking through my parts and discovered that I had what I needed to make my own
so I decided to take a few pictures of the process and share it with our
readers.
The bushing type bearings, commonly known as "Speedmaster" bearings
are really nothing more than a piece of 9/32" brass tubing. This tubing
can be purchased at most hobby shops. A common brand is K&S tubing. You can
usually purchase this tubing in 12 and 36 inch lengths. You can easily make a
dozen or so bushings out of a 36" piece of tubing, which will cost only a
few dollars ($3-$5 or so).
For those who are not so familiar with these bearings (bushings) they are used
with welded cable setups. In this kind of setup the flex cable is welded to the
prop shaft and held onto the engine by a compressing collet at the engine's
output shaft. Since the flex cable and prop shaft are one piece, there is no
use of ferules. The stuffing tube that holds the flex cable runs all the way
from the inside of the boat to the back of the strut or drive. Since the
stuffing tube is 5/16" outside diameter (O.D.) it fits perfectly in struts
and drives designed for this purpose. The inside diameter (I.D.) of the
stuffing tube is 9/32". Prop shafts for gas boats are typically 1/4"
O.D. so for this reason we need some sort of bushing in the stuffing tube to
properly support the prop shaft. This is where the 9/32" brass bushing
comes in. It is 9/32" O.D. which fits snuggly in the stuffing tube and its
I.D. is 1/4", perfect to support the prop shaft. The bushing is inserted
in the stuffing tube at the propeller end of the tube and should rotate freely
inside the stuffing tube.
There are two types of bushings sold on the market. The first is the
"flared end" bushing and the second is made with a short ring
soldered to the end instead of flaring. Both types work equally well and I will
demonstrate how to make each type in this article.
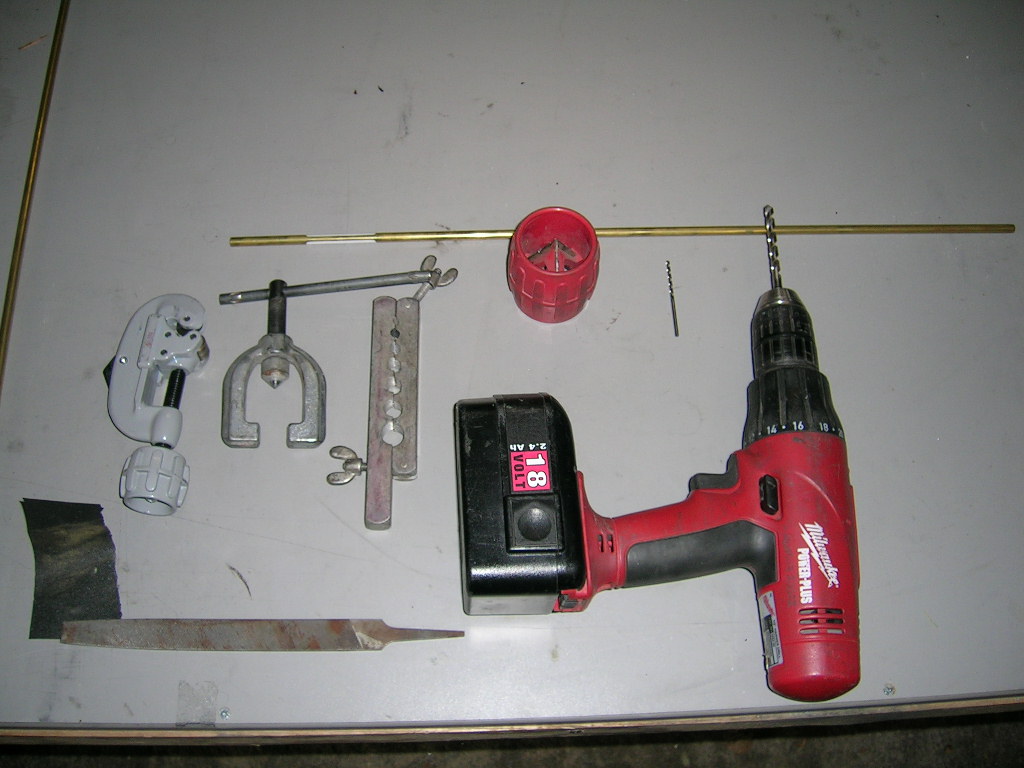
Here is what you will need to make your bushings:
- 9/32" K&S brass
tubing
- tubing cutter
- flaring tool (if doing the
flared end bushings)
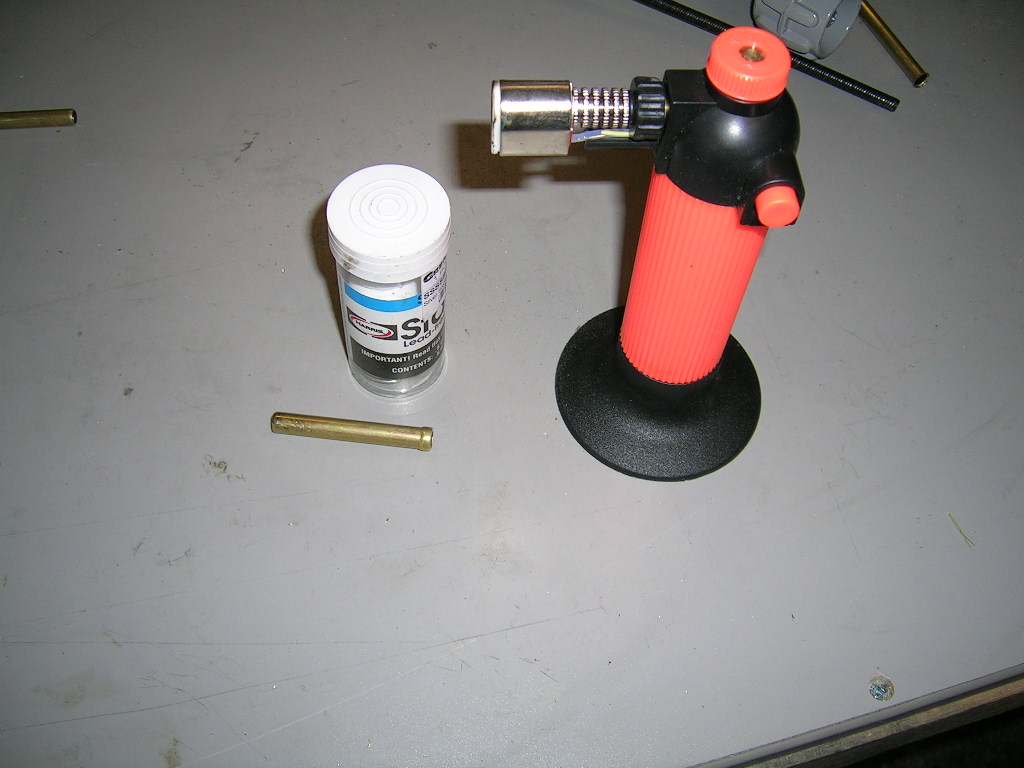
- small torch and solder (for
ring type bushings)
- drill and drill bits
- a file and some sanding paper
- an Inner-Outer reamer (optional
but handy)
- a good pair of gloves will also come in handy
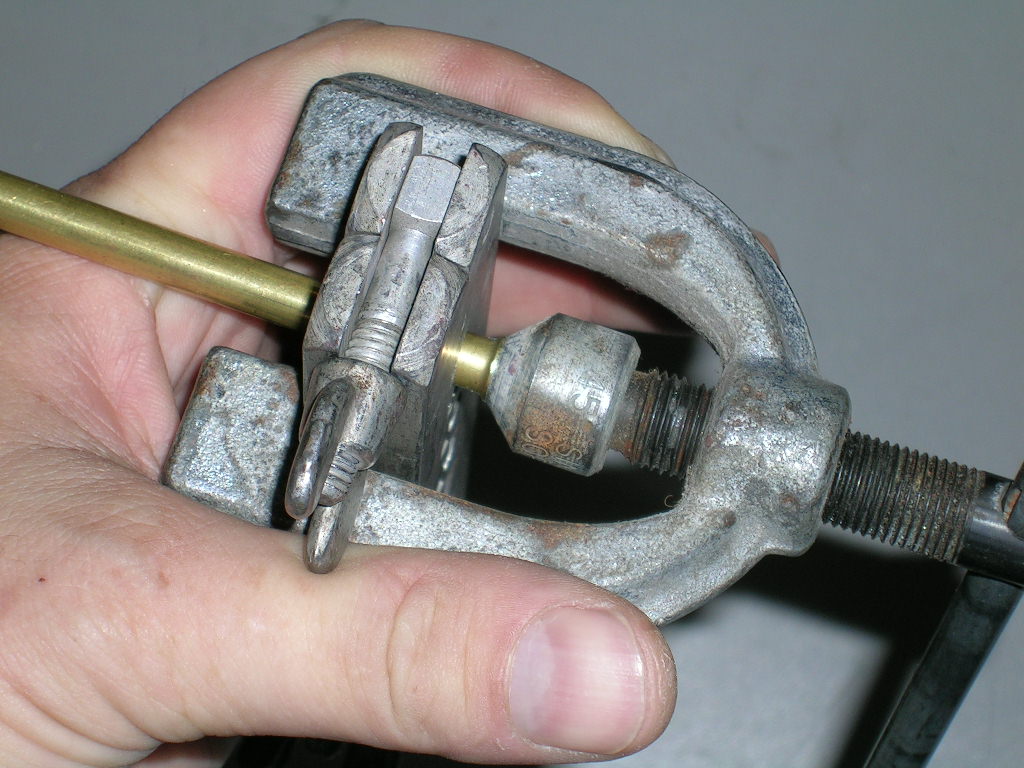
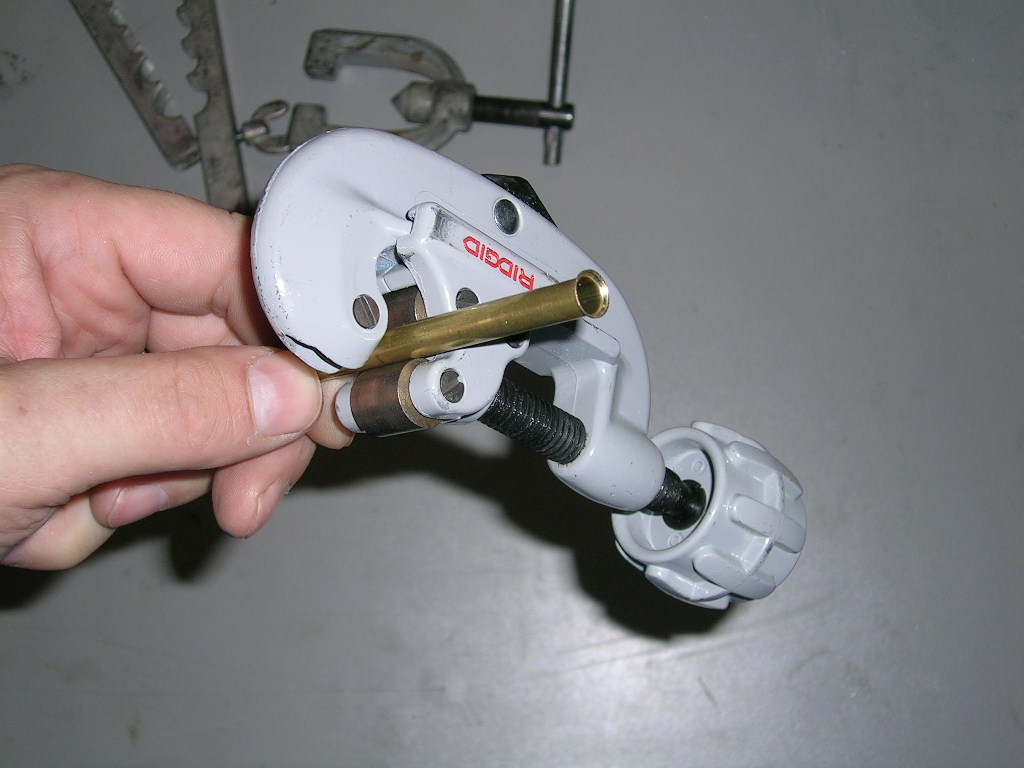
The first step is to setup your length of tubing in the flaring tool and do the
actual flare. The sole purpose of the flare is to prevent the bushing from
creeping inside the stuffing tube so it doesn't have to be very wide.
When you are satisfied with the flare, remove the tubing from the tool, measure
and mark a line where you want to cut it. I make my bushings 2 1/8" to 2
3/8" long, but that is up to you and dependant on your setup. Cut it to
length with the tubing cutter and deburr the cut end with the reamer.
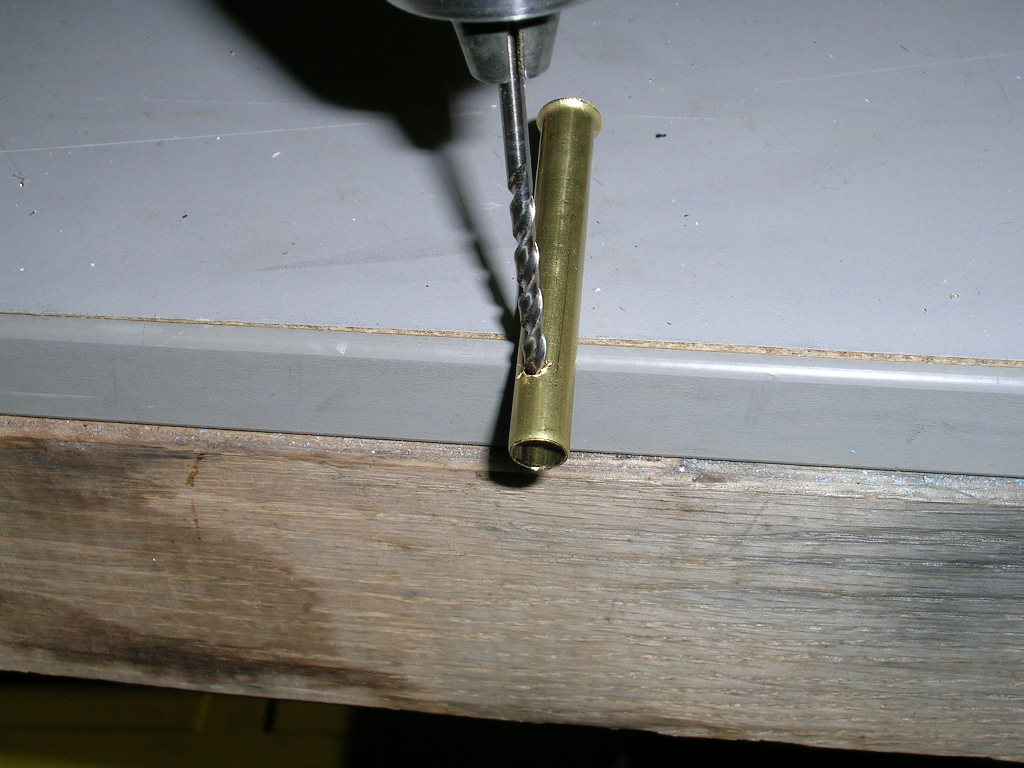
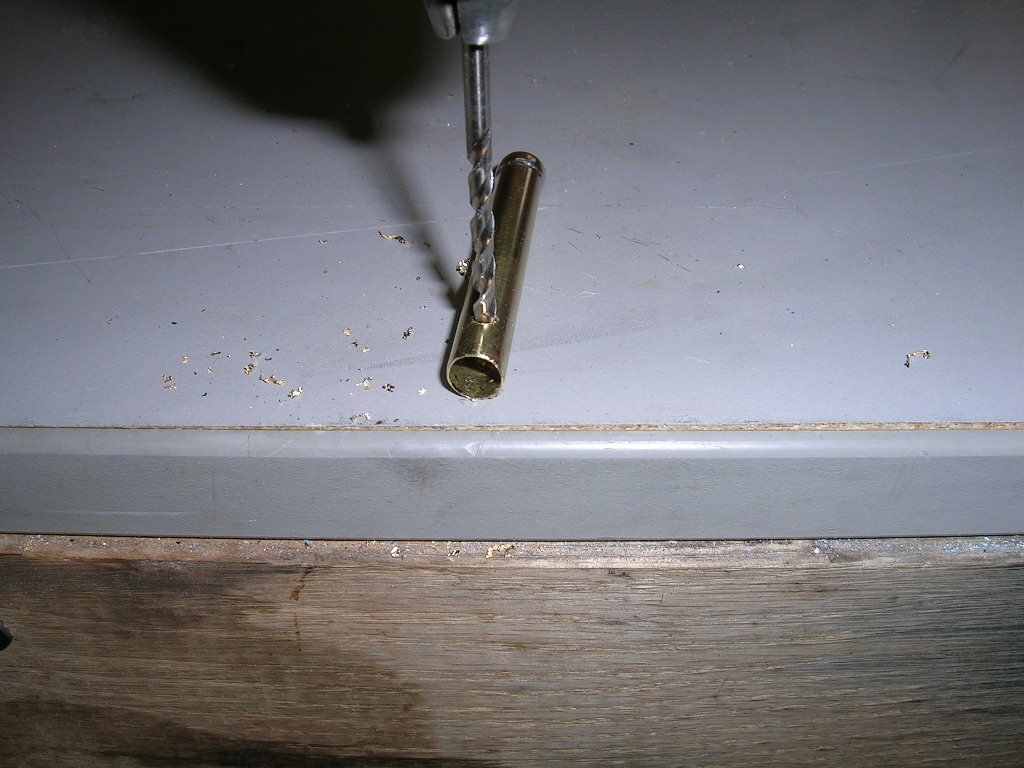
The next step is to cross-drill the bushing. These holes will help keep grease
in the bushing to lubricate the prop shaft. I use 7/64" or 1/8" drill
bits for this. The holes can be drilled using a hand drill or press drill
depending on what you have at available to you. It really doesn't have to be
accurate they are just for lubrication. On some bearings I drill all the holes
lined up, on others I do them at 90 degrees from one another. Again just do
whatever you prefer. I have not noticed any gains one way or another.
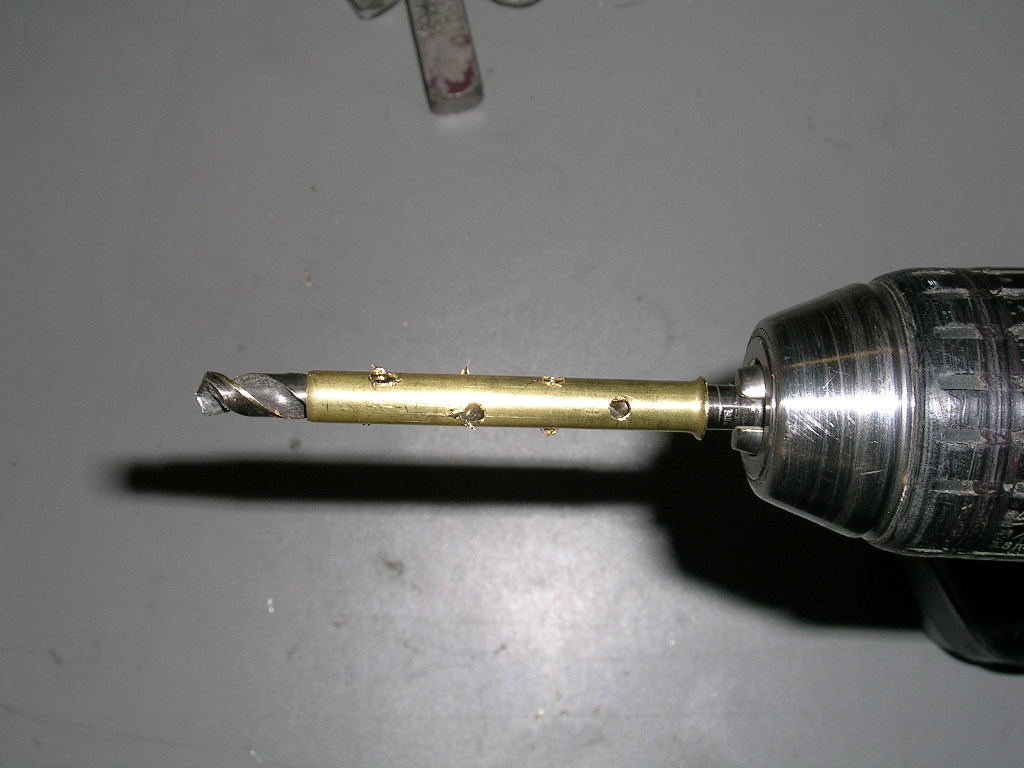
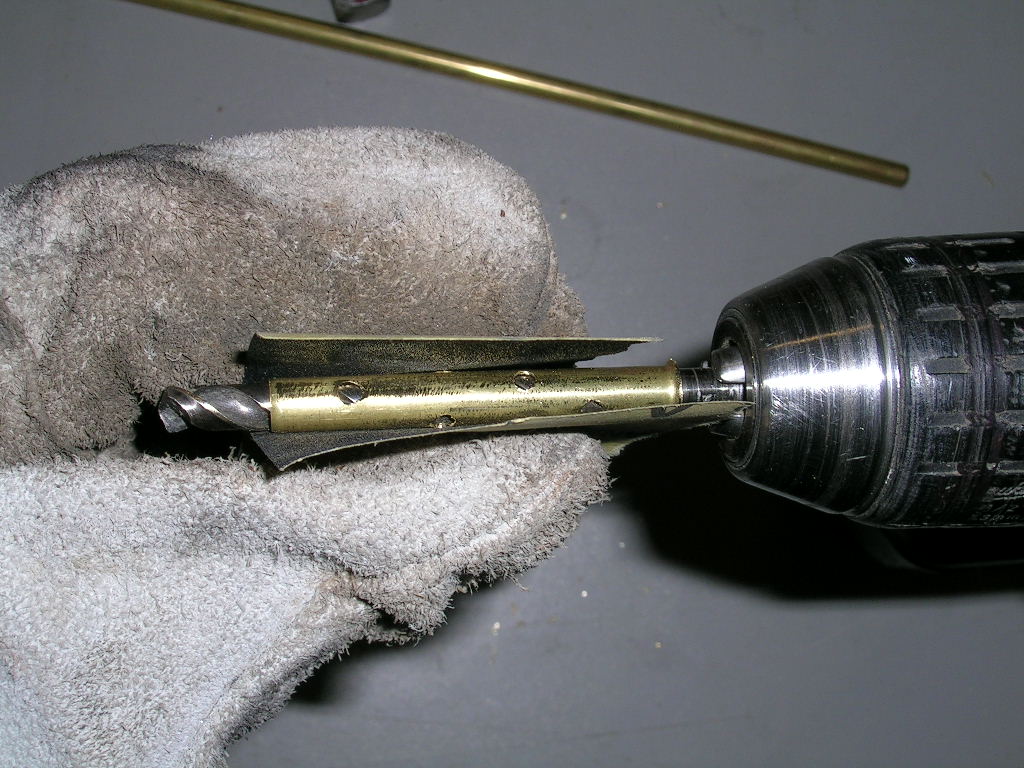
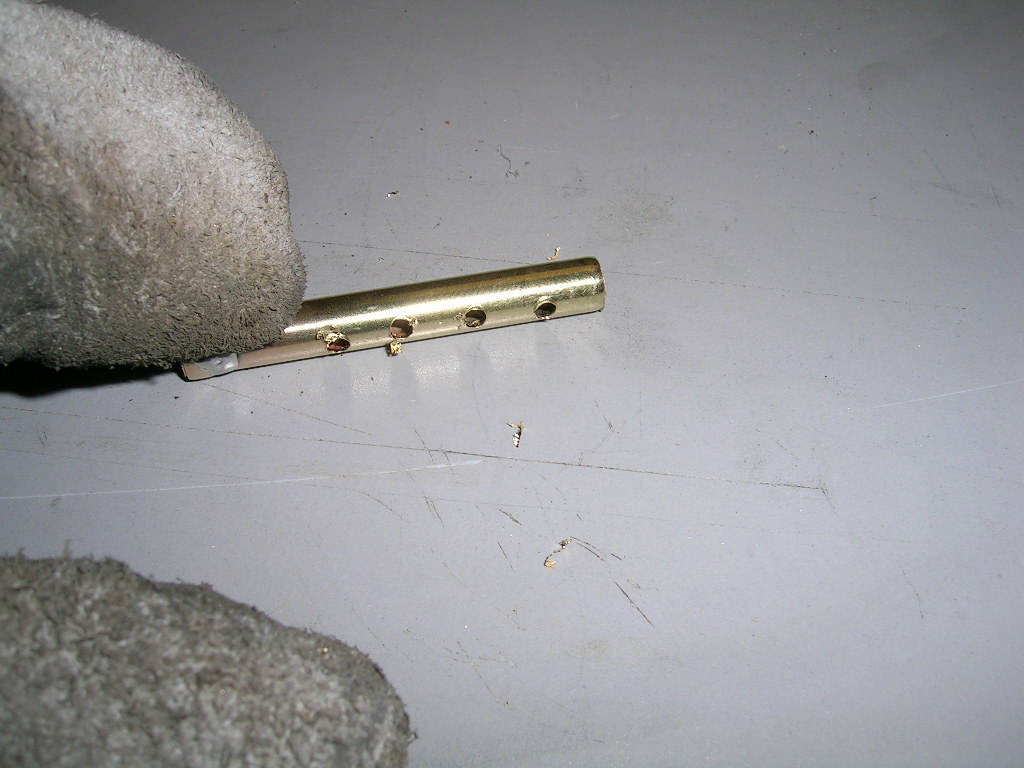
With the holes cross-driller, insert a 1/4" drill bit in your drill and
run it through the bushing. Now is a good time to wear those gloves, as you
will notice that the cross-drilling left a lot of sharp burrs. Use a file
to lightly sand the bushing as you turn it with the drill. This is just to
remove the burrs. The use a piece of sand paper (220-400 grit) to sand the
bushing while turning it at high speed on the drill. Once this is done you can
hold the bushing with your gloved hand and run the 1/4" drill bit through
it several times to make sure the inside is deburred and clean of obstructions.
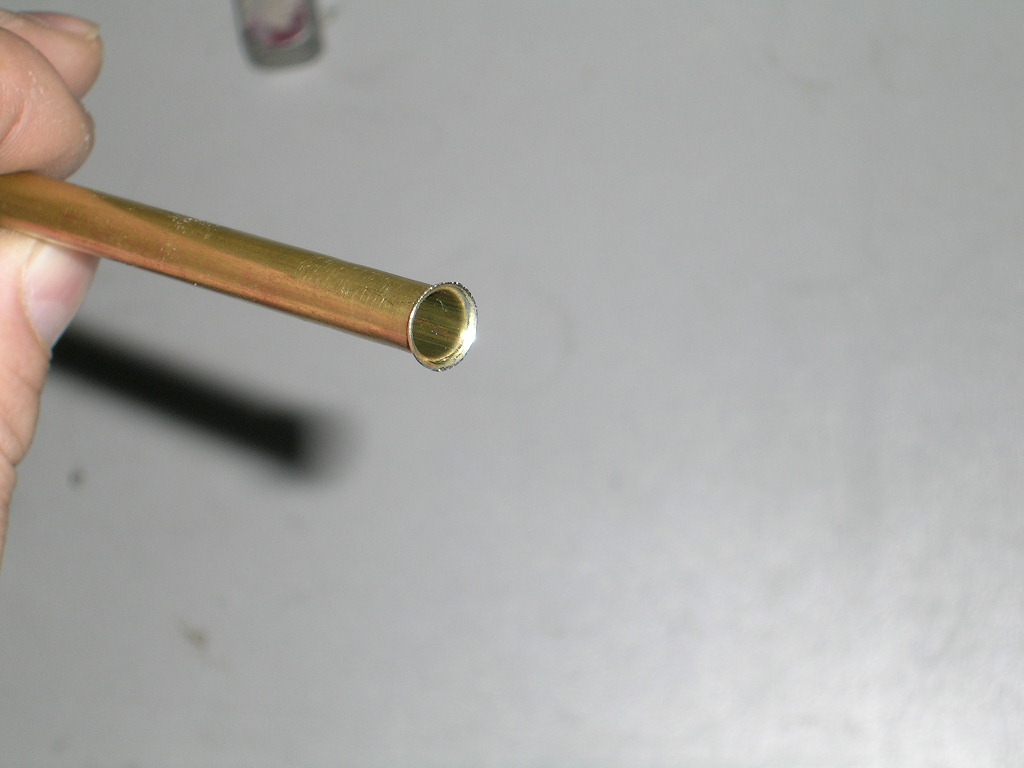
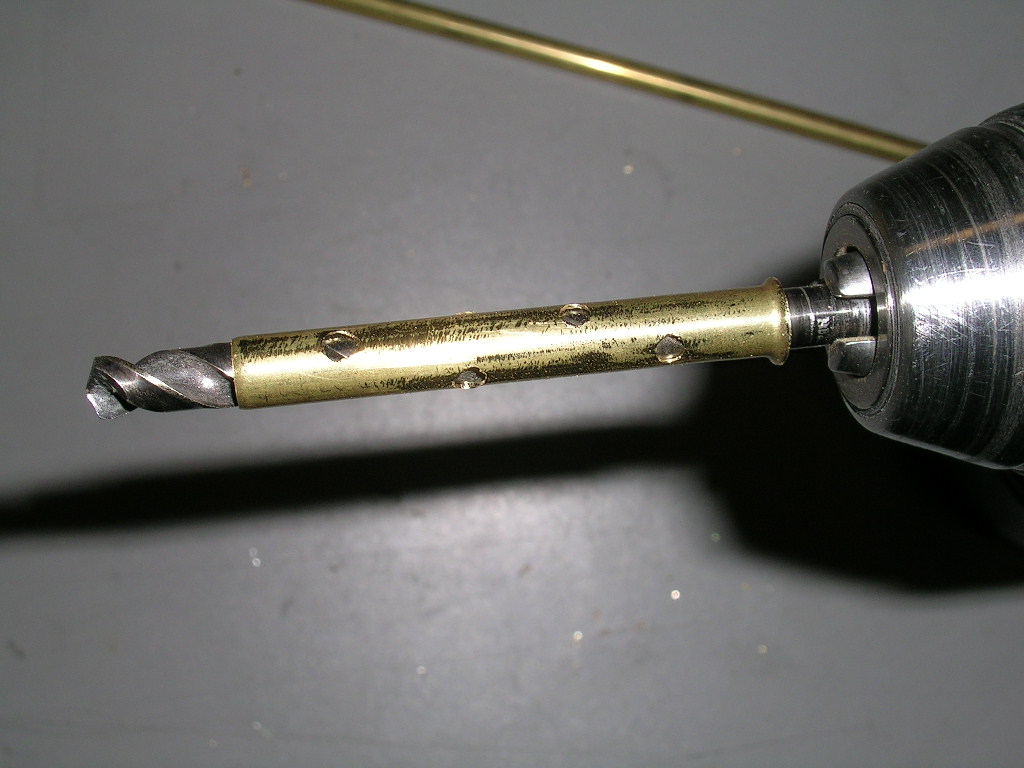
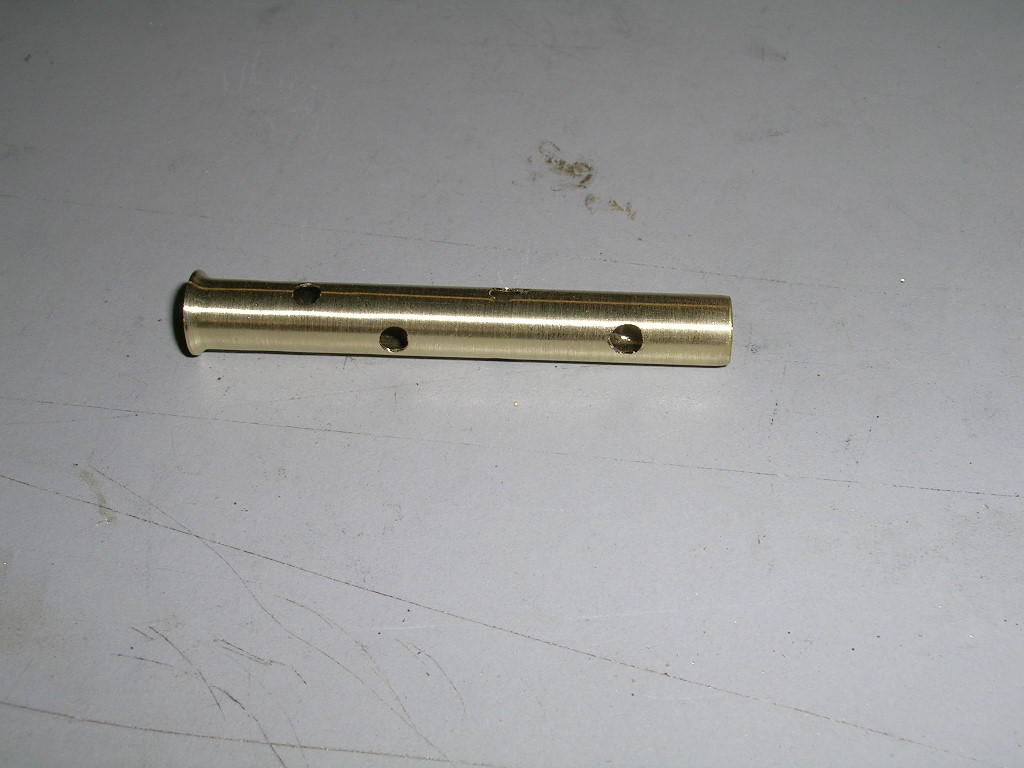
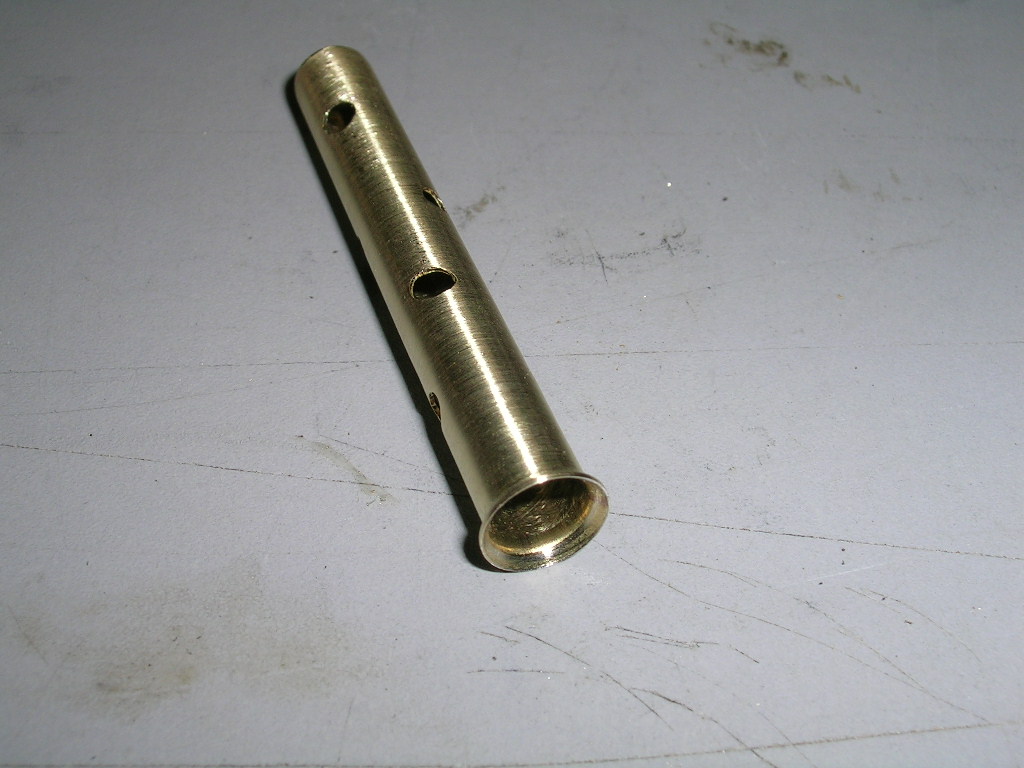
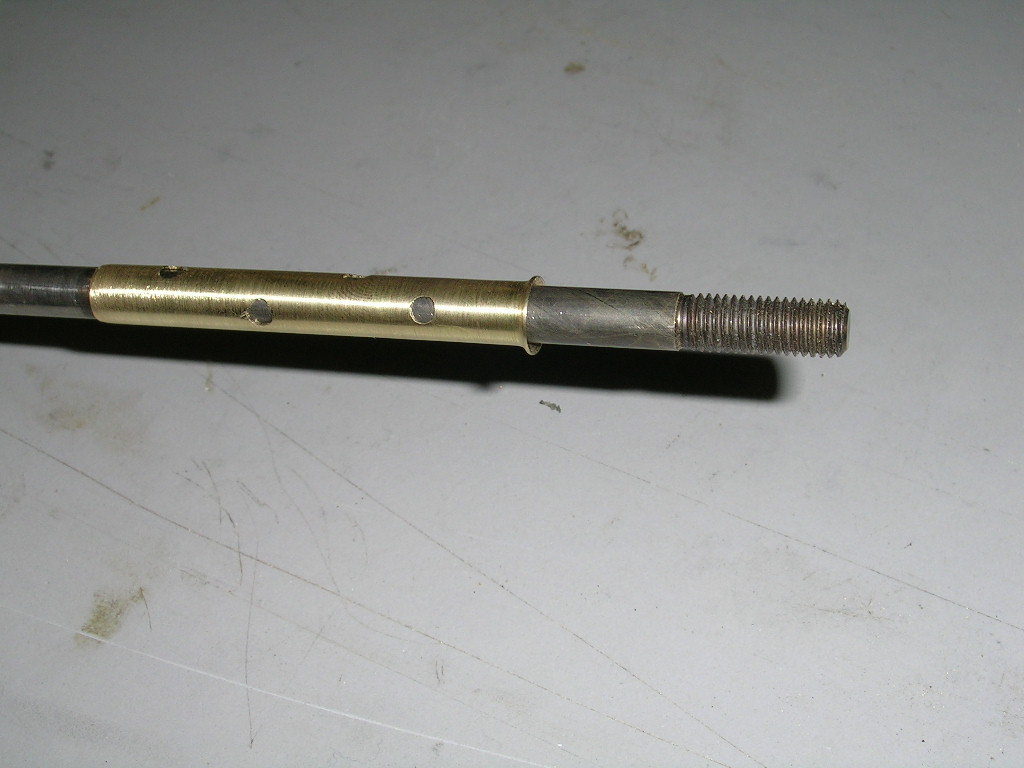
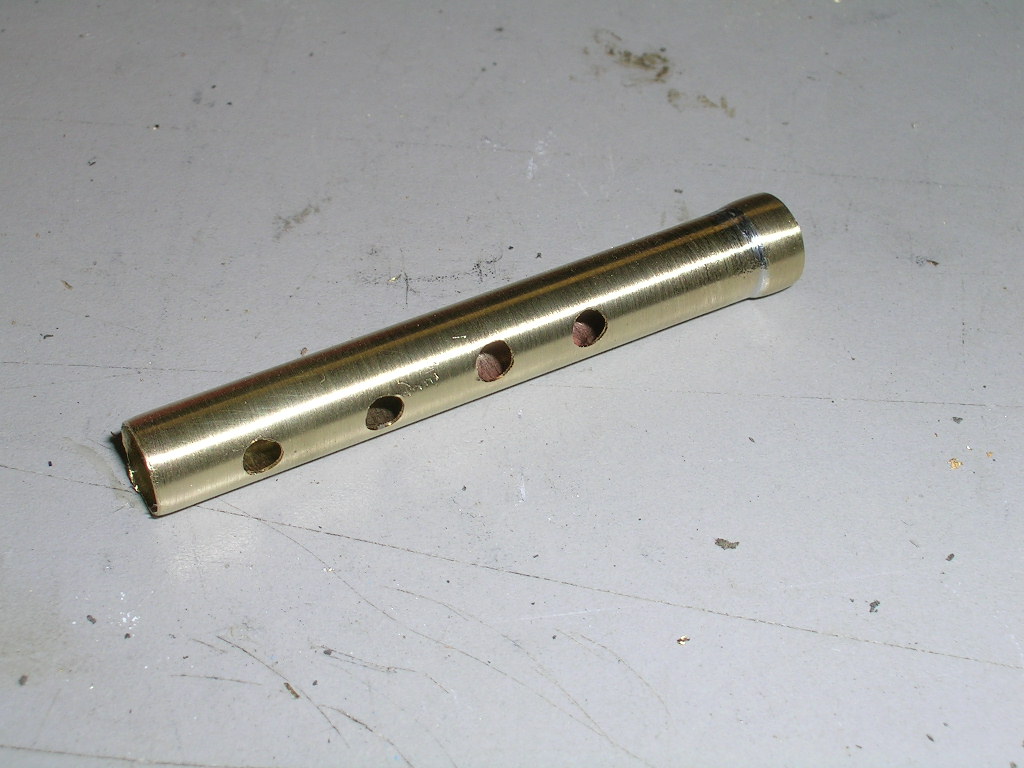
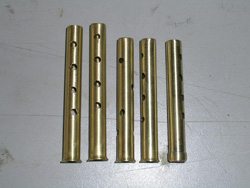
This is what the finished product should look like. You will want to test fit
it inside a piece of 5/16" tubing (stuffing tube) to make sure it rotates
freely. If it doesn't, put it back on the drill and sand a little more with the
sanding paper. Test fit again. You want to test fit it on a prop shaft also.
Again, it must rotate freely. Not excessively loose, but just freely. If it
doesn't, run the 1/4" drill bit through it some more until you get a good
fit on the prop shaft.
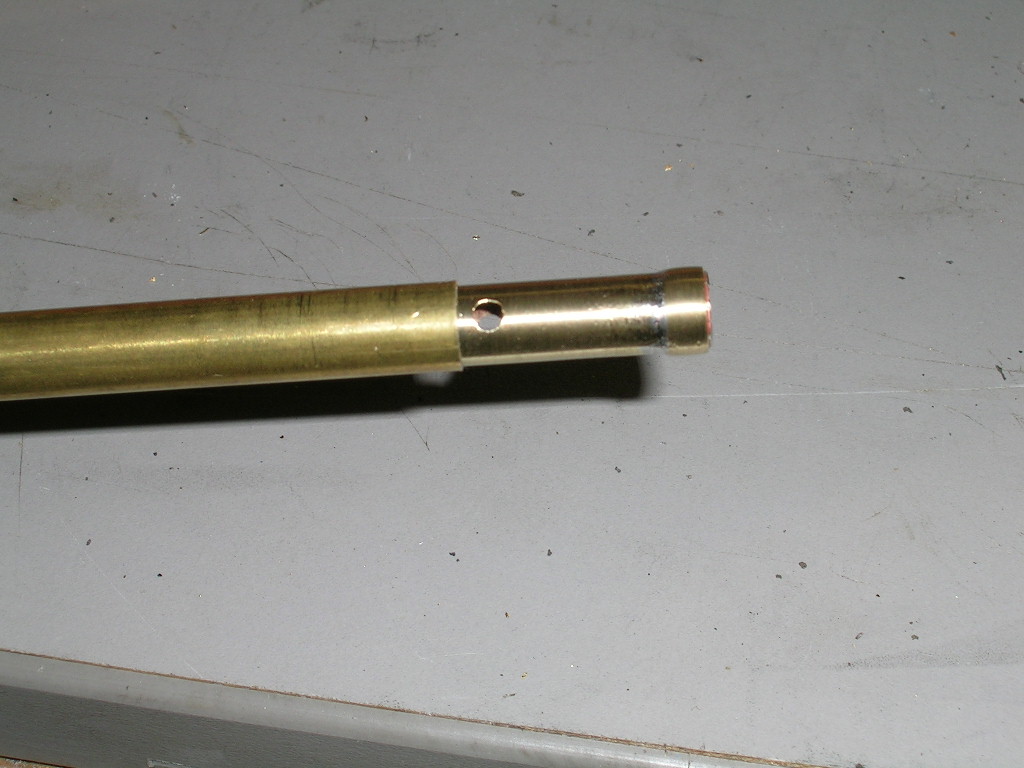
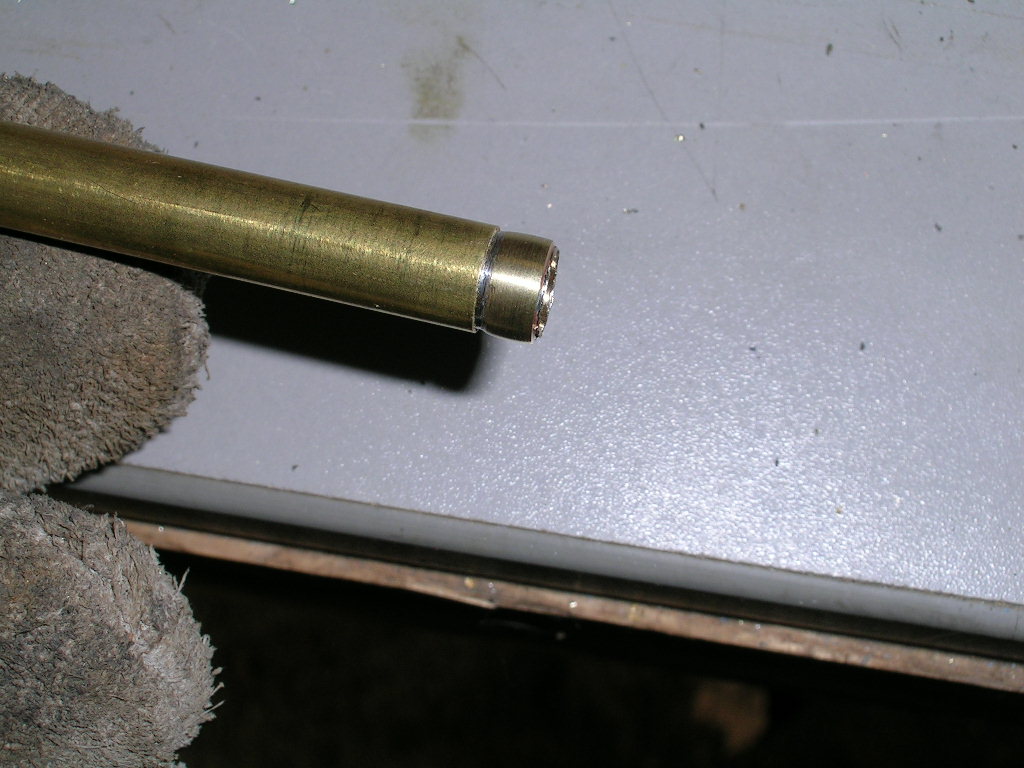
To make bushings without a flaring tool you will follow the same basic steps
with the exception of the flaring process. You start with a 9/32" tubing
cut to length for the busing. You will also need some 5/16" tubing to make
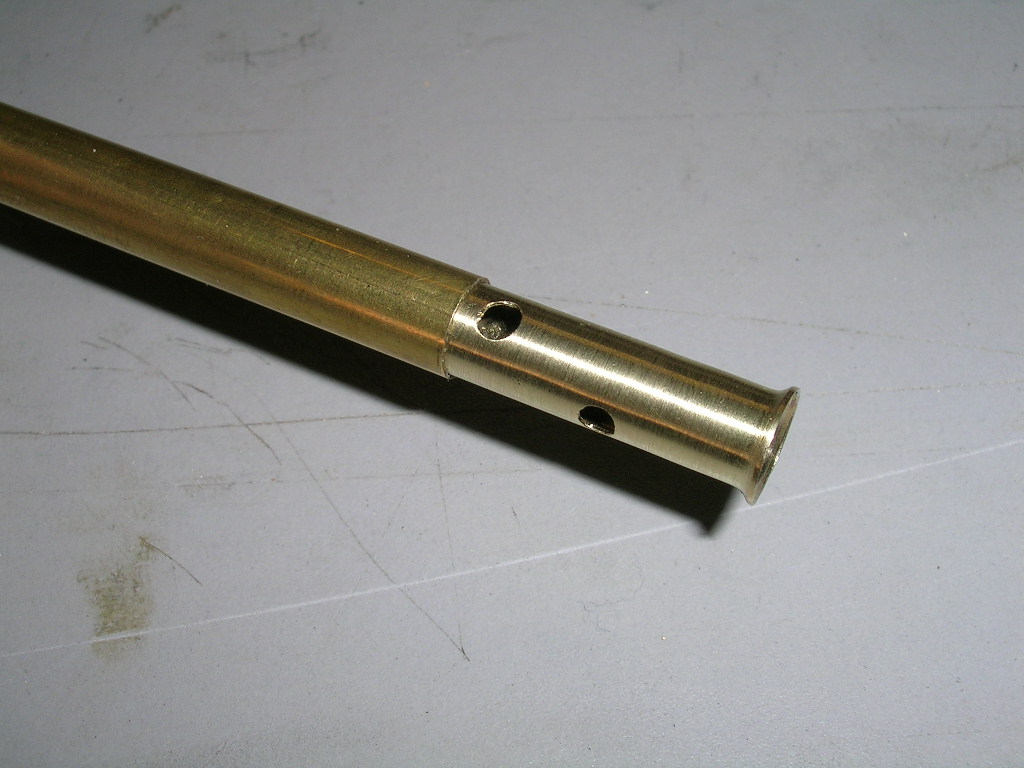
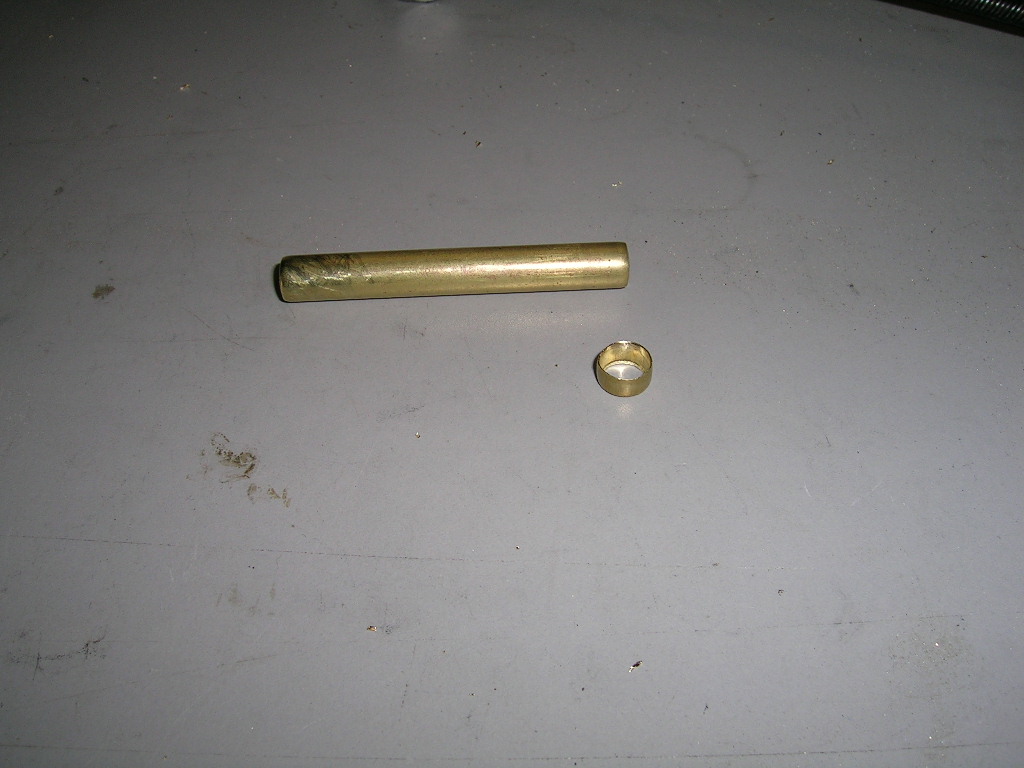
the retaining ring. Cut a piece of 5/16" tubing about 1/8" long. You
will have to deburr it and get it to fit over one end of your bushing.
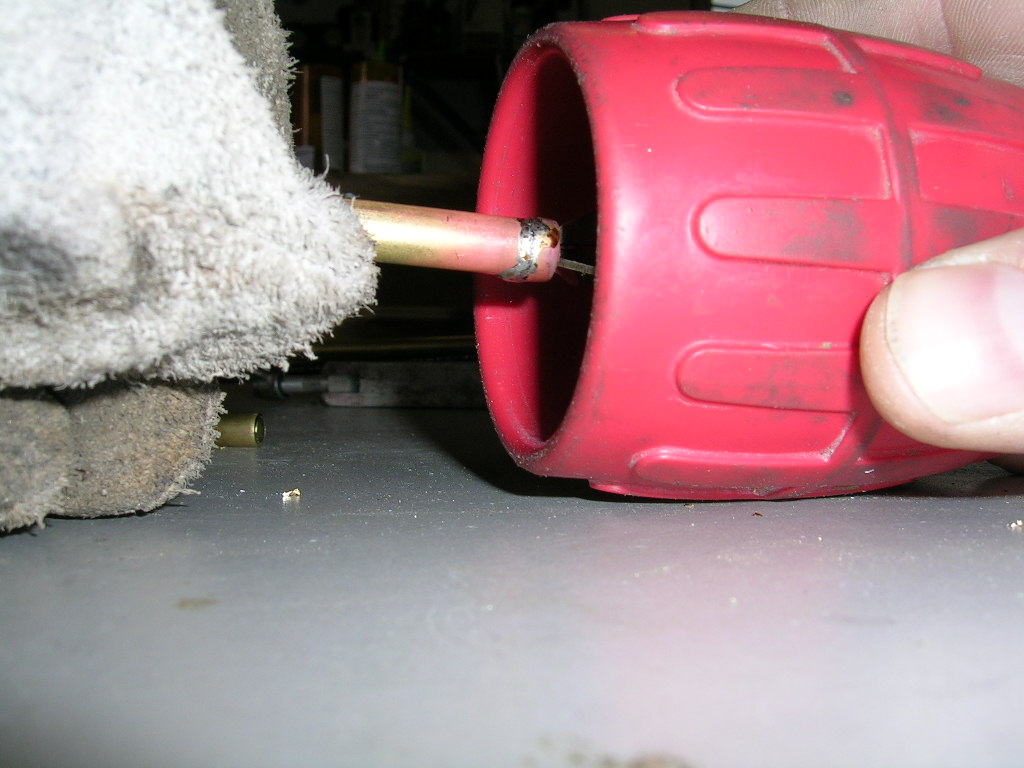
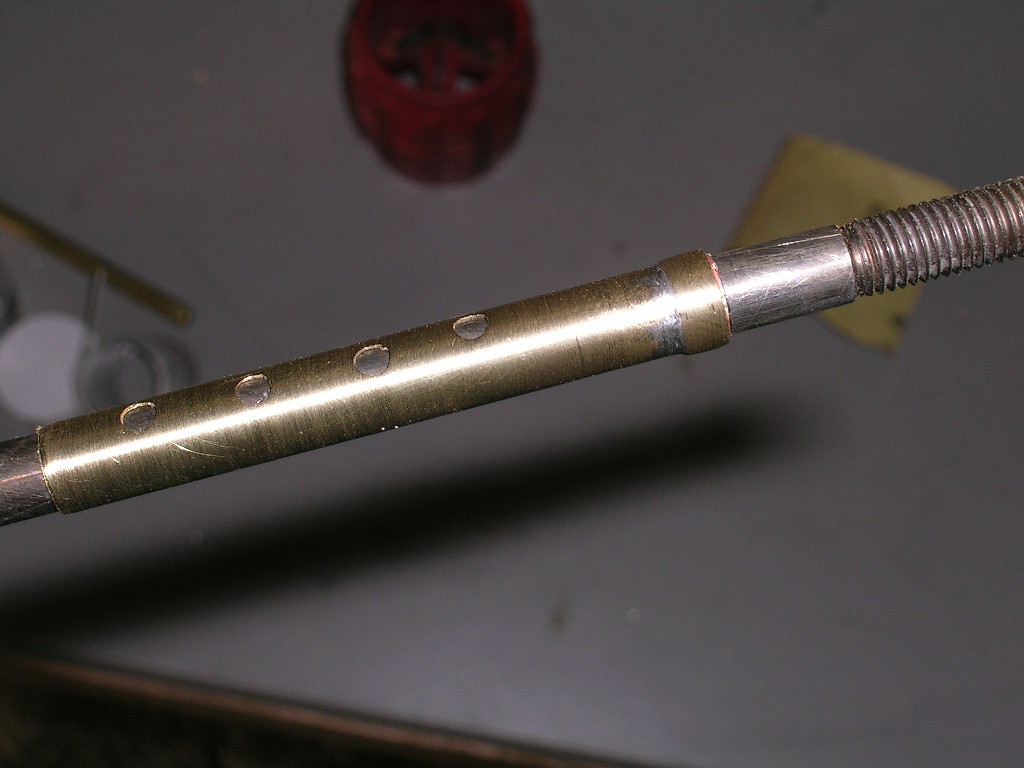
The next step is to solder the ring to the busing. Use a small torch and good quality
solder. I like to use Stay Brite silver solder and flux for this. Try not to
overheat the bushing. Use only as much heat as is required to get the solder to
flow.
Once the ring is soldered and the bushing has cooled, use deburr the ends. Cross-drill
and finish up as explained earlier. Then proceed to test fitting in stuffing
tube and on prop shaft.
Happy Boating!


