How-to Article ...
Make a simple and effective stinger muffler for your boat!
 Everyone knows that these days, one of the major concerns regarding radio controlled gas boats is noise. Some clubs have noise level regulations that must be respected, others don't. Some boaters aren't members of a club at all. Either way, if we don't make an effort to keep the noise levels of our boats at a minimum, sooner or later someone will complain about it…and that's only one reason clubs loose their ponds, or neighbor disputes start. We must all keep in mind that, although to some us the sound of a high revving engine can be like music to our ears, for others it can be very unpleasant! That said, let us take a look at how one can easily make his/her own muffling device at very little cost using readily available items.
 Parts needed:
-A small aluminum can (a small 2.3 fl. oz. can of WD40 is great)
-Some brass or copper tubing (size that will fit over stinger of your pipe )
-Some steel wool for added muffling, if desired.
Tools Needed:
- Tubing cutter
- Drill and drill bits
- Metal saw (hack saw) or Dremel tool with cutoff wheel
- Flaring tool (optional)
- JB Weld epoxy
- Measuring tape
- File
Step 1:
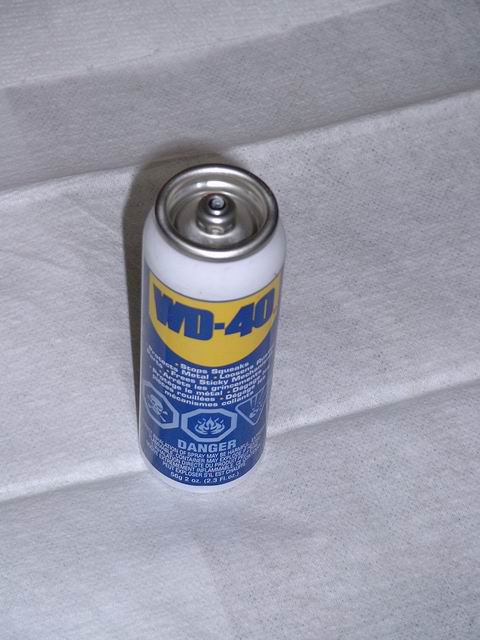
First you have to empty the can of WD-40 (or whatever can you have chosen). Do this before attempting the next step. Caution, there is pressure in the can! Make sure it is completely emptied. I transfer it to another container, and can still use the WD-40! Whatever you do with it, by all means respect our environment, and dispose of the contents appropriately.
Step 2:
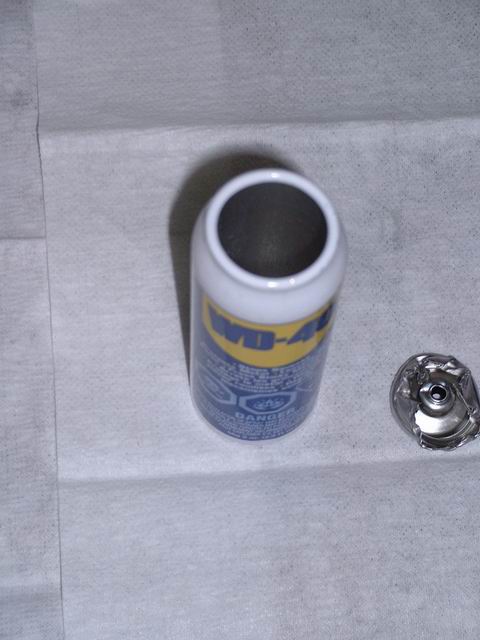
Now, start with the top of the can. To remove the valve assembly, simply unfold the lap joint around the top of the can. The entire assembly should all come off rather easily
Step 3:
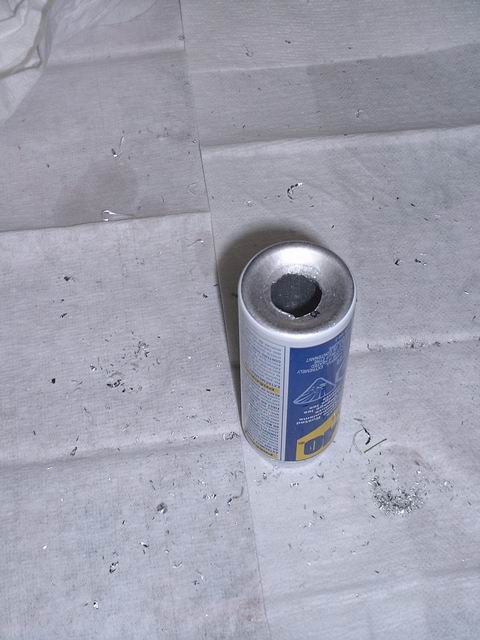
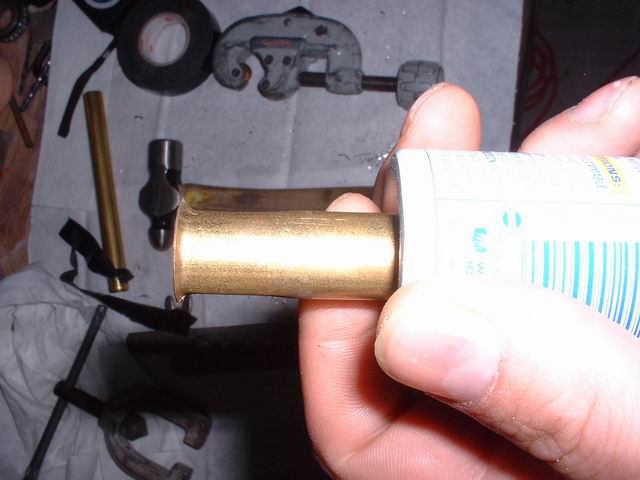
Drill a hole in the bottom of the can the proper size to get a snug fit with the brass tubing you will be using. In this example the tubing is 5/16" O.D. so I drilled a hole of that size. Now is a good time to clean out the can completely using a degreaser. Make sure to remove all drill filings at this time.
Step 4:
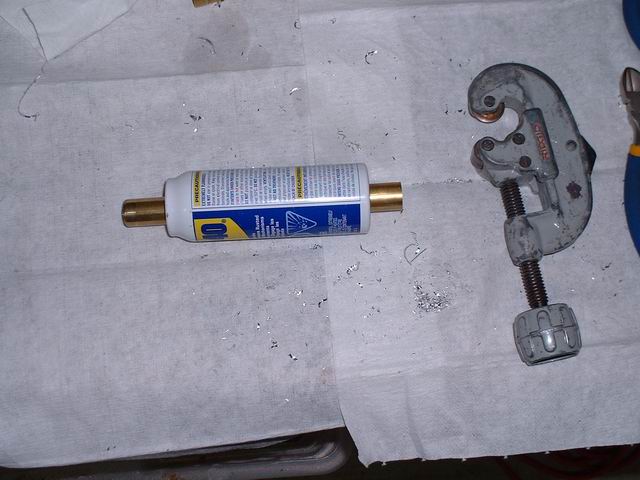
Cut the brass or copper tubing about 2 inches longer than the can used. In this case, the can was 4 ¼" long so I cut the tube at about 6". This is done with a tubing cutter, a saw, or a Dremel tool with a cutoff wheel. If you have a flaring tool, flare one end of the tube. This end will be the outlet. If you don't have a flaring tool, it's not a problem and the performance of the muffler will not be affected..
Step 5:
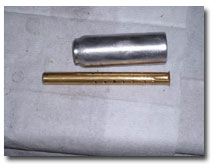
It's time to cross-drill numerous holes in the tube. Make sure to drill in the section that will be INSIDE the can. I used a 1/8" drill bit for this. I made about 20-30 holes in the tube…4 rows of holes, but no exact science here. It just gives me good results like this…at the cost of these units you can make several with different configurations and find what works best for your application. Make sure to clean tube completely and remove all metal shavings.
Step 6:
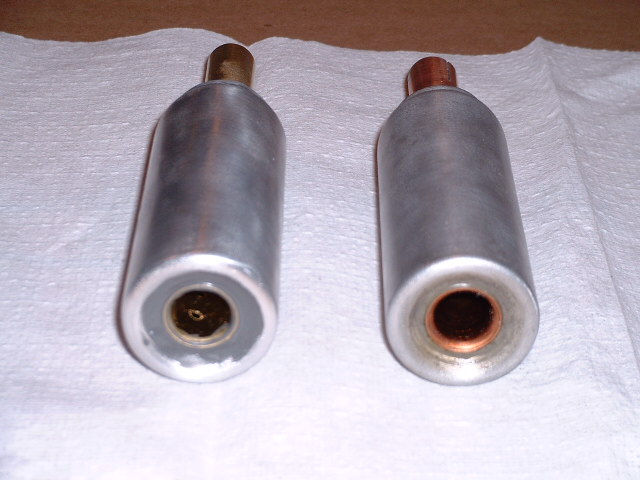
Assembly. There are many ways of doing this. The bottom line is you have to JB Weld the tubing in the can, as centered as possible. Simply push the tube in through the hole drilled in the can. Put a little JB Weld on the flare end of the tube and pull the tube through until the flared end is flush against the can. The tube is now sticking out the nozzle end of the can. Use something to center it in the opening and let the JB Weld set (if you're going to use steel wool as extra muffling, put it in now). Use JB Weld to seal the opening around the tube at the inlet end. I used a little steel wool here as filler to hold the JB Weld and help fill the gap. One could also use a washer for a neater finish. Now let everything set and cure properly (overnight at a minimum). Assembling can all be done in one step if you wish, but it is easier in 2 steps. Note it is important to use the JB Weld brand of epoxy, not the JB Kwik or another epoxy. JB Weld is formulated to handle temperatures up to 600 degrees, which is necessary for an exhaust muffler.
Step 7:
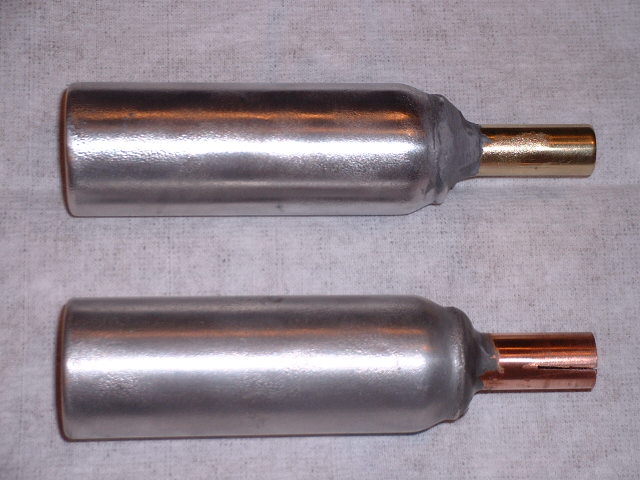
All that's left to do now is to cut the tubing at the inlet to the desired length, and cut two or more slits in the tubing end to allow it to "squeeze" on stinger when clamped. A simple hose clamp will do.
*** I buffed the paint off mine with a wire brush and hand grinder, this gives it a nice finish. I did this before assembling. It could also be polished once completed.
It should look something like this…ENJOY!

