How-to Article ...by Eddy Barnes

In this article Eddy Barnes explain how to custom fit a radio box to a hull...
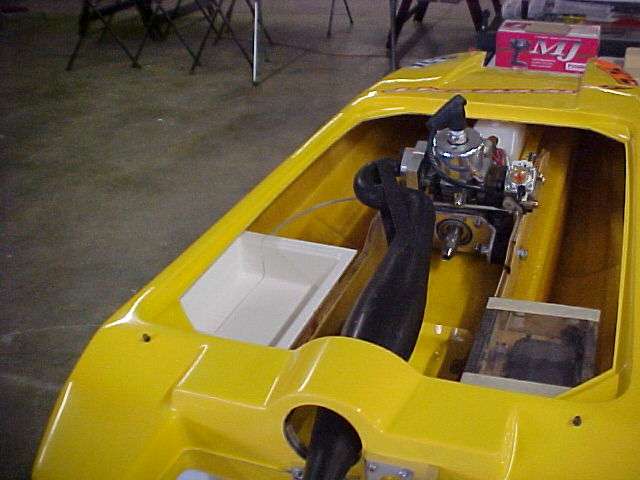 Sometimes
it is hard to find the right size Radio Box for a specific application, so it
may be necessary to modify an existing one. In this article we will demonstrate
how a standard Aeromarine radio box is modified by reducing its width by ¾", to
allow it to fit in the sponson of the Teamstrike Supercat. The same procedure is
applicable with virtually any fiberglass radio box on the market
today*.
Instructions
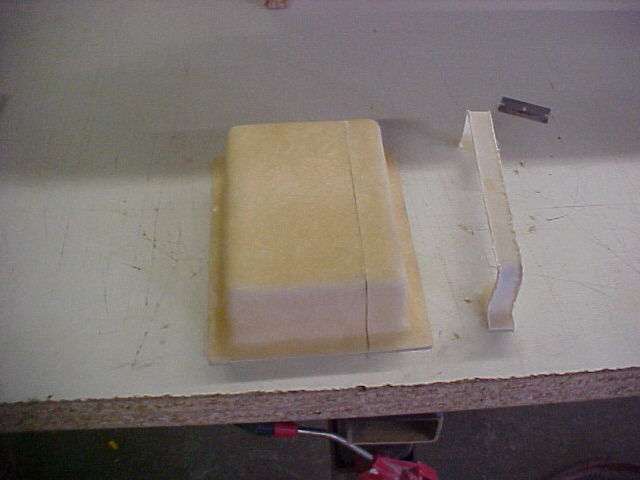 First off, determine the amount you need to remove from
the box's width, length or height for your
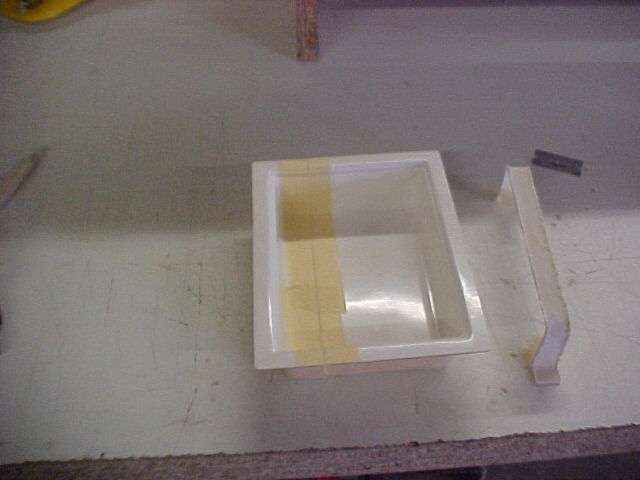 application**. In this case we will
be removing ¾" from the width of the box. Mark this across the outside of the
entire box (the raw fiberglass side). To make it easy in this case a piece of ¾"
tape was used to identify the section to be removed. Be sure to make your cut at
least ½" to ¾" inside of outer edge to insure you are left with two halves large
enough to easily re-laminate together. With a rotary tool and cut off wheel,
carefully cut along the lines you made. Protective eye wear should be worn along
with a dust mask to protect your self against the fiberglass dust particles.
Tape the 2 halves together from the inside (usually gel-coated surface), leaving
a 1/16th inch between the 2
halves. This space will be filled with resin during the reassembly and will make
for a very solid joint. Make sure the tape is firmly bonded to the surface
without air bubbles. Pay special attention to the corners and the recess for the
lid. This is a very important step!
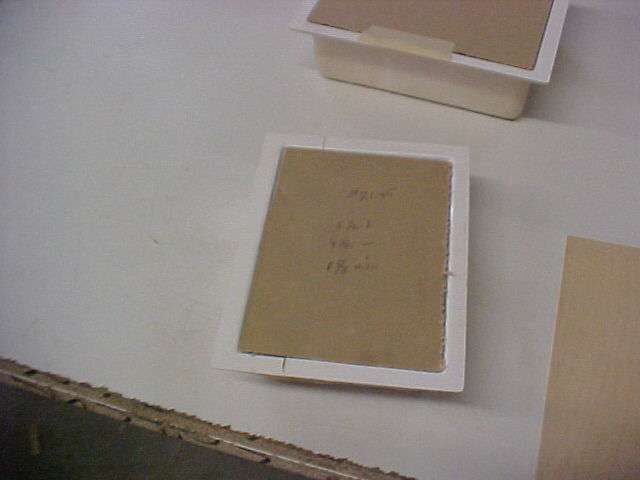
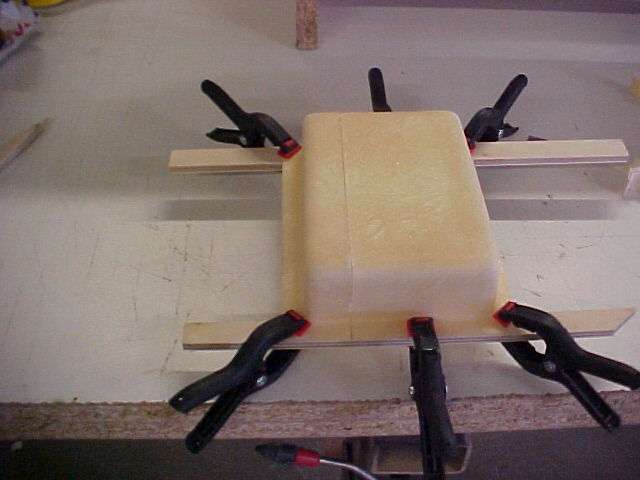 Next, carefully clamp the flat, tape flange of the Radio
Box to some paint sticks or stiff pieces of wood (see pic to left). This will
help keep the whole assembly straight for laminating and assure that surface for
the lid tape will be straight and even.
Sand the area around the seam (on the outside of the box) and clean with acetone to insure a good, clean surface for proper adhesion.
Mix up
a small amount of polyester resin (available at auto 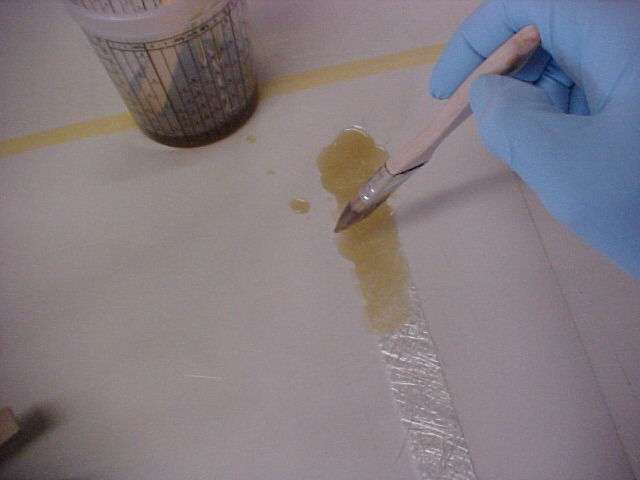 parts
stores, and some department stores) and cut a strip of fiberglass cloth. Make
sure the piece of fiberglass cloth is long enough to over hang the Radio Box and
overlap the seam sufficiently (½" or so each side).
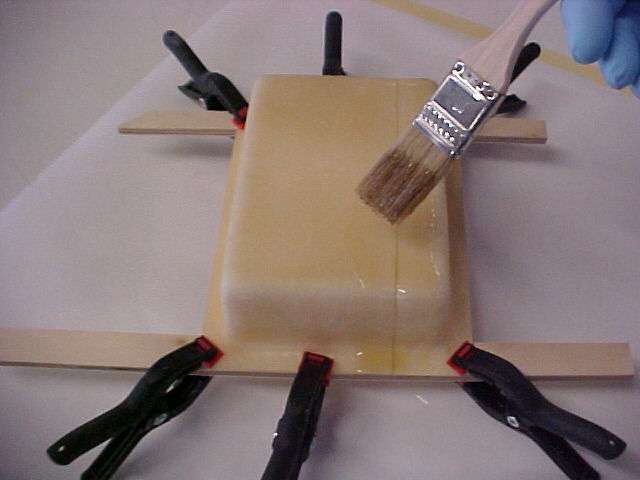 Wet out the surface of the box that was just sanded and
fill the gap with polyester resin. This is where it is important to have done a
good job taping the inside of the box. If the tape was applied properly, without
creasing and without air bubbles, there will be no need for any further inside
repairs of the radio box when tape is removed later.
Now,
wet out the pre-cut strip of fiberglass cloth with the resin. Lay the strip on
the box, over the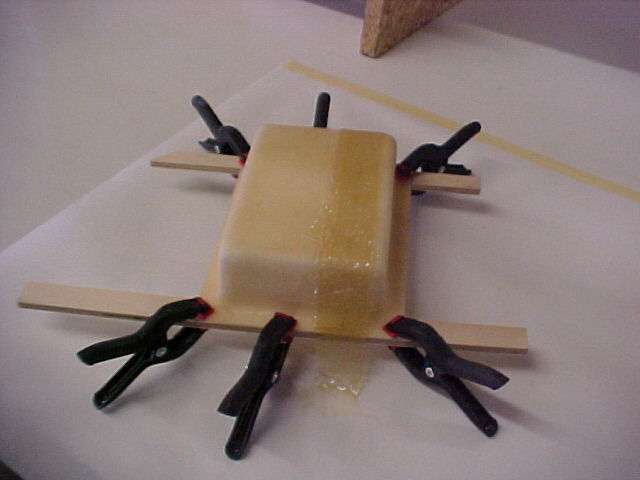 seam and
dab with a brush to remove air bubbles and make smooth with outside curved ledge
of the box. Let dry over night
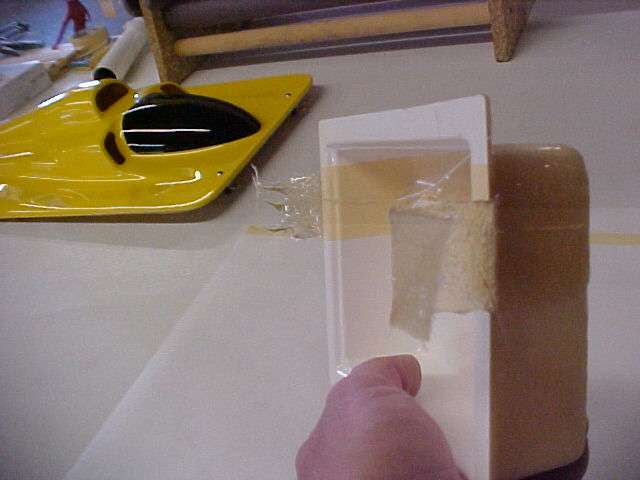 . The next
day or when cured, carefully trim off the extra fiberglass strip with a rotary
tool and cut off wheel. At this time you can remove the masking tape from the
inside of the box. If you were successful with your taping, you should have a
smooth evenly filled seam that needs no further work.
If
not, a little sanding may be required to get the surfaces even, especially the
area were lid sits and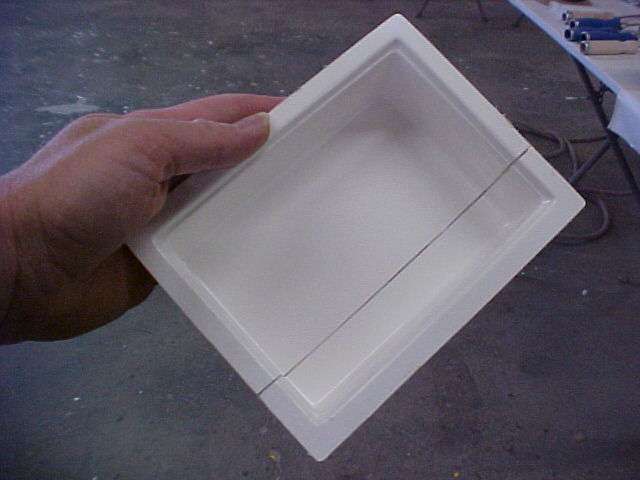 were the
radio box tape seals.
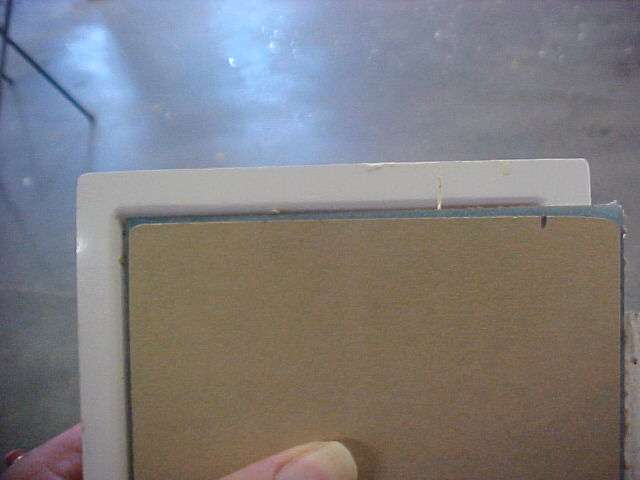 It will also be necessary to cut the Lexan cover to fit
the modified radio box. A simple way of doing this is to position the lid over
the new radio box and simply mark the width of the opening on the lid with a
pencil. When cutting the cover, leave the protective paper on (if applicable) to
protect against scratches. After you have cut the Lexan cover to the proper
size, you will have to bevel the edge approximately 45 degrees to match the
other three sides. When marking the lid for where to cut, mark it slightly wider
than actually needed, because once you've beveled the cut edge to 45 degrees,
you want the cover to fit snug in the box and not be too loose. Easier to remove
a little at a time, than to try to add material you removed.
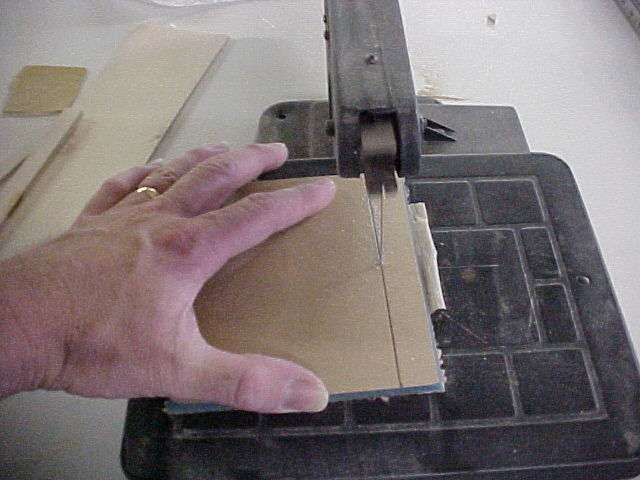
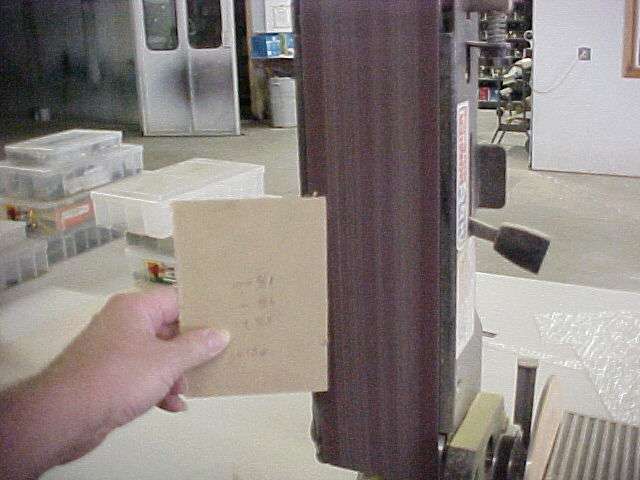
That's it! You're done!
*Special care must be taken to assure the resin type used is compatible with that of the radio box (ex: polyester, epoxy).
**This modification can be used width wise, length wise or even depth wise if necessary.
ed. Marc Levac

