Hobby Machinist Article ...
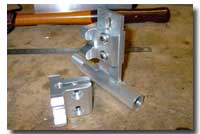
This short article will show how involved it can be to make a simple piece on a milling machine.
For my next project, an Insane Cat, I need a strut bracket for an existing strut. I want to use an MTC-strut with skeg.
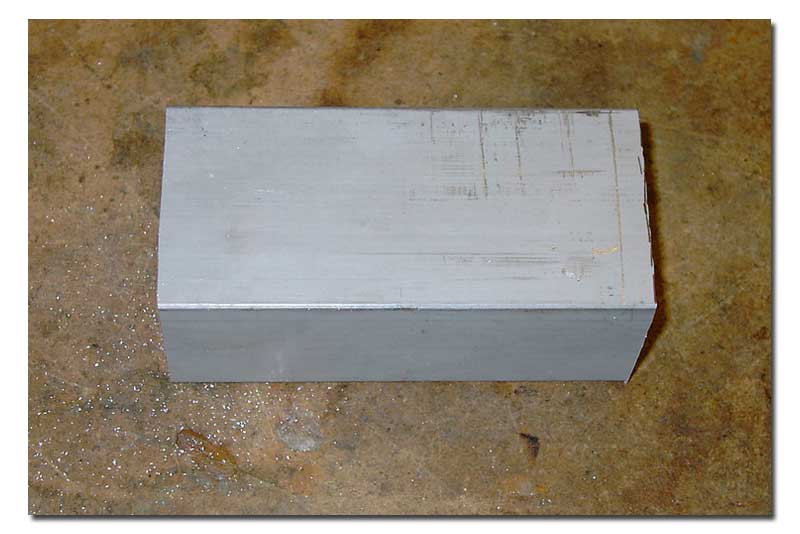 The first picture shows the basic aluminium block used for the work. I decided to make 2 brackets from one block, so it would be easier to clamp the part during the milling process.
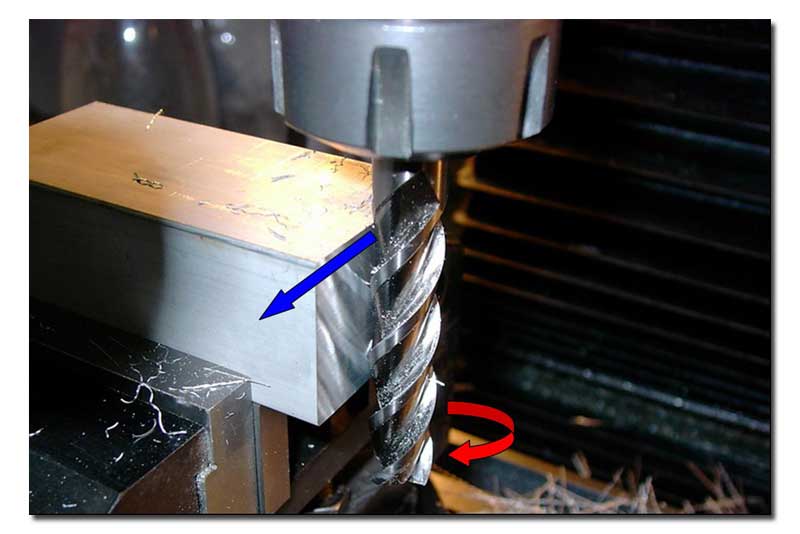
The first step is to face and square the sides of the block. I use a finish cutter for that. I begin by removing as much material as I need to get a flat surface. Here it is really important to machine with a counter moving work item. In other words, you pull the aluminium against the rotation of the cutter.
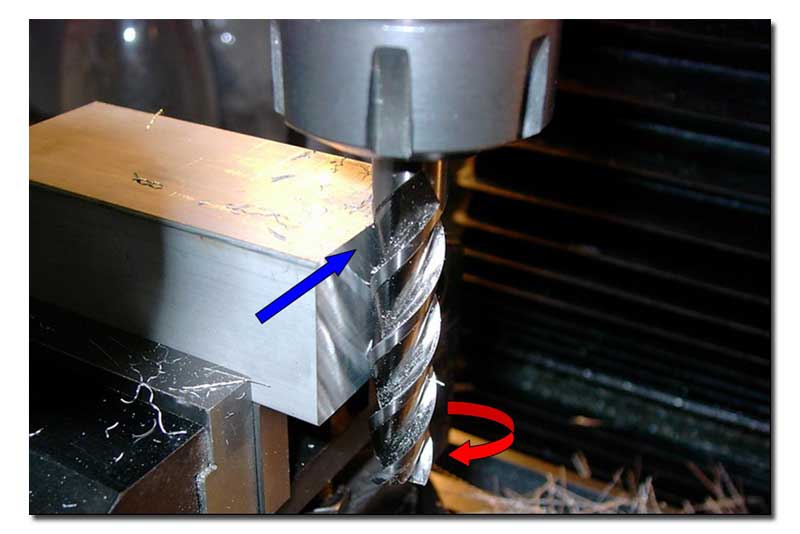
Next step is to get a smooth surface on the squared sides. I do this with the same cutter, but now I push the aluminium in the same direction as the cutter is turning (pic 3). For this operation it is absolutely necessary to use very fine in-feed. Otherwise the cutter will “bite” into the aluminium and the destruction of your work item or tools (up to the milling machine) is possible!
The result is a square and smooth surface. I repeat these steps with the opposite side.
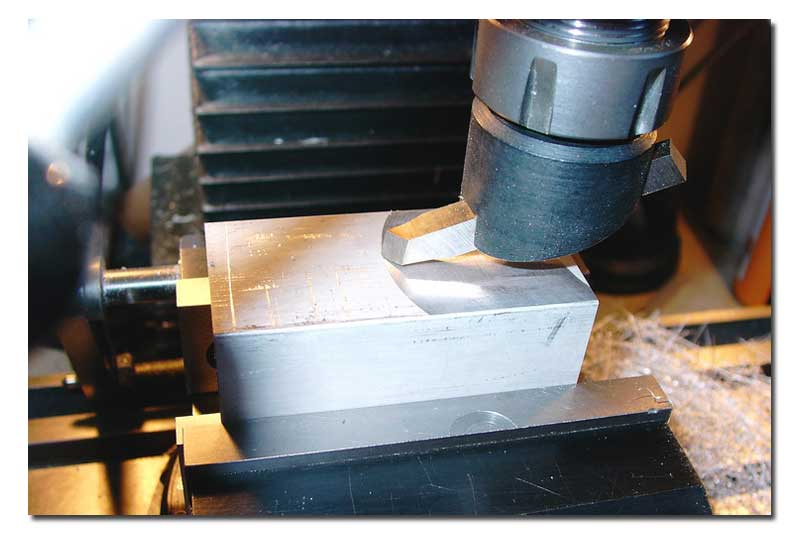
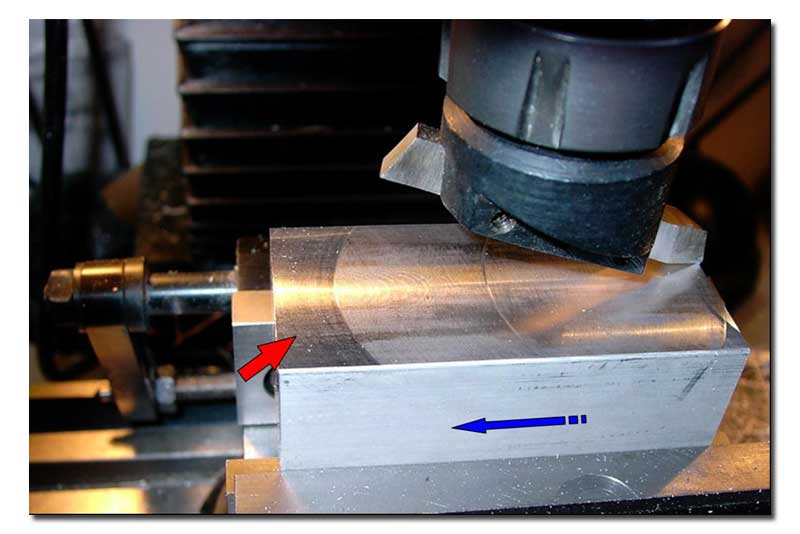
The next step is to face the other sides. This is a little bit easier as I don’t have to remove much material and I can clamp it easily with the vise. I do this job with a special tool, a flycutter. This cutter cannot remove much material, but it does a smooth finish on the work item with high rpm’s of the cutter. Be sure that all screws are fixed well otherwise the cutter could fly away from the holder. I try to remove only as much material as necessary to get a plane and smooth surface. But I also remove as much material as I need to get the dimensions of the block I want (pic 4). It is very important for the last operation to move the work item in the direction of the blue arrow. You can see the result on the left side (red arrow).
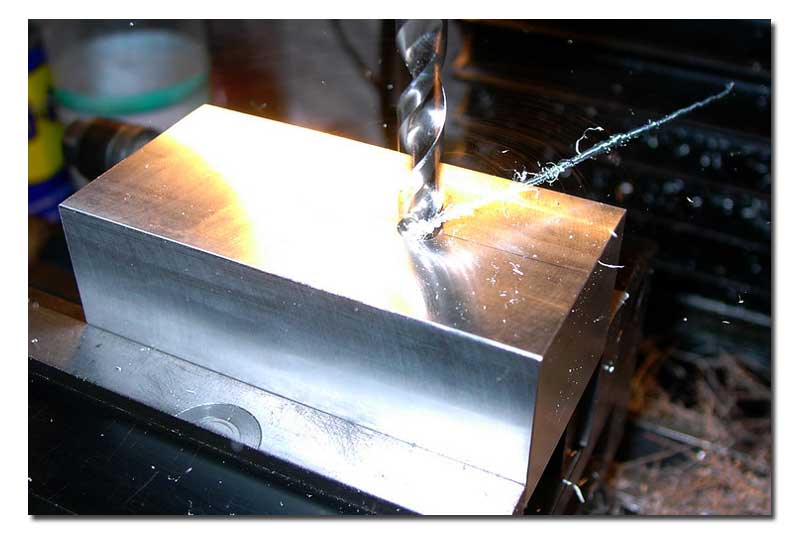
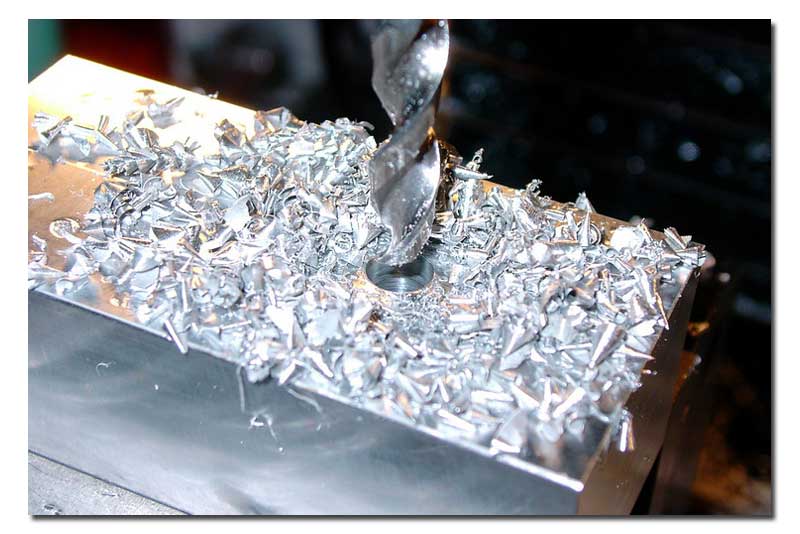
Next step is to mark a centreline and drill two holes with exactly with exactly the required distance from the side (pics 6 and 7). The holes will allow the bracket to firmly grim the strut blade.
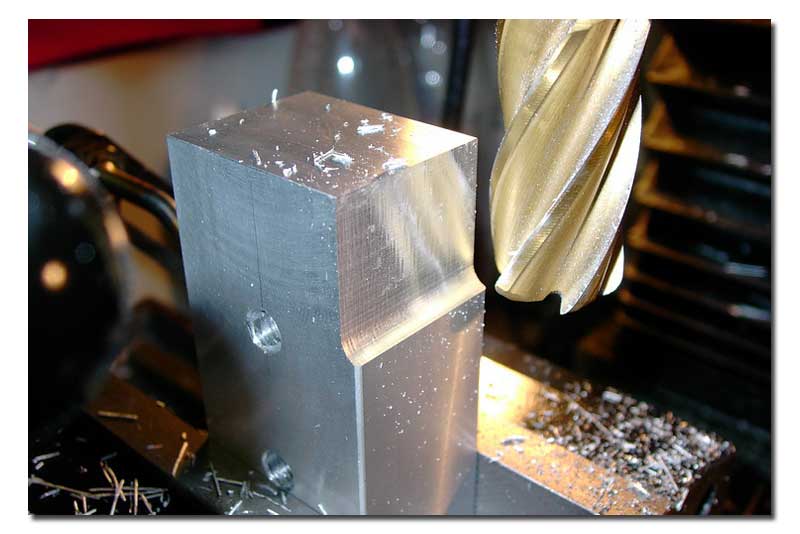
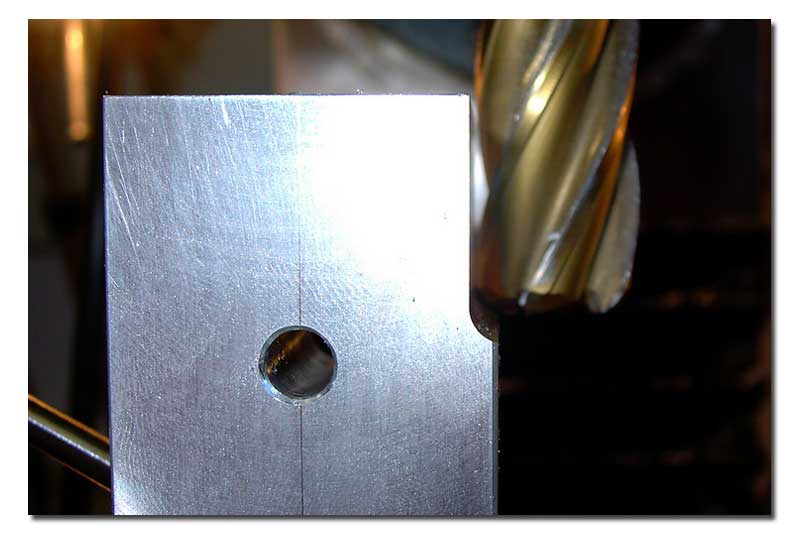
After that I remove material from the sides to get the design I want. For this I use a special cutter. It is a cutter with a big diameter (7/8’’) and rounded tips (pics 8 and 9).
Pic 10 shows how it looks like after this operation. I do the same steps with the other side. Remember, I want to make 2 brackets.
Now I saw along the centreline from the sides to the holes. I do this for the next step because I have no cutter to do the next step in one way and so it will be easier (pic 11).
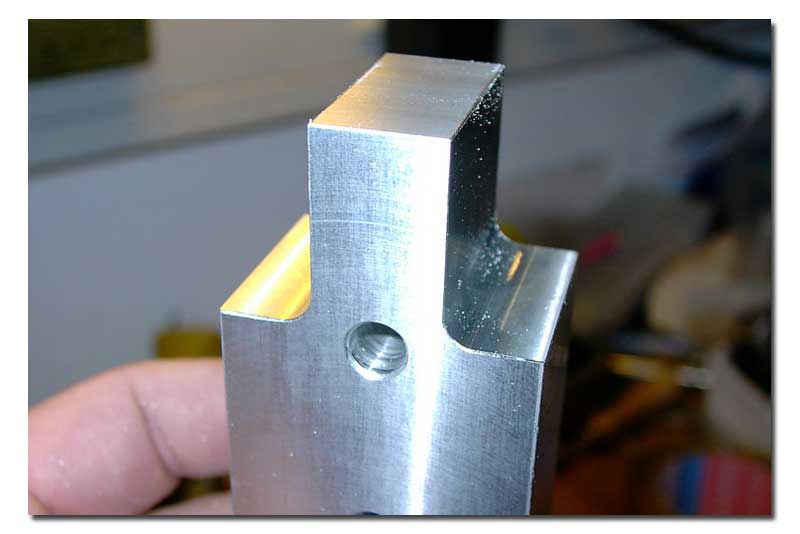
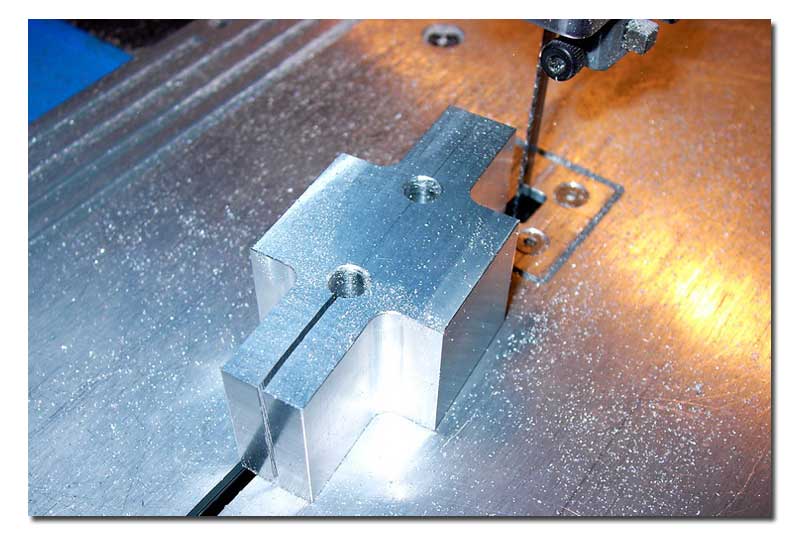
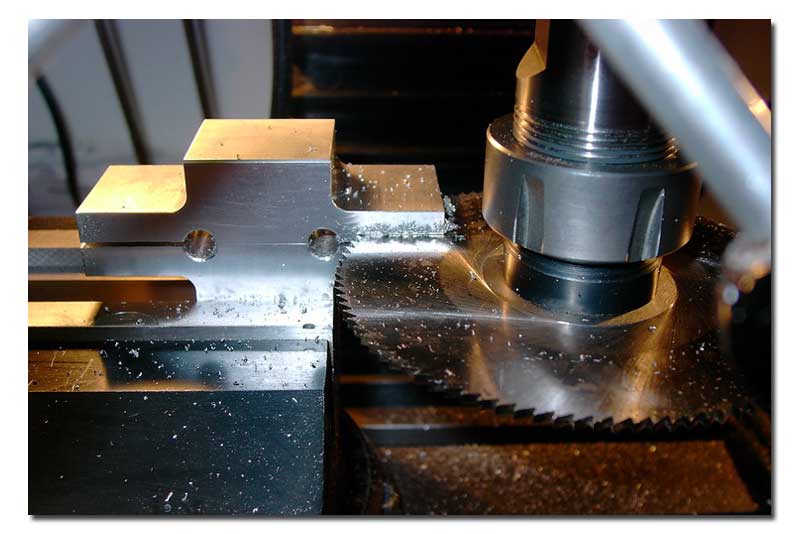
The next step is to cut the slot where the strut will fixed. I make this with a disc-cutter. In fact, my cutter is only half the thickness I need the slot to be, so I have to cut the slot in two steps. That is the reason I saw the work item before so the disc cutter has a little bit more space. On pic 12 you can see why I make 2 brackets from one block of aluminium. It is so much easier to fix a bigger block in the vise.
After that operation I cut the block in 2 halves and face the backside with a big cutter (pic 13). Now I begin with the “design” or finishing of the item. All following steps are not necessary for its functionality. It is only to get a nice looking piece.
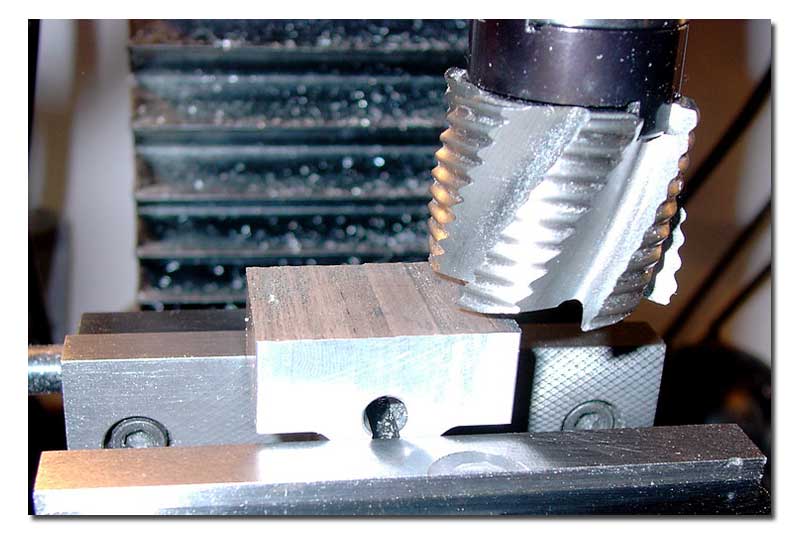
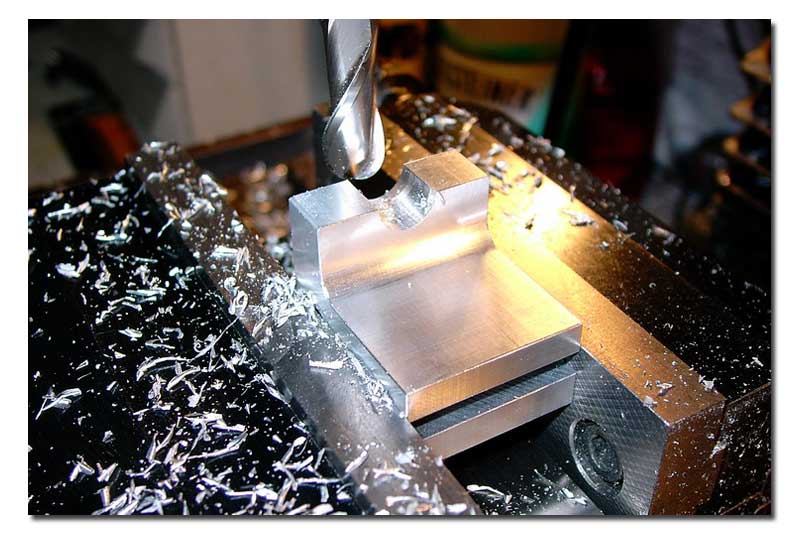
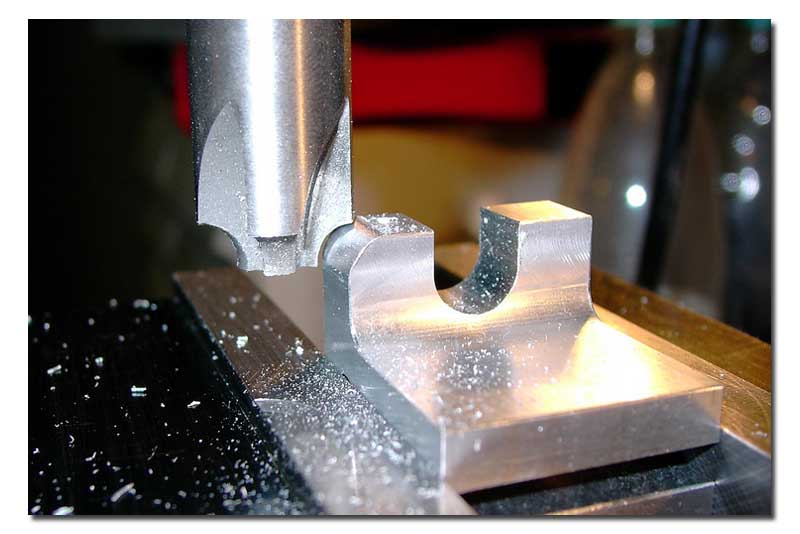
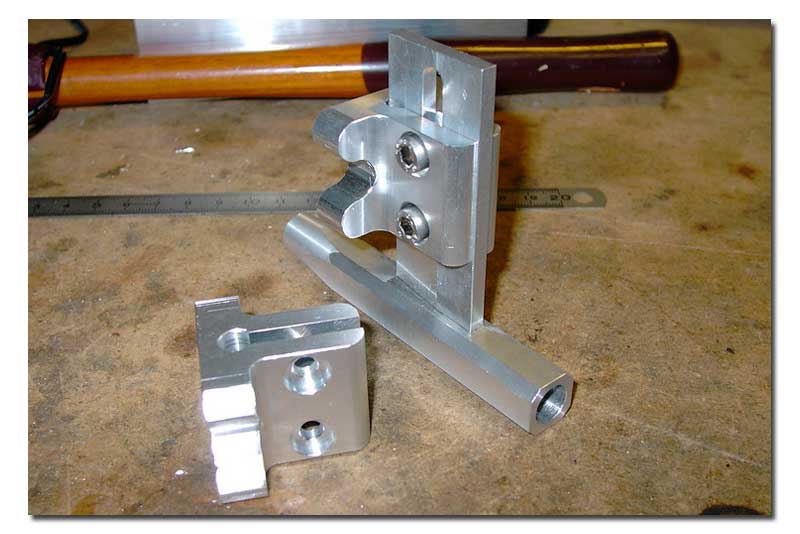
I remove material from the middle of the sides to get 4 plates for fixing the bracket to the hull (pic 14). After that I round the tips of these plates (pic 15). Rounding the flanges and drilling the holes to fix the strut completes the work. Pic 16 shows the two brackets. Now I have a bracket for my new cat and one for my new hydro. That is what the long strut in the picture is for.

