Hobby Machinist Article ...
Learn how to machine your own custom outdrive using hobby grade machines...
Since this time of year is my off season for boating I have taken on a few winter projects. One of these projects is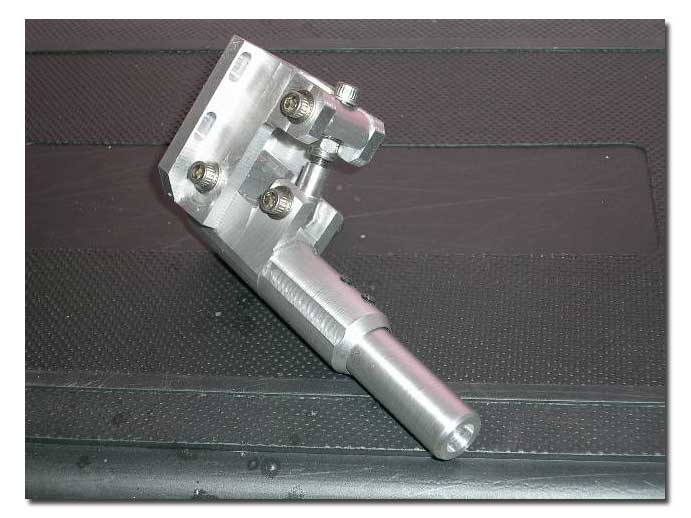 a fun boat for the summer cottage. Something that I can use to just run around in the big stuff and do some wave jumping! Anyway, I decided I was going to try and make most of the hardware myself for this boat.
This Drive is the first piece of hardware for the project. This will not be a very technical article with all the measurements and such, but more of a basic walk through of the steps I took to make the drive. I will let the pictures do most of the explaining. Keep in mind that things could be done very defferently with bigger machines, but since I am using my little Taig lathe with milling attachment to do this, I had to "work with" the machine in order to make this work. There were some compromises, but all in all I am VERY satisfied with the end results! Another thing to really understand here is that I did this for two reasons: 1- to see if I could actually do it with the equipment I have on hand. 2- for the self satisfaction of having done it myself. Unless you are willing to spend many hours at the machine to make such a part, you are better off buying one of the quality drives already availlable on the market today!
So, here goes!
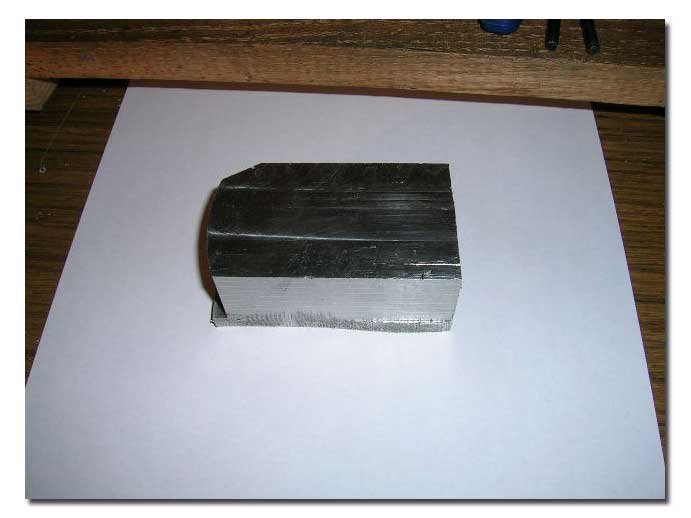
The piece of bar stock I started off with for the Barrel.
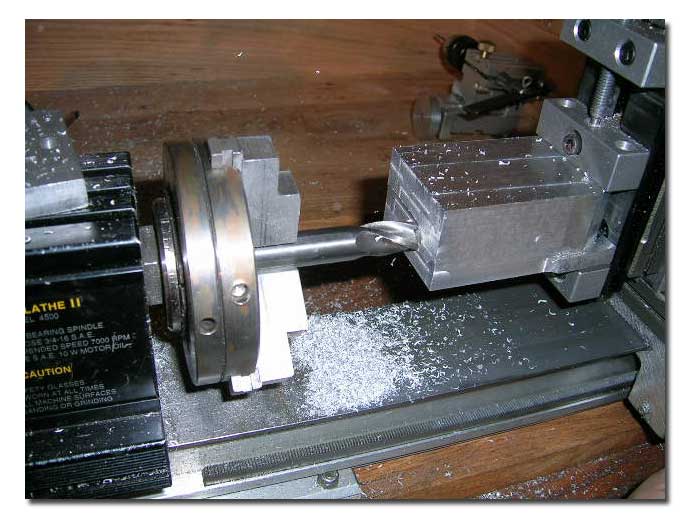
it up in the milling attachement to have flat square surfaces to grip in the 4-jaw chuck.
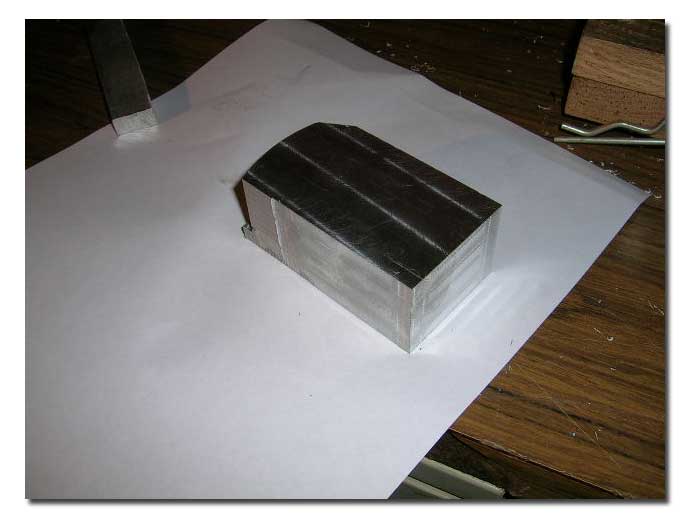
The piece ready for the turning in the lathe.
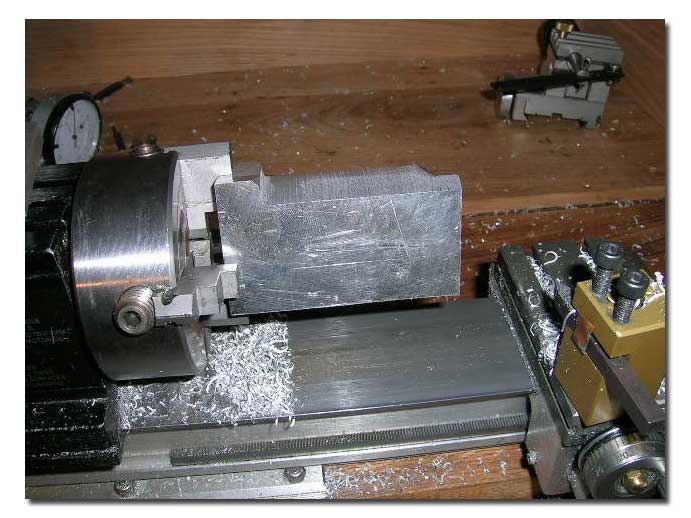
Piece in the 4-jaw chuck. The piece was mounted off center with the centerline of the of the future barel bore centered on the chuck. Because of this, the piece had to be turned at slow speed for the first steps of the work. Make sure the part is VERY well secured in the chuck. I used the slowest speed possible on my lathe for this step and it worked very well, it just took more time.
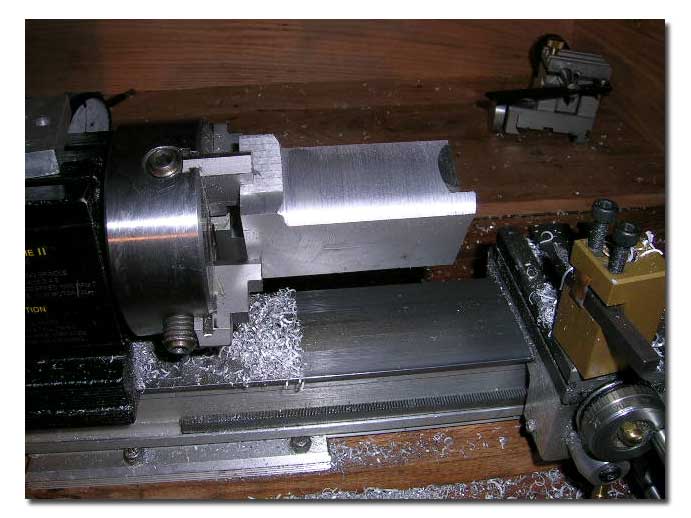
Progressing!
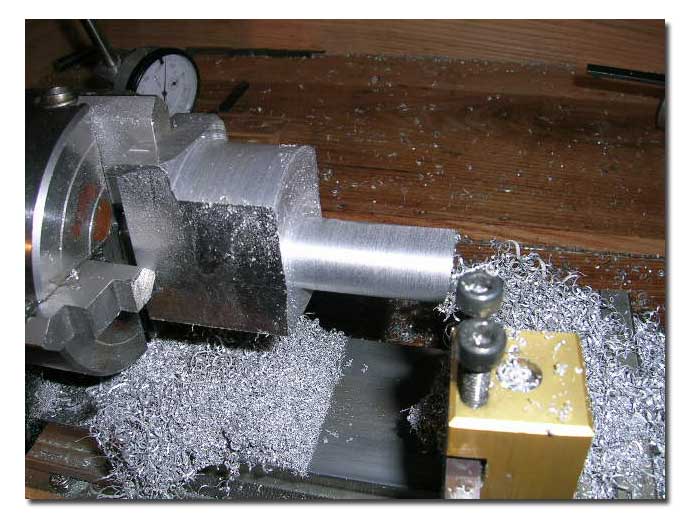
O.D. of barrel finished.
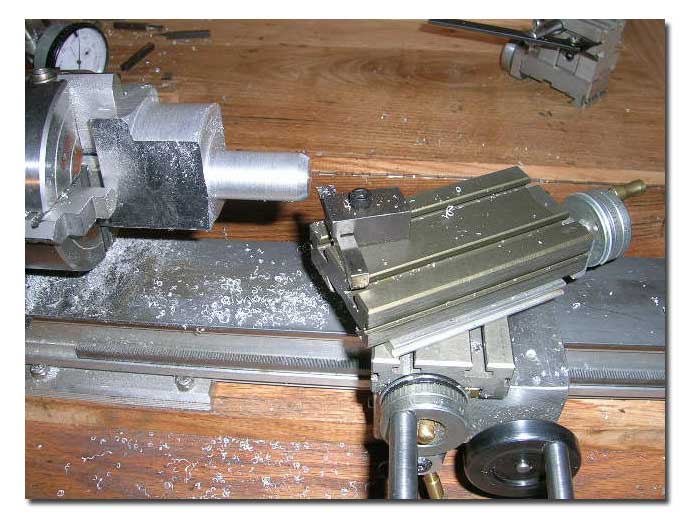
Adding a chamfer to the the tip of the barrel using the compound top slide.
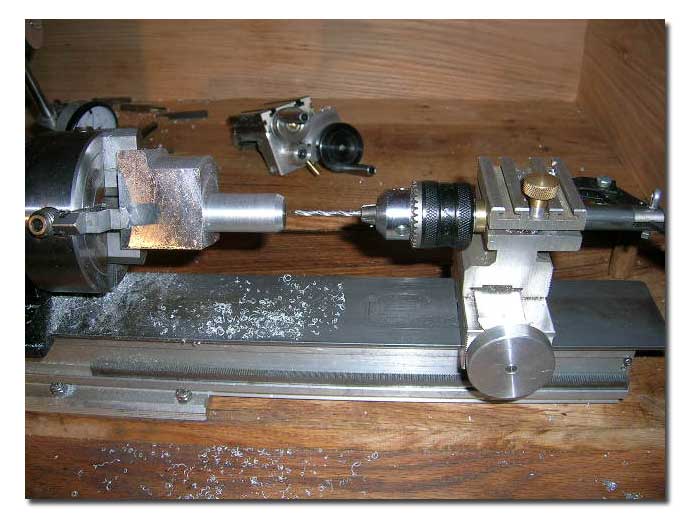
Drilling the pilot hole in the barrel.
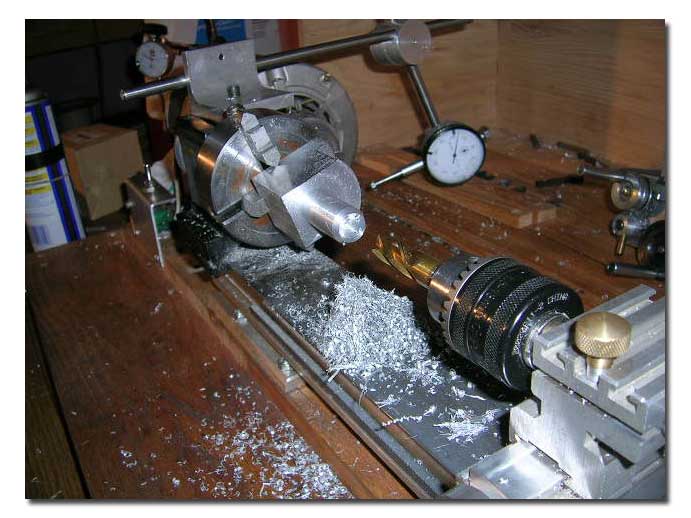
Opening up the hole with a large milling bit.
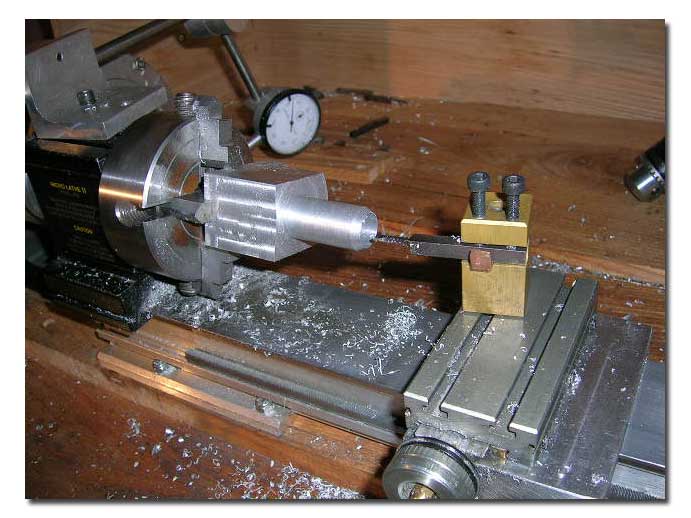
Final boring of the barrel with boring tool.
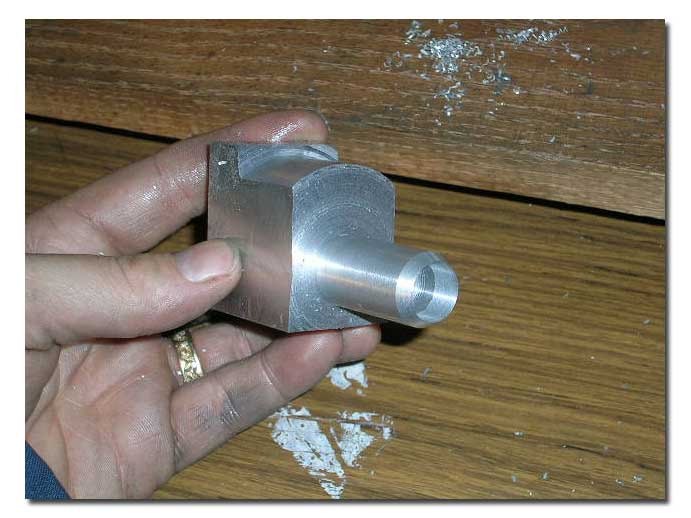
Barrel removed from chuck...ready for milling.
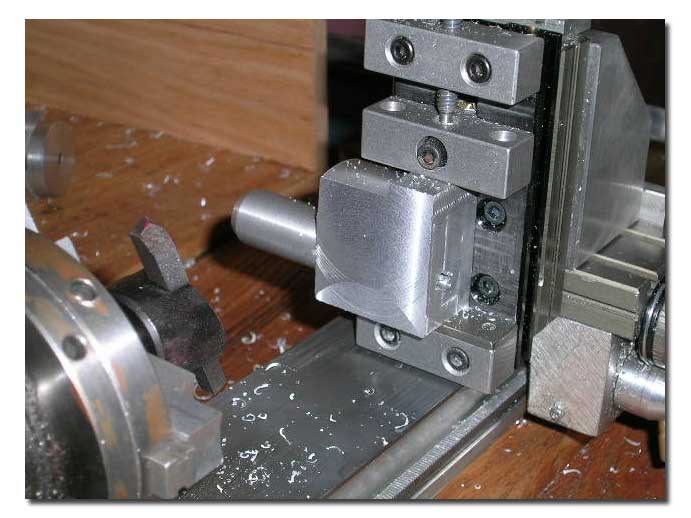
Barrel in Milling attachement, faced on one side with Flycutter.
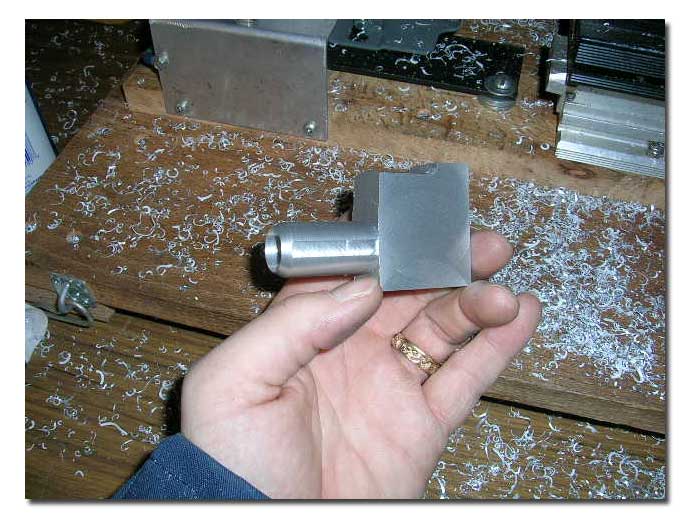
Both sides faced.
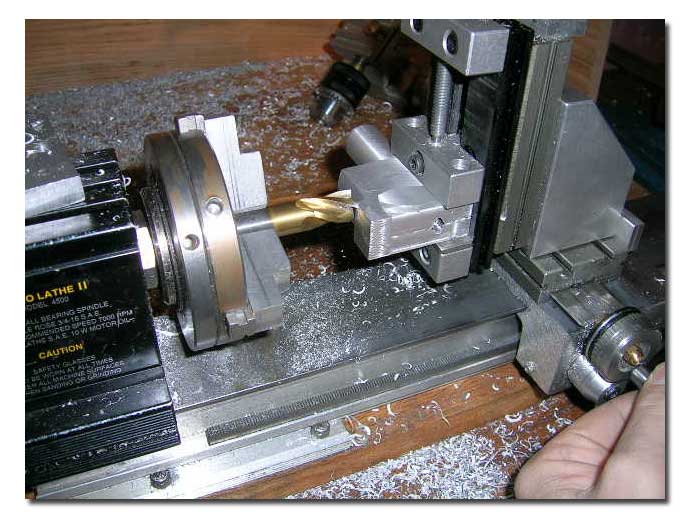
Milling the top of the barrel to correct height.
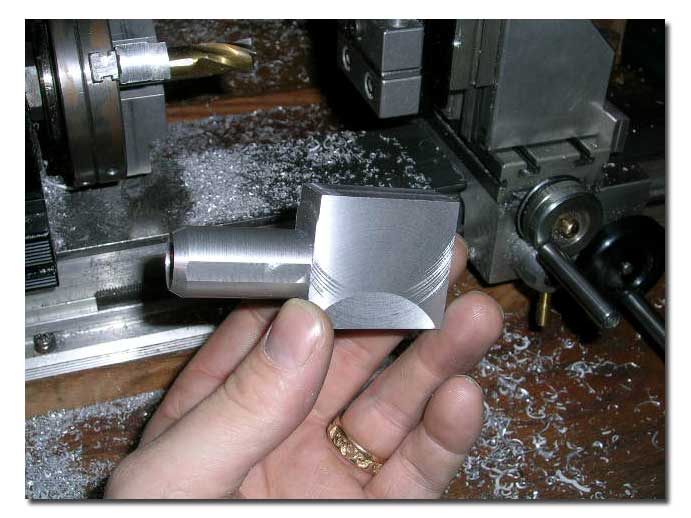
Top done.
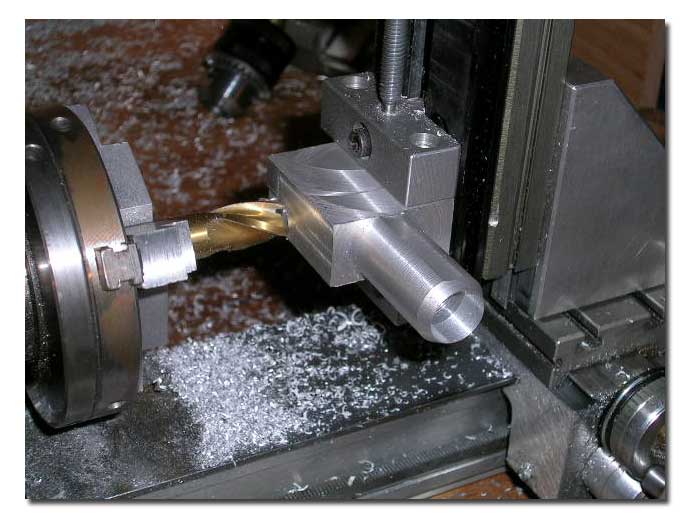
Milling the bottom flush with the cylindrical section.
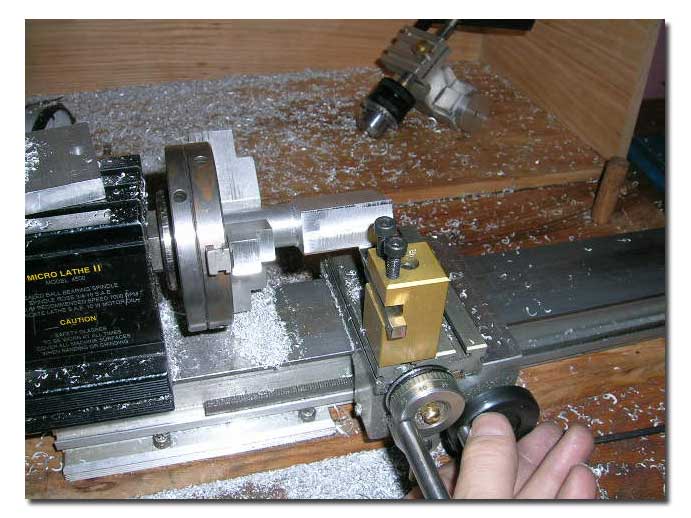
Barrel setup in 3-jaw chuck tho radius the top of the base.
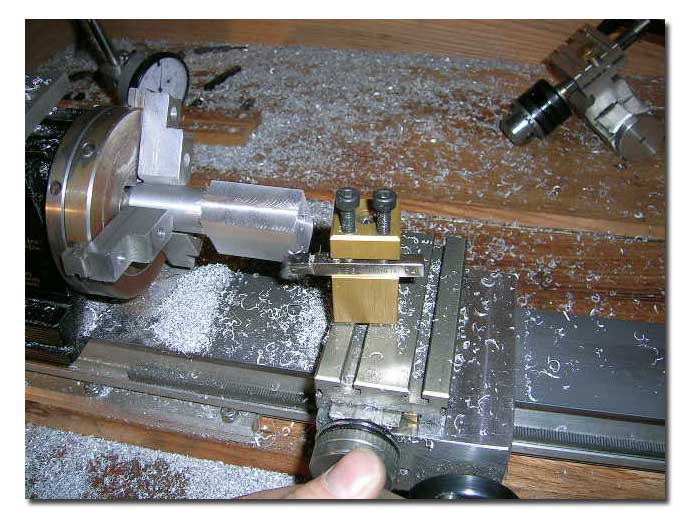
Squaring the bracket end of the barrel on the lathe.
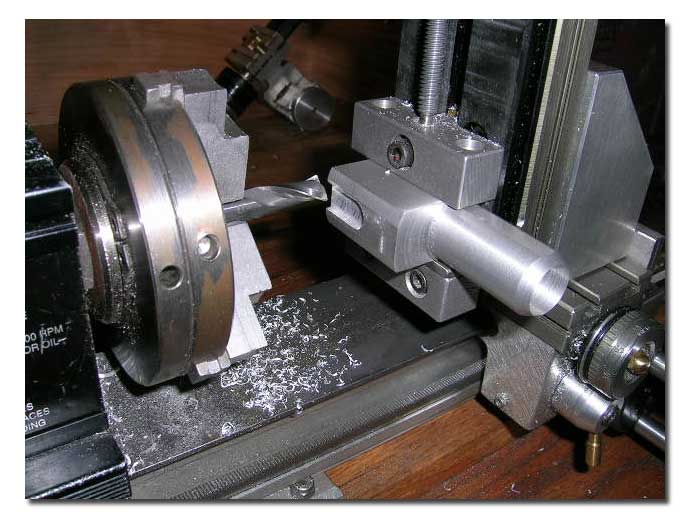
Milling the slot for the adjustment linkage.
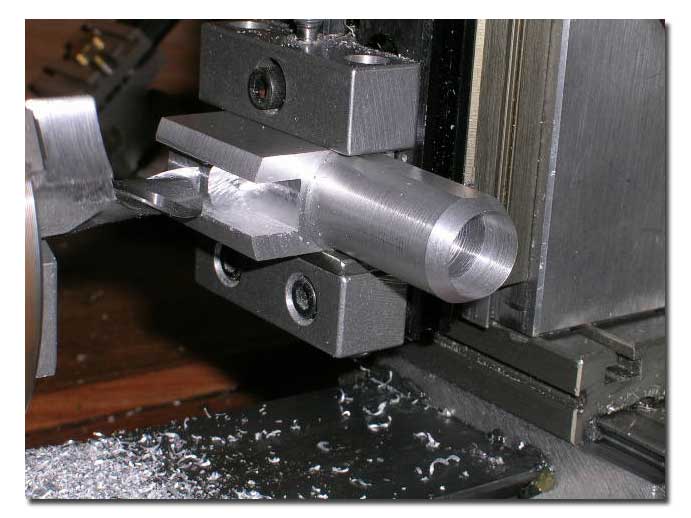
Moving on!
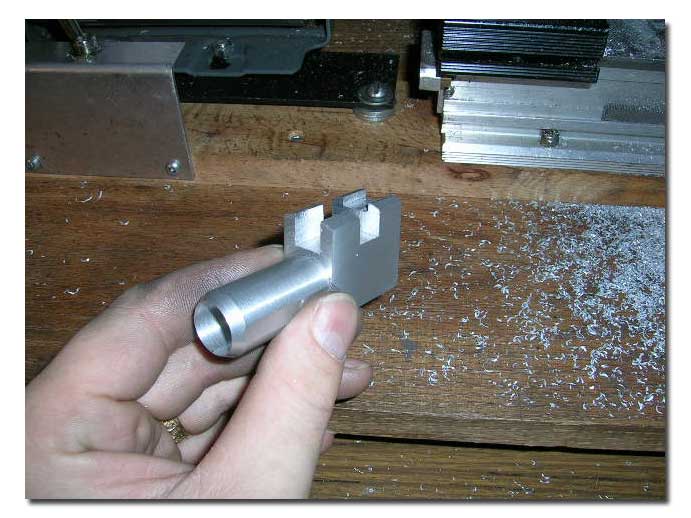
Done!
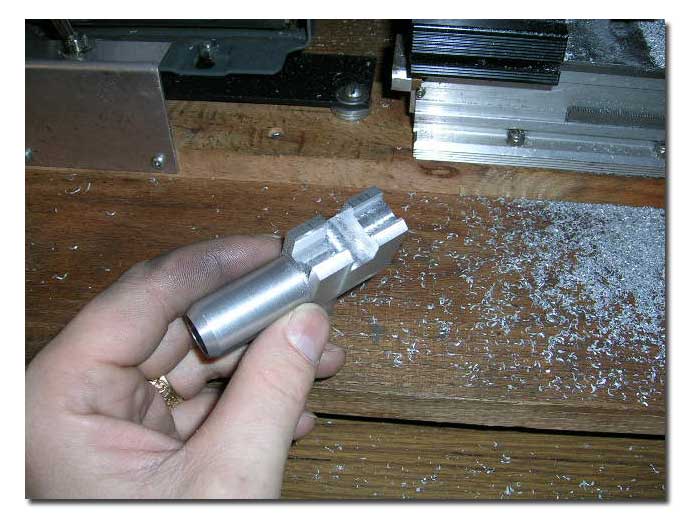
Another view.
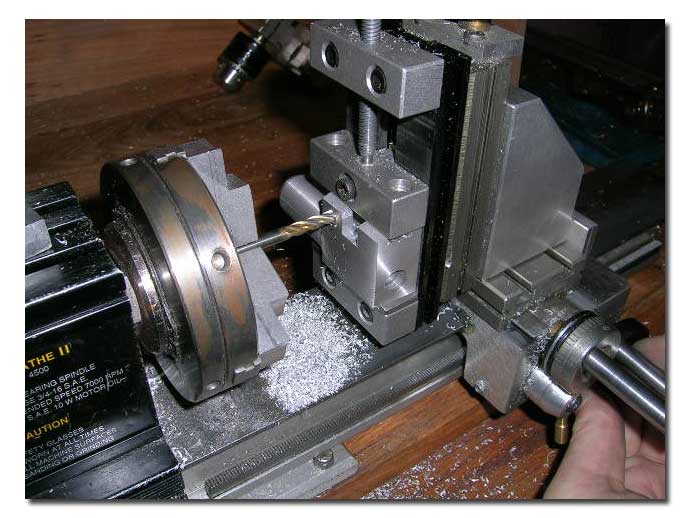
Drilling for linkage
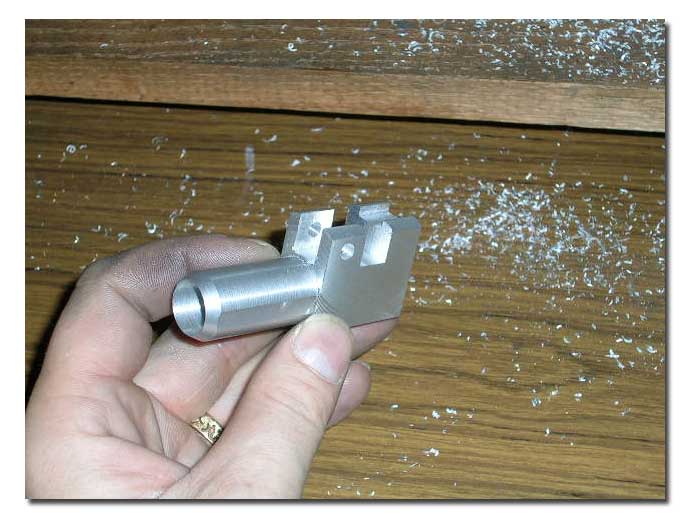
Another look
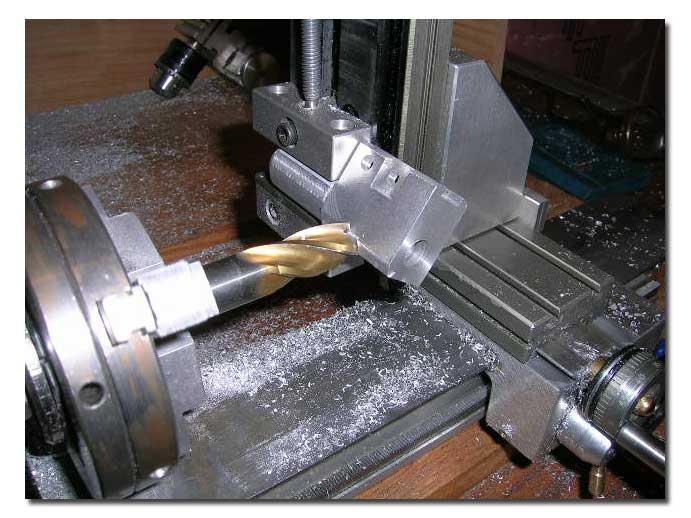
Radiusing the bottom of the base manually to match the cylinder. This required several passes at a few degrees interval.
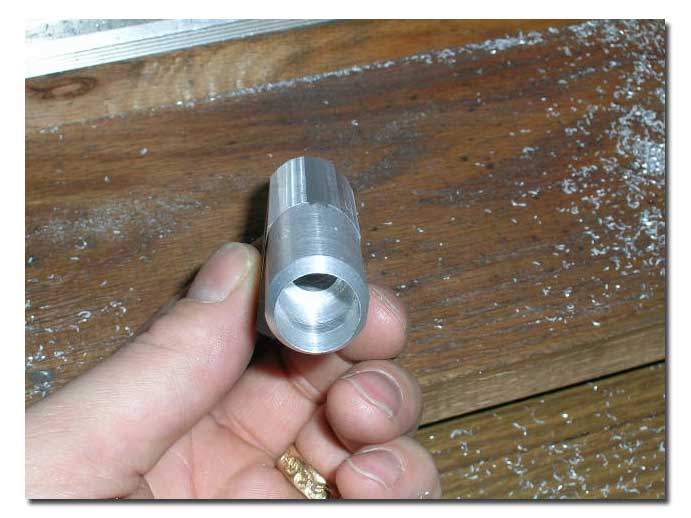
Turned out ok.
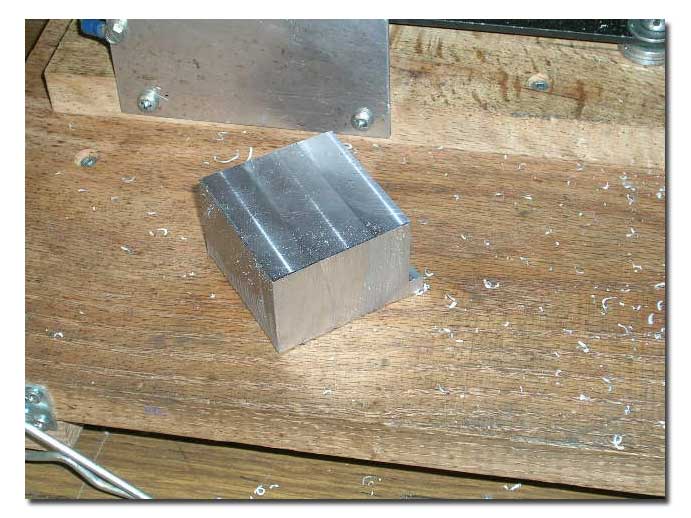
At this point I sarted making the bracket for the drive.
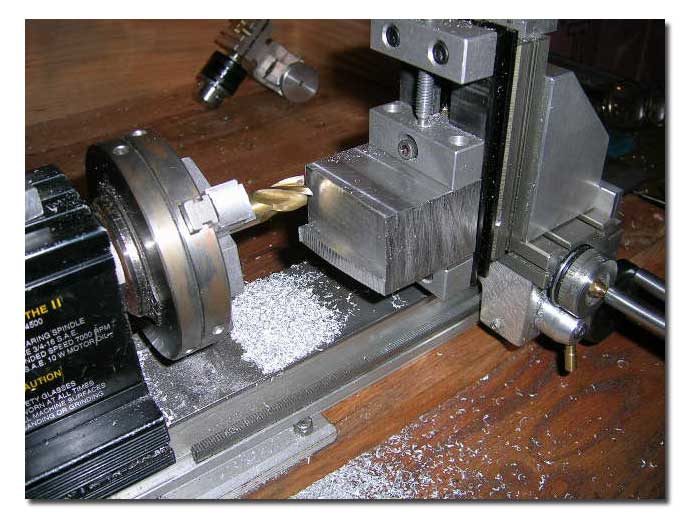
Making the piece square. (a flycutter could be used here)
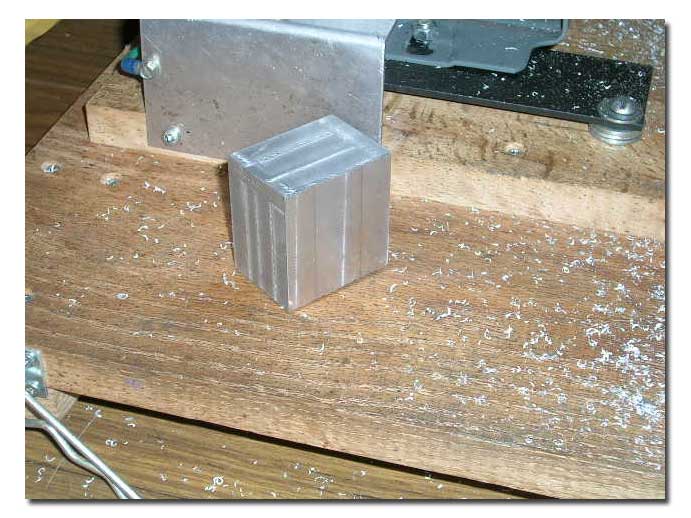
Ready to start.
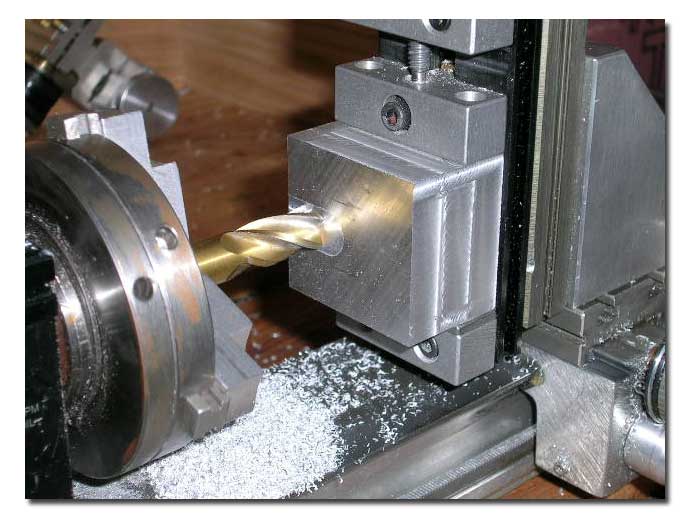
Machining the opening for the drive barrel to fit into.
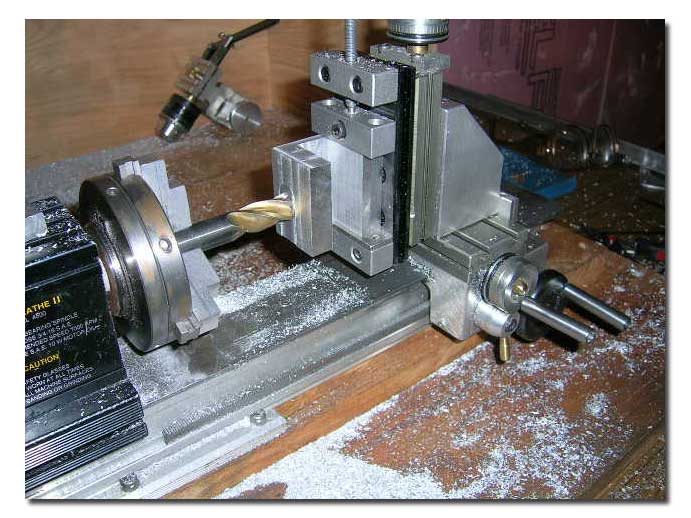
Thinning the sides.
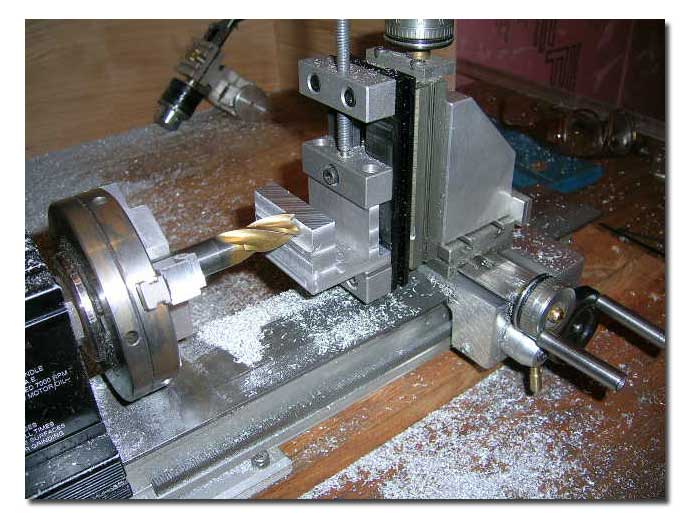
The other side.
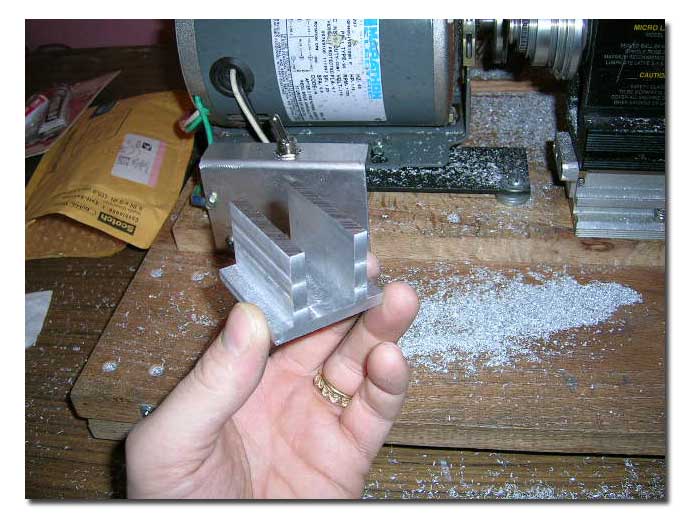
The basic shape done.
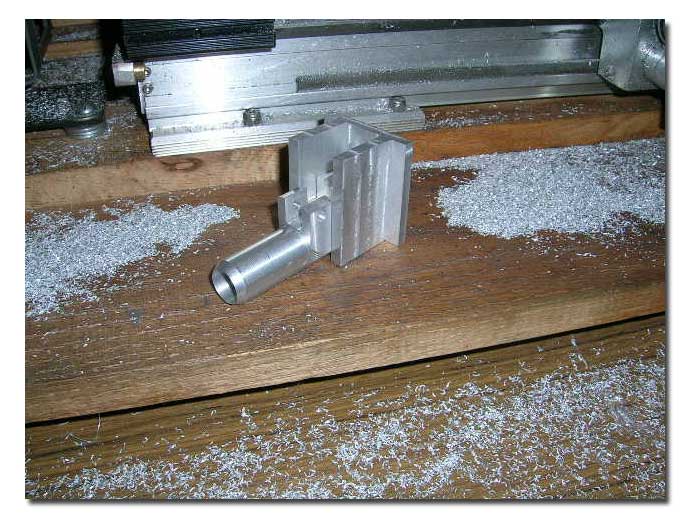
Checking the fit. So far so good!
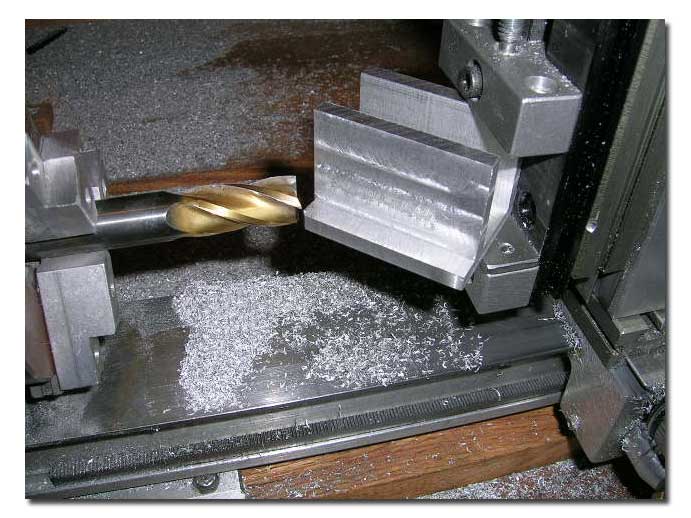
Cutting off the corners - bottom of bracket.
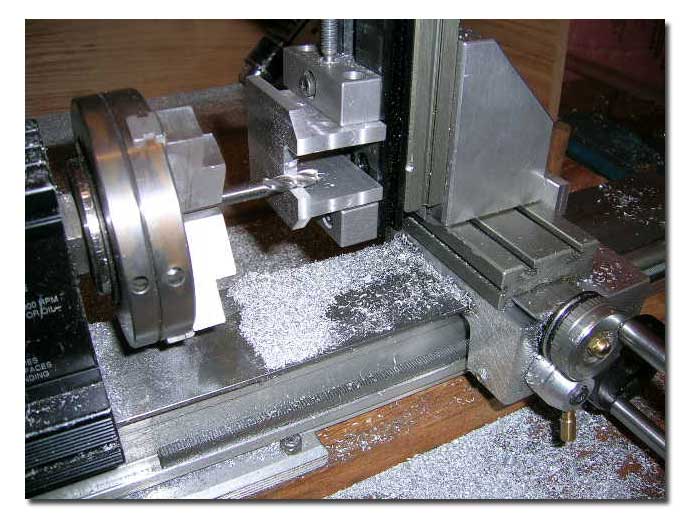
Milling the opening for the stuffing tube.
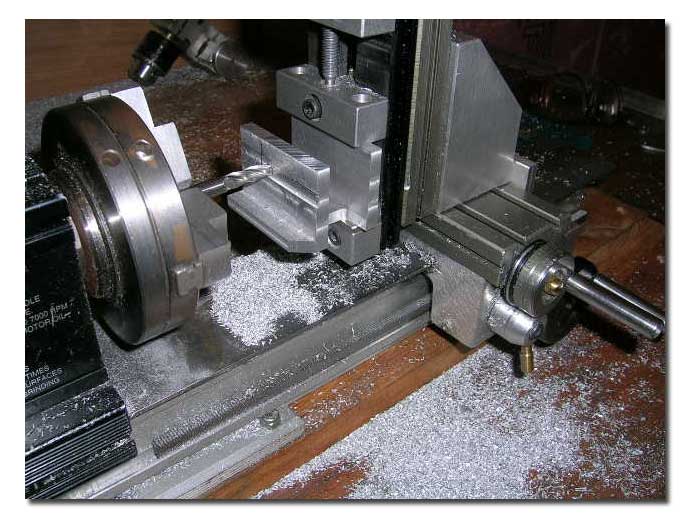
Milling the bracket sides to desired profile.
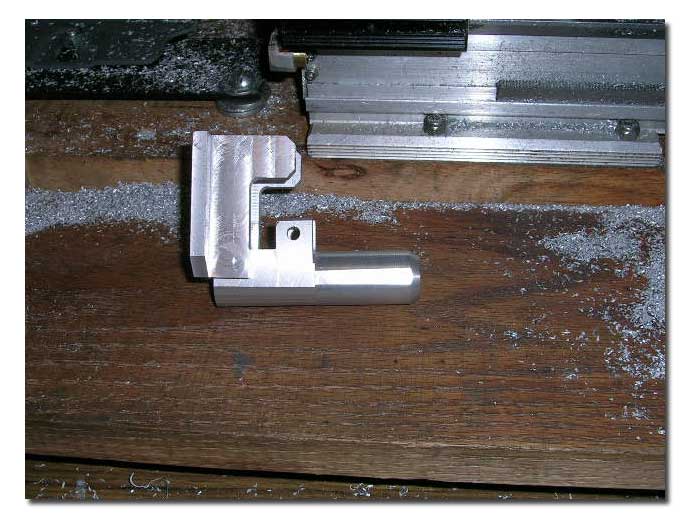
Checking results
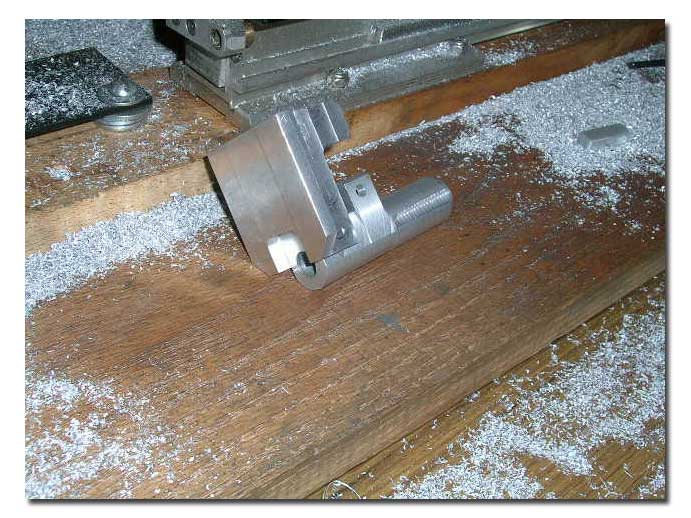
Another view.
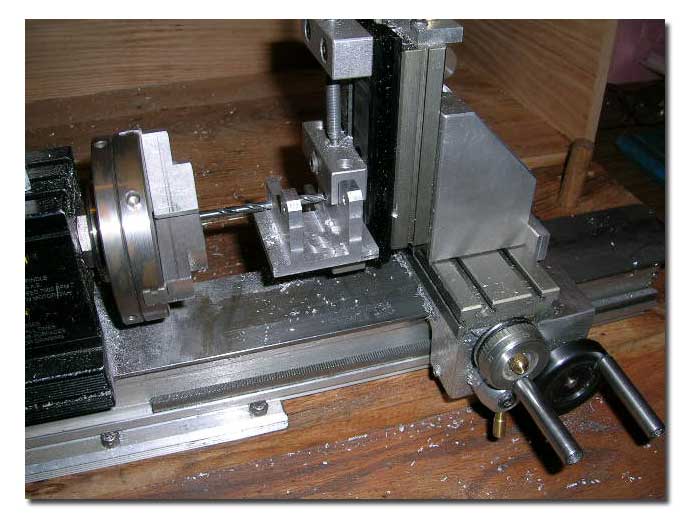
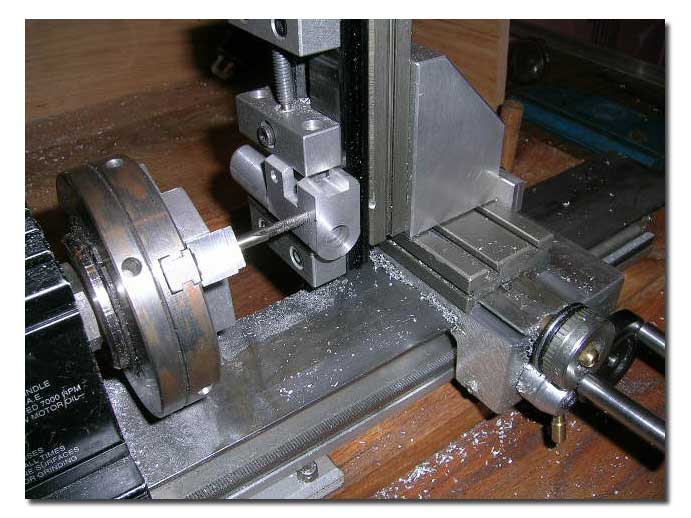
Drilling bracket for bolts to hold barrel.
The barrel base was drilled (not pictured) and tap started manually in the lathe.
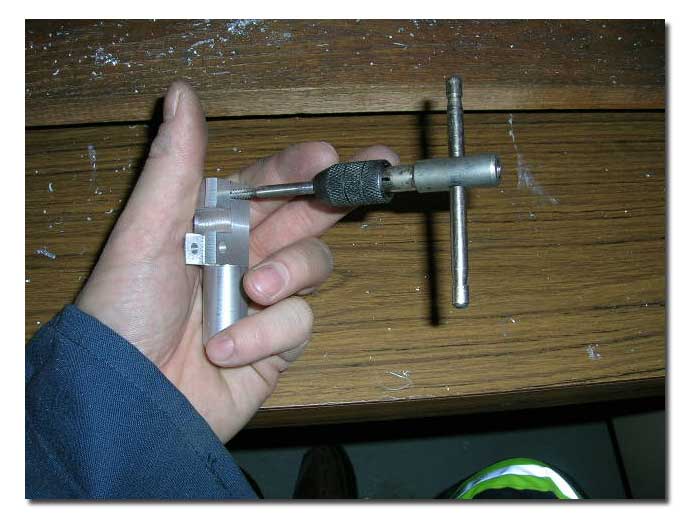
Finishing it by hand.
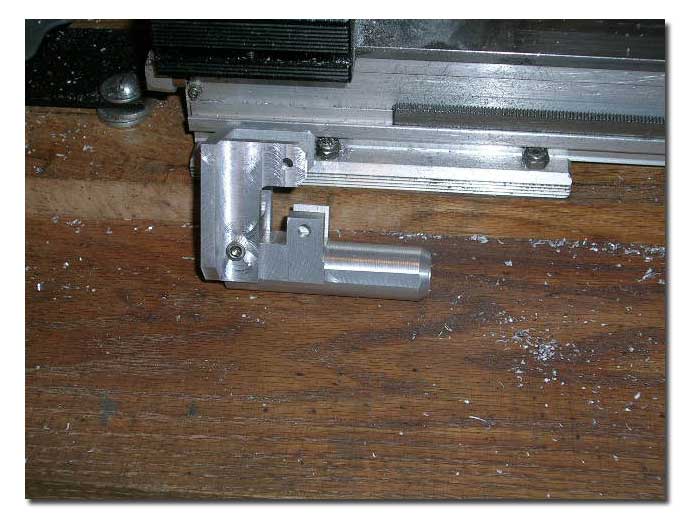
Test fitting again.
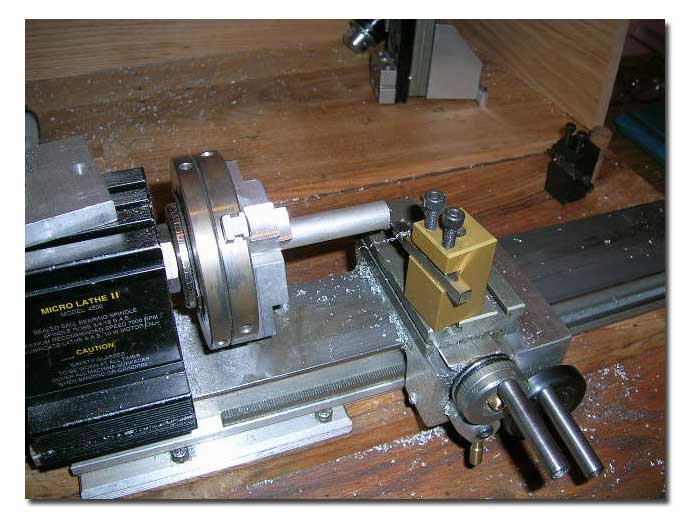
Now for the linkage!
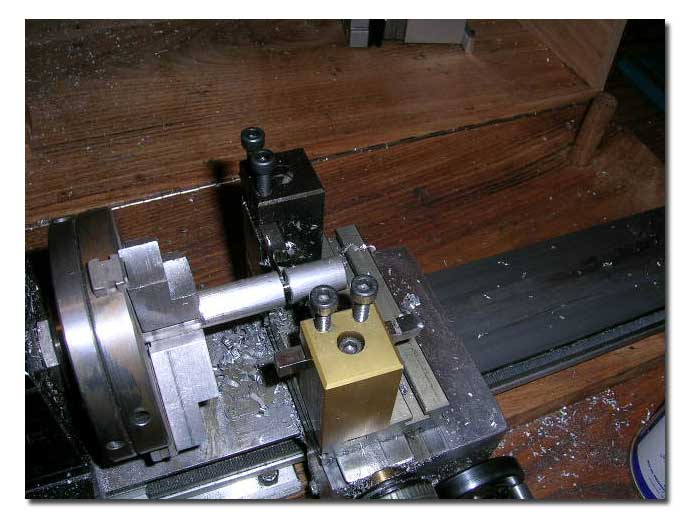
...
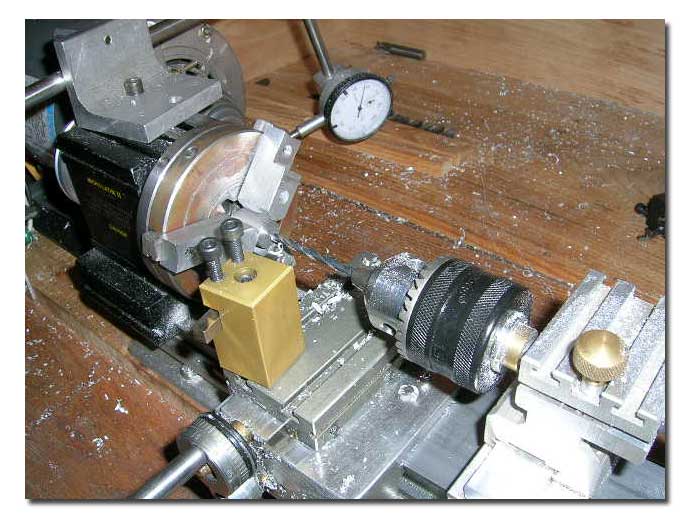
...
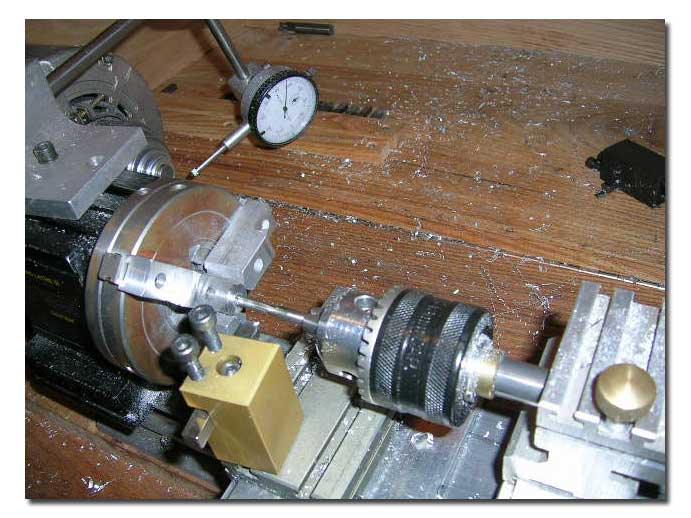
...
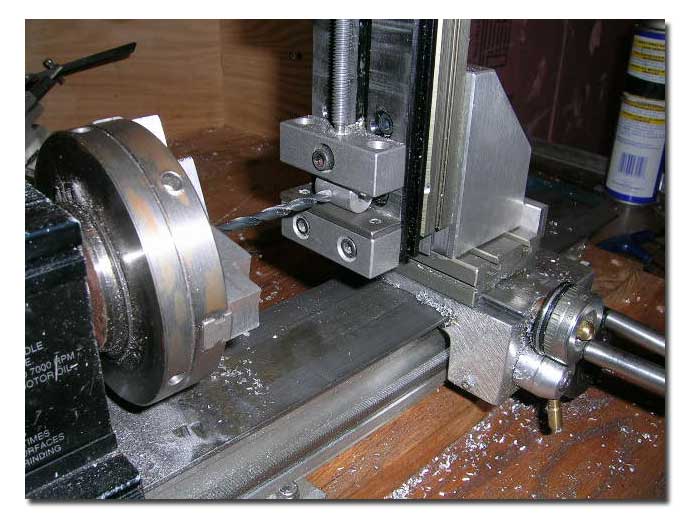
...
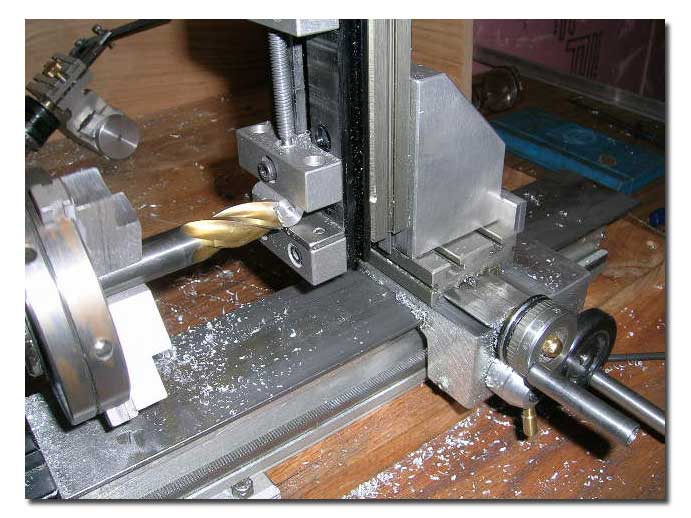
...
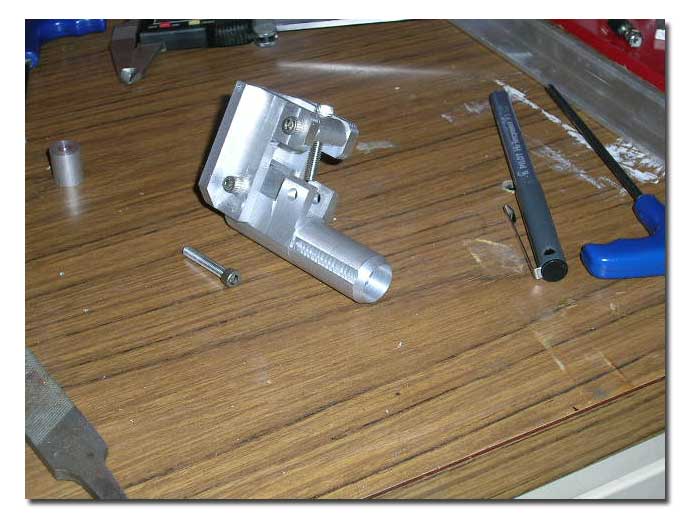
Test fit of top linkage.
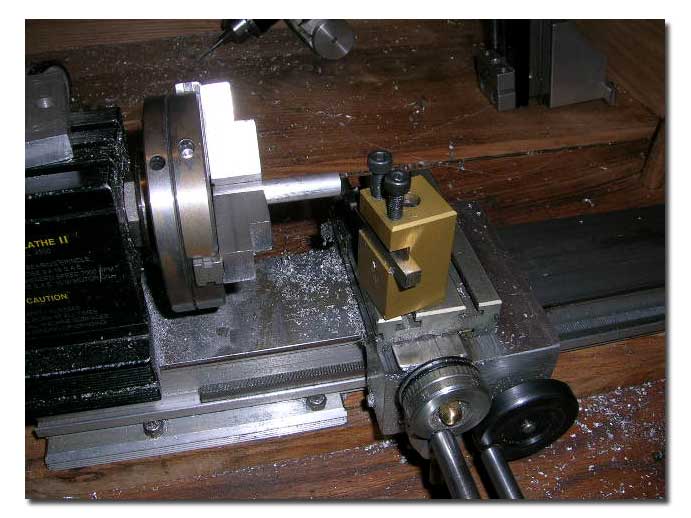
Now the bottom linkage.
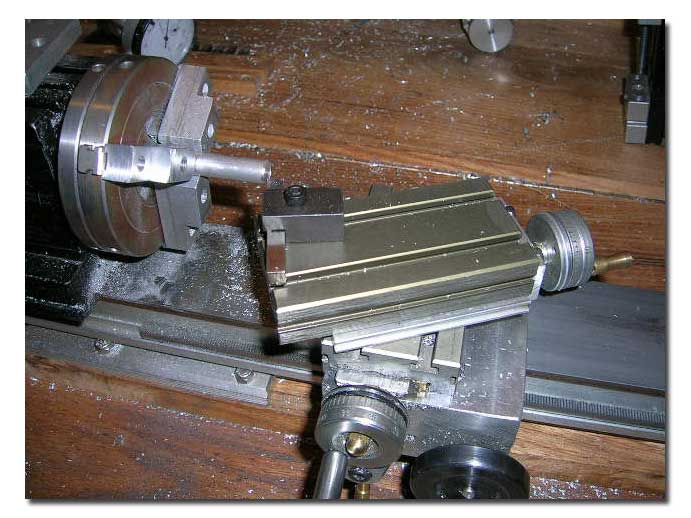
...
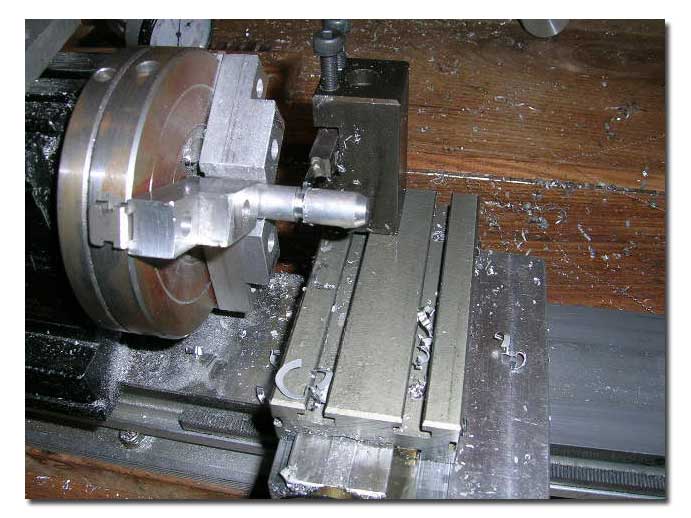
...
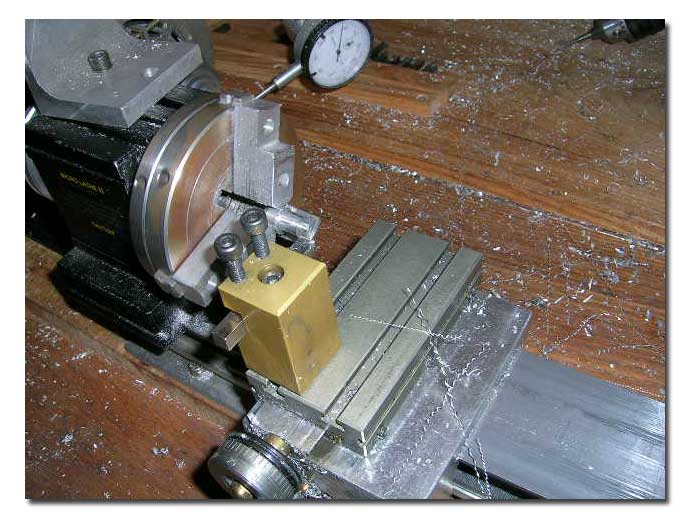
...

...
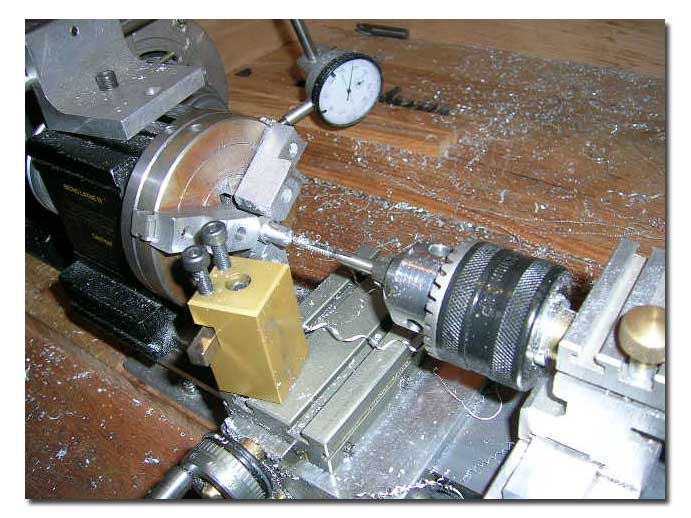
...
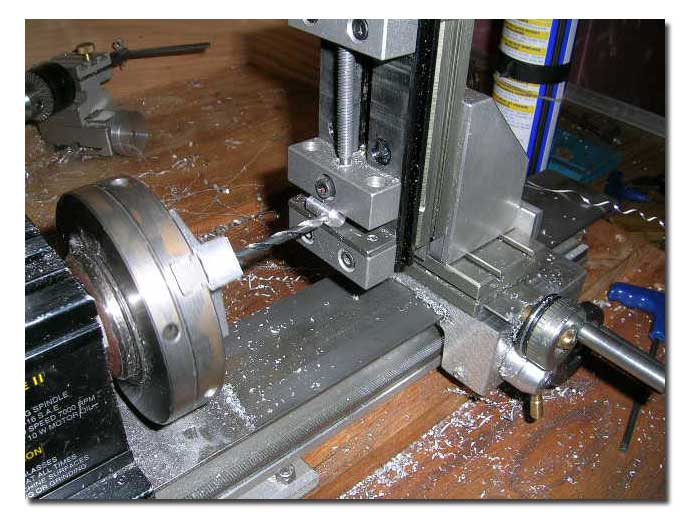
...
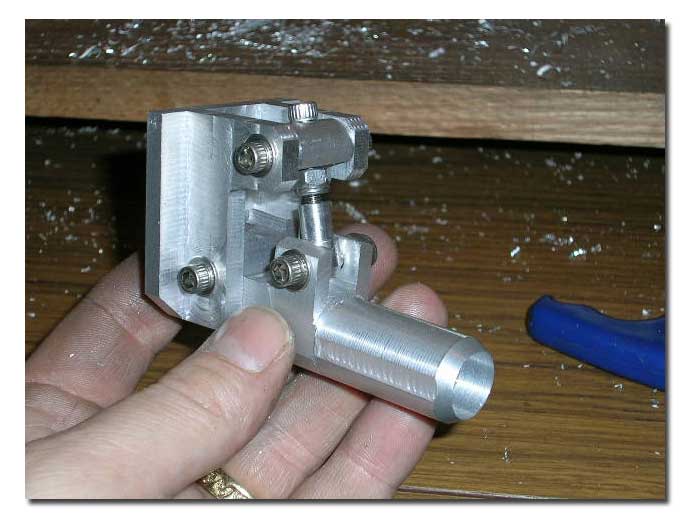
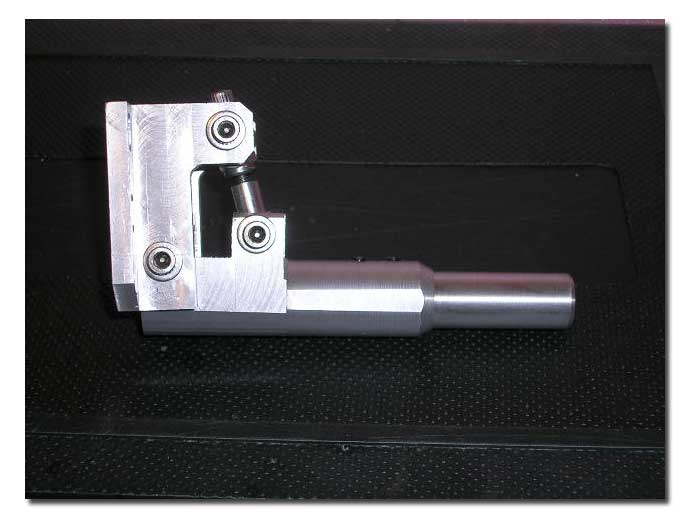
Linkage complete!
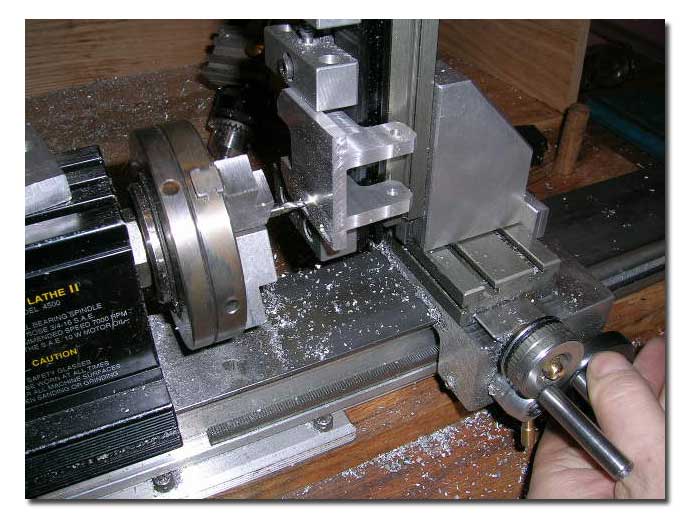
Milling mounting slots in bracket.
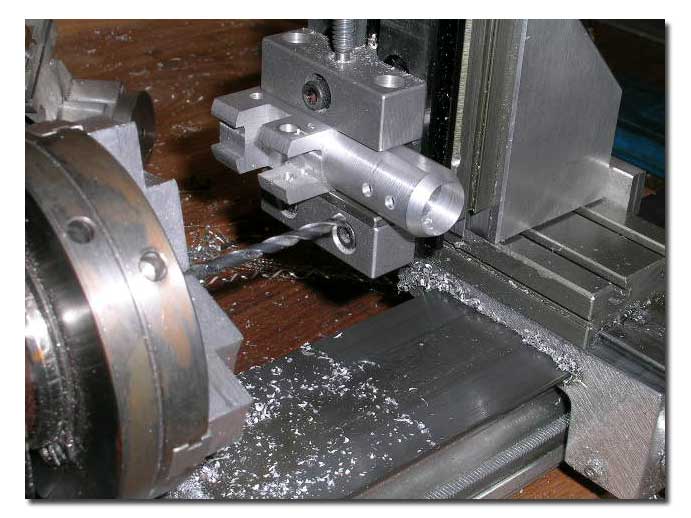
Drilling (then tapping) for set screws for insert.
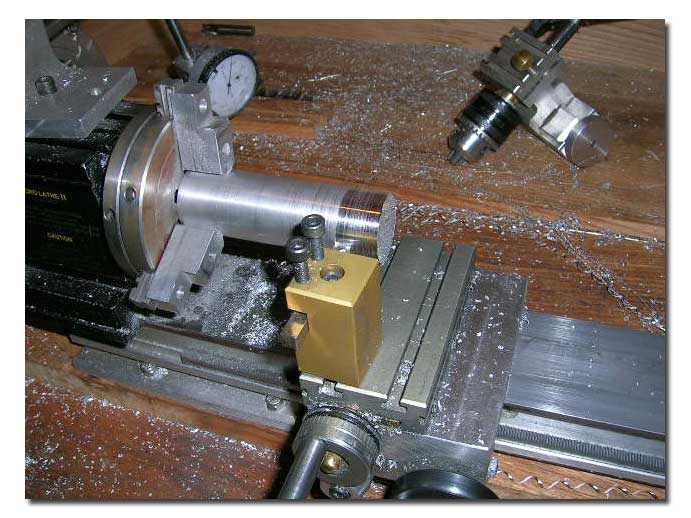
The piece used to make the insert (it was the only size stock I had big enough for the insert (had to remove quite a bit of material!)
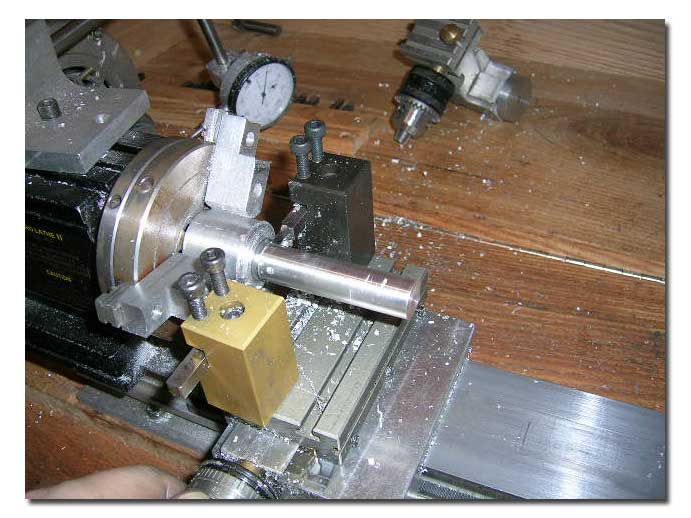
Getting there!
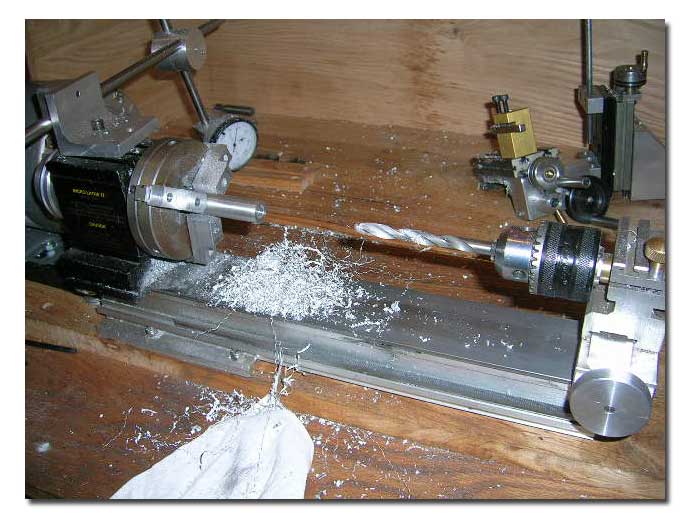
Drilling insert for stuffing tube.
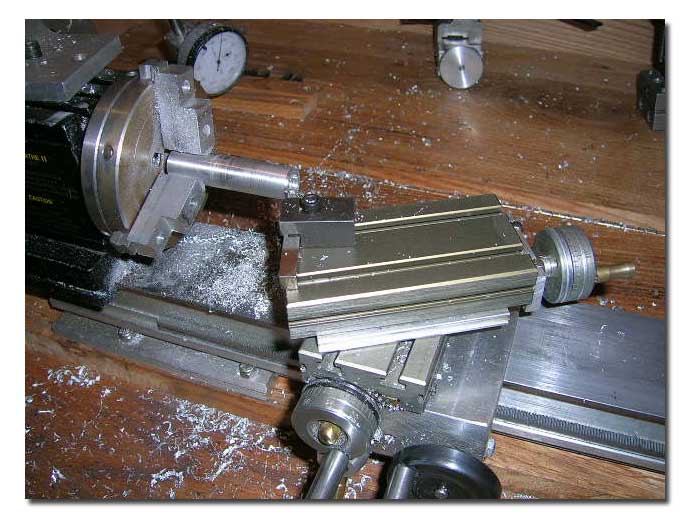
Chamfering the prop end of the insert.
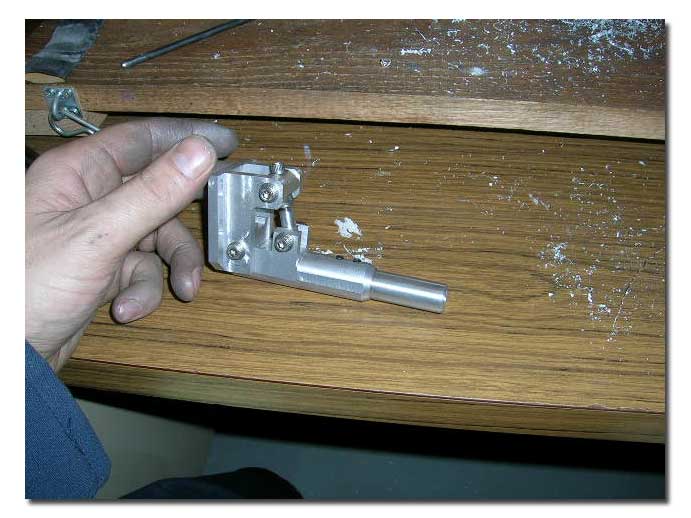
Final fit. All done!
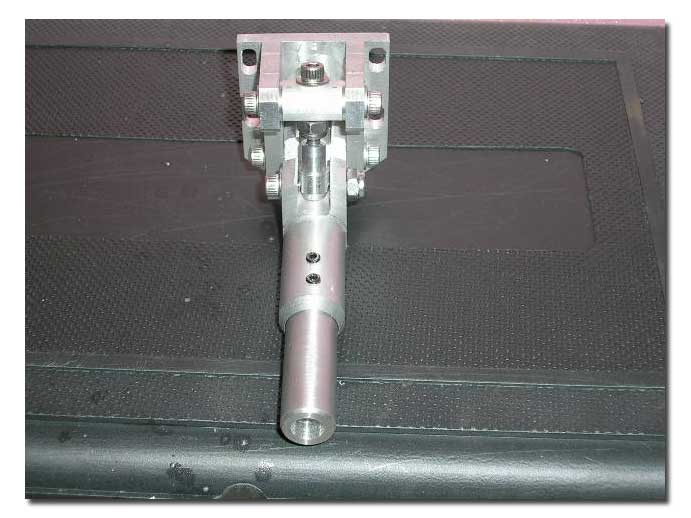
Here are a few pictures from different angles.
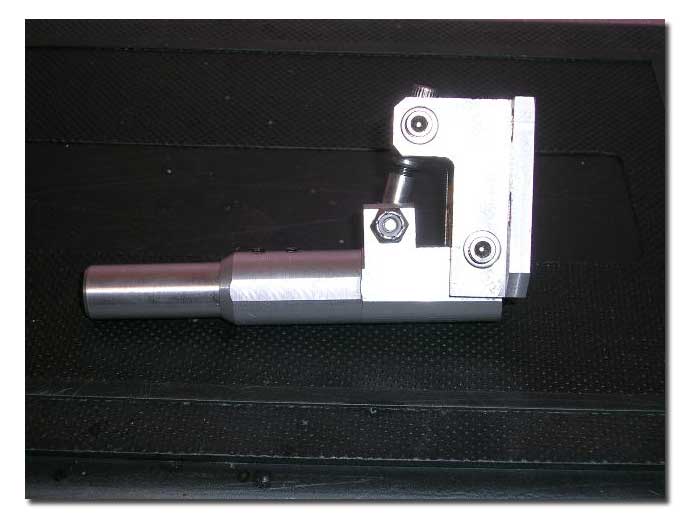
...
...
Top

 a fun boat for the summer cottage. Something that I can use to just run around in the big stuff and do some wave jumping! Anyway, I decided I was going to try and make most of the hardware myself for this boat.


