Hobby Machinist Article ...
Learn how to make a mandrel used to hold a carburetor in the lathe chuck for machining...
Every time you modify an engine for higher performance, you end up opening up the ports for more flow through the engine. In theory, the more fuel/air mixture you get in and out of the engine, the more power it makes. It makes perfectly good sense then that the carburetor of the said engine should be adequate to supply this additional fuel/air mixture. In some cases, simply upgrading to a bigger carburetor is the solution. With our marine Zenoah engines however, the stock Walbro 644 carb or a Walbro 257 are the common choices and they do the job quite well, so why not simply modify the carburetor to match the engine? That is exactly where this carburetor mandrel comes in handy.
Until recently, I bored my carburetors on the lathe the hard way. I would disassemble the carburetor and use a 4-jaw chuck to hold the body in the lathe. I had to be very careful not to grip it too tightly, yet at the same time tight enough so it did not move in the chuck. Centering the body in the chuck also took some time and attention. It was alright, but took much more time just to setup as opposed to the time it actually took to do the boring.
I had a few carburetors to modify lately and decided I would take a few minutes to make a mandrel to hold the carburetors in the lathe using a self-centering 3-jaw chuck. This would ultimately save me a whole lot of time when doing several carburetors.
I started with a scrap piece of 1.5” thick aluminium.
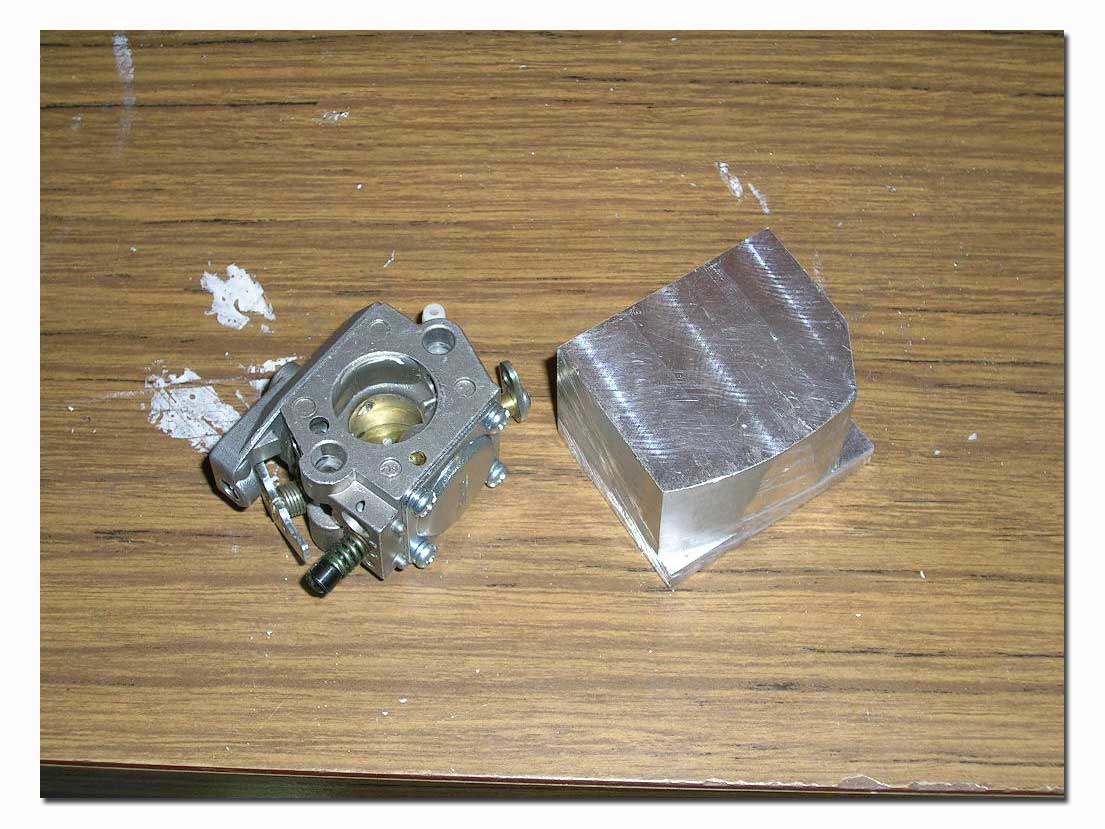
I made this mandrel specifically for the Walbro 644 and 257 carburetors bore size. It would be just as easy to make it for any other Walbro or similar carburetor.
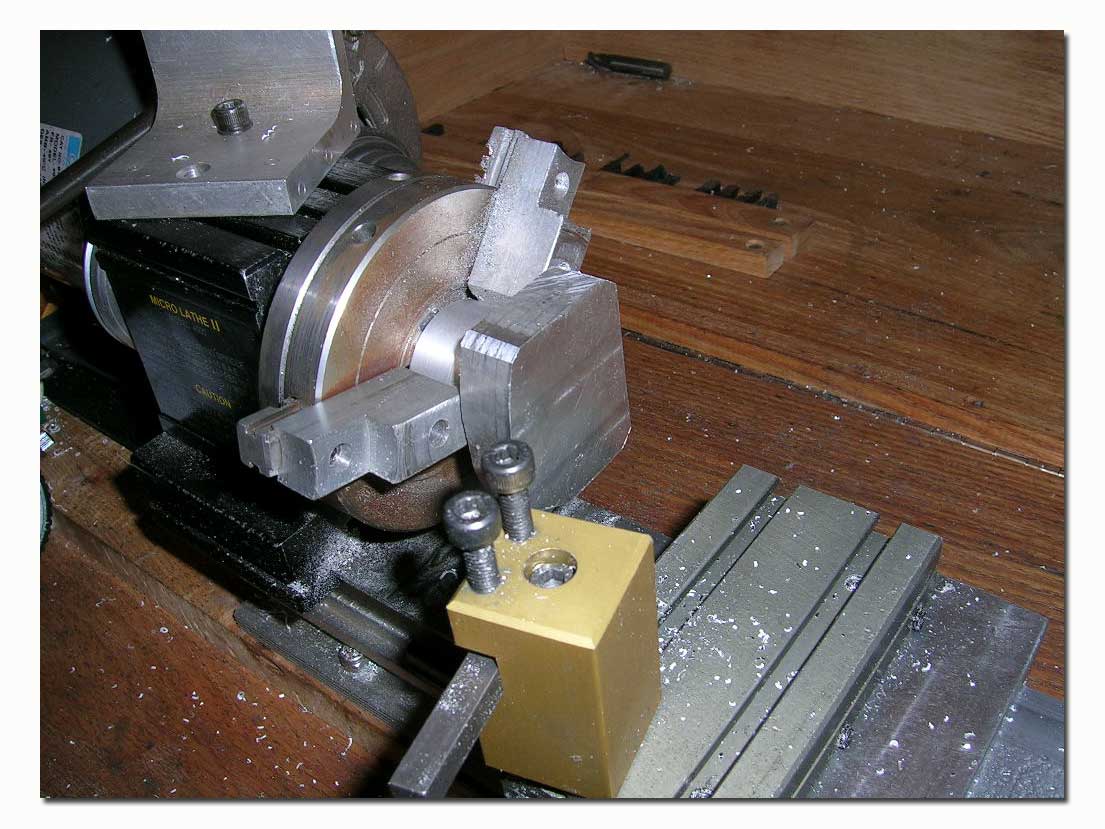
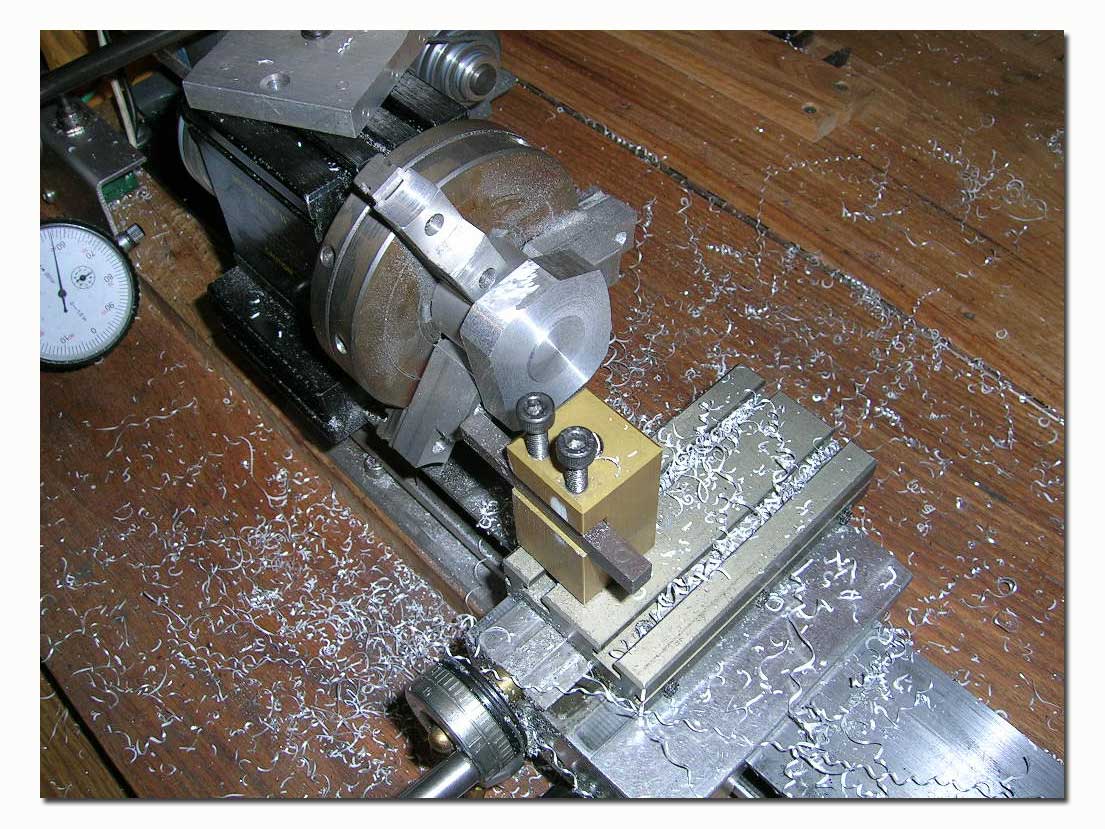
I setup the piece of aluminium in the 4-jaw chuck and faced the end square. I then turned it round to make the end that would be held in the self-centering chuck when doing carburetor work.
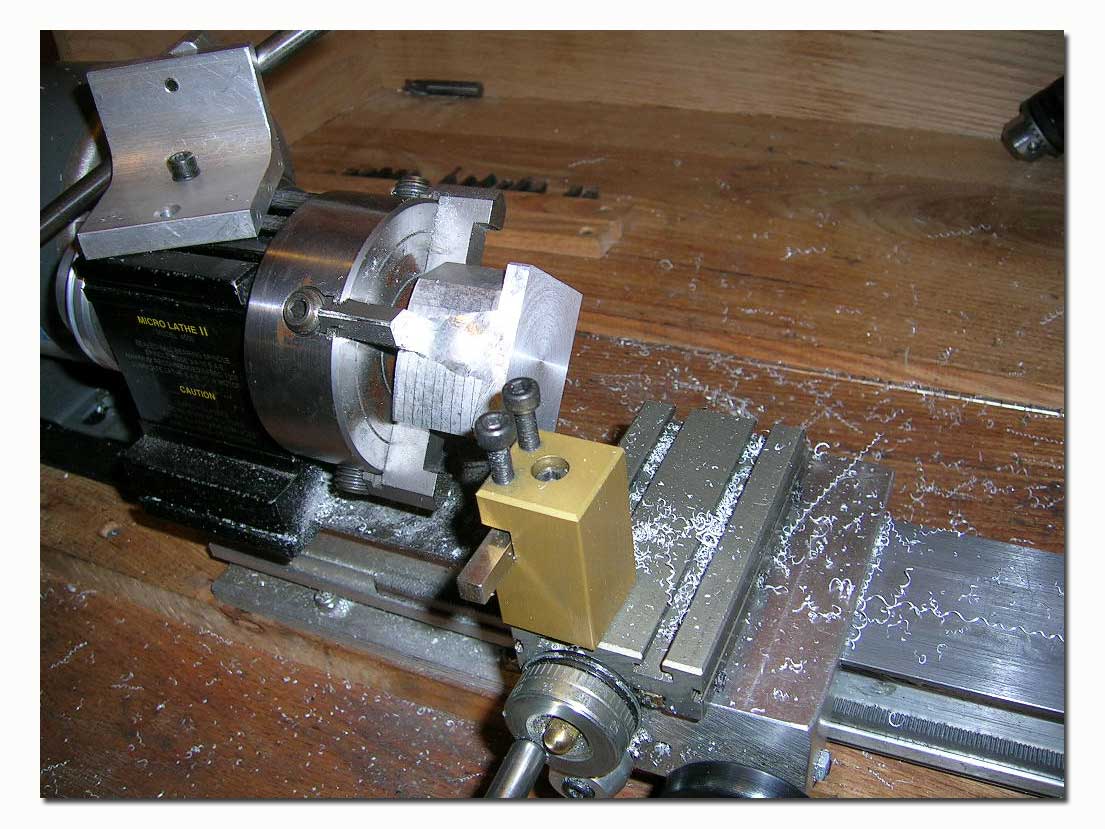
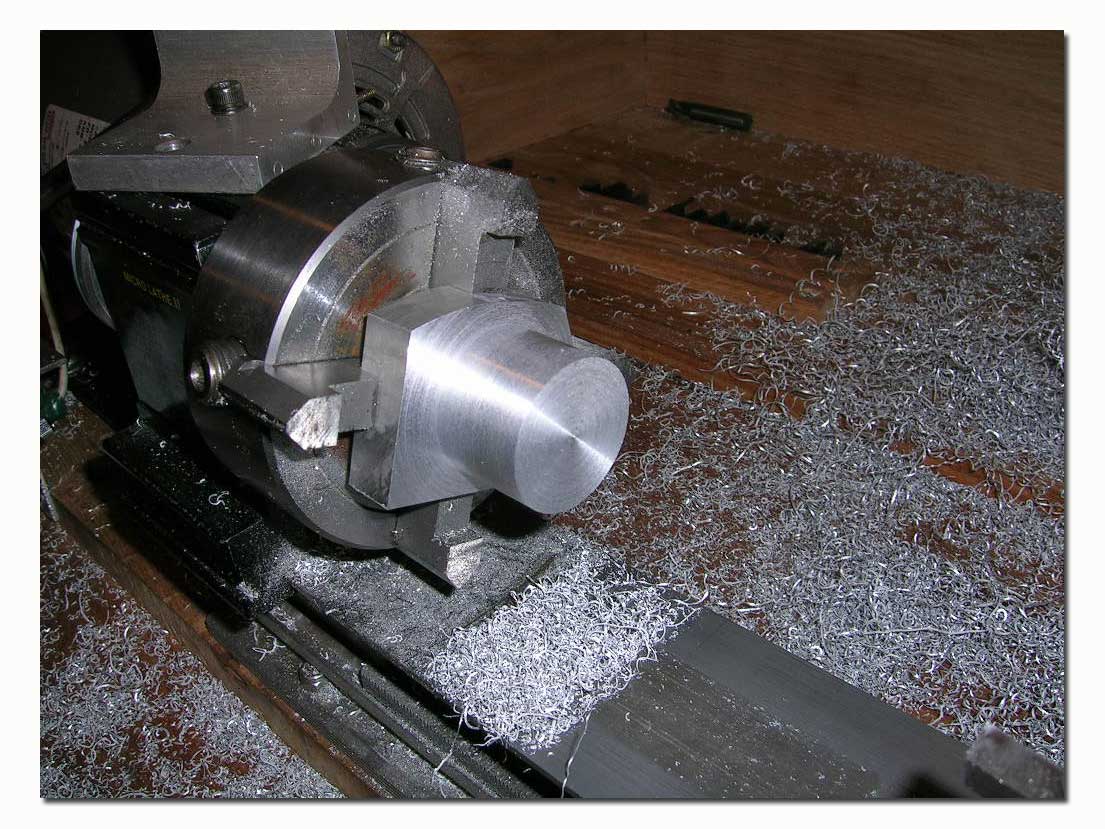
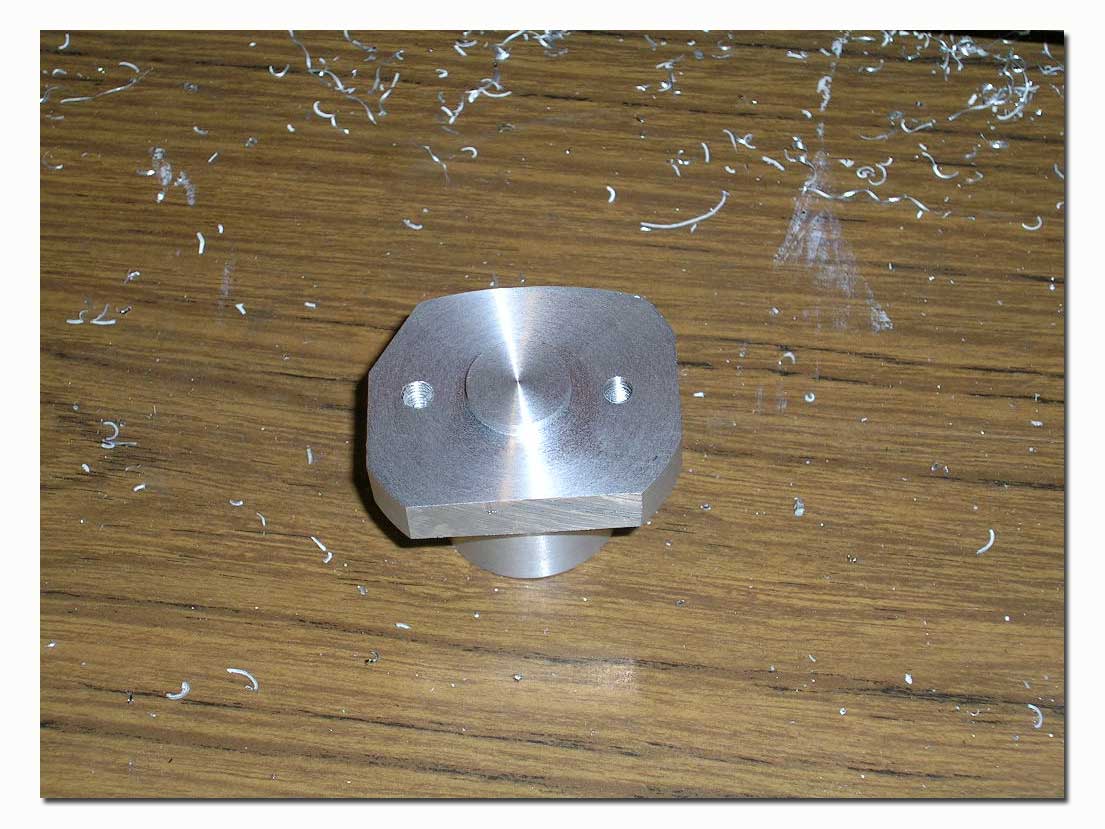
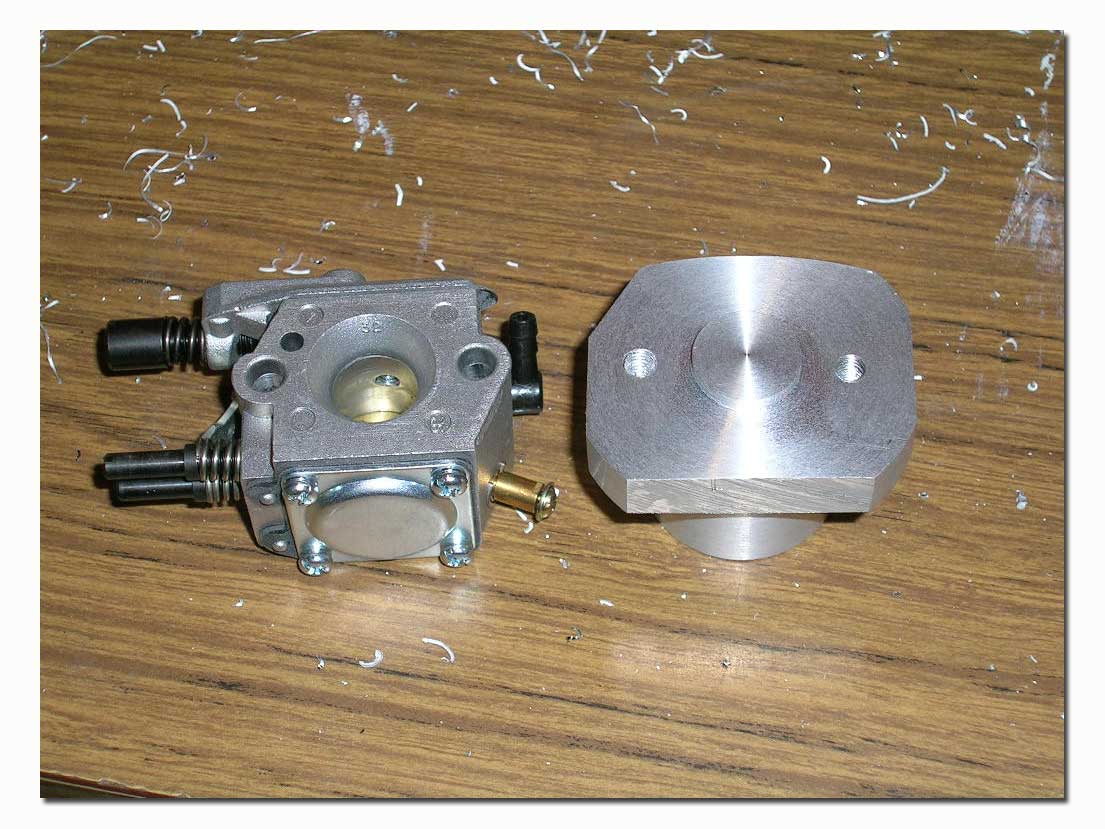
I then removed the piece and replaced the 4-jaw chuck for a 3-jaw self-centering chuck. I mounted the turned end of the piece in the 3-jaw chuck. I faced the end of the piece, and left a “stub” just the right diameter to fit snugly inside the carburetor bore (engine side). This stub can’t be too long. You do not want it touching the butterfly in the carburetor. Test fit to make sure.
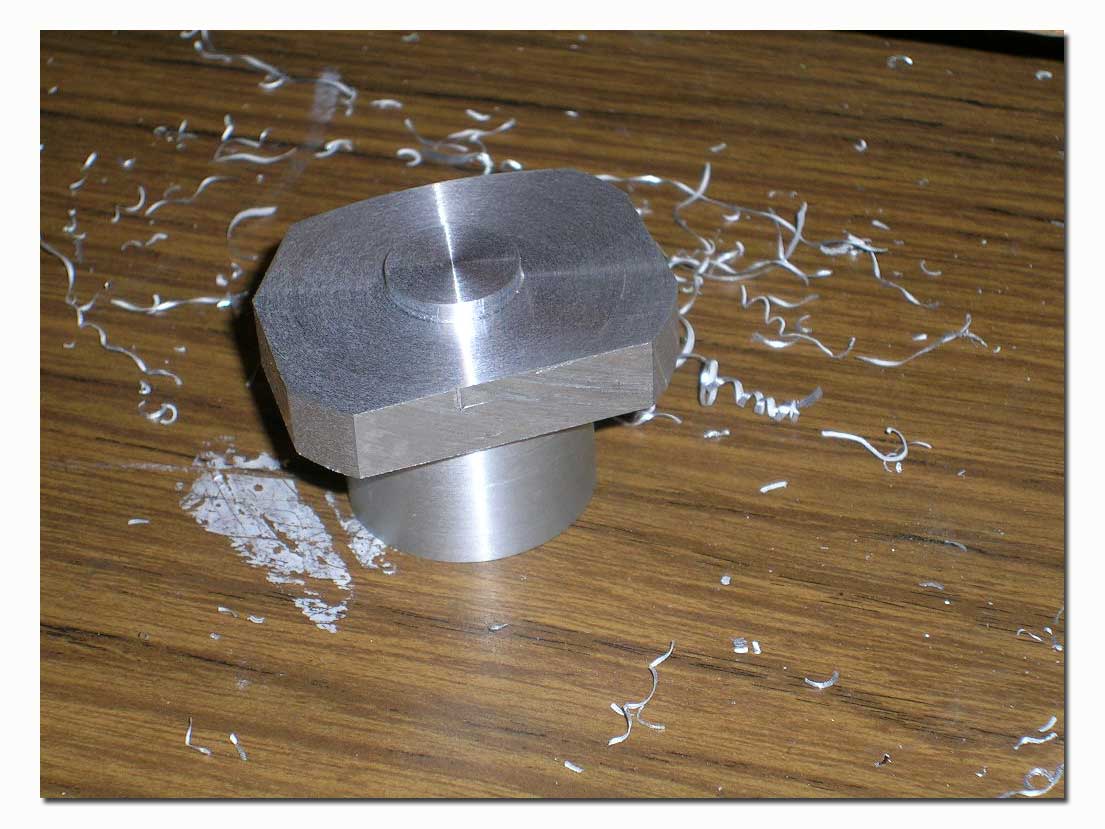
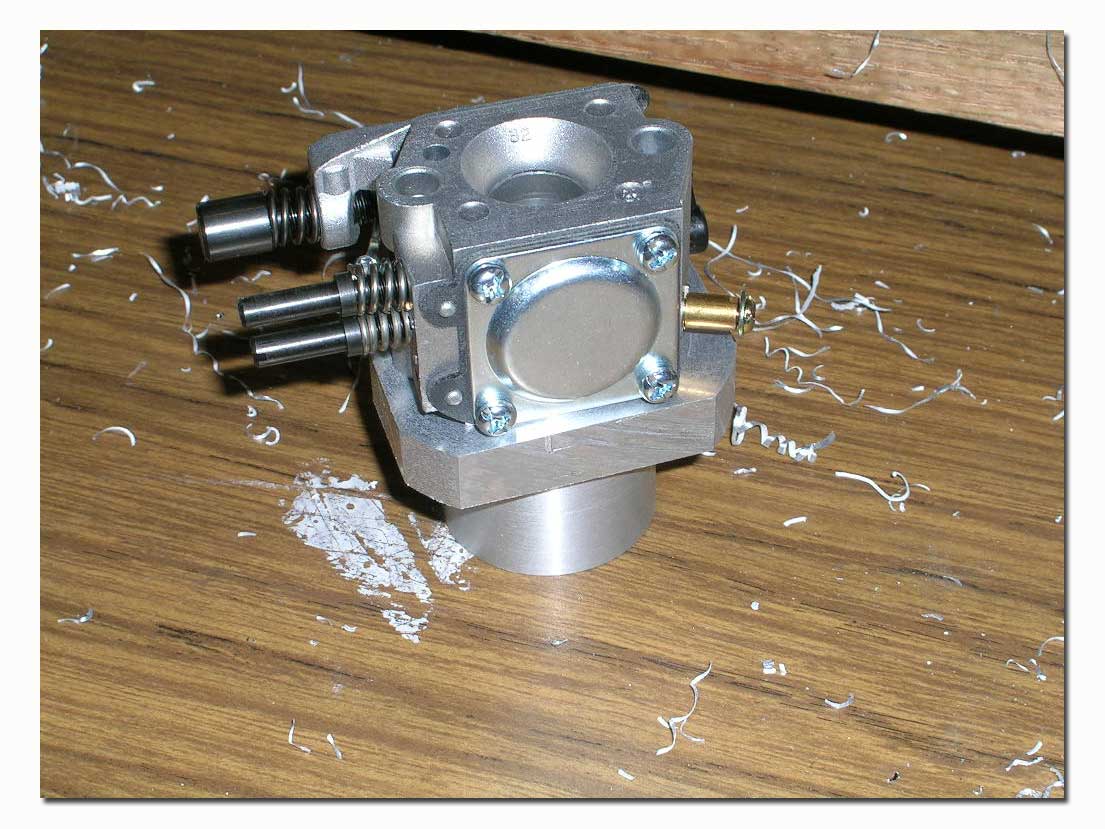
Here are some close-up pictures of the mandrel and test fitting with a carburetor.
I forgot to take pictures of the next step, but it is pretty simple. I mounted the mandrel in the milling attachment, holding it by the round end and with a carburetor as a guide, I drilled the two mounting holes. I then tapped the holes for the carburetor screws.
These pictures show the carburetor on mandrel setup on the lathe for boring.
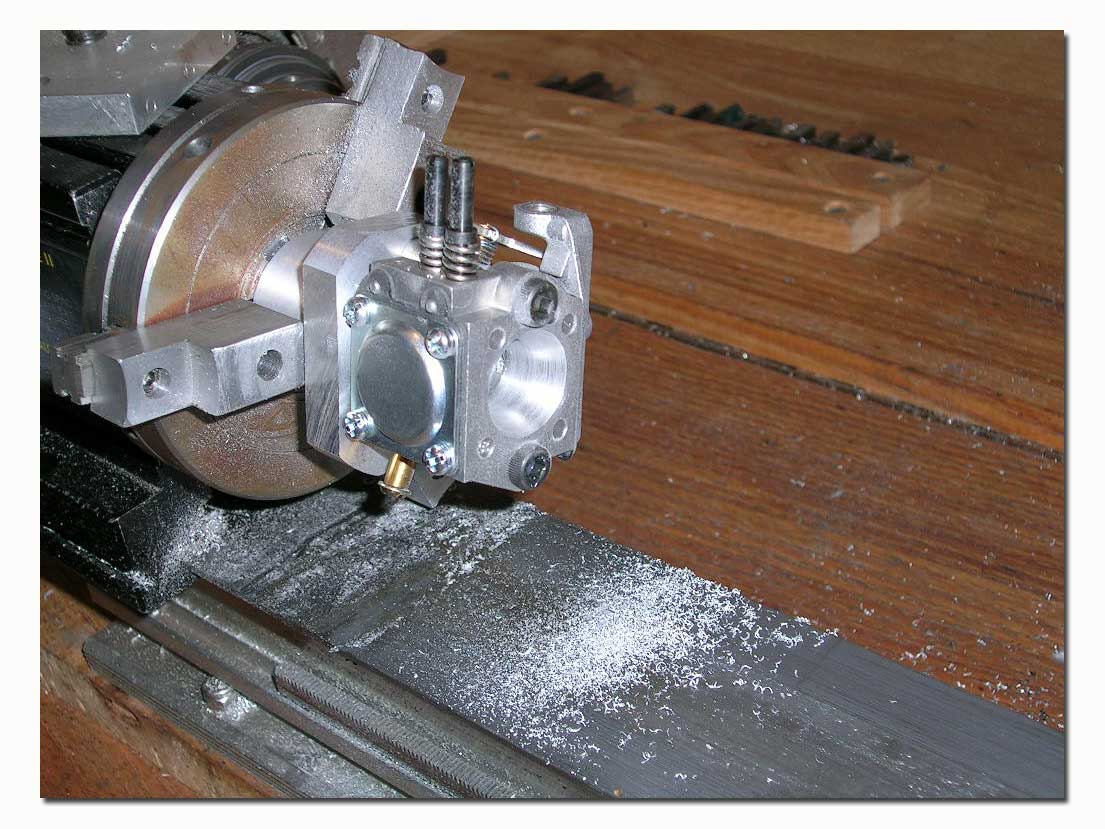
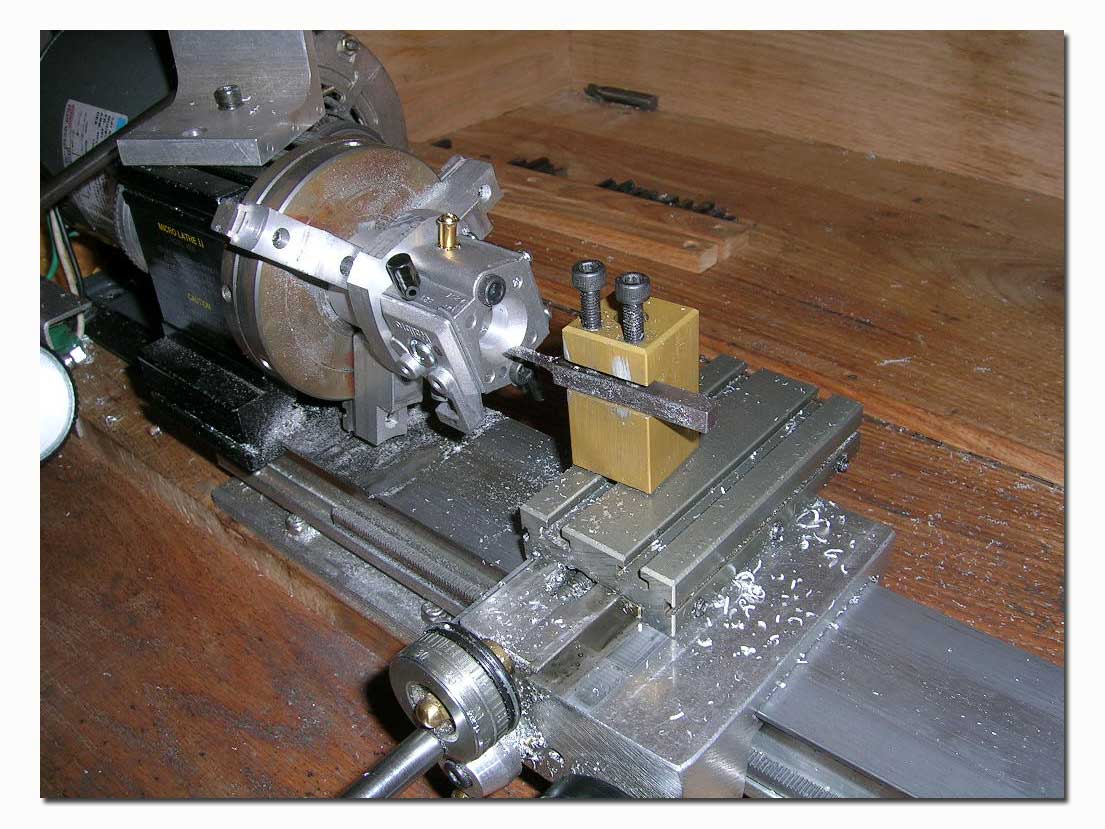
In these pictures you can see a carb mounted with button head bolts. This allows you to better blend in the venturi after machining. I also use these bolts to mount the carburetor to the engine, as they allow for smoother flow into the carburetor as opposed to the stock bolts.
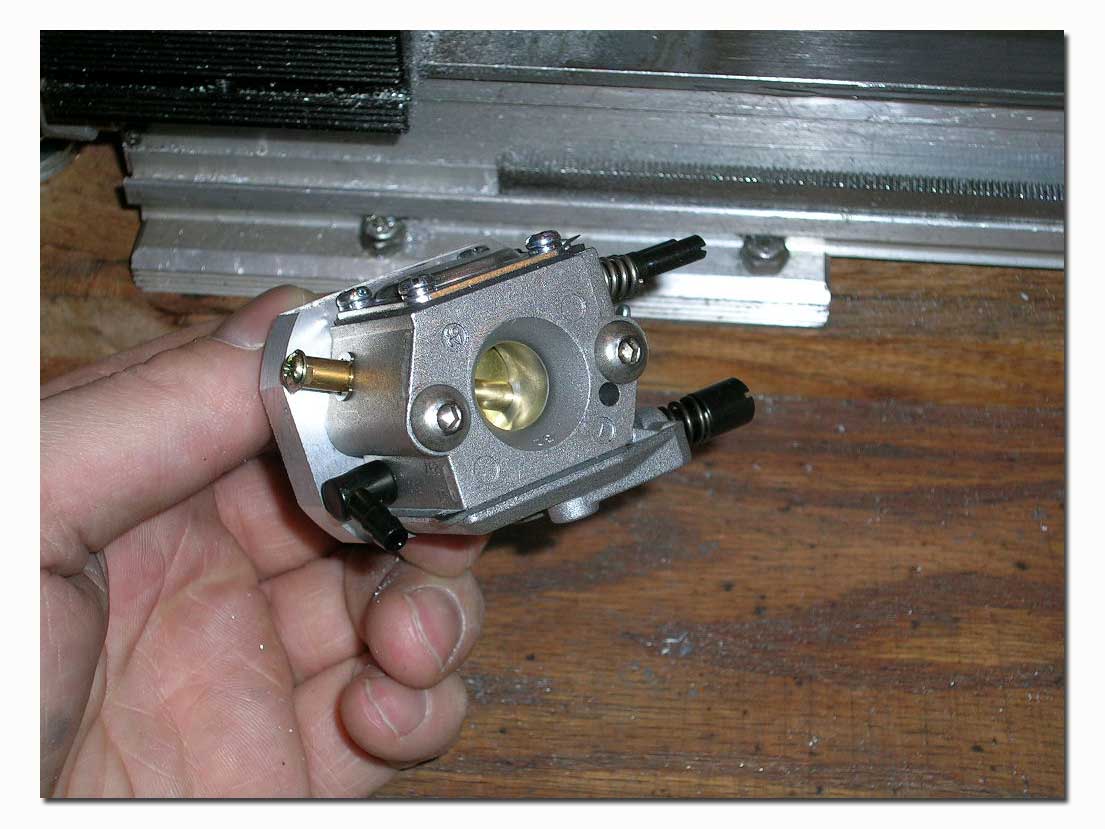
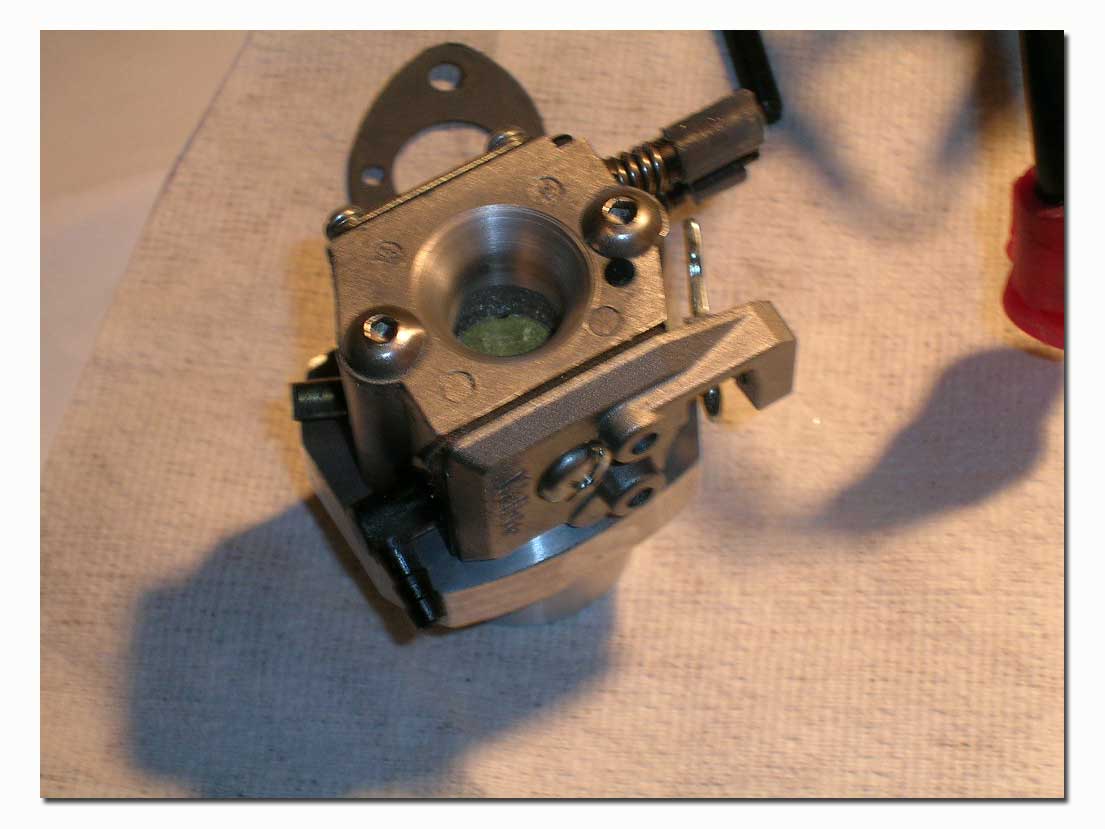
That’s it! This isn’t a very technical article, but it should be enough to give the “do-it-yourselfer” some ideas on making your own carburetor mandrel. You will notice that the outside surface of the mandrel is odd shaped. This could have been turned round, but since it really didn’t change anything for this part, I just left it as is.
Happy Machining!

