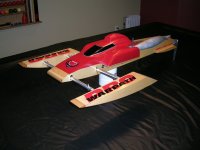
Hobby Machinist Article...
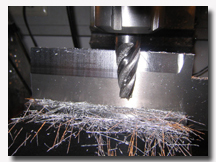
In this article, Andre Abtmeyer shows how to machine your own rudder blade.
The rudder blade is only one part of
the hardware on your boat and it seems pretty simple. When you want to make one
yourself, however, is when you realize how much work actually goes into this
seemingly simple piece of hardware.
This is not really a step-by-step instruction, but it will give you an idea of what is possible and how to perform some of the different operations.
The material I use for making rudder blades is always high grade aircraft aluminum 7075 or T6. I buy it in sheets of 60mm in width and a thickness of 6mm. I cut the required length on the bandsaw.
After that I mill-cut all sides to get a smooth surface.
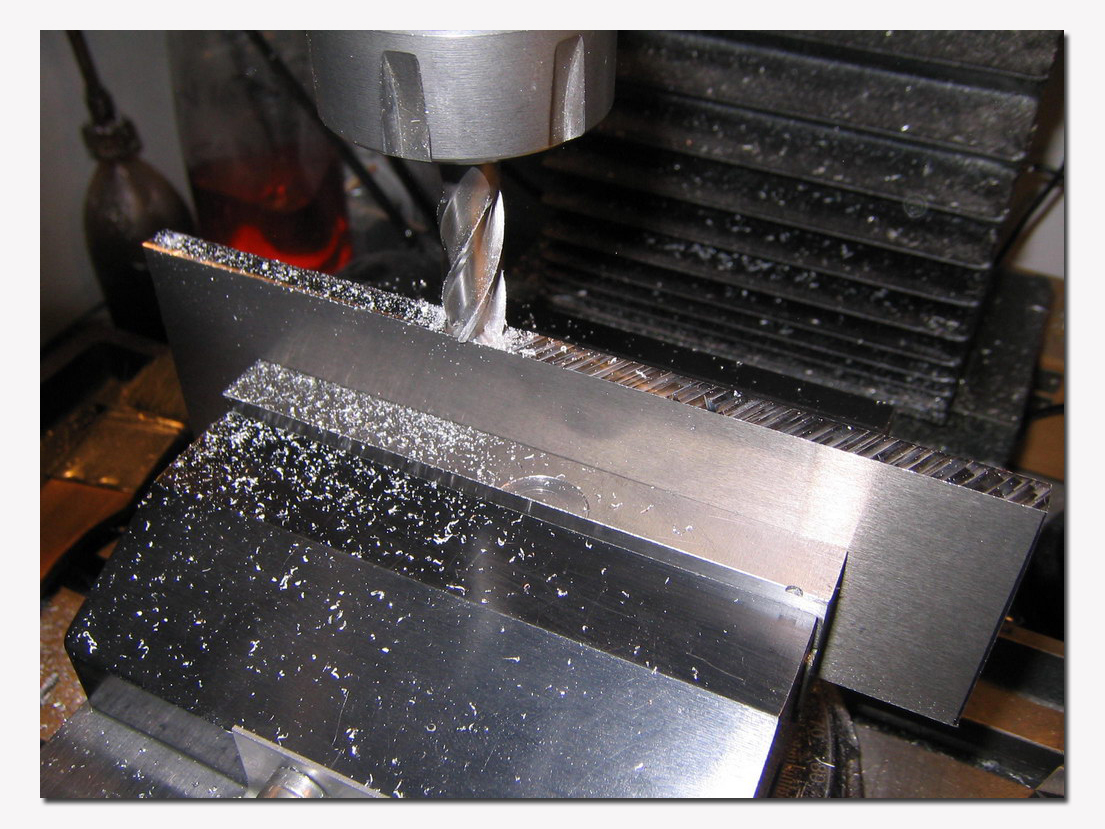

The next step is to cut the gap for the hinge. This is necessary so that the leading edge of the rudder blade is exactly in line with the rudder’s pivot axis. To save some time I scribe the gap on the blade and rough-cut it leaving the piece a little oversize. The finish cut is done with the milling machine.


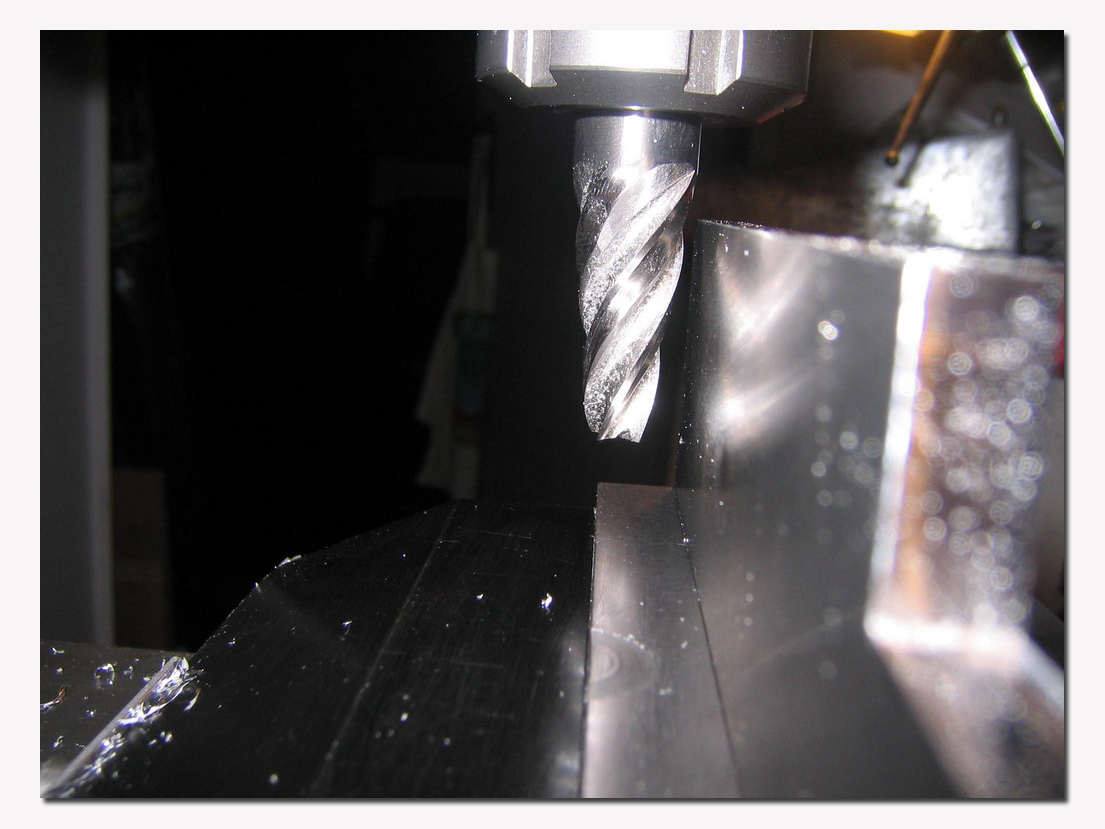
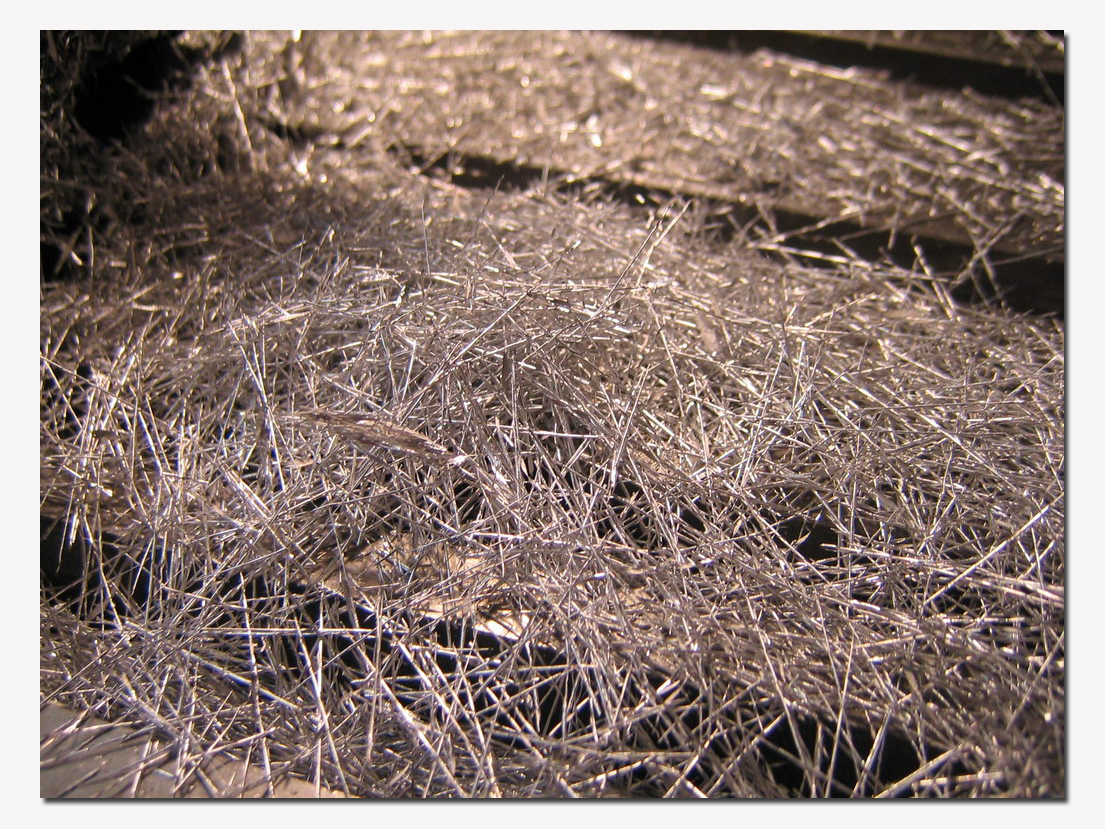
Now the interesting part begins…I give the blade its wedge shape. For this step I use a tapered end-mill that has the correct angle. So I can clamp the blade in the vise. Before I got this tapered end-mill I used an angled jig to clamp the blade into the vise. So I was able to give the blade the v-formation by using a standard straight end-mill. Now with the tapered end-mill it is much easier. I cut 2.95mm from each side with 3 cuts. The last cut is only 0.1mm and I do this with synchronous milling. This gives the blade a smooth finish. The result of this operation is a bunch of long and really sharp chips…they prick like needles!
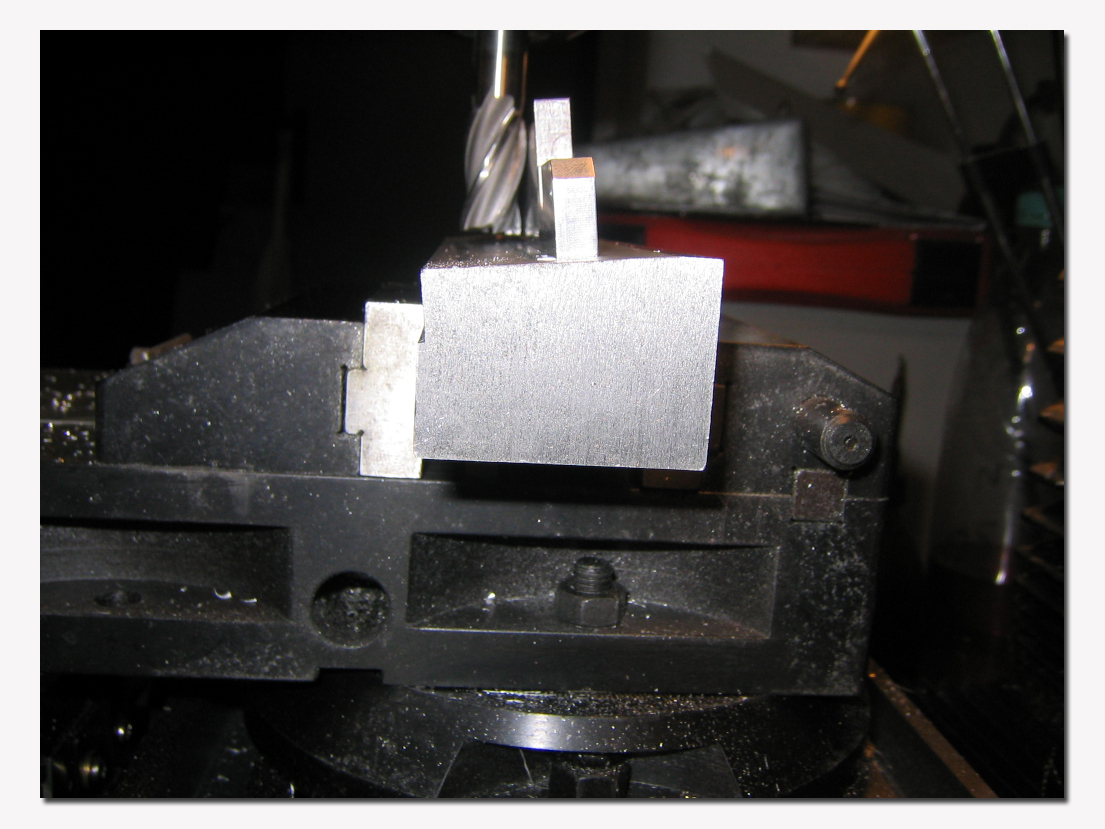
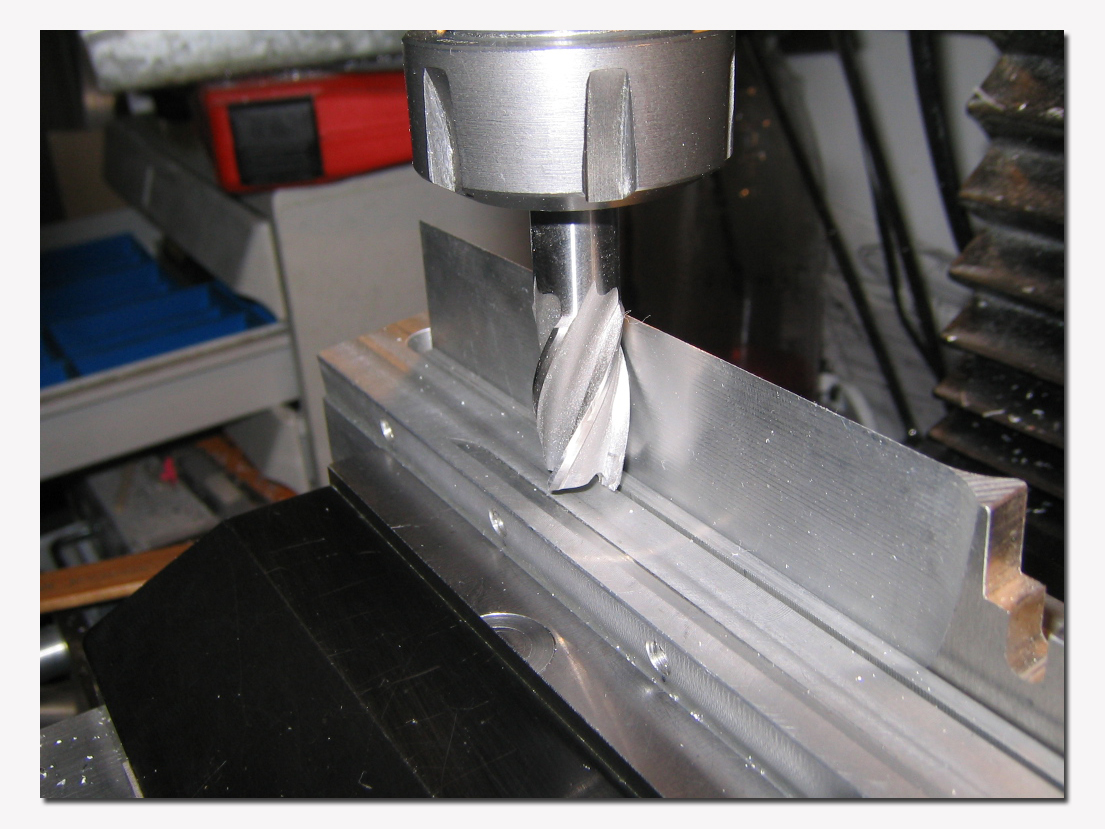

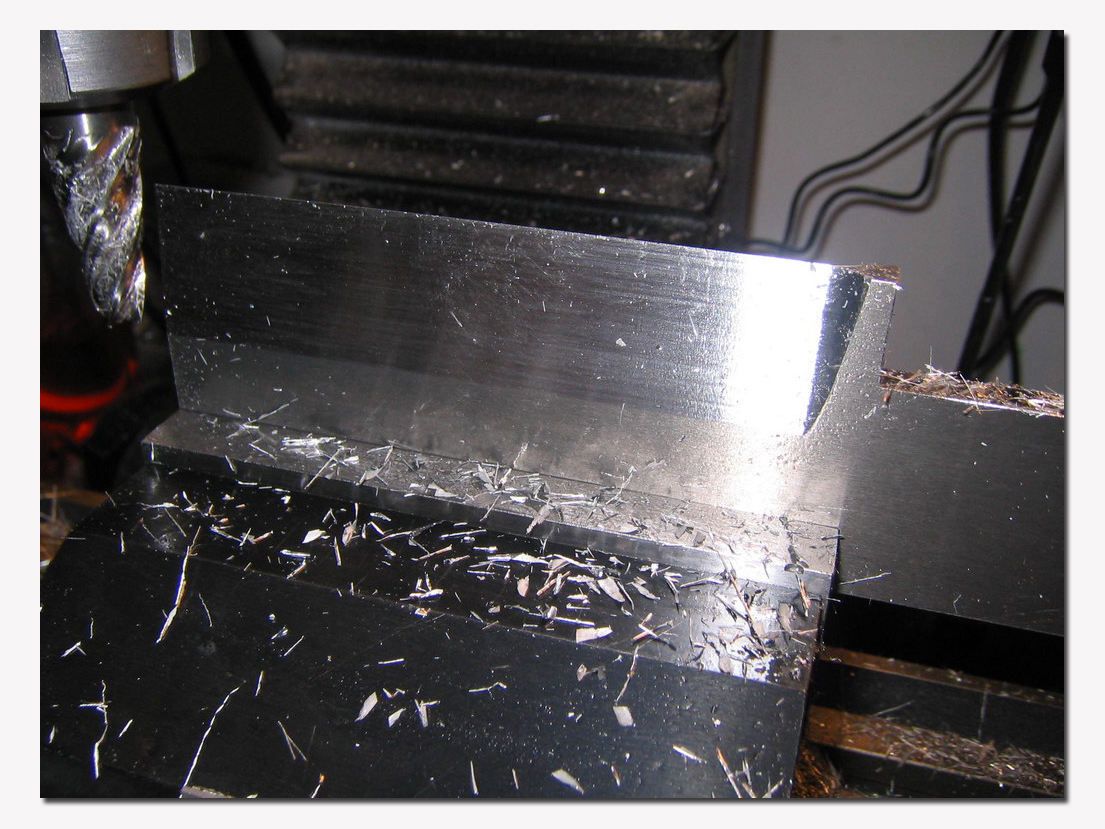
The next step is to cut the blade to its final dimension. I can now remove the excess trailing edge of the blade that was used to clamp the rudder in the vise. Of course I give the cut edge a smooth finish on the milling machine. After that I drill the mounting holes that will be used to fix it to the hinge.

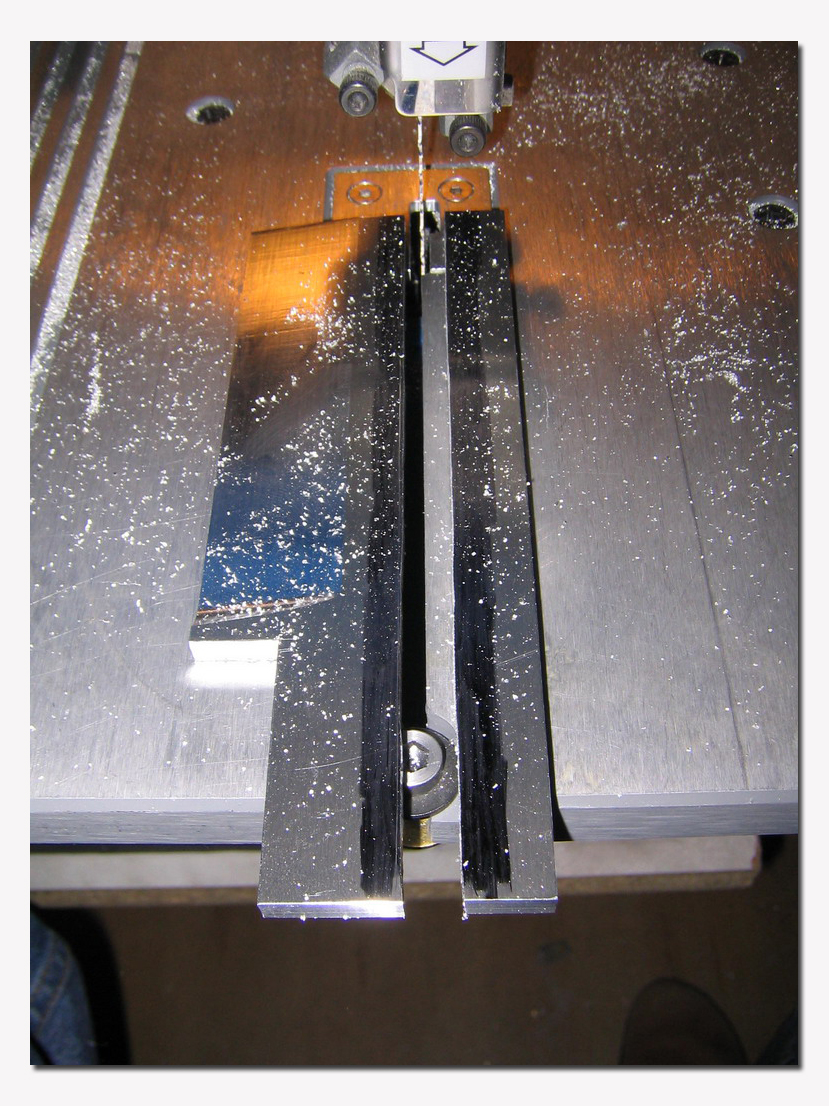
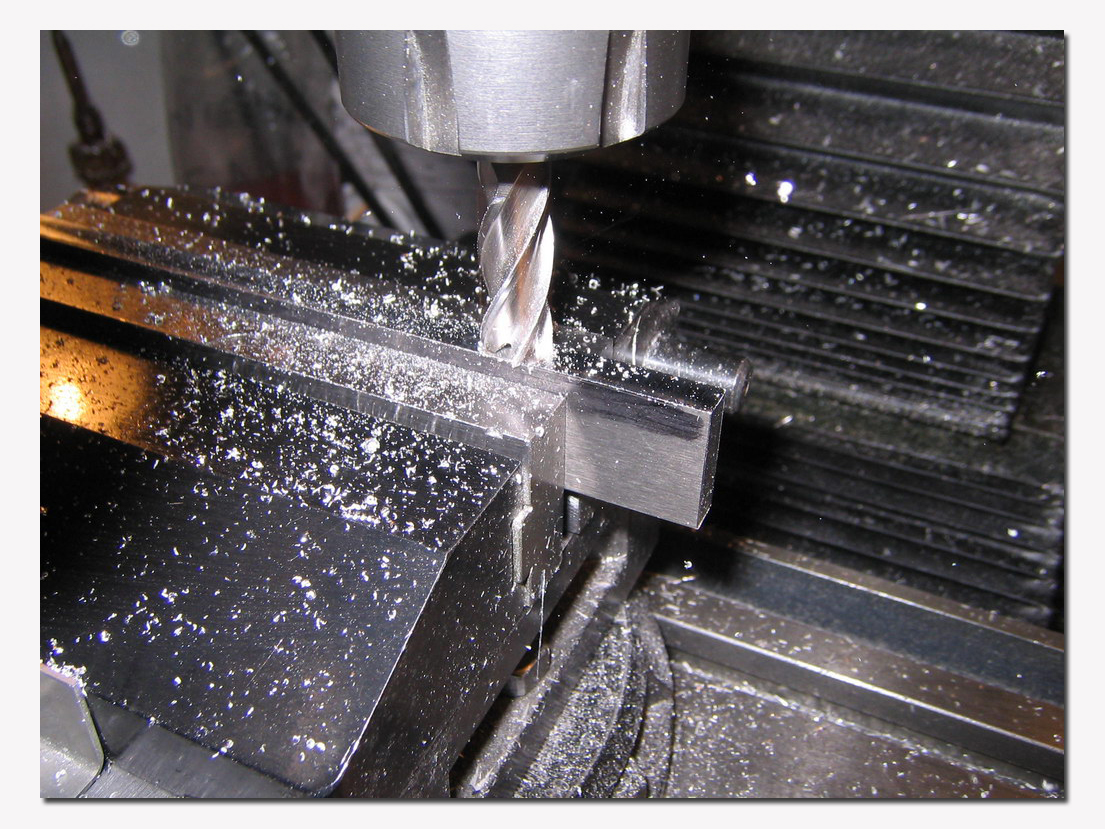
Normally the rudder blade would be finished now but sometimes it is nice to have a water pickup incorporated in the blade.
I drill the long hole through the rudder blade with my lathe. To do this I use a homemade jig to clamp the rudder blade. This jig is made from a solid piece of brass. It is thick and heavy to get a good true running. Over the entire length there is a slot the same width as the thickness of the rudder blade. I fix the blade in the jig just with some plastic screws. These screws don’t leave any scratches or marks on the blade. To drill the deep hole in the blade you need some extra long drill bits. This job is time consuming because you can only drill maximum of 2mm before you have to pull out the drill bit to take out the chips.

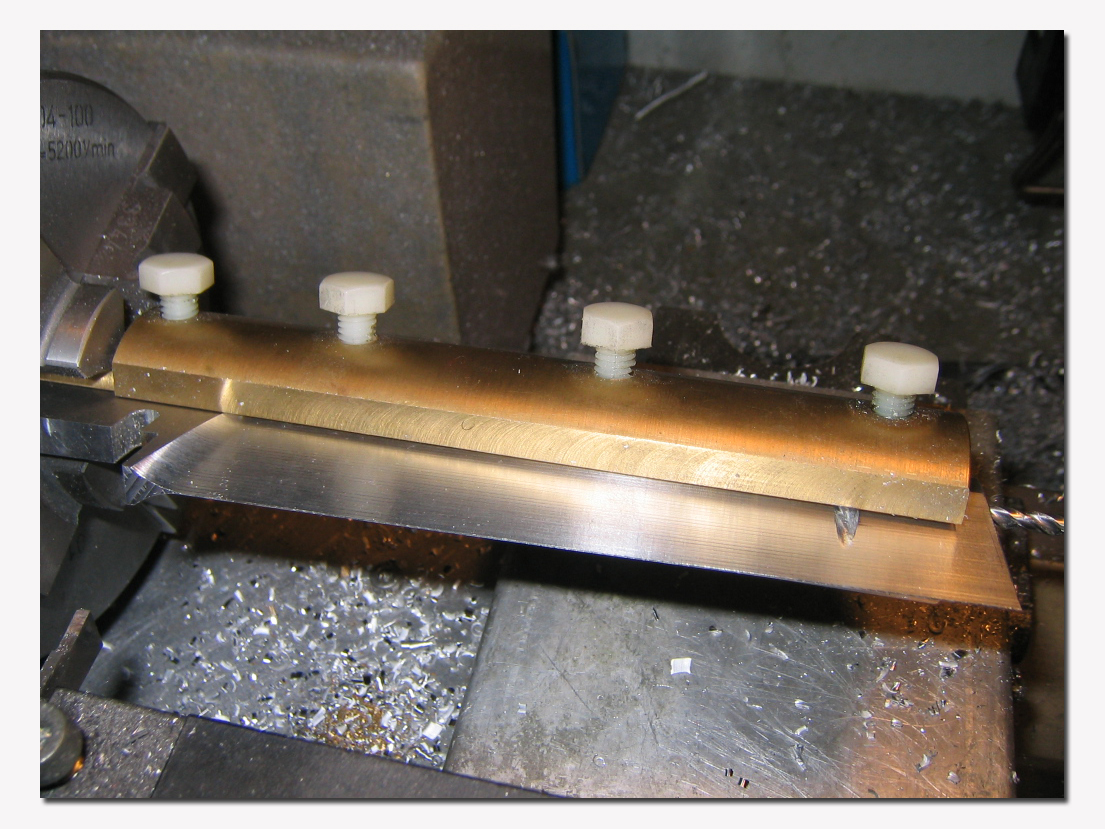
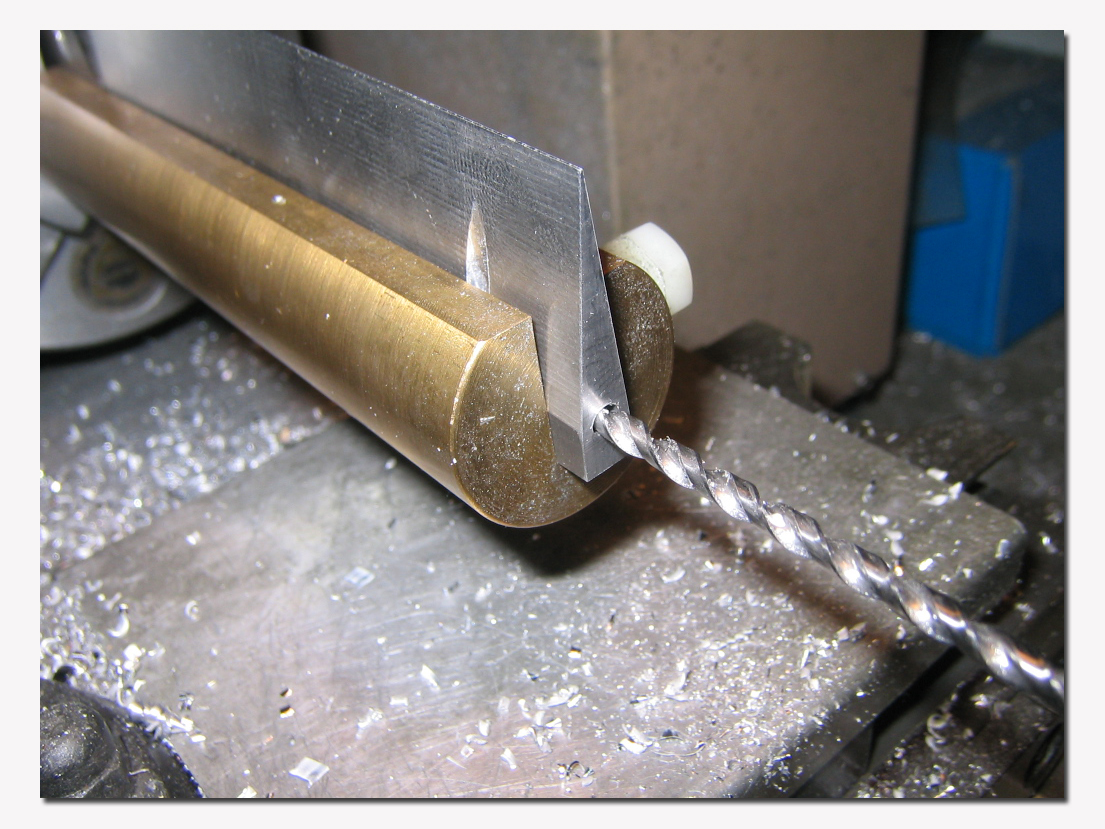
The last step is to add the small holes for the water pickup. For this I fix the blade again with the angled jig in the vise of the milling machine and drill the holes by using an extra long 2.5mm milling cutter (got them from a local dental technician). Sorry, no pictures of this last operation because I forgot to take them!
André Abtmeyer


